


Understanding How Poor-Quality Tools Cause Tint Failures
Why Poor-Quality Tint Tools Lead to Peeling, Bubbles, and Rework
The Hidden Cost of Bad Tint Tools
Window tinting looks deceptively simple. You grab some window film, spray a little solution, slide the film onto the glass, squeegee it smooth, and boom, done. Right? Not even close. Whether you’re doing auto window tinting, home window tinting, or trying a DIY car tinting kit, the tools you use quietly decide whether the job looks flawless or turns into a peeling, bubbling nightmare a few weeks later.
Here’s the uncomfortable truth: Most beginners don’t realise that poor-quality tint tools are the number one cause of tint failure. Not the film. Not the glass. Not even installer skill, at least not at first. Cheap squeegees, dull blades, flimsy spray bottles, and uneven heat guns sabotage the job from the inside out. The result? Peeling edges, trapped air bubbles, hazy finishes, and costly rework that eats time, money, and patience.
Professional tint installers, whether they run automotive tint near me shops or specialise in house window film, learn this lesson early. They invest in proper window tinting tools because they know one bad tool can undo hours of careful work. Meanwhile, DIYers often learn the hard way after asking, “How do I get window tint off?” only days after installation.
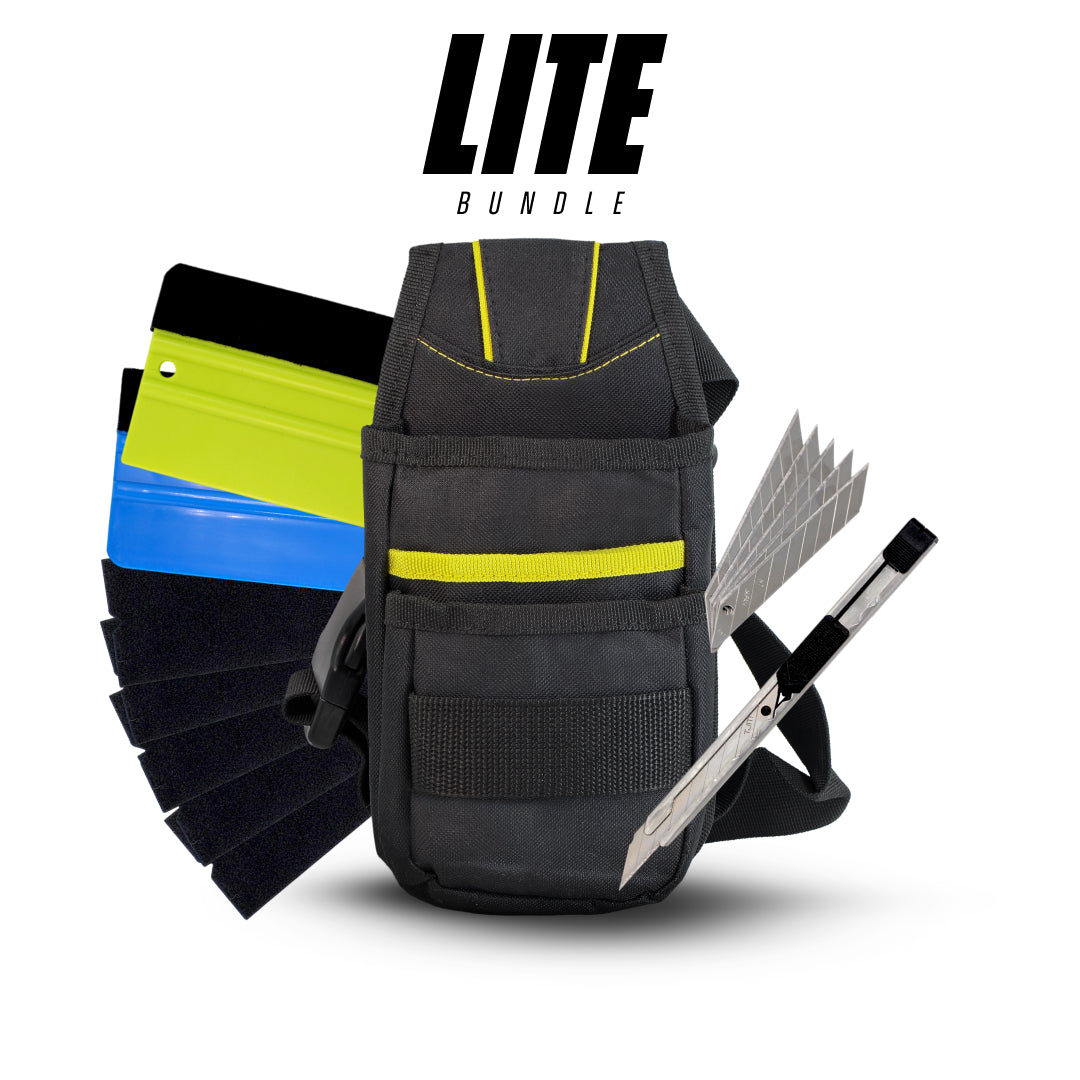
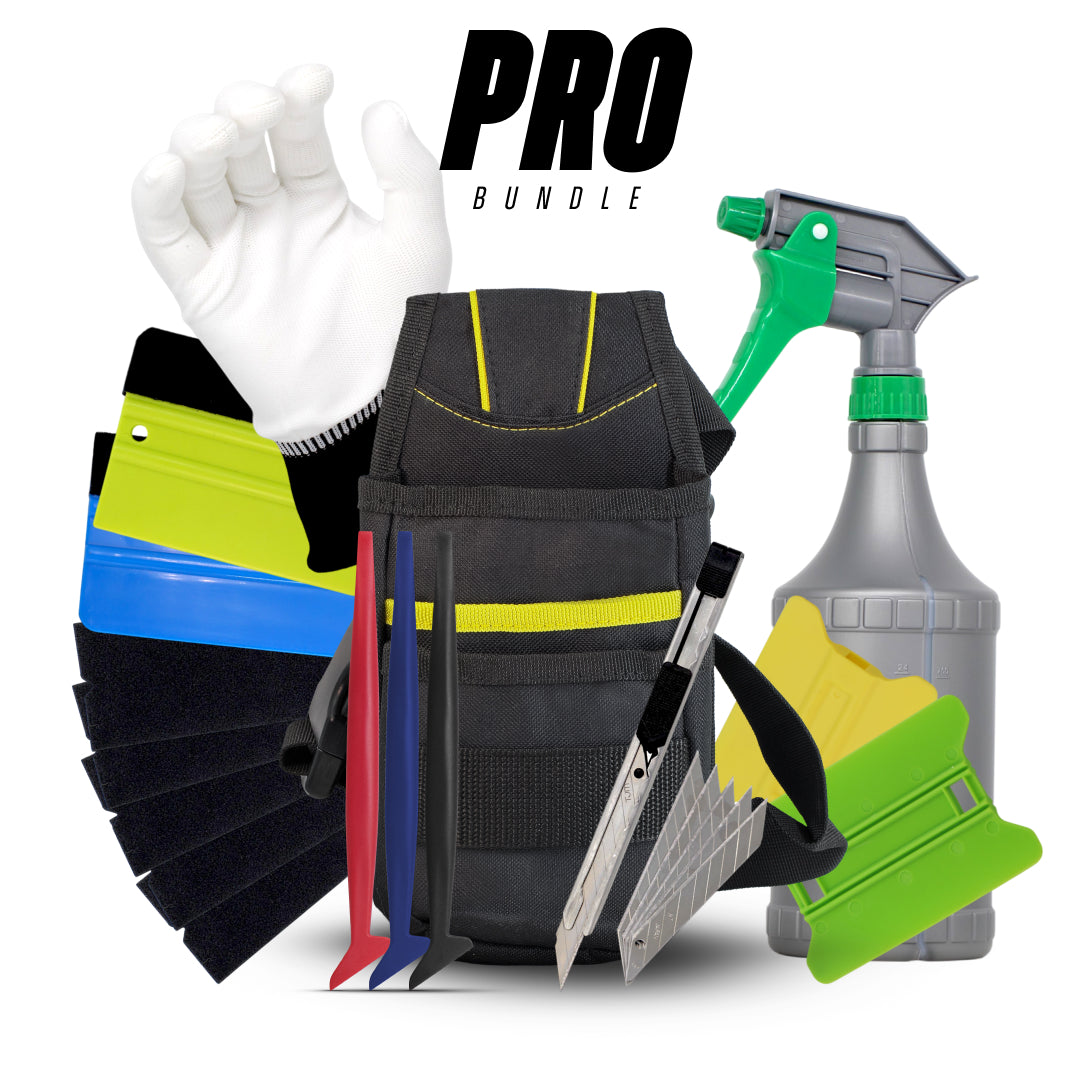
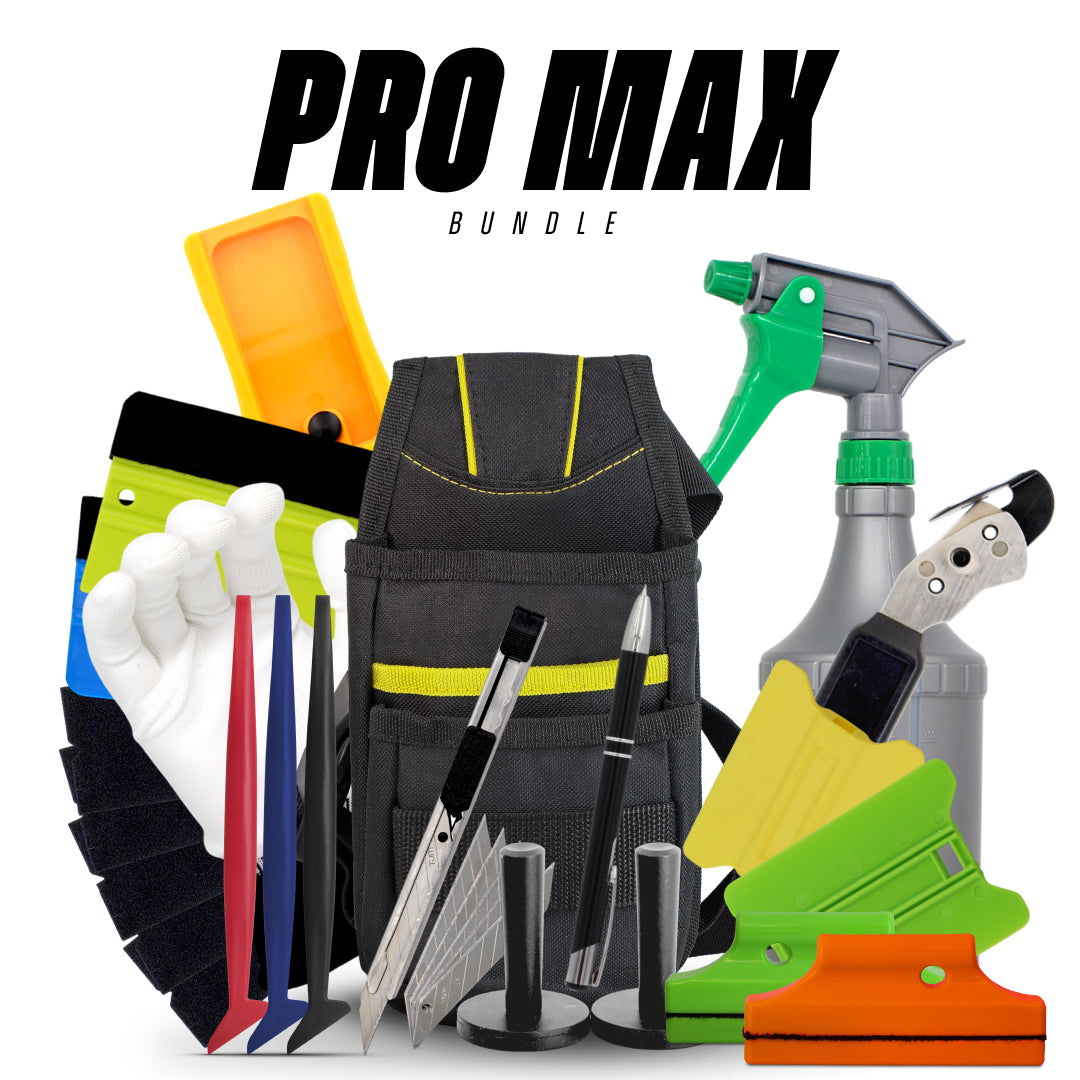
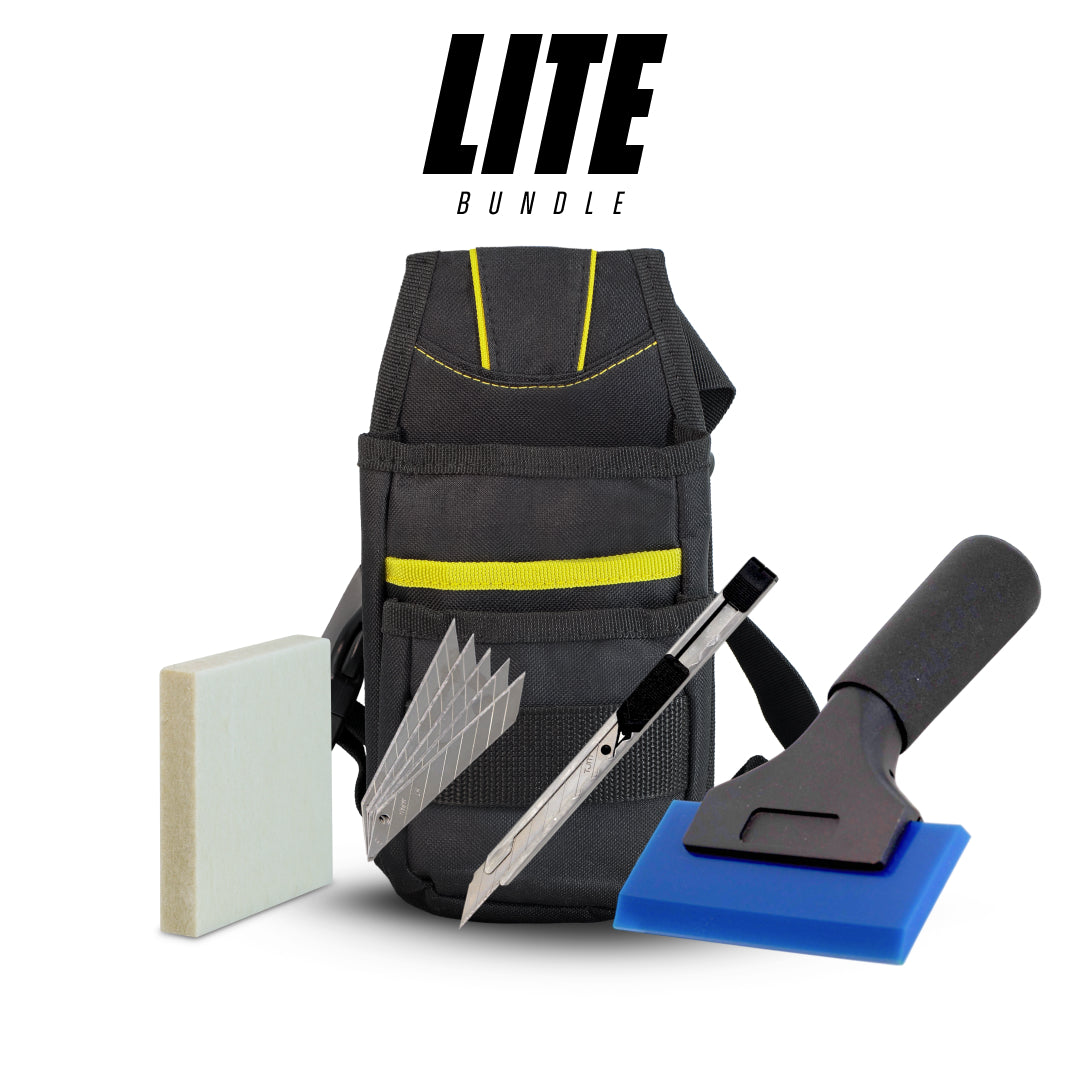
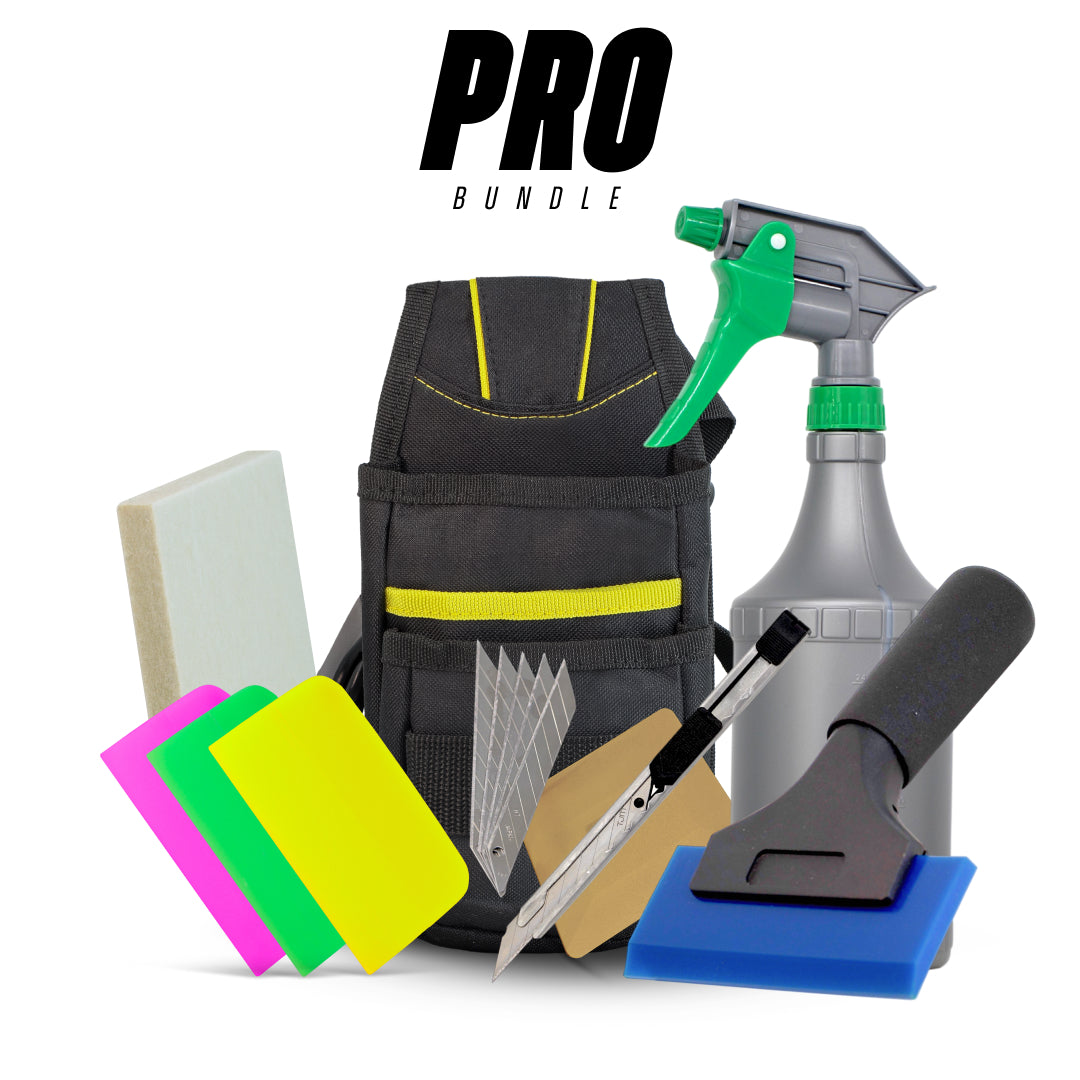
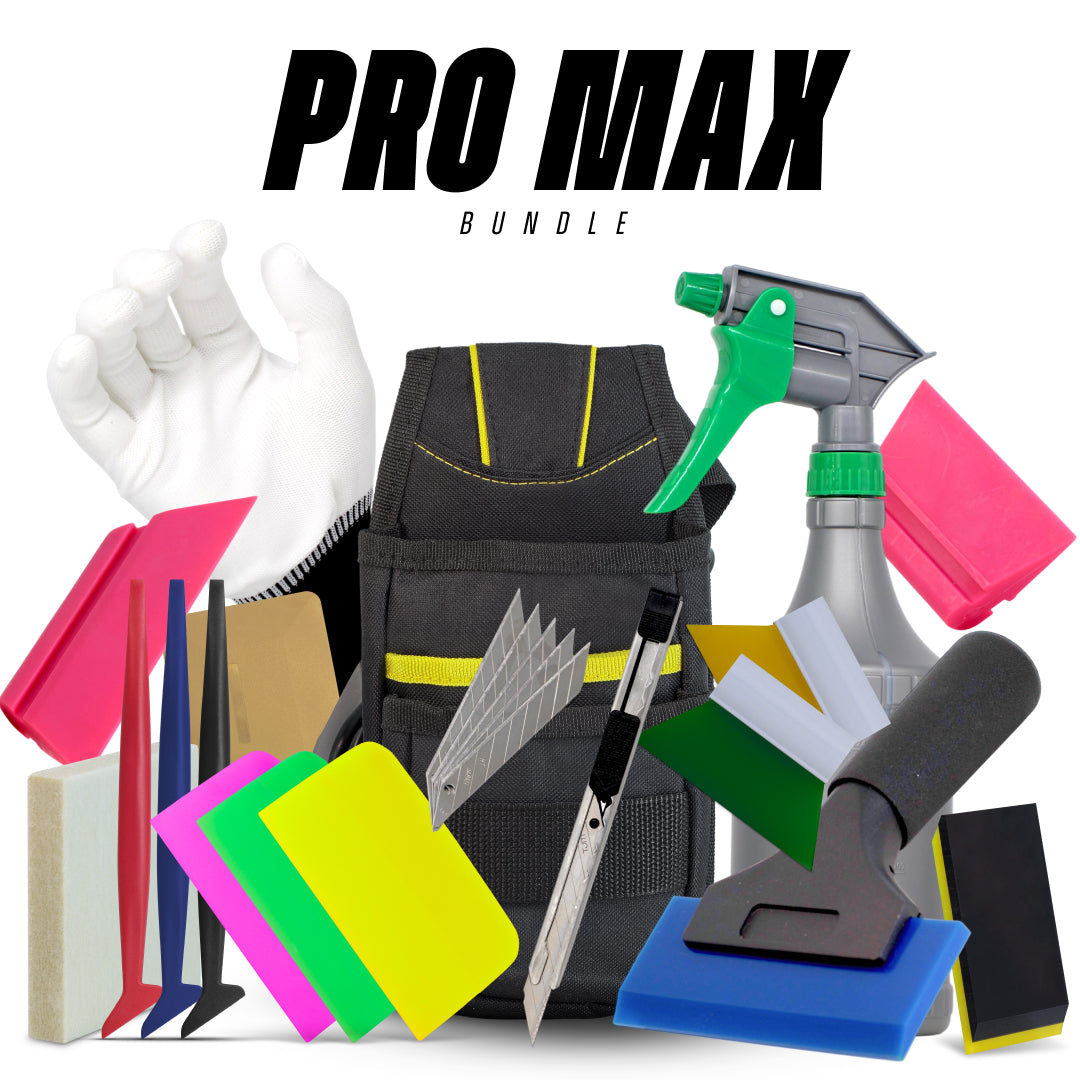
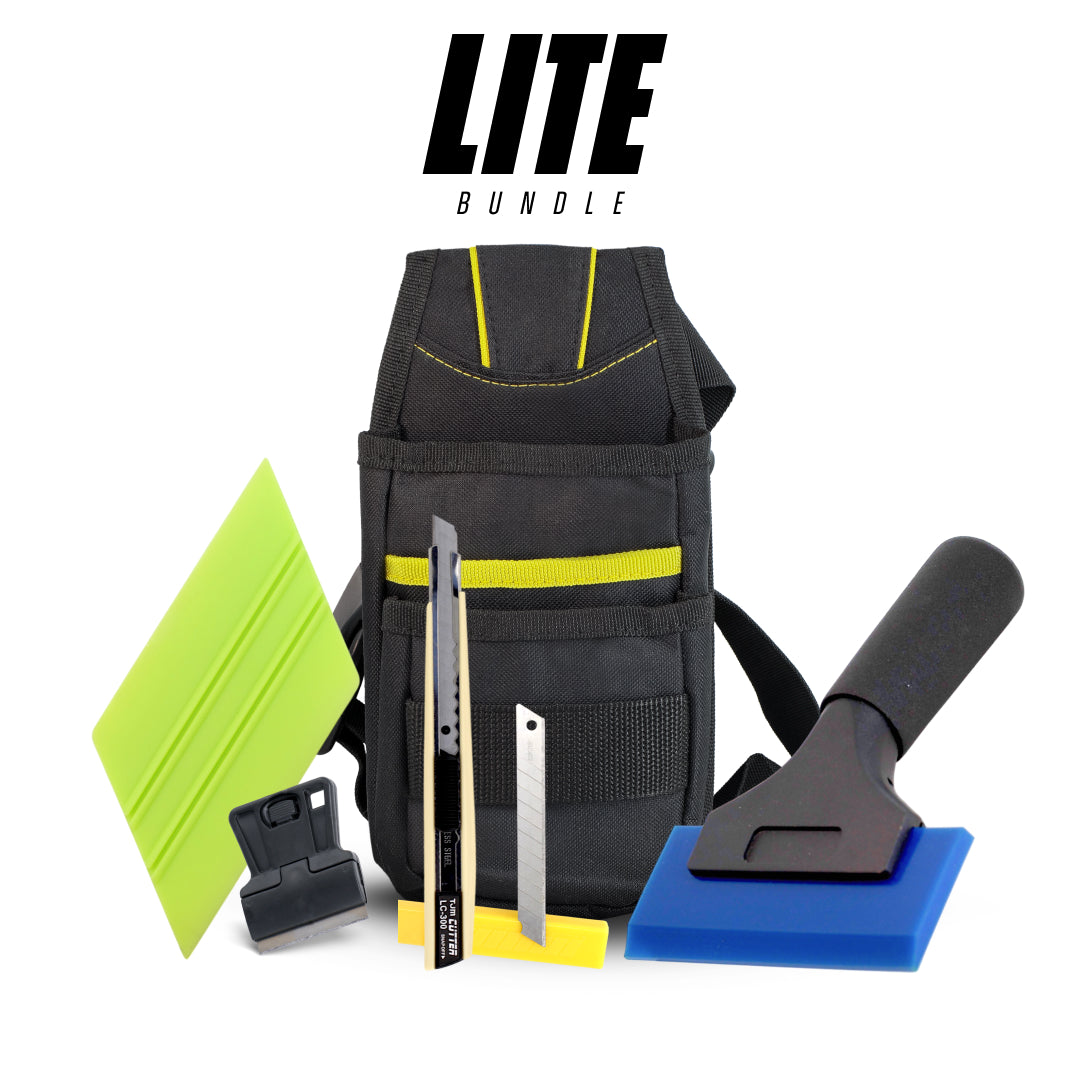
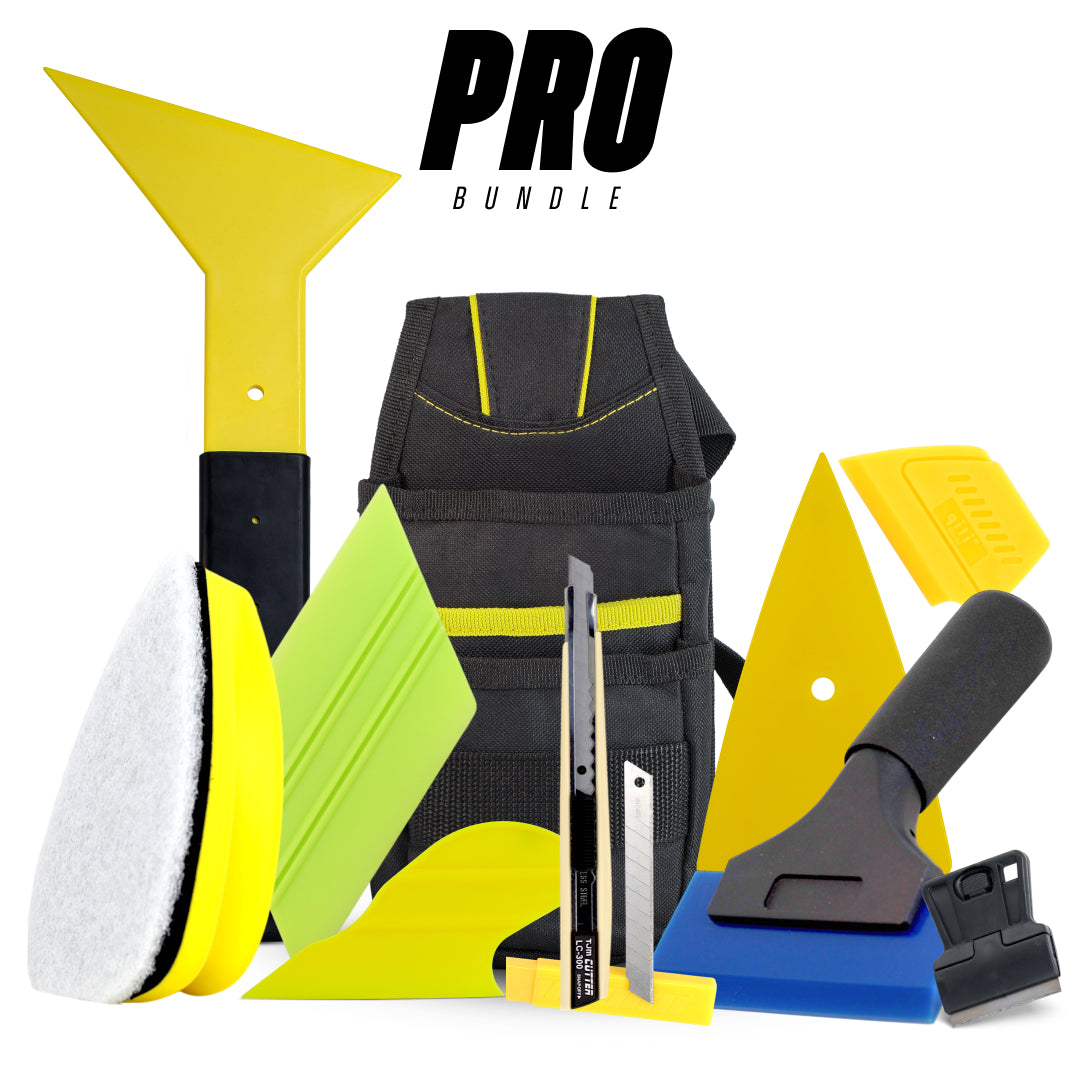
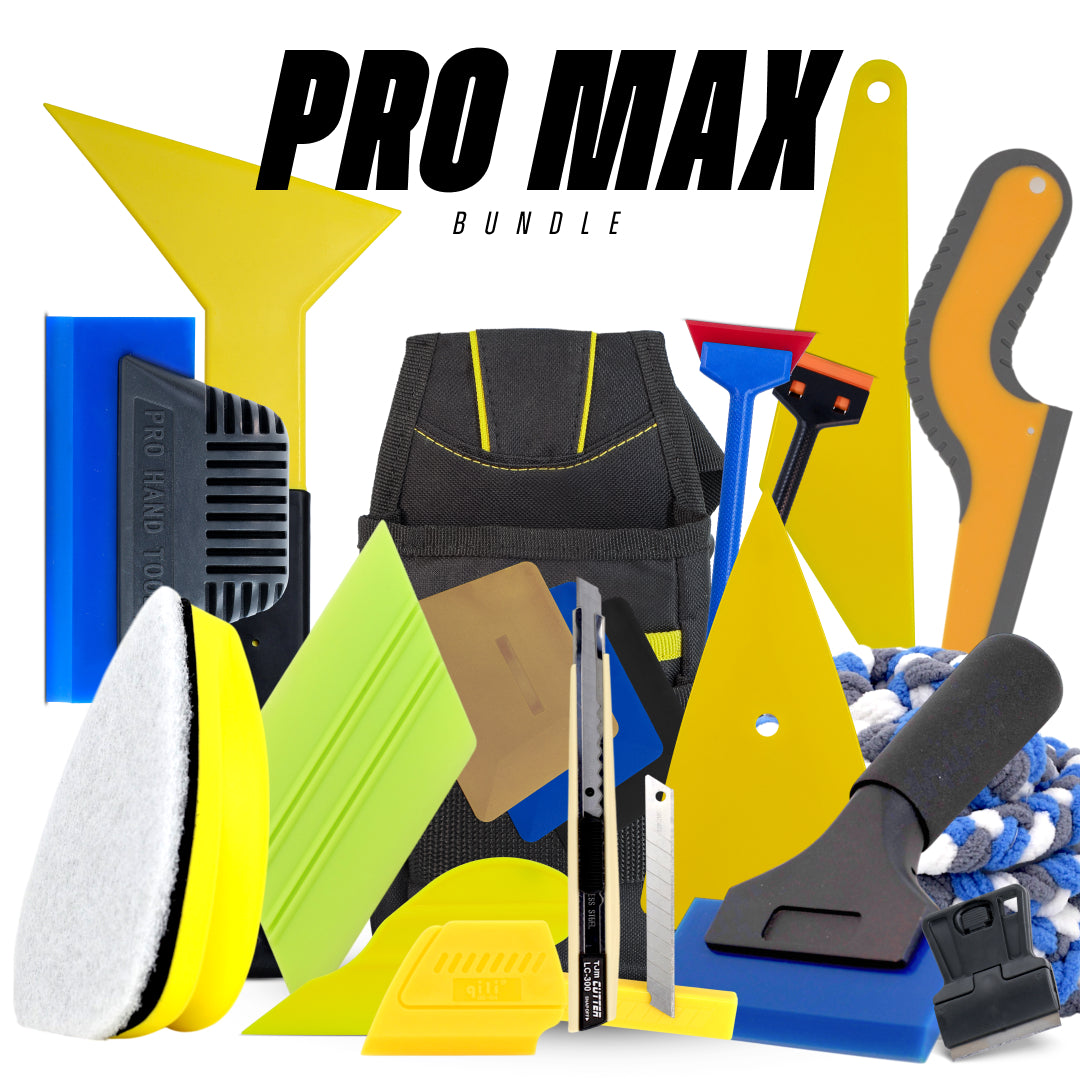
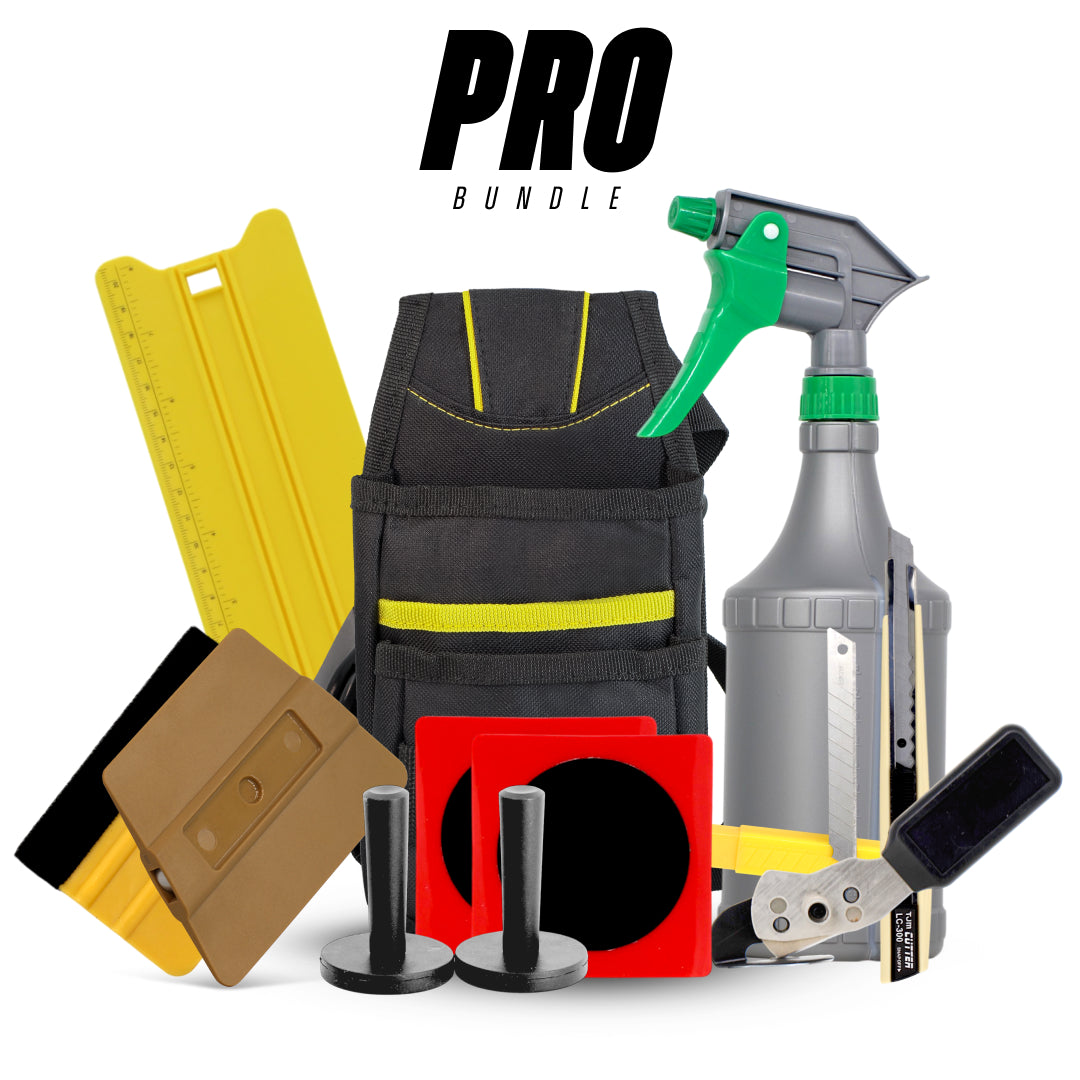
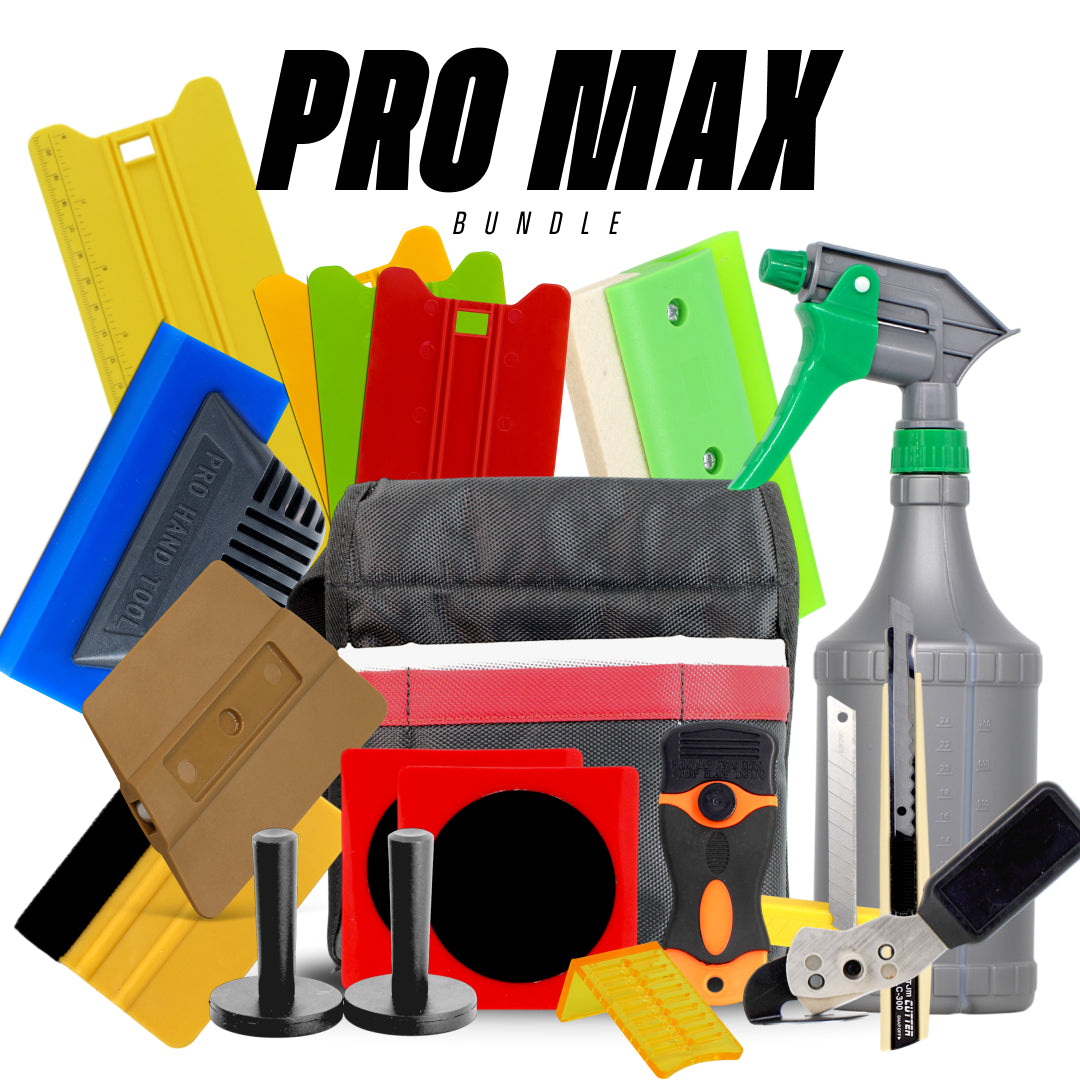
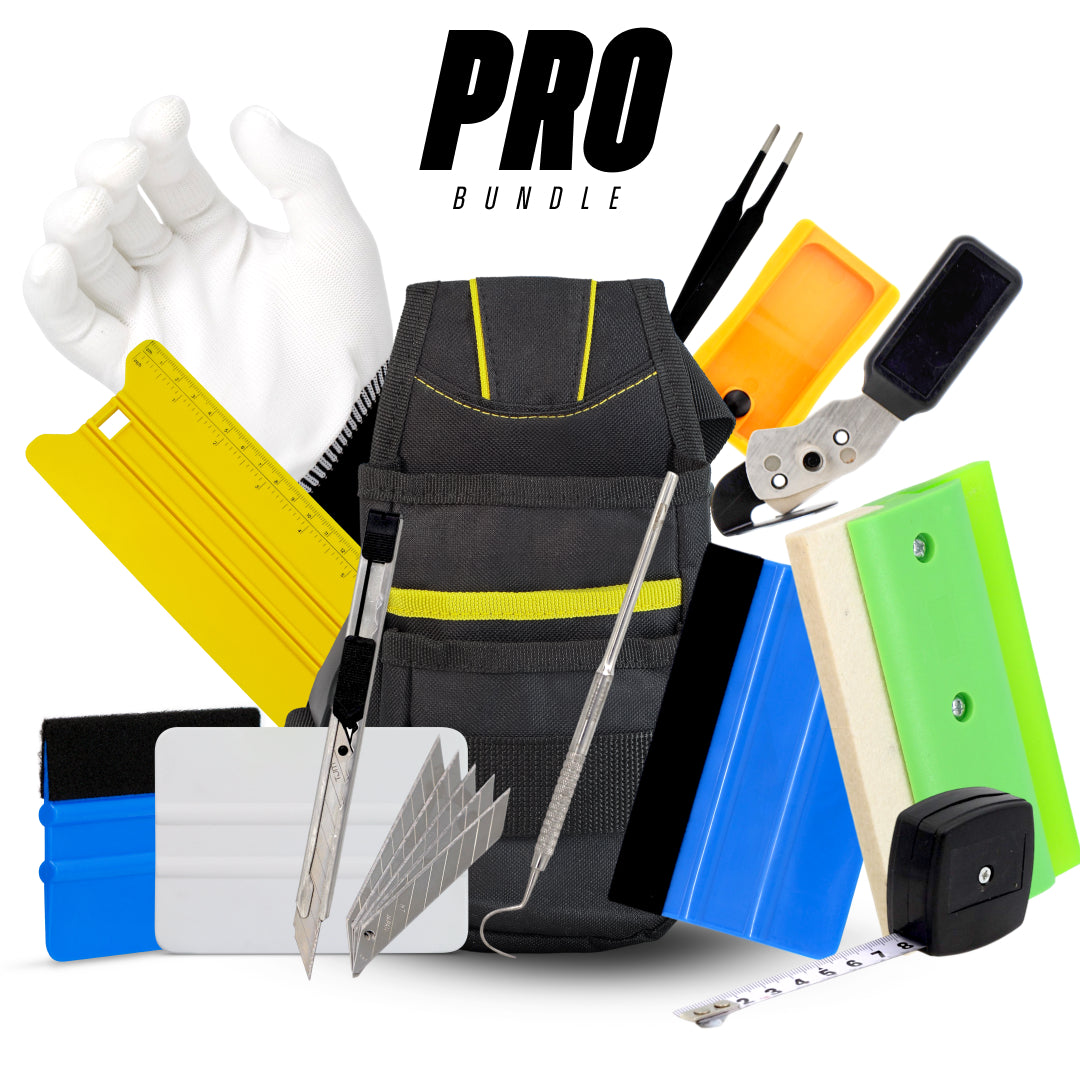
Poor-quality blades, cards, and squeegees are the leading reason installers upgrade to professional window tint tools designed for precision and durability.
In this guide, we’re going deep. We’ll break down why cheap tint tools fail, how they directly cause peeling and bubbles, and why rework becomes inevitable. If you’ve ever struggled with car window tint, car windscreen tint, window film tint home, or even headlight tint, this article will change how you approach tinting forever.
Understanding Window Tinting: More Than Just Film and Glass
How Window Tinting Actually Works
At its core, window tinting is a precision process. You’re bonding a thin layer of window film, often thinner than a sheet of paper, to a smooth glass surface using a pressure-sensitive adhesive. That adhesive doesn’t forgive mistakes. It needs clean glass, controlled moisture, even pressure, and proper heat to activate correctly.
When you apply automotive window tint or house window tint, the adhesive starts in a neutral state. The slip solution allows movement, but once pressure is applied with a squeegee for window tint, the adhesive begins to bond to the glass. If pressure is uneven, contaminants exist, or moisture isn’t properly expelled, the bond weakens. That’s where peeling and bubbles begin their slow, frustrating journey.
This is why professionals treat tinting more like surgery than decoration. Every tool has a purpose. Every movement matters. Poor-quality tools disrupt this delicate balance, even if you think you’re doing everything else right.
Many tint failures stem from incomplete setups, which is why professional installers rely on complete window tint tool kits rather than mixed low-grade tools.
Why Precision Matters in Auto and Home Window Tinting
Precision matters even more in auto window tinting than in residential applications. Car windows curve, flex, and heat up under sunlight. A minor flaw during installation can expand over time, turning a small bubble into a massive eyesore.
In home window tinting, the stakes are different but no less serious. Large panes magnify imperfections. A bad squeegee stroke can leave visible distortion across an entire one way glass window film installation. Cheap tools don’t just make the job harder; they make perfection impossible.
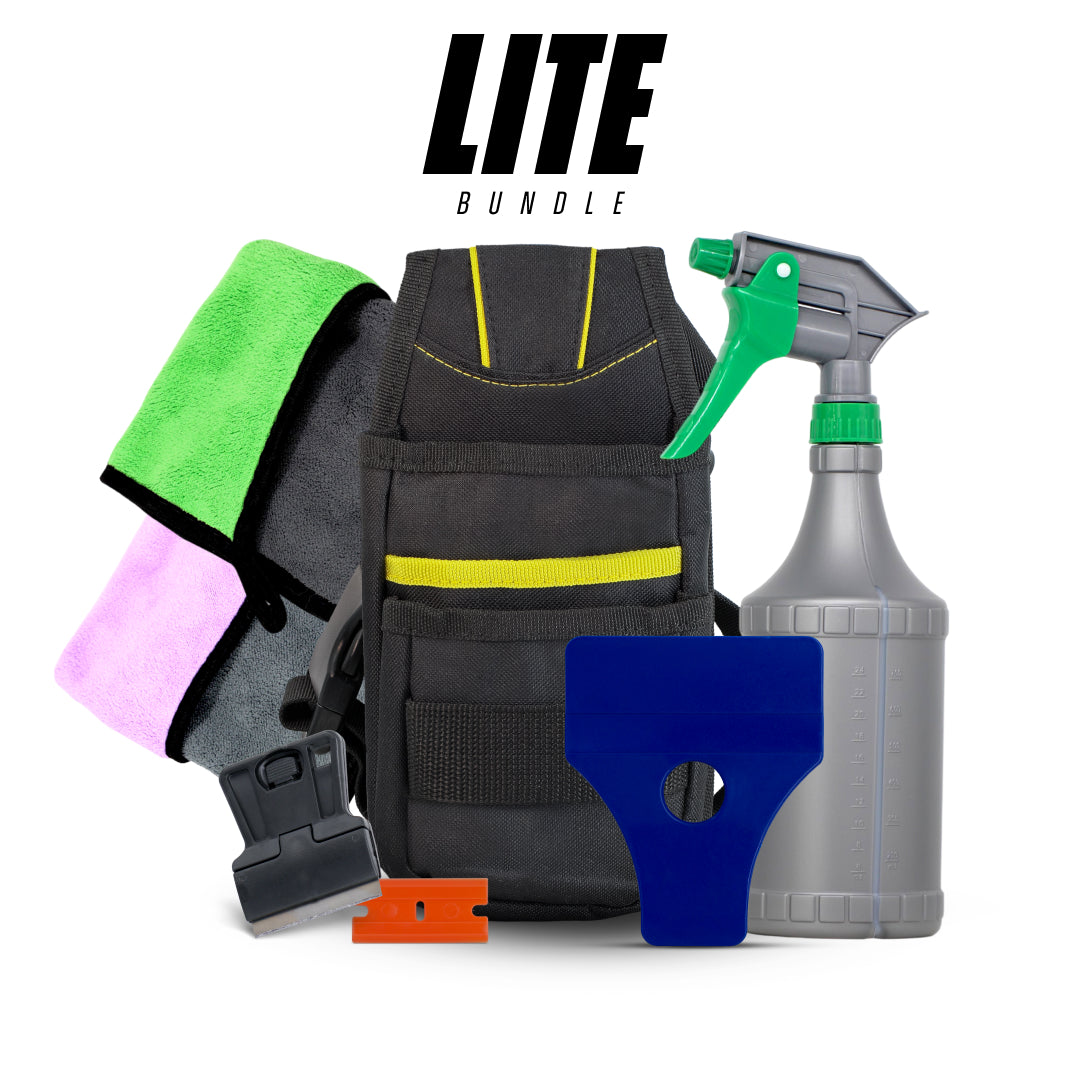
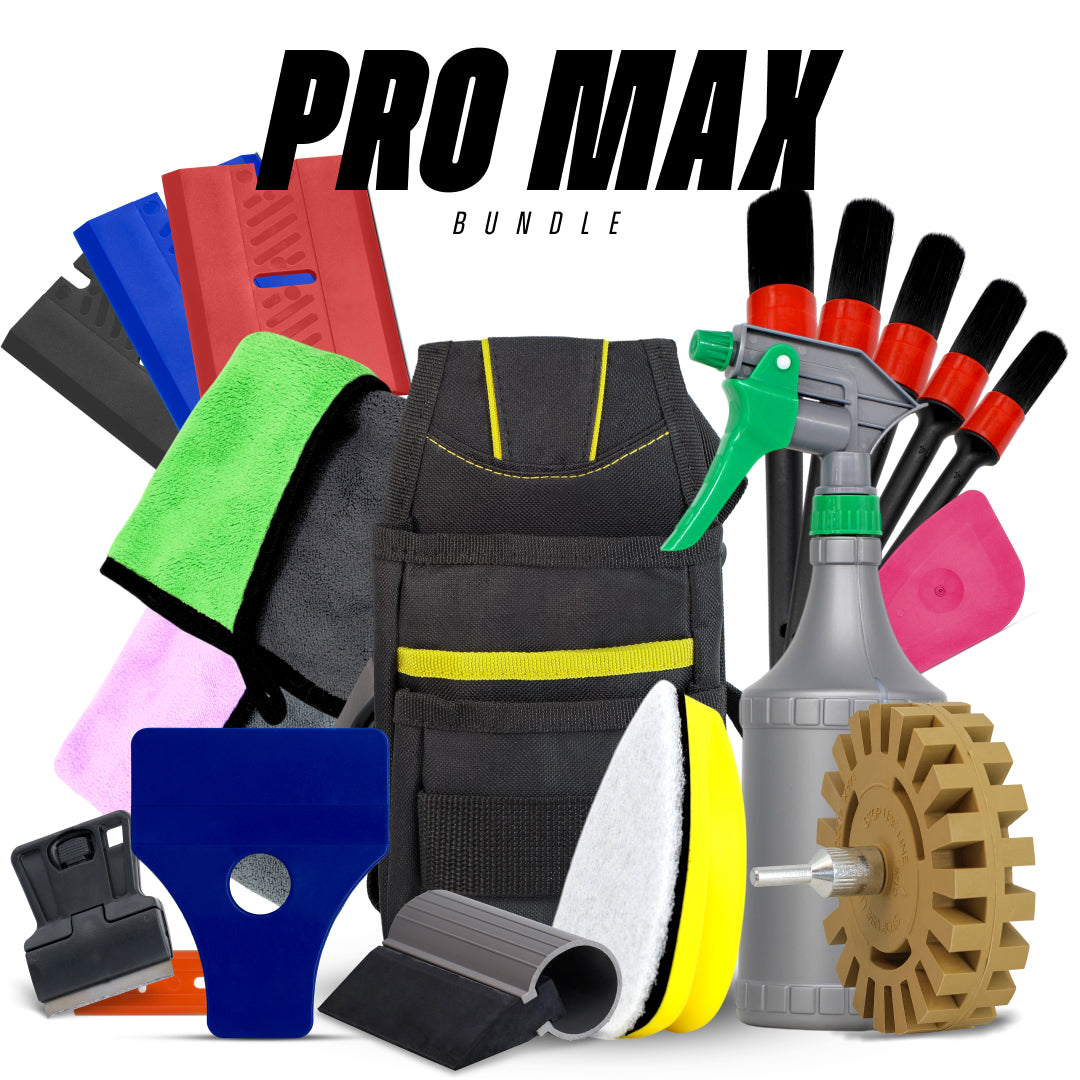
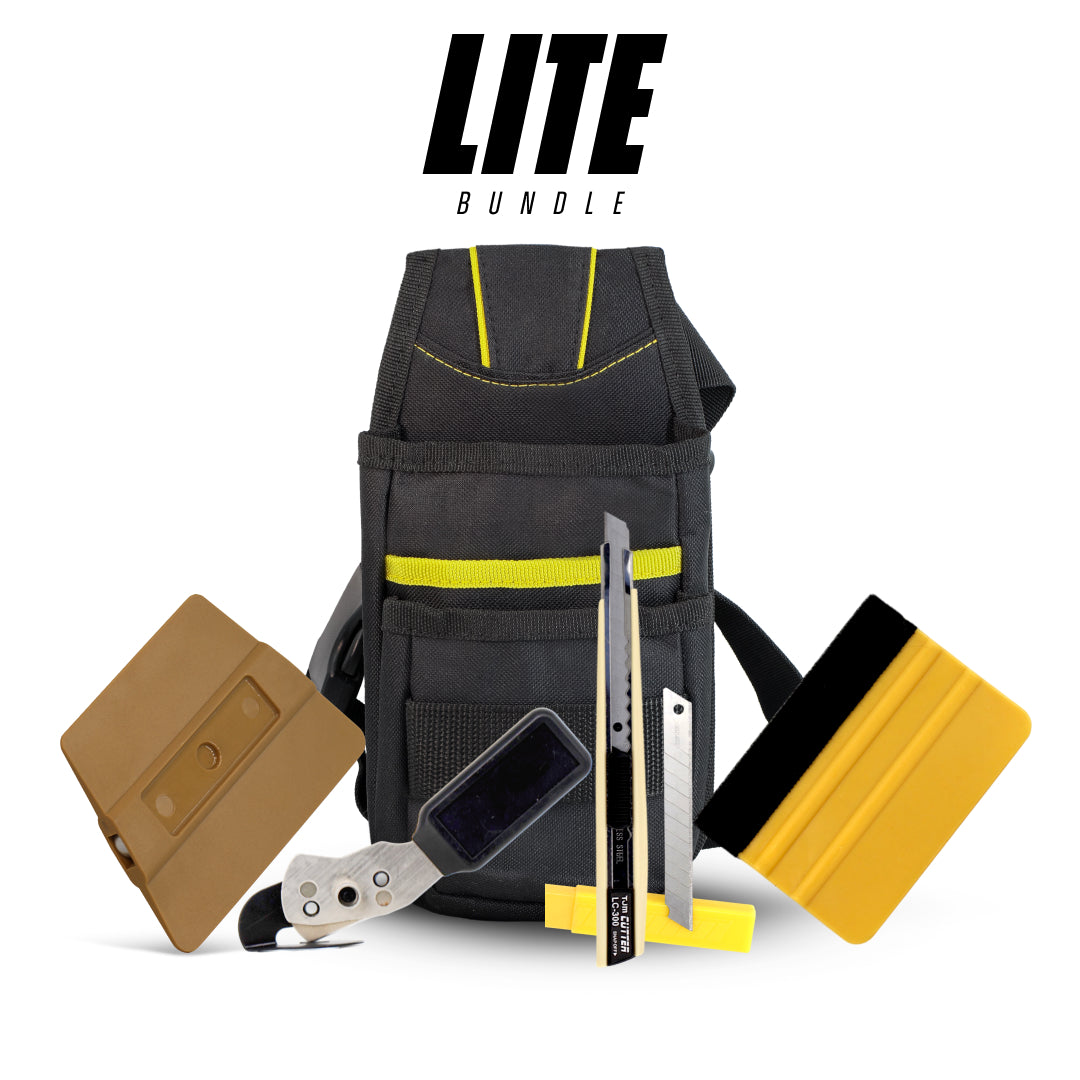
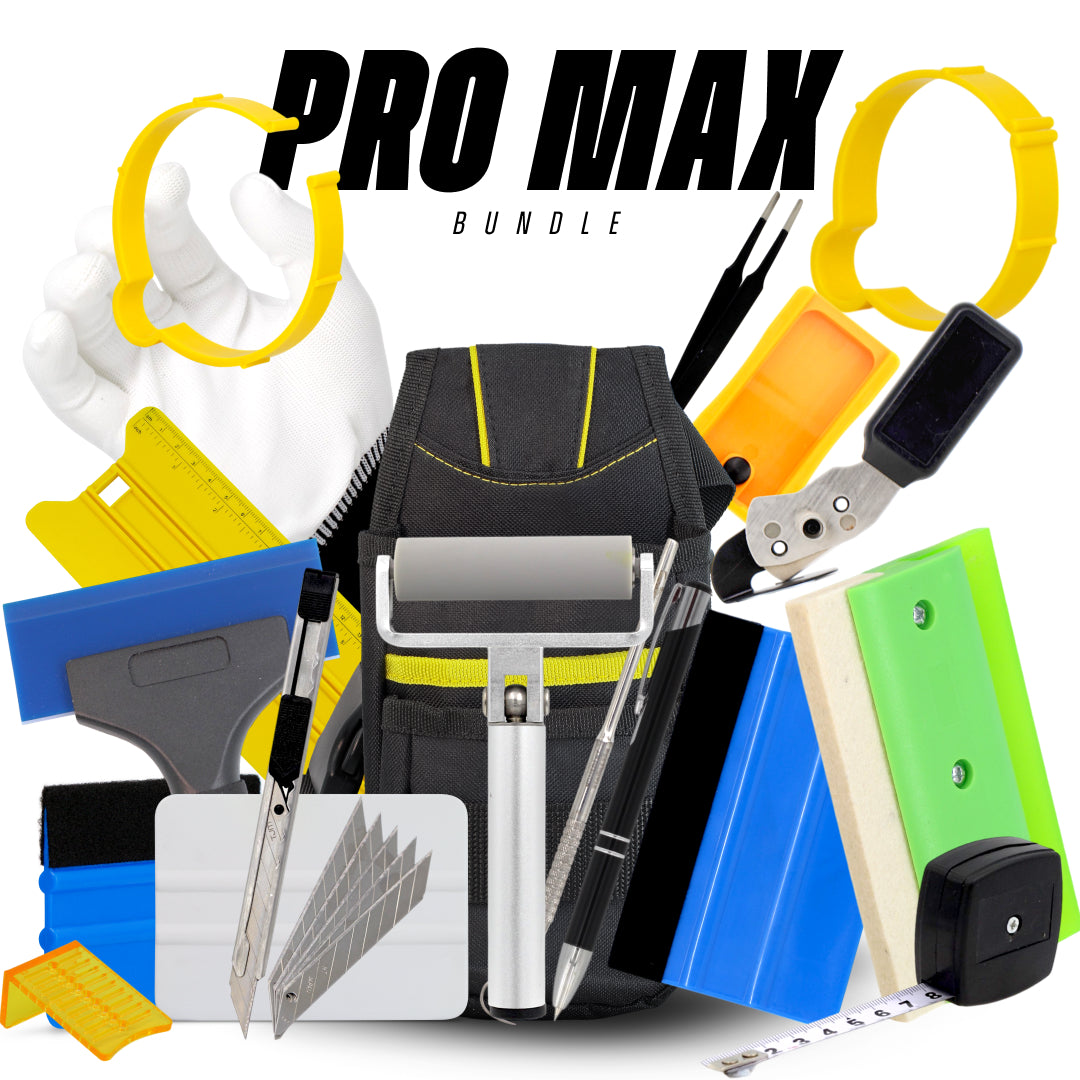
What Are Tint Tools and Why Are They So Important?

Essential Tools for Tinting Windows
When people hear “tint tools,” they often think it’s just a squeegee and a blade. In reality, professional window tinting tools include:
- Precision window tint squeegees
- Hard cards and soft cards
- Stainless steel snap-off blades
- Quality spray bottles
- Heat guns or steamers
- Edge tools and corner tools
- Lint-free cleaning materials
Each tool handles a specific part of the installation process. When even one of these tools is low quality, it introduces risk into the job.
Difference Between Professional Tint Tools and Cheap Alternatives
Cheap tint window tools are often made with inferior plastics, inconsistent edges, and poor durability. A $2 squeegee might look fine, but under pressure, it flexes unevenly. A budget blade dulls quickly, tearing the film instead of slicing it clean.
Professional tools for tinting windows are engineered for consistency. Their materials hold shape. Their edges stay sharp. Their surfaces glide smoothly without scratching the film. That consistency is what prevents bubbles, peeling, and rework.
The Science Behind Peeling Window Tint
How Adhesion Works in Window Film
Adhesion isn’t instant. After installation, the car window tint and house window film continue curing for days or even weeks. During this time, the adhesive strengthens as moisture evaporates and pressure equalises.
If the film edges weren’t properly seated during installation, often due to poor tools, those edges become weak points. Heat, sunlight, and vibration exploit those weaknesses, leading to peeling.
How Poor Tint Tools Disrupt Adhesion
Cheap squeegees fail to apply consistent pressure. Dull blades leave jagged edges that never fully bond. Inadequate heat tools prevent proper shrinking around curved glass. All of these issues create micro-failures that grow over time.
Common Peeling Scenarios in Automotive Window Tint
- The rear window corners are lifting after a week
- Side window edges curling downward
- Windscreen tint peeling near defroster lines
Each of these problems can be traced back to tool failure, not film quality.
Jagged edges and film tearing are common signs that installers are using dull or unsafe tools instead of precision tint blades.
Why Cheap Tint Tools Cause Air Bubbles
How Air Gets Trapped Under Window Film
Air bubbles form when moisture and air aren’t fully expelled during installation. A quality window tint squeegee pushes liquid evenly, guiding air out toward the edges.
Cheap tools skip, drag, or flex. That leaves pockets of air trapped beneath the film.
The Role of Squeegees in Bubble Removal
A professional squeegee has a sharp, clean edge that conforms to the glass. It applies firm, even pressure without damaging the film.
Low-quality squeegees often have uneven edges, causing streaks and missed spots where bubbles hide.
Why Low-Quality Squeegees Fail
- Uneven pressure distribution
- Poor edge alignment
- Material that degrades quickly
Once bubbles are trapped, they’re hard to remove without lifting the film, leading directly to rework.
Rework: The Silent Profit Killer in Tinting Jobs
What Rework Really Costs
Rework isn’t just about replacing film. It costs:
- Time spent removing old tint
- Additional material costs
- Customer dissatisfaction
- Lost referrals
For professionals offering automotive tint near me services, rework can destroy profit margins.
Why Tint Shops Avoid Cheap Tools
Professional installers know one failed job costs more than a full set of quality window tint tools. That’s why reputable shops never cut corners on equipment.
DIY Tinting and the Rework Trap
DIY installers often blame themselves, not realising their car tinting tools set them up for failure from the start.
Streaking and trapped moisture often occur when installers use worn or flexible alternatives instead of high-quality tint squeegees.
| Tint Failure Type | Tool-Related Cause | What’s Actually Going Wrong | Professional Tool Fix |
|---|---|---|---|
| Water bubbles/silvering | Soft, uneven, or warped squeegee | Inconsistent pressure fails to push moisture evenly, trapping water under the film. | Use a firm, edge-profiled tint squeegee designed for controlled water evacuation |
| Edge lifting | Low-tension cards or worn squeegee edges | Tools can’t maintain pressure along the window edges and seals | Switch to high-tension squeegees and hard cards made for edge work |
| Film creasing | Flexible or poorly cut application cards | Cards bend under pressure, folding film instead of laying it flat | Use precision-cut application cards with consistent rigidity |
| Scratches on tint film | Cheap blades, contaminated scrapers, or chipped edges | Micro-debris or uneven blade edges score the film surface | Replace with non-scratch stainless or carbon-tinted blades |
| Jagged edges / uneven cuts | Dull or low-grade cutting blades | Film tears instead of slicing cleanly, especially on curves | Use sharp, snap-off precision blades designed for tint work |
| Visible streaks after install | Worn or textured squeegee edges | Squeegee leaves pressure lines instead of a smooth finish | Upgrade to smooth-edge professional tint squeegees |
| Adhesive failure | Inadequate prep tools or poor cleaning accessories | Contaminants remain on the glass, preventing proper adhesion | Use professional cleaning tools and prep accessories |
| Contamination under the film | Cheap lint-prone cloths or rough cards | Fibres and dust become trapped during application | Use lint-free cleaning cloths and polished-edge cards |
| Heat distortion marks | Tools not designed for heat-assisted installs | Film stretches unevenly when the tools can’t guide the heat properly | Use heat-compatible squeegees and shaping tools |
| Frequent rework & callbacks | Mixed-quality, inconsistent tool setup | Tools wear quickly and deliver unpredictable results | Invest in a complete professional window tint tool kit |
Cheap Cutting Tools and Film Damage

Why Blades Matter in Tinting Windows Film
Cutting window film cleanly is critical. Dull or inconsistent blades tear film edges, leaving micro-frays that lift over time.
Jagged Cuts Lead to Peeling Edges: Those tiny imperfections become starting points for peeling, especially on car windscreen tint and curved windows.
Professional Cutting Tools vs. Budget Kits: Professional blades stay sharp longer and cut cleanly, reducing edge failure.
Inferior Spray Bottles and Contamination Issues: Cheap spray bottles clog, mist unevenly, or leak contaminants into your solution. Even tiny particles can cause bubbles under window film tint home installations.
Poor Heat Guns and Shrinking Problems: Uneven heat leads to overstretched film, distortion, and long-term bubbling, especially on rear windows and headlight tint applications.
Car Tinting Kits: Convenience vs. Quality
Most car tinting kits prioritise affordability over performance. They’re fine for learning, but unreliable for lasting results.
Auto vs. Home Window Tinting: Tool Quality Differences
Automotive tinting demands higher precision due to curved glass and heat exposure. Home tinting requires flawless aesthetics across large surfaces.
Headlight Tint and Specialty Tinting Tools: Headlight tint magnifies tool flaws. Poor tools lead to hazy finishes and premature peeling.
How Poor Tools Affect One-Way Glass Window Film: One-way films demand optical precision. Cheap tools distort clarity and ruin the reflective effect.
How Professionals Choose Tint Tools: Pros choose tools based on consistency, durability, and edge precision, not price.
How to Avoid Tint Failure When Tinting Windows Film: Invest in quality tools, replace worn equipment, and avoid shortcuts.
How Do I Get Window Tint Off After Tool Failure?: Removing failed tint requires proper scrapers, steamers, and patience; cheap tools make removal worse.
Why “Window Tinting Close to Me” Shops Invest in Quality Tools: Customer trust, reputation, and long-term savings all depend on tool quality.
FAQs
Can cheap tint tools really cause peeling?
Yes. Poor pressure, dull blades, and uneven heat all weaken adhesion.
Are professional tint tools worth the cost?
Absolutely. They reduce rework and improve long-term results.
Why do bubbles appear days after tinting?
Trapped moisture and air from poor squeegee performance.
Can I fix bubbles without removing tint?
Small bubbles sometimes fade, but many require reinstallation.
What’s the most important tint tool to upgrade first?
A high-quality window tint squeegee.
Conclusion: Invest in Tools or Pay for Rework
Poor-quality tint tools don’t just make the job harder; they guarantee failure. Peeling, bubbles, and rework aren’t accidents; they’re consequences. Whether you’re tinting cars, homes, or headlights, the choice is simple: invest in proper tools now or pay for mistakes later.
Are you unsure which tool or kit is right for your job?
Our expert team at Oz Sign Supplies is here to help. Reach out today, and we’ll direct you to the best tools to suit your project, ensuring you get the job done right the first time.
Leave a comment
This site is protected by hCaptcha and the hCaptcha Privacy Policy and Terms of Service apply.