

Spend $150 Get Free Shipping
→ Become A vip →
HOW TO WRAP A CAR BONNET
WHERE TO START
Car bonnet wrapping is one of the most beginner-friendly ways to learn vinyl wrapping while achieving a sleek, custom look for your vehicle. Whether you're updating your car’s style or protecting the original paint, this guide will walk you through the essential steps for a clean, bubble-free bonnet wrap.
Before you begin, preparation is key. Choose a clean, dust-free workspace with adequate lighting.
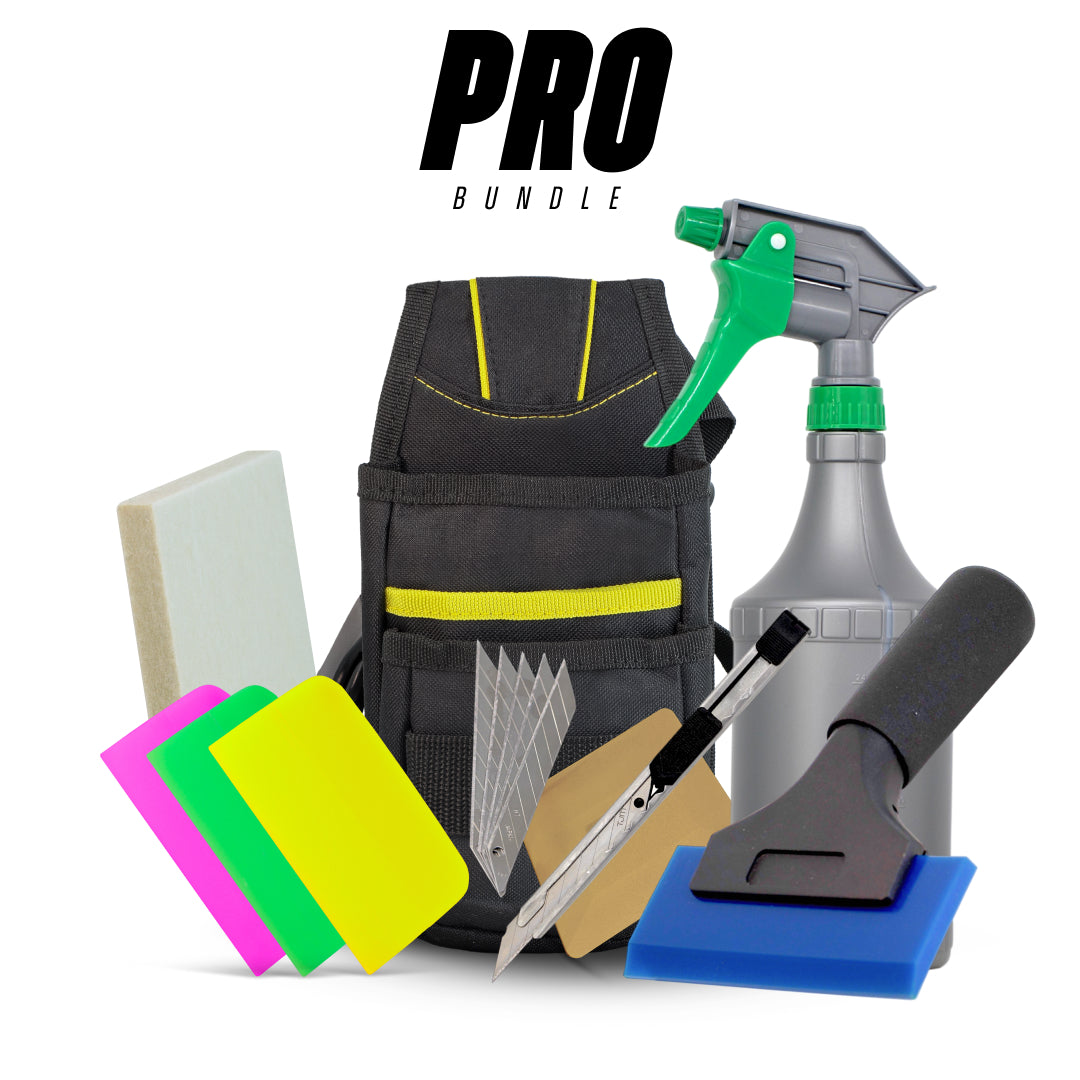
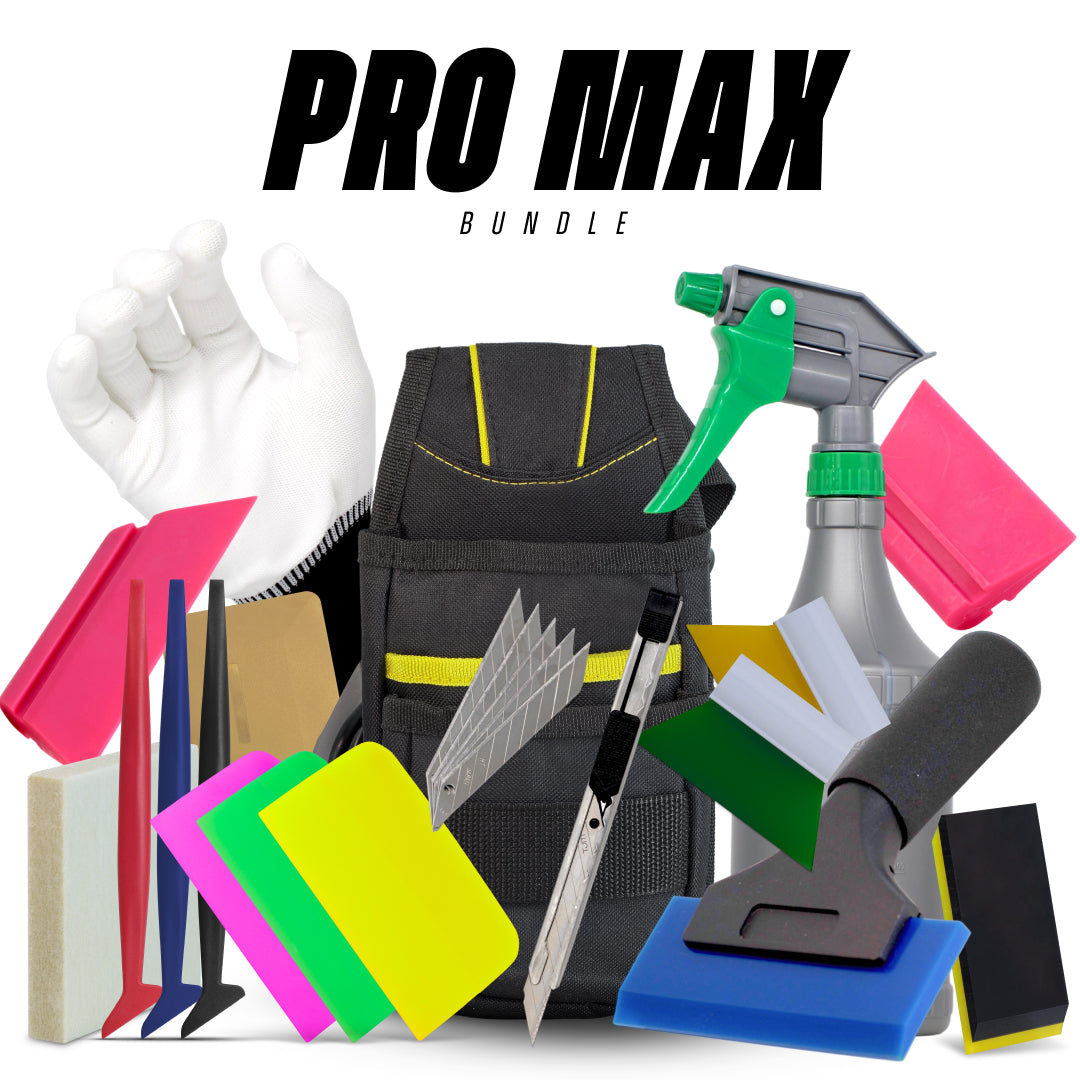
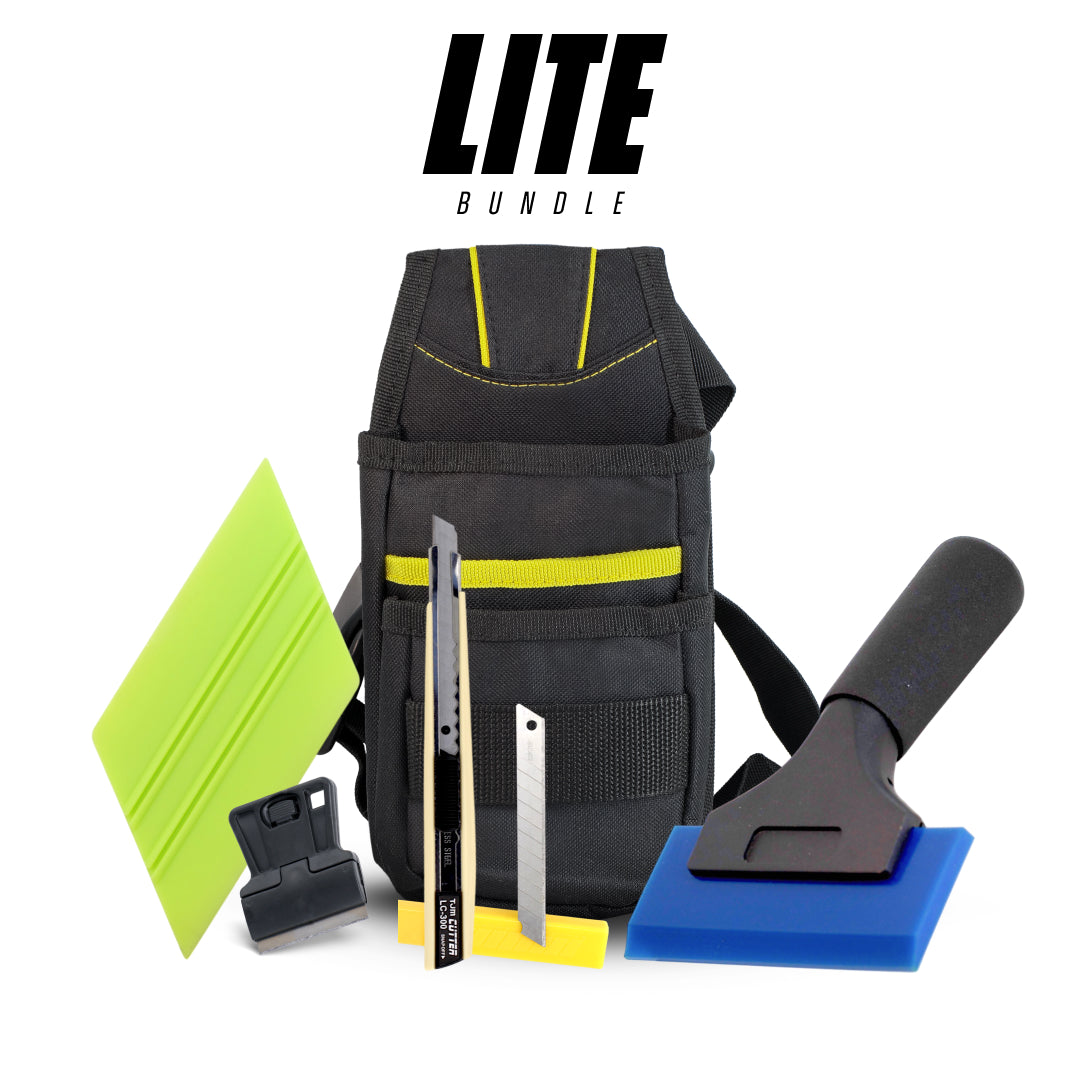
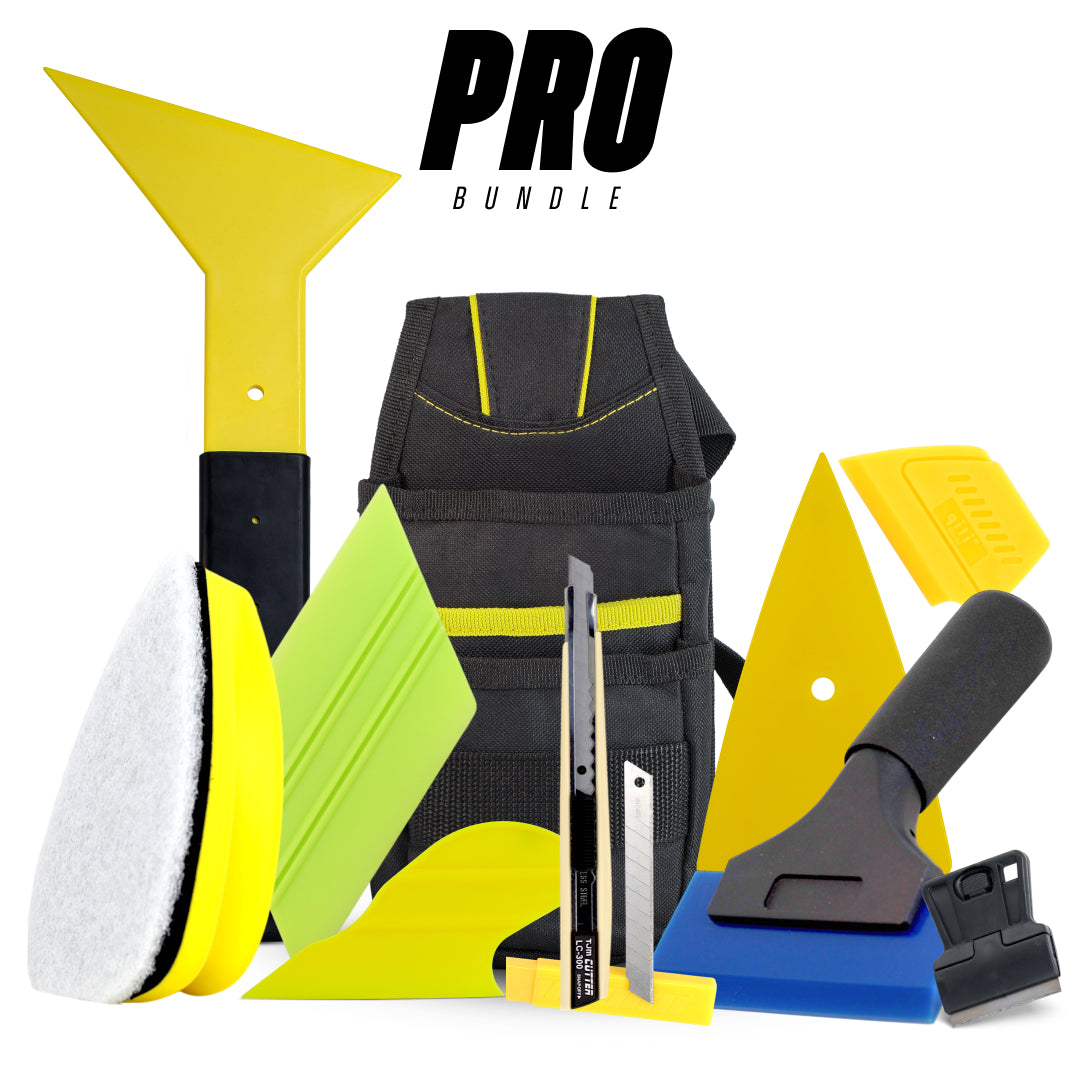
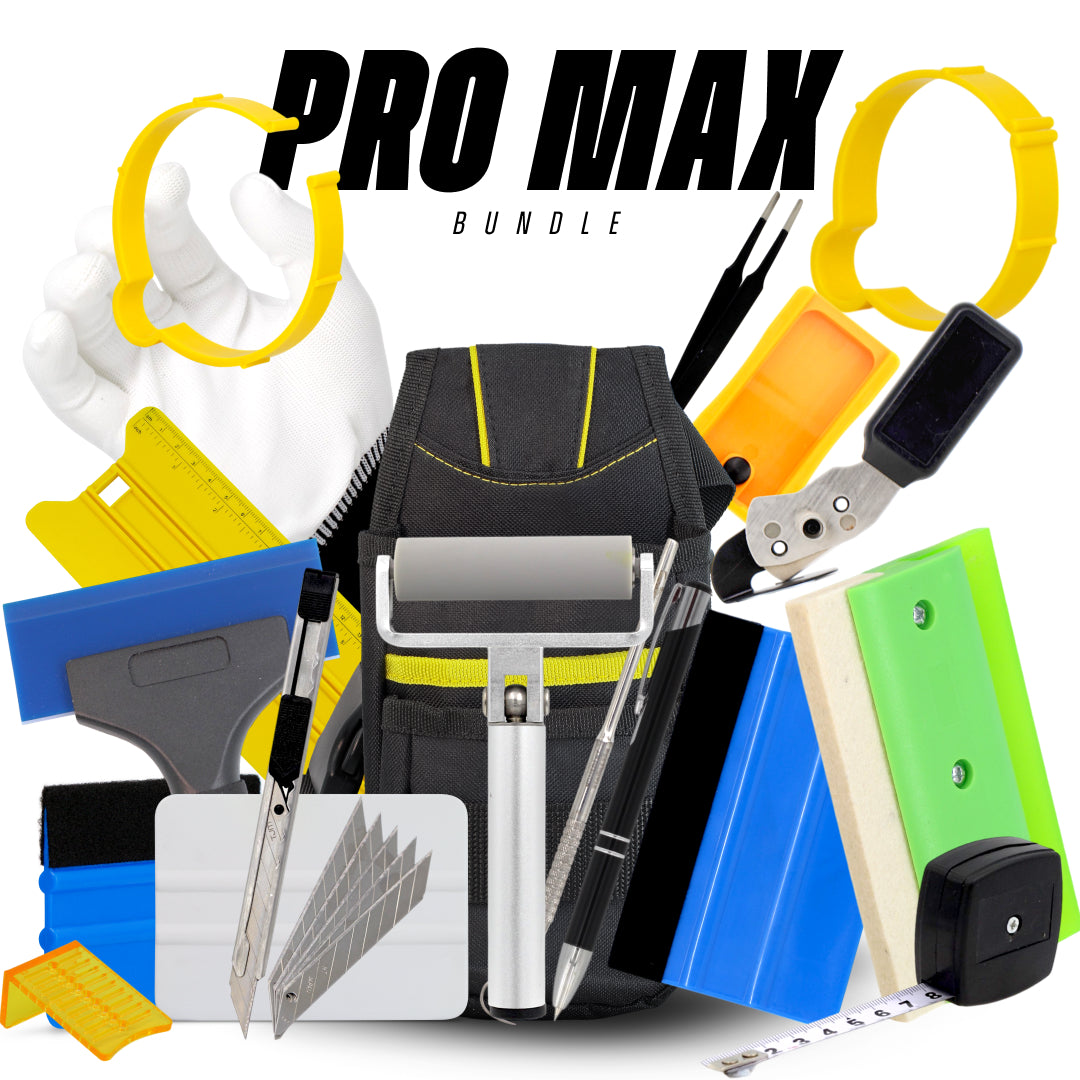
You’ll need a few essential tools to get the job done right:
- Vinyl wrap film (pre-cut or oversized for your bonnet size)
- Squeegee with a felt edge
- Heat gun
- Knifeless tape or precision cutting tool
- Isopropyl alcohol and microfiber cloth for surface cleaning
- Wrap gloves for a smoother application
It’s important to give the entire bonnet a good clean to make sure there’s no dirt or contamination left behind. Spray your cleaning solution over the surface and wipe it down with a microfiber cloth. Don’t forget to get into all the edges where the vinyl will stick. Make sure everything’s dry before moving on to the next step.
Step 1: Position the Vinyl
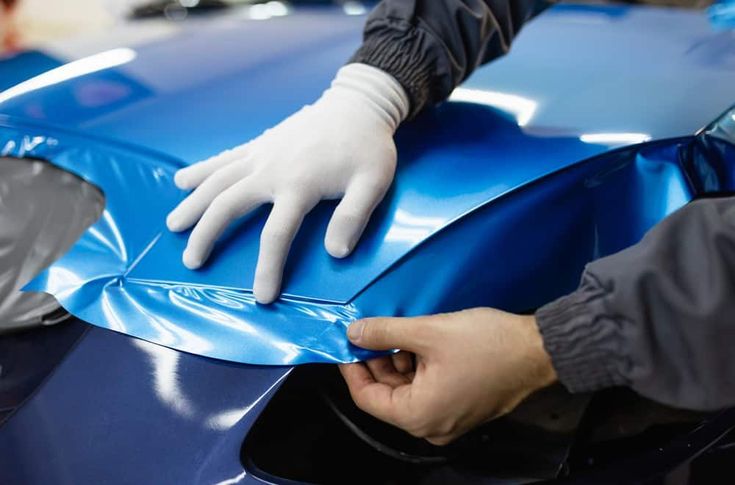
Lay the vinyl wrap loosely over the bonnet, ensuring it's centred and evenly draped on all sides. Use magnets or a helping hand to keep it in place while you adjust.
Once you’ve got it positioned just right, carefully peel off the backing paper. Take your time so you don’t lift the material or pick up any dust or dirt from the surface or the air.
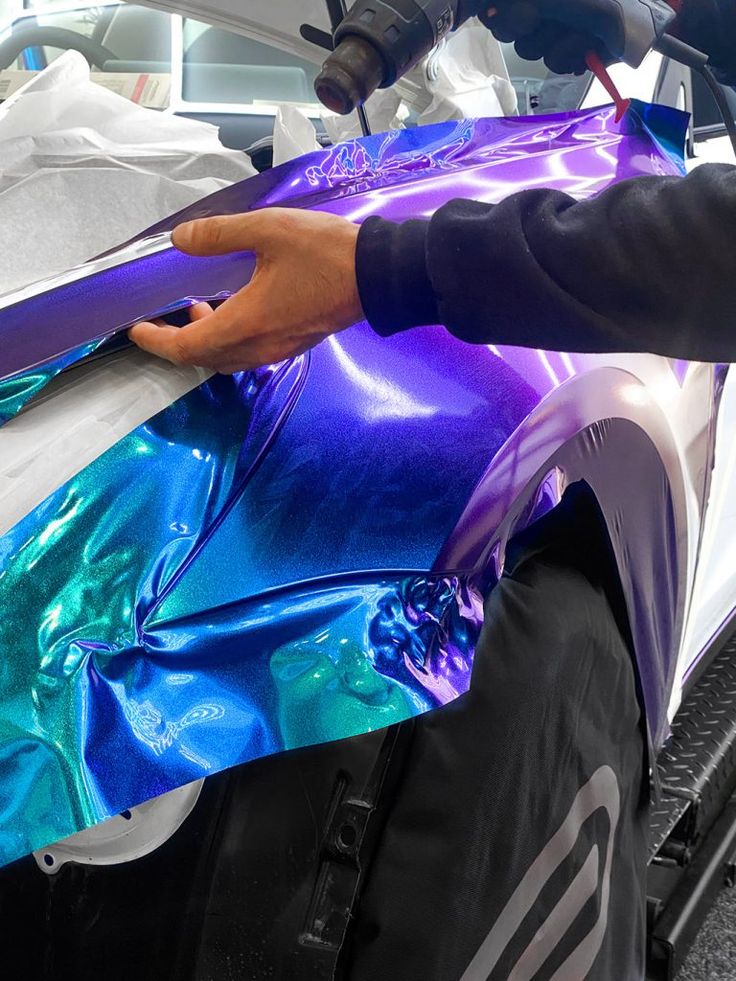
Once the backing paper’s off and the vinyl is laid over the bonnet, you’ll need to create a bit of tension to make sure it sits nice and flat on the surface. This technique is called a cold stretch.
Start at one corner, gently lift the vinyl just a few centimetres off the surface and pull it slightly to smooth it out. Repeat this on all corners so the vinyl is evenly stretched and ready to apply.
Now, begin in the centre of the bonnet and use your squeegee to gently press the vinyl outwards at a 30-degree angle. This helps push out any air and keeps things smooth. Work your way towards the edges of the bonnet.
If you spot any creases or air bubbles, don’t stress, just stop, carefully lift the vinyl, and use the cold stretch method again to smooth it out.
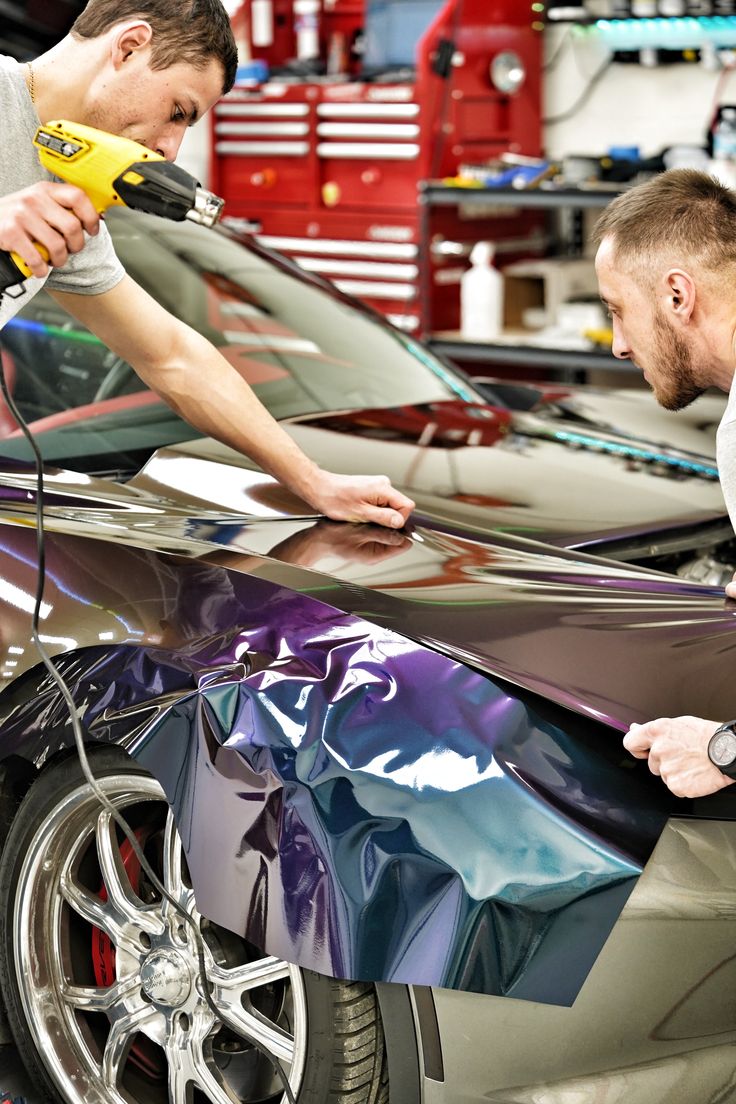
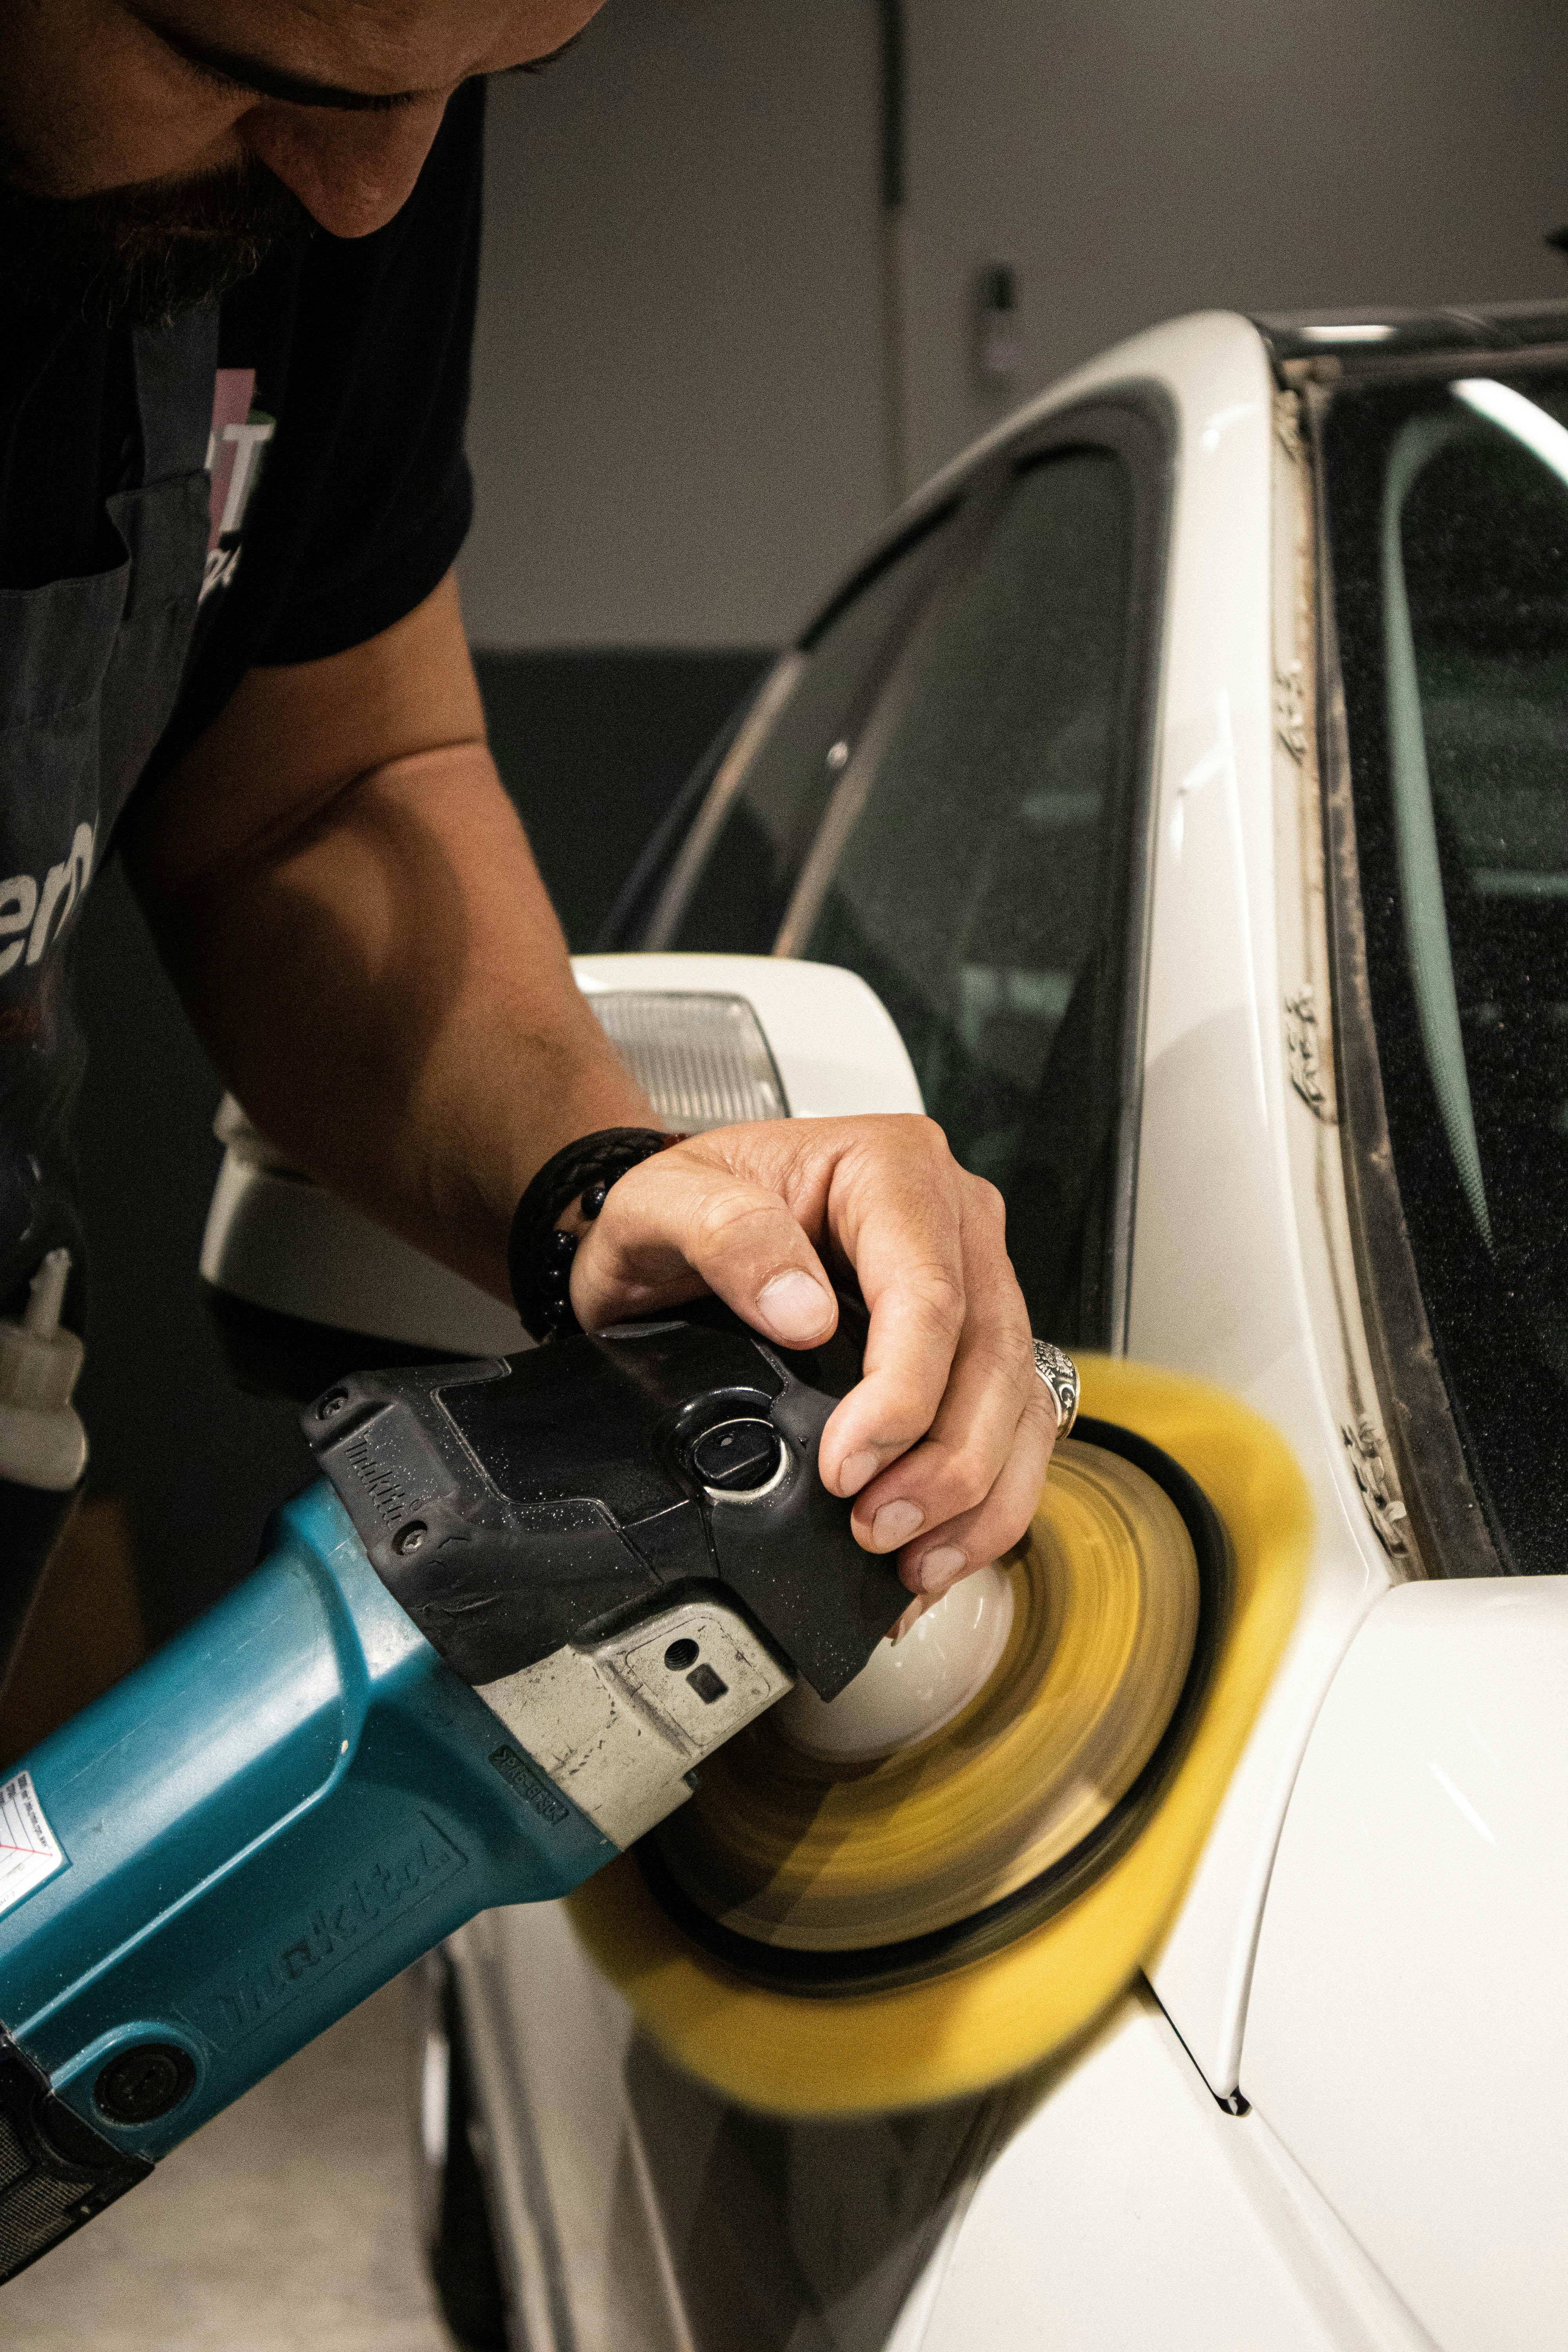
Step 2: Apply Heat and Shape the Film
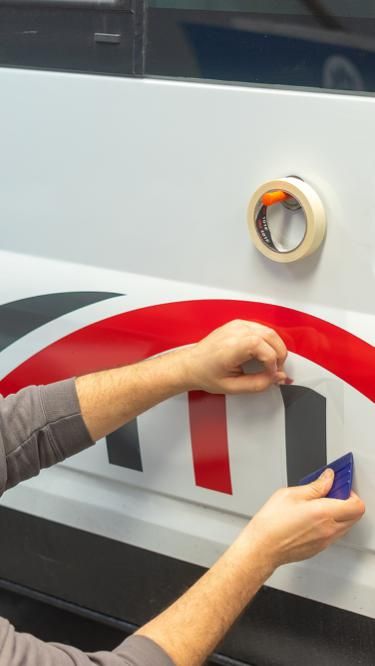
Once you’ve applied the vinyl to the bonnet, you’ll notice some excess material around the edges. For any curved corners, lightly heat the vinyl with a heat gun to make it more flexible, then gently pull it over the area. Use your wrap glove to press the vinyl down and wrap it neatly around the edge.
For this install, we’ll be trimming the vinyl along the back edge of the bonnet using a sharp 30-degree blade. Be careful not to scratch the paint, angle the blade slightly downward so it doesn’t catch.
After trimming off all the excess, run the heat gun over all the edges to seal them properly and help prevent any lifting.
Congratulations! You’ve just learned how to wrap a car bonnet! To make things even easier, we’ve put together a wrap kit to get you started in no time. Check it out today!
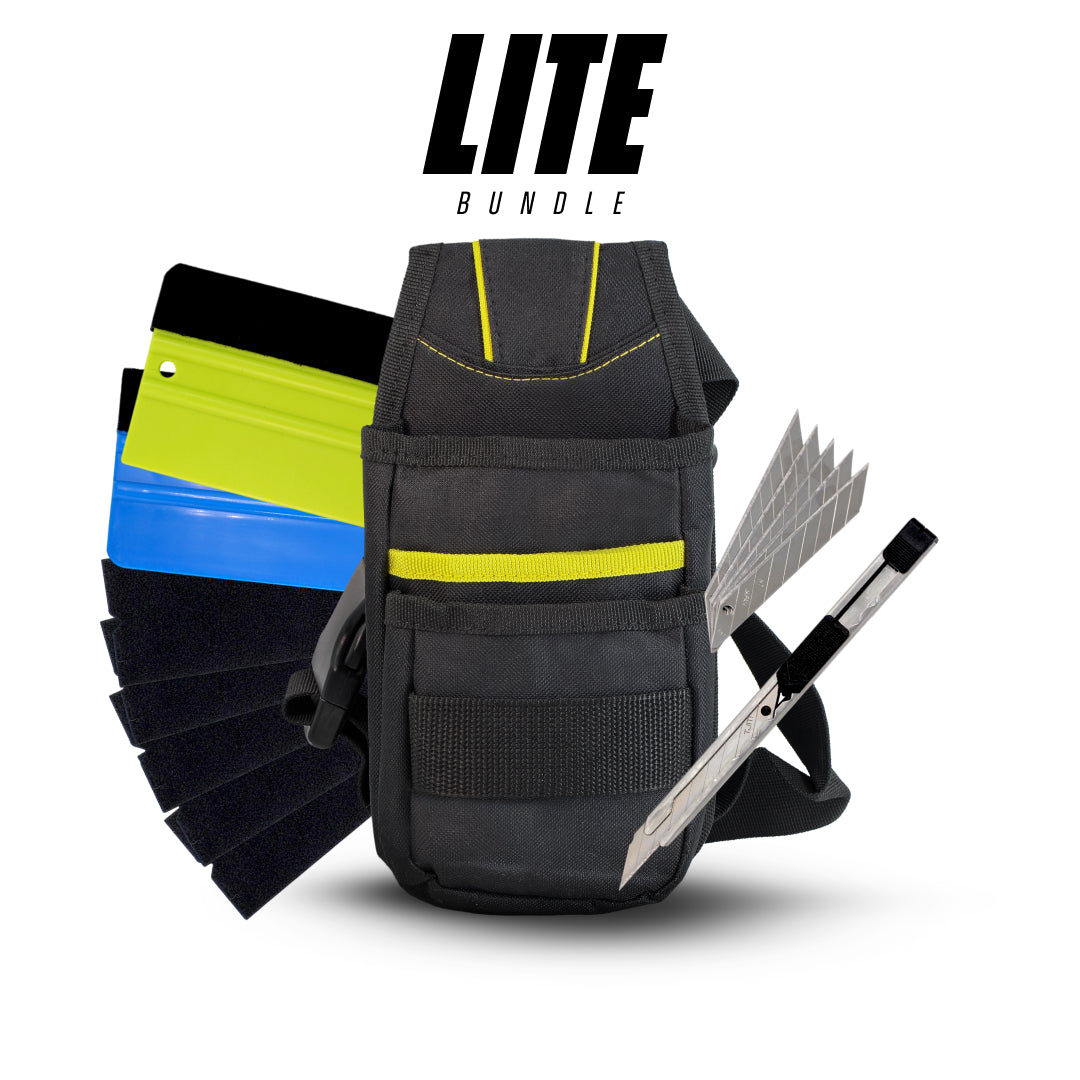
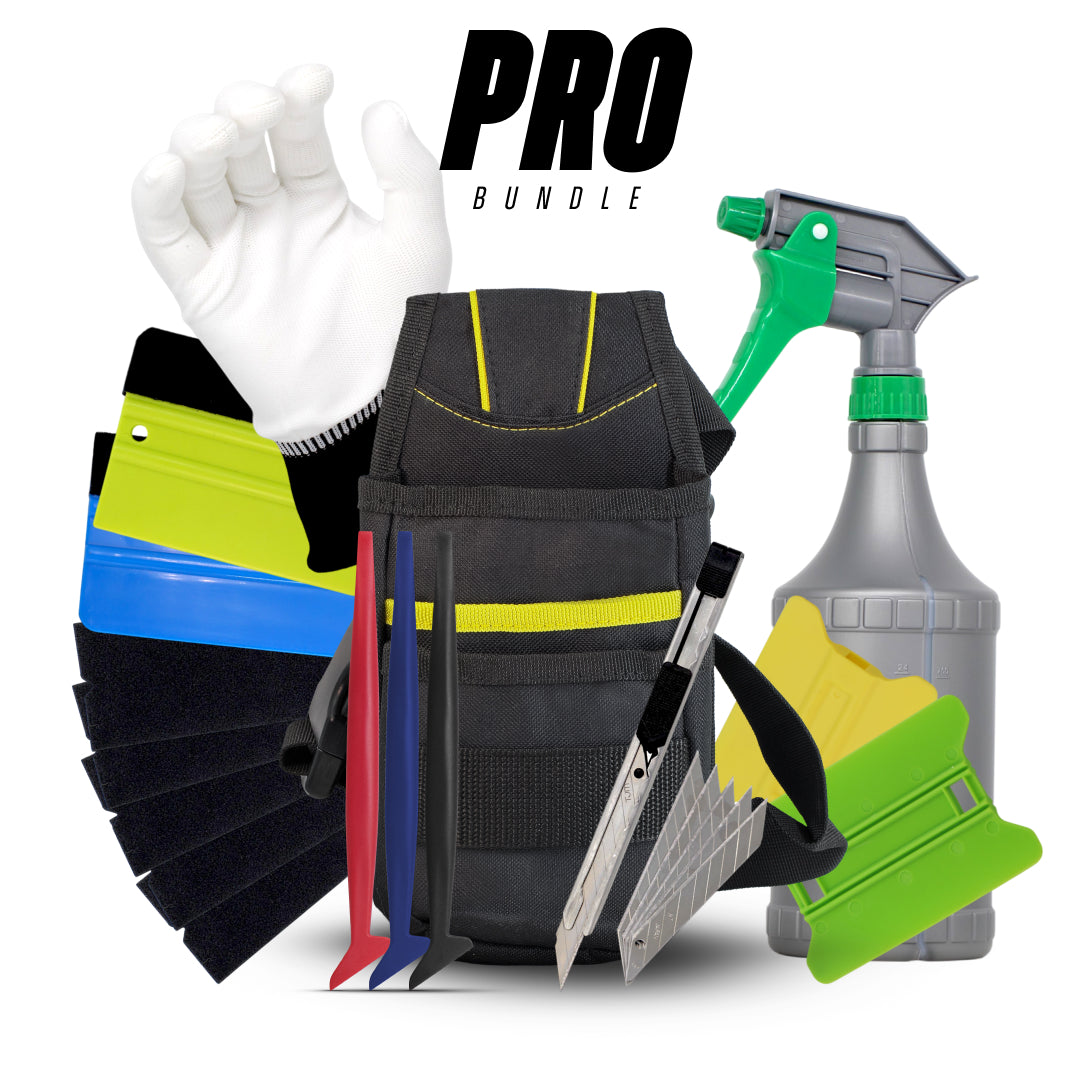
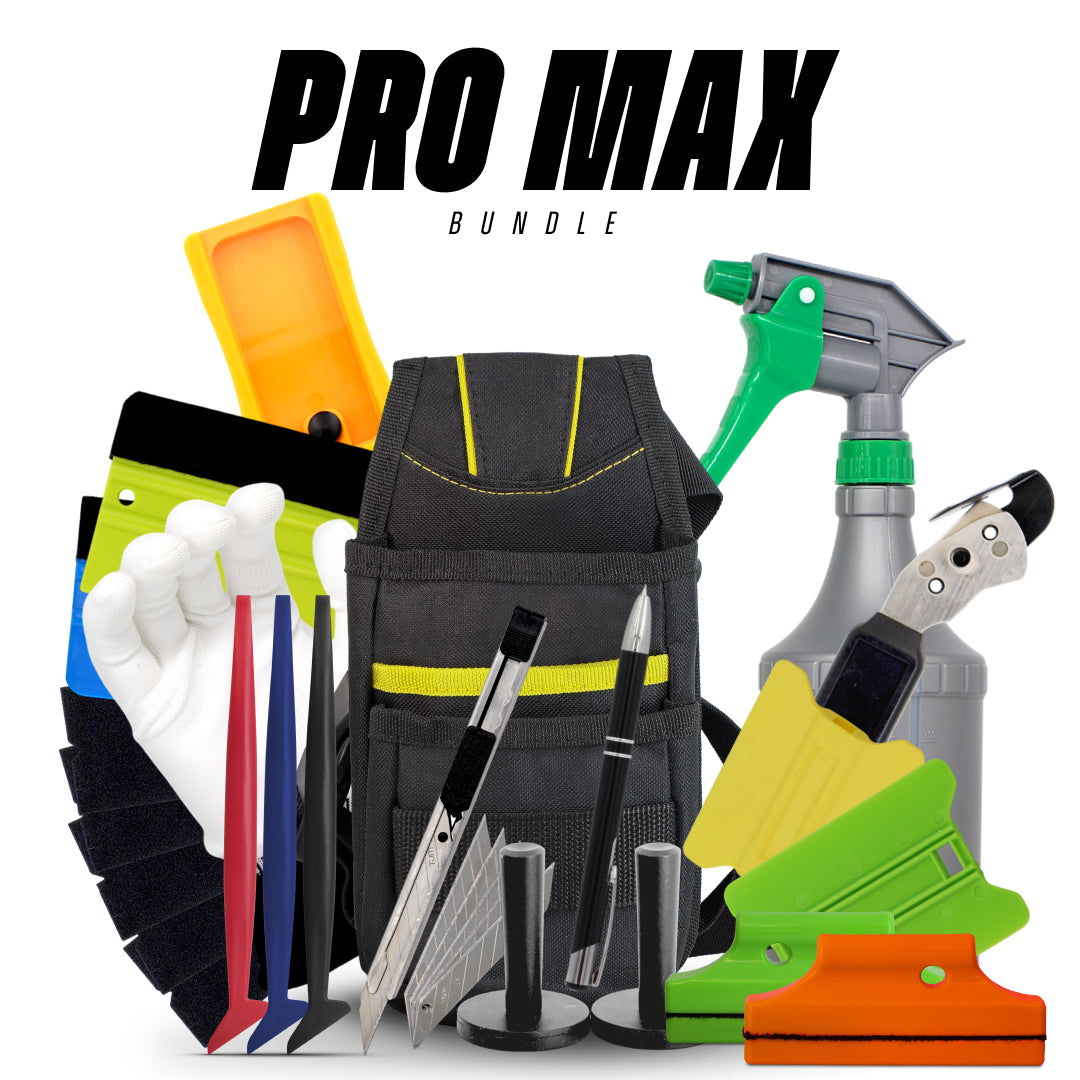
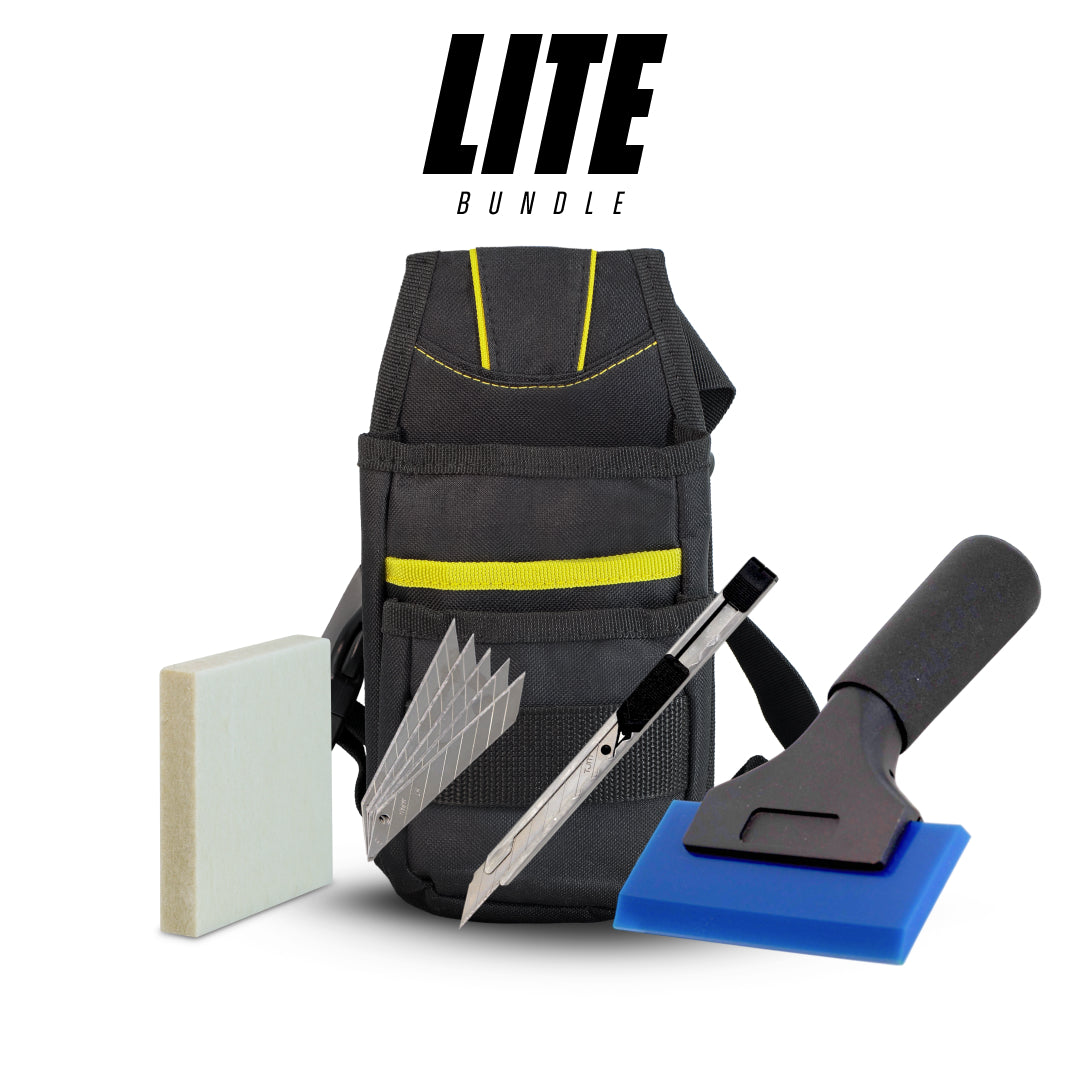
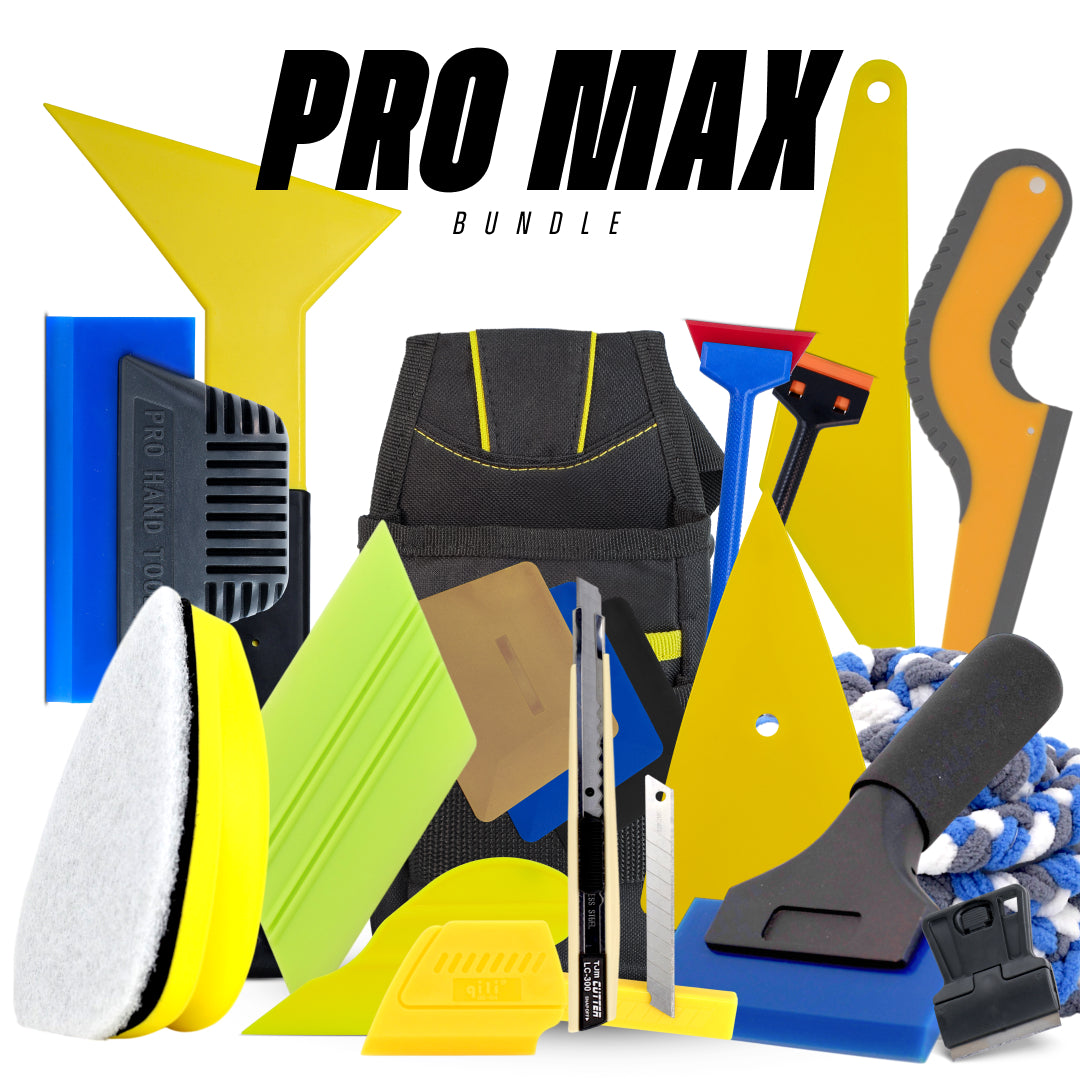
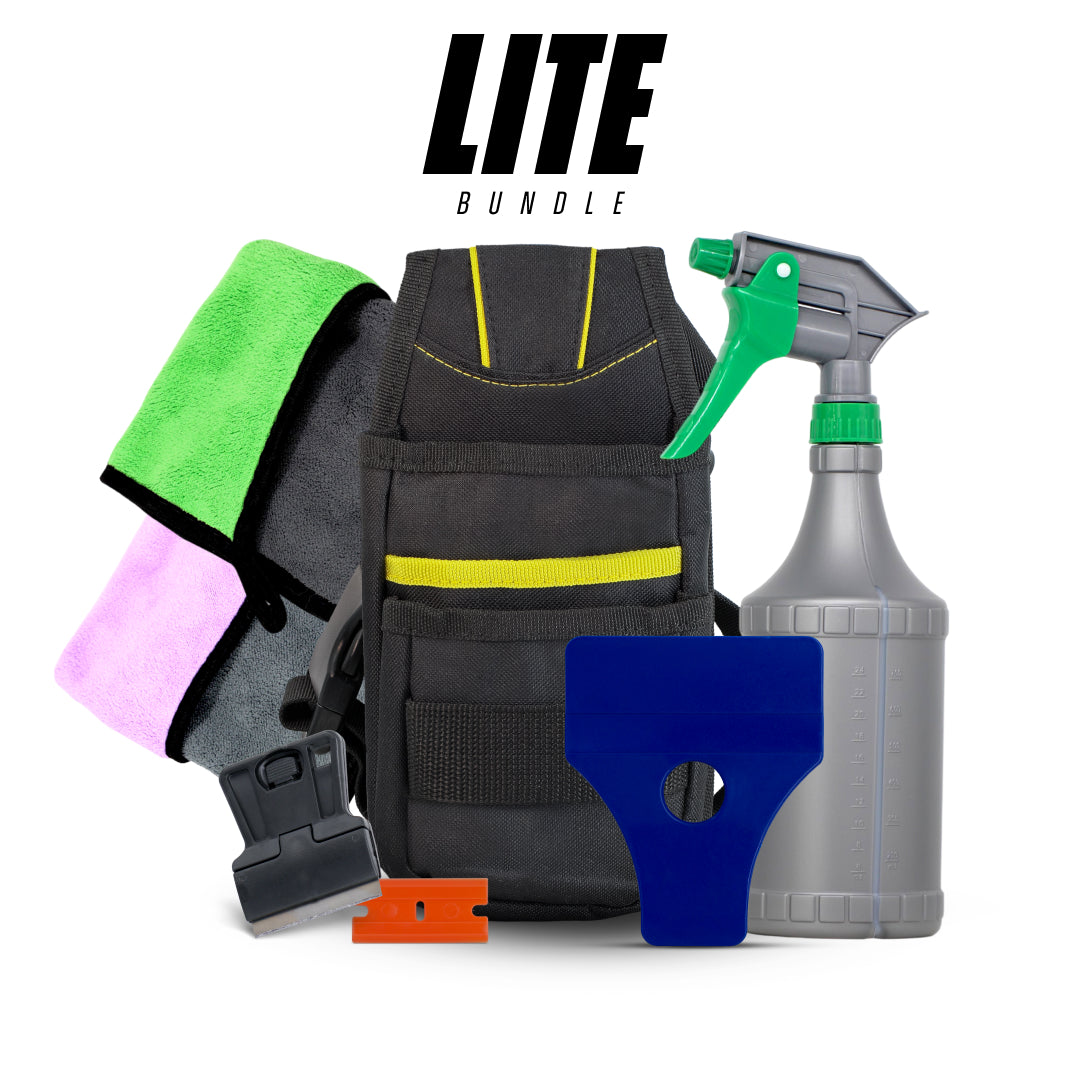
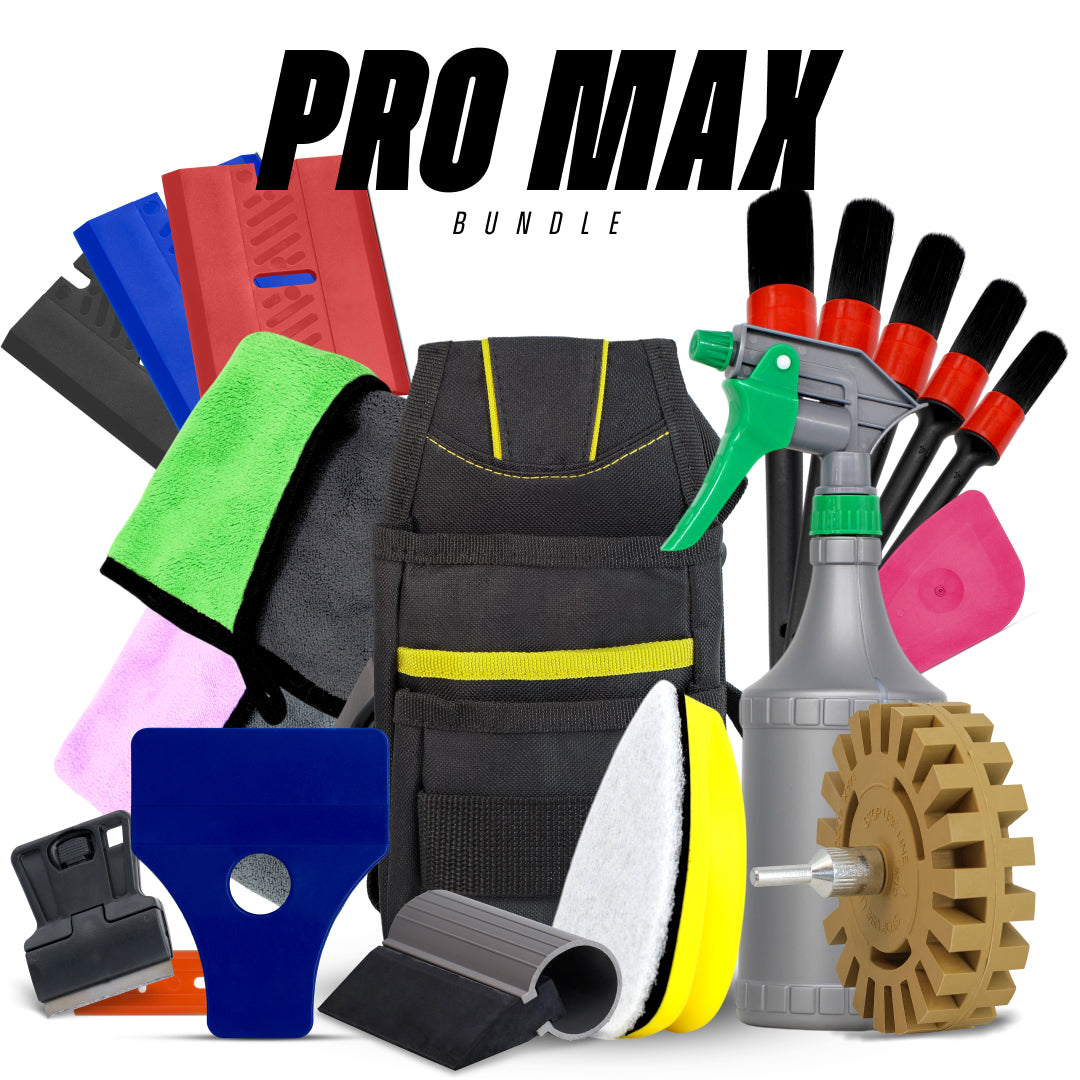
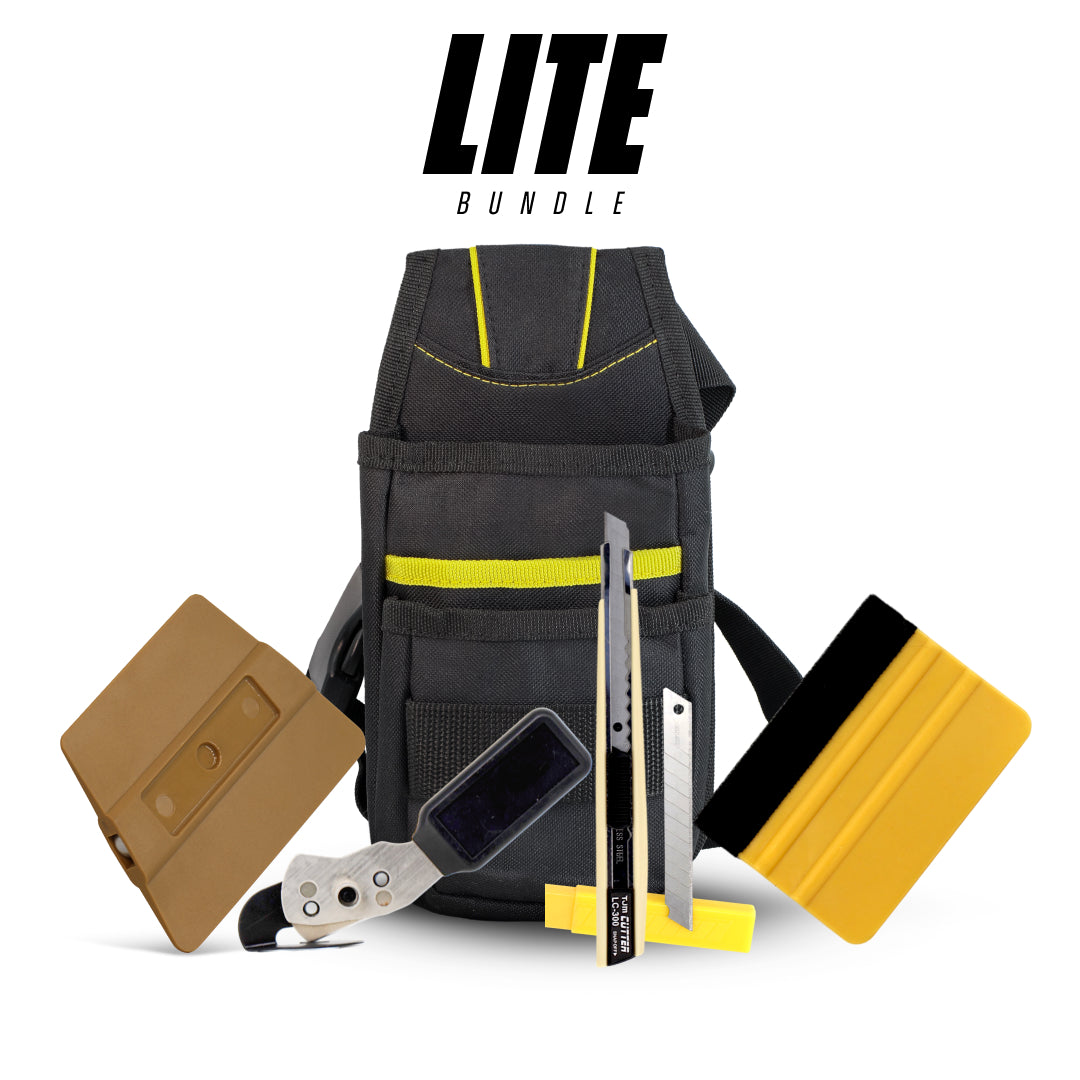
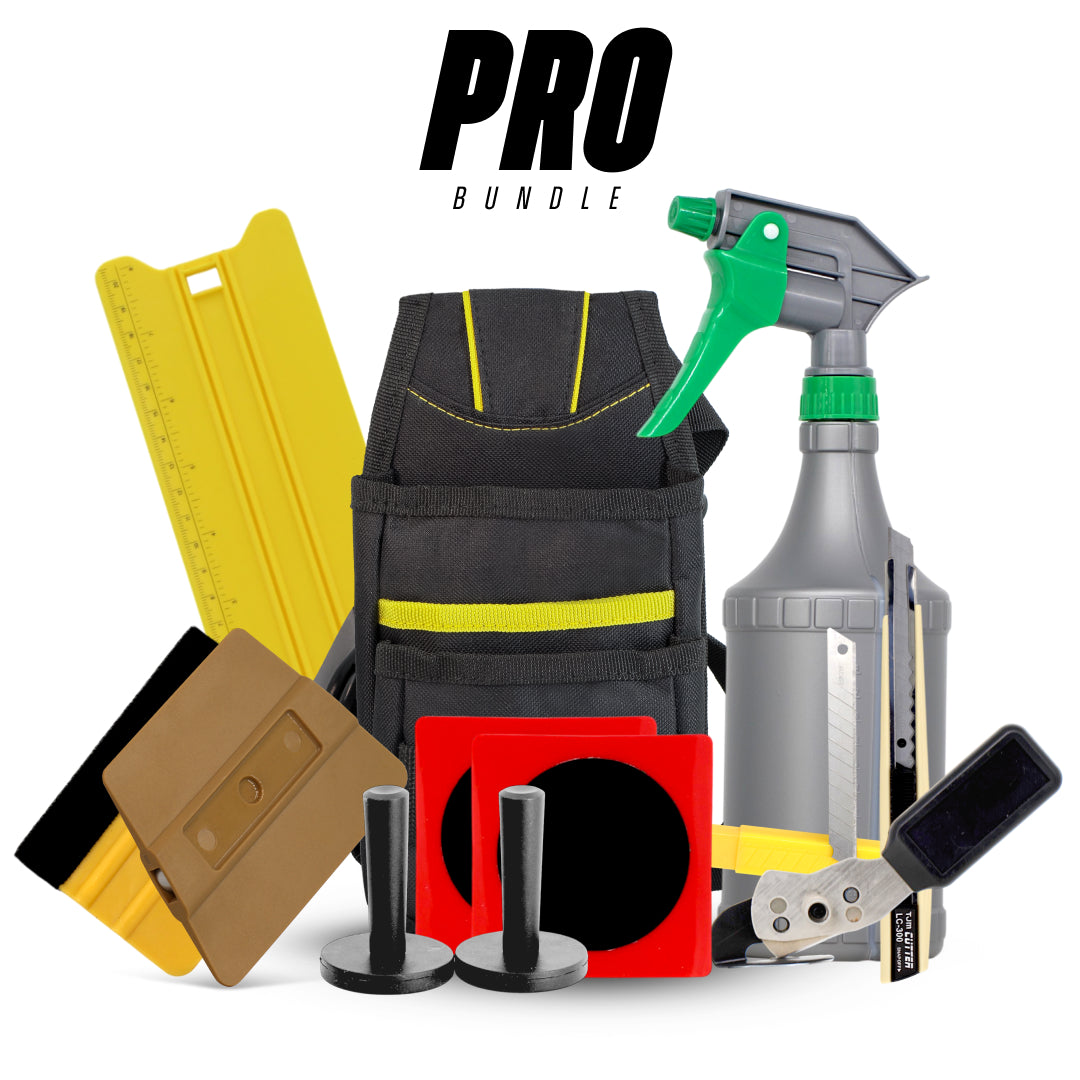
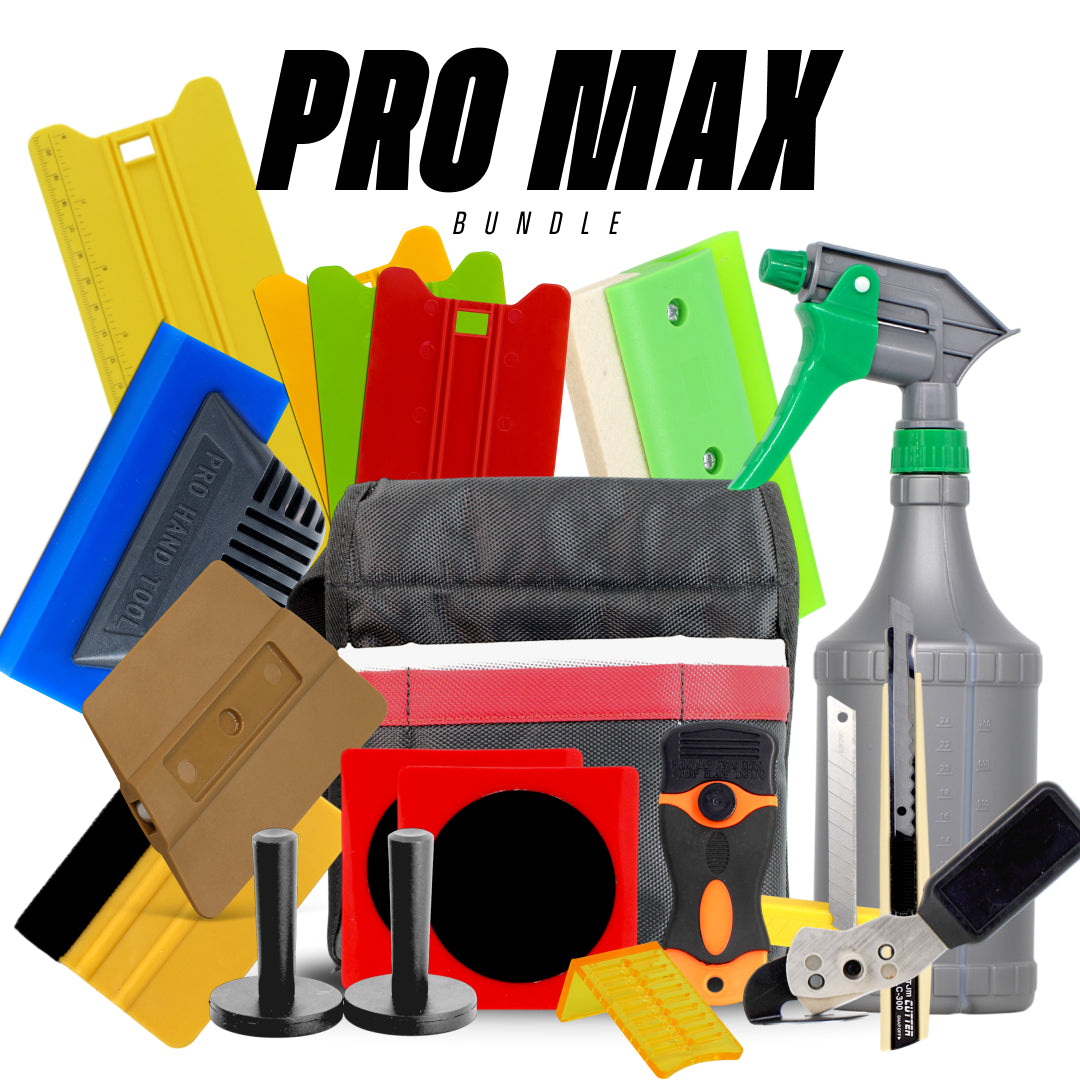
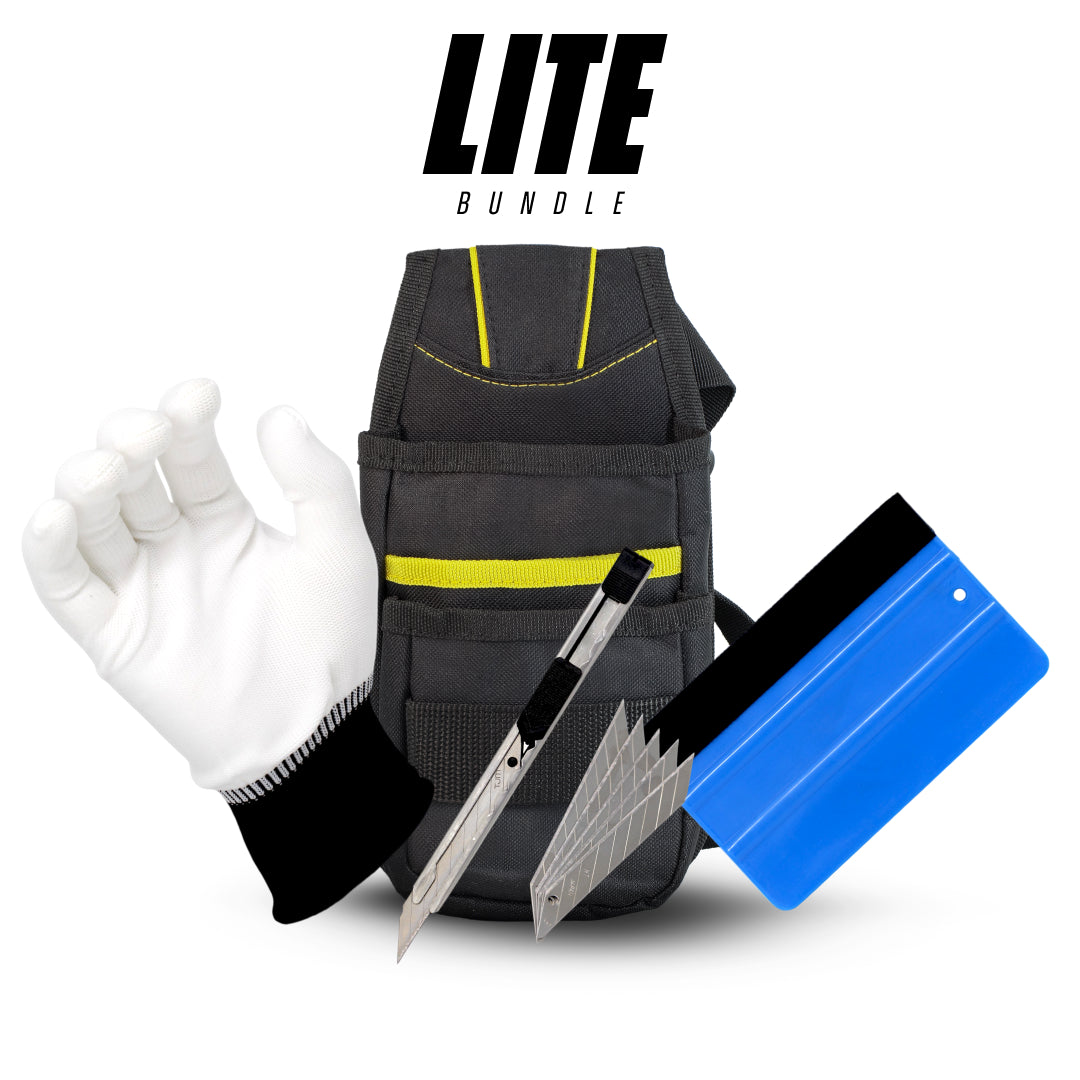
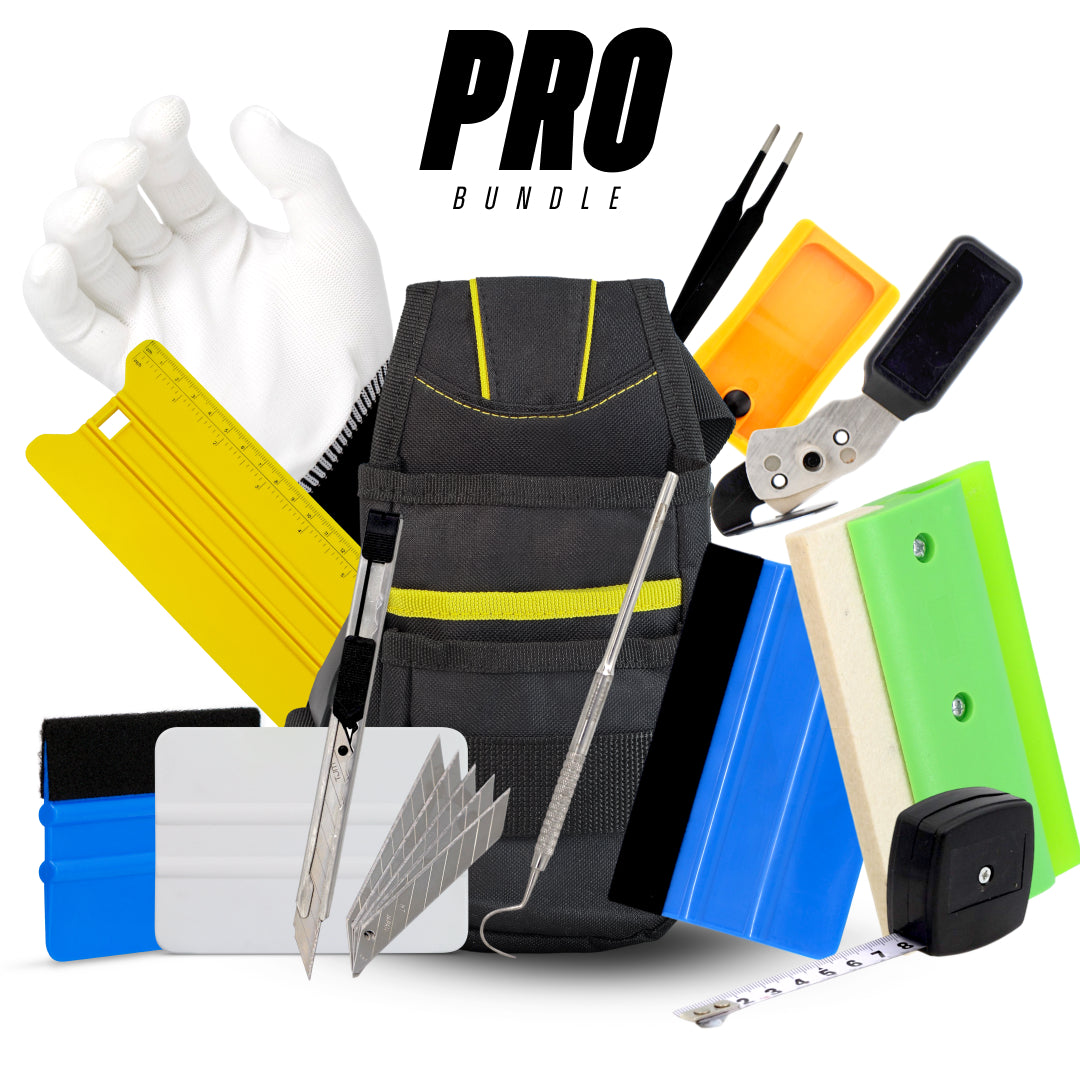
Tools you need

Save 25%
The Complete Professional Setup for Vehicle Wrap Installers
Australia Wide
Fast Delivery
Quality Guaranteed
You may also like
Save 15%

Save 19%

Save 25%

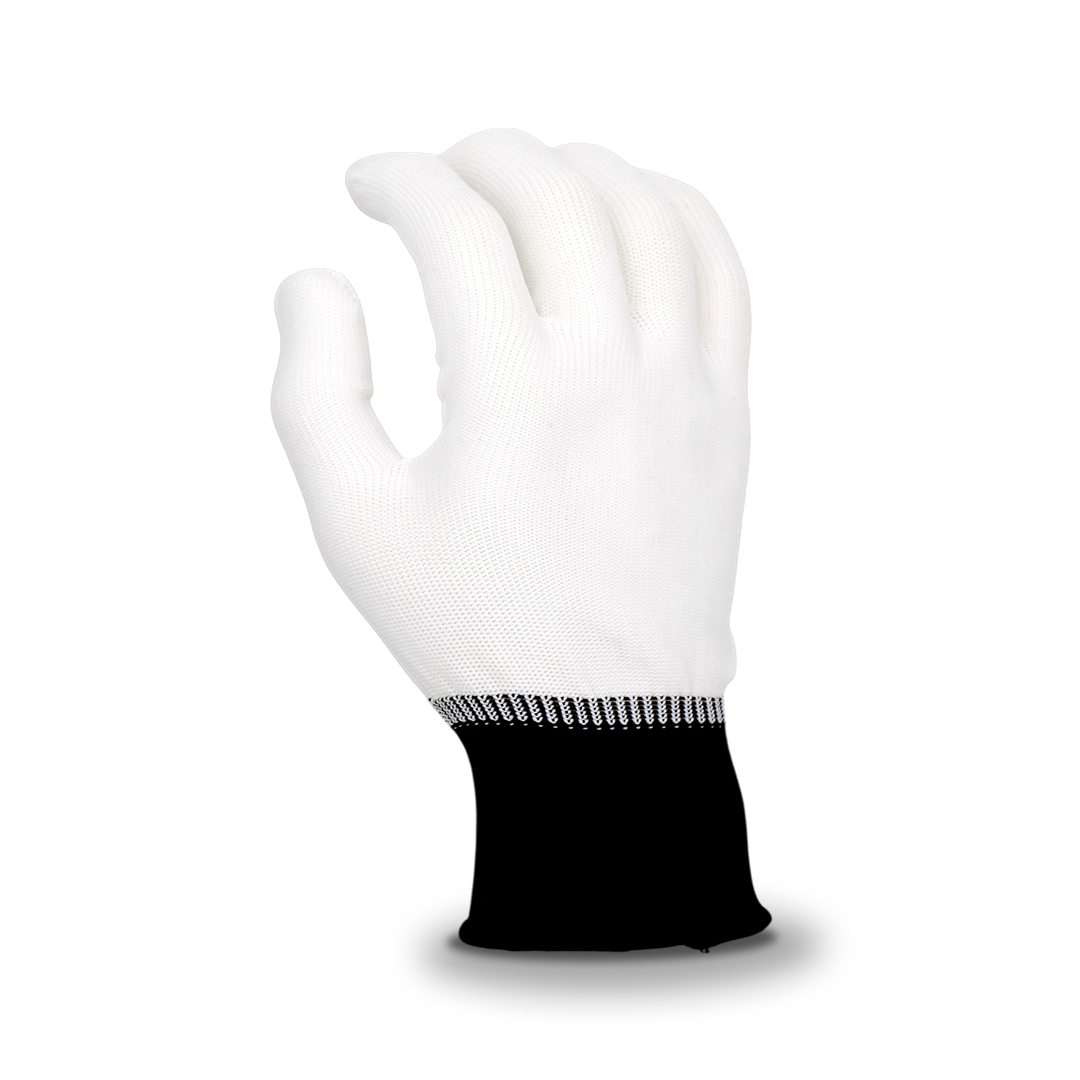
The White Pro Wrap Gloves are designed to help...
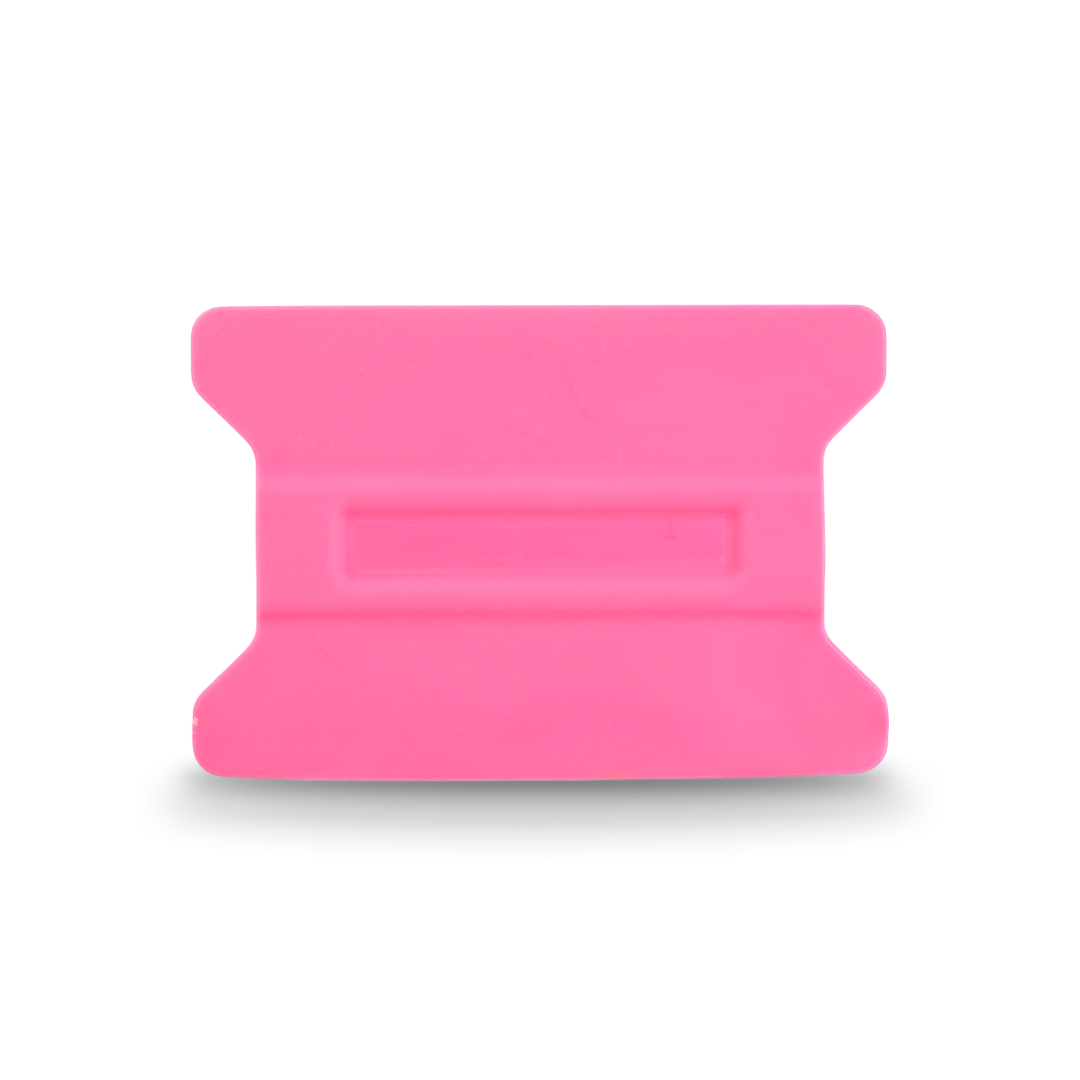
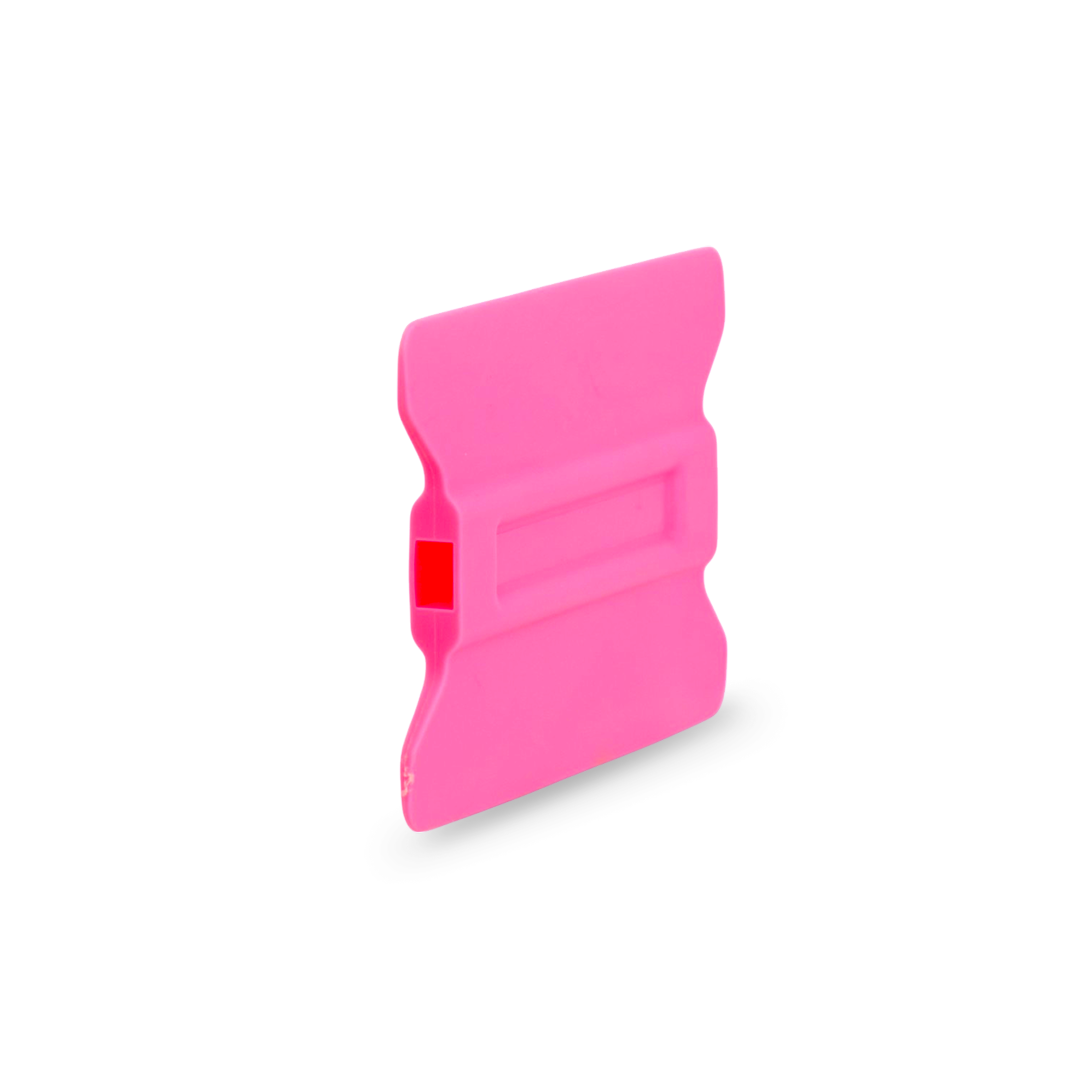
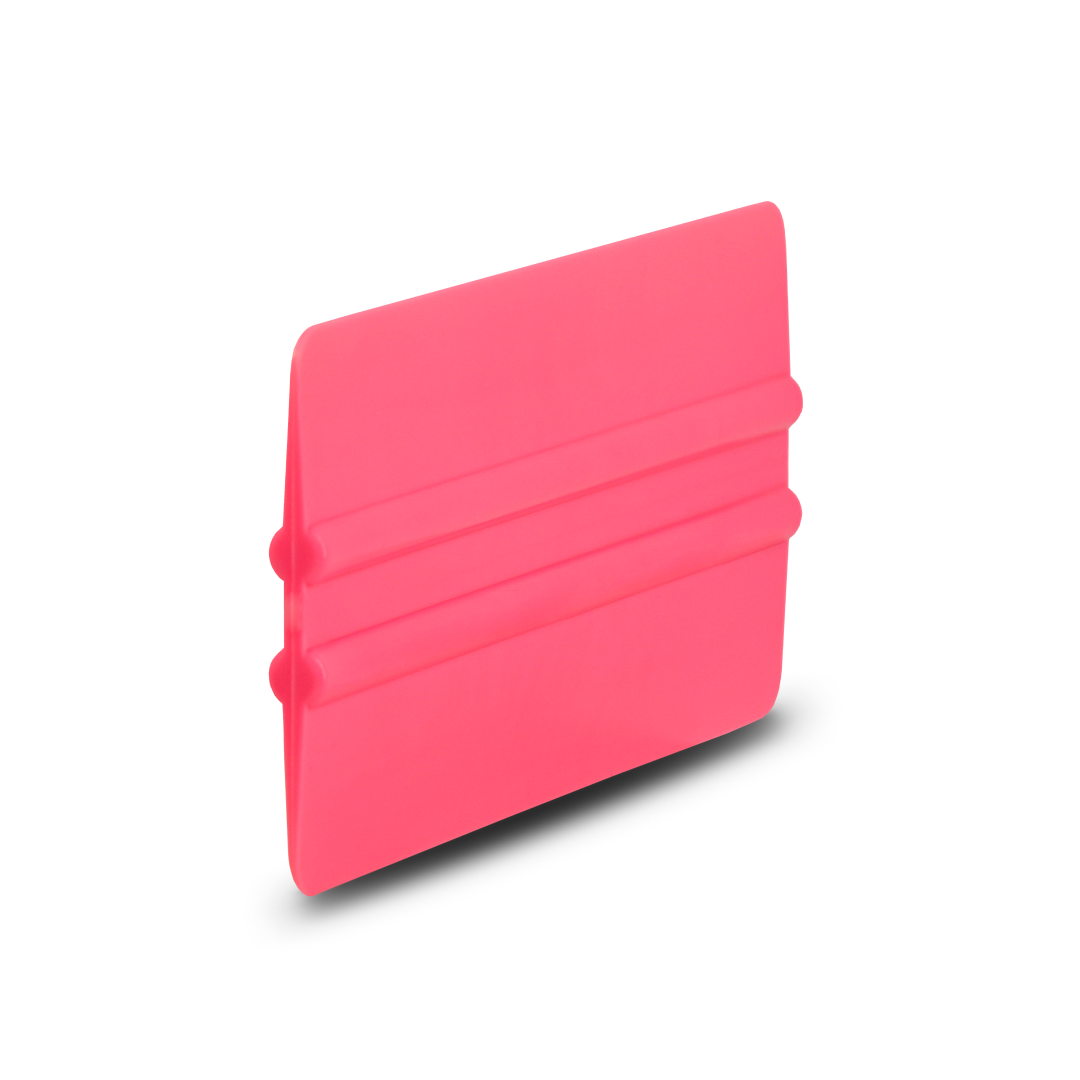
The Pink Extra Soft Wing Edge Squeegee is an...
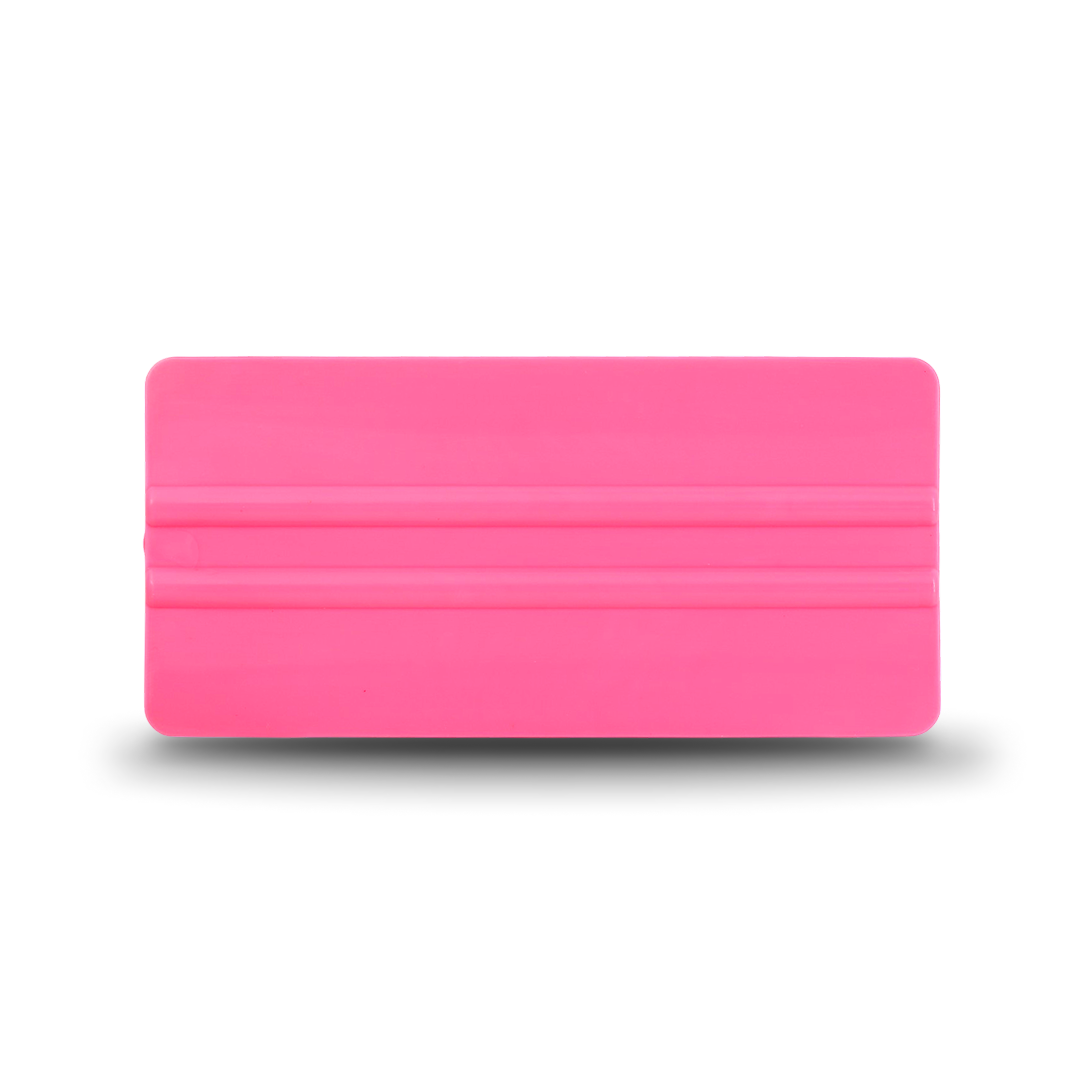
The Pink Wide Soft Flexibility Squeegee is a professional...
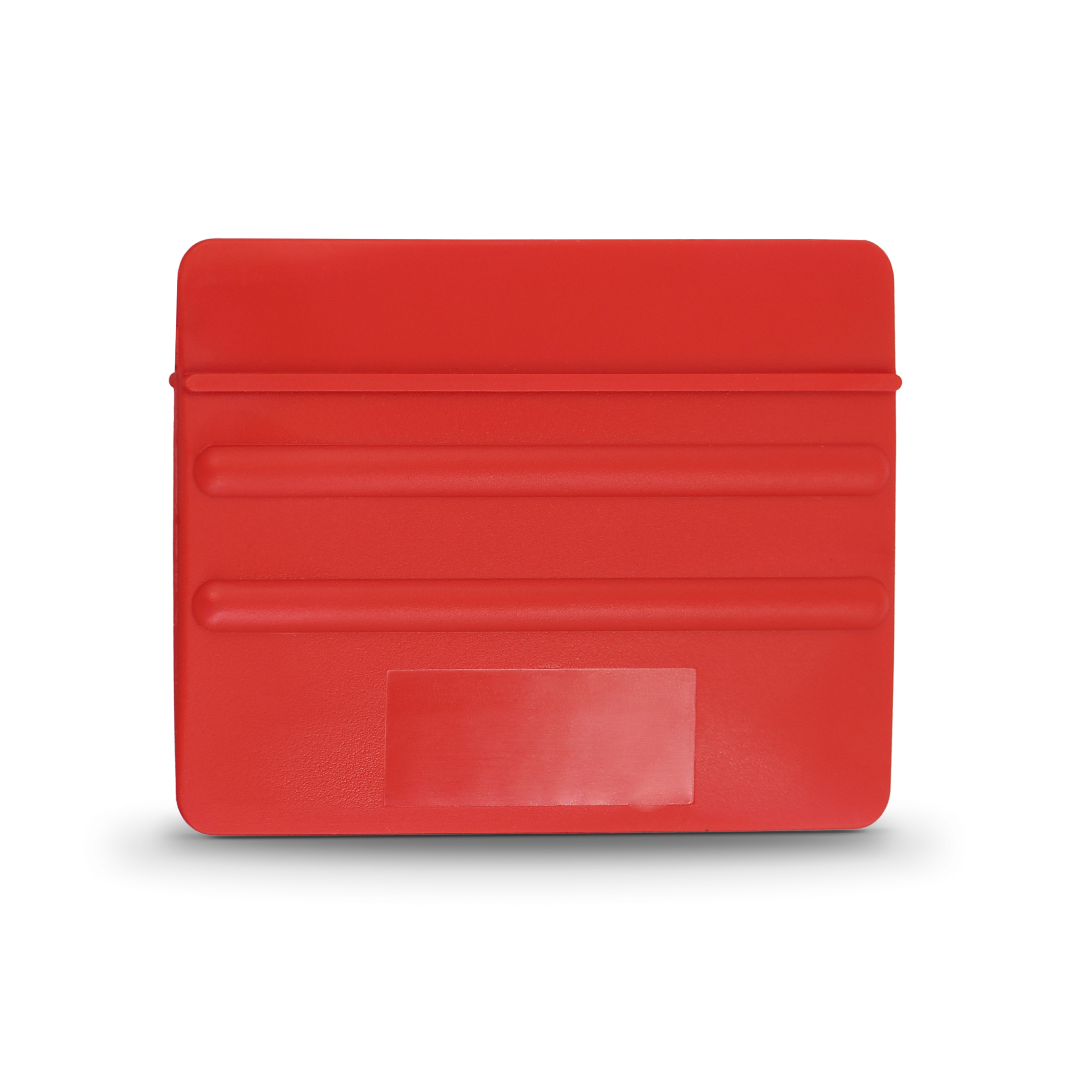
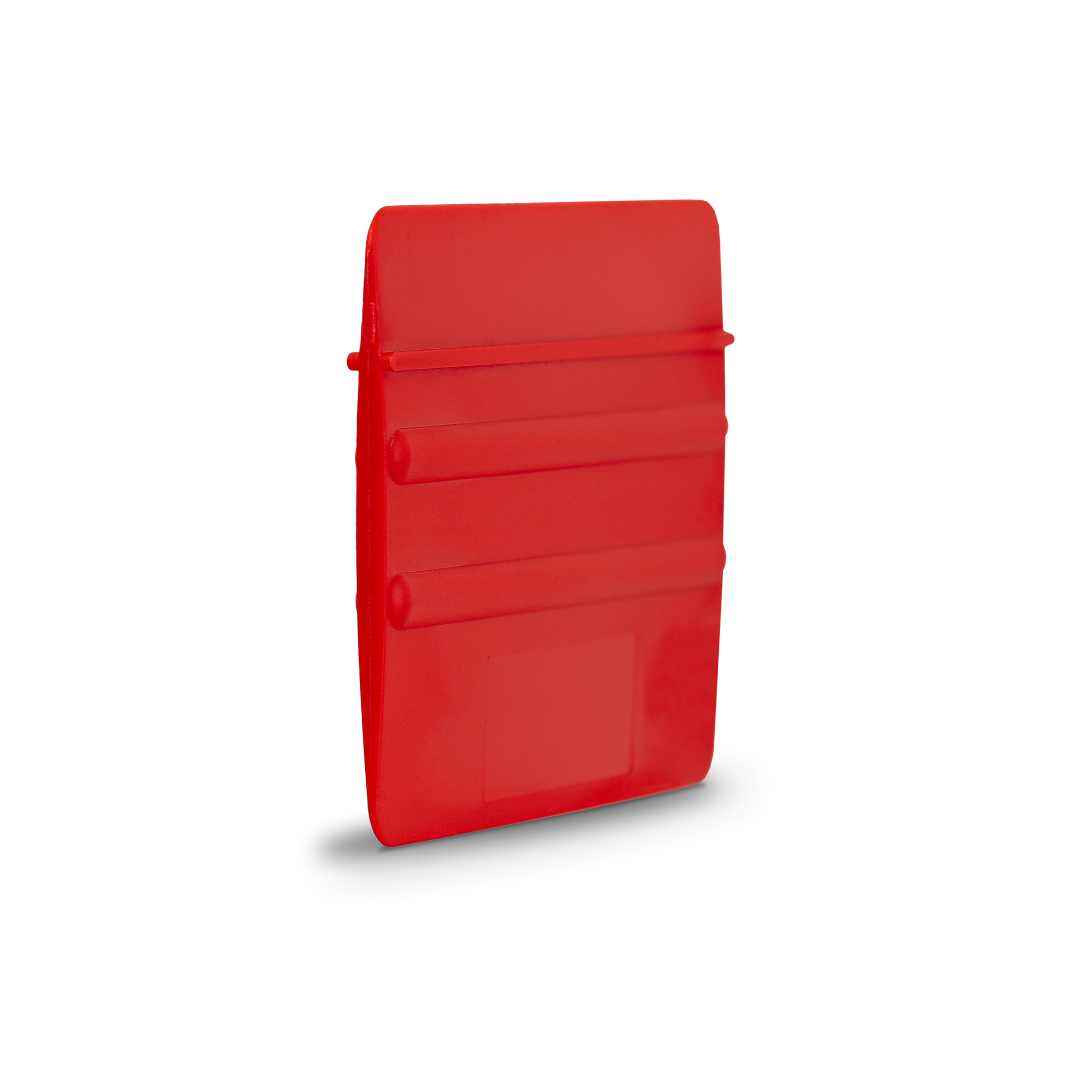
The Red Soft Squeegee is a flexible application tool...
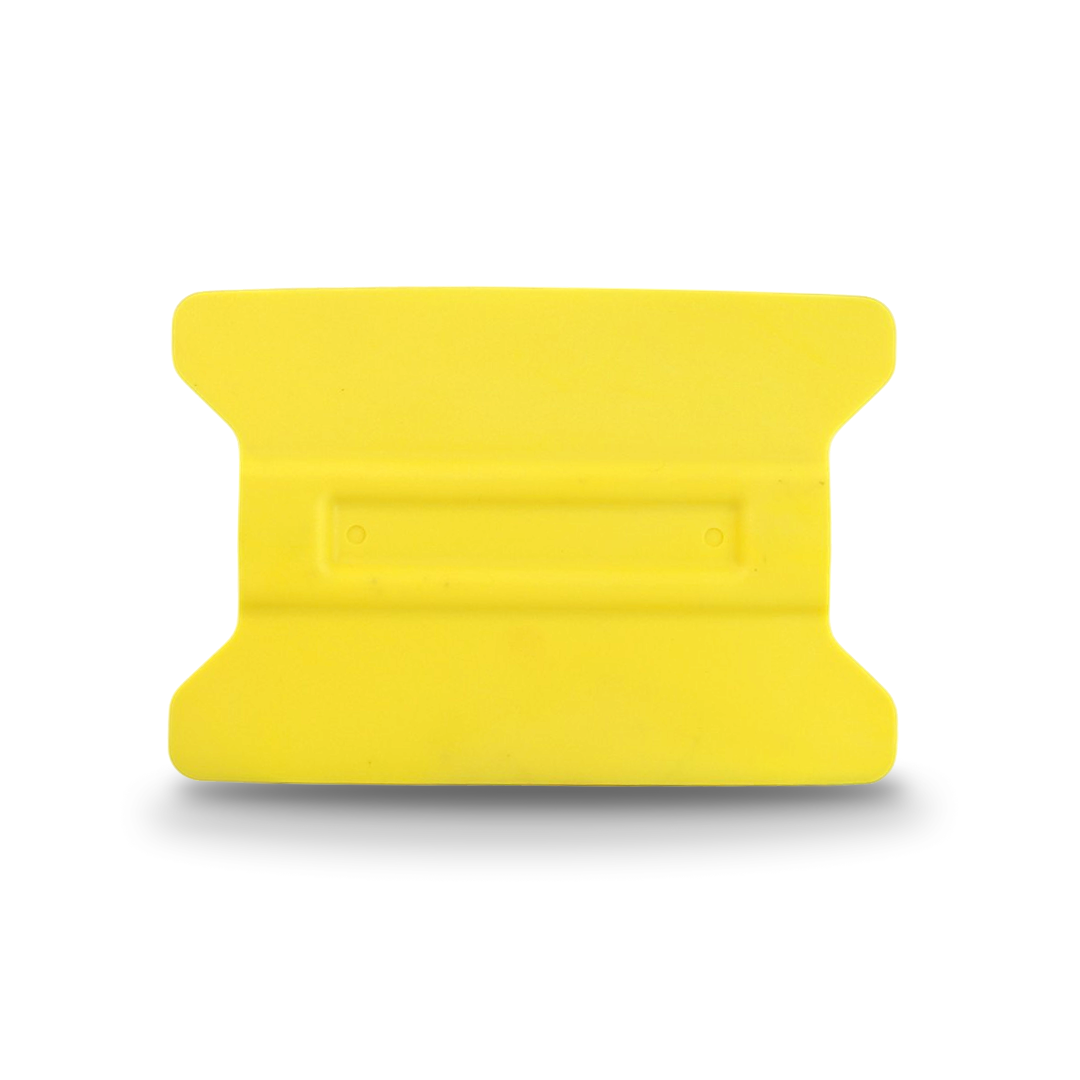

The Yellow Medium Wing Edge Squeegee is a professional...
what the pro's think
Paul G
Shop Owner"The free resources on OZ Sign Supplies have helped me train my junior staff way faster than I expected. We’ve saved so much time not having to figure it all out ourselves, and the confidence my team has gained is priceless. It’s honestly the best investment we’ve made in our training process."
Sandra L
Vehicle Wrapper"I’ve been wrapping cars for years, but the Learning Hub still managed to teach me new tricks I hadn’t seen anywhere else. It’s refreshing to see training made specifically for Australian installers, with realistic examples. If you want to up your game and learn from the best, this is the place."
Nathan W
Home-Based Installer"It’s rare to find a supplier that cares about training as much as selling products. I’ve noticed a huge improvement in the quality of my installs since following their recommendations. You can tell this is a company run by people who know the industry inside and out."
Kim T
Signmaker"The Learning Page is my go-to whenever I’m stuck on a tricky project or want to brush up on skills. The guides are easy to read and packed with real-world advice you can actually use. It’s made me feel much more confident taking on more complex jobs."
→ CLICK HERE, SUBSCRIBE AND RECEIVE OUR NEWSLETTER
→ CLICK HERE, SUBSCRIBE AND RECEIVE OUR NEWSLETTER