

How to Use Common Window Tint Tools: Squeegees, Blades, Cards & Scrapers
Window Tint Tools for Beginners vs Professionals: What’s the Difference?
Window tinting might look simple from the outside: spray a little slip solution, stick a film to the glass, and smooth it out. But anyone who has ever tried tinting even one window knows it’s an art form built on technique, patience, and most importantly… the right tools. Professional installers don’t just rely on skill; they rely on precision equipment designed to help them control pressure, heat, angles, and film movement. Whether you're tinting a car, a home window, or a full architectural project, the tools you choose will determine how smooth, bubble-free, and durable the final result is.
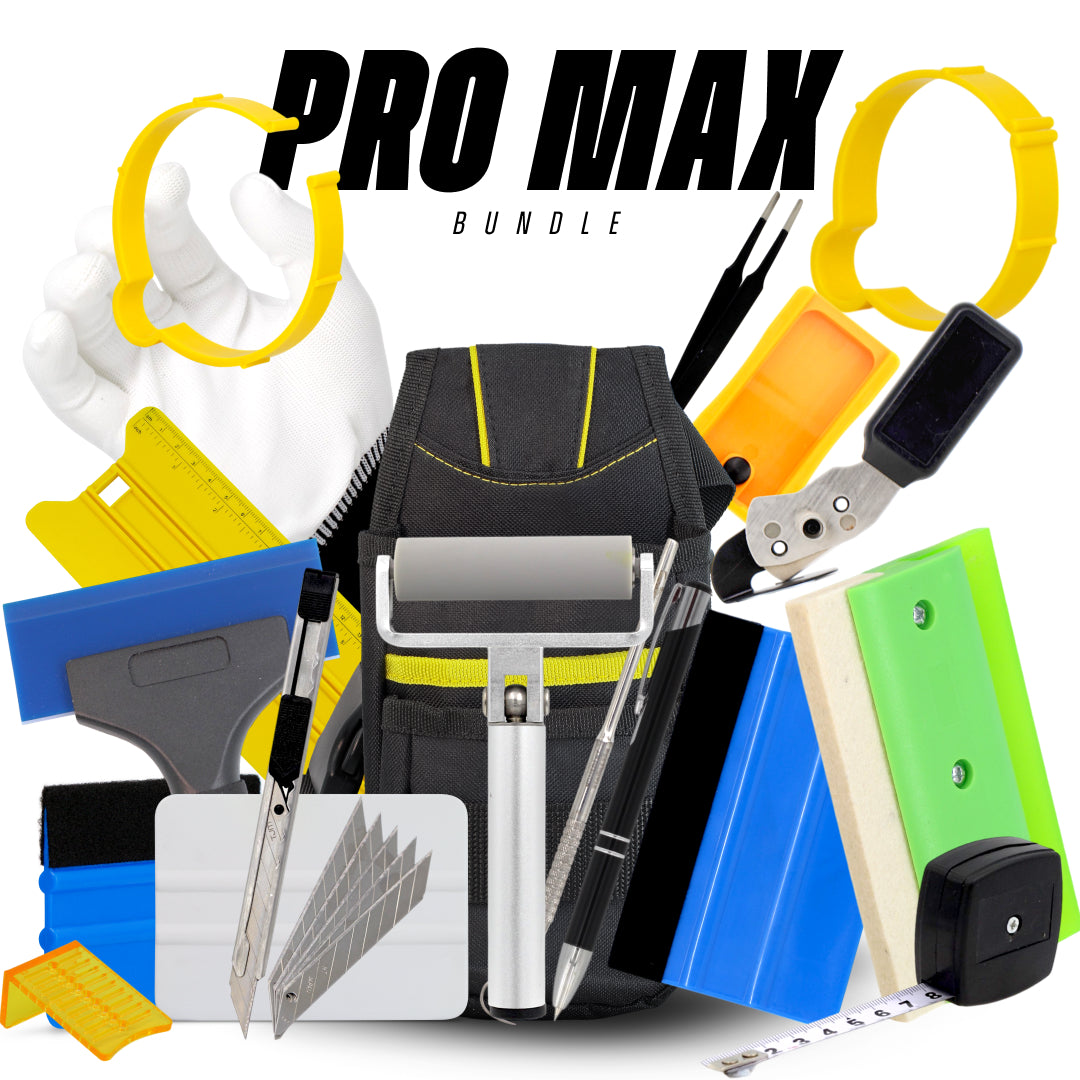
In this guide, we’ll break down the essential tools used in window tinting, squeegees, blades, scrapers, cards, heat guns, and more, while explaining exactly how they’re used, why they matter, and how beginners can choose the right kit to start with. We’ll also cover the most common mistakes installers make with these tools and how you can avoid them entirely. Consider this your complete, hands-on crash course to both the science and craft of window tinting tools.
Whether you're a DIY enthusiast, a new installer, or a professional looking to refine your workflow, this article will give you deeply practical, real-world insights that actually help you install tint cleaner, faster, and more confidently.
Window Tint Tools for Beginners vs Professionals: What’s the Difference?

When you first enter the world of window tinting, it can be surprising to see how different beginner-level tint tools are from the equipment used by professionals. At first glance, they might look similar, as a squeegee is a squeegee, right? But the differences become crystal clear once you start installing film. Beginner tools are usually made for convenience, simplicity, and affordability, while professional tools are engineered for precision, durability, and efficiency. A beginner’s kit might have plastic scrapers, soft cards, and a basic sprayer. Professionals, on the other hand, use heat-resistant squeegees, surgical-grade stainless blades, high-performance sprayers, and ergonomic tools that help them work faster without sacrificing accuracy.
One major distinction is the flexibility and hardness of the material. Professionals often own multiple versions of the same tool, soft, medium, and hard, because each responds differently on curved glass, tight edges, and stubborn creases. A beginner kit rarely includes such variety, meaning a new installer struggles with situations a pro tool could handle effortlessly. For instance, advanced tinting squeegees like the Orange Crush or Blue Max generate firm, consistent pressure ideal for removing moisture from underneath the film. Beginner squeegees simply cannot match this performance, which often leads to trapped bubbles and uneven smoothing.
Another important difference lies in tool precision. Professional blades and knives are designed to cut film smoothly without snagging, tearing, or dragging. Cheaper blades dull quickly and can scratch glass or fray the tint film, causing visible, irreversible damage. Professionals replace blades often, sometimes multiple times per job, because they know the edge must always be sharp to produce seamless cuts. Beginners, unaware of this, tend to use a blade far longer than they should.
If you’re gathering everything you need for a smooth installation, our complete range of window tint tools offers high-quality squeegees, blades, cards, and accessories perfect for both DIY users and professionals →
Finally, professional tools allow for speed. A pro heat gun heats evenly, a pro sprayer dispenses the perfect mist, and pro corner tools reach difficult areas without stretching the film. The result? Cleaner installs in half the time. While beginners can certainly start with affordable tools, knowing the differences helps you gradually upgrade your kit and improve your craft over time.
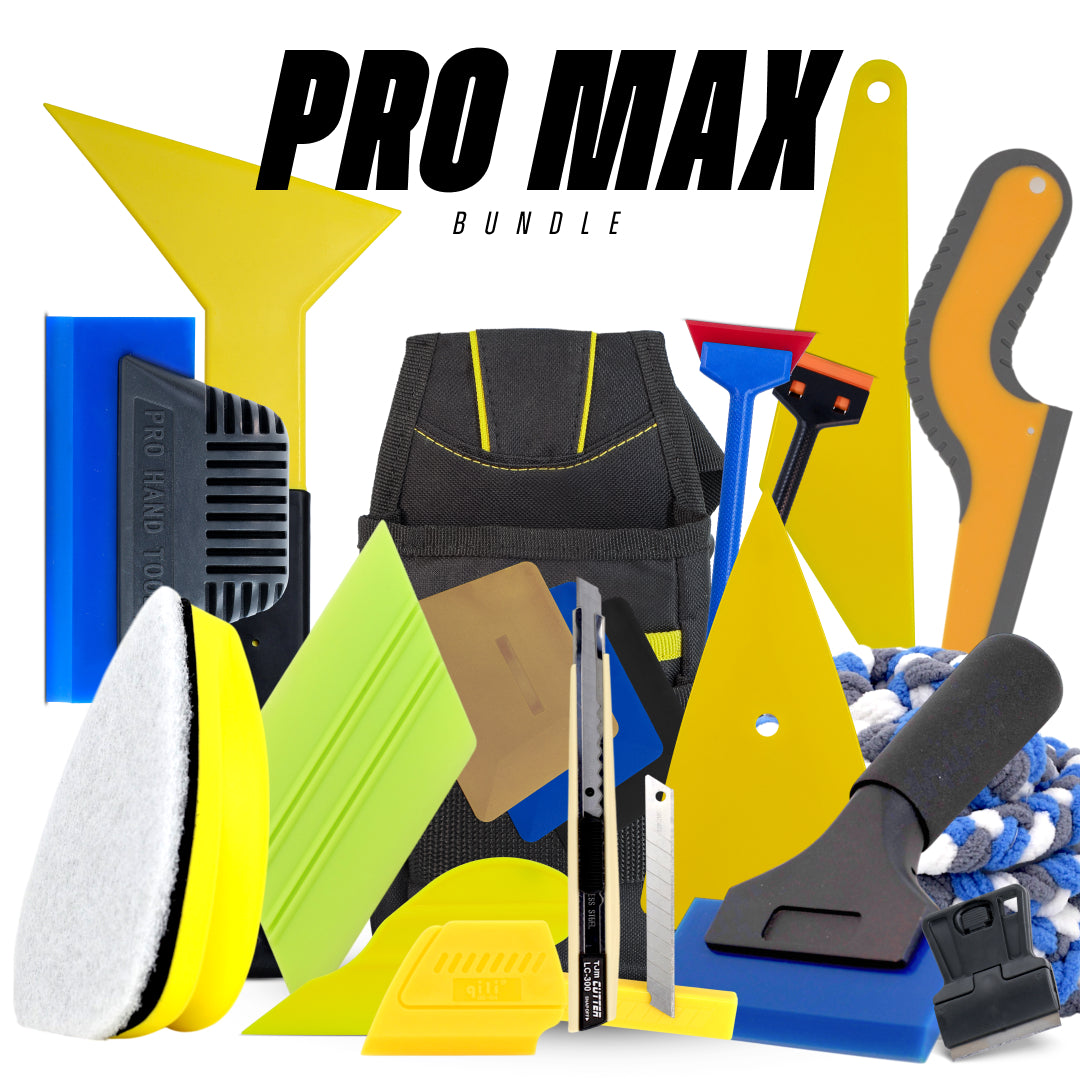
Top 10 Must-Have Window Tint Tools for Professional Installers
Professional window tint installers rely on a particular set of tools, not because they’re fancy, but because each one solves a real problem during installation. When you watch an experienced installer work, it can look almost effortless. But behind that smooth workflow is a toolkit carefully built for precision, speed, and versatility. If you’re serious about tinting, whether for cars, homes, or commercial buildings, these ten tools form the foundation of a professional-grade setup.
First on the list is a high-quality heat gun. Professionals need adjustable temperature control, consistent airflow, and durability because heat is essential for shrinking film on curved automotive glass and helping tint conform to complex surfaces. A cheap heat gun often overheats or delivers uneven heat, causing film distortion or scorching. Next, you need a top-tier sprayer, preferably a pump sprayer with fine mist control. Slip solution is the lifeblood of a clean installation, and a professional sprayer ensures even distribution without soaking the tint or leaving dry patches.
Every professional installer also relies on premium squeegees, usually several different kinds. The Orange Crush, Blue Max, and Yellow Turbo are industry staples for good reason: they generate the perfect pressure to extract moisture while protecting the tint from scratches. In addition, a set of hard cards and felt cards helps installers reach edges, smooth corners, and handle delicate surfaces where a standard squeegee can’t fit. For removing old tint or prepping glass, a strong scraper with stainless steel blades is essential. Carbon blades cut aggressively but rust; stainless is the pro favourite.
Precision cutting is impossible without a sharp, controlled knife such as an Olfa stainless steel 13-point blade or a specialised tint knife. Professionals change blades often to maintain perfect cutting performance. A contour tool or corner tool is another must-have for curved glass and tight spaces. A tint meter rounds out the pro lineup, especially important for shops that must comply with local tint laws. Finally, no kit is complete without a reliable microfiber and cleaning tool set, ensuring the glass is spotless before installation.
For streak-free results and efficient water removal, explore our specialised tint squeegees, which are designed to help installers push out moisture and achieve a perfectly clean bond to the glass →
Together, these ten tools form the backbone of professional window tinting, maximising accuracy, boosting efficiency, and delivering results that beginners simply can’t match without the right equipment.
How to Choose the Right Window Tint Tools for Any Vehicle
Choosing the right window tint tools for a vehicle isn’t just about grabbing whatever looks useful; it’s about understanding the shape of the glass, the type of tint film, and the installation techniques required. Every vehicle is different. A compact sedan has tighter corners and smaller windows, while an SUV has larger glass areas and deeper curves. Trucks, luxury vehicles, and even older cars all present unique challenges. That’s why installers, especially professionals, never rely on a “one-size-fits-all” toolkit. Instead, they select tools that match the vehicle’s specific design and film requirements.
The first consideration is glass curvature. Vehicles with deeply curved rear windows (like hatchbacks or sports cars) require tools that can conform to angles without creasing the film. This is where flexible squeegees, curved-edge cards, and tools like the Yellow Turbo shine. Their shape and flexibility allow you to push out moisture without forcing the film to wrinkle. In contrast, flat-glass vehicles may benefit more from firm tools like the Blue Max, which gives strong, even pressure on smooth surfaces.
Next, think about the type of tint film you’re working with. Ceramic tint, for example, is thicker and requires stronger, more durable squeegees to extract moisture effectively. Dyed film is thinner and more forgiving, so softer tools can work well. Carbon film sits somewhere in between. If your tools are too soft, you’ll leave pockets of moisture. If they’re too hard, you risk scratching or dragging the tint. Matching hardness to film type is one of the most overlooked and most important parts of tool selection.
Another factor is vehicle design details, like tight corners, steep angles, and window seals. Some vehicles have rubber seals that easily catch the film, which means you’ll need specialised tools like corner cards, tri-edge tools, or thin Teflon cards to tuck film into narrow channels without tearing it. Hard-to-reach areas demand micro squeegees or even specialty contour tools. Every detail influences which tools will save you time and frustration during installation.
Finally, consider your skill level and workflow. Beginners often work more slowly, so tools that offer more forgiveness, like softer squeegees or felt-wrapped cards, help prevent mistakes. Professionals may prefer faster, firmer tools that let them complete jobs quickly and efficiently. Over time, you’ll build your own personalised toolkit based on what feels natural in your hands and what performs best on the vehicle types you work with most.
When trimming tint film along edges and seals, using the right knives and blades gives you precise cuts and reduces the risk of snagging or tearing the material during installation →
Choosing the right tools isn’t just a matter of preference; it’s the foundation of a smooth, bubble-free, professional-quality tint job.
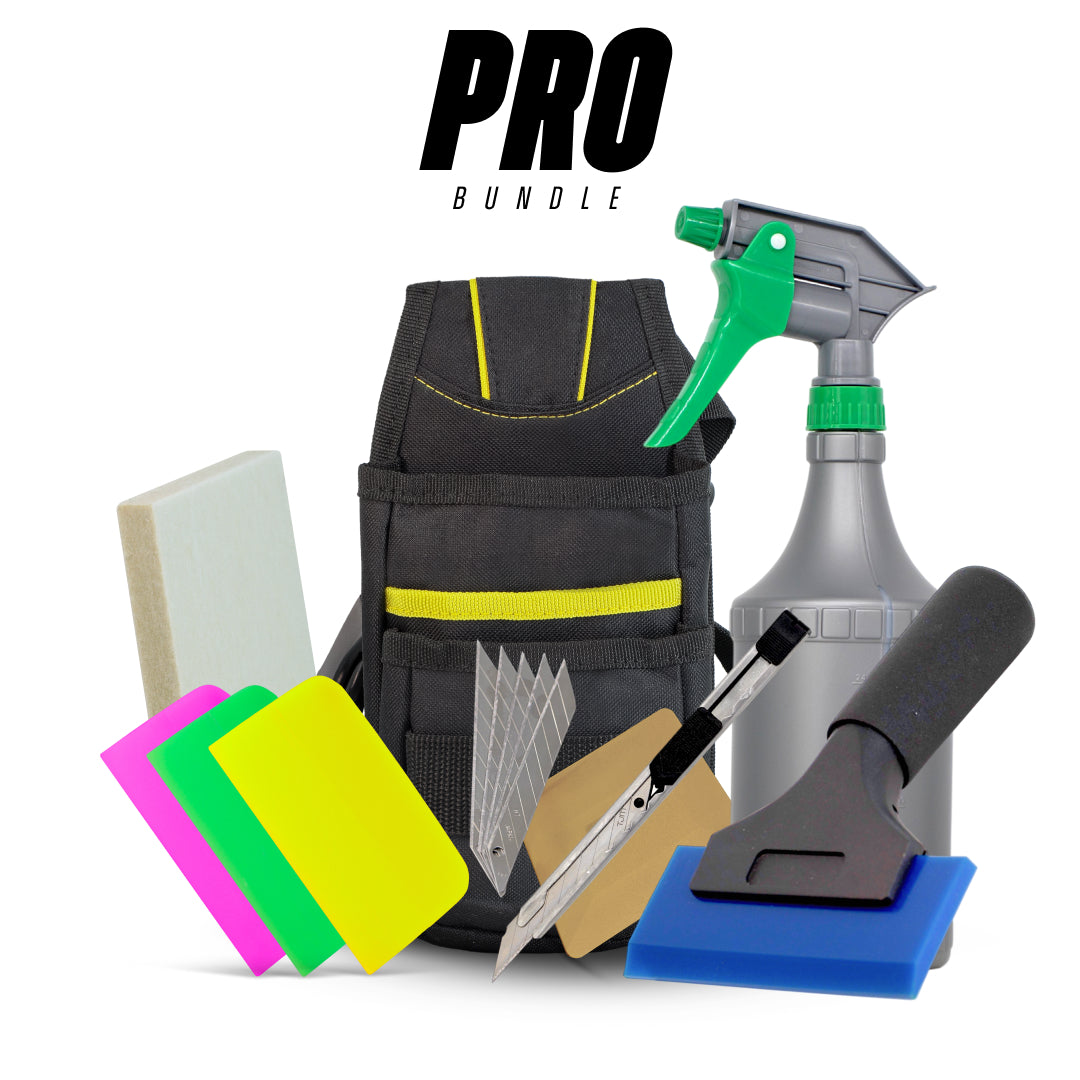
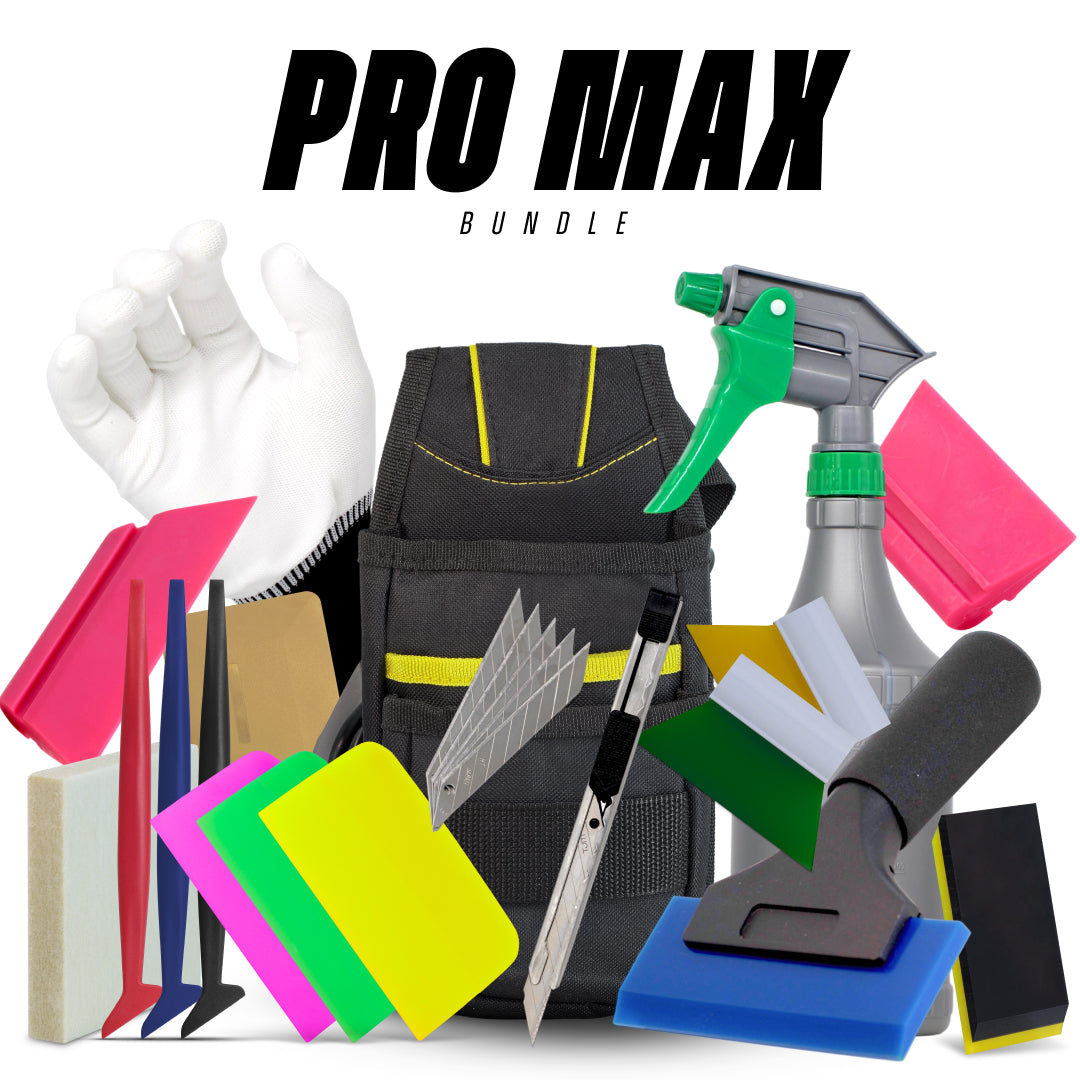
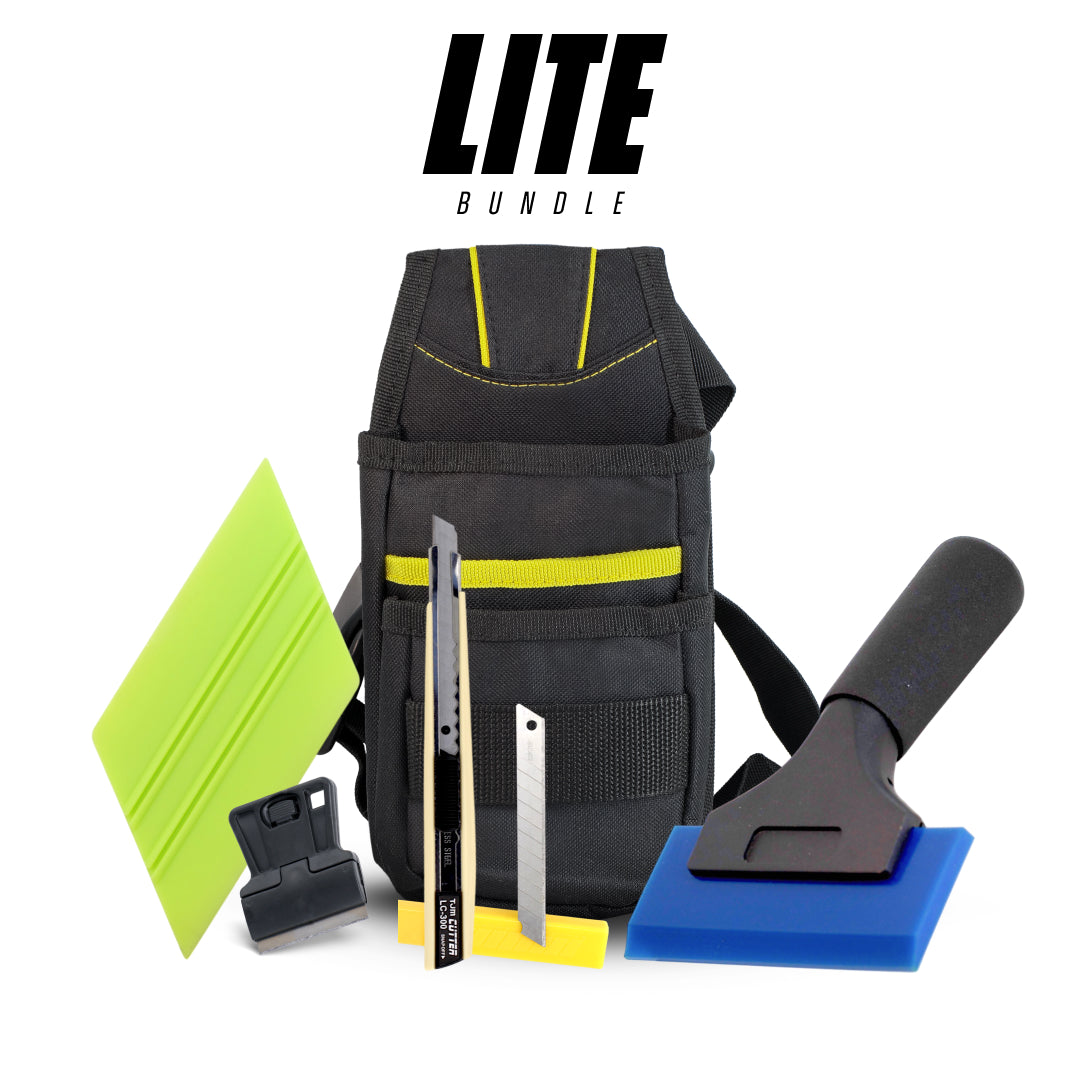
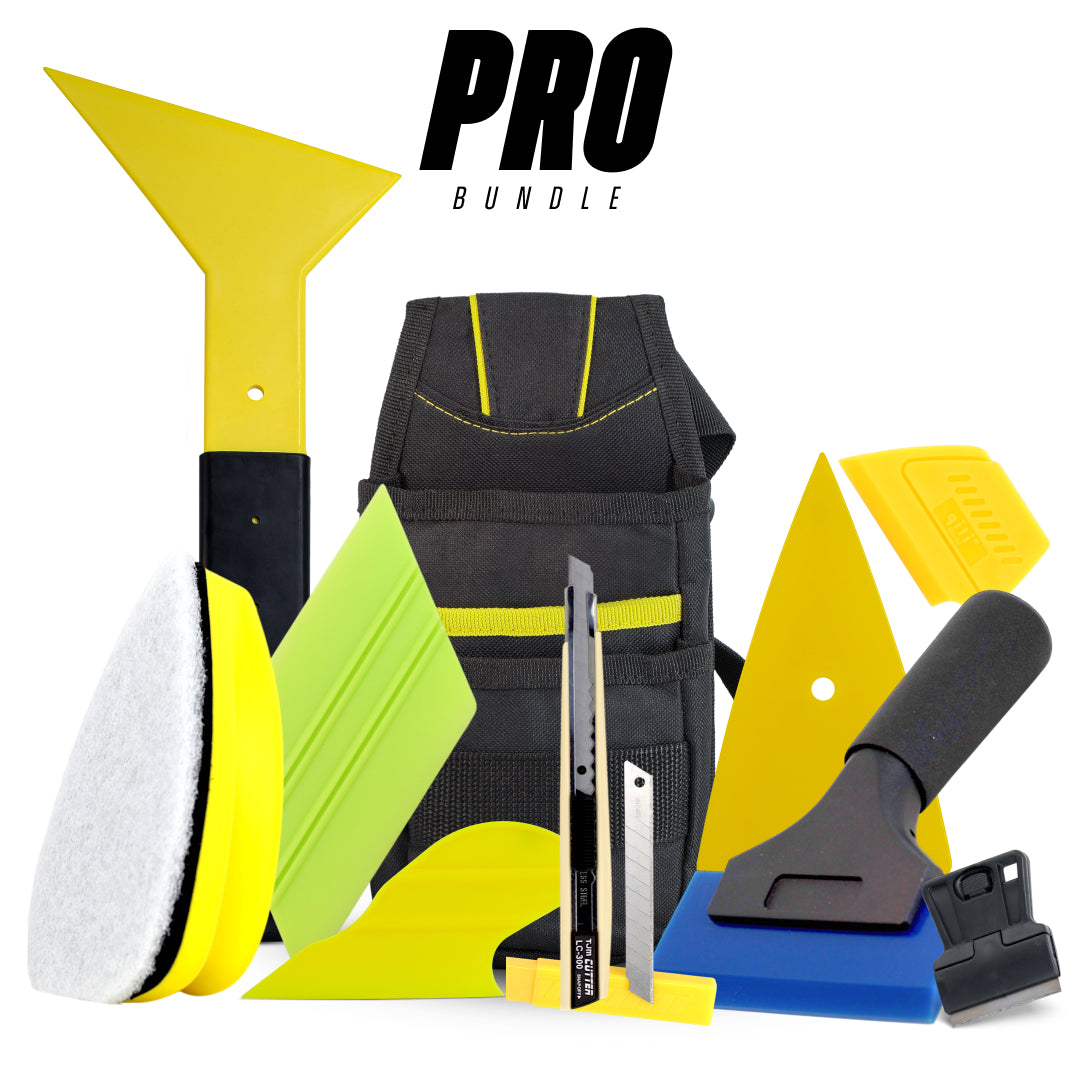
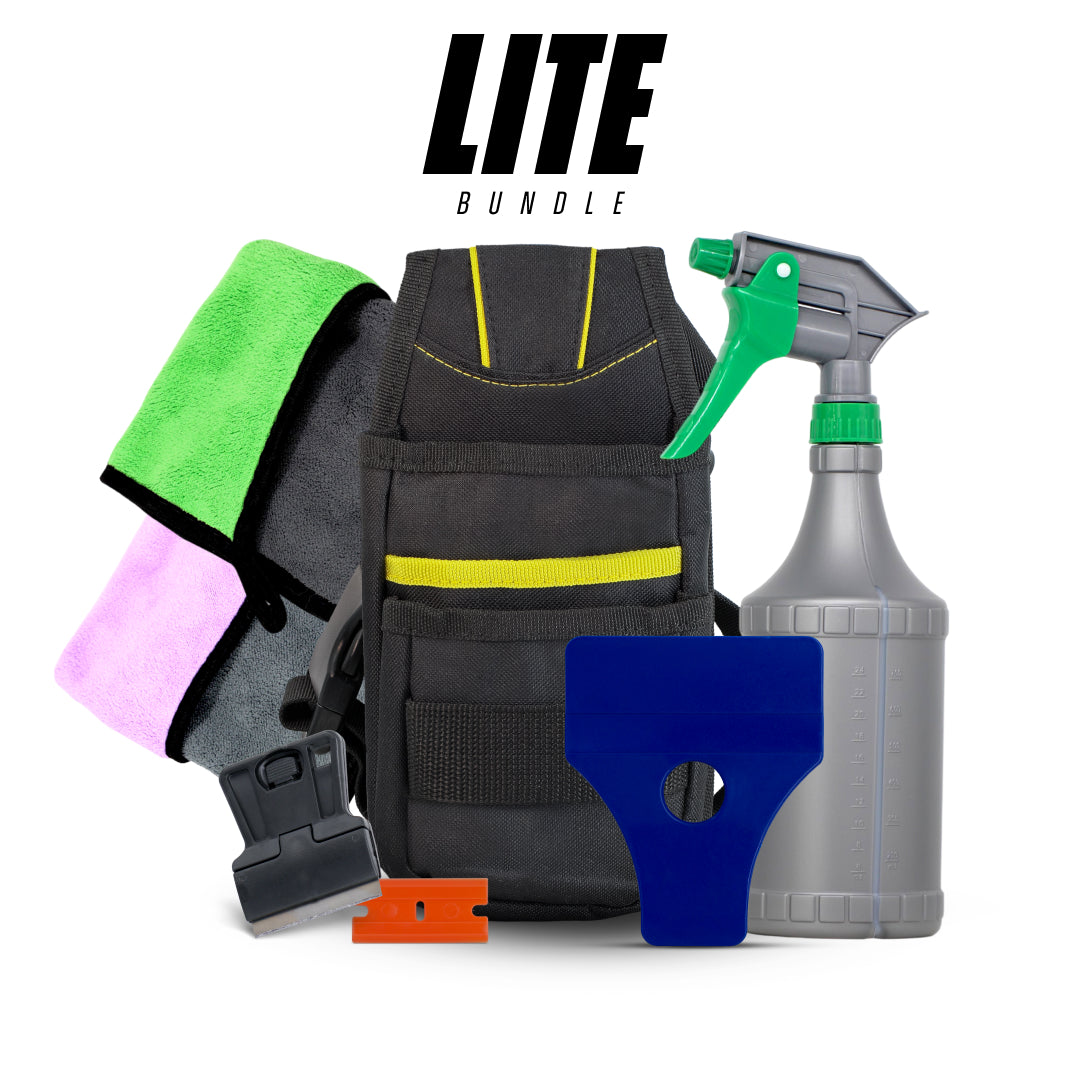
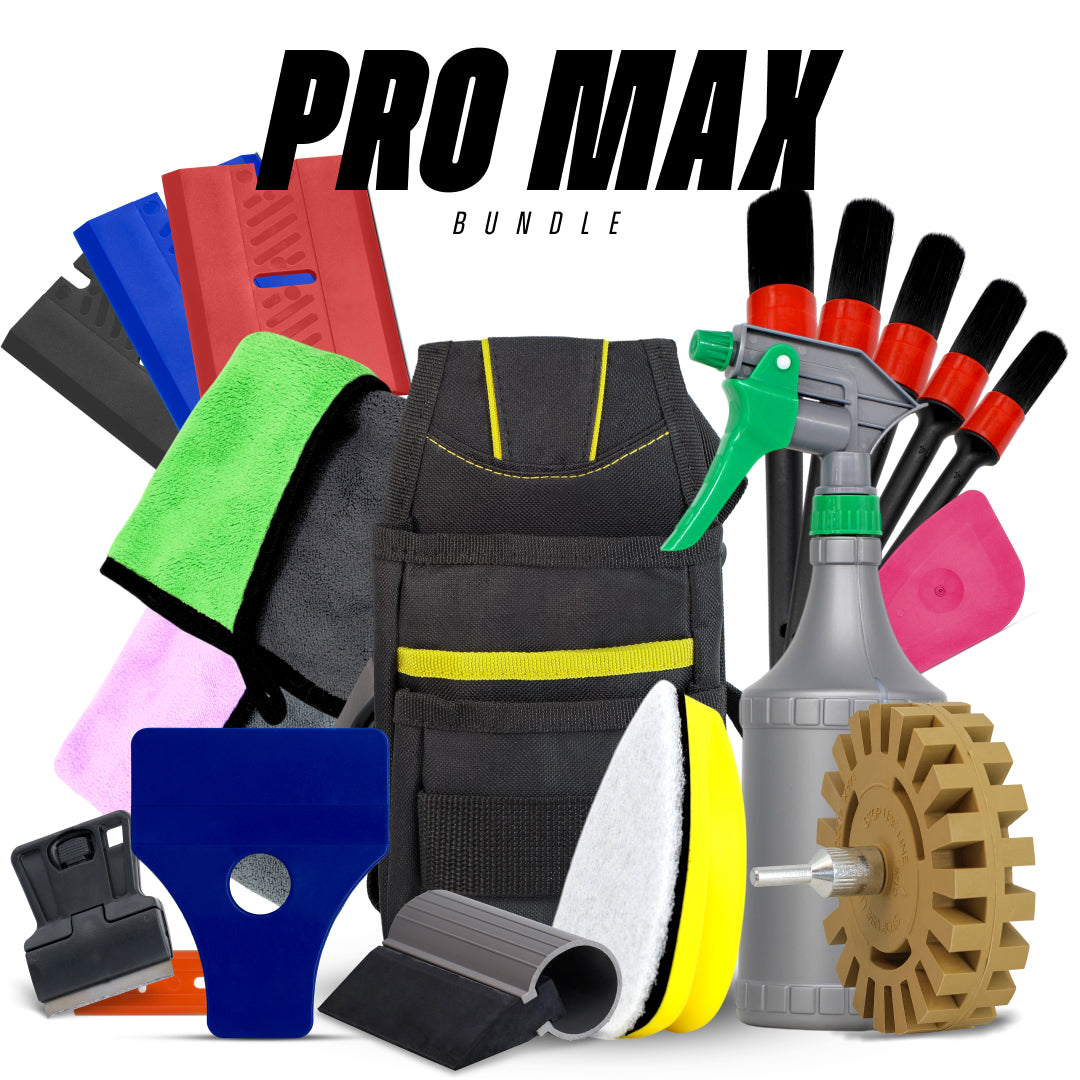
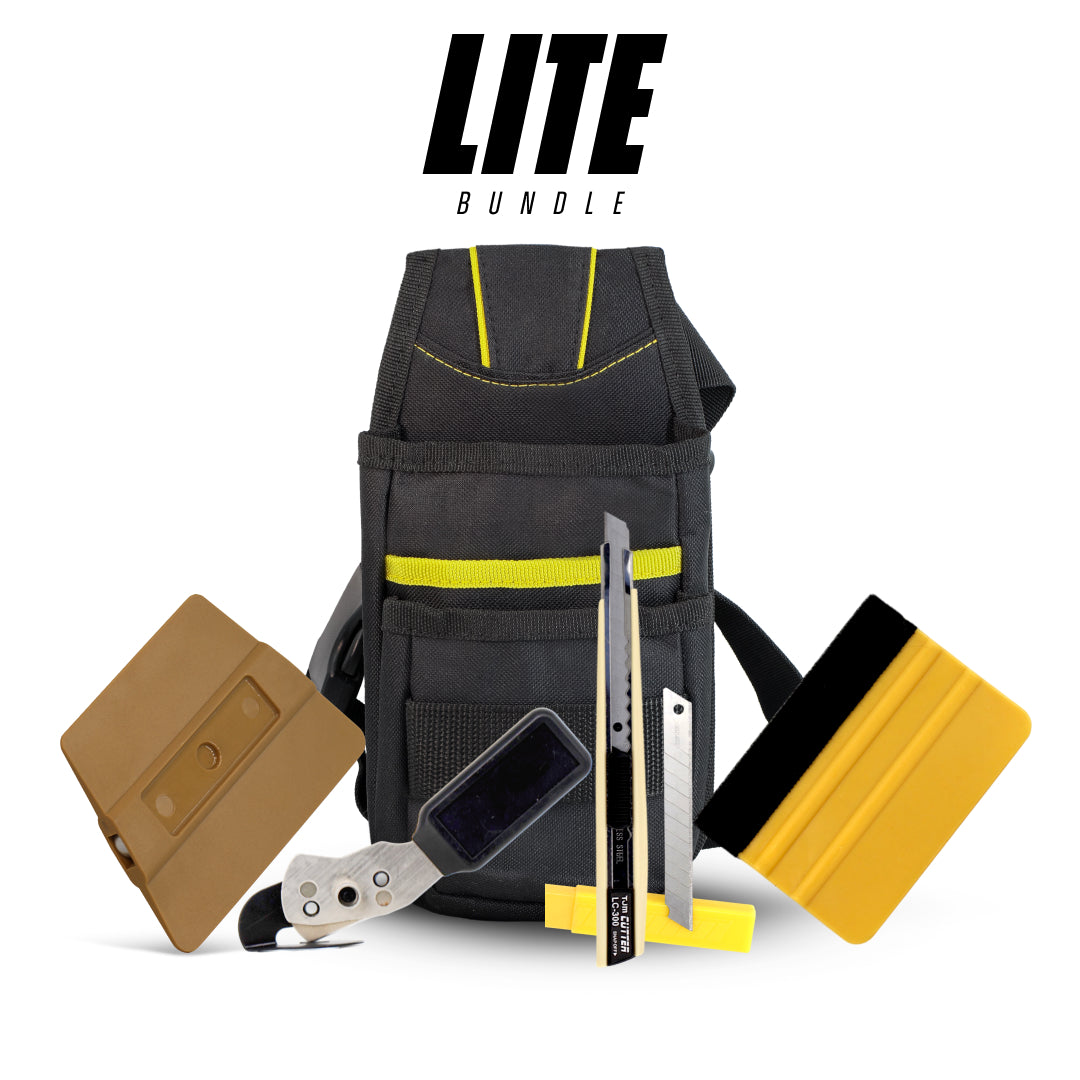
The Ultimate Starter Kit: What’s Included in a Quality Window Tint Tool Set?

A true window tint starter kit should feel like a toolbox with purpose, not a random collection of cheap plastic pieces. Whether you're a beginner trying to install tint for the first time or an intermediate installer looking to upgrade, the quality of your starter kit shapes everything from how easy your installs feel to how clean your final results look. A well-built tint tool set doesn’t just help you apply film, it teaches you the right techniques by giving you the proper tools from the beginning. The difference between a cheap kit and a quality one becomes obvious the moment you start smoothing the film, cutting the edges, or shrinking the rear window.
A proper kit always starts with a reliable squeegee set, usually including a medium-hard main squeegee for moisture removal, a softer one for delicate areas, and a couple of small edge squeegees for detail work. Kits that include well-known industry pieces like the Blue Max, Orange Crush, or Yellow Turbo immediately stand out because these squeegees provide the firmness and precision needed to extract water cleanly. Cheaper kits might include thin, flexible plastic squeegees that bend, chatter, or leave moisture behind, increasing the likelihood of bubbles and poor adhesion.
Next, a good kit includes a fine-mist spray bottle or pump sprayer. A poor-quality sprayer will deliver inconsistent streams, forcing you to apply too much or too little slip solution. Professionals know that the quality of your mist directly affects how your film glides and settles, so a controlled sprayer is non-negotiable. Also essential is a high-quality knife, ideally an Olfa stainless-steel snap-off blade. These knives cut tin cleanly without dragging, snagging, or leaving jagged edges. A good kit also includes multiple replacement blades, because in tinting, a sharp blade is safer and more precise than a dull one.
No starter kit is complete without cleaning and prep tools, such as a razor scraper (with stainless steel blades), lint-free towels, a scrub pad for removing residue, and a glass-safe scraper handle. These tools ensure that dust, adhesives, fingerprints, or micro debris don’t get trapped under the film. Quality kits also include hard cards and felt cards, which help smooth the film in tight areas without scratching it. Felt cards are especially important for dry shrinking or working with delicate ceramic films.
Another underrated component of a good starter kit is a basic heat gun. While beginners don’t need top-tier commercial heat guns right away, they do need a dependable model capable of even heating to avoid burning or warping the film. A poor heat gun delivers uneven temperatures, making shrinking unpredictable and frustrating.
For cleaner edges and fewer installation obstacles, many installers rely on part removal tools to safely lift seals, trims, and panels without causing damage →
What separates a high-quality tint tool set from a cheap one is the combination of durability, precision, and reliability. The best starter kits don’t overwhelm you; they equip you with exactly what you need to learn proper technique from day one. With the right kit in hand, even beginners can achieve professional-level results far faster than expected.
Best Squeegees for Window Tinting: Types, Uses & Recommendations
Squeegees are the heart of window tint installation. If you talk to any experienced installer, they’ll tell you that choosing the right squeegee can make the difference between a flawless, bubble-free tint job and a frustrating mess filled with streaks, creases, and trapped moisture. What makes squeegees so important is their ability to apply consistent, controlled pressure across the film, something no other tint tool can truly replicate. But not all squeegees are created equal. Different tint jobs require different levels of rigidity, flexibility, and edge shape, which is why professionals often carry five or more specialised squeegees for varying situations.
The Blue Max squeegee is the industry’s go-to for hard, aggressive water extraction. It’s designed to remove deep moisture during installation, especially on larger or flatter pieces of glass. Because of its stiffness, it’s not ideal for highly curved windows, but for rear windows with moderate curvature or homes and offices with flatter surfaces, it’s unbeatable. Then there’s the Orange Crush squeegee, slightly softer and more flexible, making it ideal for curved automotive windows. It applies strong pressure without forcing the film into creases, which is crucial when working around rounded edges.
Next, the Yellow Turbo squeegee stands out as a favourite for installers who like a comfortable grip and precise control. Its slim profile makes it excellent for edging, tucking, and working along tight seals. It moves smoothly across the glass and is often paired with a handle for added stability. Many installers also rely on mini squeegees, which come in various shapes, triangles, teardrops, and rectangles, to handle tiny corners and creases. These are lifesavers when working on quarter windows, triangular side windows, or deep corner pockets.
Soft squeegees, such as felt-wrapped versions, are perfect for dry shrinking and for working with delicate ceramic films that scratch easily. Their soft surfaces let you glide the film into place without risk of surface damage. Specialty squeegees with curved edges or channels are specifically designed for hard-to-reach or unusually shaped areas where standard squeegees would be too bulky.
If you want an all-in-one solution, our curated tint install tool kits include squeegees, scrapers, cards, blades, and more, so you have every essential tool ready from start to finish →
When choosing the best squeegee for any tint job, consider the film thickness, the curvature of the glass, and the pressure needed to remove moisture. For beginners, starting with an Orange Crush and a small detail squeegee is an excellent foundation. For professionals, having a complete lineup, Blue Max, Orange Crush, Yellow Turbo, felt cards, and micro squeegees, ensures you’re ready for any situation. The right squeegee doesn’t just improve your work; it transforms the entire installation process into something smoother, faster, and far more predictable.
The Role of Heat Guns in Window Tinting: How to Choose the Best One
A heat gun might look like a simple tool, just a device that blows hot air, but in window tinting, it becomes one of the most important pieces of equipment in your entire toolkit. Whether you’re shrinking film on a curved back window, softening the adhesive to help the film contour, or correcting small imperfections during installation, the heat gun gives you control over how the tint behaves. Without it, thick or high-performance films like ceramic and carbon simply won’t lie correctly on curved glass. What many beginners don’t realise is that a heat gun is not used to melt the tint; it’s used to shape it. Too much heat, and you scorch the film. Too little heat, and the film buckles or forms “fingers” that won’t lie flat.
Choosing the best heat gun starts with temperature control. Professional installers need a gun with adjustable settings because every tint film reacts differently to heat. Ceramic films require a slower, more controlled heat application, while dyed or carbon films are more heat-tolerant. A cheap heat gun with only “high” and “low” settings doesn’t offer the precision needed for clean, consistent shrinking. Ideally, you want a heat gun with digital temperature control or at least a multi-step dial that allows for small adjustments.
Another important factor is airflow consistency. Professional heat guns provide a steady, even stream of air that distributes heat smoothly across the film. Cheaper models tend to pulse or vary in temperature, which can lead to uneven shrinking. Uneven heat is one of the biggest causes of film distortion, tiger striping, and burnt edges. The weight and ergonomics of the heat gun also matter. Tint installers often hold the gun in awkward positions while shaping film, so a lightweight model with a comfortable grip reduces fatigue and prevents accidental overheating caused by hand strain.
Durability is another key factor. Heat guns used in professional tint shops run for long periods, sometimes hours at a time. Overheating or motor burnout is common with low-quality heat guns. Investing in a reputable brand ensures consistent performance and long-term reliability. Some installers even prefer dual-heat systems or heat guns designed specifically for automotive applications, as they provide better heat distribution for curved rear glass.
In the end, the heat gun is not just a tool; it’s your partner in shaping, shrinking, and perfecting the tint. With the right heat gun, your film will contour smoothly, shrink evenly, and bond flawlessly. With the wrong one, even the best tint film will fight you every step of the way.
Common Mistakes Installers Make When Using Window Tint Tools & How to Avoid Them

Even with high-quality tint tools in hand, many installers, especially beginners, but sometimes even seasoned professionals, make mistakes that can ruin an otherwise perfect tint job. Most of these mistakes don’t come from lack of effort but from misunderstanding how each tool is meant to be used. Window tint tools require precision, control, and awareness of how the film responds to pressure, heat, and moisture. When used incorrectly, they can create bubbles, creases, scratches, contamination, or uneven shrinkage. The good news? Every mistake listed below is completely avoidable once you understand the underlying cause and how to correct it.
One of the most common mistakes is using excessive pressure with squeegees. Many beginners assume that pressing harder will remove more water, but too much pressure actually creates drag, wrinkles, and distortion in the film. When you over-squeeze, the squeegee’s edge sticks to the film instead of gliding smoothly, leading to stretch marks and distortions. The solution is simple: apply firm but controlled pressure and always keep the slip solution evenly distributed. A properly lubricated surface lets the squeegee glide effortlessly without digging into the film.
Another frequent issue is improper use of heat guns. Overheating the film is a beginner’s nightmare; once a section of tint burns, melts, or warps, there’s no fixing it. Many installers hold the heat gun too close to the glass or keep it focused in one spot for too long, causing uneven shrinking or baked-in defects. Always keep the heat gun moving, maintain a consistent distance, and watch the film carefully as it reacts. When the tint begins to tighten evenly, you know you're applying the right amount of heat.
Using dull blades is another big mistake. A dull blade doesn’t cut; it drags. This results in jagged edges, torn film, or deep scratches in the glass. Professionals change blades constantly because they understand that cutting tint requires extreme sharpness. If you feel even the slightest resistance during cutting, snap off a new blade segment immediately. It’s better to go through 10 blades in one job than ruin a window.
Many installers also choose the wrong tool hardness for the wrong situation. For example, using a hard squeegee on a curved window creates creases, while using a soft one on thick ceramic film leaves moisture behind. The key is matching the tool to the job: soft tools for curves and delicate areas, harder tools for moisture extraction on flatter surfaces.
Lastly, contamination is a silent killer. If your tools aren’t perfectly clean, if your squeegee edge picks up dust, if your felt card touches the floor, or if your spray bottle has debris inside, you’ll embed particles directly into the tint. The solution is strict tool hygiene: wipe tools regularly, store them properly, and never set them down on dirty surfaces.
For beginners who prefer a ready-to-use setup, our window tint kits provide preselected tools that simplify installation and remove the guesswork around choosing equipment →
Avoiding these mistakes not only improves installation quality but also saves you time, film, and frustration. Master the tools, and you master the craft.
Essential Window Tint Tools for Home & Office Tint Installations
Tinting residential or commercial windows is a completely different challenge compared to automotive tinting. While cars have curved glass, tight seals, and smaller surfaces, home and office windows are larger, flatter, and sometimes more delicate, especially when dealing with double-pane glass, low-E coatings, or high-value storefront windows. Because of these differences, installers must rely on a slightly different category of tools designed specifically for architectural tinting. These tools help ensure smooth installation over large surfaces, prevent contamination, and deliver the clean, professional look customers expect in homes and businesses.
One of the most important tools in architectural tint installations is the large-format squeegee. Unlike the compact squeegees used on cars, residential and commercial windows benefit from wider squeegees that can push water across large panes quickly and evenly. This reduces the chance of streaks, trapped moisture, and air pockets. Professional architectural squeegees often come in 6- to 12-inch sizes with ergonomic handles to cover more ground with smoother strokes. Many installers swear by wide Blue Max or channel squeegees because they offer consistent pressure over larger surfaces.
Another essential tool is a high-capacity sprayer. Automotive sprayers are fine for small jobs, but when you're tinting an entire office wall, sunroom, or storefront, you need a pressurised pump sprayer capable of delivering a fine, controlled mist over a large area. Consistency matters even more with architectural film because uneven lubrication can cause the film to catch or crease during application. Larger sprayers also reduce downtime, allowing installers to maintain a steady workflow without constantly stopping to refill.
Architectural tinting also requires edge-sealing tools, which are critical for long-term durability. Unlike car windows, building windows often face weather exposure, moisture, and temperature fluctuations. Proper sealing around the edges prevents peeling, bubbling, and contamination, especially when applying film in kitchens, bathrooms, or storefronts exposed to direct sunlight. A high-quality edge-sealer tool ensures the film stays bonded securely.
Extension tools are another must-have for home and office installations. These include long-handled squeegees or reach tools that help installers work on tall or wide windows without using ladders for every movement. These tools not only save time but also improve safety by minimising climbing and stretching. In addition, scrub pads, heavy-duty glass cleaners, and professional-grade razors play a major role in prepping larger windows. Since architectural glass often holds more dust and residues than automotive glass, proper cleaning ensures a flawless finish.
Finally, specialty trimming tools help create clean, crisp edges along window frames, especially when dealing with vinyl, wood, or metal trim. Architectural tint often demands tighter precision because imperfections are far more visible on large, flat surfaces.
Since tinting often goes hand-in-hand with vinyl wrapping, you may also find our vehicle wrapping tools helpful for smoothing, trimming, and handling films across different surfaces →
With the right set of tools, home and office tint installations become significantly smoother, faster, and more consistent, making architectural tinting not just manageable but truly professional in appearance.
Plastic vs Metal Tint Tools: Which Should You Use for Different Tint Jobs?
Choosing between plastic and metal tint tools might seem simple at first, but experienced installers know that the material you use directly affects the safety, precision, and outcome of your tint job. Both materials have clear advantages, and both can also cause damage when used incorrectly. Understanding when to use each type is one of the biggest skill separators between beginners and professionals. The right choice helps you cut cleaner, smooth better, and avoid scratching delicate films or damaging glass surfaces.
Plastic tint tools, such as hard cards, squeegees, tri-edge tools, and soft cards, are designed for safe contact with the tint film itself. Because plastic doesn’t scratch the surface as easily as metal, it’s ideal for smoothing, tucking, edging, and shaping tint during installation. High-quality plastic tools are made with varying degrees of flexibility and hardness, helping installers match the tool to the job. Softer plastic tools, like felt-lined cards, are perfect for sensitive films such as ceramic tint or dry-shrinking applications. Harder plastics, like the Orange Crush or Blue Max, apply stronger pressure without risking film damage, especially essential when extracting moisture from underneath the tint.
Plastic tools are also superior for working around seals, moulding, and tight corners, because they bend without scratching paint or tearing rubber. That’s why many installation kits include several small plastic cards in different shapes. These tools let you reach areas that metal tools simply cannot access safely. For beginners, plastic tools provide more forgiveness, helping them practice techniques with minimal risk.
Metal tools, on the other hand, serve a completely different purpose. Metal is used primarily for cutting, scraping, and prepping, tasks that require strength and precision. Stainless steel razor blades, scrapers, and precision knives are essential for cleaning glass, removing old adhesive, and cutting film edges with sharp, controlled lines. Professionals rely heavily on metal tools because tinting demands extremely clean and straight cuts. A weak or dull plastic cutter simply cannot provide this level of accuracy.
However, metal must be used with extreme caution. A metal blade used at the wrong angle can scratch the glass, especially if the window has aftermarket tint or factory coatings. Using metal around painted or plastic trim can also cause accidental gouges. That’s why pros emphasise blade control and constant blade changes; a sharp blade is safer than a dull one.
Surface prep is crucial for tint projects, and using the right cleaning tools ensures the glass is perfectly free of dust, oils, and debris before applying film →
In practice, the best approach is to combine both materials strategically. Use plastic tools for smoothing and shaping the film; use metal tools for cutting, trimming, and prepping. This hybrid method ensures that each tool is used for its intended purpose, minimising risk and maximising precision. Understanding the strengths and limitations of each allows you to elevate your technique and deliver a flawless tint job every time.
The Best Window Tint Tools for Curved Glass and Hard-to-Reach Areas

Curved windows and tight corners are where tint installers are truly tested. Even with perfect technique, the wrong tool can force the film to crease, bunch, or trap moisture. Vehicles with sharply curved rear windows, deep side corners, or unusually shaped quarter glass demand tools that offer flexibility, precision, and reach. These tools don’t just make the job easier; they make previously impossible areas manageable, especially when working with thick ceramic or carbon films that resist bending. Understanding which tools perform best in these tricky situations is essential for professional-quality results.
One of the most relied-upon tools for curved surfaces is the contour card. These are shaped to match common window curves, allowing installers to glide along the glass without creating pressure points that can wrinkle the film. Contour cards provide a smooth, even push that follows the arc of the glass naturally. Because they distribute pressure more gently than flat cards, they’re ideal for shrinking and smoothing film on rear windows. They also help eliminate the “fingers” that form when tint resists conforming to curves.
Another essential tool for hard-to-reach areas is the tri-edge tool. Its triangular shape provides three different working edges, each designed for different tight spots such as window corners, side mouldings, and deep seals. The pointed edge is especially useful for tucking film without bending or tearing it. These tools often come with felt-lined or Teflon-coated edges to prevent scratching while maintaining firm pressure.
For installers who frequently work on complex curves, micro squeegees are a game-changer. These mini tools fit into narrow corners where standard squeegees can’t reach. They’re commonly used on pickup truck back windows, small quarter windows, and the deep edges near window seals. Their flexible yet sturdy construction allows installers to push out moisture precisely without lifting the film.
Another favourite among professionals is the Yellow Turbo squeegee, especially when paired with a handle. Its slender, flexible blade conforms beautifully to curved surfaces, providing strong, consistent pressure. Because it’s thinner than most full-size squeegees, it can reach deeper into curved areas where the Blue Max or Orange Crush might struggle.
For extreme curves, like the steep back windows of sports cars, installers rely heavily on heat guns paired with curved-edge tools. The combination allows tint to shrink smoothly and evenly across the shape of the window. Specialty tools with bevelled or rounded edges help guide the film as it tightens, preventing creases and ensuring perfect contouring.
Lastly, Teflon cards are invaluable for hard-to-reach and high-friction areas. They offer low resistance, letting you push film without dragging or scratching. Their slick surface is ideal for navigating tight areas where standard plastic would catch.
If your glass has an old tint or residue that needs to be removed, our decal removal tools make it easier to scrape off stubborn adhesive without scratching the surface →
When working with curved or tight spaces, the secret isn’t brute force; it’s choosing tools shaped and designed for the challenge. With the right combination, even the most complex windows become manageable, leaving a clean, professional finish every time.
How to Maintain Your Window Tint Tools for Long-Lasting Performance
Maintaining your window tint tools is one of the most overlooked, but essential, parts of being a successful installer. Whether you’re a weekend DIYer or a full-time professional, your tools determine the quality of every film you install. Clean, sharp, well-maintained tools result in smooth edges, flawless squeegee strokes, and bubble-free surfaces. Poorly maintained tools, on the other hand, can cause streaks, scratches, uneven pressure, or even film contamination. The good news is that proper tool maintenance isn’t complicated; it just requires consistency, awareness, and a few simple habits.
Start with the most important maintenance rule: keep every tool clean. Squeegees should be wiped frequently during installation to prevent dust or debris from grinding into the film. A single grain of sand stuck to the edge of your squeegee can leave a long, permanent scratch across the tint. Professional installers clean their squeegees before every window and often rinse them between strokes. Hard cards, felt cards, tri-edge tools, and contour tools should also be cleaned regularly. Felt cards in particular collect dust quickly, so lightly spraying them with slip solution and wiping them down helps prevent contamination.
Proper blade maintenance is just as critical. Blades must always be sharp. Never try to stretch a blade beyond its lifespan. If you feel even a hint of resistance while cutting, snap off a fresh segment immediately. Dull blades drag across the film, leaving jagged cuts or tearing the edges. Many installers go through multiple blades per job, and that’s not wasteful; it’s responsible. Store blades in a dry container to prevent rust, and always dispose of used blades safely in a dedicated blade bin.
Heat guns require maintenance as well. Dust can build up inside the vents, restricting airflow and causing the gun to overheat. A quick blow-out with compressed air every few days extends its life and ensures consistent heat output. Check the cord occasionally for any signs of wear, and never wrap the cord tightly around the gun; it weakens the internal wiring.
Sprayers need just as much attention. Slip solution tends to leave residue inside bottles, hoses, and nozzles. At the end of each day, rinse your sprayer thoroughly with warm water to prevent clogs. A clogged sprayer can ruin your workflow by delivering inconsistent mist patterns or sudden bursts of water. If your sprayer uses a pump system, lubricate the internal seals occasionally with a bit of silicone-safe lubricant to maintain smooth pressure.
One of the biggest maintenance mistakes installers make is improper tool storage. Tools should never be thrown into a box where edges can get damaged or collect dirt. Instead, store them in a clean, dry toolkit with separate compartments. Felt cards should be kept away from metal tools. Squeegees should be stored flat to prevent warping. Blades should always be capped or retracted to avoid accidents and contamination.
Many installers who work with tint also handle paint protection film, and our PPF tools offer high-quality squeegees and blades suitable for both applications →
By taking just a few minutes each day to clean, inspect, and properly store your tint tools, you extend their lifespan dramatically and guarantee better results on every job. High-quality installations don’t just depend on skill; they depend on tools that perform like new every time you pick them up.
Why High-Quality Window Tint Tools Matter: Speed, Precision & Durability
High-quality window tint tools aren’t just a luxury; they’re a necessity for anyone who wants clean, professional, and long-lasting results. Many beginners underestimate how dramatically the quality of their tools impacts their workflow and the final appearance of the tint. Professionals know that even the best technique will only take you so far if your squeegee is too soft, your blade is too dull, or your heat gun is inconsistent. Every tool plays a role, and when each one is built with precision and durability, your job becomes faster, smoother, and far more predictable.
One of the biggest advantages of premium tint tools is speed. Quality tools help installers complete jobs in half the time because they’re designed to work with you, not against you. A high-grade squeegee, like the Orange Crush or Blue Max, pushes more water in fewer strokes. A professional sprayer delivers a consistent mist so you don’t have to fight dry spots or over-saturated film. A strong heat gun shrinks the tint evenly, eliminating wasted time fixing fingers and creases. When every tool performs efficiently, your entire installation process becomes dramatically faster, without sacrificing quality.
Precision is another major benefit of professional tools. Clean cuts, smooth edges, and even pressure are only possible when your tools are designed for accuracy. A cheap knife may wiggle or flex during cutting, leaving jagged or uneven lines. A low-quality squeegee may chatter or skip, creating streaks or air pockets. This lack of control leads to imperfections that are difficult, or impossible, to correct once the film is applied. With high-quality tools, however, each movement is predictable. Blades slice cleanly, squeegees glide smoothly, and specialty tools reach corners without bending the film. Precision tools eliminate guesswork, giving you full control over your installation.
Durability is another huge advantage. While cheap tools wear out quickly, crack under pressure, or lose their edges after a few uses, professional-grade tools are built to last. They withstand repeated use, high pressure, heat exposure, moisture, and long workdays. A durable tool saves you money in the long run by eliminating constant replacements while maintaining the same high level of performance. A professional-grade heat gun won’t burn out during a shrinking session. A premium hard card won’t warp in the sun. A strong squeegee won’t lose its edge or degrade after a few installs.
Most importantly, high-quality tools help reduce mistakes. When tools behave predictably, installers can focus on technique instead of fighting equipment. Fewer mistakes mean less wasted film, fewer do-overs, happier customers, and more confidence during every job. Whether you’re a beginner learning your way or a seasoned installer perfecting your craft, investing in high-quality tint tools is the single most effective way to improve your tinting results overnight.
For installers who regularly switch between tint, PPF, and vinyl wraps, our wrap squeegees provide versatile performance and help maintain consistent pressure and smoothness →
Using the right tools isn’t just about convenience; it directly affects the quality, durability, and visual appeal of every window you tint. In the world of window film, precision tools create precision work.
FAQs
1. What is the best tint tool for beginners?
A medium-hard squeegee paired with a felt-lined card is ideal for beginners because it offers control without being too aggressive.
2. How often should tint blades be replaced?
Blades should be replaced or snapped to a fresh edge whenever you feel resistance. Professionals change blades several times per job.
3. Do professional tint tools really make a difference?
Absolutely. High-quality tools improve speed, precision, and durability, leading to smoother installations and fewer mistakes.
4. What’s the best squeegee for curved automotive glass?
The Yellow Turbo and Orange Crush are favourites for curved surfaces due to their flexibility and ability to push moisture evenly.
5. Can you tint windows without a heat gun?
You can install flat glass film without a heat gun, but automotive tinting, especially on curved windows, requires one for proper shrinking.
Conclusion
Window tinting is a craft that blends technique, patience, and, most importantly, the right tools. Whether you’re a beginner learning how to apply film for the first time or a seasoned professional refining your workflow, the tools you choose determine everything from how easily the film lies to how clean the final result appears. Squeegees, blades, cards, scrapers, heat guns, contour tools, and sprayers each play a unique role in shaping, smoothing, cutting, and perfecting tint on both automotive and architectural glass. When used correctly, these tools allow you to work efficiently and produce results that look seamless, bubble-free, and professionally finished.
From understanding the differences between beginner and professional tools to choosing the right tint tools for any vehicle or building, this guide has walked you through every essential element of the trade. You’ve learned how squeegees vary in hardness and use, why heat guns matter for film shrinkage, how blades shape precision cuts, and how specialised tools help with curved glass and tight corners. Even more importantly, you now know how to avoid common mistakes, maintain your tools properly, and invest in the right tools for your budget and skill level.
At the end of the day, great tinting isn’t just about the film; it’s about the tools behind it. When you equip yourself with the right window tint tools, you gain control, confidence, and the ability to achieve results that stand up to professional standards. Whether you’re tinting a car, a home, or a commercial building, the insights and tools covered here will help you approach every installation with the expertise needed to succeed.
Are you unsure which tool or kit is right for your job?
Our expert team at Oz Sign Supplies is here to help. Reach out today, and we’ll direct you to the best tools to suit your project, ensuring you get the job done right the first time.


Leave a comment
This site is protected by hCaptcha and the hCaptcha Privacy Policy and Terms of Service apply.