


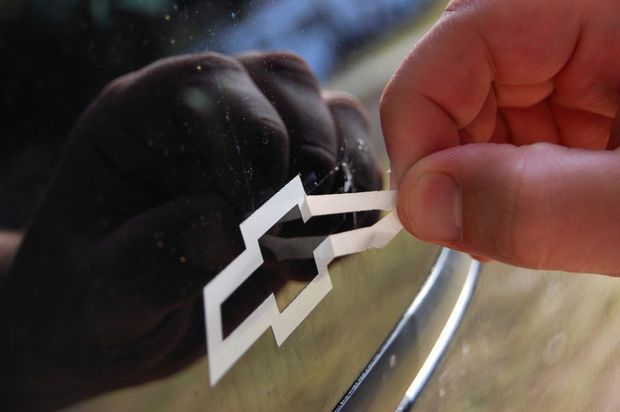
The safest way to remove a car decal without damaging your paint is to warm the decal with gentle heat, peel it back slowly at a low angle, remove any remaining adhesive with a dedicated adhesive remover, then polish the area to restore an even finish. Using the correct tools and taking your time helps minimise the risk of paint damage, scratches, or adhesive residue.
Car decals, stickers, and vinyl wraps have become more than just decorations; they’re personal statements, advertisements, or even protective layers for your vehicle. You’ve probably seen cars with sports team logos, brand stickers, or witty bumper stickers. While these decals may look great for a while, the time often comes when they need to be removed, whether you’re selling your car, updating your style, or simply tired of the old look.
The process of removing car decals safely is something every car owner should understand. A hasty approach or using the wrong tools can easily scratch the paint, leave stubborn adhesive residue, or even cause permanent damage to the clear coat. This is why knowing the right decal removal tools and methods is critical.
In this article, we’ll explore not only the step-by-step guide to removing car decals without harming your paint but also the best practices, tools, and professional tips to make the process seamless. If you’ve ever wondered how to tackle car sticker removal efficiently, you’re in the right place.

Tools You'll Need
Using the right tools makes decal removal faster, safer, and far less likely to damage your vehicle's paintwork.
Before you begin, gather:
- A heat gun or hair dryer
- Plastic razor blade or plastic scraper
- Microfibre cloths
- Automotive adhesive remover
- Car wash soap
- Paint-safe polish (if required)
For stubborn decals, professional installers often use a caramel eraser wheel, which safely removes vinyl and adhesive without using metal blades. When used correctly at the recommended drill speed, it can dramatically reduce removal time while helping protect the factory paint.
Recommended products:
Browse our Decal Removal Tools Collection to find professional decal and adhesive removal tools suitable for DIY users and installers.
Use the Caramel Eraser Wheel for fast removal of aged vinyl decals, stickers, pinstripes and adhesive residue.
Understanding Car Decals and Their Impact on Paint

Before we jump into removal techniques, it’s worth understanding what car decals are made of and how they interact with your car’s paint.
Car decals are typically made of vinyl materials with adhesive backing. Depending on the manufacturer and intended use, they can range from lightweight, removable stickers to heavy-duty decals designed to last years in harsh weather. The adhesive used in these decals is pressure-sensitive, meaning the longer it stays, the stronger it bonds to your car’s surface.
Over time, decals can cause issues such as:
Paint fading: Areas covered by stickers often remain brighter than exposed areas, leading to a noticeable colour difference once removed.
Residue build-up: Adhesives can dry out or harden, making it difficult to clean the surface after removal.
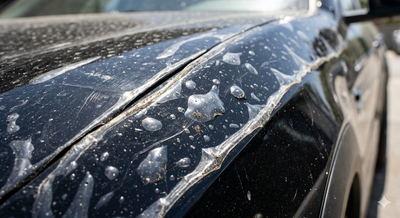
Clear coat stress: Poor-quality decals or improper removal can chip the clear coat, exposing your paint to damage.
This is why choosing the right decal removing tool and technique matters. Not all stickers peel off easily, and some may require heat, solvents, or specialised adhesive removers. Understanding the type of decal you’re dealing with helps you pick the safest removal strategy.

Installer tip
Warm the decal gradually with a heat gun or hair dryer, then peel it back slowly at a shallow 30–45° angle to reduce stress on the paint. Use a plastic scraper and automotive-safe adhesive remover for stubborn residue, rather than metal blades or harsh chemicals.
Step 1: Warm the Decal
Applying gentle heat softens both the vinyl and the adhesive underneath, making the decal much easier to remove.
Use a heat gun on a low setting or a household hair dryer, keeping it moving continuously around 10–20 cm from the surface. The decal should feel warm to the touch, not excessively hot.
Avoid concentrating heat in one spot for too long, particularly on older paint or plastic vehicle components.
Step 2: Peel from a Corner
Once the adhesive has softened, lift one corner using your fingernail or a plastic scraper.
Pull the decal back slowly at a shallow angle (around 30–45 degrees) rather than pulling straight away from the panel. A low peel angle places less stress on the paint and often allows the adhesive to release more cleanly.
If the decal becomes difficult to remove, apply additional heat before continuing.
Step 3: Remove Remaining Adhesive
Even after the vinyl has been removed, adhesive residue often remains on the surface.
Apply an automotive-safe adhesive remover according to the manufacturer's instructions and allow it to dwell briefly before wiping away the residue with a clean microfibre cloth.
For particularly stubborn adhesive, a caramel eraser wheel can remove residue quickly without resorting to aggressive scraping, provided it is used correctly.
Step 4: Wash and Polish the Area
After all adhesive has been removed, wash the panel to eliminate any remaining chemical residue.
Inspect the paint under good lighting. If you notice minor hazing or light marks left by the decal adhesive, a quality finishing polish can usually restore the gloss and create a more even appearance.
Finally, apply a wax or paint sealant to protect the freshly exposed paint.
What If the Paint Has Faded Around the Decal?
One of the most common surprises after removing an old decal isn't paint damage, it's discovering that the surrounding paint has faded over time.
This happens because the decal protected the paint underneath from years of UV exposure, while the exposed paint gradually oxidised and changed colour. Once the decal is removed, the protected area may appear darker or glossier than the surrounding panel.
In many cases, a professional machine polish can significantly reduce the difference by removing oxidation from the surrounding paint. However, if the vehicle has experienced extensive UV exposure over many years, some colour variation may remain permanently.
This isn't caused by the removal process, it reflects the natural ageing of automotive paint over time.
With more than 15 years supplying professional wrap and signage installers across Australia, we've seen this on everything from work utes and commercial fleets to passenger vehicles. Experienced installers always assess the paint condition before beginning decal removal so realistic expectations can be set, particularly on older vehicles.
Common mistake
Avoid rushing the removal process or applying excessive heat and pressure. Metal blades, aggressive scraping, and harsh solvents can scratch the clear coat, damage paint, or leave dull spots behind.
Common Mistakes to Avoid During Car Decal Removal

Even with the right tools, many car owners make mistakes that end up causing more harm than good. Removing a decal might look straightforward, but improper techniques can leave you with scratches, stubborn adhesive patches, or even damaged paint. Let’s break down the most common mistakes, so you know exactly what to avoid.
Using the Wrong Tools: One of the biggest errors is reaching for metal tools like razor blades or knives. While they may seem like a quick fix for scraping, they’re notorious for causing deep scratches and chips in the paint. Instead, stick to plastic scrapers, old credit cards, or professional decal removal tools that are designed to be gentle on car surfaces.
Another mistake is relying solely on household cleaning chemicals like bleach or acetone. These may remove the glue but can also strip the clear coat, leaving dull or damaged spots. Always use products made for car sticker removal or safe alternatives like rubbing alcohol or citrus-based removers.
Rushing the Process: Impatience often leads to damage. Many people try to yank decals off in one go, only to find the sticker tearing into tiny pieces or leaving thick layers of adhesive behind. The correct method requires slow and steady peeling, usually with heat applied in stages. Think of it like peeling a bandage; quick yanks hurt more and leave a bigger mess.
Applying Too Much Heat or Pressure: While heat is essential in loosening adhesives, there’s such a thing as too much. Holding a heat gun too close or using a high setting can scorch your car’s paint and even warp plastic trim. The same applies to scraping; using too much force can gouge the surface. Gentle pressure is key here.
Ignoring the Residue: Some car owners stop once the sticker is gone, ignoring the sticky film left behind. Over time, this residue attracts dirt, dust, and grime, making the spot more noticeable. Always finish the process with a good adhesive remover and a thorough wash to restore a smooth finish.
By avoiding these mistakes, you’ll save yourself the headache of costly paint repairs and keep your car looking spotless even after decal removal.
Avoiding these mistakes helps prevent damage and ensures a smooth finish:
- Using sharp tools that can scratch paint
- Applying too much heat in one area
- Skipping adhesive remover and forcing residue off
- Rubbing too aggressively with rough materials
To remove decal residue without damaging car paint, apply gentle heat, use an automotive adhesive remover, wipe with a microfibre cloth, and avoid sharp tools or harsh chemicals.
How to Remove Old or Sun-Baked Decals Safely

Old or sun-baked decals can be difficult to remove because prolonged exposure to heat and UV causes the adhesive to harden and bond more strongly to the paint surface. Attempting to remove them without the right method can lead to paint damage, residue buildup, or uneven finish.
Step 1: Clean the Surface First
Before applying heat or chemicals, clean the area to remove dirt and debris. This prevents scratching the paint during removal.
Step 2: Apply Controlled Heat Gradually
Use a heat gun or hair dryer to slowly warm the decal. Sun-baked decals require more time to soften, so keep the heat moving to avoid overheating the paint.
Tip: Work in small sections rather than heating the entire decal at once.
Step 3: Peel Slowly at a Low Angle
Start lifting the edge of the decal and peel it back slowly at a shallow angle. This reduces the risk of tearing and helps lift more adhesive with the vinyl.
If the decal cracks or breaks, reapply heat and continue in smaller sections.
Step 4: Use Adhesive Remover for Residue
Older decals often leave behind stubborn adhesive. Apply an automotive-safe adhesive remover and allow it to break down the residue before wiping.
Repeat as needed until the surface is clean.
Step 5: Use an Eraser Wheel for Heavy Adhesive (Optional)
For extremely stubborn residue, an eraser wheel attached to a drill can safely remove adhesive without damaging paint when used correctly.
Use light pressure and keep the wheel moving to avoid heat buildup.
Step 6: Final Clean and Paint Protection
Finish by washing the area and applying wax or paint protection to restore shine and protect the surface.
To remove sun-baked decals, apply gradual heat, peel slowly at a low angle, use adhesive remover for residue, and finish with cleaning and paint protection to avoid damaging the paint.

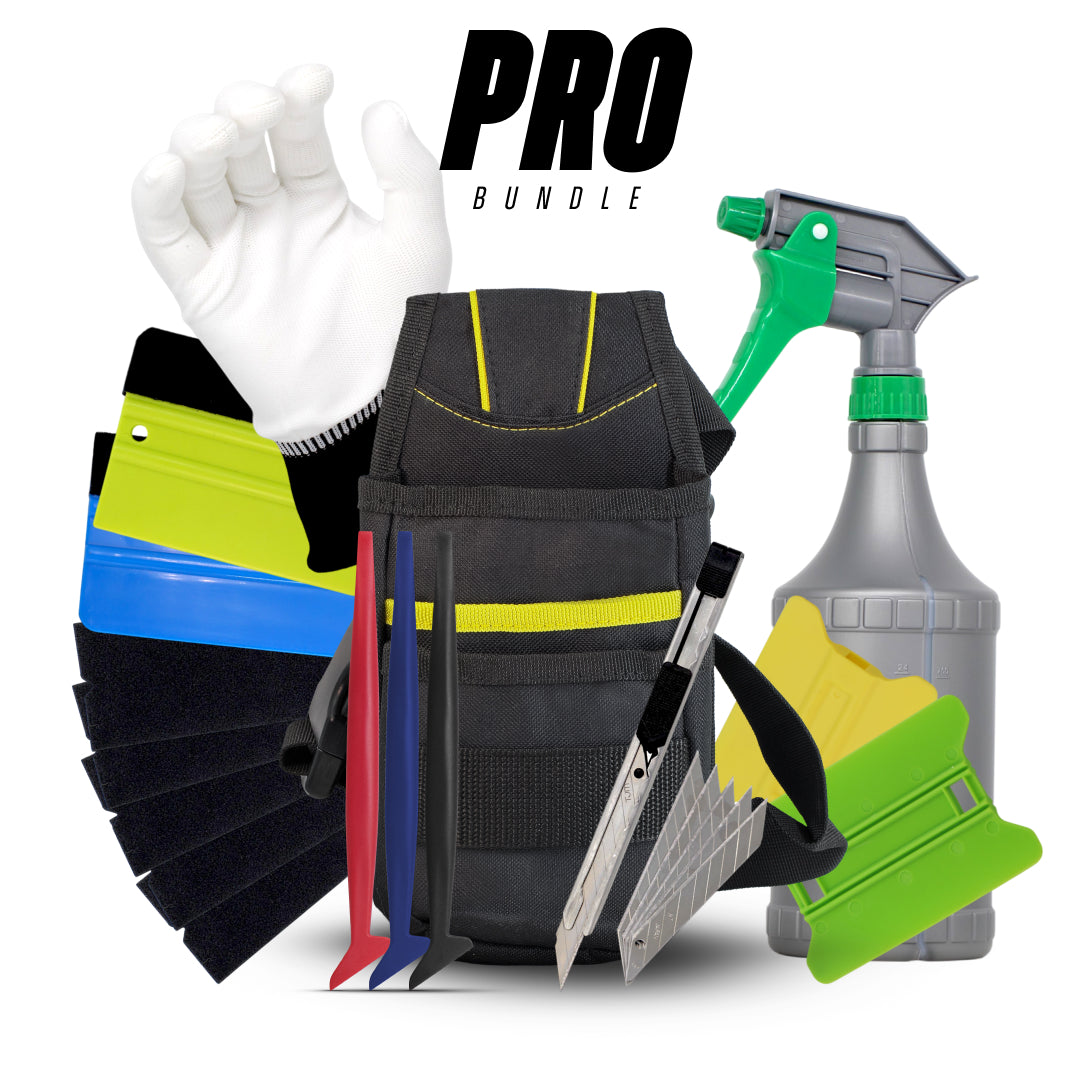
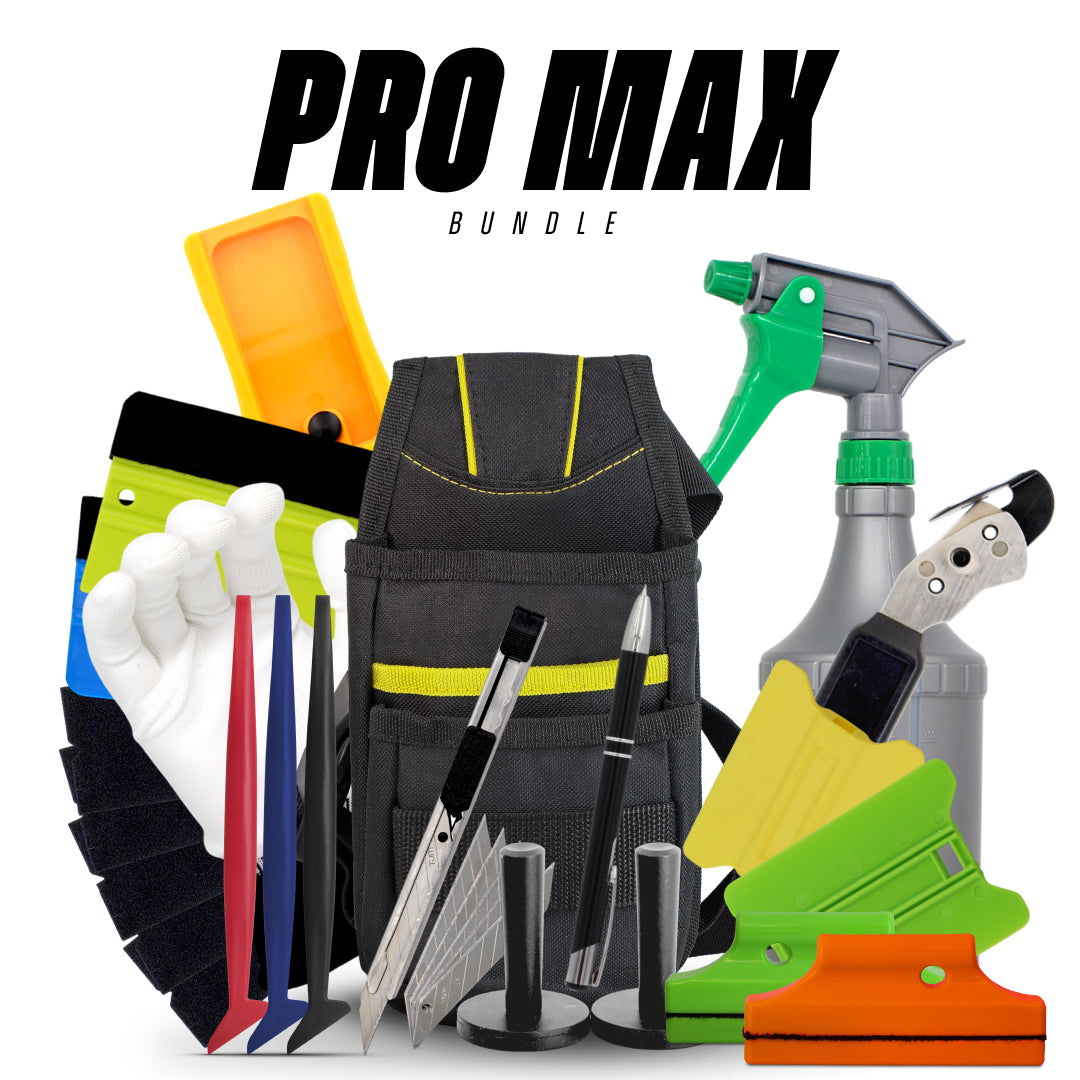
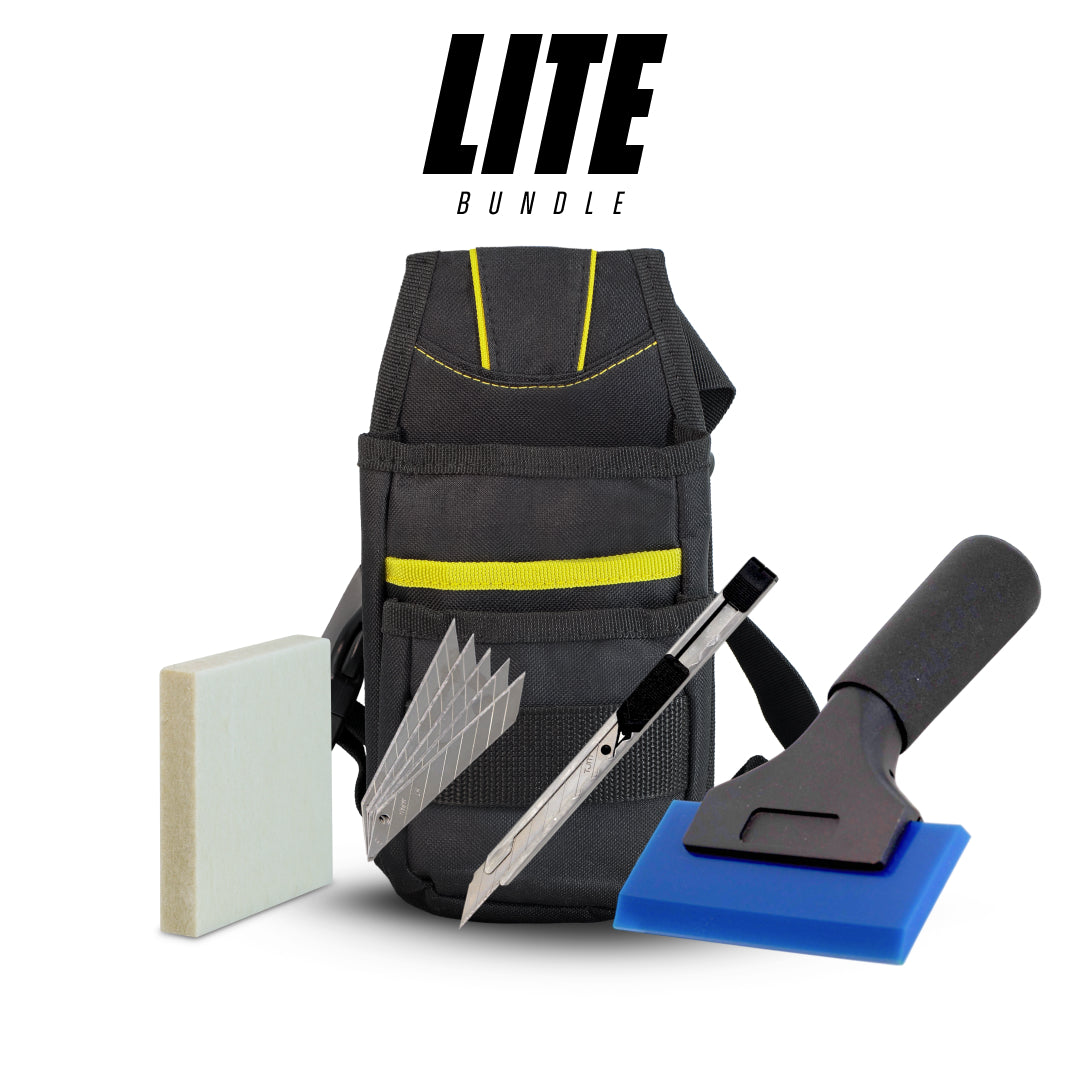
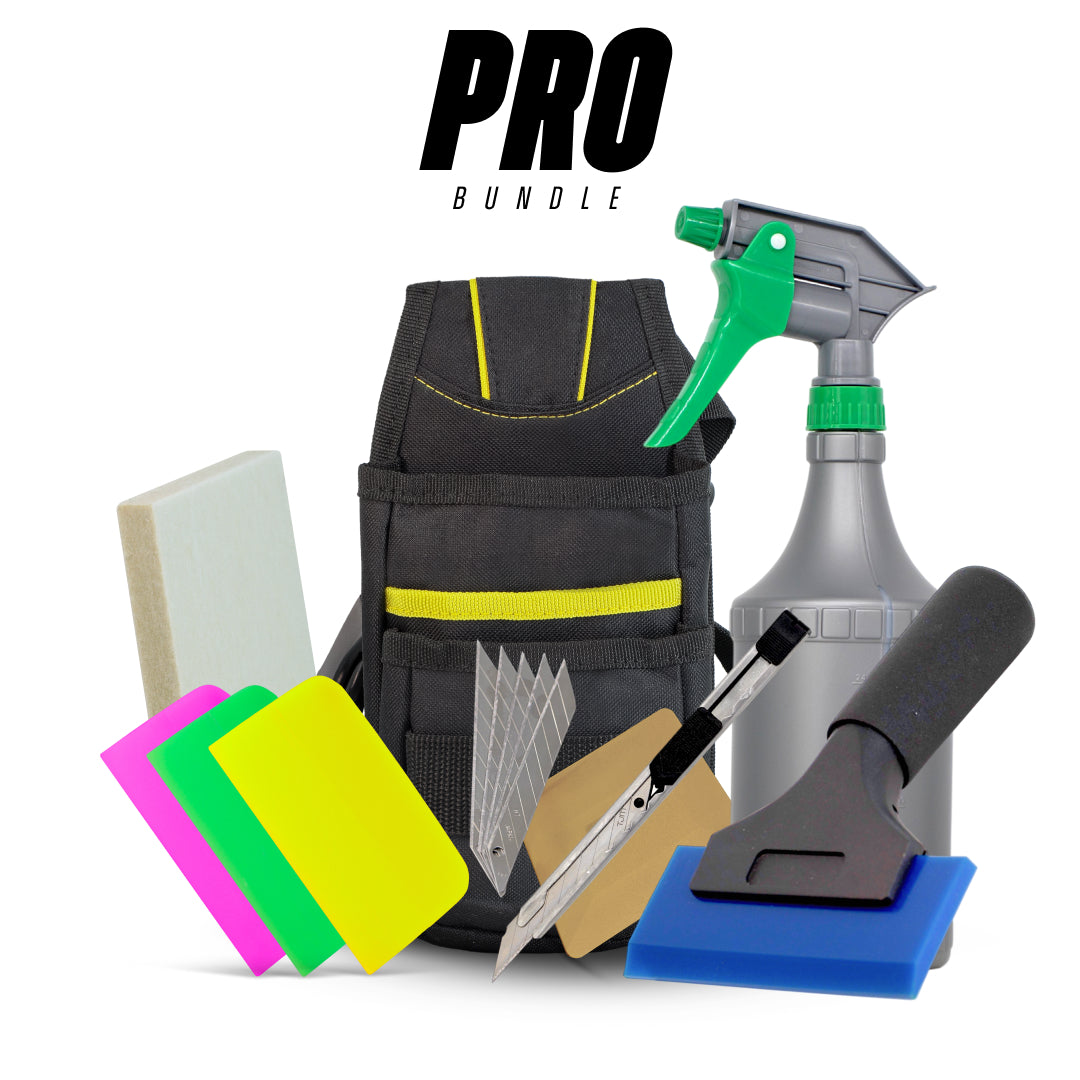
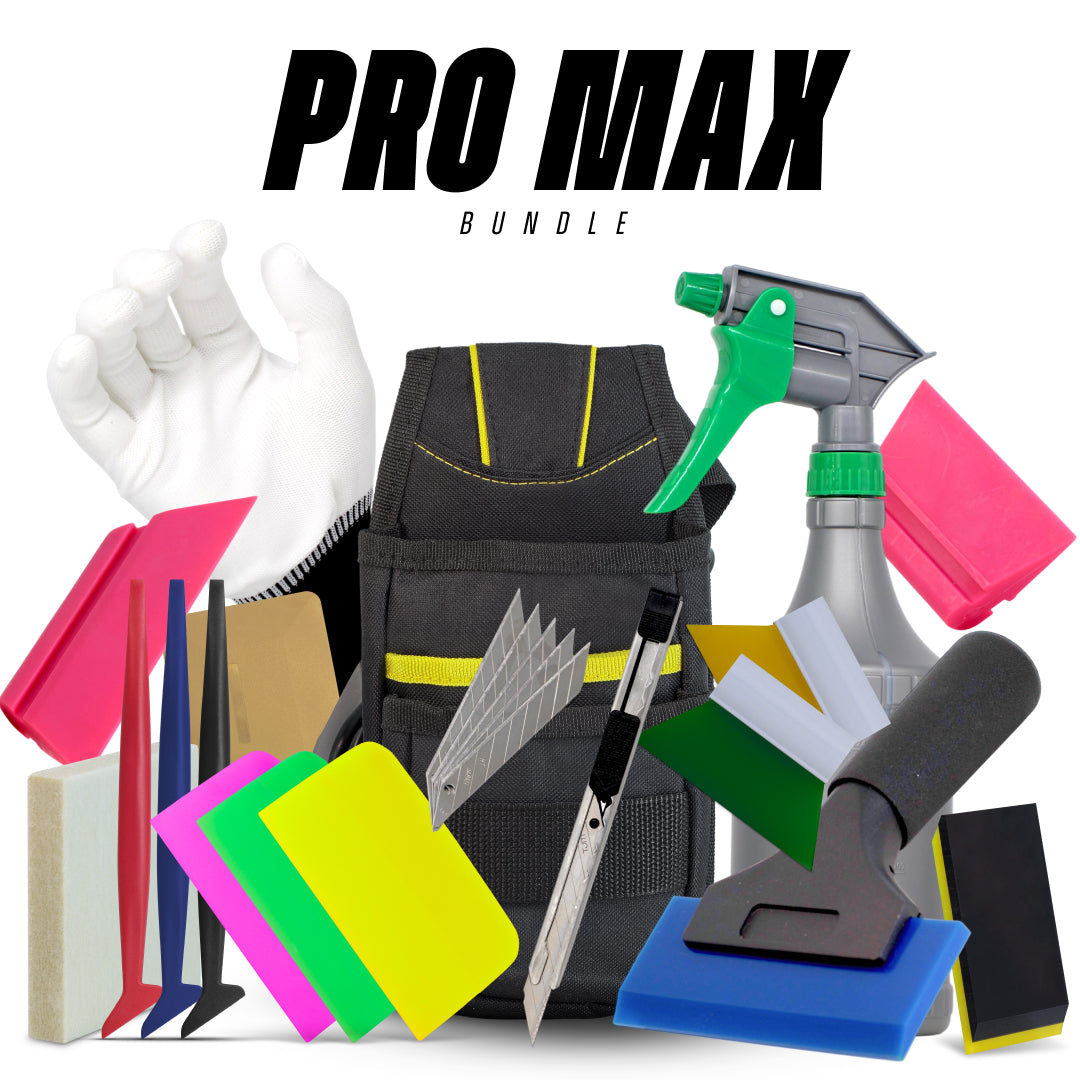
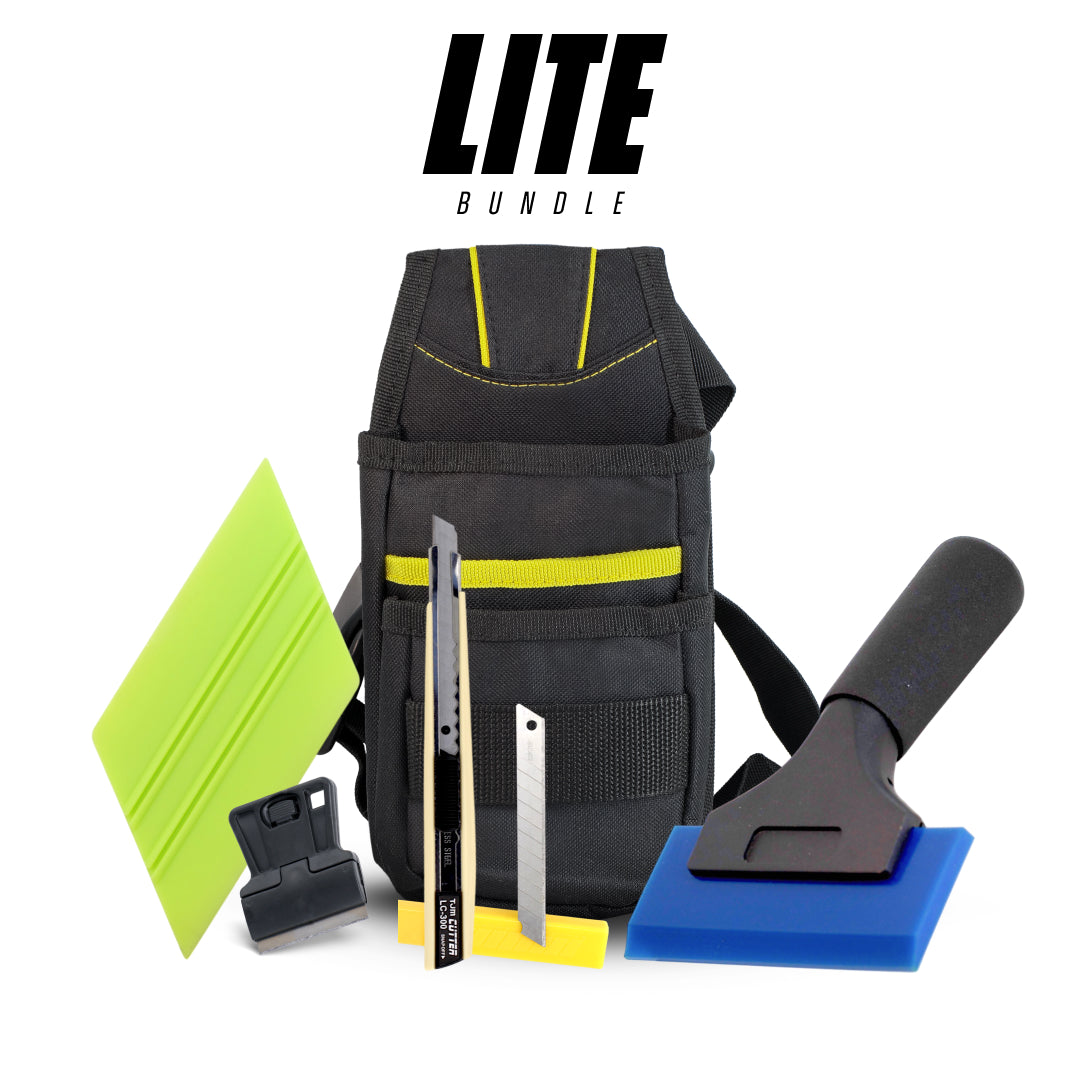
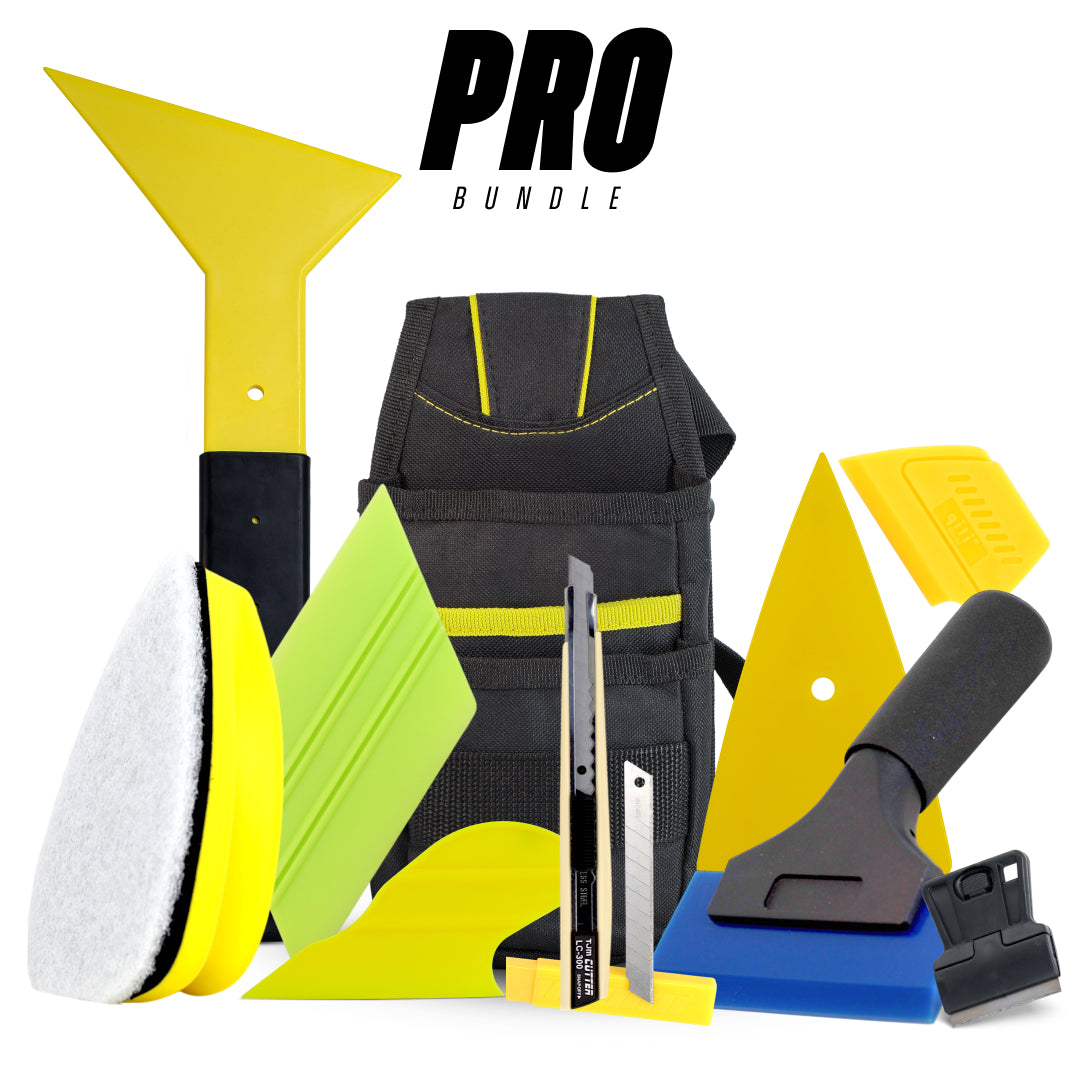
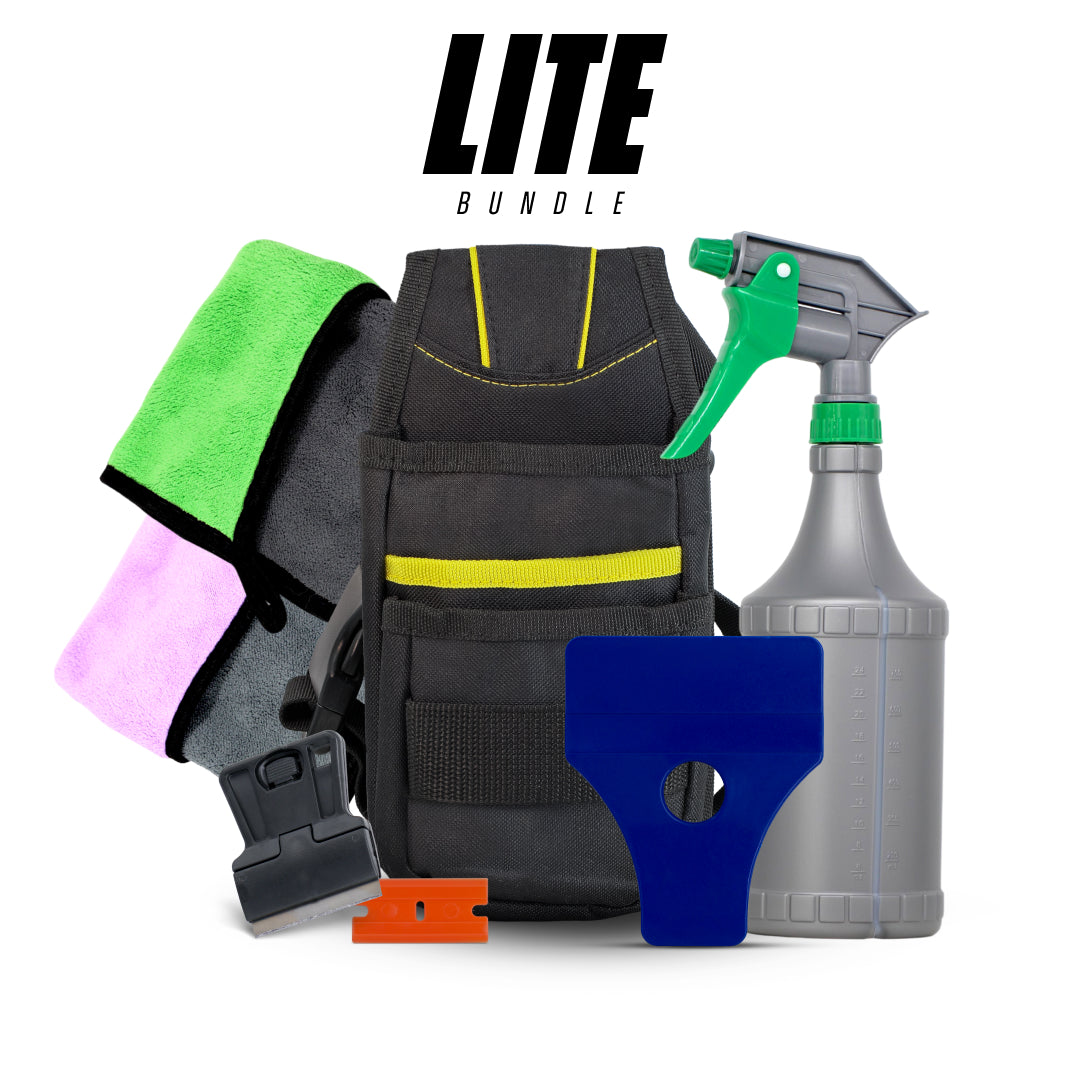
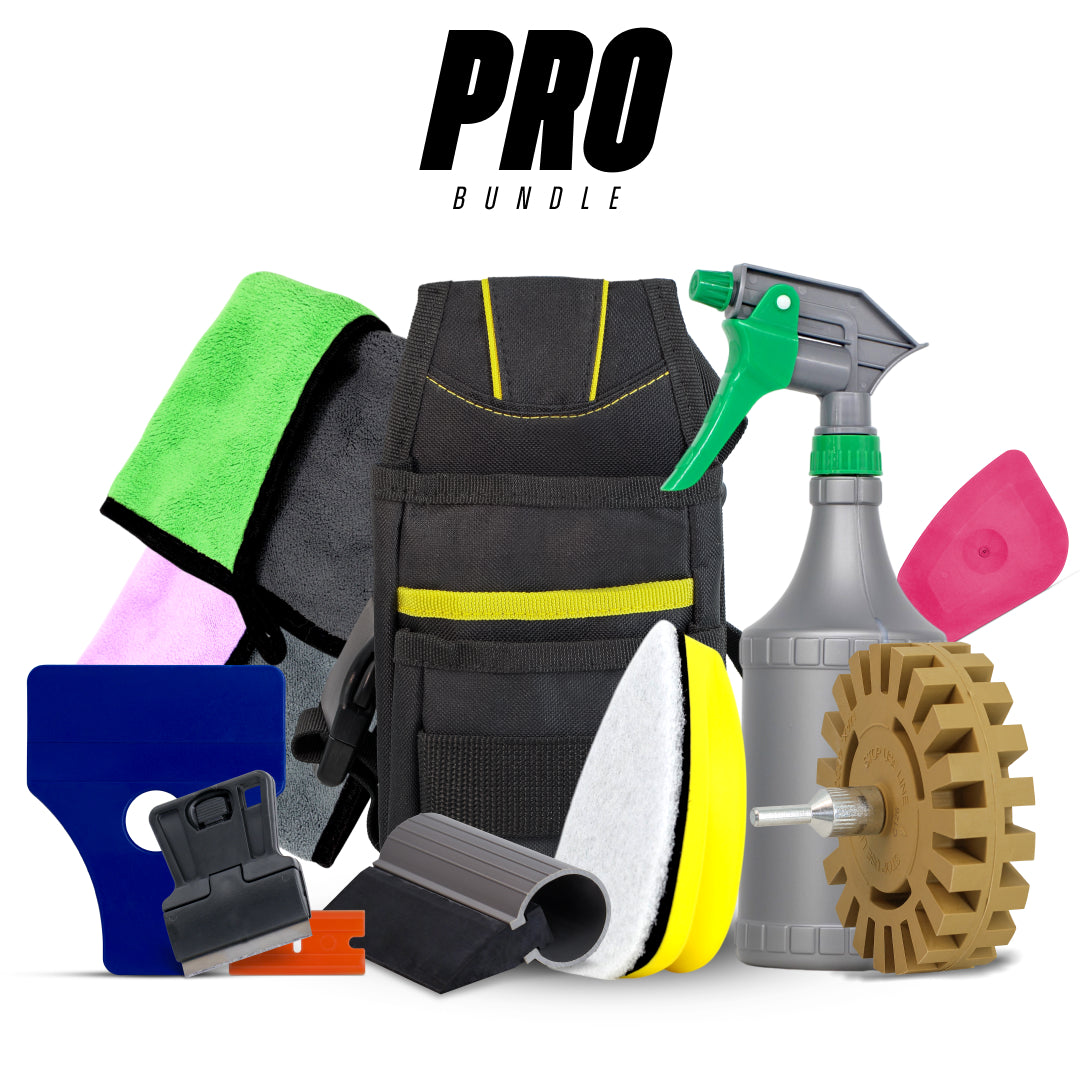
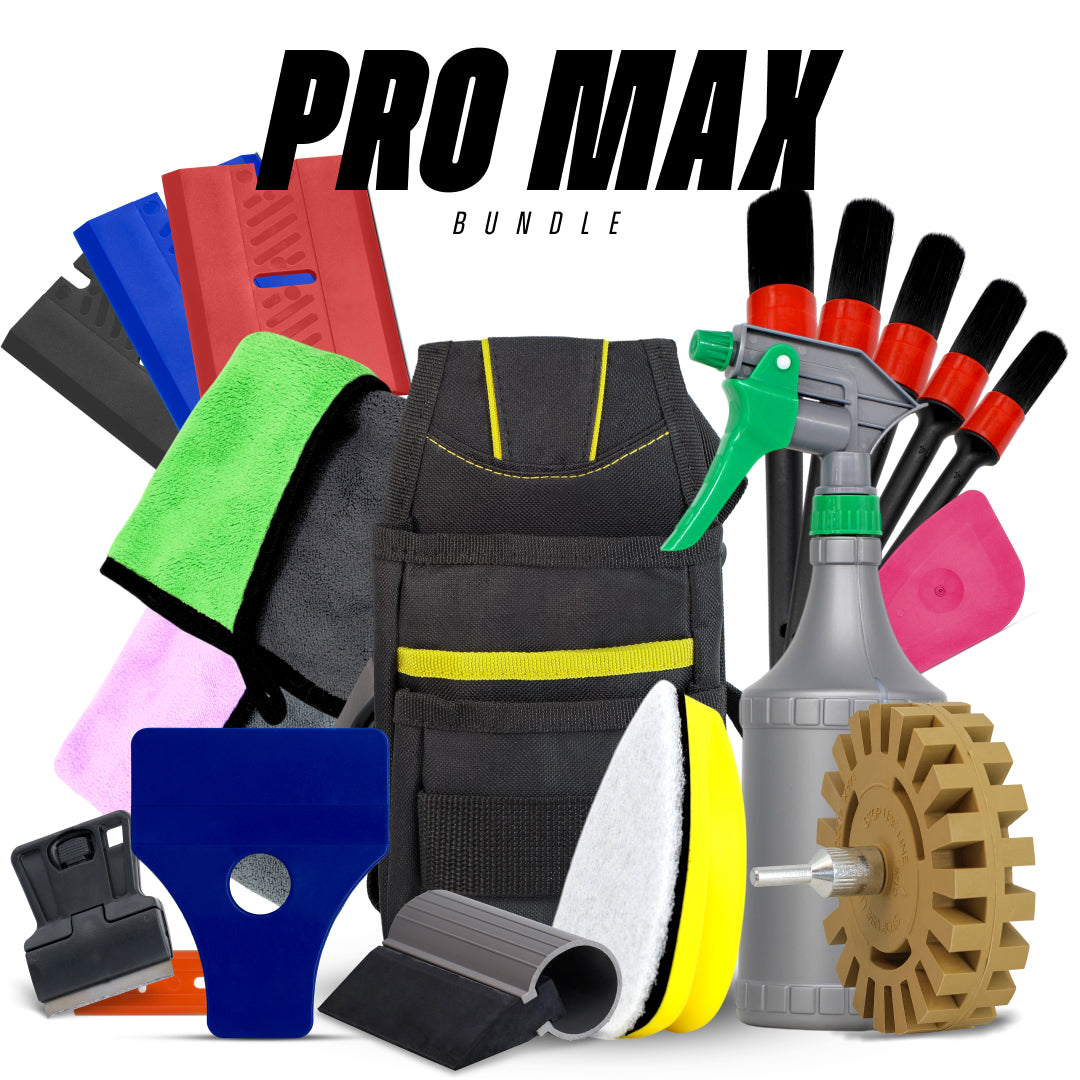
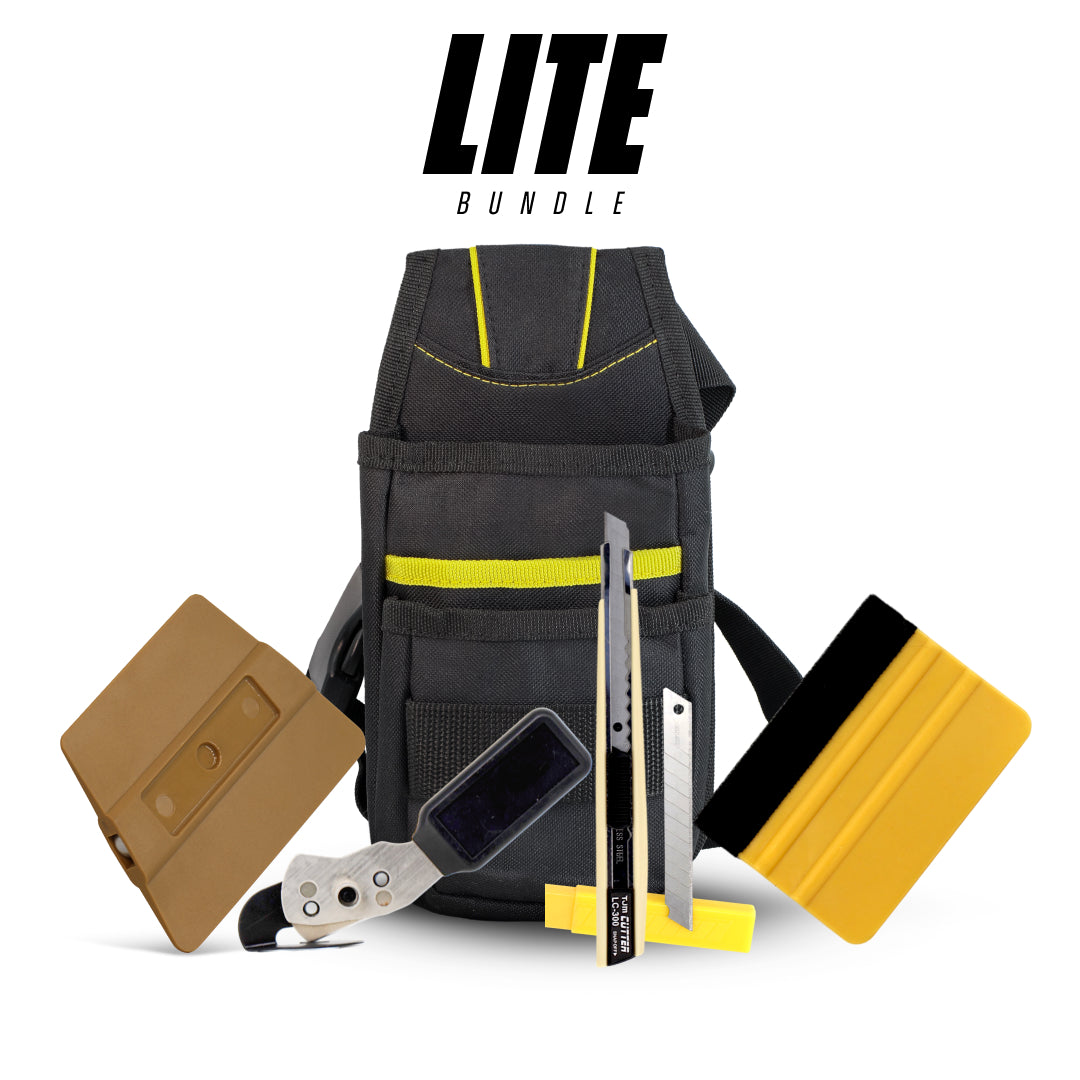
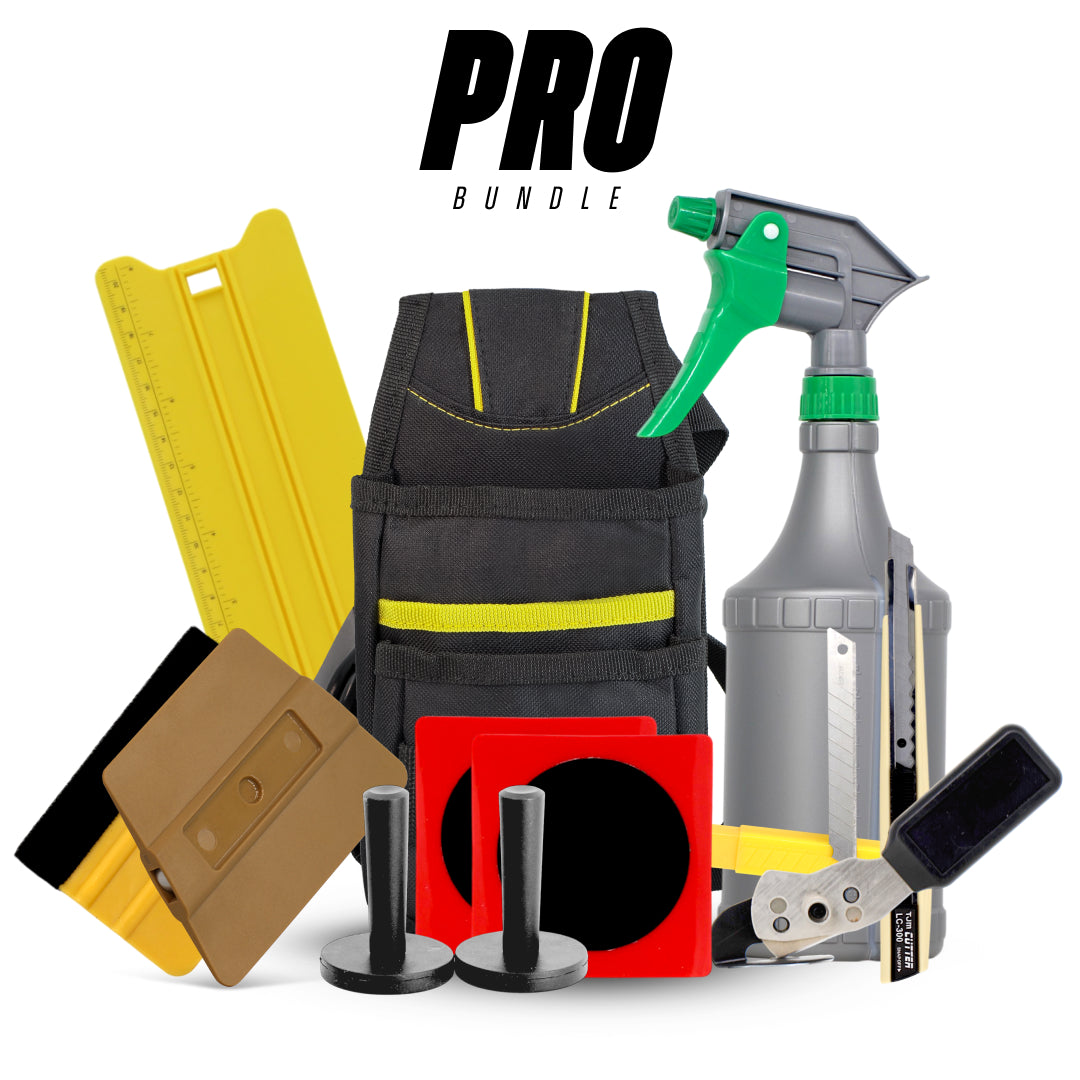
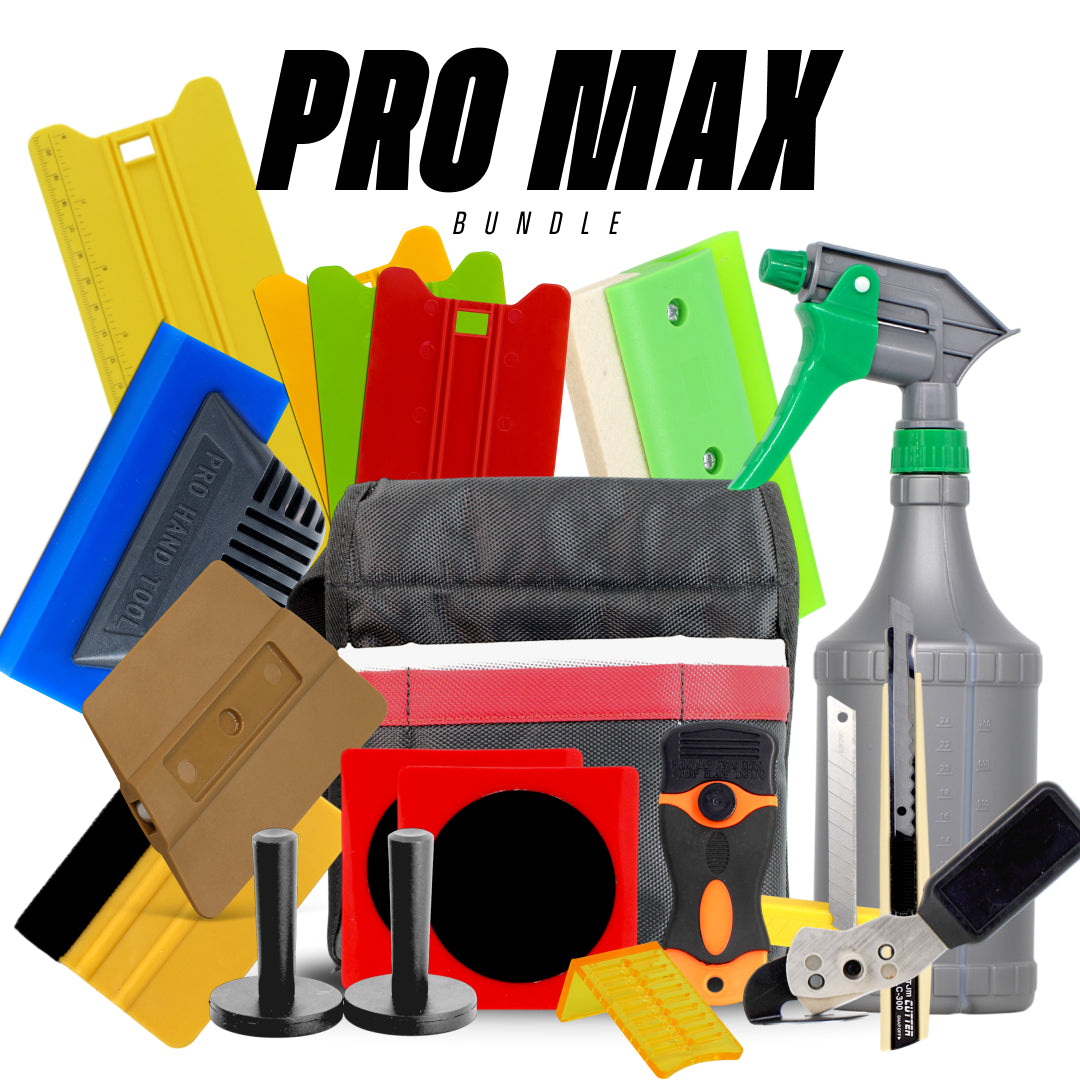
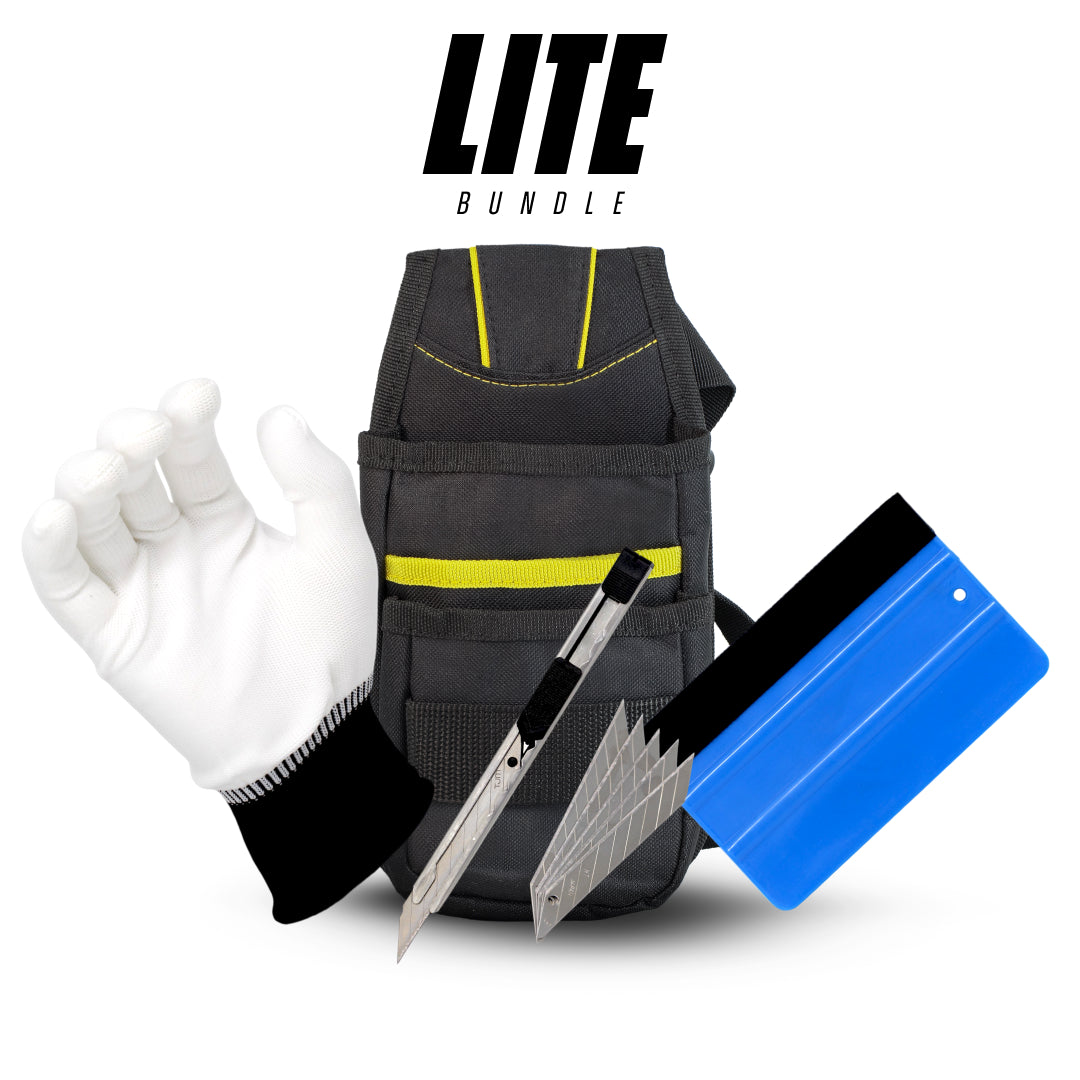
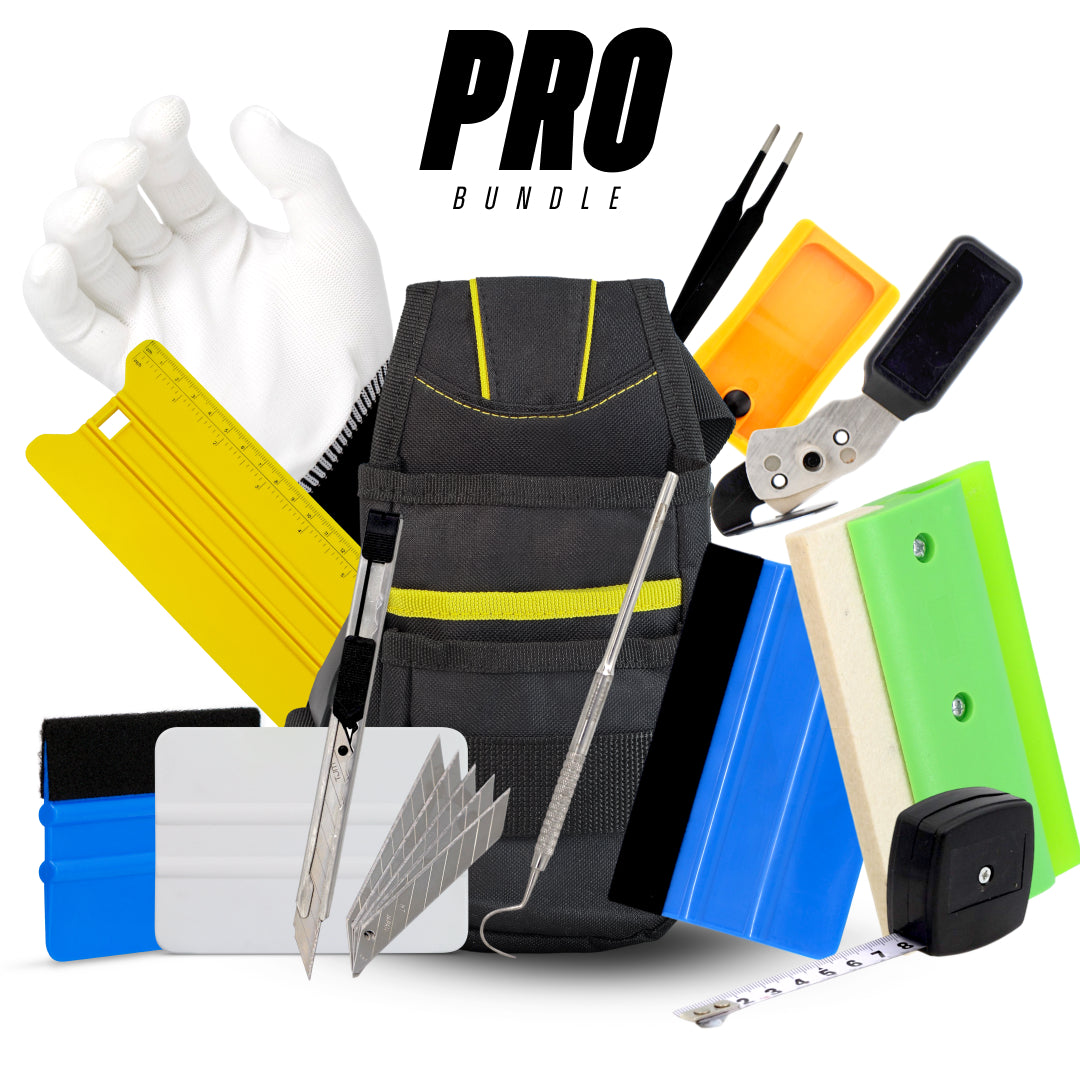
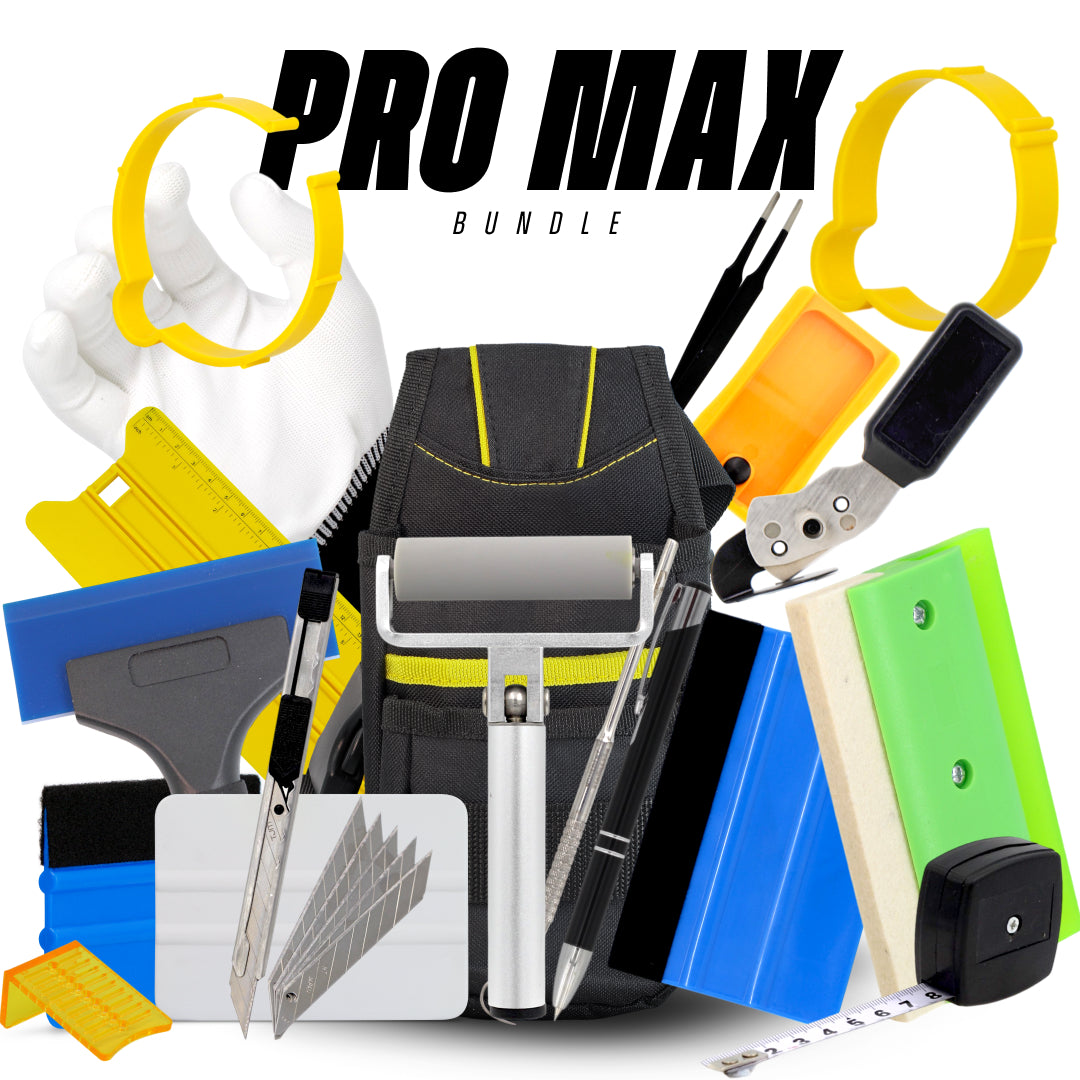
| Kit tier | Best for | Save | Price |
|---|---|---|---|
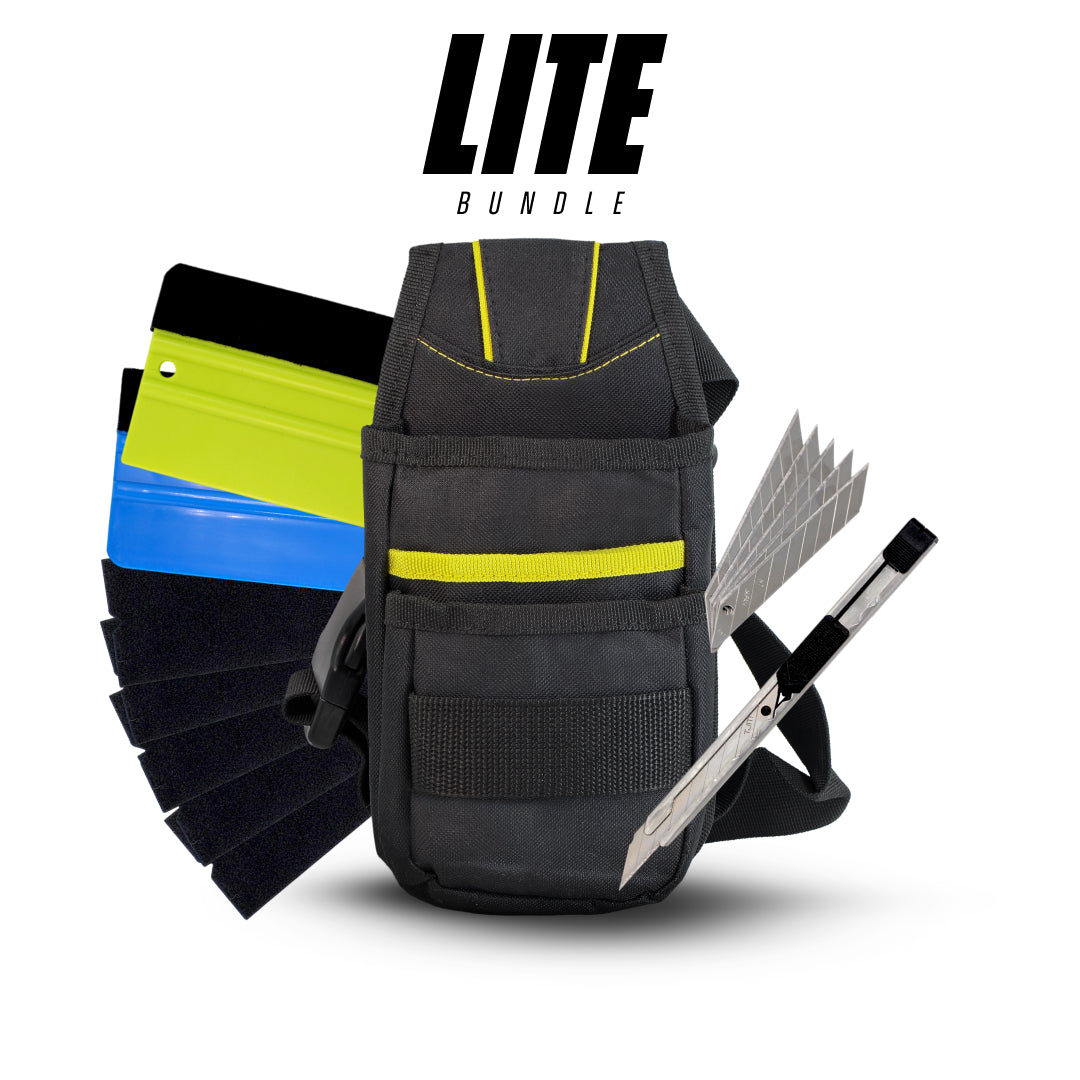
| Wrap Tool Kit — Lite | First wrap | 15% | $75.99 |
| Wrap Tool Kit — Pro | Regular installers | 19% | $129.99 |
| Wrap Tool Kit — Pro Max | Full-time installers | 25% | $216.99 |
Tool Comparison: Heat Gun vs Adhesive Remover vs Eraser Wheel
Choosing the right tool can make decal removal faster, safer, and more effective.
| Tool | Best Use | Pros | Cons |
|---|---|---|---|
| Heat Gun / Hair Dryer | Softening vinyl and adhesive | Easy to use, reduces tearing, essential first step | Can overheat paint if misused |
| Adhesive Remover | Removing leftover residue | Safe on paint, dissolves glue effectively | May require multiple applications |
| Eraser Wheel | Heavy or stubborn adhesive removal | Fast for large areas, effective on old residue | Requires proper technique, can generate heat |
Which Tool Should You Use?
- Start with heat to soften the decal
- Use adhesive remover for leftover residue
- Use an eraser wheel only for stubborn or large adhesive areas
Using the tools in combination delivers the best results while minimising the risk of paint damage.
How to Remove Car Decals Without a Heat Gun

If you don’t have access to a heat gun, you can still remove car decals safely using simple household tools and the right technique. The key is to soften the adhesive gradually and avoid forcing the decal off, which can damage the paint.
Step 1: Clean the Surface
Start by washing the area with mild car soap and water. This removes dirt and debris that could scratch the paint during removal.
Dry the surface with a clean microfibre cloth before proceeding.
Step 2: Soften the Adhesive with Warm Water
Soak a cloth in warm (not boiling) water and place it over the decal for a few minutes. This helps loosen the adhesive and makes the vinyl easier to peel.
You can repeat this process several times for older or thicker decals.
Step 3: Use a Plastic Card to Lift the Edge
Gently lift one corner of the decal using a plastic card (such as a credit card). Avoid using metal tools, as they can scratch the paint.
Once the edge is lifted, slowly peel the decal back.
Step 4: Peel Slowly at a Low Angle
Pull the decal back at a shallow angle rather than straight up. This helps reduce adhesive residue and prevents tearing.
If the decal resists, stop and reapply warm water before continuing.
Step 5: Apply Adhesive Remover or Soapy Solution
For any leftover residue, use an automotive-safe adhesive remover or a mixture of warm water and mild detergent.
Let it sit briefly, then wipe away with a microfibre cloth.
Step 6: Final Clean and Protection
Once all residue is removed, clean the area again and apply wax or paint protection to restore the finish and protect the paint.
Alternative DIY Methods (No Heat Required)
If warm water alone isn’t enough, you can try:
- White vinegar solution – Helps break down adhesive naturally
- Rubbing alcohol (isopropyl) – Effective for small residue areas
- Soapy water spray – Useful for gradual adhesive softening
Always test any solution on a small, hidden area first.
Common Mistakes to Avoid
- Peeling too quickly, which can leave more residue
- Using sharp or metal tools
- Scrubbing aggressively with rough materials
- Skipping the adhesive softening step
To remove car decals without a heat gun, use warm water to soften the adhesive, lift the edge with a plastic card, peel slowly at a low angle, and clean residue with an adhesive remover or mild solution.
Aftercare: Protecting Your Car Paint Post-Removal
Once your decal is gone, you might think the job is done, but proper aftercare is just as important as the removal process. Without it, your car’s paint could look uneven, faded, or vulnerable to new damage.
Washing and Polishing the Surface: Start with a gentle wash using car-safe soap and microfiber cloths. This removes any lingering adhesive remover or oils. After drying, inspect the surface closely. If you see dull spots, polishing can help restore shine. A light buffing compound applied with a polishing pad works wonders for blending the area back into the rest of your car’s paint.
Applying Wax for Extra Protection: Waxing your car after decal removal isn’t just about looks; it adds a protective barrier against UV rays, dirt, and water. This is especially important if the decal area looks brighter than the rest of the paint due to fading around it. A high-quality carnauba wax or synthetic sealant will help even out the finish and keep your car’s paint healthy.
Checking for Faded Paint or Ghosting Effects: If the decal has been on for years, you might notice a faint outline or colour difference; this is called ghosting. While it can’t always be removed completely, polishing and waxing can significantly reduce its visibility. In extreme cases, professional paint correction may be necessary to fully blend the affected area.
Taking the extra time to care for your car post-removal ensures your vehicle looks sleek and polished, not like it just had a sticker ripped off.
Preventing Damage from Future Car Decals

If you plan on applying new decals after removing old ones, it’s smart to think ahead about how to prevent future issues. The good news is there are plenty of ways to enjoy decals without compromising your car’s paint.
Choosing High-Quality Stickers
Not all decals are created equal. Cheap stickers use harsh adhesives that harden over time, making them nearly impossible to remove without damage. Look for automotive-grade vinyl decals that are designed for vehicles and promise clean removal.
Temporary Decals vs. Permanent Stickers
If you like changing designs frequently, go for removable decals or magnetic stickers. They adhere firmly but peel off cleanly without leaving residue. Permanent decals should only be used if you plan to keep them on long-term.
Proper Placement and Removal Tips
Avoid placing decals on areas that get the most sun exposure, as this increases fading.
Apply decals to smooth, clean surfaces for easier removal later.
When it’s time to remove them, don’t wait years; do it before the dhesives harden.
By being mindful of the type and placement of your decals, you can enjoy personalising your car while ensuring easy, damage-free car sticker removal in the future.

Car decals are a fun and creative way to personalise your ride, but when it’s time to take them off, doing it the wrong way can turn into a nightmare. By using the right decal removal tools, applying heat carefully, peeling slowly, and cleaning up with safe adhesive removers, you can easily remove car decals without damaging your paint.
Aftercare, like washing, polishing, and waxing, ensures your car’s surface looks flawless post-removal. And if you plan on applying new stickers, choosing high-quality, removable decals will make future removal hassle-free.
Whether you’re a DIY enthusiast or prefer professional help, safe decal removal keeps your car looking sharp and protects its long-term value. Remember, patience and the right technique are your best friends in this process.
Are you unsure which tool or kit is right for your job?
Our expert team at Oz Sign Supplies is here to help. Reach out today, and we’ll direct you to the best tools to suit your project, ensuring you get the job done right the first time.

Wrap Tool Kit – Pro Max
$216.99
What's Included The Wrap Tool Kit Pro Max includes a complete professional vinyl wrapping setup designed for high-volume installers, wrap...
Kit me out