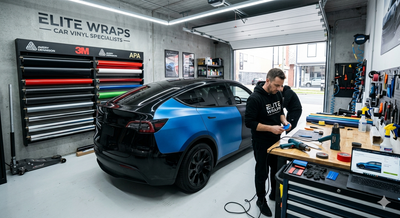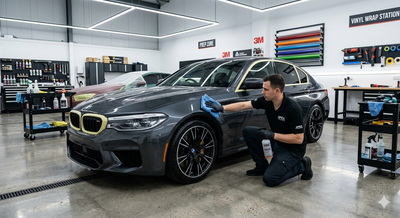


There's a difference between the tools people talk about online and the tools that actually hold up on a job. This guide is the second list, the wrap tools our team keeps reaching for after 15+ years installing vinyl on cars, vans, boats, kitchens and everything in between across Australia.
It's opinionated on purpose. Not every squeegee is worth the shelf space, not every heat gun handles a full bonnet without cooking your hands, and the "starter kits" you see on international marketplaces skip the tools you'll actually miss on the first job. Below is what we recommend, why, and what to buy first if you're building a kit from scratch.
Just want to browse the full range? Shop all vehicle wrapping tools → or see our Car Wrap Tool Kits if you'd rather grab everything bundled.

Squeegees - The Tool You Can't Skip
You need two squeegees on every wrap job. One firm, one soft. They do different things and can't stand in for each other.
The Hard Squeegee (For the Water and Air Push)
This is the tool that does the actual work of getting vinyl to lie flat. A firm edge moves adhesive and trapped air outward from the centre of the panel to the perimeter without stretching the film. Too soft and you get air bubbles that come back an hour later. Too hard and you'll scuff the vinyl's finish.
For most jobs, our pick is a hard-flex squeegee with a wing edge - the wing helps you catch corners and edges without the tool skating off the film. In the OZSS range, the Blue Hard Flexibility Wing Edge Squeegee is the everyday workhorse. The Green Hard Flexibility Wing Edge Squeegee is a slightly firmer alternative when you're working with thicker calendered vinyls that need more pressure.
Best for: primary installation on flat and gently curved panels. Bonnets, doors, side panels, boot lids.
The Soft or Felt-Edged Squeegee (For Finishing)
The moment you're working near an edge, a seam, or a fresh install where the adhesive hasn't fully set, a hard squeegee becomes a liability. This is where a soft-flex squeegee earns its place, it lets you smooth, tuck, and finish without leaving pressure marks or scratches.
The Pink Wide Soft Flexibility Squeegee covers most finishing work on panel edges. For particularly delicate premium films or matte finishes that mark easily, step up to the Pink Extra Soft Flexibility Wing Edge Squeegee - the extra soft edge glides over the film without leaving a trace.
Felt buffer sleeves that slip over your hard squeegee are the third option. They convert your primary tool into a scratch-safe finishing squeegee, which is useful if you're travelling to a job and want to carry less gear.
Best for: finishing, edges, tucking, working with premium cast or matte films.
The Magnetic Squeegee (The One You Didn't Know You Needed)
The Gold Hard Flexibility Magnetic Squeegee sits at the top end and solves a very specific problem: hands-free work on vertical or overhead panels. If you're wrapping a roof, the underside of a spoiler, or holding vinyl in place while you cut, the magnetic base grips the panel and keeps the squeegee where you left it. It's the sort of tool you don't understand the value of until you've done a roof install with your third hand missing.
Best for: full-time installers doing complex panels. Not essential for a first kit, worth it by kit number two.
Installer tip
Prepare the vehicle thoroughly before wrapping and keep your core tools within easy reach. A quality squeegee, sharp precision knife, heat gun, wrap gloves, and magnets can help you work faster while achieving a smoother, cleaner finish.
Wrap Knives and Blades - Sharper Than You Think You Need
Blunt blades are the number one cause of ragged edges on a finished wrap. The rule most experienced wrappers follow: change the blade at least once per panel, more often on tight cuts. Blades are affordable relative to the cost of a botched panel, and there's no reason to run them dull.
A precision utility knife with quick-change blades is what you want - snap-off blades work for some cuts but flex too much for detailed work around a lip or a panel edge. Look at the full knives, cutters and blades range for the specific options in stock.
Best for: trimming, panel edge work, detailed cuts. Every install, every time.
Knifeless Tape - Where the Real Craft Lives
Knifeless tape is one of those tools that separates decent wraps from clean ones. It's a thin tape with a filament running down its centre - you lay it down before applying the vinyl, wrap the film over it, then pull the filament through to cut the vinyl from underneath without ever touching a blade to the panel.
Two reasons this matters: first, no risk of scoring the paint underneath (which is a permanent, expensive mistake). Second, you can cut curves, arcs, and complex shapes that a knife physically can't manage in one movement.
We stock the 3M Knifeless Tape range. 3M's version is the industry benchmark - cleaner filament release, more consistent cut lines, and it holds up in Australian workshop heat where cheaper alternatives can go tacky.
Best for: design tape (straight lines), tri-line (three-cut designs), finish line (edge trimming). Learn one at a time.
Common mistake
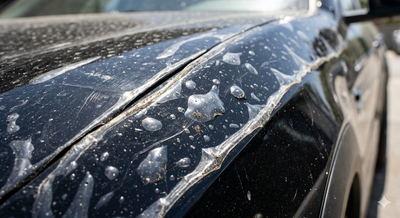
Choosing cheap or unsuitable tools can lead to bubbles, wrinkles, scratches, and poor adhesion. Avoid using excessive heat or blunt blades, and always match your tools to the vinyl and the surface you’re working on.
Heat Gun - Non-Negotiable for Curves and Recesses

Cast vinyl is engineered to conform once heated. That's what lets it stretch over compound curves like bumpers and mirror caps and stay there. Skip the heat, and the vinyl's "memory" pulls it back to flat - which is why so many DIY wraps lift within weeks.
For most installers, a mid-range heat gun with variable temperature control is enough. You don't need the specialist units with built-in thermometers unless you're wrapping full-time and working with a range of films. What matters is the ability to control the heat: too much and you'll damage the vinyl's finish (matte films go glossy, chrome films bubble), too little and the film won't stretch.
Post-heat is where a lot of DIY installers go wrong. After you've stretched the film into position, you have to reheat it to lock the shape in, otherwise it'll try to release over the next few days. Five seconds of steady heat on each stretched area does the job.
Best for: every wrap install involving anything more curved than a boot lid. Essential.
Adhesion Promoter - The Tool Most People Skip
If there's one product on this list that separates wraps that last five years from wraps that lift after five months, it's adhesion promoter. Vinyl doesn't naturally want to stick to plastics, rubber, or textured panels. Rubber trims, bumper edges, ABS mirror caps - these are all low-surface-energy materials where standard vinyl adhesive struggles.
Adhesion promoter is a chemical primer you apply to those problem areas before the vinyl goes down. It gives the adhesive something to grip. It's the difference between a wrap edge that stays put through years of car washes and one that starts curling after the first Aussie summer.
Our recommendation is the Primer 3M Pen - a pen-format applicator filled with 3M Adhesion Promoter 94. The pen format matters here: you can apply it precisely to the exact edge line without contaminating the surrounding area, and it's easy to carry to mobile installs.
Best for: every wrap install with recessed panels, plastic trims, or rubber-adjacent edges. Which is most of them.
| Kit tier | Best for | Save | Price |
|---|---|---|---|
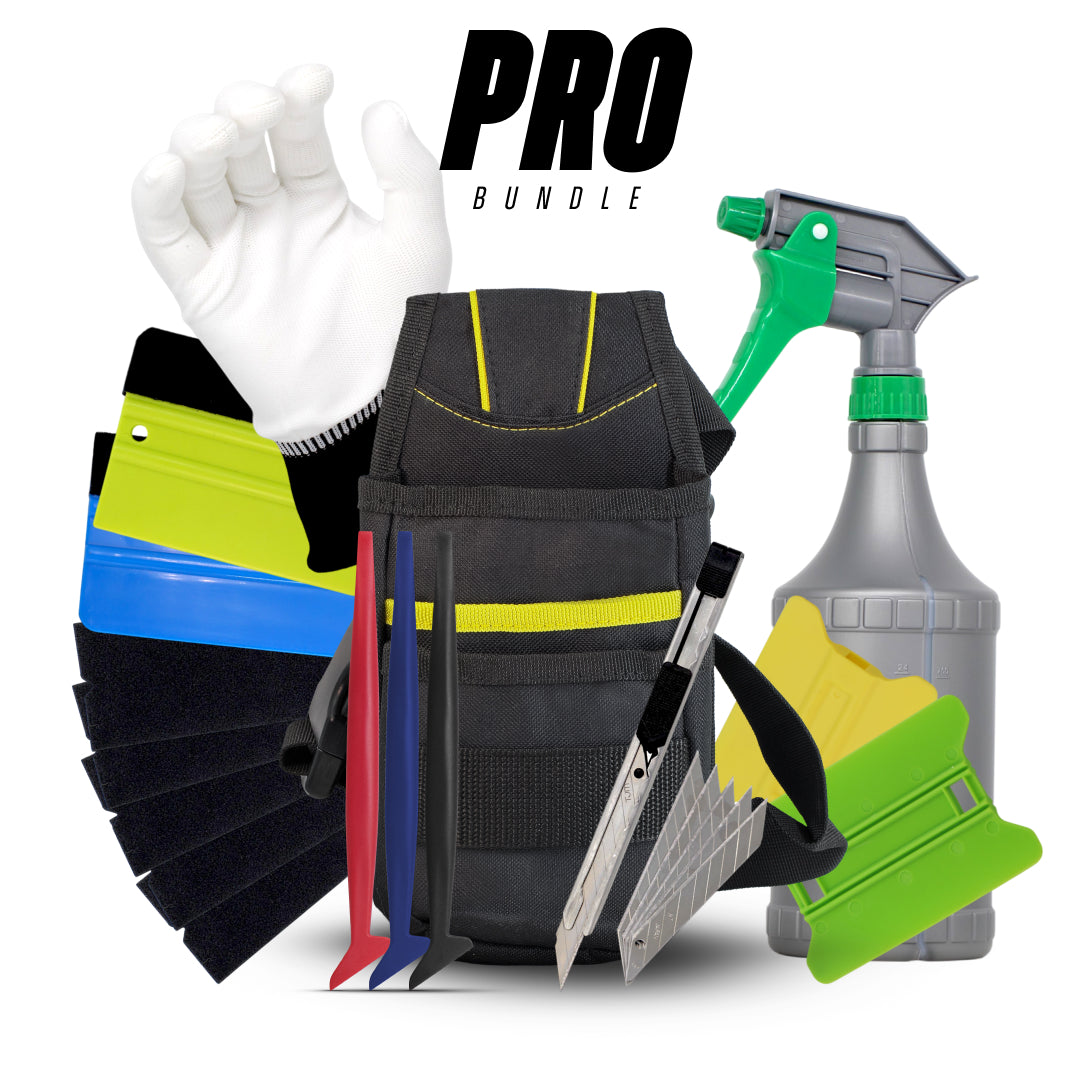
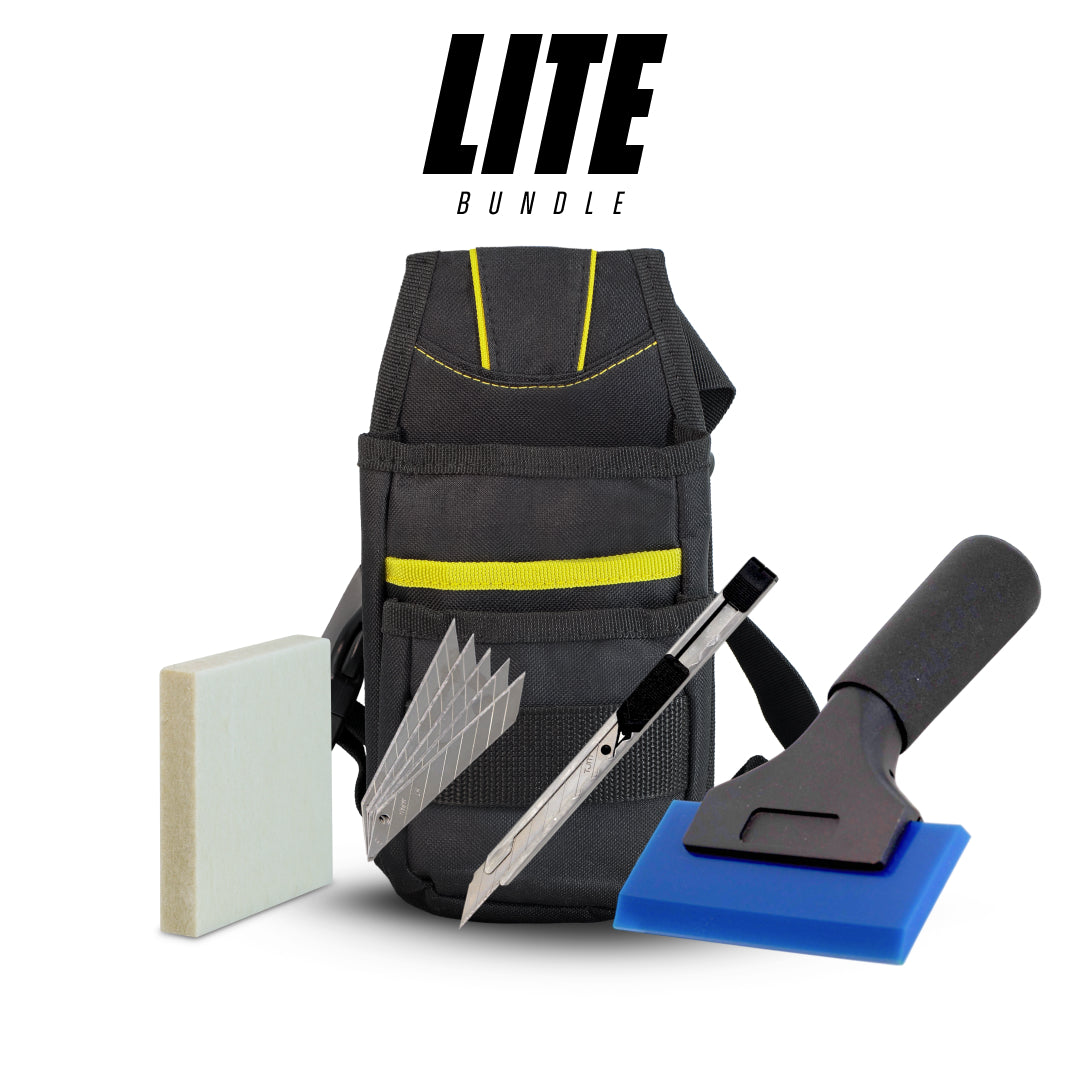
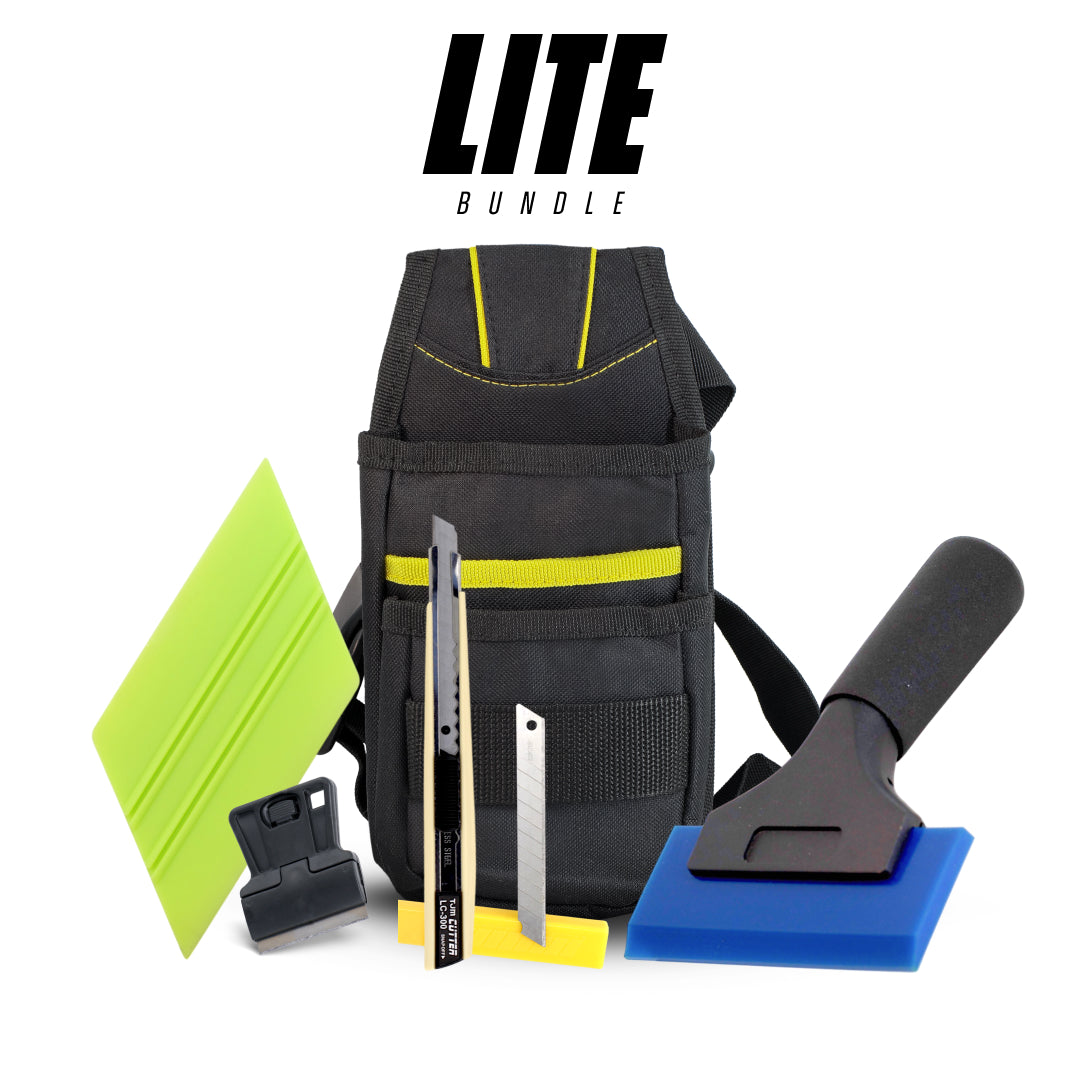
| Wrap Tool Kit — Lite | First wrap | 15% | $75.99 |
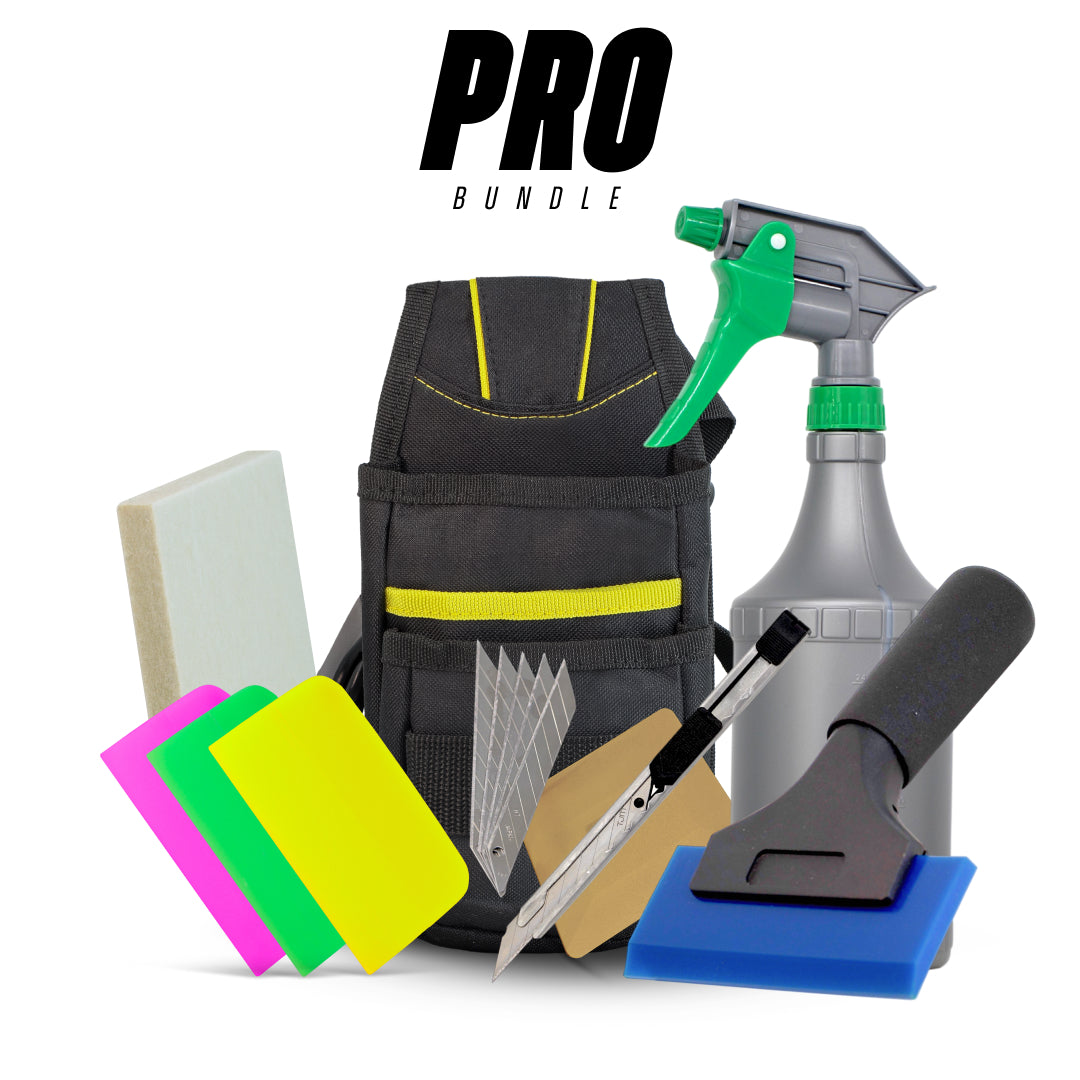
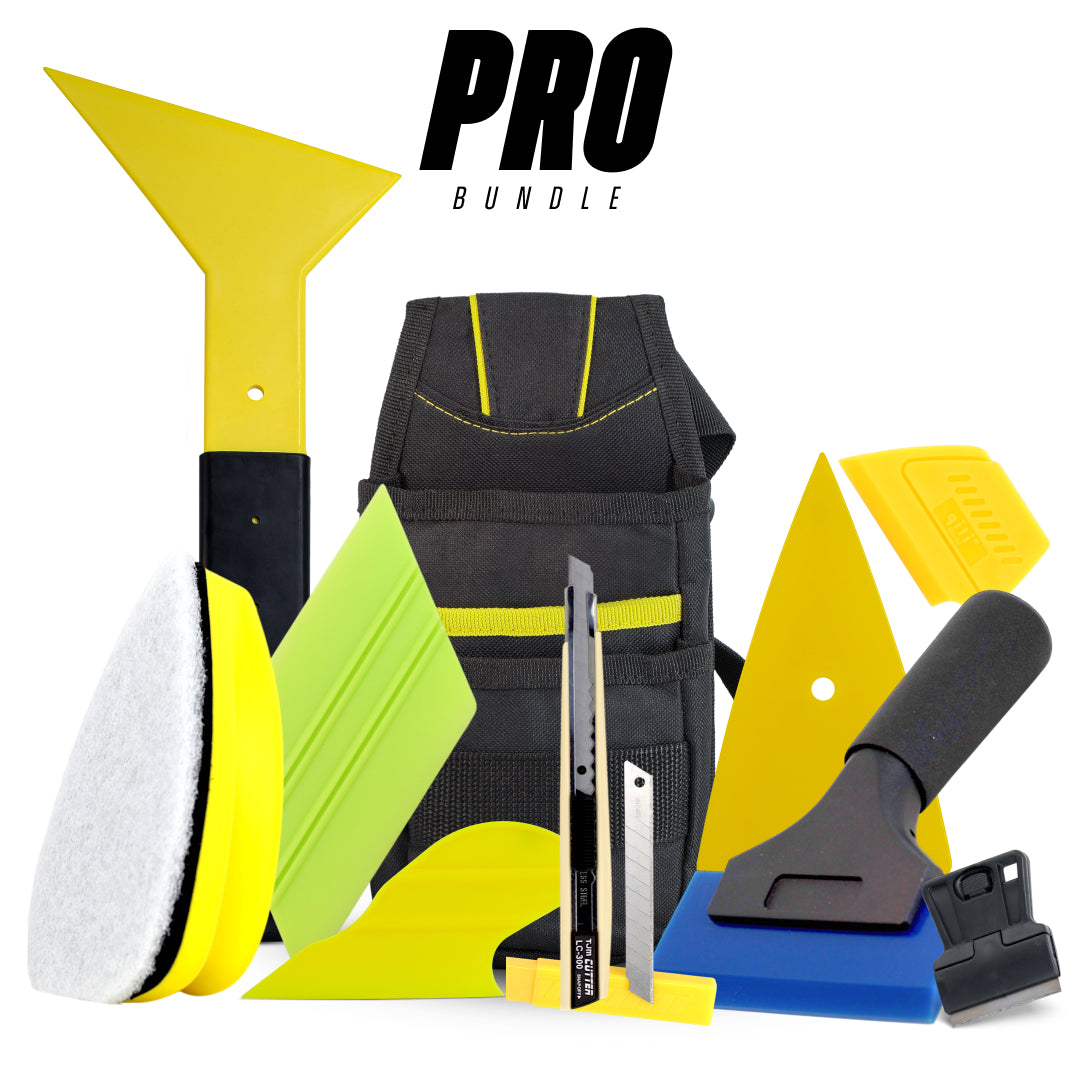
| Wrap Tool Kit — Pro | Regular installers | 19% | $129.99 |
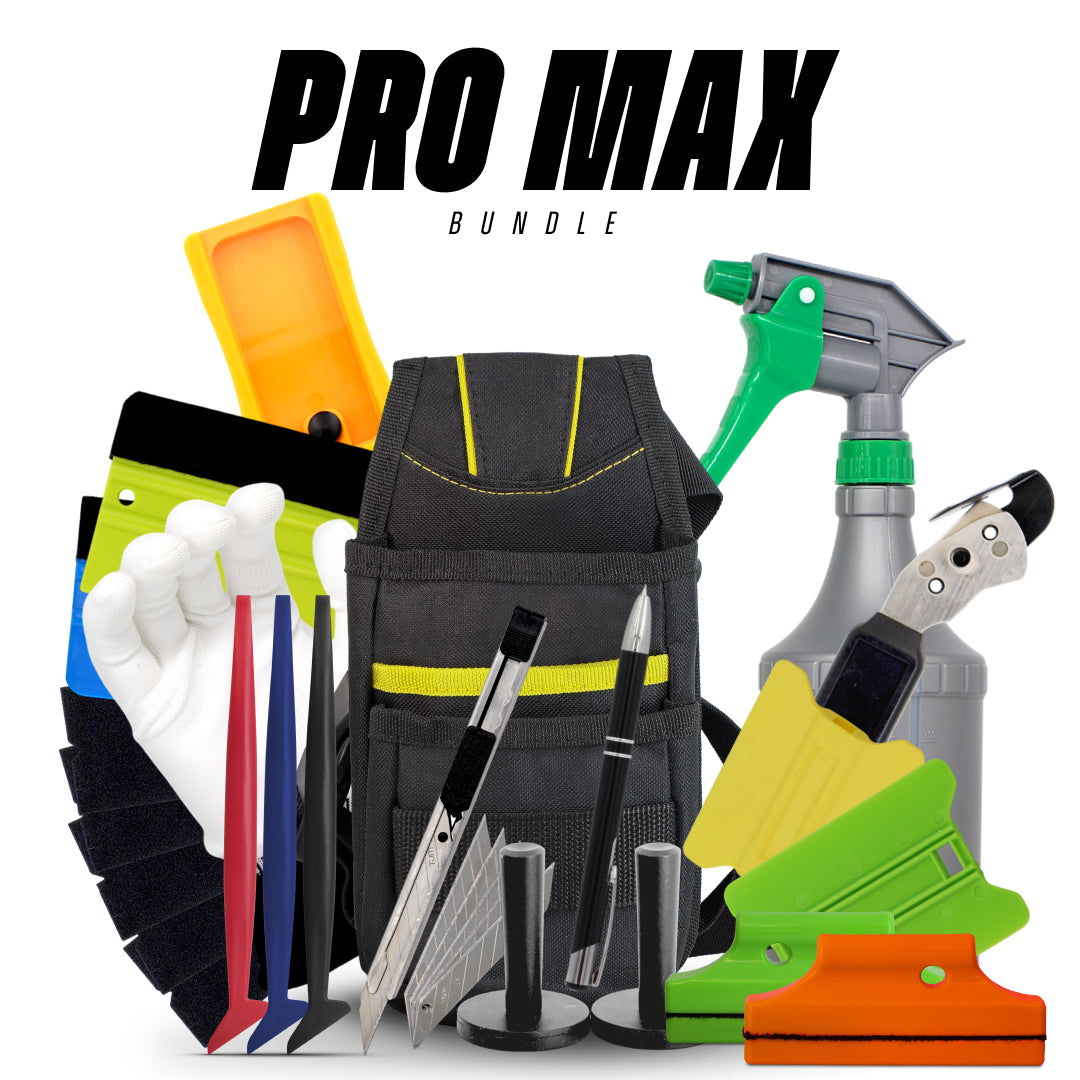
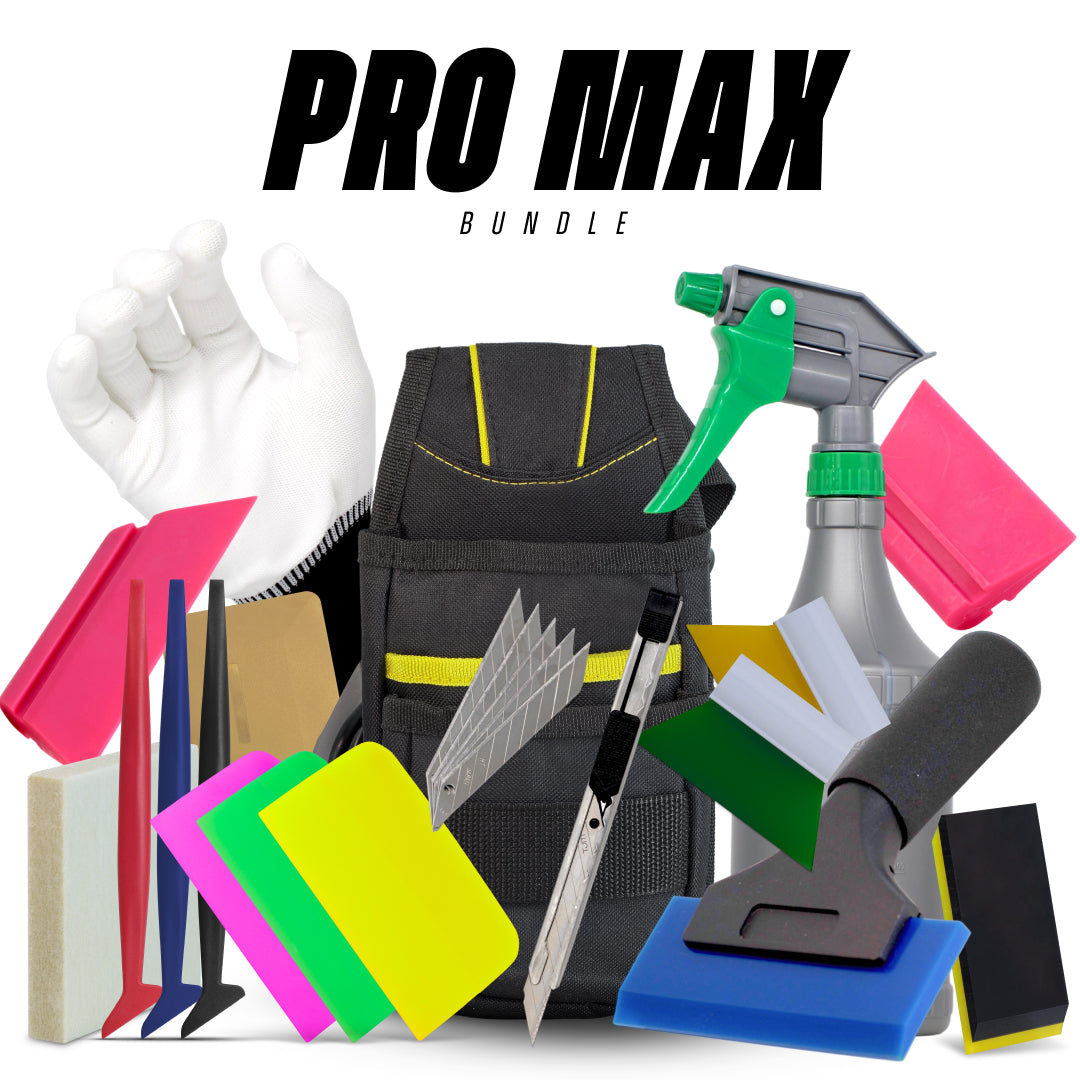
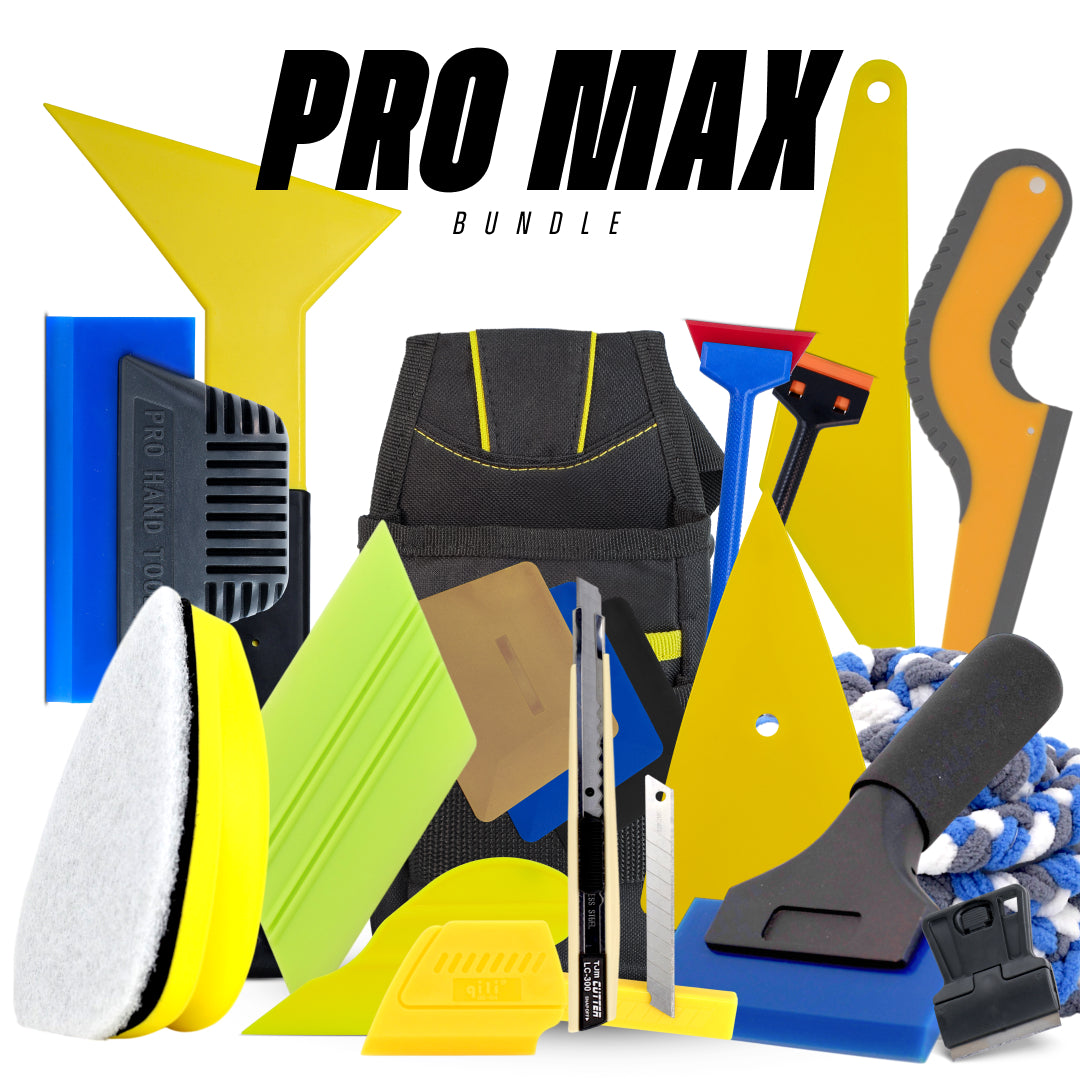
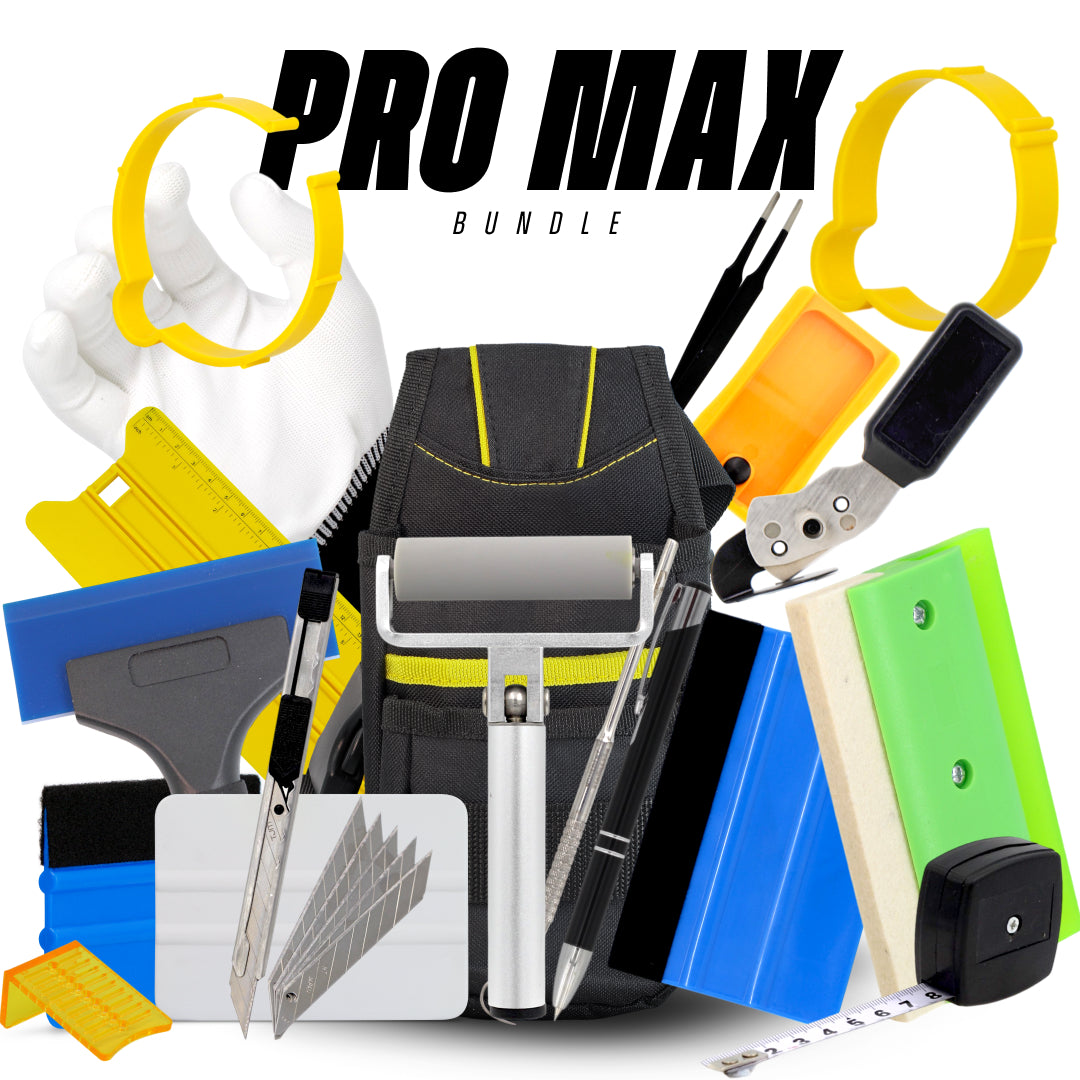
| Wrap Tool Kit — Pro Max | Full-time installers | 25% | $216.99 |
Gloves and the Small Stuff That Adds Up
Fingerprints are the enemy of a clean adhesive edge. Every fingerprint on the sticky side of the film is a potential lift point six months down the track. Wrap gloves, usually a light cotton or knit style, keep skin oils off the adhesive and let you handle vinyl without leaving marks.
A tuck tool is the other small item worth carrying. It's a thin plastic or silicone edge for pushing vinyl into panel gaps, door jambs, and the fold between benchtop and splashback if you're doing kitchen work. Fingernails do the same job badly.
Neither costs much, both live in the full vehicle wrapping tools range, and both make the difference between clean work and re-work.
Best for: every install. Buy them with your first kit, forget you own them, notice their absence when you don't have them.
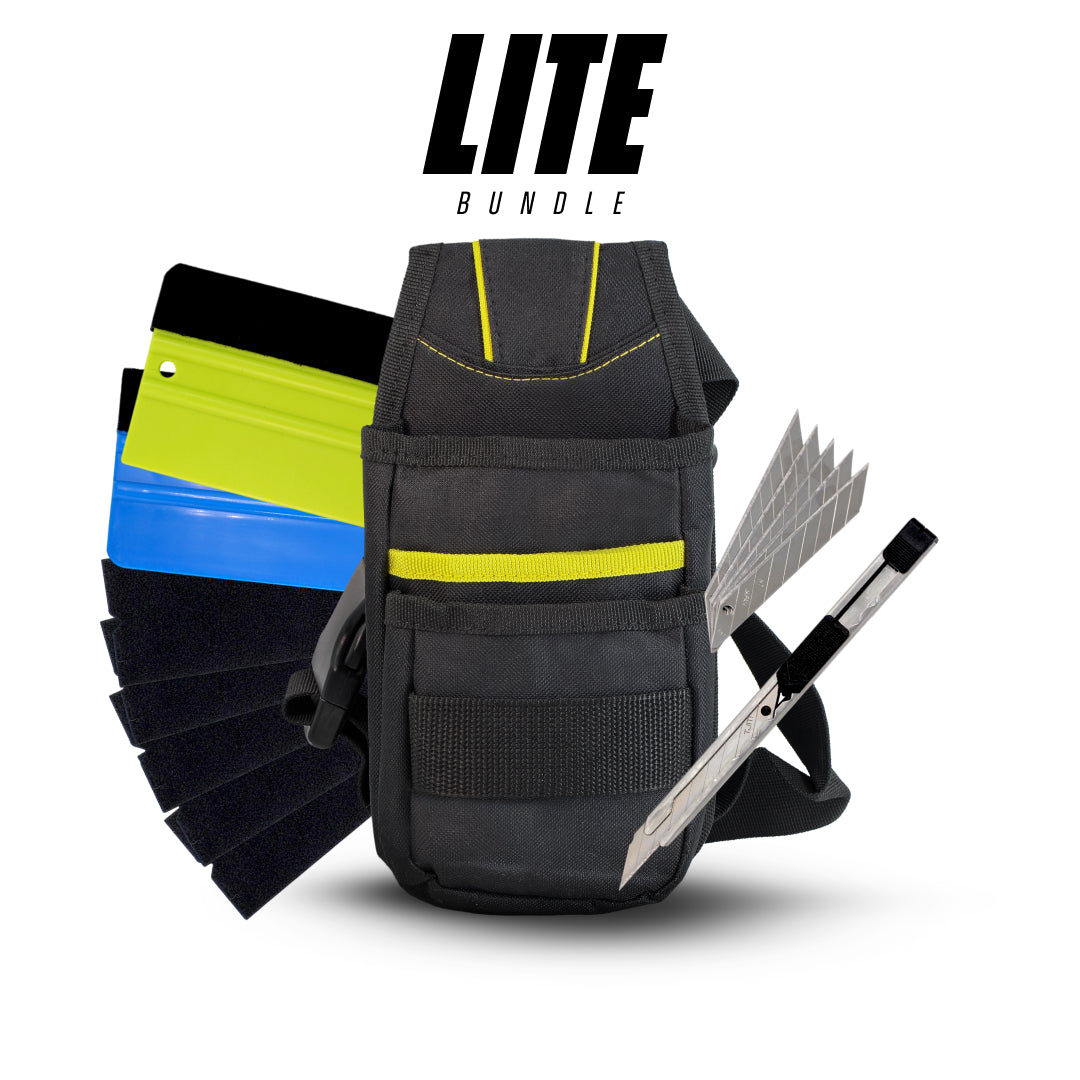
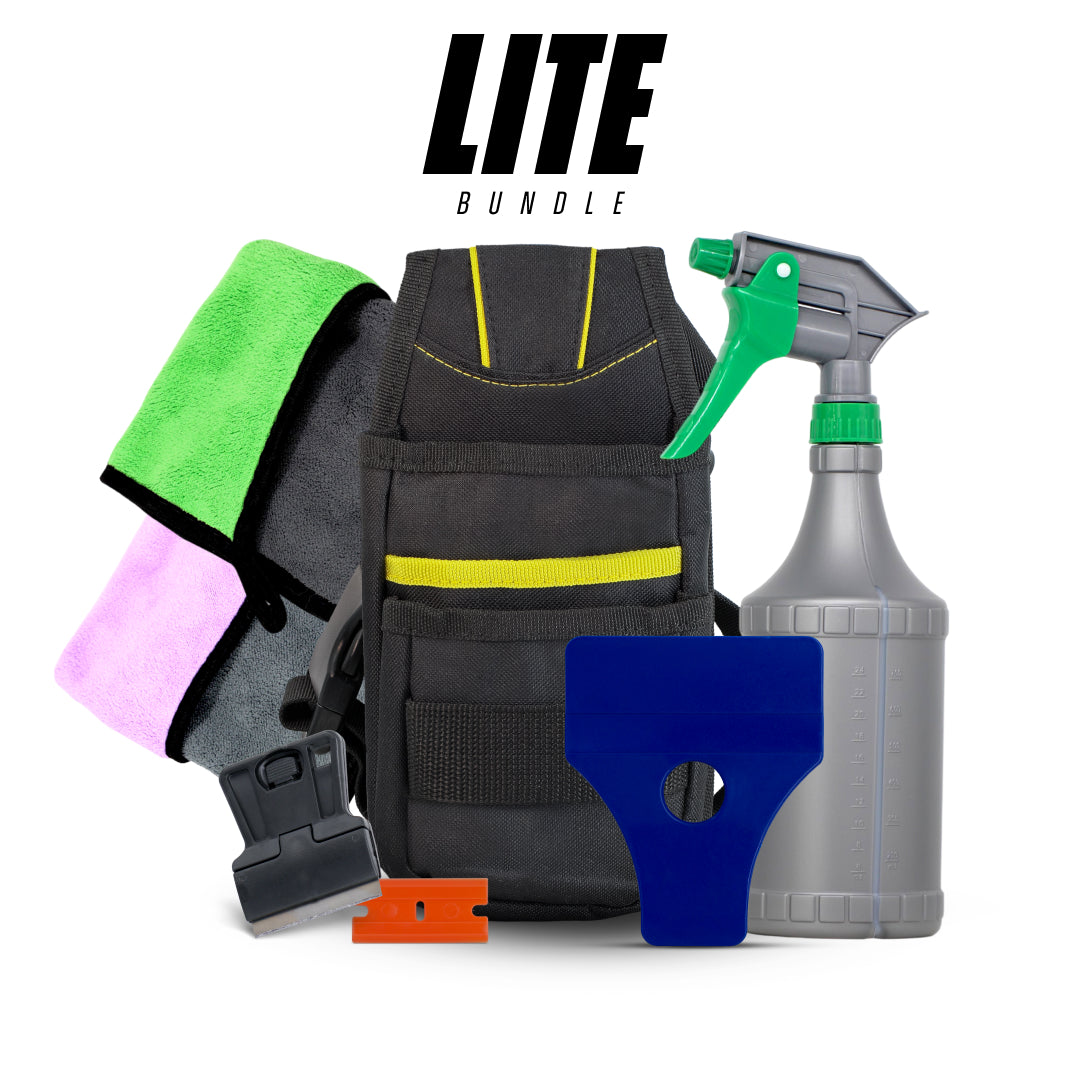
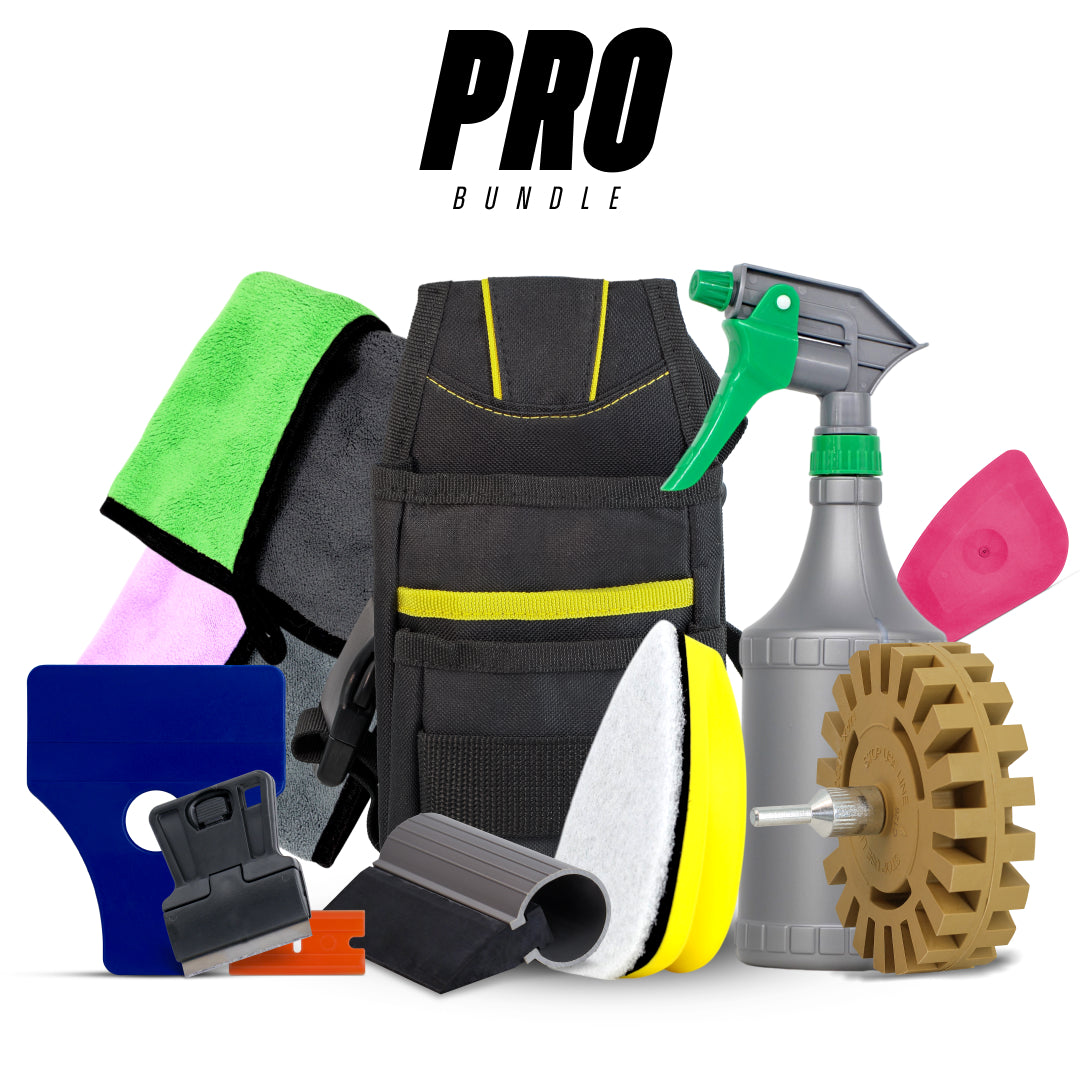
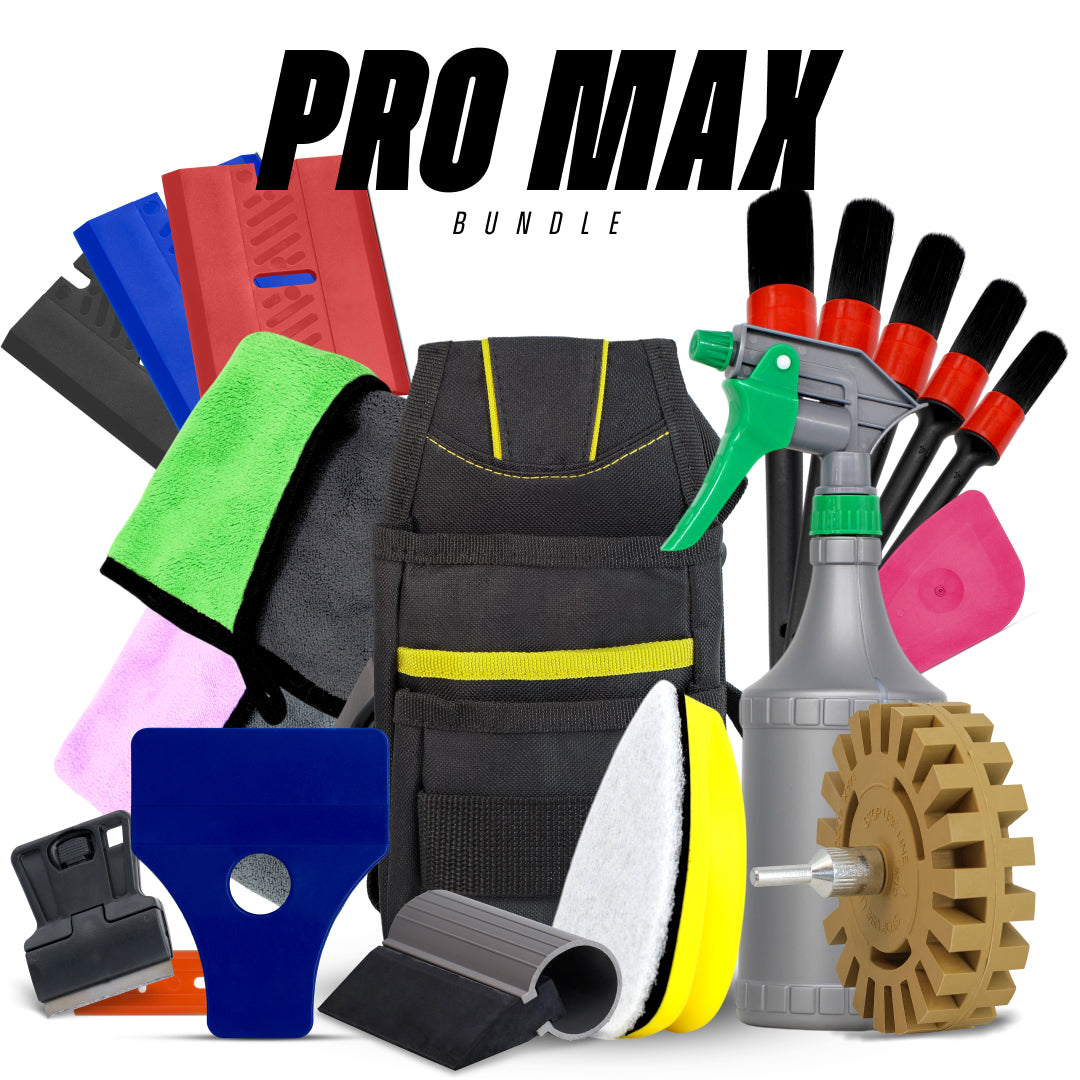
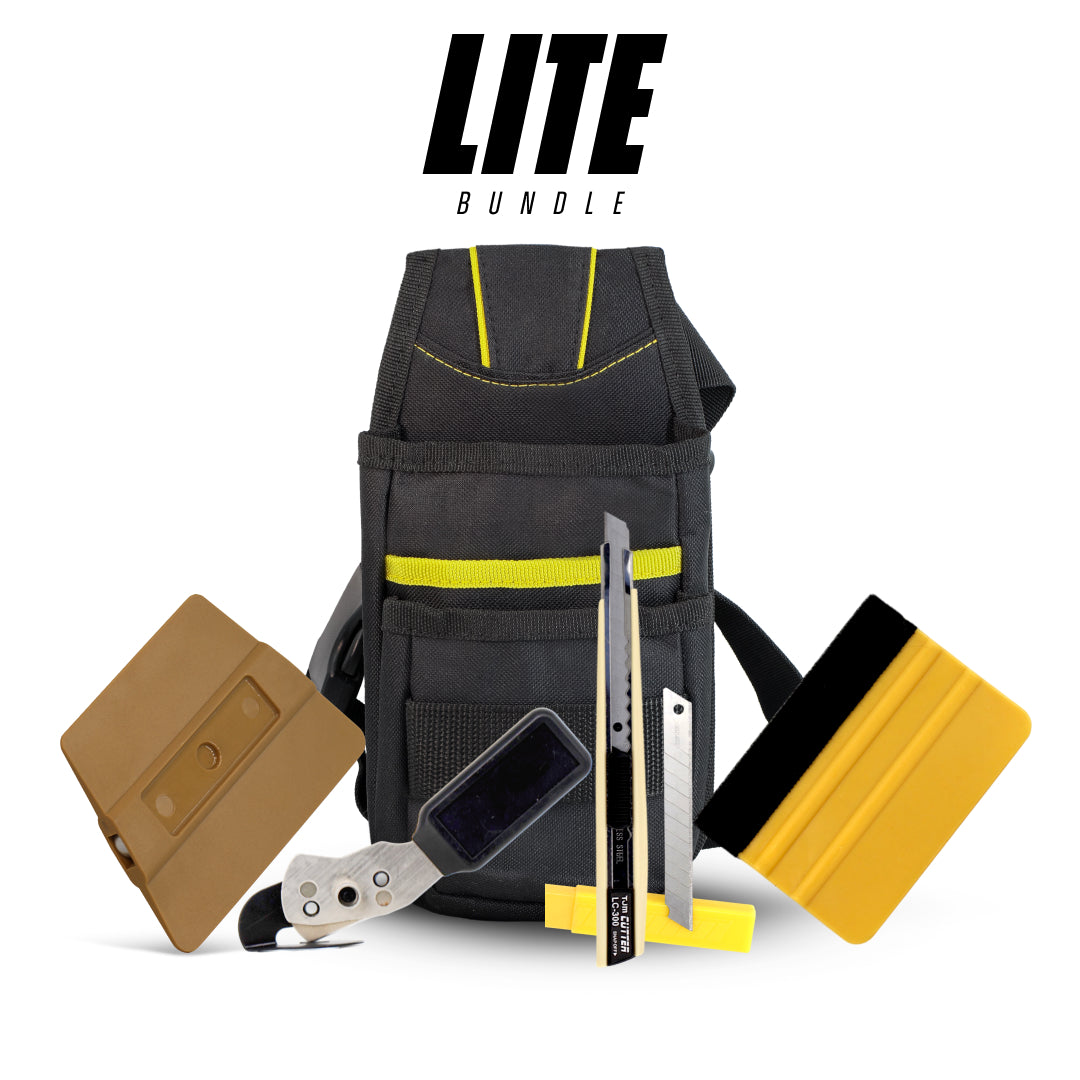
Kitting out for the first time? The Wrap Tool Kit Lite covers the essentials in the guide above at a lower per-tool price than buying individually. The Pro and ProMax step up for full-time installers.
What to Buy First - The Kit vs Individual Question
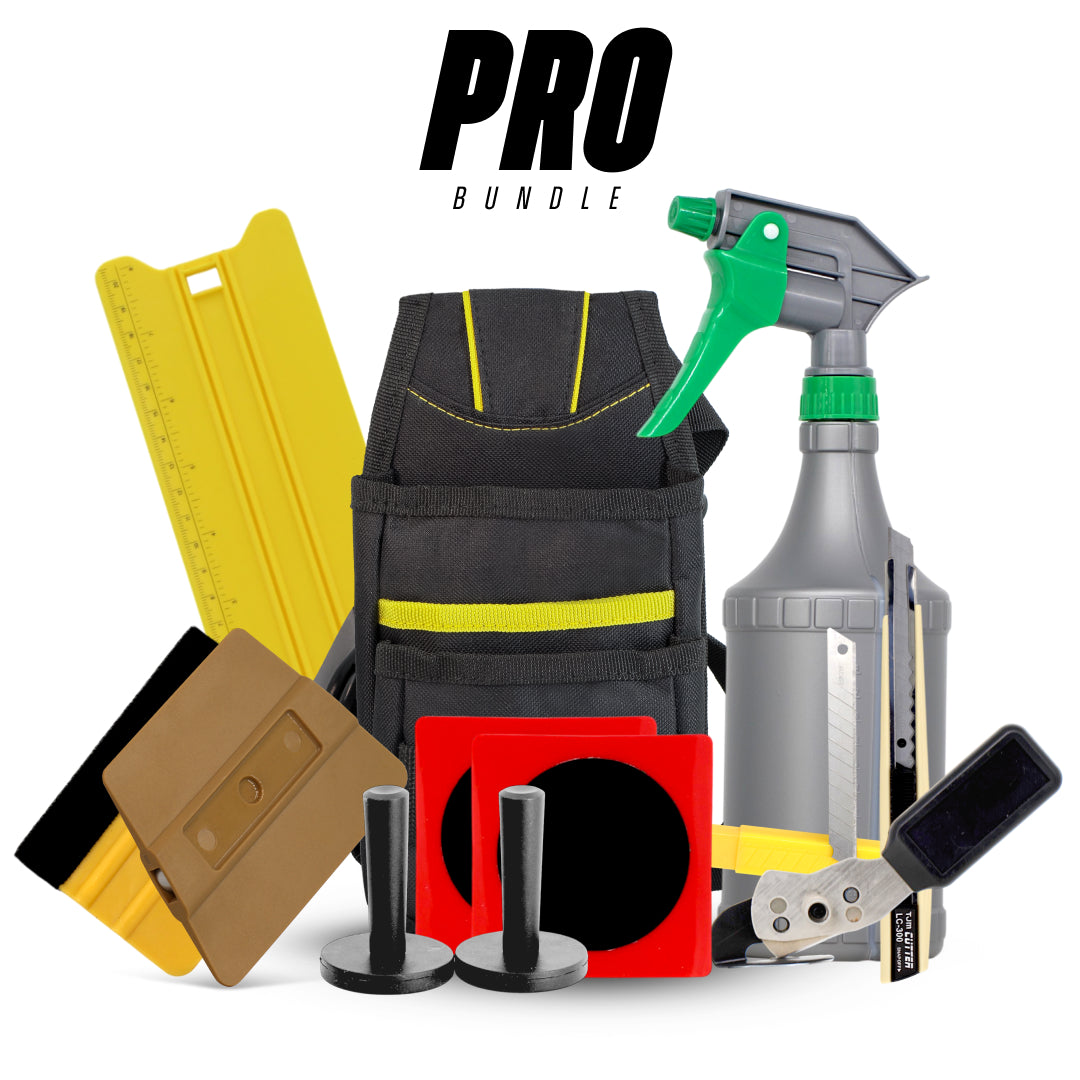
The honest answer: if you're building a wrap kit from scratch and don't already own the basics, a bundled kit costs less per tool than piecing it together. There's no cleverness to that, it's just how bundling maths works when the kit's put together properly.
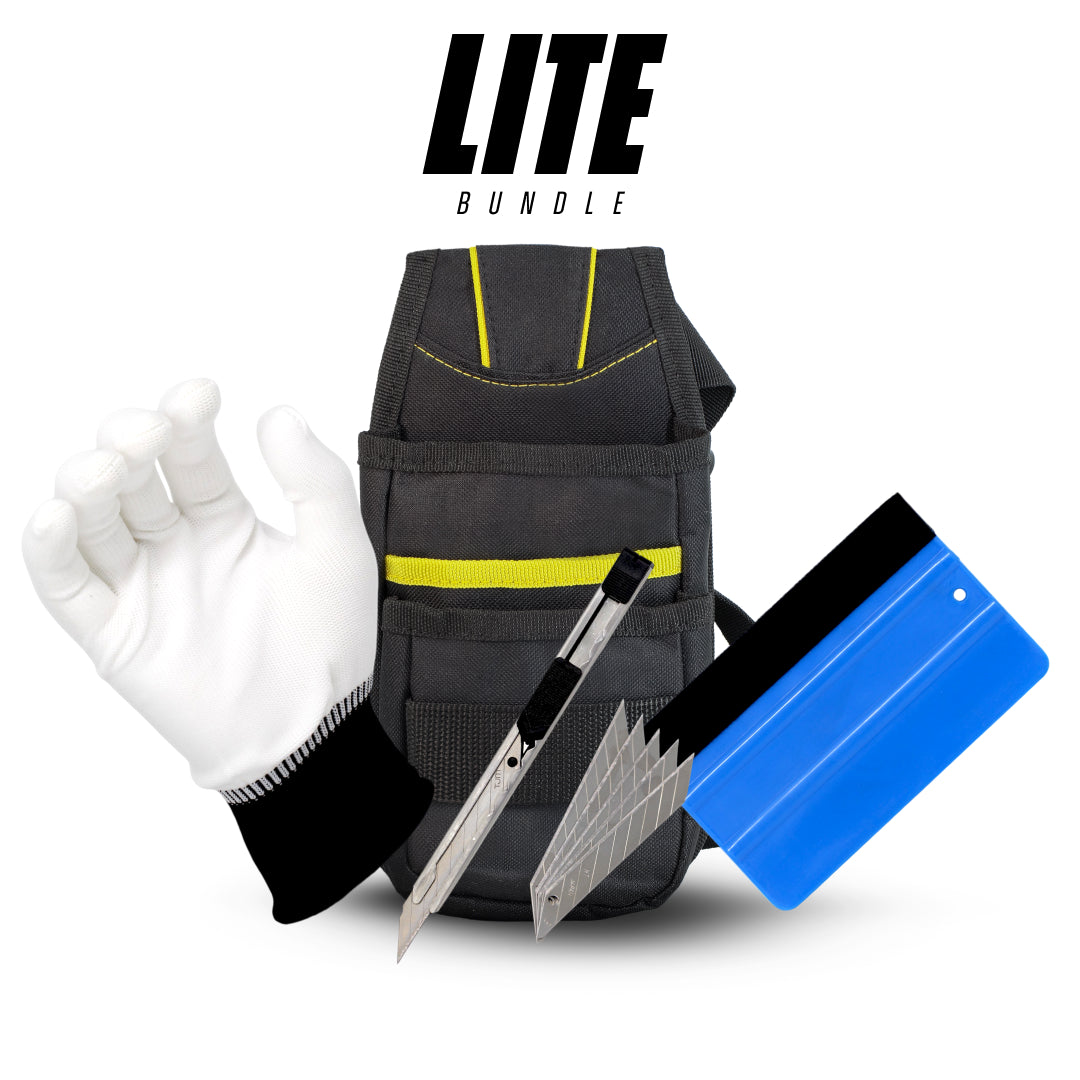
The Wrap Tool Kit Lite is the entry point. It covers the squeegees, blades, gloves and basic install tools for your first job. If you're wrapping your own car or planning a single kitchen project, this is enough.
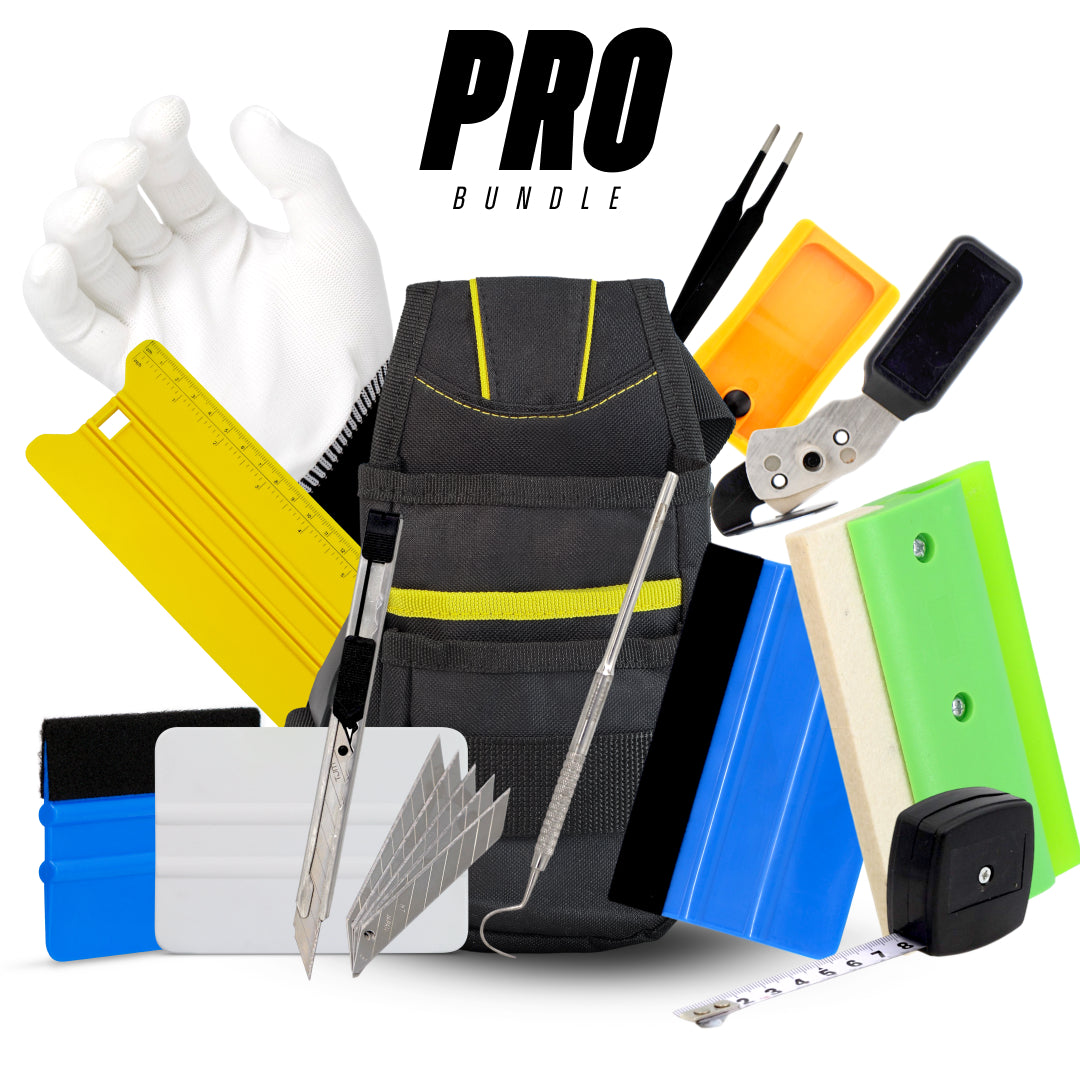
The Wrap Tool Kit Pro steps up for regular installers - the Lite kit's contents plus the additional squeegee variants, tuck tools and finishing gear you'll want by your third or fourth job.
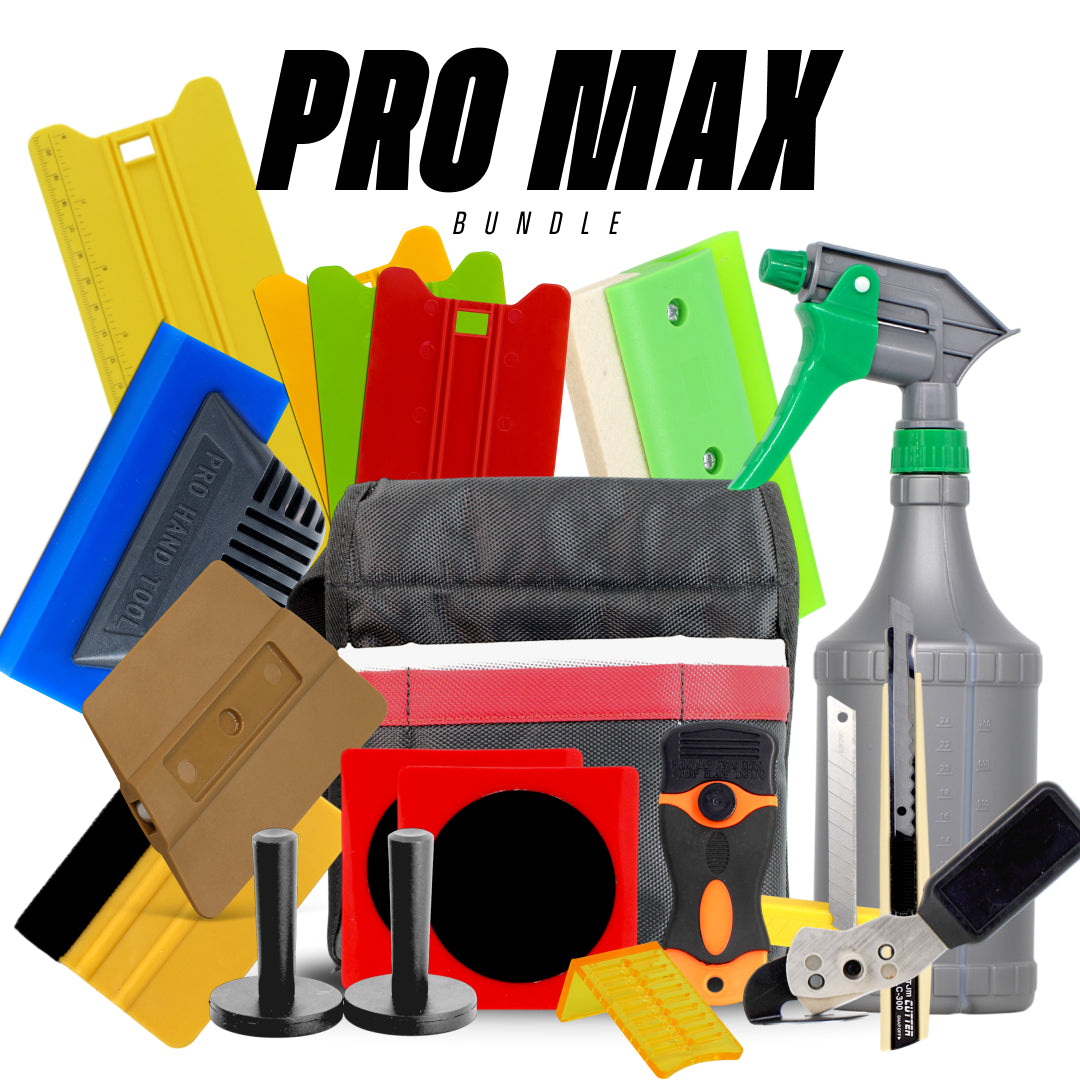
The Wrap Tool Kit Pro Max is the working-installer version. Every tool on this list, in one bag. This is for people wrapping vehicles as their job, not their weekend.
If you already own half the tools on this list and just want to fill gaps, the individual pages linked throughout this guide are the way to go. But if you're at zero, the Lite kit is a smarter first purchase than seven separate orders.
Also Working with Other Materials?

Wrap tools carry over to a lot of adjacent work - the same squeegees, blades, and heat gun principles apply to PPF, window tinting, and signage installs, with a few tool-specific additions in each. If you're branching out:
PPF tools - for paint protection film work. The main differences are film thickness and adhesive behaviour.
Window tint tools - the squeegees run firmer and there's more specific-use gear like heat shrinkers.
Sign install tools - larger squeegees for flat-glass and building signage.
The tool logic is the same. The tool selection changes slightly. Anything you've spent on a solid wrap kit isn't wasted if you move into these areas - most of it still gets used.
That's the working list. Everything else is specialisation, and most of the specialisation is answered by the Wrap Tool Kit Pro Max if you'd rather buy once and stop thinking about it.

Wrap Tool Kit – Pro Max
$216.99
What's Included The Wrap Tool Kit Pro Max includes a complete professional vinyl wrapping setup designed for high-volume installers, wrap...
Kit me out