

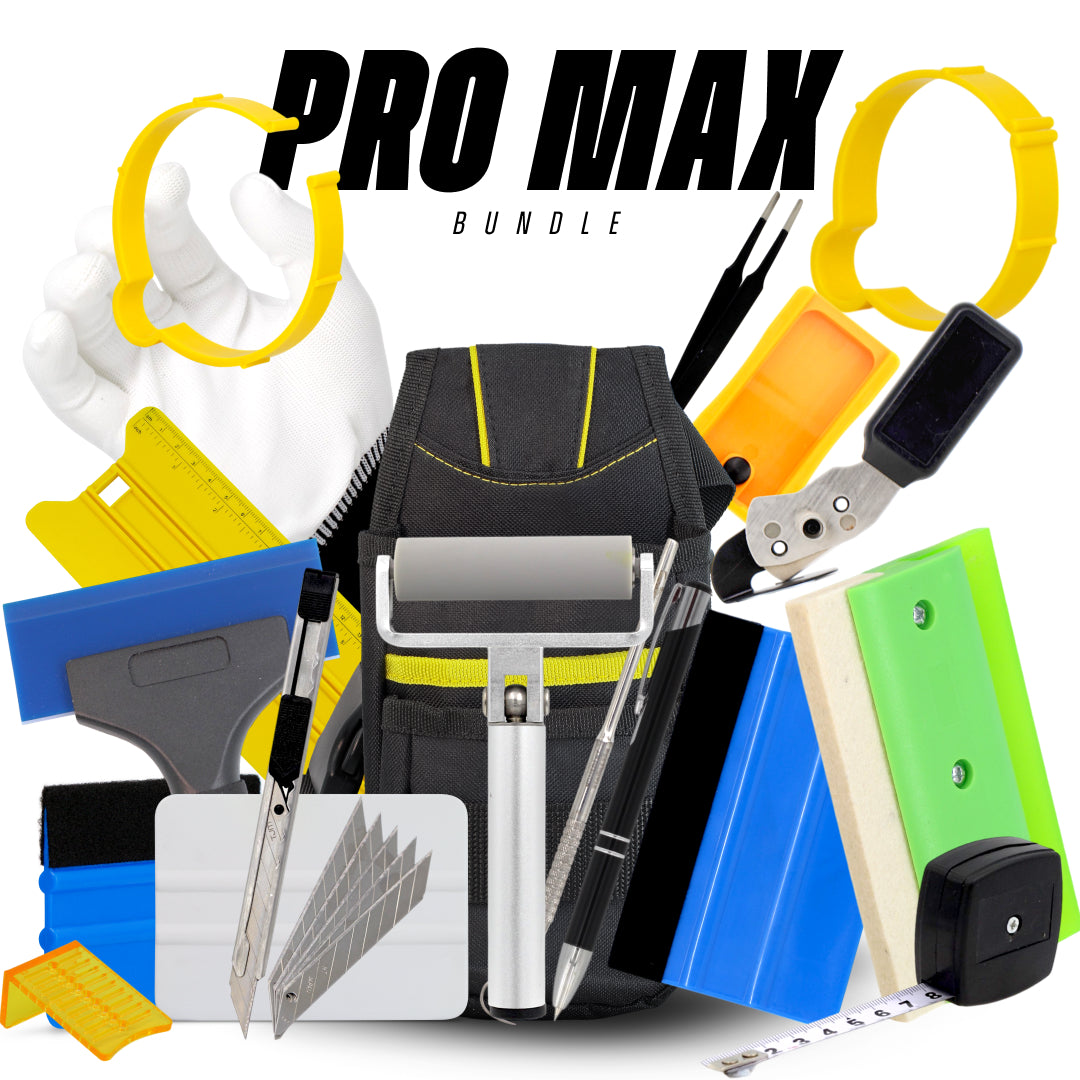
Article: Window Tinting Tool Kit Essentials
Window Tinting Tool Kit Essentials
Essential Tint Tool Kit: What are the Best Window Tint Tools for Professional Installers?
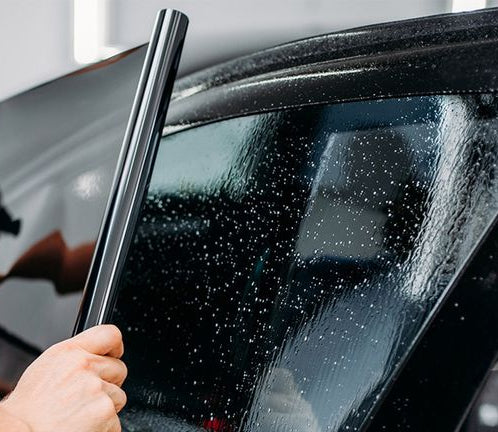
If you’ve ever tried tinting a window without the right tools, you probably learned the hard way. It’s not as simple as sticking film on glass. Window tinting is a precise craft that requires the right combination of skill, patience, and equipment. Whether you’re a beginner or a seasoned professional, your toolkit is your best friend. Without the right gear, you risk uneven application, bubbles, peeling edges, and frustrated customers.
The world of window tinting tools is vast, ranging from basic cutting instruments to specialized heat application devices. You might be tempted to grab the cheapest tools you can find, but in this trade, precision is everything. One wrong cut or an air bubble can ruin hours of work and waste expensive film. That’s why a well-stocked, high-quality tinting tool kit is essential for both speed and quality.
Let’s not forget, different tinting projects require different tools. Automotive window tinting, for example, often demands smaller, more flexible tools that can reach into tight spaces. Residential and commercial projects may call for larger squeegees and long-handled scrapers. Knowing the difference and having the right equipment for each type of job is the first step toward becoming a pro.
Professional-grade tools make all the difference. Whether you're trimming, applying, or finishing your tint, our Window Tint Install Tools collection has what you need to get started →
In this guide, we’ll walk through every essential tool an installer needs, from basic hand tools to high-tech gadgets, so you can build or upgrade your kit with confidence.
Why Having the Right Window Tint Installation Tools Matters

Imagine trying to paint a car with a broom. Sure, you might cover the surface, but the result would be a disaster. The same logic applies to window tinting. The right tools ensure you can apply film smoothly, remove air bubbles efficiently, cut edges cleanly, and protect the film from creases and scratches.
Good tools don’t just make your job easier, they save time and prevent costly mistakes. A $10 squeegee might seem like a small investment, but if it helps you finish a job in half the time and deliver a flawless finish, it’s worth every penny.
For professionals, tool quality is directly tied to customer satisfaction. Clients will notice streaks, bubbles, or peeling edges and in the competitive world of tinting, one bad job can hurt your reputation. On the other hand, with the right tools, you can deliver consistent results that keep customers coming back.
Understanding Different Types of Window Tinting
Before diving into specific tools, it’s important to understand that window tinting isn’t a one-size-fits-all process.
Automotive Tinting: Focuses on cars, trucks, and other vehicles. Tools for these jobs are often smaller, designed for maneuvering in tight spaces, and capable of handling curved glass surfaces.
Residential Tinting: Involves home windows, usually requiring larger squeegees, extension handles, and tools that help with tall or hard-to-reach areas.
Commercial Tinting: Similar to residential, but often on a larger scale with oversized glass panels and more industrial-grade equipment.
Each type requires slightly different tools, but many essentials overlap, especially when it comes to cutting, cleaning, and applying film.
Basic Hand Window Tint Tools for Installation

When you think of a tinting toolkit, hand tools are probably the first thing that comes to mind. These are the tools you’ll use most frequently, and having the right ones can mean the difference between a clean, professional look and a botched job.
Utility Knives and Blades
Your knife is one of your most important tools. Precision cutting is crucial because any uneven edge will stand out once the tint is applied. A good utility knife should feel comfortable in your hand, have a solid locking mechanism, and allow you to change blades quickly.
Types of Blades for Clean Cuts
Standard Snap-Off Blades: Popular because they allow you to “snap” off dull sections for a fresh edge without replacing the entire blade.
Stainless Steel Blades: Ideal for wet environments, as they resist rust.
Carbon Steel Blades: Extremely sharp but require more maintenance to avoid corrosion.
Using the wrong blade can lead to jagged cuts, which not only look unprofessional but can cause the film to peel prematurely.
A reliable snap-off knife from our Knife, Cutters & Blades offers clean, damage-free cuts →
Blade Safety and Maintenance
Always keep blades sharp, dull blades tear film rather than cutting it cleanly.
Use blade storage cases to avoid accidents.
Dispose of used blades safely in a designated container.
Tint Squeegees for Smooth Application

A squeegee is used to press the film onto the glass and remove air bubbles. It’s one of the most frequently used tools in tinting, and having a few different types on hand is wise.
Hard vs. Soft Squeegees
Hard Squeegees: Provide more pressure, making them ideal for removing stubborn water pockets.
Soft Squeegees: Gentle on film, better for delicate work and final touches.
Choosing the Right Squeegee Material
Rubber: Flexible but may wear faster.
Polyurethane: Durable and offers consistent pressure.
Felt-Edged Squeegees: Prevent scratching during final passes.
To eliminate bubbles and smooth films, viral tinters rely on various Tint Squeegees for precise pressure control →
Measuring and Cutting Tools
Every installer knows that “measure twice, cut once” is the golden rule. Accurate measurements prevent wasted film and ensure a perfect fit.
Precision Measuring Tapes and Rulers
Look for tapes and rulers with clear, easy-to-read markings. A transparent ruler can help align cuts with the film’s pattern. Many pros use metric measurements for precision, but this comes down to personal preference.
Glass Scrapers and Cleaning Tools
Before you apply any film, the glass must be spotless. Even the smallest speck of dust can cause bubbles. Scrapers with stainless steel blades are great for removing paint overspray, stickers, and other debris. Always scrape in a single direction to avoid scratching the glass.
For a deeper dive into essential tools, check out Rvinyl’s expert guide →
Heat Application Tools
Some films require heat to conform perfectly to curved surfaces or to shrink before application.
Heat Guns for Film Shrinkage
A heat gun allows you to manipulate the film to fit complex shapes, especially in automotive tinting. Look for models with adjustable temperature controls to avoid overheating the film.
Choosing the Right Heat Gun Settings
Low setting: For gentle adjustments.
Medium setting: For standard shrinking.
High setting: For quick, heavy-duty work (use with caution).
Steamers for Removal and Preparation
When removing old tint, a steamer can loosen the adhesive without damaging the glass. Steamers are also useful for prepping glass surfaces before application.
Cleaning and Prep Window Tint Tools
Preparation is everything. The cleanest, smoothest tint jobs start with a meticulous prep process.
Microfiber Cloths and Absorbent Towels
Microfiber cloths are perfect for wiping glass without leaving lint behind. Absorbent towels help soak up excess water during application.
Successful tinting begins long before film meets glass. Start strong with the right Cleaning Tools →
Spray Bottles and Application Solutions
A good spray bottle is more important than it sounds. Look for one that delivers a fine, even mist to avoid flooding the glass. Application solutions can be store-bought or homemade (a mix of water and baby shampoo is common).
Specialized Window Tint Tools Accessories

Once you’ve got the basics covered, specialized tools can take your work from “good enough” to truly professional. These accessories help you reach tight spots, smooth out tricky edges, and avoid common pitfalls.
Hard Cards for Edges and Corners
Hard cards are thin, rigid tools used to push film deep into edges and corners where squeegees can’t reach. They’re especially helpful for automotive tinting, where curved and recessed glass is common.
Standard Hard Cards: Made of plastic, great for flat surfaces.
Teflon-Coated Hard Cards: Reduce friction, preventing scratches.
Heat-Resistant Hard Cards: Designed to withstand high temperatures during heat shrinking.
Wrap your hard card in a microfiber cloth or felt to protect delicate films during final passes.
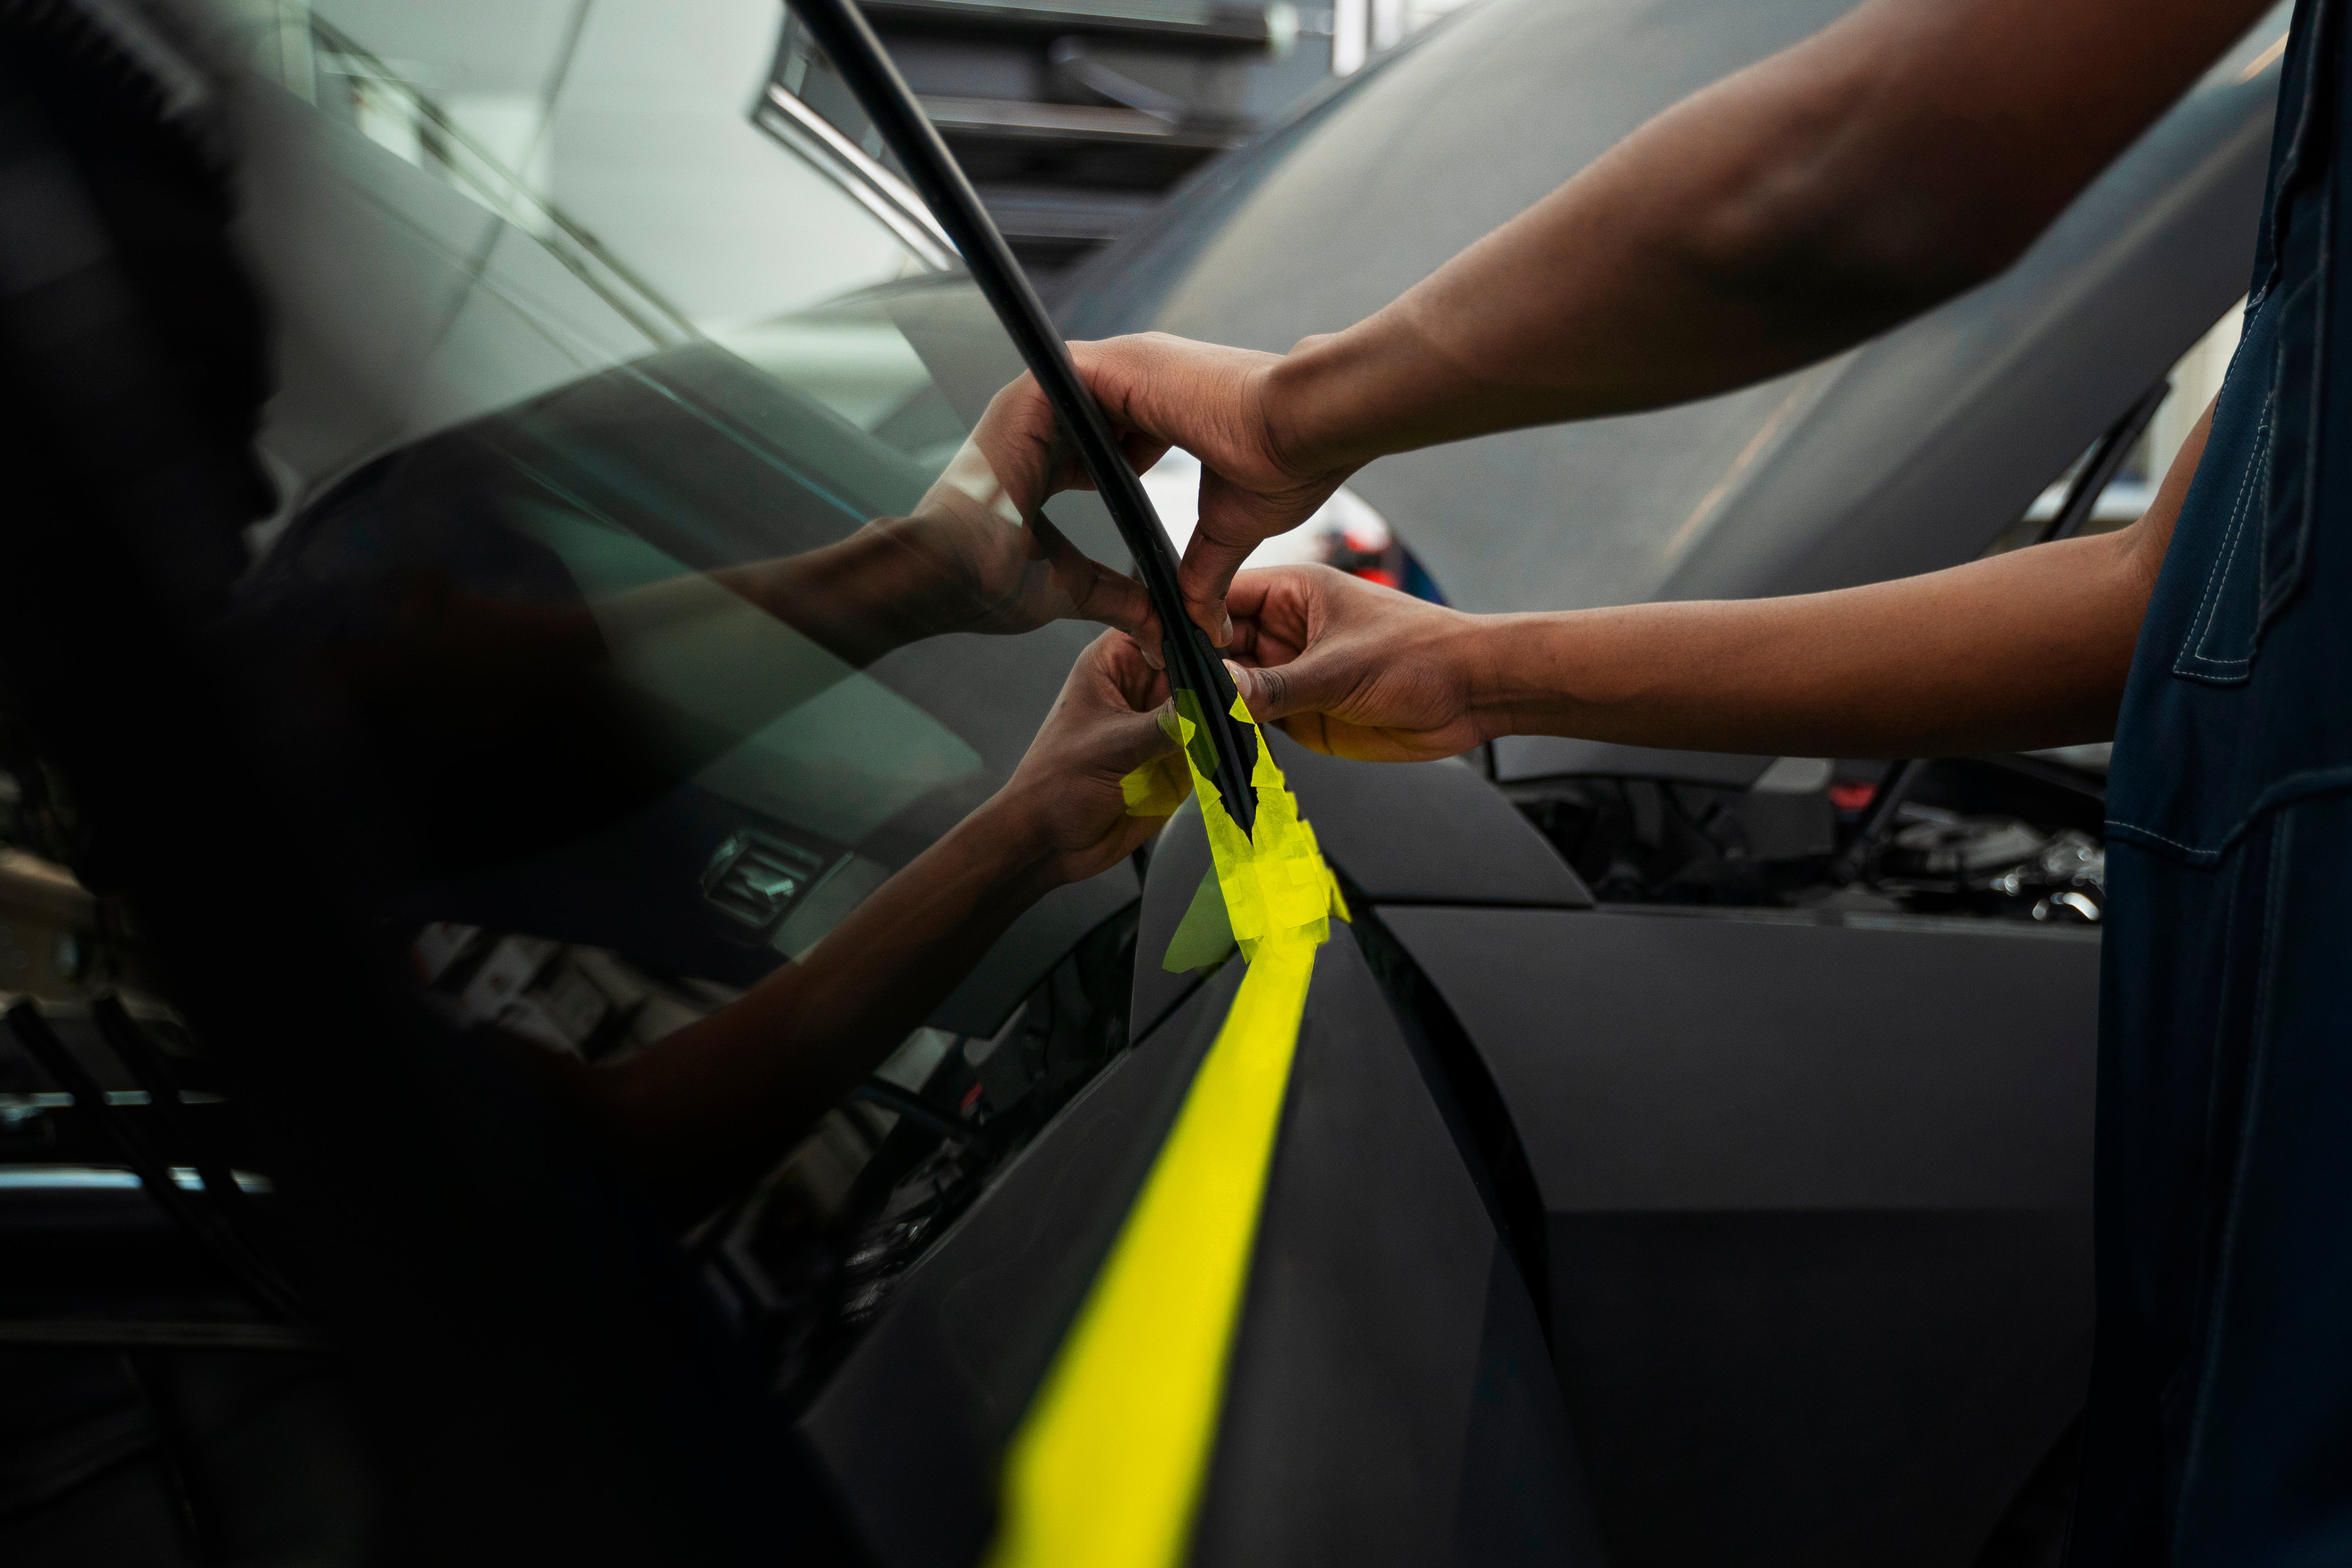
Gasket Push Sticks and Trim Tools
These tools help lift rubber gaskets around car windows or remove interior trim without damage. Gasket sticks let you tuck film behind seals for a seamless look. Trim tools are also useful for popping panels to reach glass edges in homes or commercial buildings.
Safety Equipment for Installers
Tinting might not seem dangerous, but it involves sharp blades, heat tools, and chemicals. Skipping safety gear is asking for trouble.
Gloves and Eye Protection
Cut-Resistant Gloves: Protect your hands during cutting and scraping.
Latex or Nitrile Gloves: Keep fingerprints and oils off the film.
Safety Glasses: Shield your eyes from flying debris or steam.
Comfort is key, if your safety gear is uncomfortable, you’re less likely to use it consistently.
Respirators for Chemical Safety
Some tint adhesives and cleaners release fumes that can cause headaches or worse. A good respirator filters harmful vapors and keeps you safe during long jobs, especially in poorly ventilated spaces.
Need professional tips? Tint Installer: The Tools of the Trade shares installation expertise from industry veterans →
Organizing and Maintaining Your Tint Tool Kit
Your tools will only serve you well if they’re clean, organized, and easy to find. Time wasted searching for a missing squeegee is time you’re not earning money.
Tool Bags and Storage Cases
Soft Tool Bags: Lightweight and easy to carry, ideal for mobile installers.
Hard Cases: Offer better protection and organization for expensive gear.
Magnetic Tool Holders: Keep blades and small tools within reach.
Regular Tool Maintenance
Clean squeegees and hard cards after each job to prevent scratches.
Sharpen or replace blades frequently.
Store heat guns and steamers in a dry place to avoid electrical damage.
Think of your tools like your car, they’ll last longer and perform better if you take care of them.
When to Upgrade Your Kit
If you’re doing more than one job a month, it’s worth investing in pro tools. Upgrading can also help you take on more complex projects, increasing your earning potential.
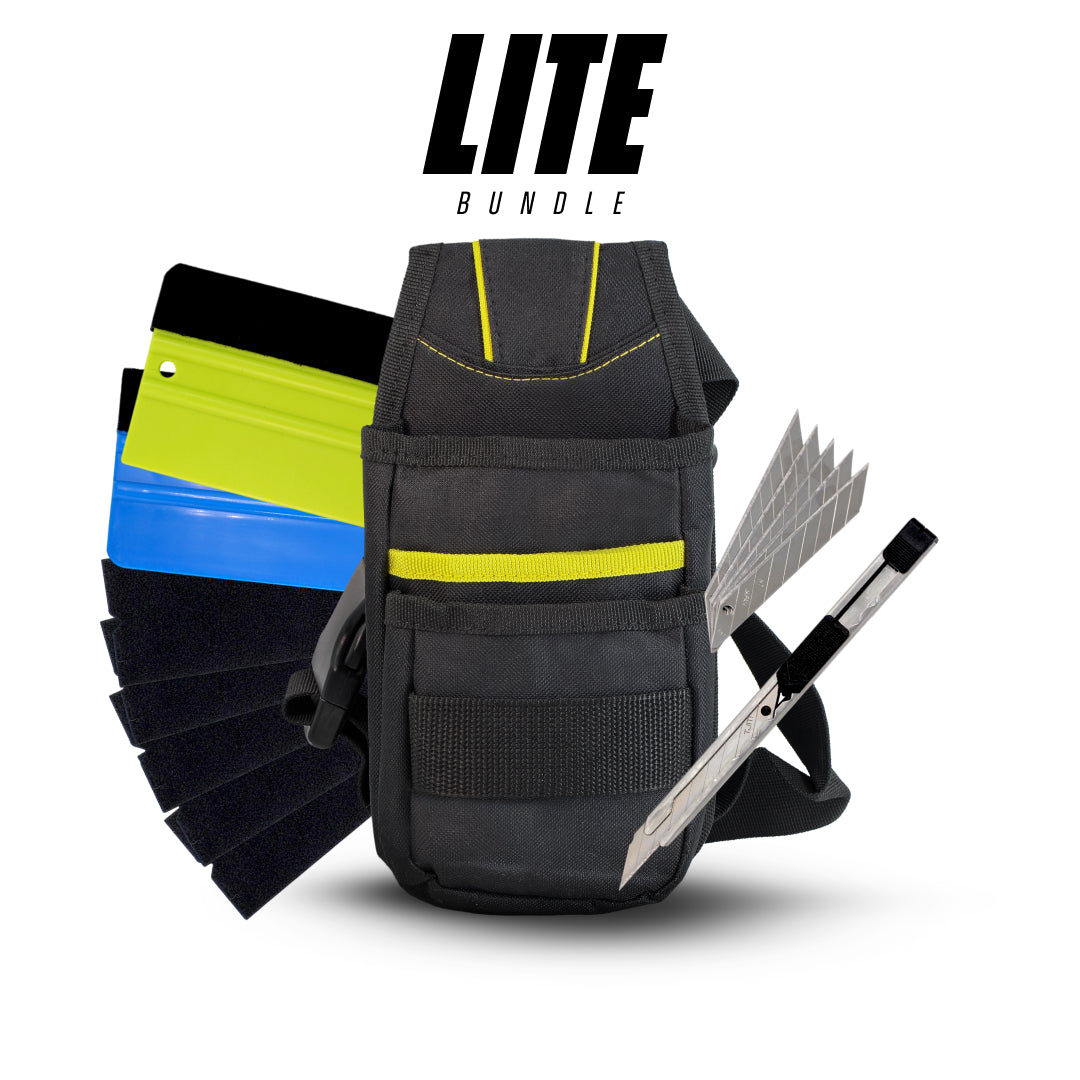
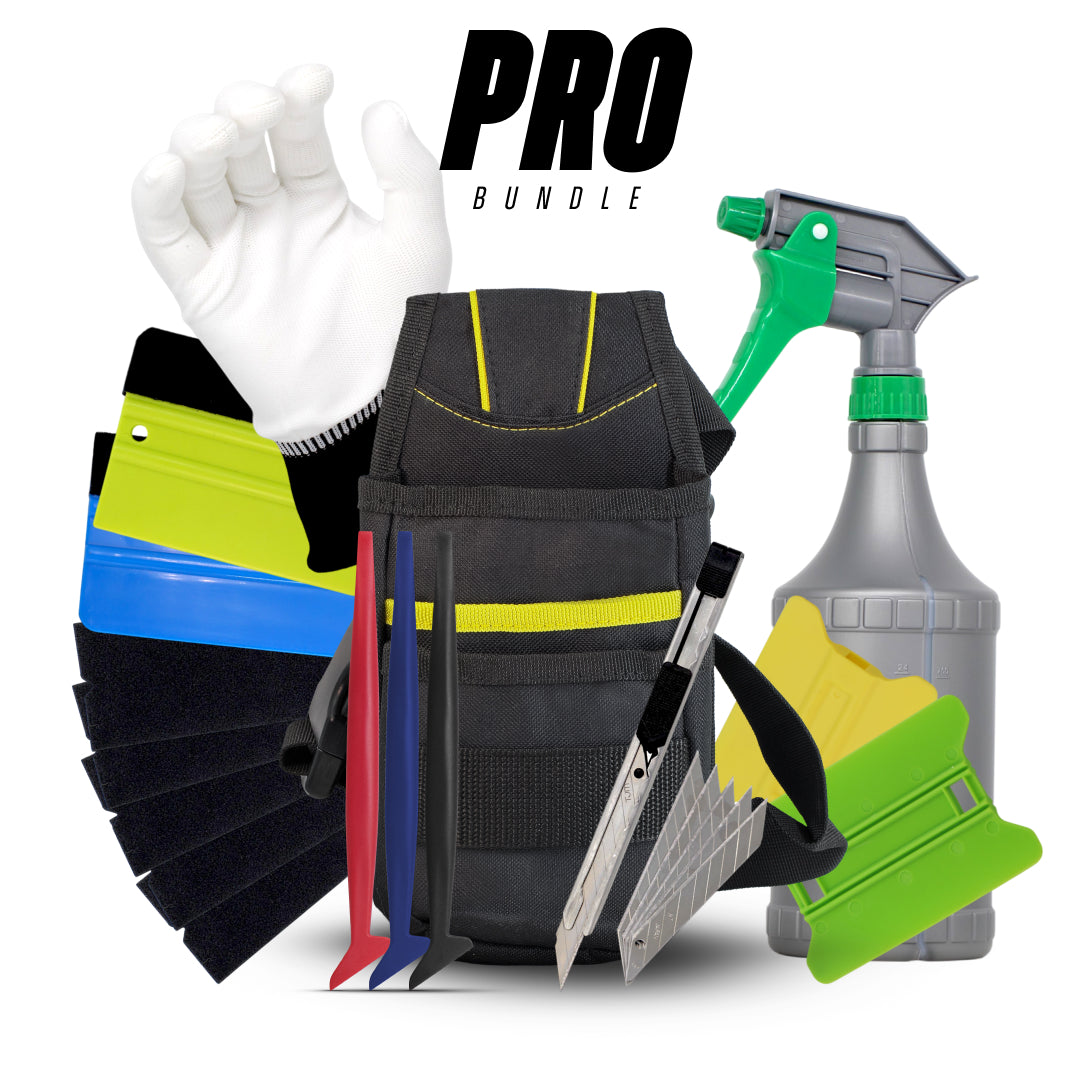
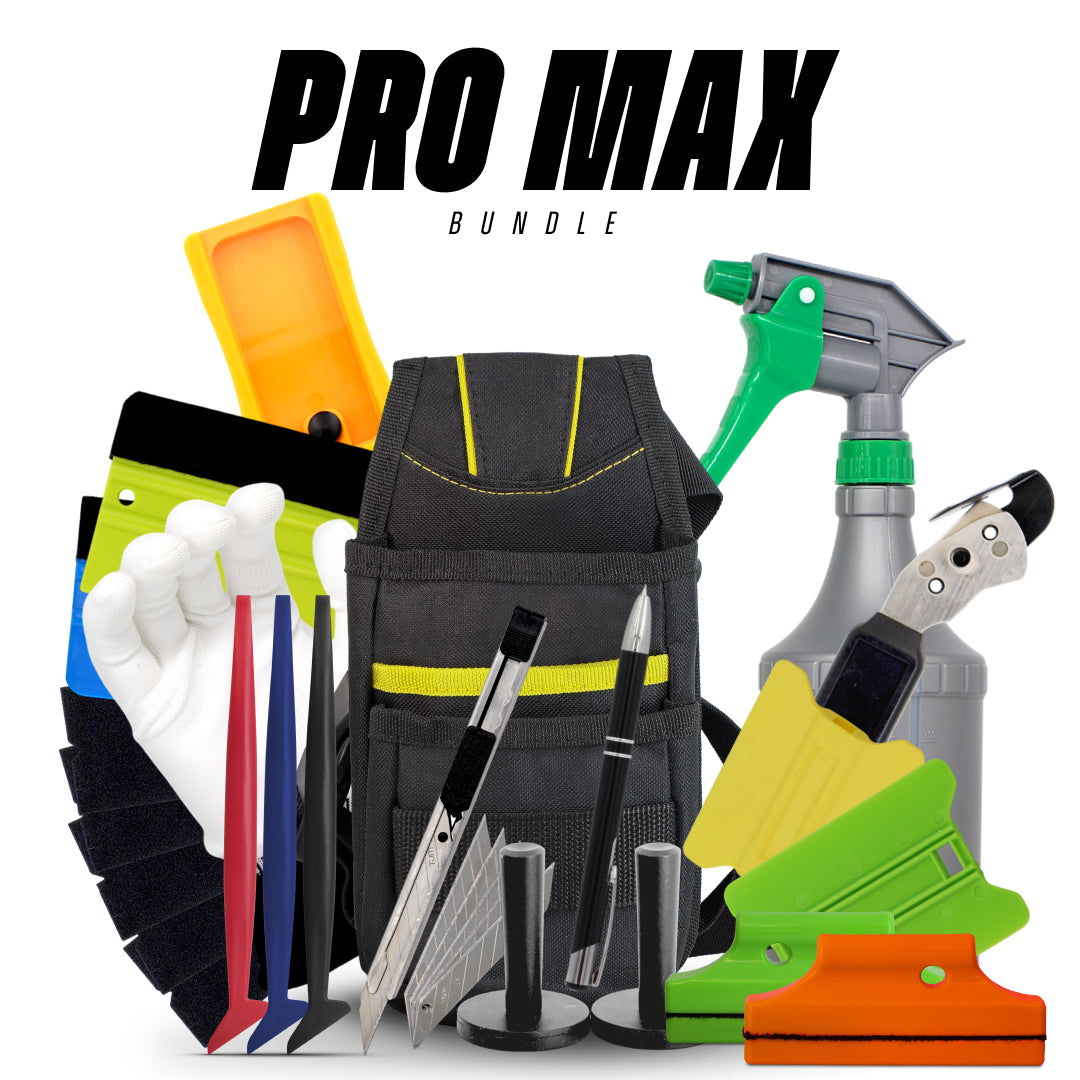
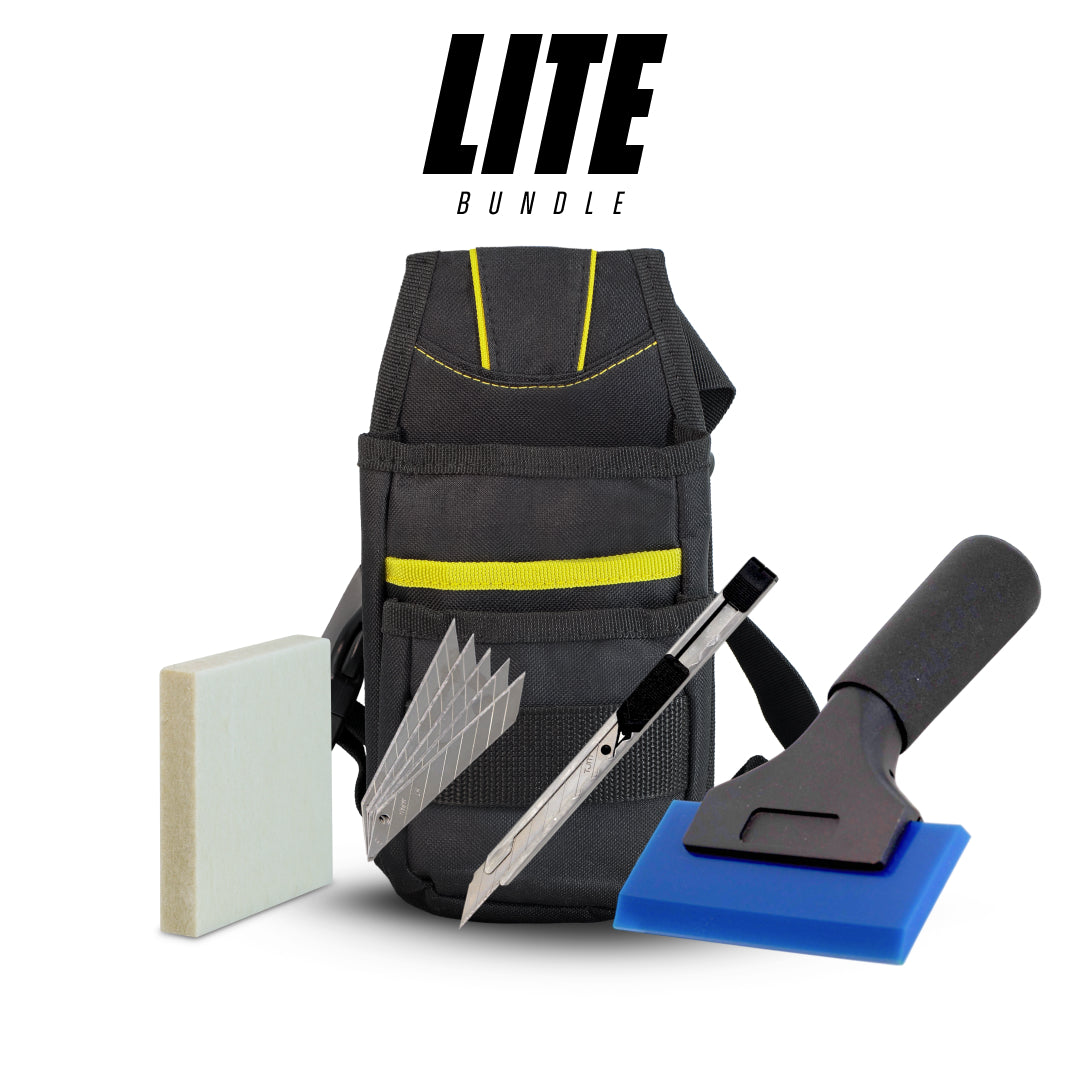
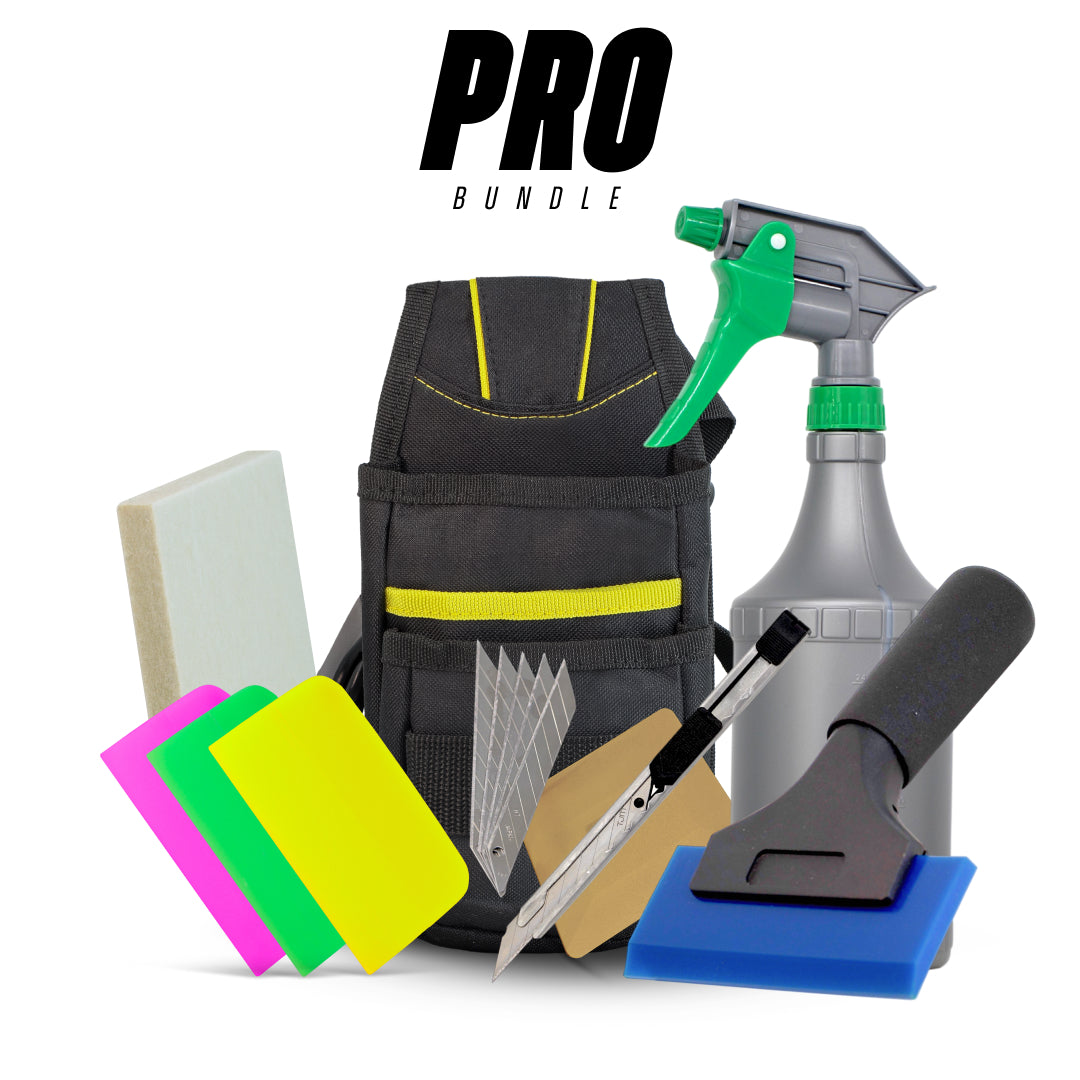
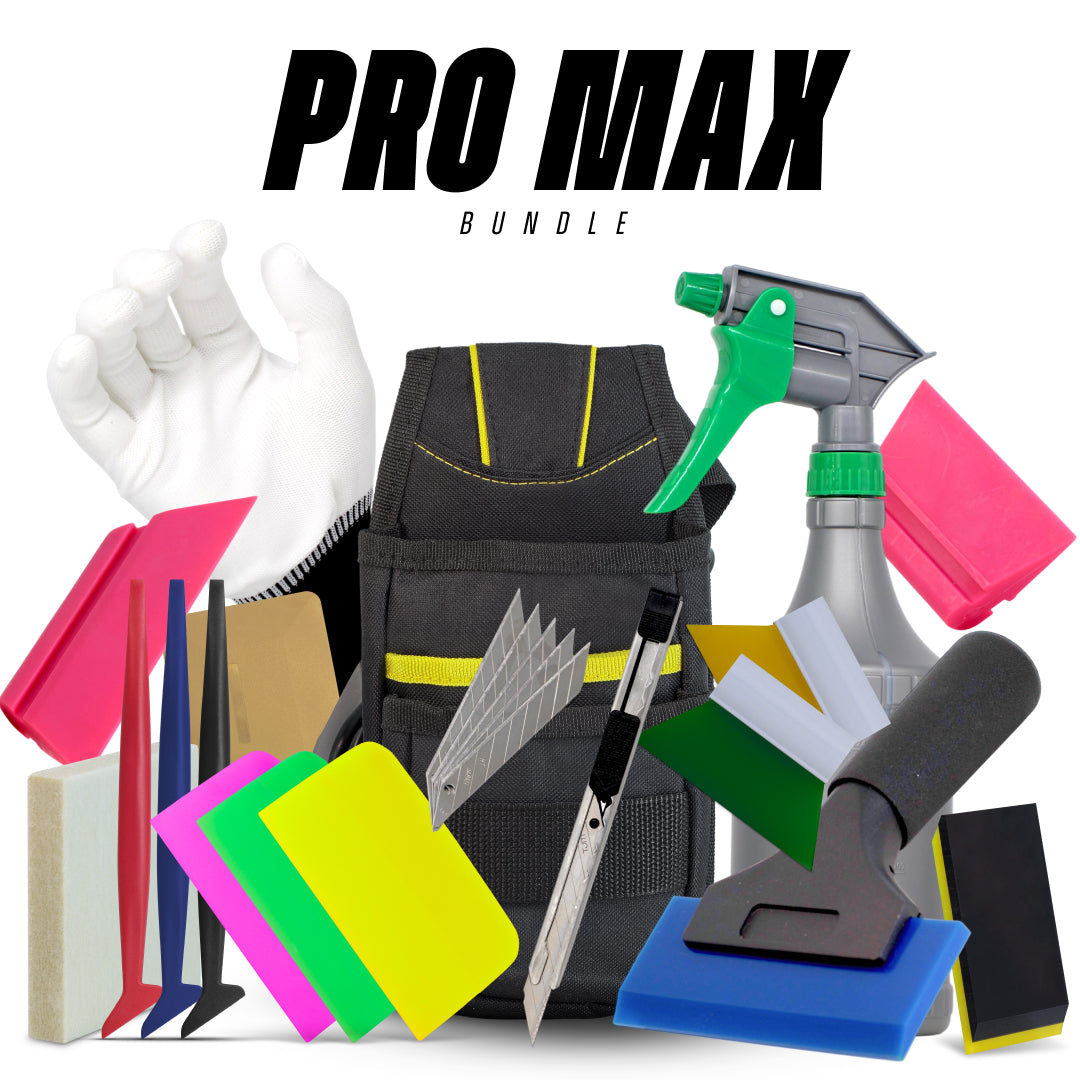
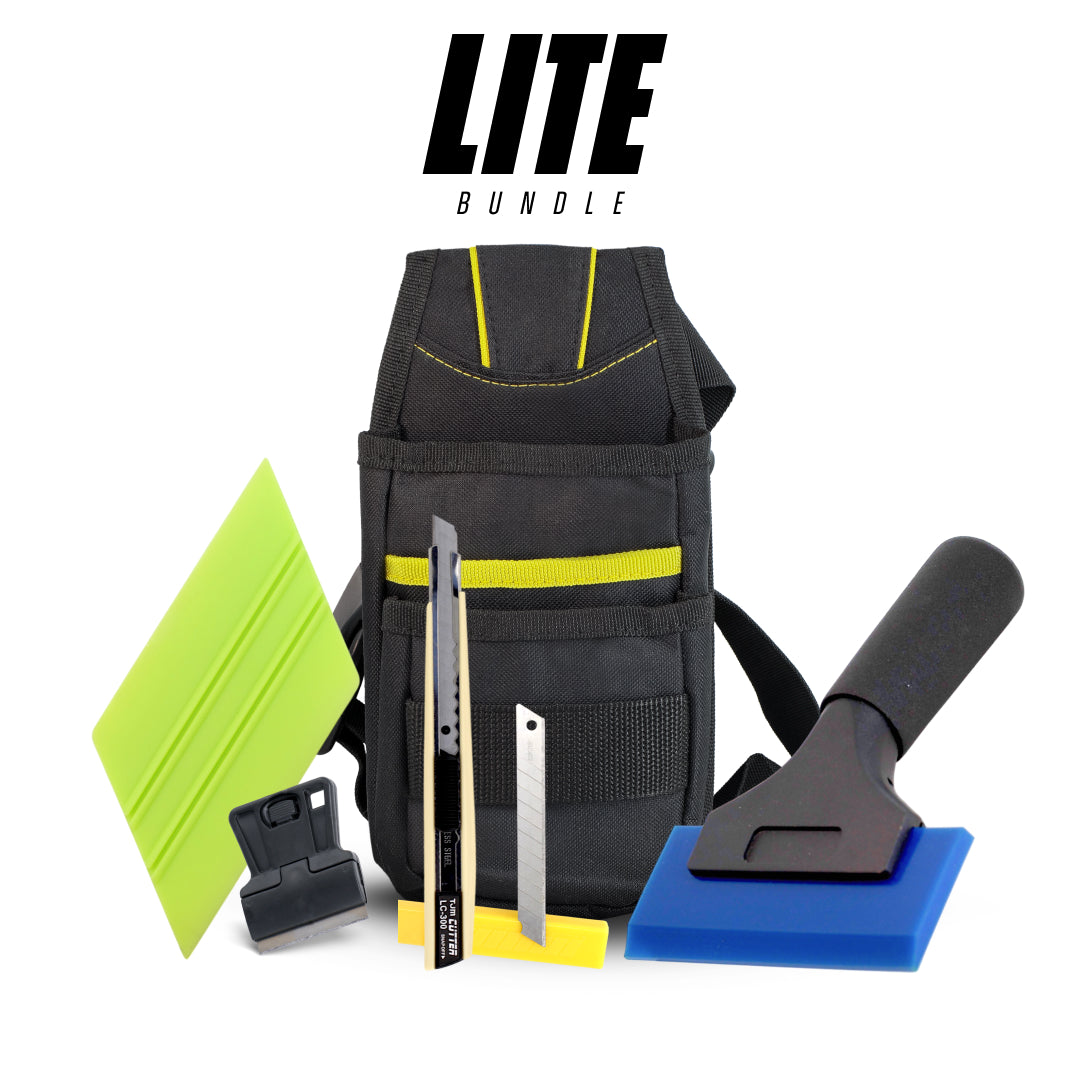
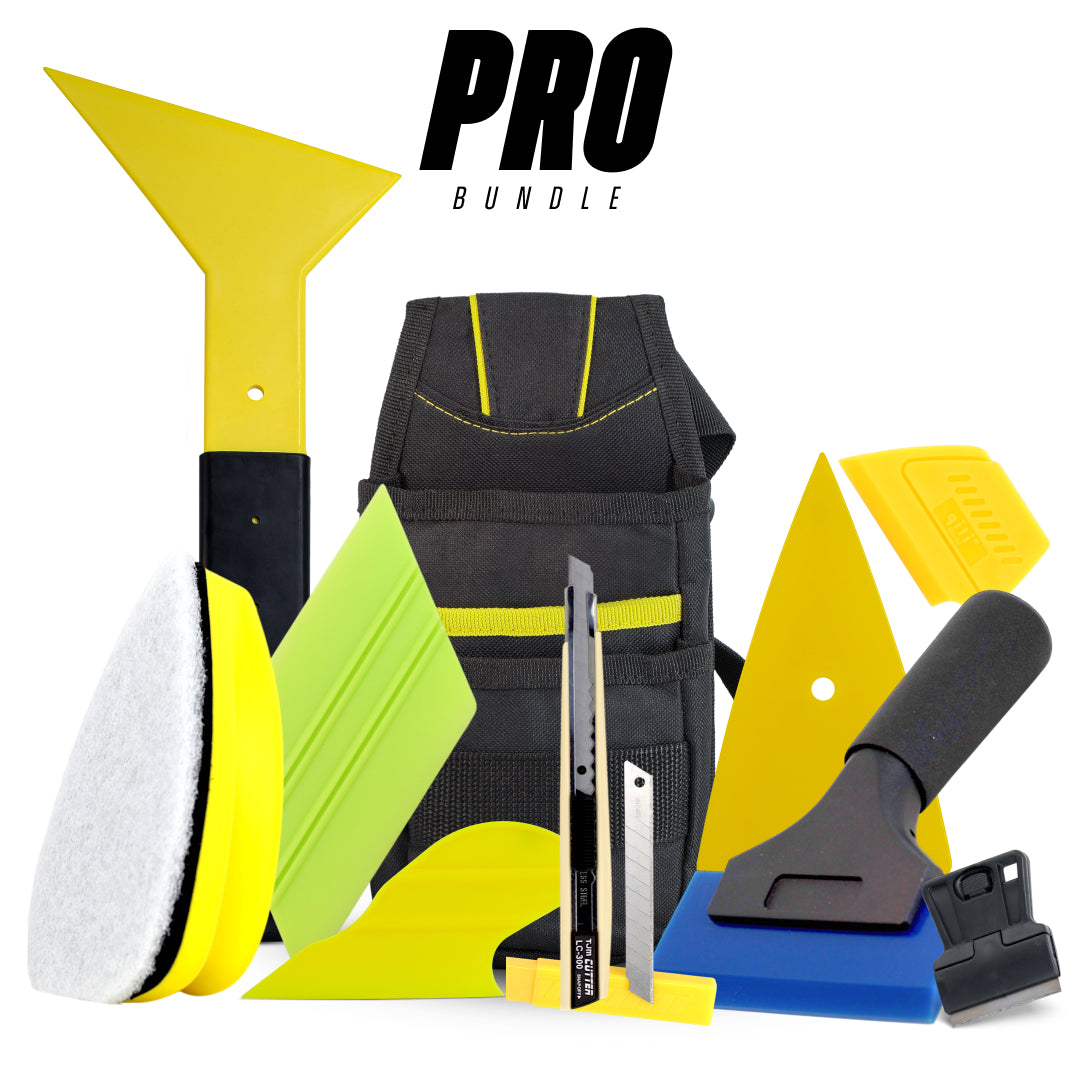
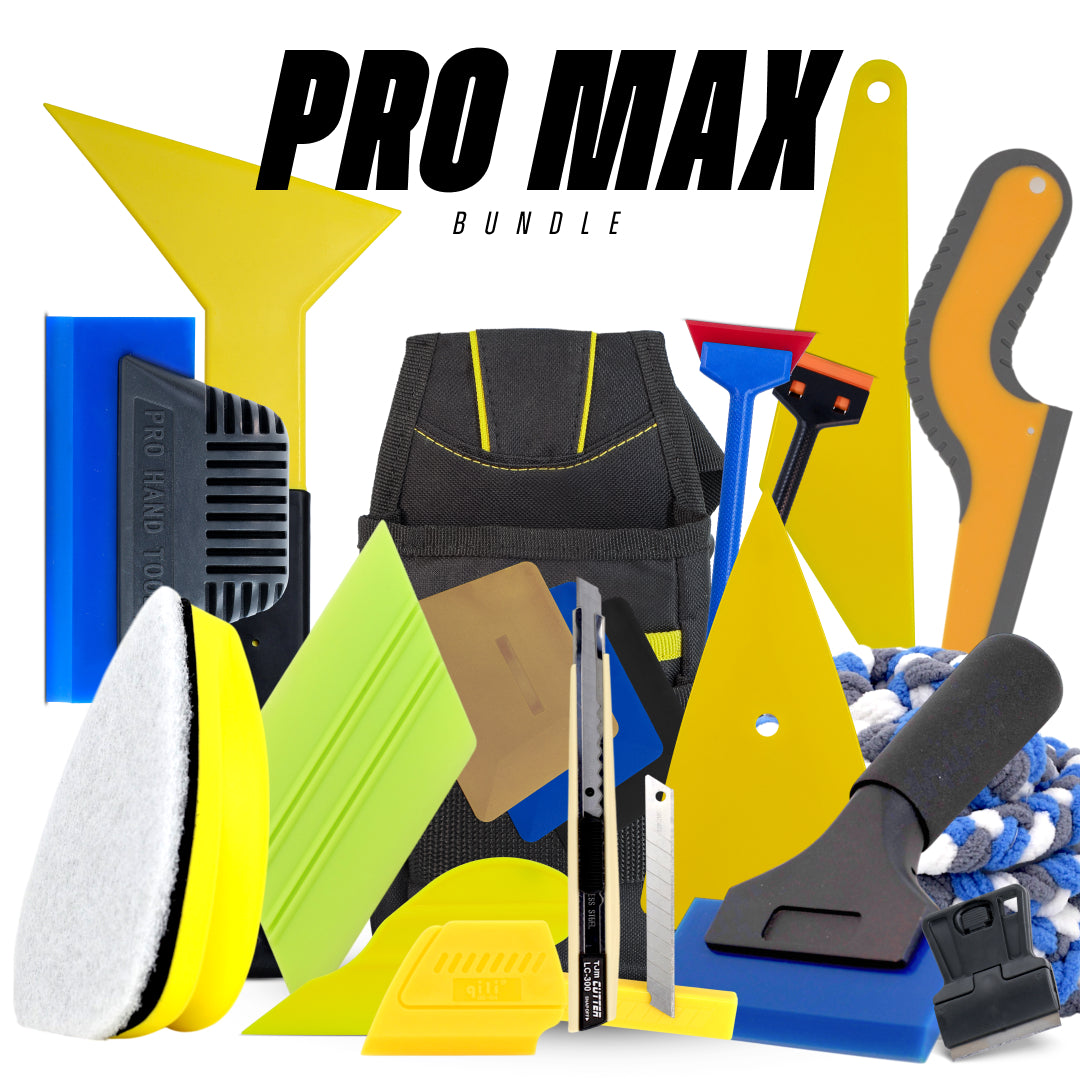
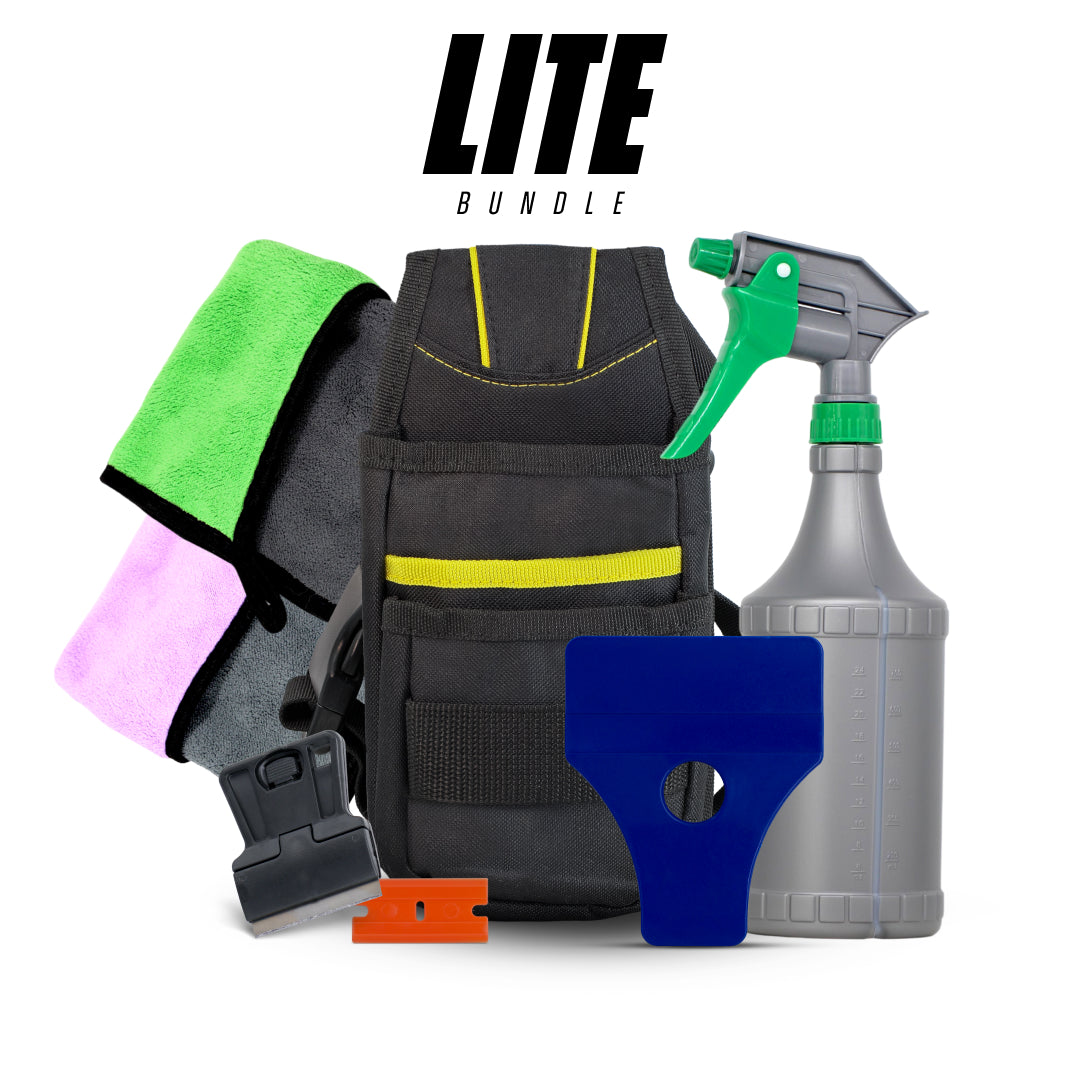
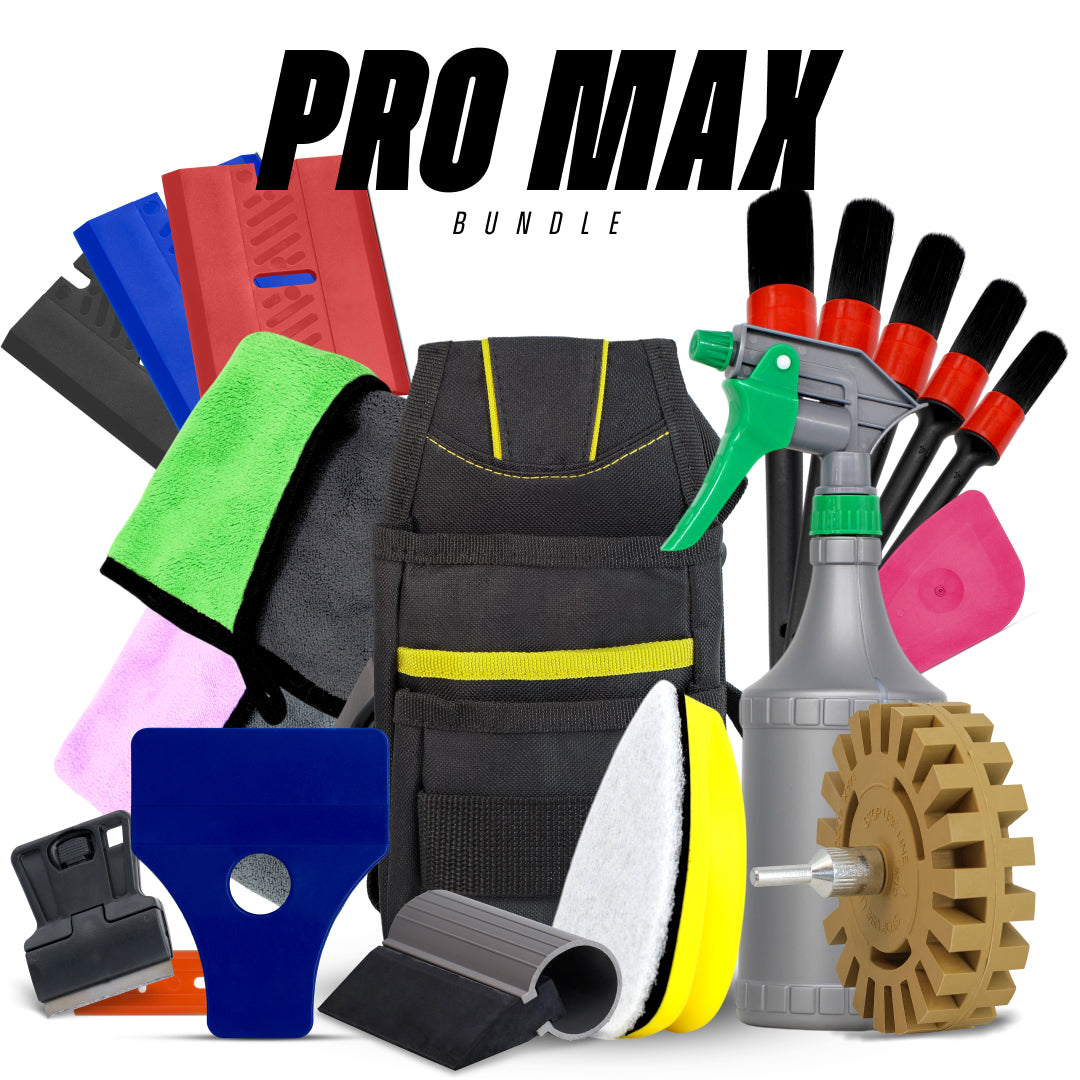
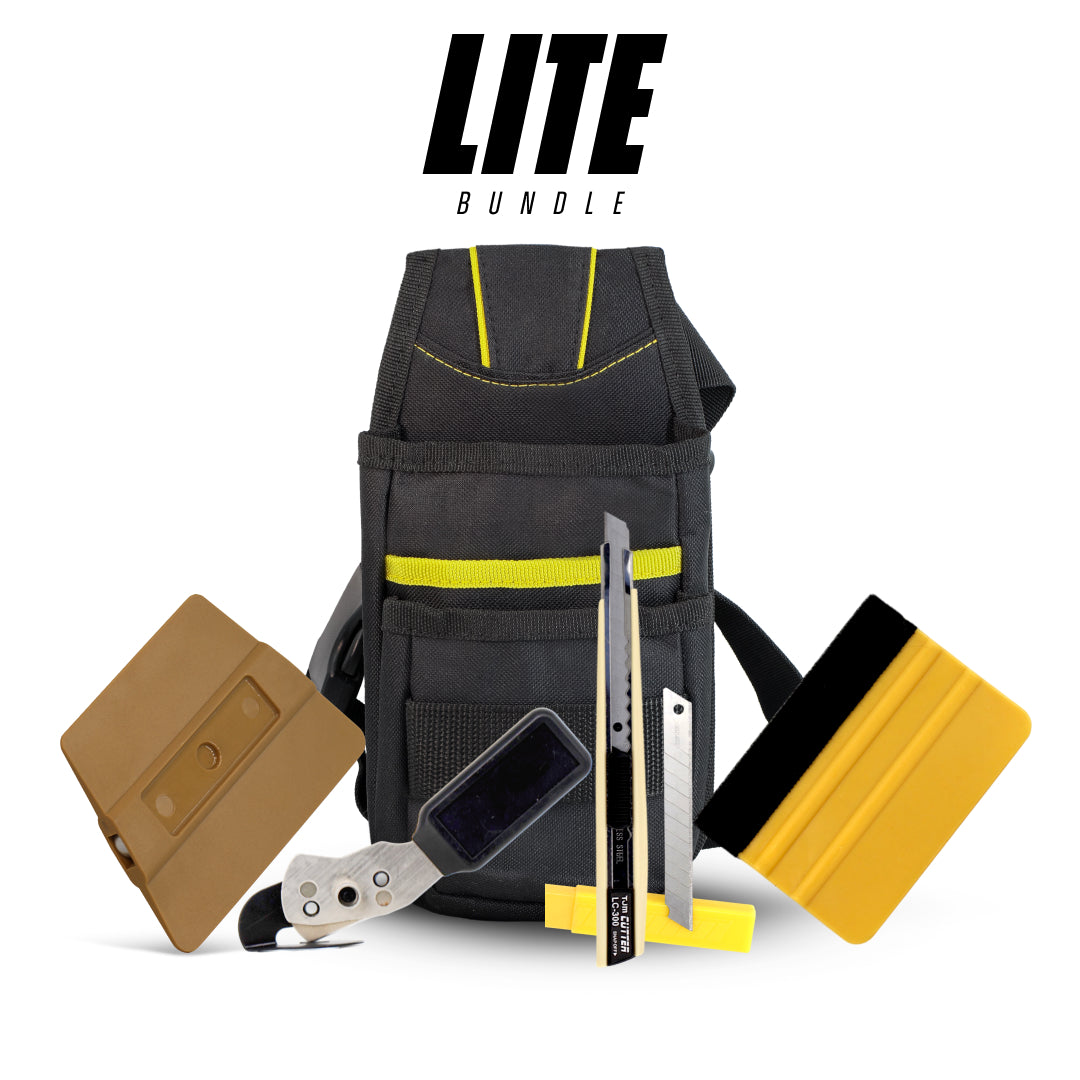
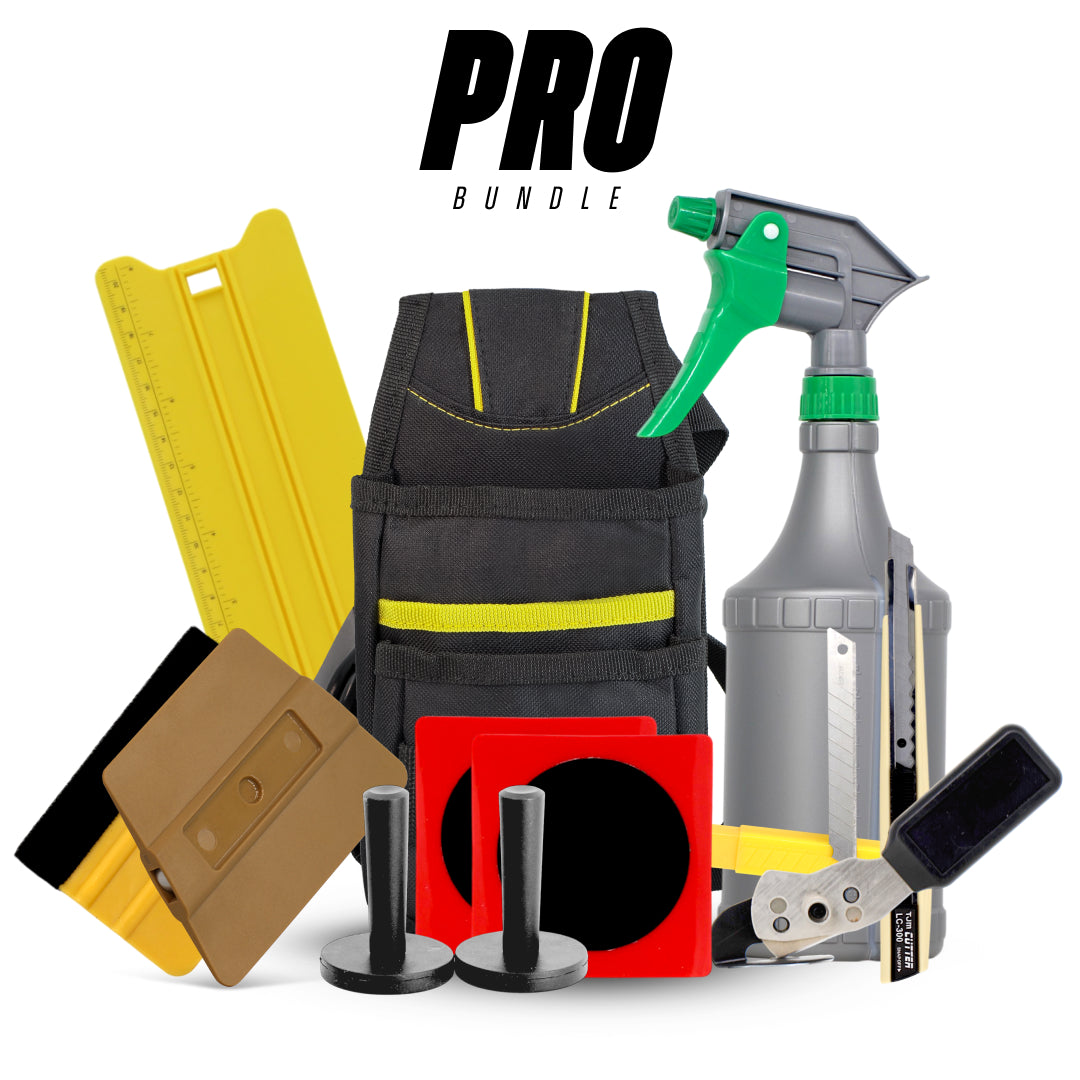
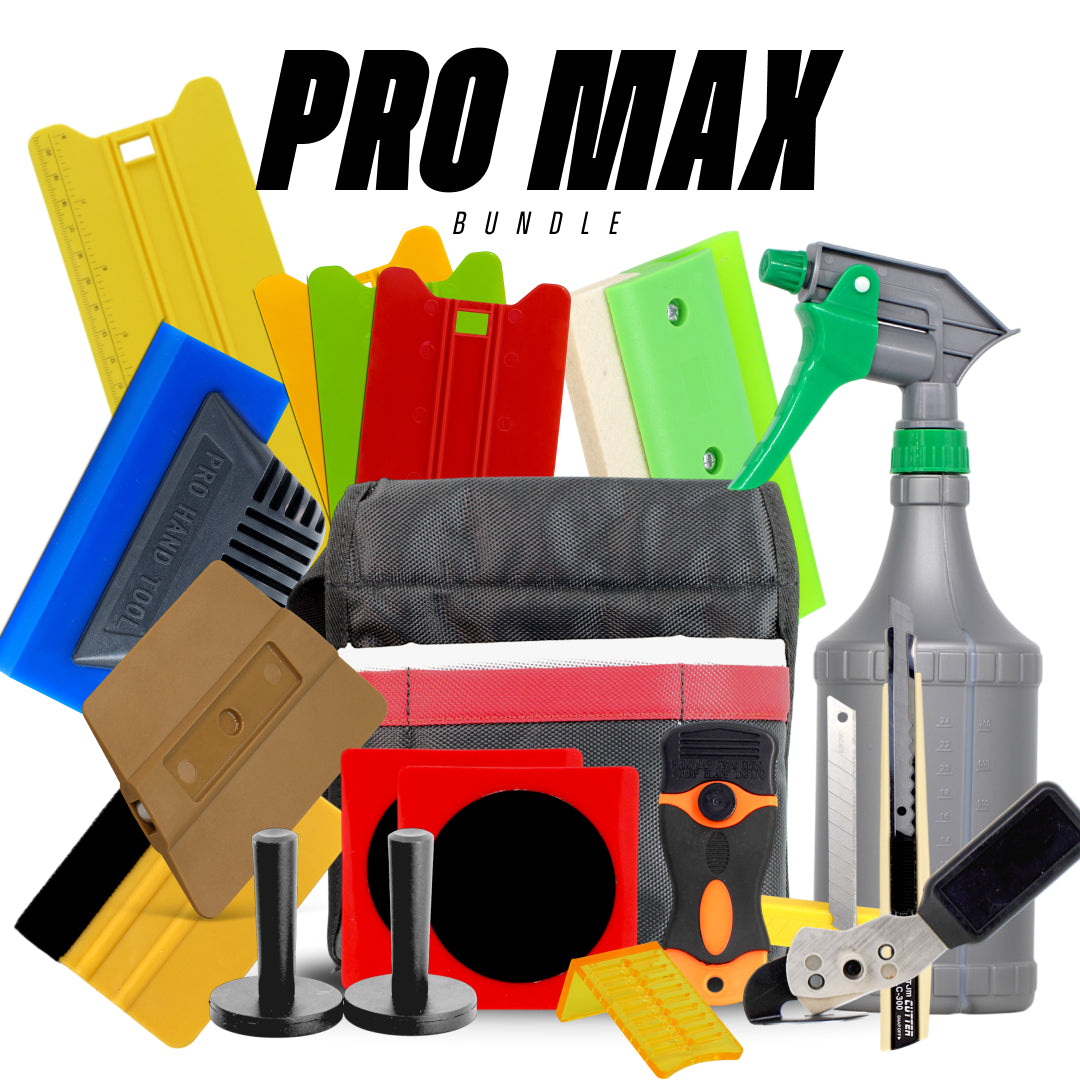
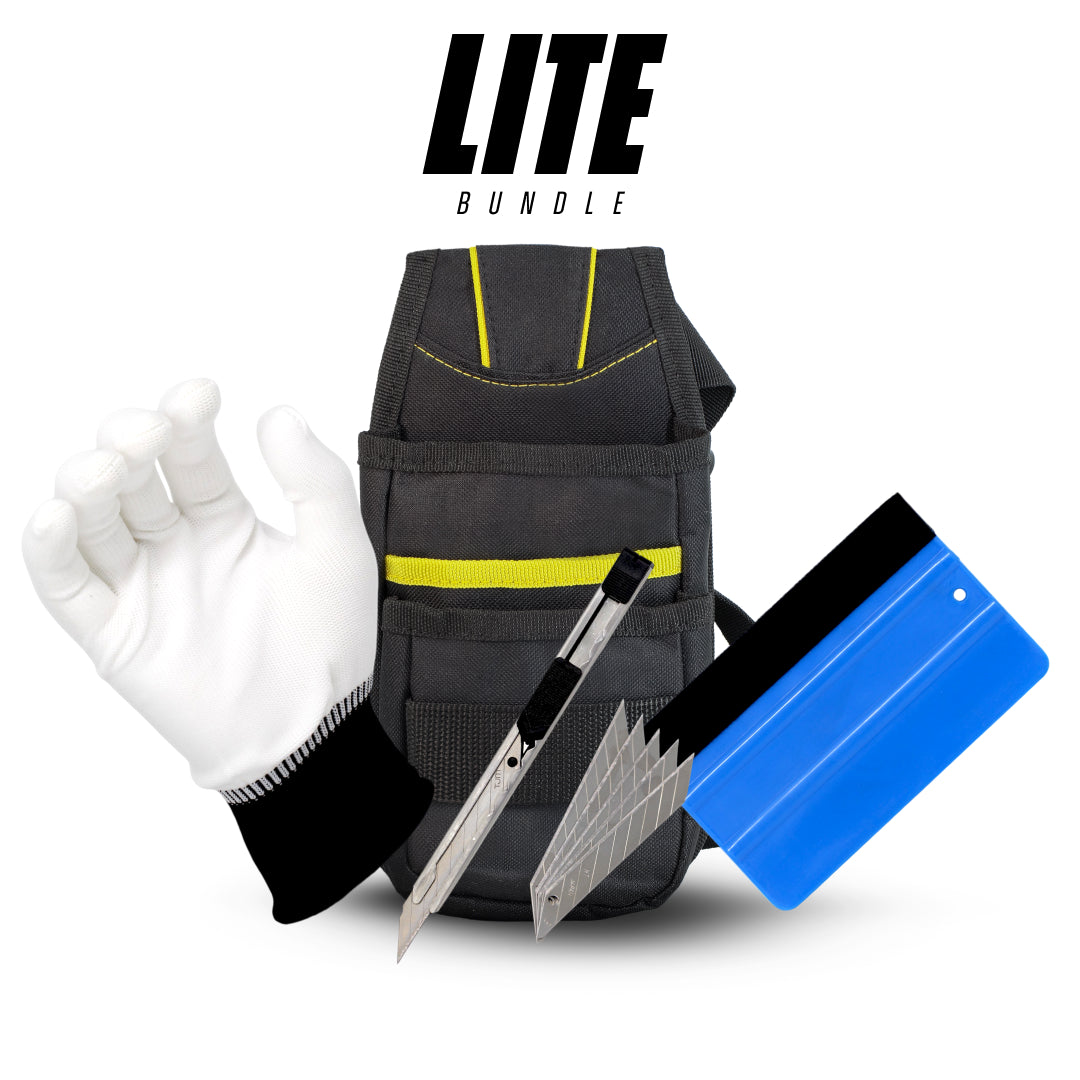
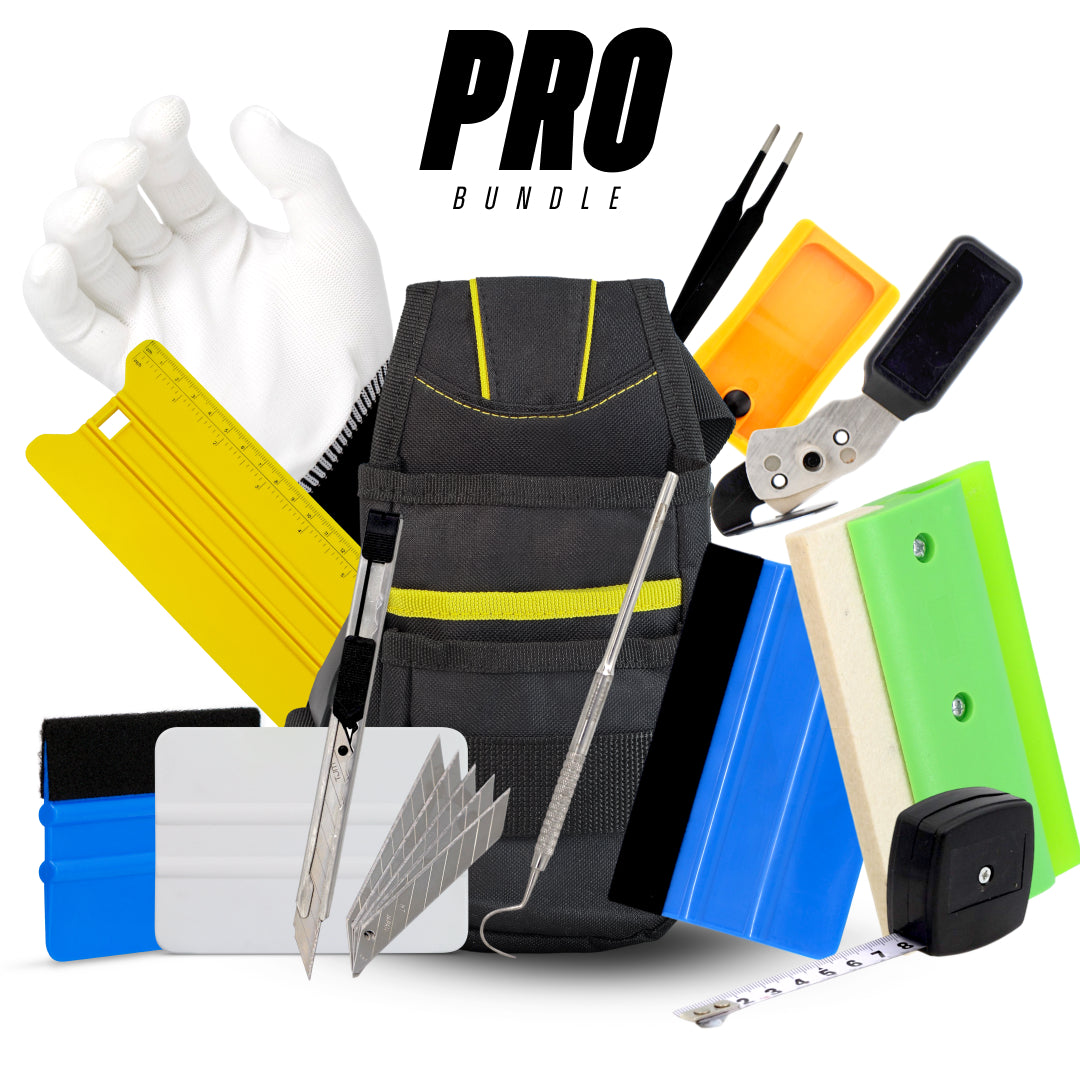
Want convenience? Explore our full Tint Tool Kits, everything you need in one box →
Conclusion
A great tint job is 50% skill and 50% tools. With the right window tinting tool kit, you can work faster, produce better results, and impress every client who sees your work. From basic utility knives to specialized hard cards and safety gear, each tool has its role in creating a flawless finish. Treat your tools well, and they’ll serve you for years, helping you turn a roll of film into a work of art.
Are you unsure which tool or kit is right for your job?
Our expert team at Oz Sign Supplies is here to help. Reach out today, and we’ll direct you to the best tools to suit your project, ensuring you get the job done right the first time.
FAQs
What is the most important tool for window tinting?
A sharp utility knife is crucial for precision cuts, but squeegees are equally important for a smooth finish.
Can I use household tools for window tinting?
You can, but results will suffer. Specialized tinting tools are designed to prevent scratches and ensure a professional look.
How often should I replace my blades?
Replace them whenever they feel dull, sometimes multiple times in a single job.
Do I need a heat gun for all tint jobs?
No, but it’s essential for shrinking film on curved glass surfaces, especially in automotive tinting.
What’s the best way to clean my tools?
Use mild soap and water, avoid abrasive cleaners, and dry them completely before storage.
Leave a comment
This site is protected by hCaptcha and the hCaptcha Privacy Policy and Terms of Service apply.