

Tint Squeegee Guide: Choosing the Best Tool for Perfect Window Tint Installs
How to Use a Tint Squeegee: Step-by-Step Guide
Window tinting is both an art and a science. The sleek, polished look of a well-tinted car window or home glass panel doesn’t just happen by accident, it’s the result of precision, the right materials, and most importantly, the correct tools. Among all the tinting tools available, the tint squeegee stands as one of the most critical. It may look like a simple piece of rubber or plastic, but in reality, it’s the difference between a flawless, bubble-free finish and a tint job riddled with creases and imperfections.
So, what exactly is a tint squeegee? Think of it as the painter’s brush of the tinting world. It’s the tool used to press and glide the film across the glass, removing trapped water and air while ensuring the tint adheres smoothly. Without it, no amount of skill or high-quality film can deliver professional-looking results.
Many beginners underestimate the importance of the squeegee, often grabbing whatever tool looks similar. This mistake usually results in scratches, uneven tint, and wasted material. Professionals know that the right squeegee isn’t just helpful, it’s essential. Whether you’re tinting a car for privacy and UV protection or upgrading home windows for energy efficiency, your squeegee will dictate how clean and durable the installation is.
When it comes to installing window film smoothly, having the right window tint tools is just as important as the film itself →
It’s also worth noting that tint squeegees aren’t one-size-fits-all. There are different types, sizes, and materials, each designed for specific purposes. Some are firm and rigid, perfect for flattening out stubborn air bubbles, while others are soft and flexible, ideal for working around curves and delicate films. Understanding the difference between them can make or break your tinting project.
In this guide, we’ll explore everything you need to know about tint squeegees, from the different types available, how to choose the right one, and expert tips on using them effectively. Whether you’re a beginner trying your first DIY tint project or a seasoned installer looking to refine your toolkit, this article will serve as your go-to resource for mastering the art of tinting with squeegees.
Among the essentials, tint squeegees play a vital role in ensuring a bubble-free, professional finish →
Types of Tint Squeegees

Not all tint squeegees are created equal. In fact, one of the biggest mistakes people make is assuming that any flat-edged tool can work as a substitute. The truth is, tint squeegees come in a variety of types, each with unique benefits and specific uses. To get a flawless finish, you’ll need to understand these differences and choose wisely.
Hard vs. Soft Squeegees
The first major distinction lies between hard and soft squeegees. Hard squeegees are rigid and ideal for pressing water and air out from underneath the tint film. They’re excellent when working on large, flat surfaces like car side windows or residential glass panels. Soft squeegees, on the other hand, are more flexible and are best suited for curved surfaces, like rear windshields or arched windows. Their pliability allows them to conform to the glass shape without creasing the film.
Popular Materials: Rubber, Silicone, and Felt
The material of a squeegee plays a big role in its performance. Rubber squeegees are the most common, offering a balance of firmness and flexibility. Silicone squeegees are more durable and glide more smoothly, which reduces the chance of scratching the tint. Felt-edged squeegees are another favorite, especially for finishing touches. The felt helps prevent scratches and scuffs when applying pressure, making them perfect for delicate films or final smoothing.
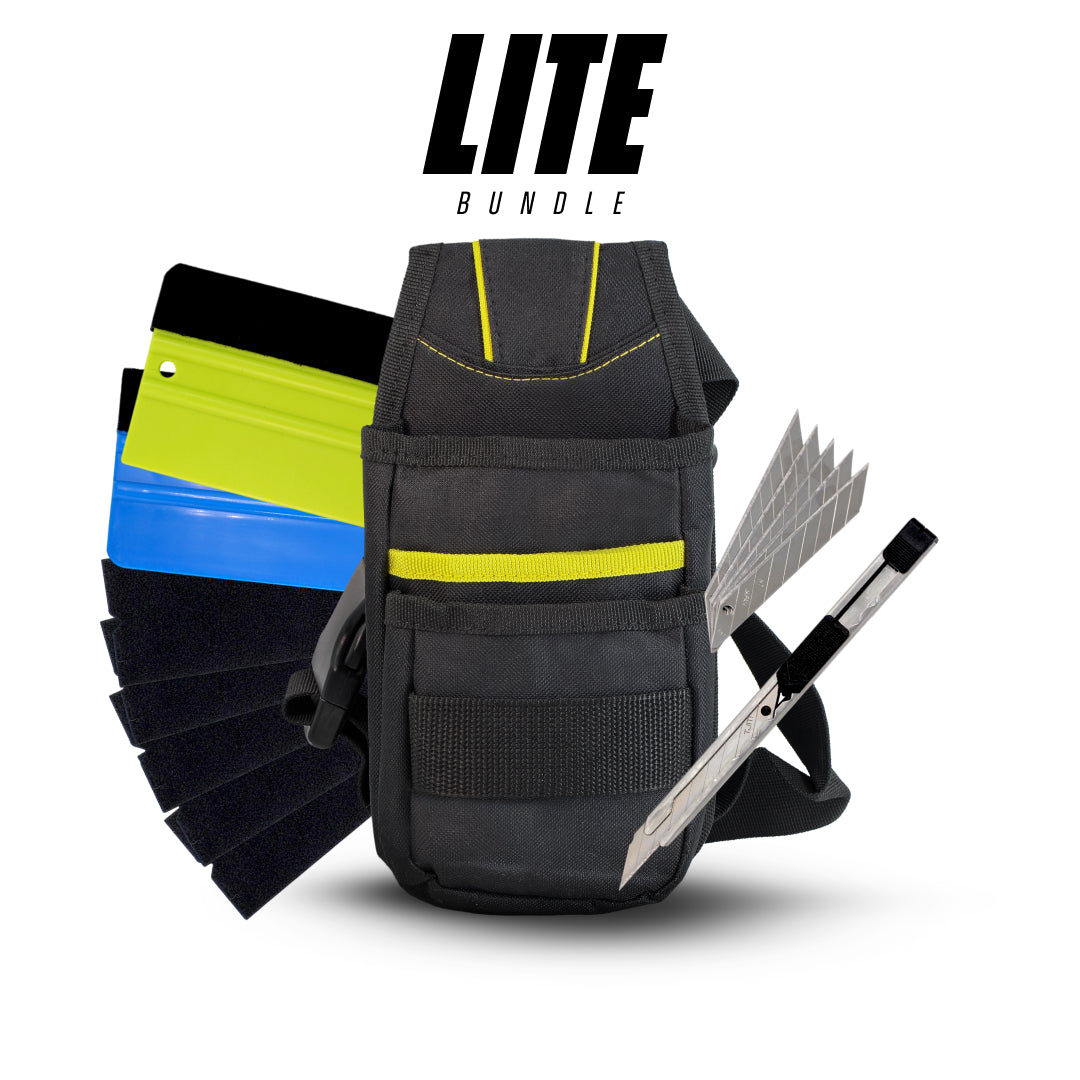
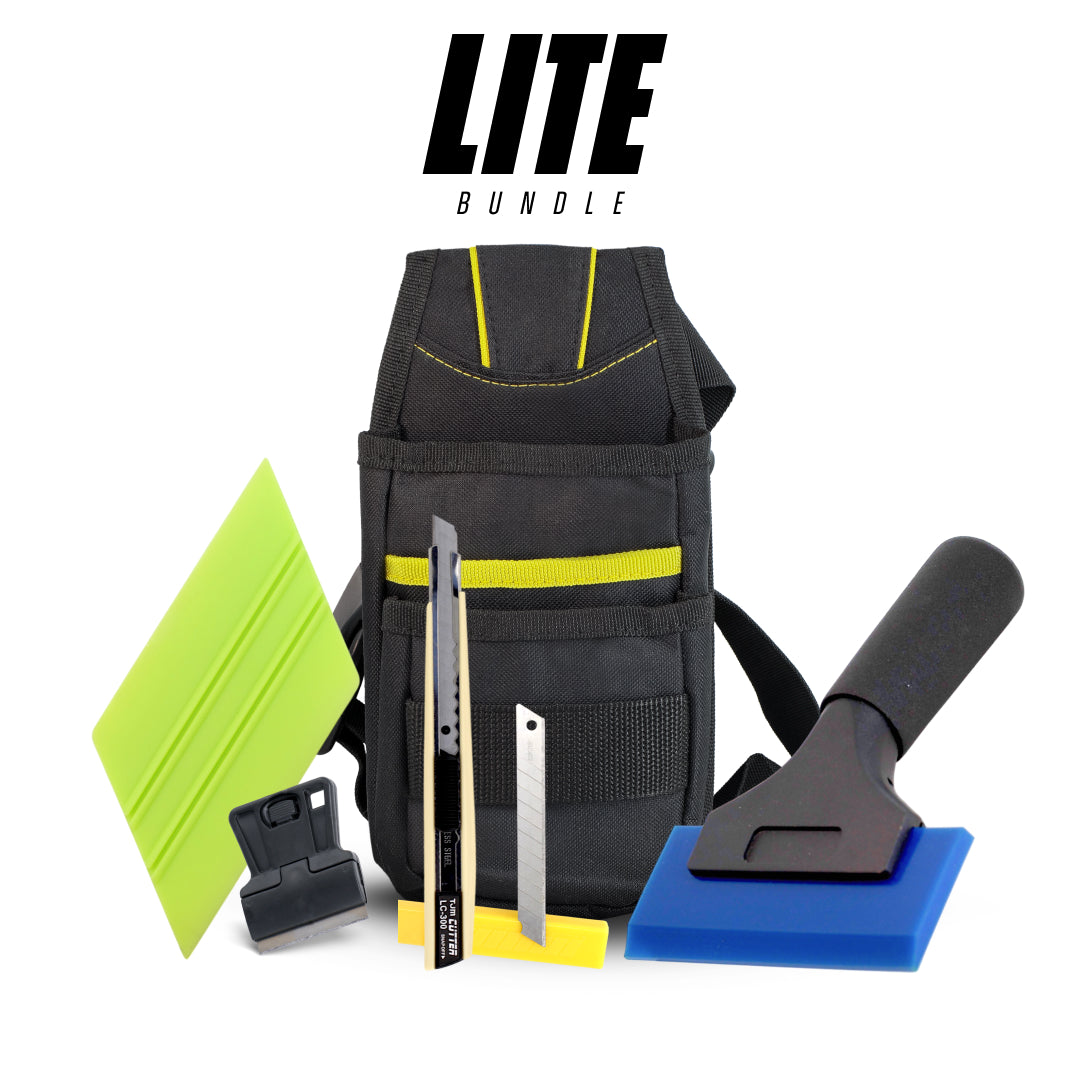
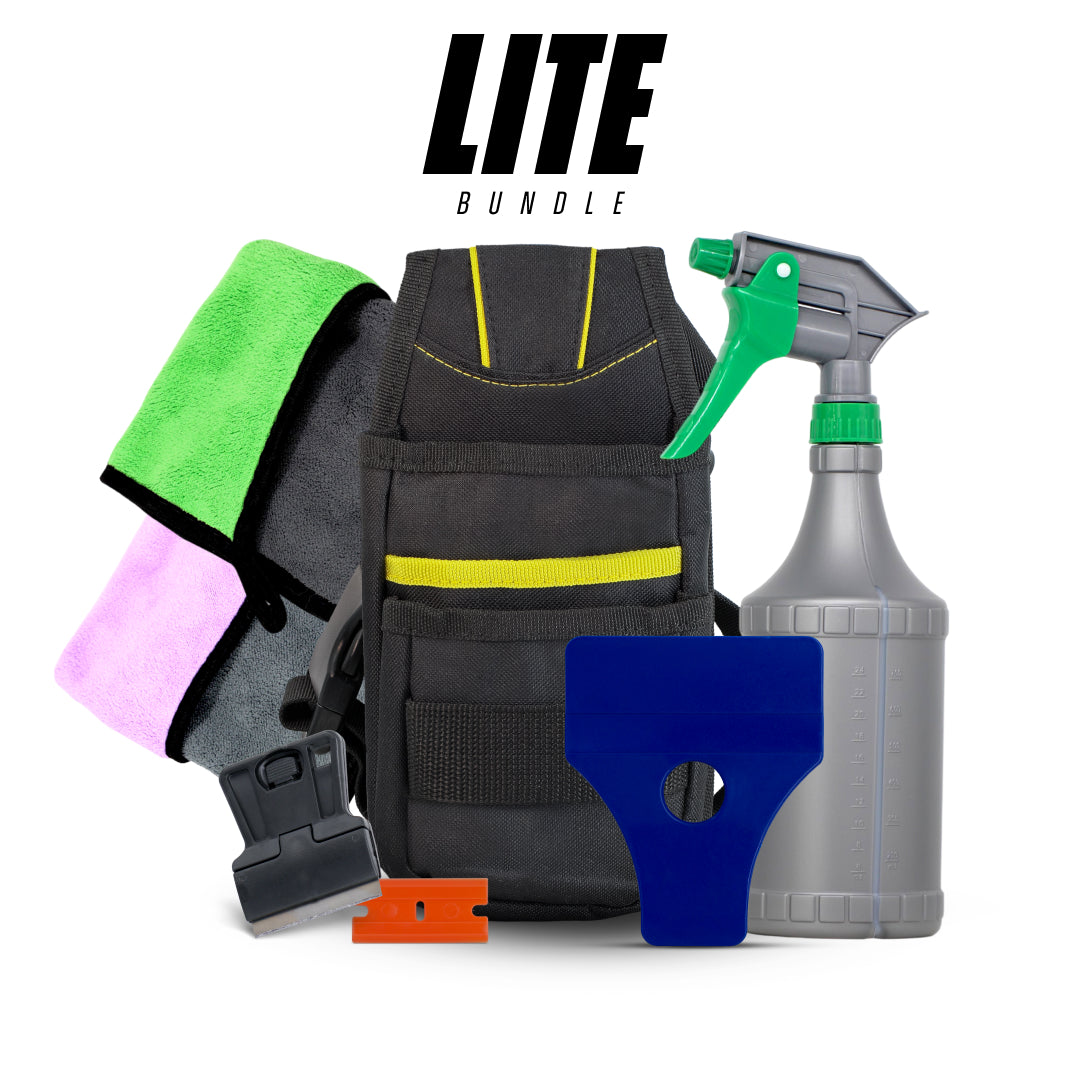
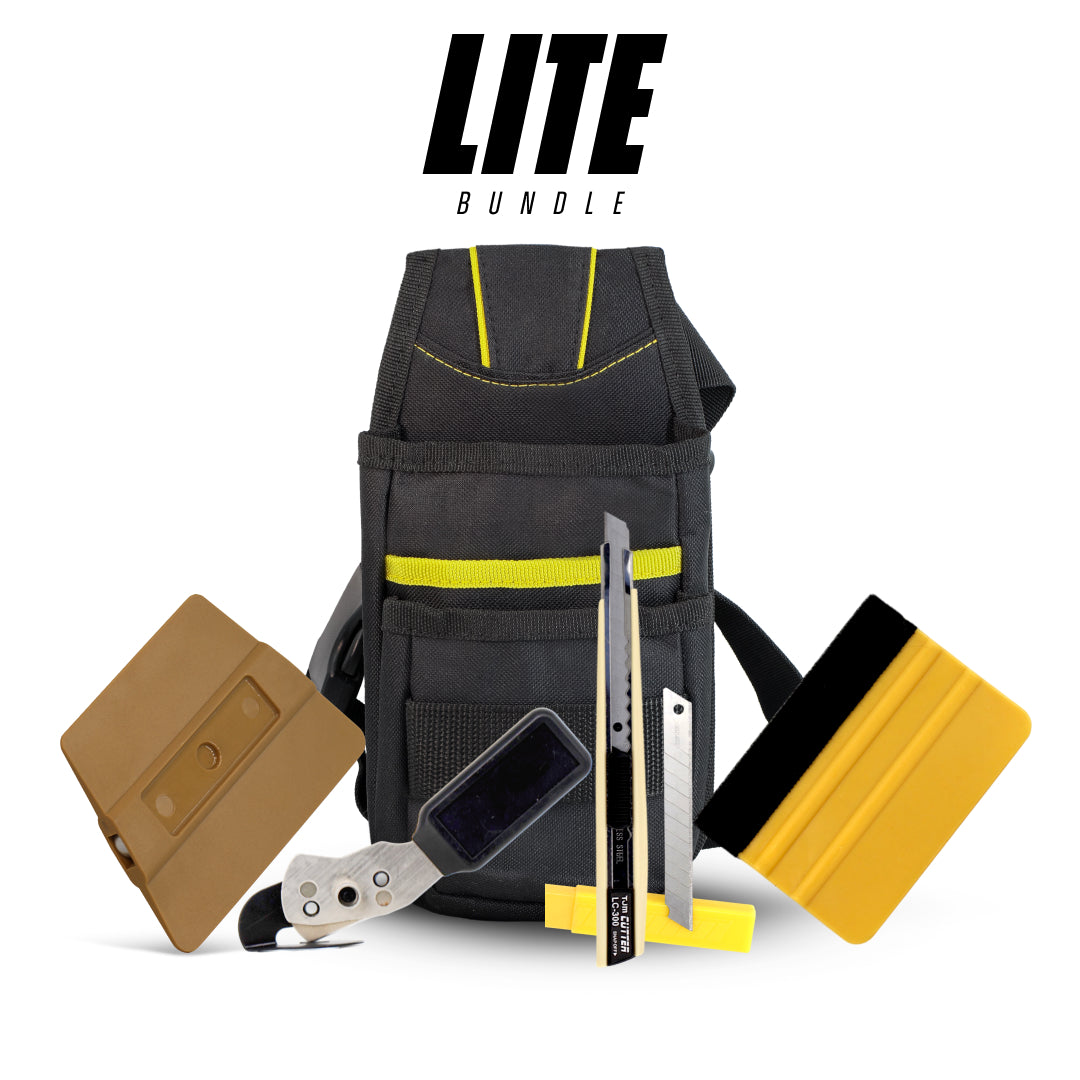
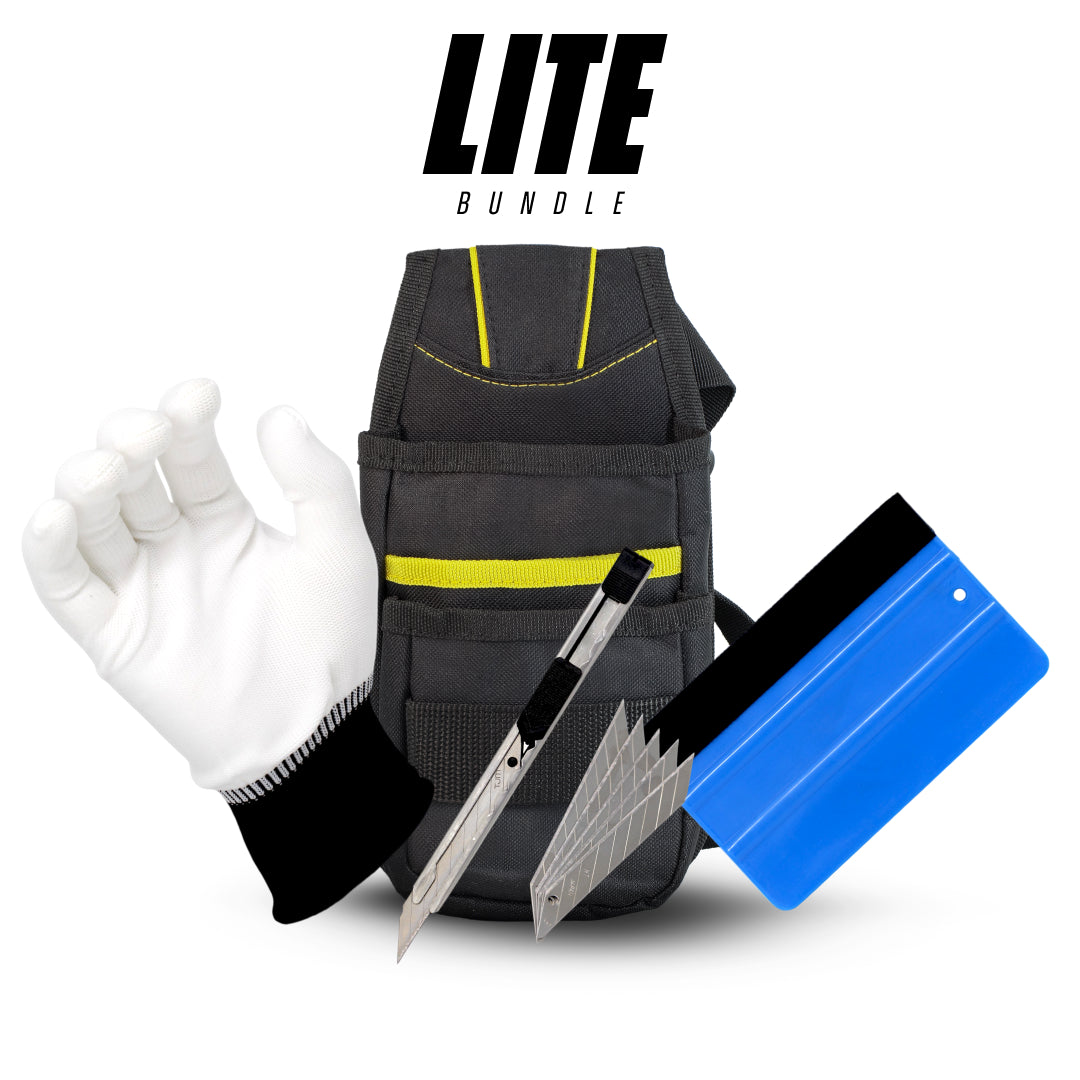
If you’re a beginner, a kit like the Tint Tool Kit Lite includes the basic squeegees and accessories you’ll need to get started →
Specialty Squeegees for Different Tinting Needs
Beyond the standard squeegees, professionals often carry specialty ones. For example, small “detail” squeegees are designed to reach tight corners and edges where larger tools can’t fit. Others come with angled or beveled edges that make it easier to push water out of tricky spots. Some squeegees are even designed with handles for better leverage and control, making long tinting sessions less tiring.
In short, choosing the right squeegee is like choosing the right knife in a kitchen, you wouldn’t use a butter knife to chop vegetables, and you shouldn’t use a generic scraper for tinting. Each type has its purpose, and knowing when to use which can drastically improve your installation results.
Choosing the Right Tint Squeegee
So how do you know which squeegee is right for your project? The answer depends on several factors: the type of film you’re using, the size and shape of the windows, and even your level of experience.
Factors to Consider When Choosing a Tint Squeegee
Film Type: Heavier films, like security or heat-rejecting tint, require firmer squeegees to press out excess water effectively. Lighter films, such as decorative tints, work better with softer tools.
Window Size: Large, flat windows are easier to handle with a wider, hard squeegee. Small or curved windows need smaller, flexible tools.
Environment: If you’re working outdoors where dust and dirt are a concern, felt-edged squeegees help protect the film from scratches.
Comparing Squeegee Edge Shapes
Square edges are the most common, ideal for flat glass surfaces.
Beveled edges allow smoother gliding across the film and reduce drag.
Rounded edges are great for curved or contoured glass, preventing creases during installation.
For large back windows, some installers use wider vinyl wrap squeegees for better coverage →
Professional vs. Beginner-Friendly Options
If you’re just starting, a simple rubber squeegee with a comfortable grip is usually the best choice. Professionals, however, often invest in multiple squeegees for different stages of installation. For example, they might use a hard squeegee to push out the majority of water, then switch to a felt-edged one for finishing touches.
Ultimately, choosing the right squeegee is about matching the tool to the task. Think of it like a craftsman selecting the perfect chisel, it’s not just about preference, but about precision and outcome.
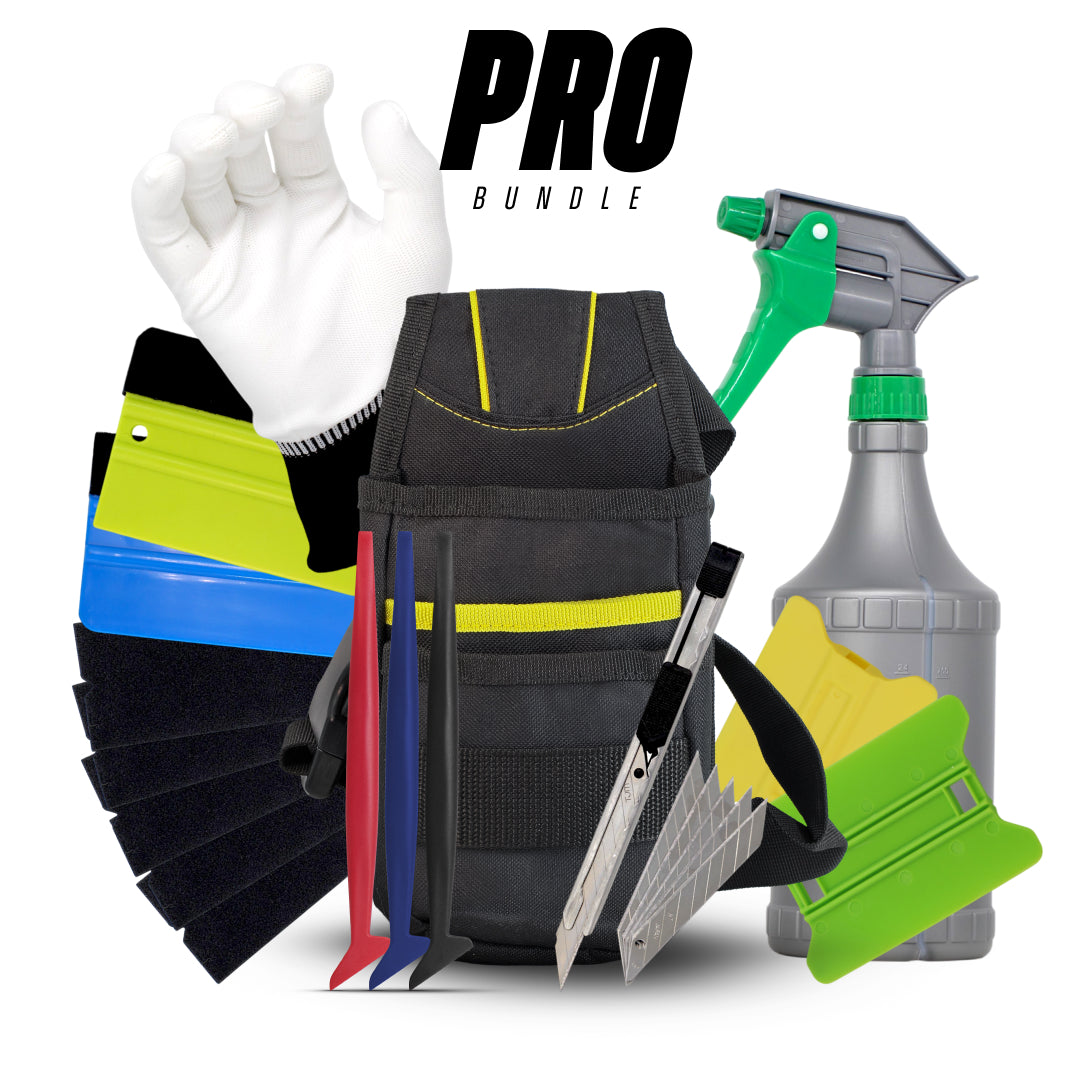
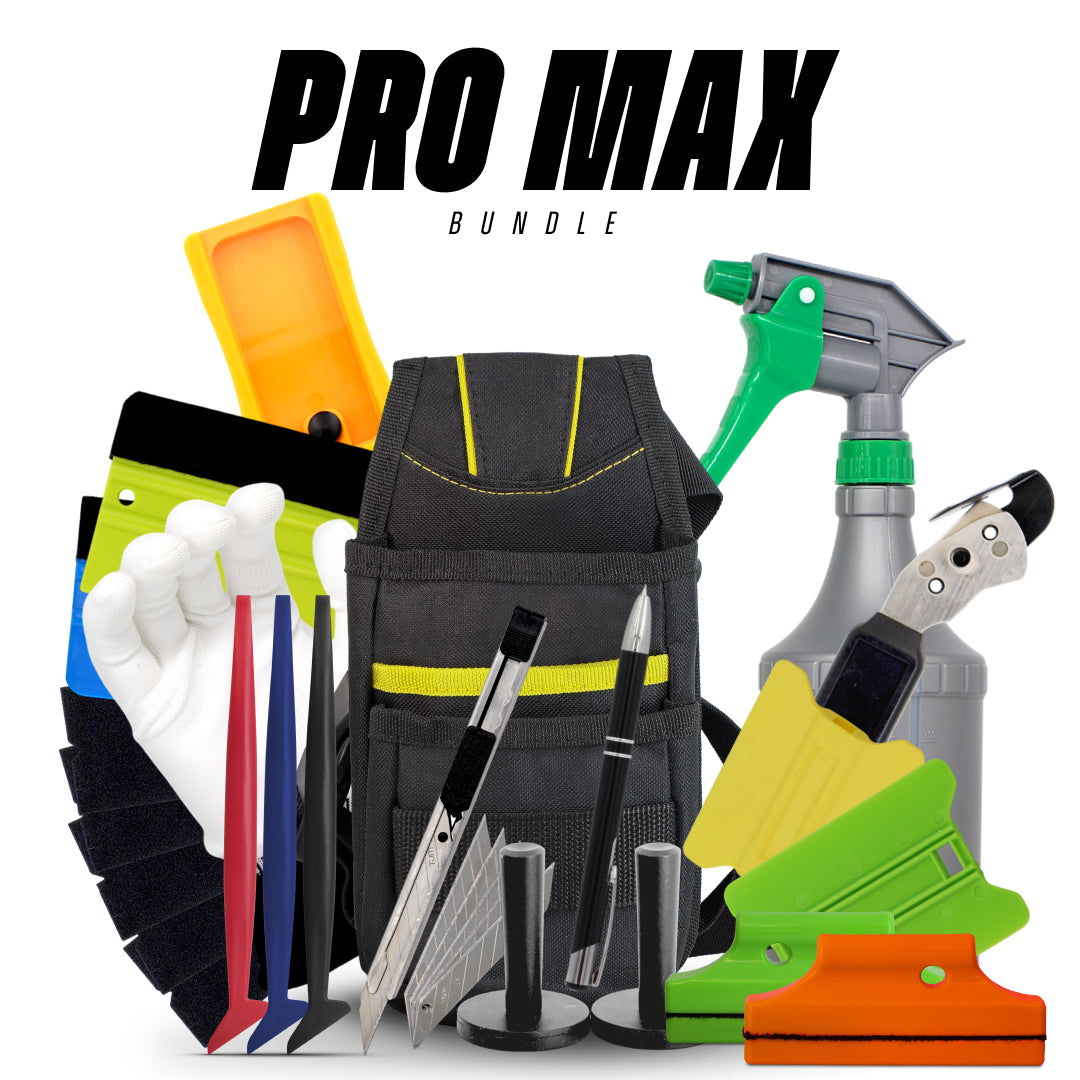
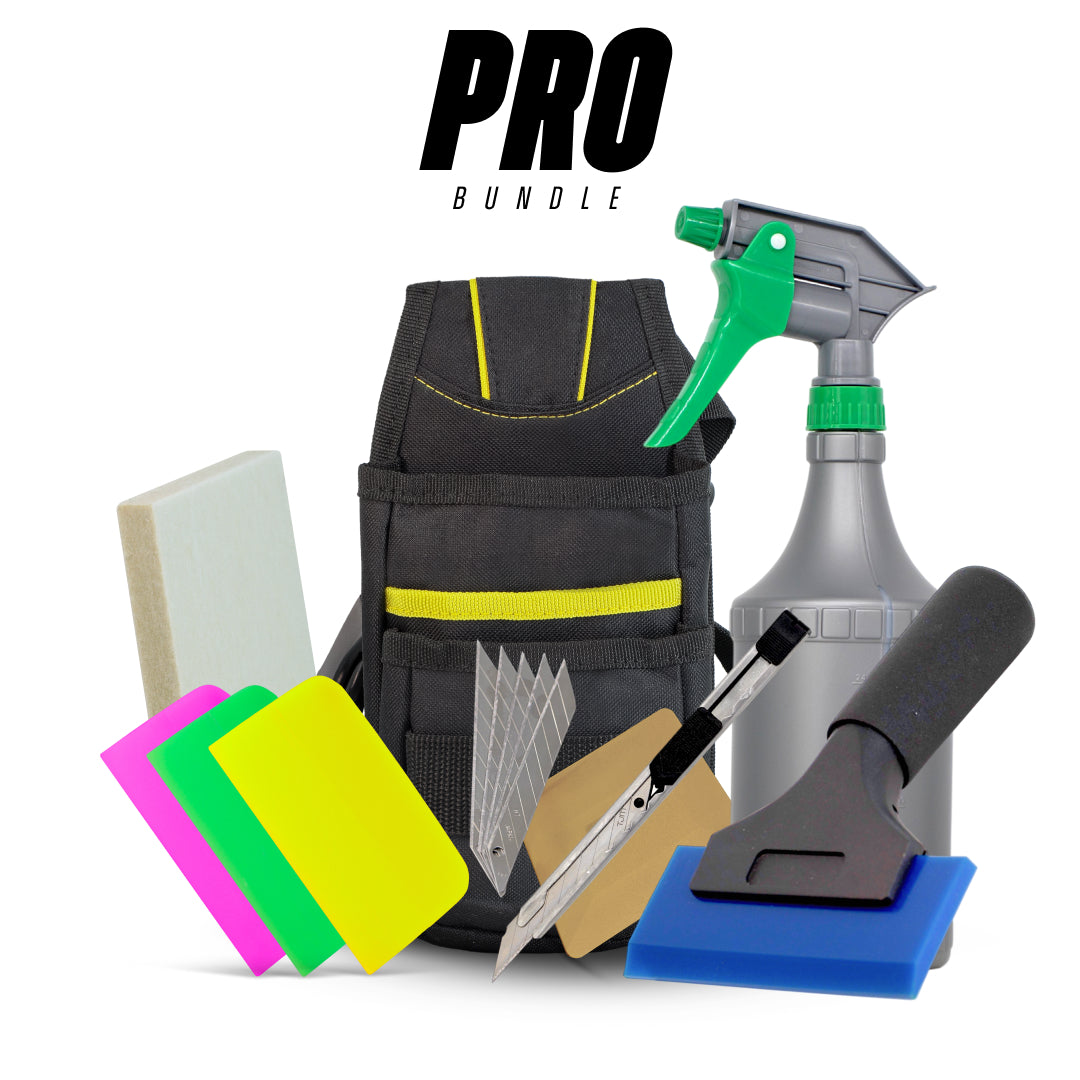
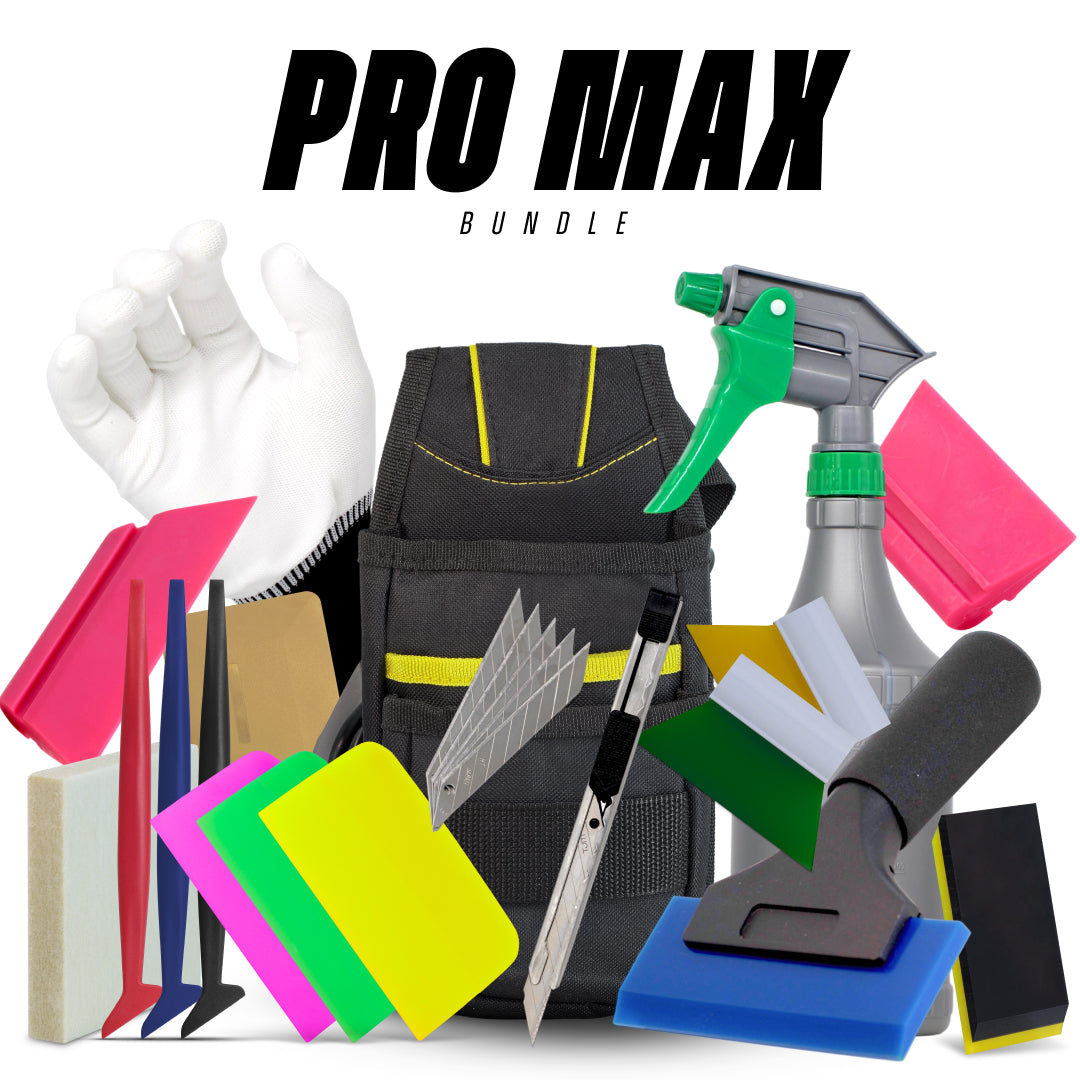
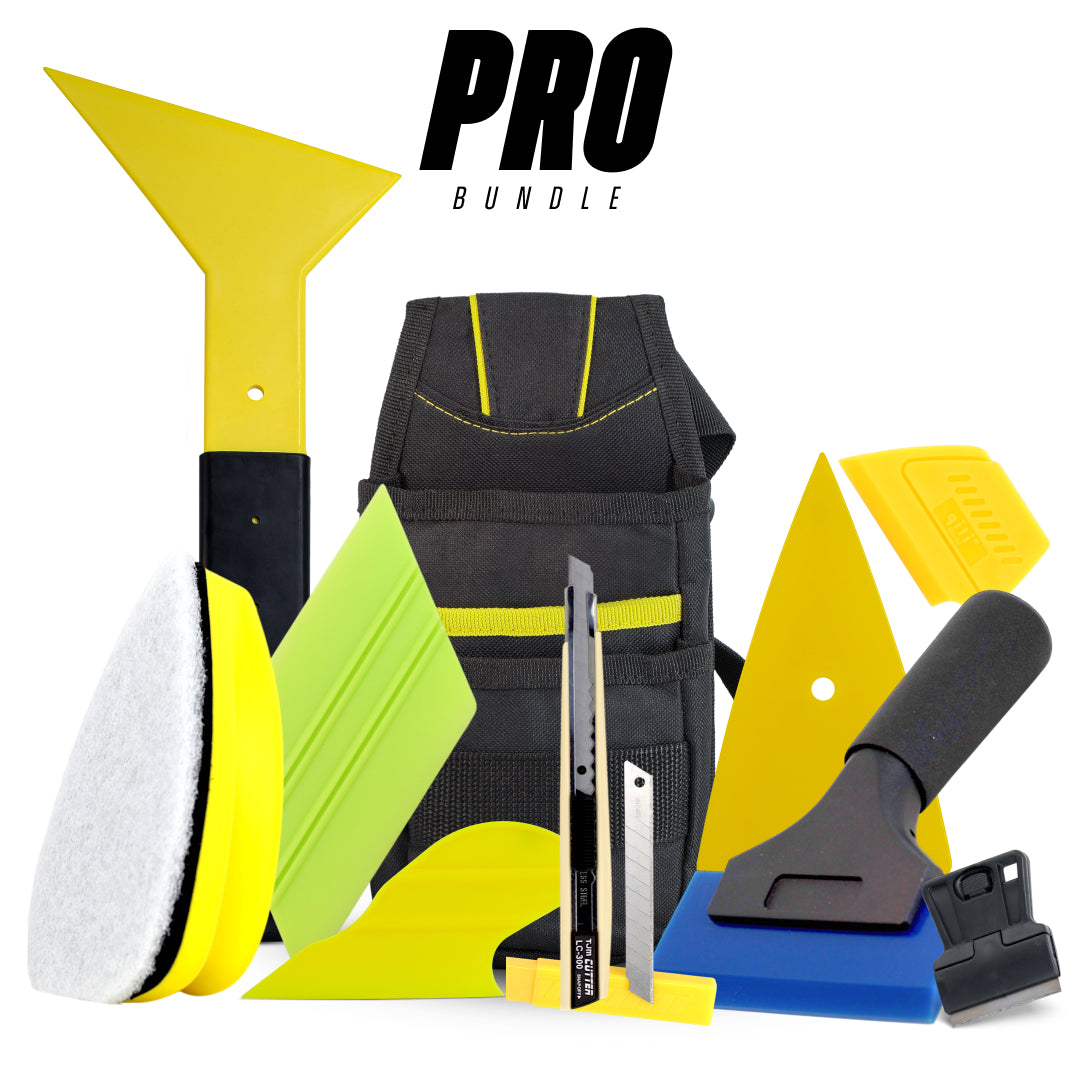
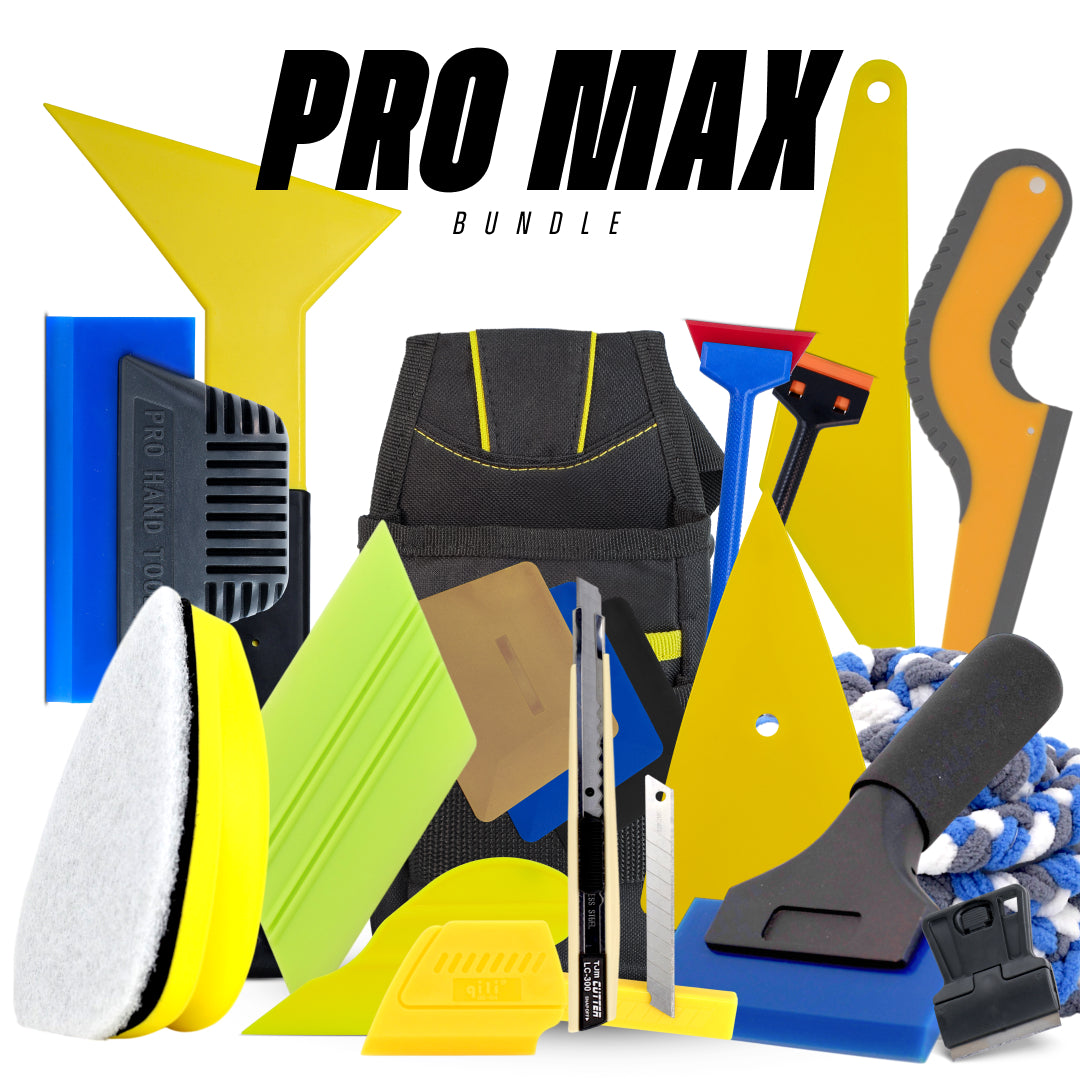
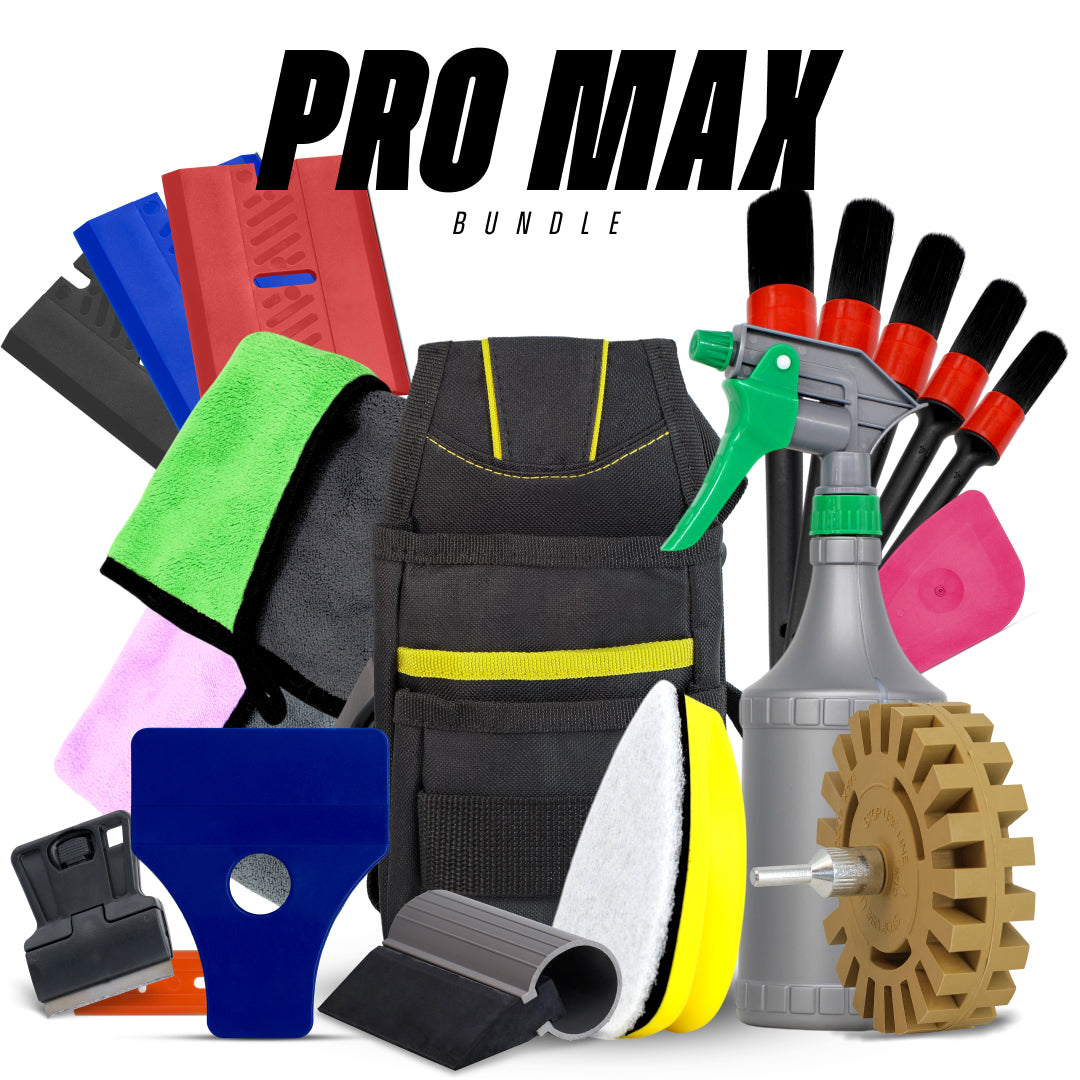
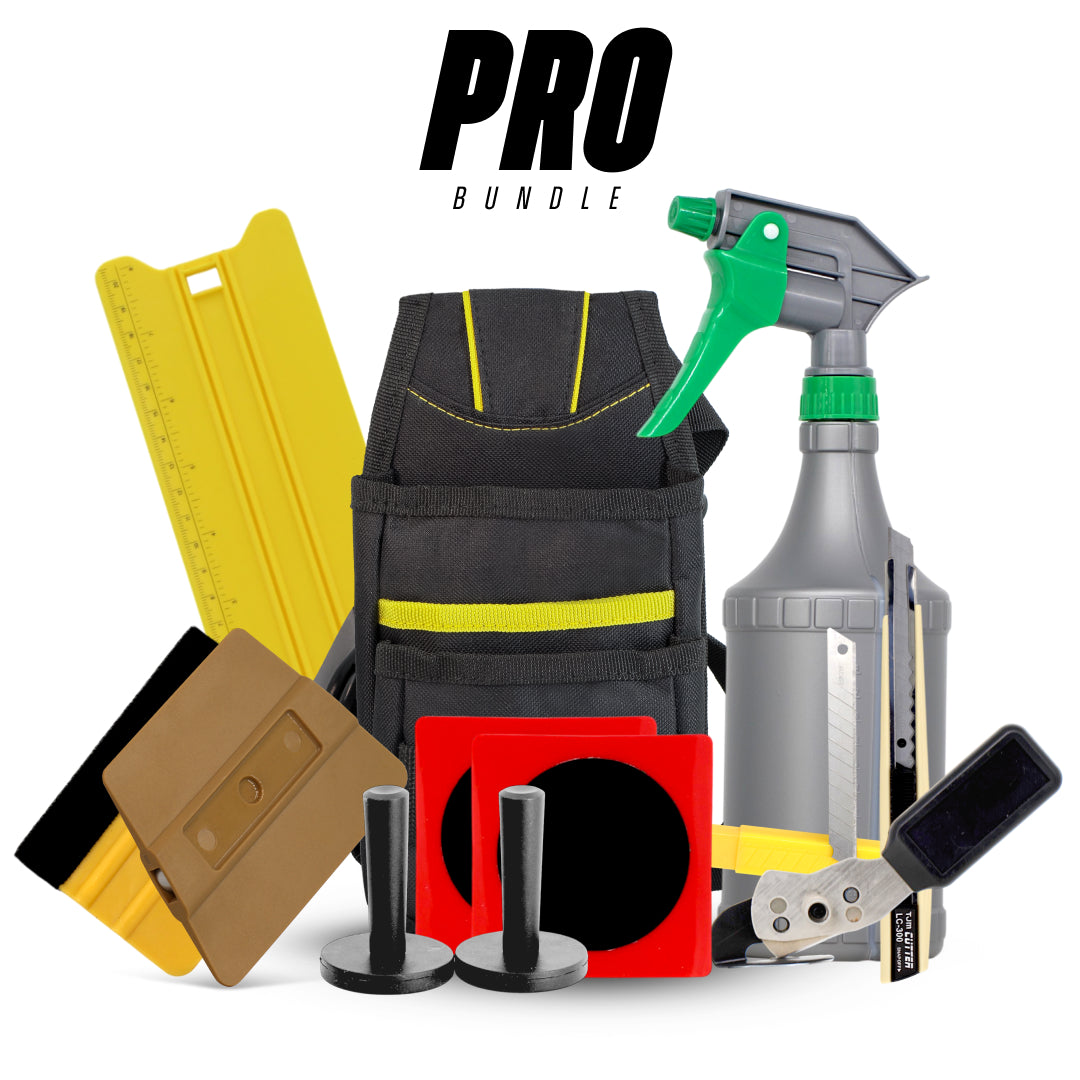
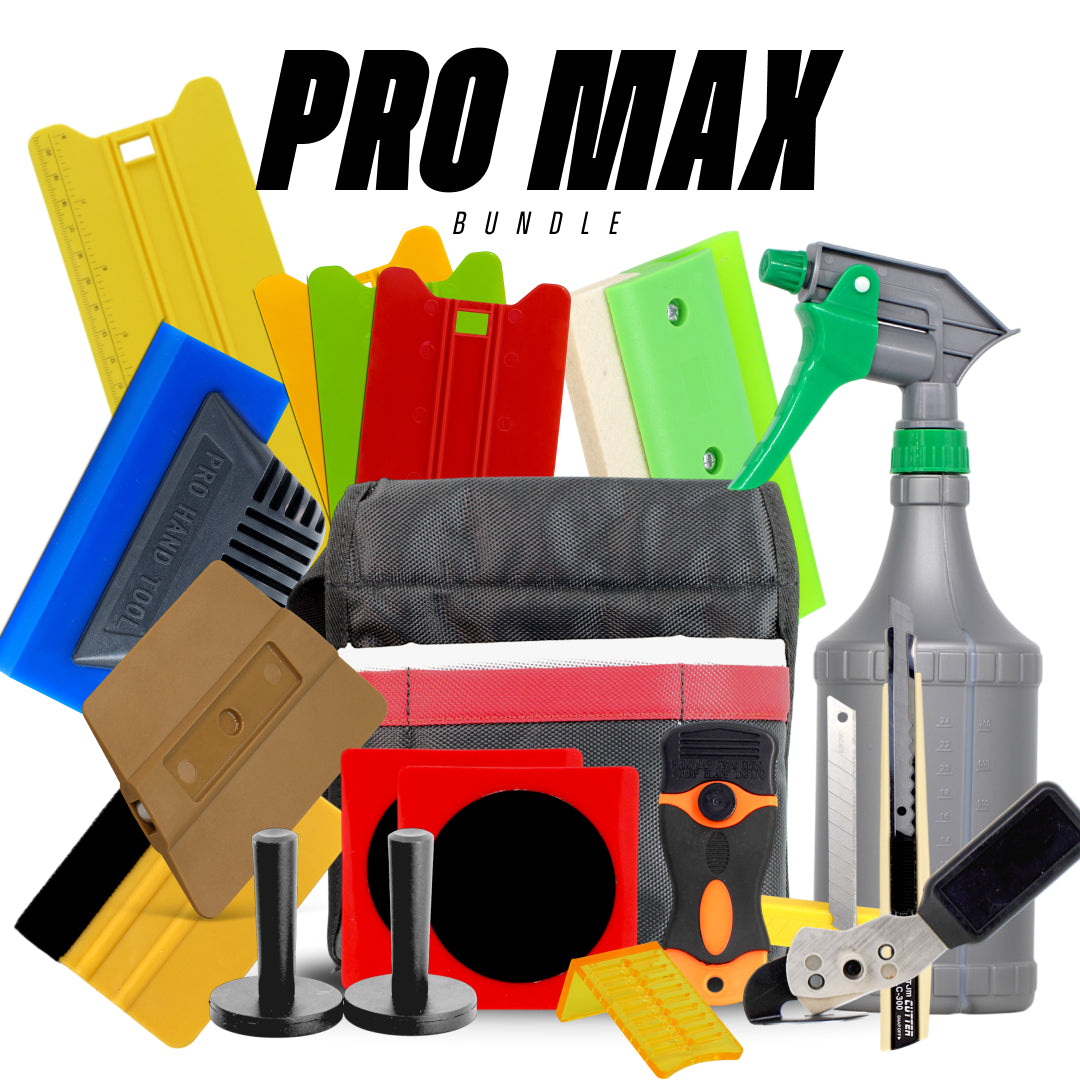
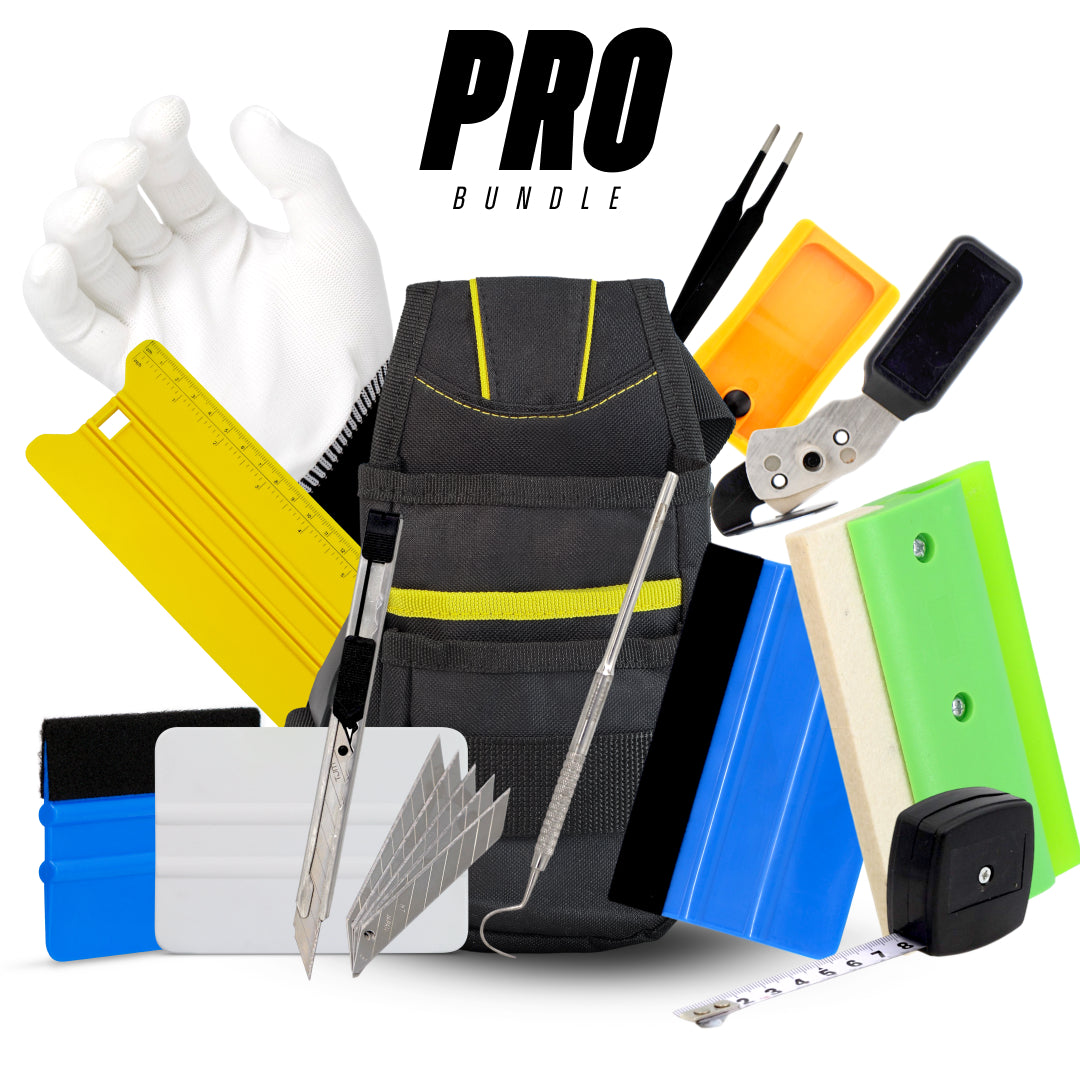
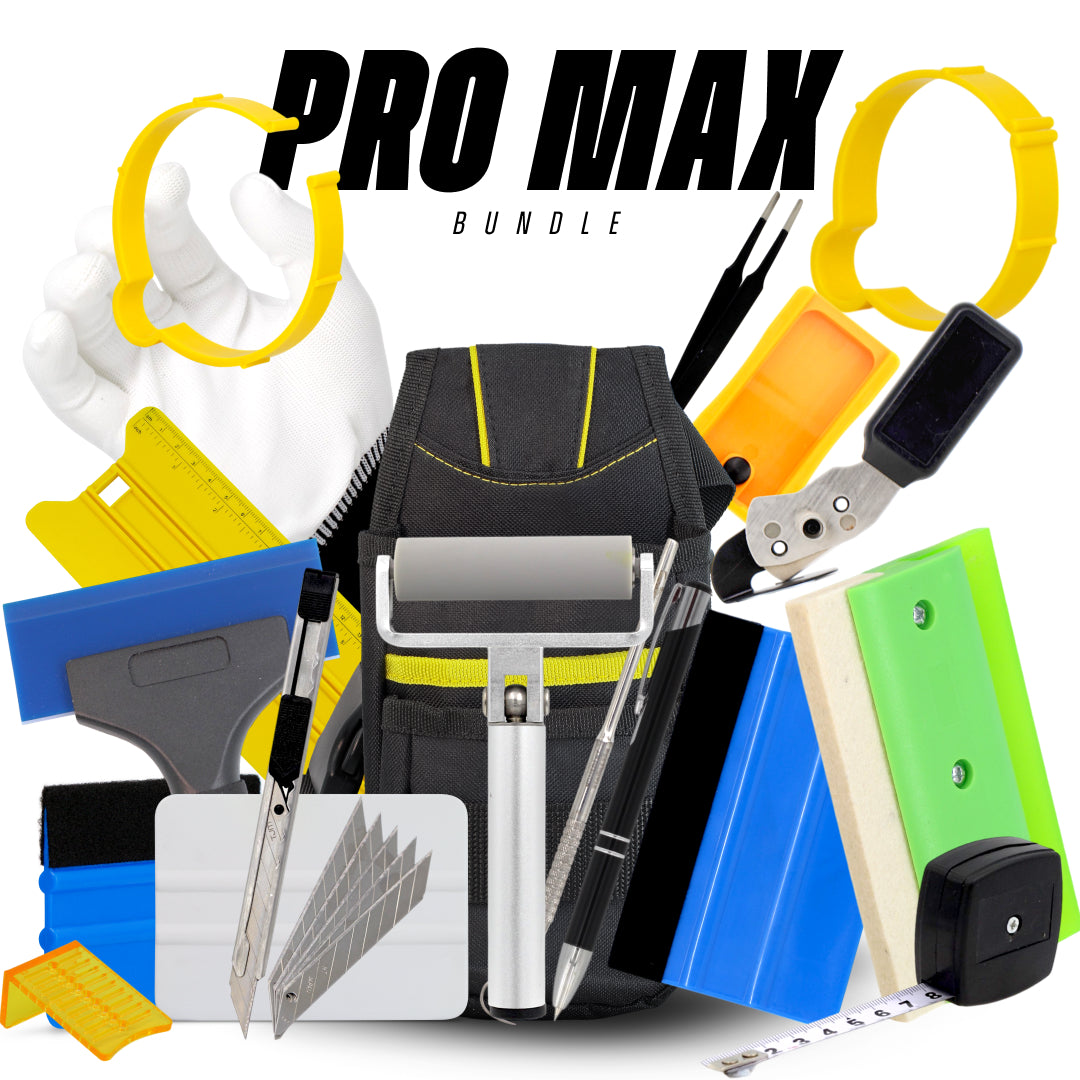
If you want everything in one package, the Tint Tool Kit Pro is a reliable mid-tier choice, while the Tint Tool Kit Pro Max is designed for advanced installers →
How to Use a Tint Squeegee for Perfect Installs
Knowing which squeegee to use is only half the battle, you also need to master the technique. Using a tint squeegee properly ensures that the film adheres without bubbles, streaks, or creases.
Step-by-Step Installation Process with a Squeegee
Clean the glass thoroughly: Any dirt or dust will show under the film.
Spray the window with slip solution: This allows the tint film to glide into position.
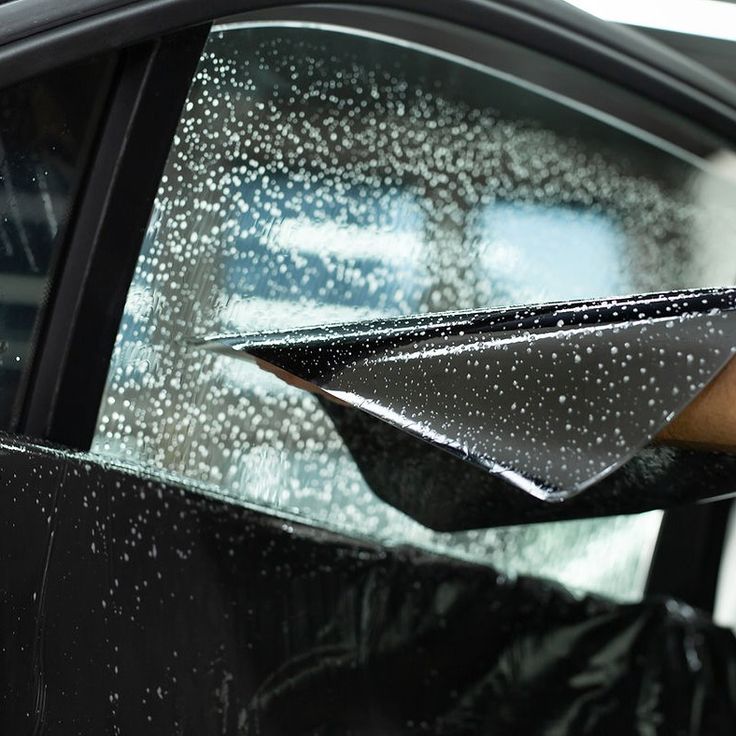
Apply the tint film: Position it carefully on the wet glass.
Use the squeegee to press out water: Start from the center and work outward, pushing liquid and air bubbles toward the edges.
Trim and finish: Once the film is smooth, trim excess material and run a felt squeegee over the edges for a clean finish.
Avoiding Bubbles, Streaks, and Creases
The key to a bubble-free tint is steady, even pressure. Too much force can wrinkle the film, while too little pressure leaves water pockets. Professionals often use overlapping strokes, ensuring that each pass slightly overlaps the last to avoid streaks.
Common Mistakes and How to Fix Them
Using the wrong squeegee: A hard squeegee on curved glass can cause creases.
Skipping slip solution: This leads to friction, scratches, and uneven positioning.
Not working fast enough: The film can stick prematurely if not adjusted quickly.
With practice, using a squeegee becomes second nature. It’s a tool that rewards patience and precision, turning a simple roll of tint film into a polished, professional-looking finish.
Advanced Techniques for Mastering Tint Squeegee Skills

Once you’ve nailed the basics of squeegee use, it’s time to elevate your skills. Professionals don’t just rely on basic strokes; they incorporate advanced techniques to handle tricky installations and ensure long-lasting results.
Heat Shrinking and Squeegee Control
One of the most challenging parts of tinting curved surfaces, like a car’s rear windshield, is heat shrinking. This process involves gently heating the film so it conforms to the glass shape. The squeegee plays a big role here, helping press the softened film into place while avoiding creases. A firm squeegee with a beveled edge is best for controlling film tension during shrinking.
Two-Squeegee Method
Some pros use two squeegees in tandem. The first (usually harder) squeegee pushes out most of the water and air, while the second (softer or felt-edged) squeegee smooths the film and ensures no scratches remain. This layered approach minimizes errors and speeds up the process.
Edge Sealing Tricks
Edges are the most vulnerable areas where tint can peel. Using a small, pointed squeegee allows for precise pressure along window borders. Combine this with heat and you’ll create a tighter seal, preventing peeling and prolonging the tint’s life.
Mastering these advanced methods can feel like learning new dance moves, you already know the rhythm, but now you’re adding finesse and style. The result is a cleaner, more professional finish that lasts longer.
Maintenance and Care of Tint Squeegees
A squeegee is like any other tool, it needs proper care to perform at its best. Neglecting your squeegee can lead to scratches, streaks, and poor results.
Cleaning Your Squeegee Regularly
After each use, rinse your squeegee with warm water to remove any dirt, adhesive residue, or tint solution. If debris builds up, it can scratch the film during your next install. A soft cloth works well for wiping down the blade and handle.
Replacing Worn-Out Edges
Over time, the edges of a squeegee can wear down, losing their effectiveness. Some professional squeegees come with replaceable blades, which extend the tool’s life. If your squeegee doesn’t glide smoothly anymore, it’s a sign you need a replacement.
Storage Tips for Longer Lifespan
Avoid leaving your squeegee in direct sunlight or extreme heat, as this can warp the material. Store it in a clean, dry place, ideally in a protective pouch or toolbox. Professionals often keep multiple squeegees organized by type and use, ensuring they’re always ready for the next job.
A well-maintained squeegee is like a sharp chef’s knife, it makes your work smoother, faster, and more precise. Treat it with care, and it’ll serve you for countless installs.
Common Problems When Using Tint Squeegees and How to Solve Them
Even with the best squeegee in hand, mistakes happen. Window tinting requires patience and practice, and knowing how to troubleshoot issues can save you both time and materials.
Problem 1: Streaks on the Film
Streaks are usually caused by a dirty or worn-out squeegee blade. If the edge is damaged, it won’t glide smoothly and may leave visible lines behind. The fix? Clean your squeegee after every pass and replace the blade when it starts to feel rough.
Problem 2: Air Bubbles That Won’t Go Away
Persistent bubbles are often the result of using too little pressure or the wrong type of squeegee. For stubborn bubbles, switch to a harder squeegee and use overlapping strokes from the center out. If bubbles remain after the film dries, a small pin can release trapped air, but this should be a last resort.
Problem 3: Creases in the Film
Creases usually come from forcing a hard squeegee on curved glass. The solution is to use a softer or more flexible squeegee in those areas. Applying heat can also help relax the film before smoothing it out.
Problem 4: Peeling Edges
If the tint edges won’t stay down, it means they weren’t sealed properly. Use a pointed detail squeegee and apply firm pressure along the edges while heating the film slightly. This creates a tighter bond and prevents peeling.
The truth is, every installer, beginner or pro, runs into these challenges. What separates the amateurs from the experts is knowing how to correct them quickly and efficiently.
The Role of Squeegees in Car vs. Home Window Tinting

Window tinting isn’t limited to vehicles. Many homeowners are now tinting their windows for energy efficiency, UV protection, and privacy. But do the same squeegees work for both cars and homes?
Car Window Tinting
Car windows come with unique challenges, curved surfaces, tight corners, and small details. Flexible squeegees with beveled or rounded edges work best here, along with smaller detail tools for edges and corners. The key is maneuverability and precision.
Home and Office Window Tinting
Residential and commercial windows are often larger and flatter, requiring wider, harder squeegees that can push out water quickly. Felt-edged squeegees are also common in this setting since they minimize scratching on larger panes.
Key Differences
Cars → smaller, curved, intricate glass = flexible squeegees
Homes/Offices → larger, flat glass = wider, firm squeegees
While some squeegees overlap in use, having separate tools for automotive and residential projects ensures you’ll always have the right edge for the job.
Tips for Buying the Best Tint Squeegee Online
Shopping for a tint squeegee online can feel overwhelming, there are countless options, brands, and styles. But with the right approach, you can confidently pick the tool that fits your needs.
Check Customer Reviews
Real-world feedback is invaluable. Look for mentions of durability, comfort, and effectiveness. A squeegee with hundreds of positive reviews is usually a safe bet.
Look for Professional-Grade Tools
Even if you’re a beginner, investing in a tool that professionals use will give you better results.
Consider a Starter Kit
If you’re just beginning, a kit with multiple squeegees and accessories is a cost-effective way to test different tools. Many kits include both hard and soft squeegees, as well as detail tools.
Balance Price and Quality
Cheap squeegees often wear out quickly, costing more in the long run. Spending a little extra upfront on a premium tool can save frustration and wasted film.
Think of it like buying shoes: you wouldn’t run a marathon in flimsy sneakers, so don’t expect flawless tint with a bargain-bin squeegee.
A quality squeegee combined with the right window tint kits helps reduce bubbles and streaks during application →
Why Every Tint Installer Needs Multiple Squeegees
One squeegee might work for basic installs, but if you want consistent, professional results, you’ll need more than one.
Stage-Specific Tools
Hard squeegee → for removing water during initial installation
Soft squeegee → for curves and delicate adjustments
Felt squeegee → for finishing and scratch-free edges
Detail squeegee → for tight spots and borders
Faster Workflow
Switching between squeegees instead of forcing one to do all the work saves time and reduces mistakes.
Long-Term Quality
Using the wrong tool can damage the film, forcing you to redo the job. Having multiple squeegees ensures you always have the right edge for every step.
Professionals often compare their tint toolkit to a mechanic’s toolbox, every wrench has its purpose, and the same goes for squeegees.
Expert Tips for Getting the Most Out of Your Tint Squeegee
Even with the right tools, the way you use them can make or break your tint job. Professionals develop habits that maximize efficiency, prevent mistakes, and ensure clean, long-lasting results. Here are some pro-level tips that can help you step up your game.
Keep Your Slip Solution Consistent
Your squeegee works best when the film can glide smoothly across the glass. Always keep your spray bottle filled with a proper mix of water and baby shampoo (or a professional slip solution). Too much soap, and the film won’t stick; too little, and the squeegee will drag.
Overlap Your Strokes
Think of painting a wall, you wouldn’t leave gaps between brush strokes. The same applies to squeegeeing. Overlapping your passes ensures you remove all water without leaving streaks or bubbles behind.
Work From the Center Out
Always start in the middle of the window and push water and air toward the edges. This prevents bubbles from getting trapped in the center where they’re harder to remove.
Use Proper Pressure
Too much pressure can distort the film, while too little leaves water pockets. The trick is to apply firm, even pressure and let the squeegee do the work. If you hear squeaking, it’s often a sign you’re pressing too hard or working on a dry surface.
Don’t Rush the Edges
Edges are the first place tint starts to peel. Take your time sealing them with a pointed detail squeegee, and if needed, use a heat gun to soften the film for a tighter bond.
By practicing these techniques, you’ll soon find that tinting feels less like a chore and more like a craft you’re mastering.
FAQs
What’s the best tint squeegee for curved car windows?
A soft or beveled-edge squeegee works best because it can flex to match the curve without creasing the film.
Do professional installers use the same squeegee for every job?
No, most use multiple squeegees for different stages of the process, hard ones for water removal, soft ones for curves, and felt ones for finishing.
Can I repair a worn-out squeegee instead of replacing it?
Some professional squeegees have replaceable blades, but if yours doesn’t, it’s best to replace the entire tool to avoid poor results.
How do I prevent my squeegee from scratching the tint film?
Always clean the squeegee before use, keep the glass wet with slip solution, and consider using a felt-edged squeegee for finishing passes.
Is it worth buying premium squeegees as a beginner?
Yes, quality tools make learning easier and reduce the risk of damaging film. Even beginners benefit from professional-grade squeegees.
Conclusion
A tint squeegee may seem like a simple tool, but it’s truly the backbone of any successful tint installation. From selecting the right hardness and edge shape to mastering proper techniques, your choice of squeegee directly impacts the quality of your work. Whether you’re a DIY beginner or a seasoned professional, investing in the right tools and learning to use them properly ensures smooth, bubble-free results every time.
Whether you’re new to tinting or an experienced professional, having the right squeegee makes all the difference. Explore our full range of window tint tools to upgrade your installs →
The world of tinting is as much about skill as it is about equipment. And just like a chef wouldn’t cook without a sharp knife, a tint installer shouldn’t work without a proper squeegee. So if you’re serious about window tinting, whether for your car, home, or business, make sure your squeegee game is strong.
Are you unsure which tool or kit is right for your job?
Our expert team at Oz Sign Supplies is here to help. Reach out today, and we’ll direct you to the best tools to suit your project, ensuring you get the job done right the first time.

Leave a comment
This site is protected by hCaptcha and the hCaptcha Privacy Policy and Terms of Service apply.