


Article: How to Build a Professional Tinting Setup From Scratch
How to Build a Professional Tinting Setup From Scratch
Understanding the Window Tinting Industry
Building a professional tinting setup from scratch might sound complicated at first, but the reality is far simpler than most people expect. The window tinting industry has grown tremendously over the last decade, thanks to increased demand for car window tint, home window tinting, and even specialty applications like headlight tint and one-way glass window film. More drivers want privacy, protection from heat, and a sleek look for their vehicles. At the same time, homeowners are increasingly installing window film tint home solutions to reduce energy bills and protect furniture from UV damage.
The market for automotive window tint alone is massive. According to industry reports, the global automotive tinting market is expected to surpass $12 billion within the next few years, driven largely by rising temperatures, UV awareness, and luxury vehicle aesthetics. That means anyone willing to learn the craft and invest in proper window tinting tools has a real opportunity to build a profitable business.
Think of window tinting like tailoring a suit. Anyone can buy fabric, but it takes the right tools for tinting windows, skill, and precision to make it fit perfectly. The same applies when installing tinting windows film. A professional installer uses specialised tint tools, controlled lighting, and a clean environment to create a flawless finish without bubbles or creases.
Another reason the industry is so appealing is its relatively low barrier to entry compared to other automotive businesses. Opening a mechanic shop can require hundreds of thousands of dollars in equipment, but a solid car tinting kit, quality window tint squeegee, and proper workspace can get you started for a fraction of that cost.
Beyond vehicles, the demand for house window film, one way glass window film, and commercial window tint is exploding. Offices, retail stores, and homes want privacy and energy efficiency, which means installers who can handle both auto window tinting and house window tint have even more opportunities.
If you’re thinking about building a professional setup, the key is understanding that success doesn’t come from just owning tools. It comes from creating a system: the right environment, the right tint window tools, and a workflow that produces consistent results. Once those pieces come together, your tinting setup becomes more than a workspace; it becomes a revenue-generating machine.
What Is Window Tinting and Why It’s in High Demand

At its core, window tinting involves applying a thin laminate film to glass surfaces in vehicles, homes, or commercial buildings. This film, often called window film or automotive tint, is designed to control sunlight, reduce glare, increase privacy, and enhance the overall appearance of the glass. While it might seem like a simple cosmetic upgrade, tinting actually provides a surprising number of practical benefits that explain its skyrocketing popularity.
One of the biggest reasons drivers choose car window tint is heat reduction. High-quality automotive window tint can block up to 60% of solar heat and 99% of harmful UV rays, dramatically improving interior comfort. Imagine parking your car in the summer sun and coming back to a vehicle that feels 20 degrees cooler; that’s the power of properly installed tint.
Privacy is another huge factor. Darkened windows make it harder for outsiders to see inside a vehicle or home, which helps deter theft and creates a more comfortable environment for occupants. This is especially appealing for luxury car owners and homeowners installing one way glass window film or house window film.
Energy efficiency also plays a major role in the rising demand for home window tinting. By reducing solar heat entering through windows, tinted film can lower cooling costs significantly. Some studies suggest that residential window film tint home installations can cut energy bills by up to 30% in warm climates.
The aesthetic appeal cannot be ignored either. A vehicle with a properly installed car windscreen tint and side window film looks sharper, more aggressive, and more premium. It’s similar to putting on sunglasses; everything instantly feels cooler and more refined.
There’s also a growing niche for specialty services like:
- Headlight tint
- Decorative window films
- Security window film
- Commercial privacy tint
Because of this variety, tint professionals aren’t limited to just cars. A single installer can work on vehicles, houses, storefronts, and office buildings, expanding their income potential dramatically.
This growing demand explains why so many people are searching online for terms like “window tinting close to me,” “automotive tint near me,” and “vehicle tint near me.” Customers want professionals who can deliver flawless results quickly and safely. When you build a proper tinting setup with the right window tint tools, you position yourself to capture that demand and turn it into a steady stream of clients.
Building a reliable setup begins with choosing professional window tint tools designed to deliver consistent pressure, precise trimming, and efficient installation results.
Auto Window Tinting vs Home Window Tinting
Although both involve applying window film, auto window tinting and home window tinting are surprisingly different in terms of tools, techniques, and working conditions. Anyone building a professional tint setup should understand these differences because they directly influence the equipment and workspace you’ll need.
Let’s start with automotive window tinting, which is often the entry point for most tint businesses. Cars present unique challenges because automotive glass is rarely flat. Rear windshields, for example, have complex curves that require heat shrinking to shape the film correctly. This is where specialised tint window tools, heat guns, and precision cutting techniques come into play.
When installing car tint, professionals typically use tools like:
- Window tint squeegee
- Precision snap-off knives
- Heat guns
- Spray bottles with slip solution
- Tinting cards
The process also requires careful interior preparation because dust particles can easily get trapped under the film. Even a speck can create visible bubbles that ruin the finish.
Now compare that to house window tinting, where the glass is usually flat and larger. Residential installations focus less on shrinking film and more on precision cutting and alignment. The films themselves also vary widely, from UV protection films to decorative frosted films and one way glass window film designed for daytime privacy.
Another major difference is the installation environment. Automotive tinting is usually done in a controlled garage or shop, while residential tinting often happens on-site at the customer’s home. That means your toolkit must be portable and adaptable.
Here’s a quick comparison:
| Feature | Automotive Tint | Home Window Tint |
|---|---|---|
| Glass Shape | Curved | Mostly flat |
| Tools Needed | Heat guns, shrink tools | Large squeegees, cutting guides |
| Work Environment | Indoor shop | Customer’s home |
| Film Types | Dyed, ceramic, carbon | Solar, decorative, privacy |
Many successful tint businesses offer both services. A customer who searches for “automotive tint near me” might later call the same installer for house window film or window film tint home installation.
That’s why building a flexible professional tint setup is so important. When your workspace, tinting tools, and workflow support both vehicle and residential jobs, you multiply your earning potential while building a strong reputation in your local market.
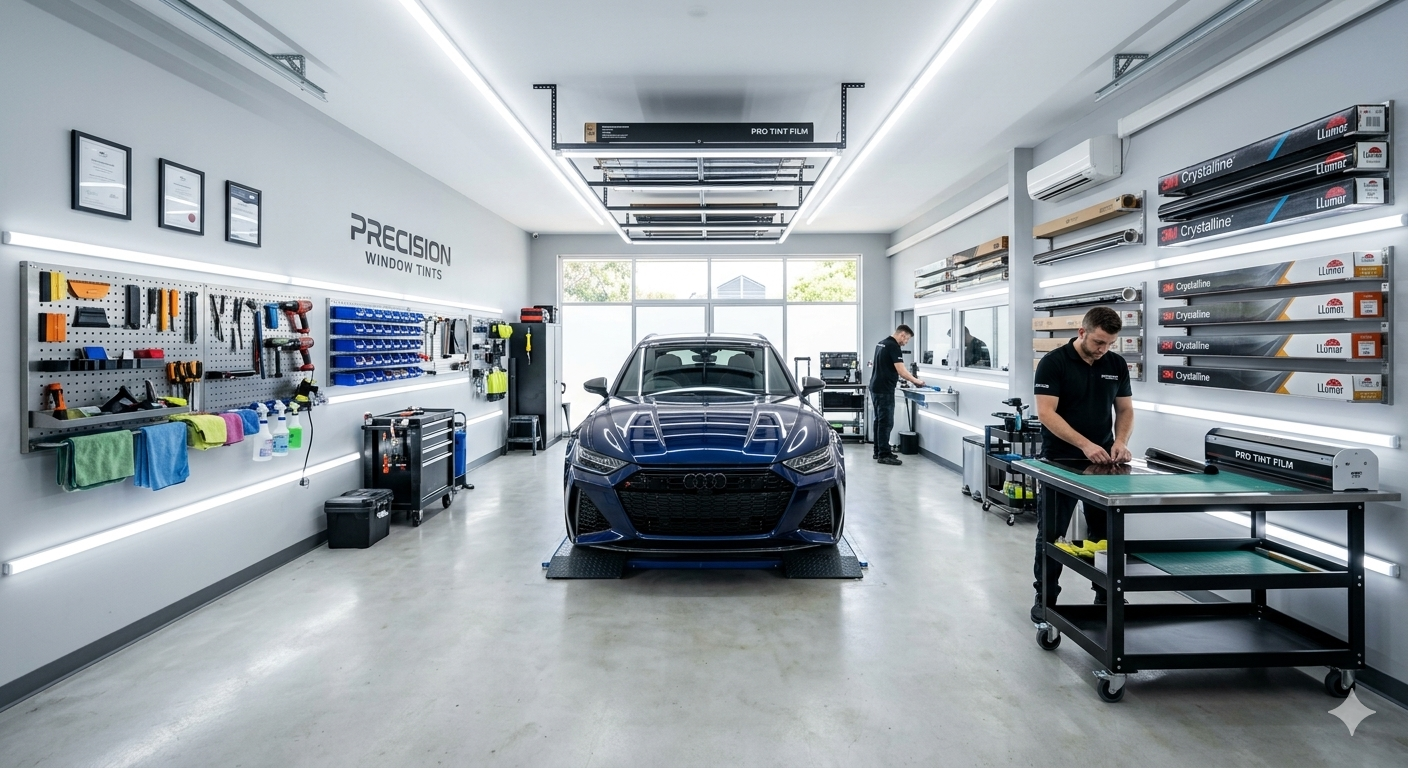
Planning Your Professional Tinting Workspace
A professional window tinting setup isn’t just about buying tools and film. The environment you work in plays a huge role in the final quality of your tint jobs. Even the best window tint tools can’t compensate for dust-filled air, poor lighting, or cramped working conditions. If you want to deliver pro tint results that keep customers coming back and recommending you to friends, you need to build a workspace designed specifically for tint installation.
Think of your workspace like a surgical room for glass. Clean, organised, and controlled. The fewer contaminants floating around, the smoother your tinting windows film installation will be. Dust, hair, and tiny debris are the biggest enemies of car window tint and house window film because they get trapped between the glass and the film, creating ugly bumps or bubbles.
Most professional installers recommend starting with at least 400–600 square feet of working space if you plan to tint vehicles regularly. This gives you enough room to move around the car, manage tools, and lay out large pieces of automotive window tint without folding or damaging them.
Another major factor is climate control. Temperature and humidity affect how window film behaves during installation. When it’s too cold, the adhesive becomes less responsive. When it’s too hot, the film can become overly flexible and harder to position. Ideally, a professional tinting workspace should stay around 65°F to 75°F (18–24°C).
Lighting also matters more than beginners realise. If you’ve ever seen a professional installer inspect a window from multiple angles, they’re looking for tiny imperfections that poor lighting can hide. Bright LED lighting positioned above and around the vehicle makes it easier to spot dust, trapped water, and uneven edges.
You’ll also want dedicated zones in your workspace:
- Film cutting area
- Vehicle tinting bay
- Tool storage
- Cleaning station
This setup keeps your workflow smooth and prevents contamination. For example, cutting window film tint home sheets in a separate area reduces the chance of dust settling on the adhesive before installation.
Finally, keep your shop visually professional. Customers searching online for “vehicle tint near me” often choose businesses that look clean, organised, and trustworthy. A tidy workspace doesn’t just improve installation quality; it also builds customer confidence.
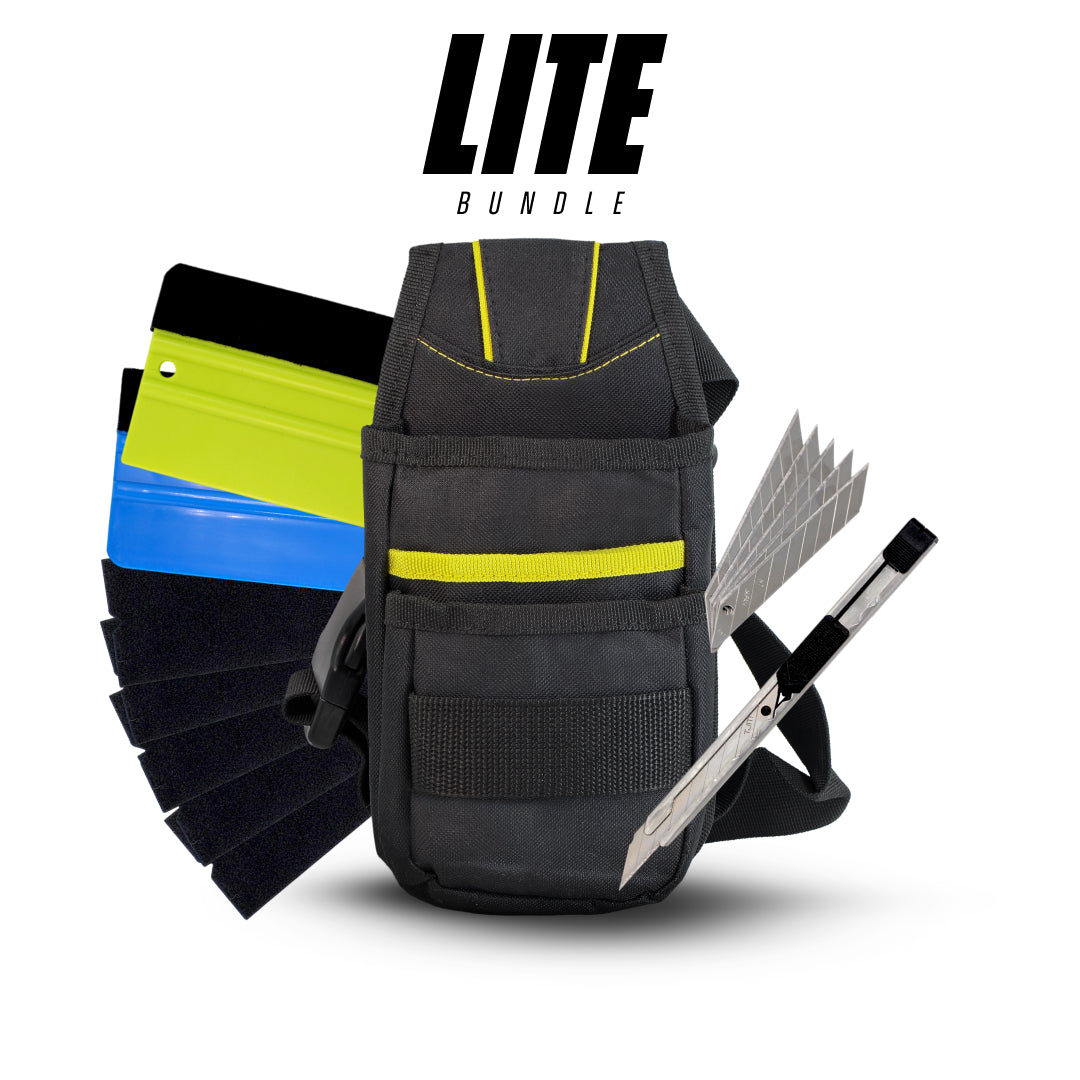
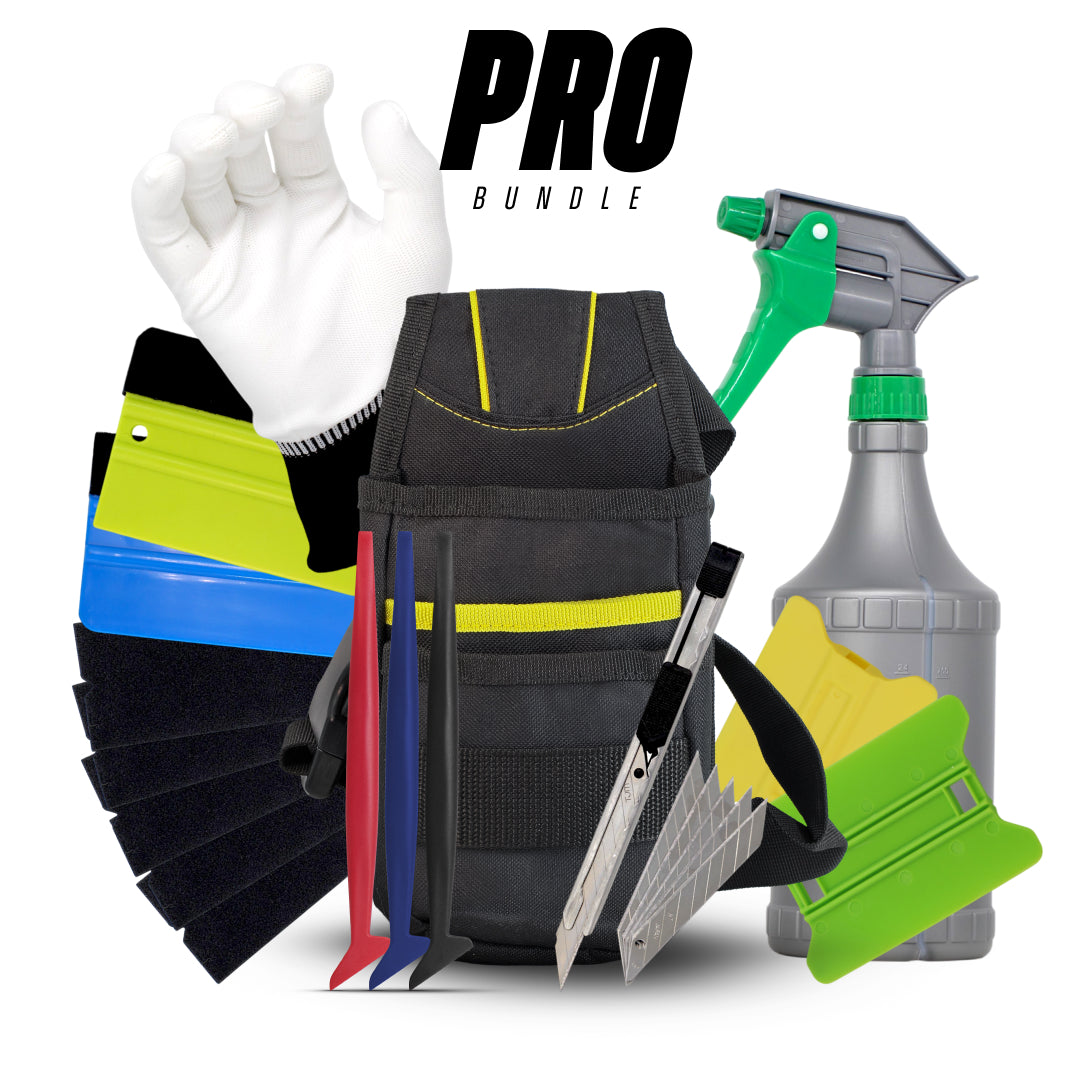
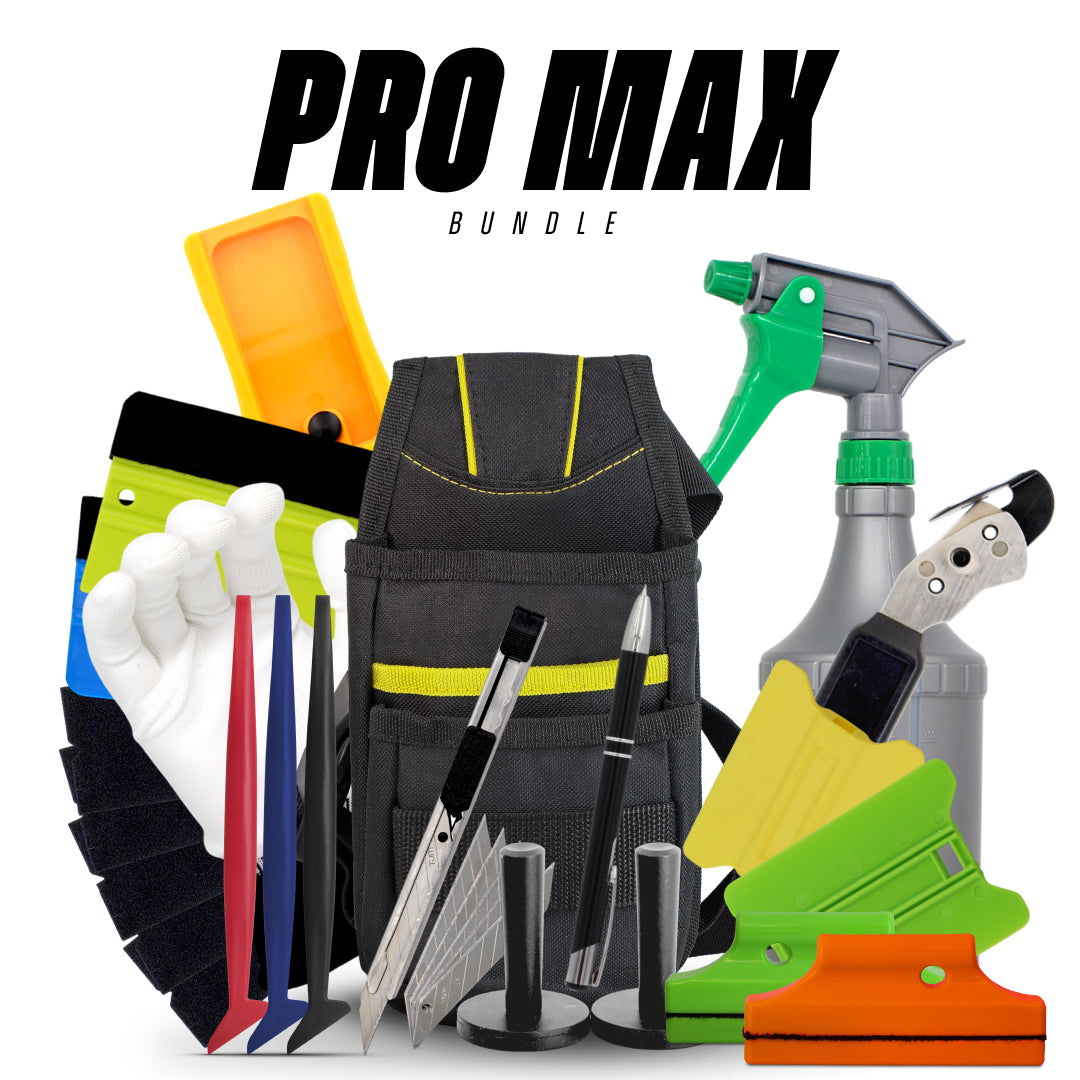
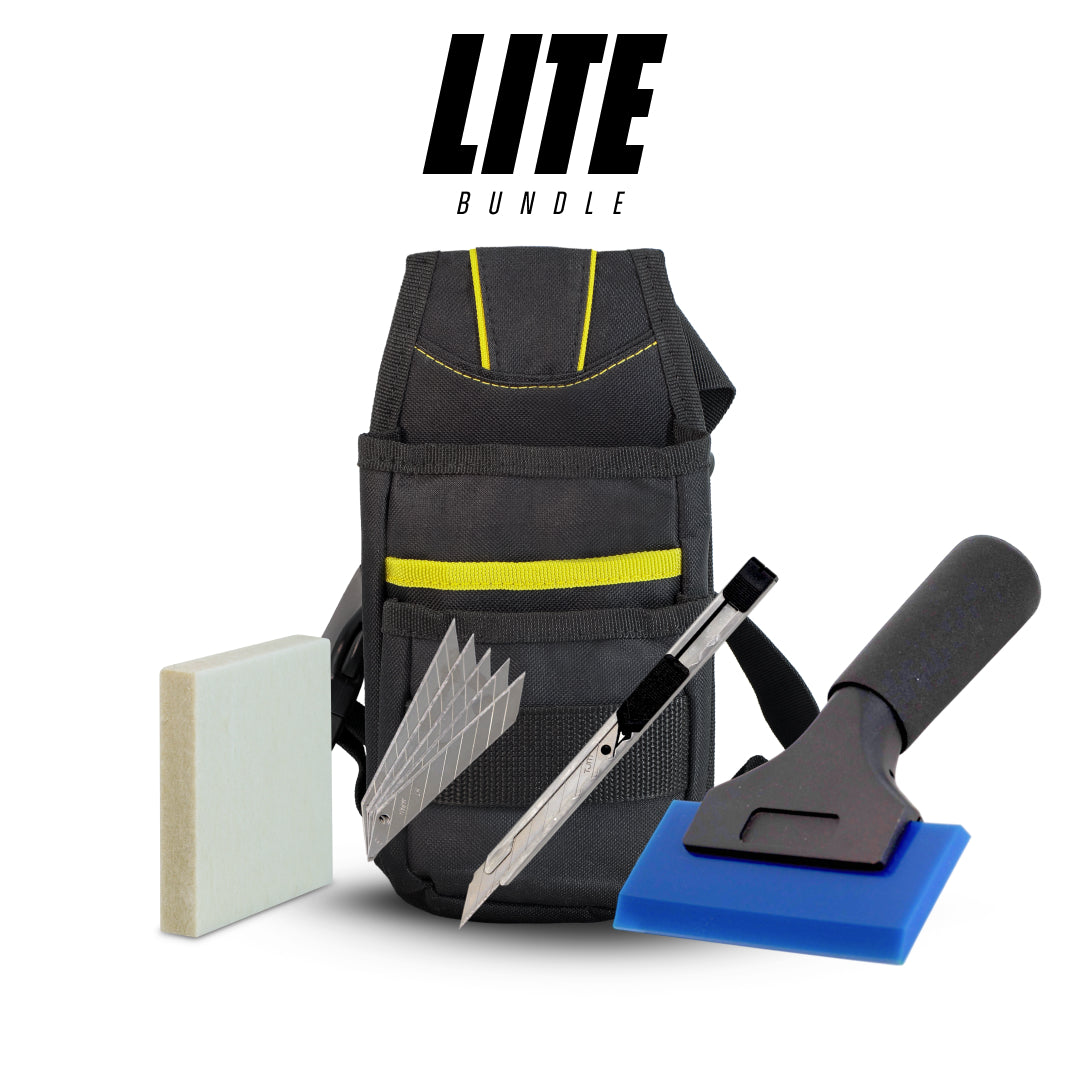
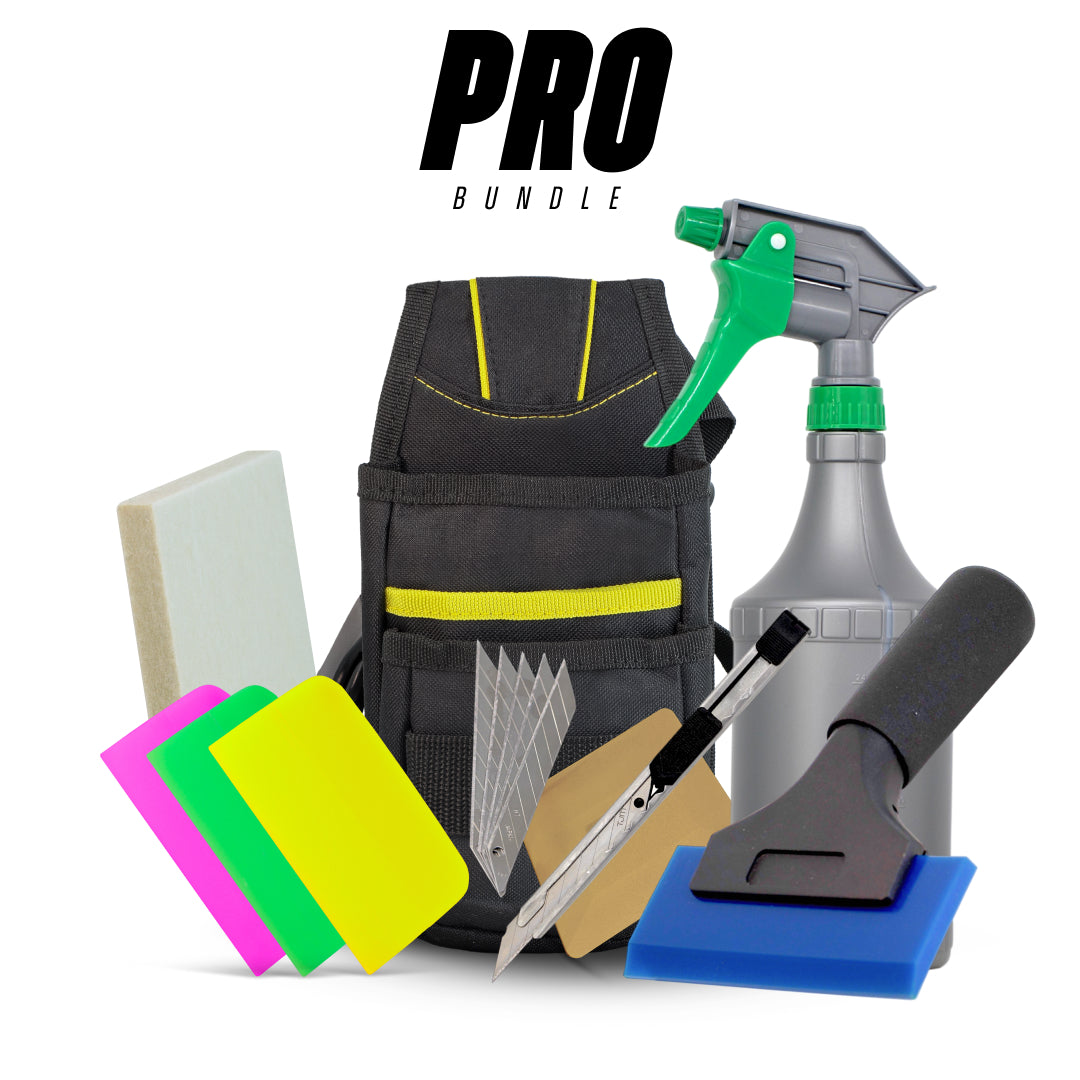
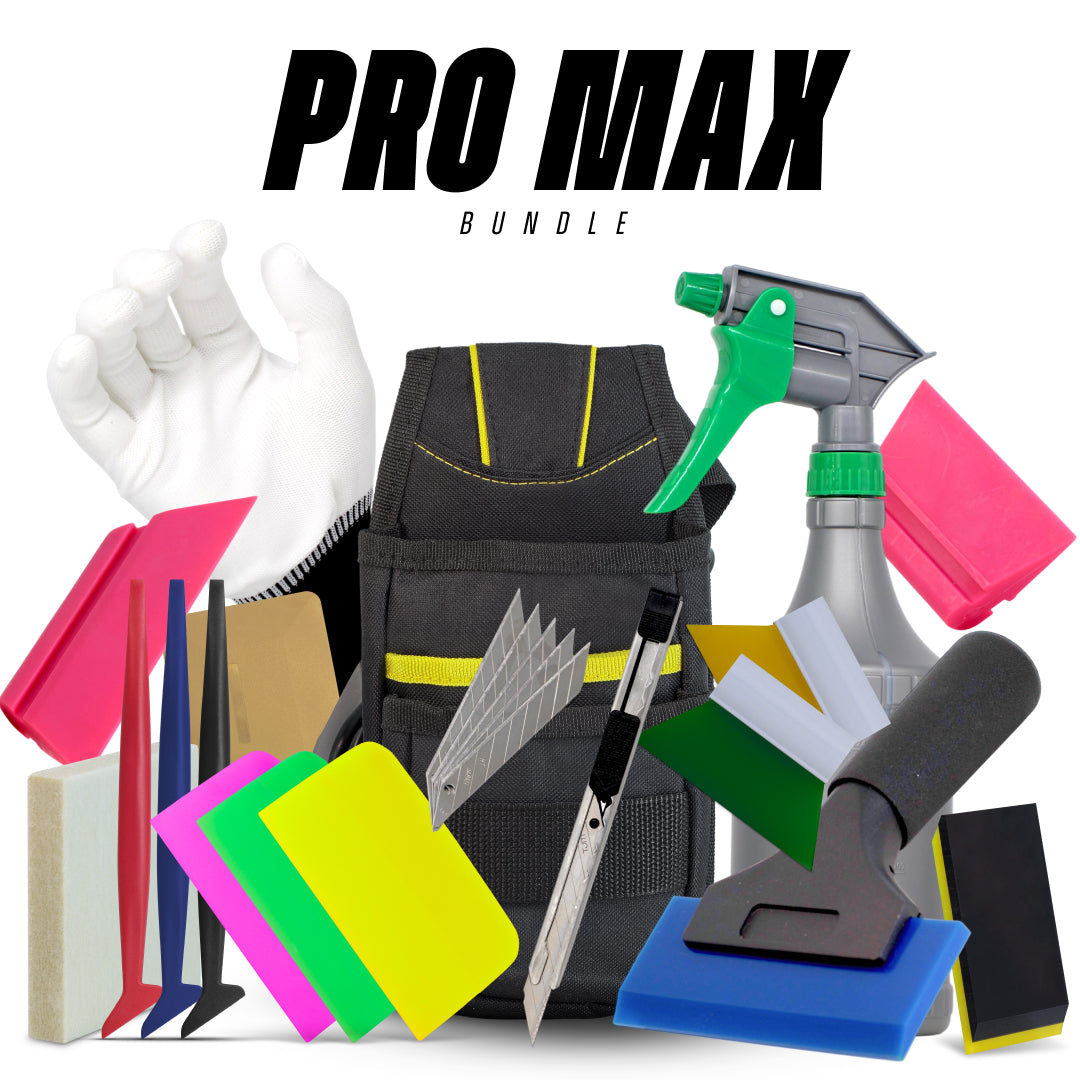
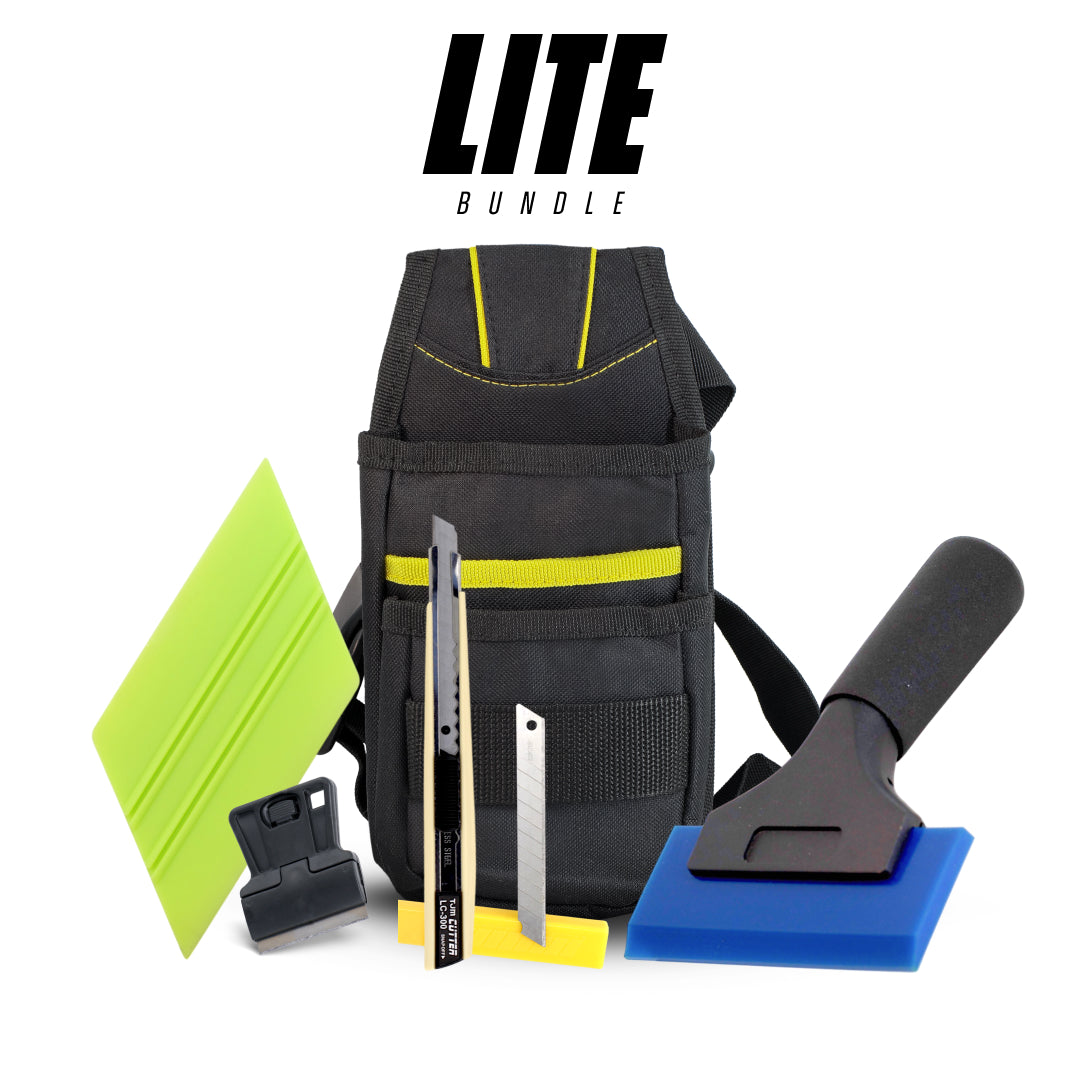
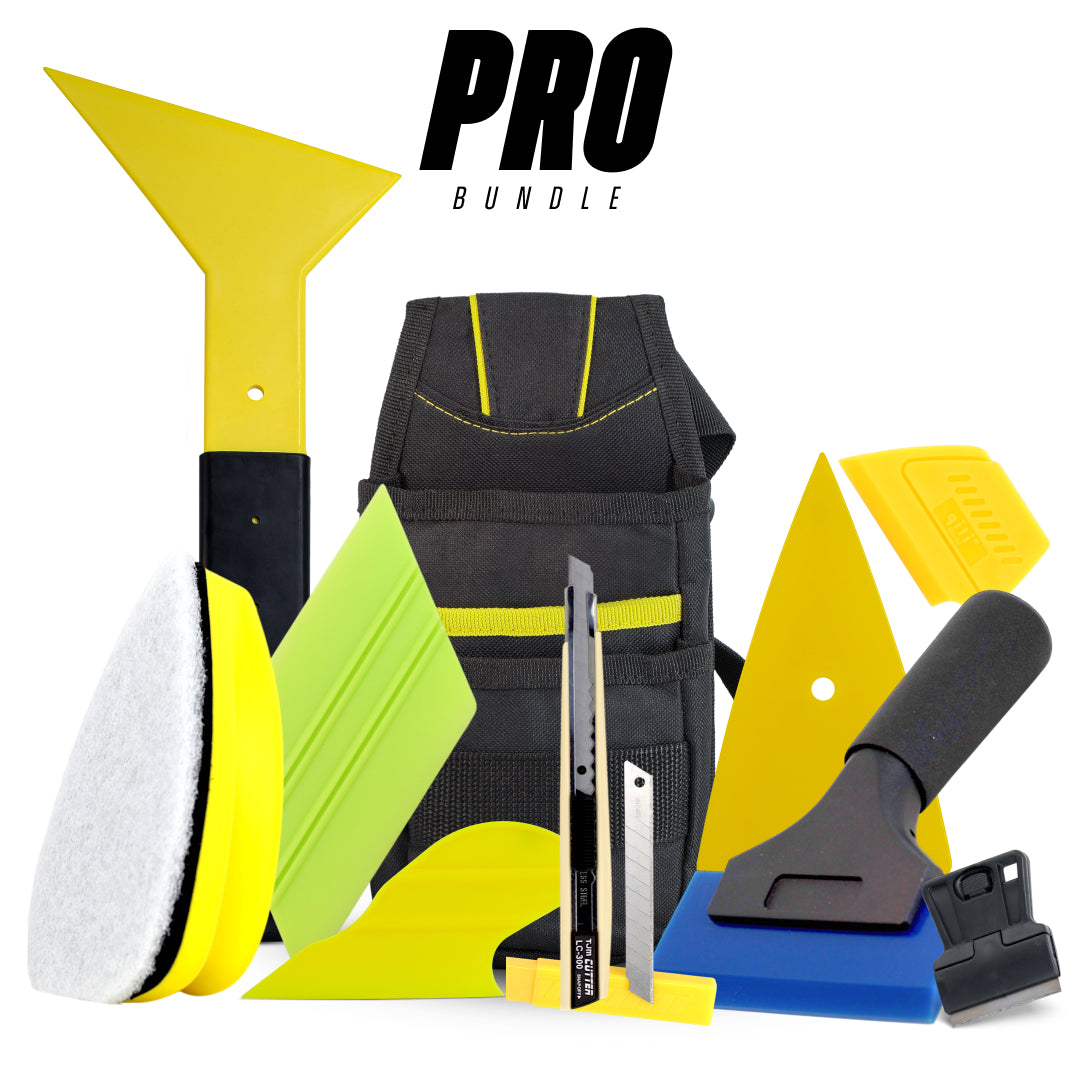
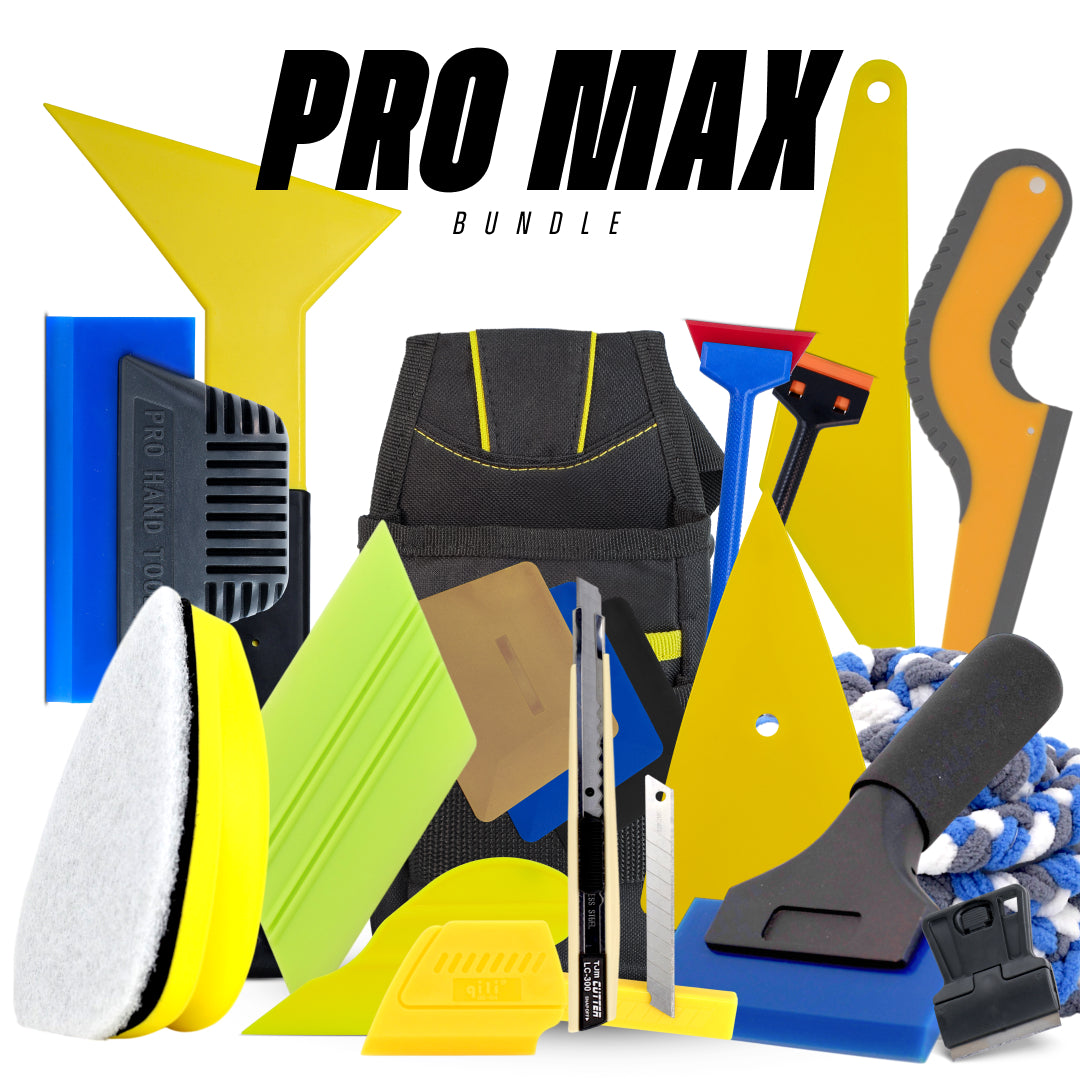
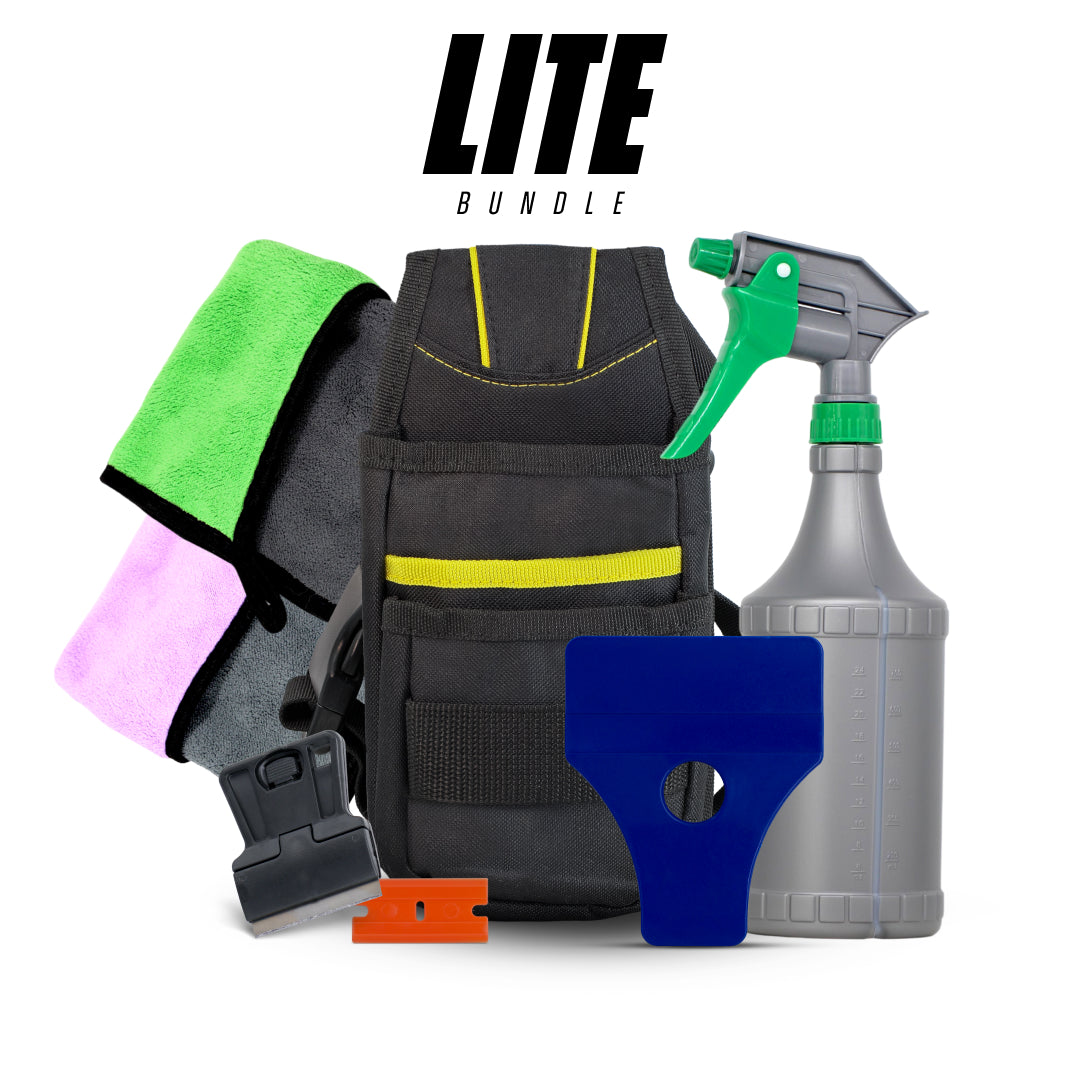
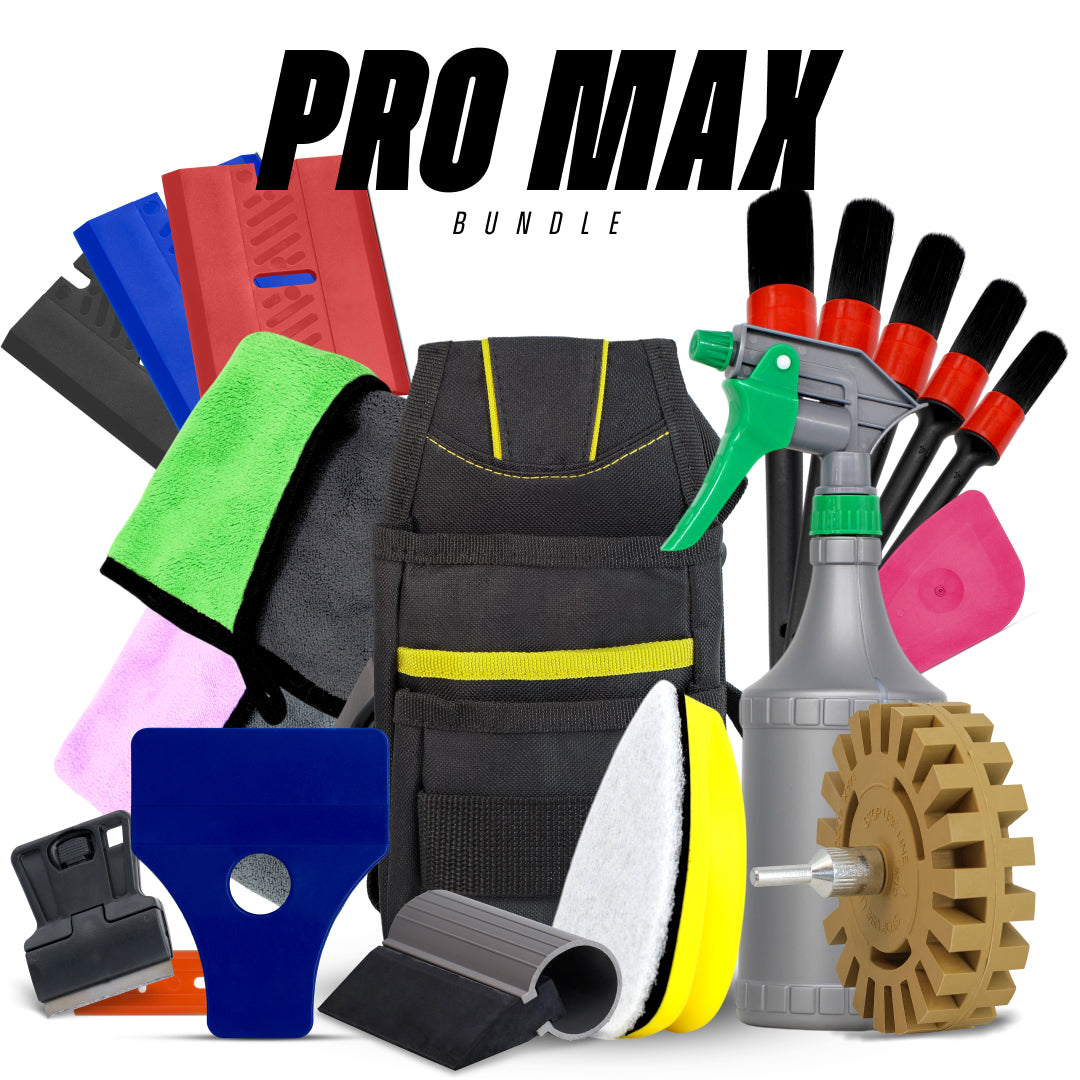
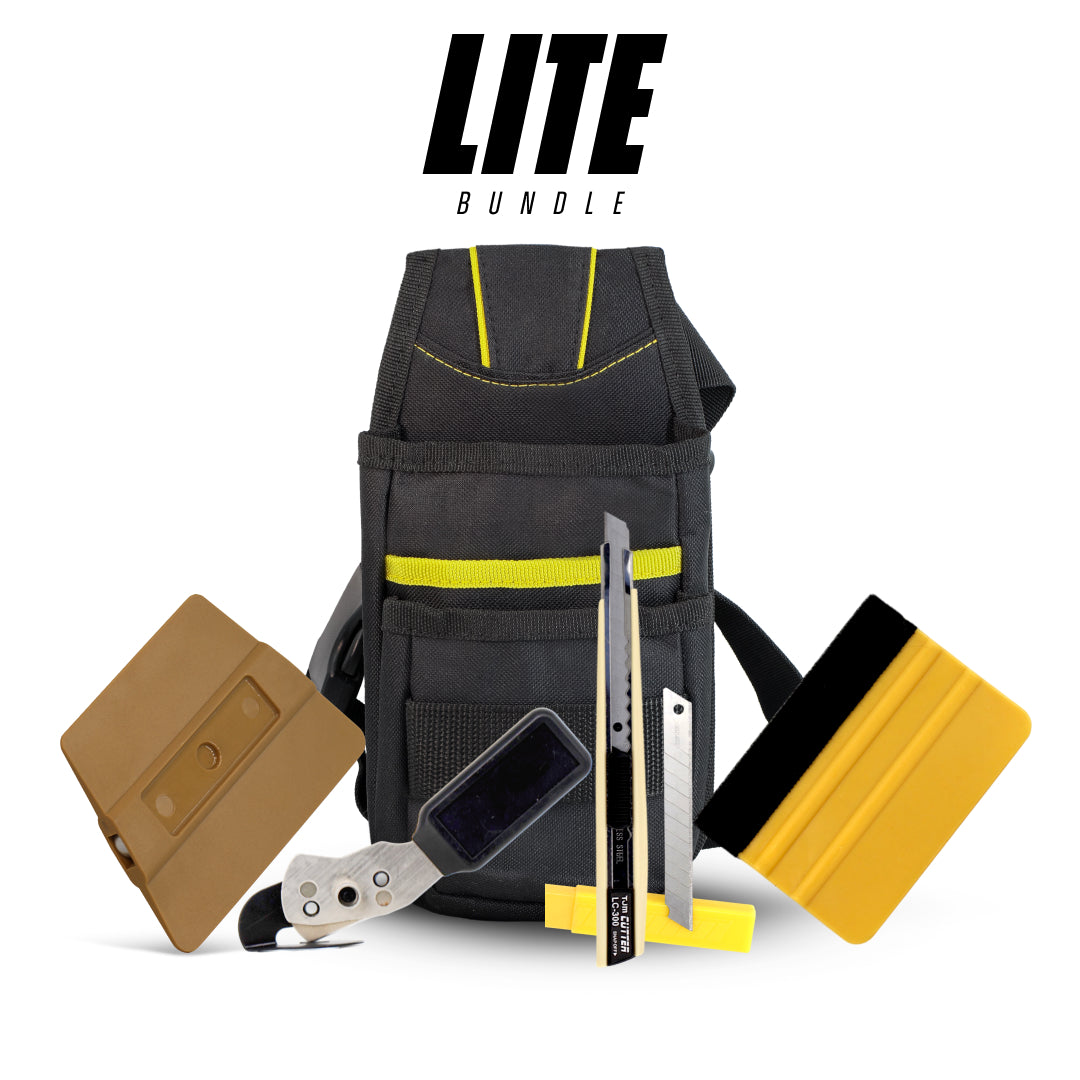
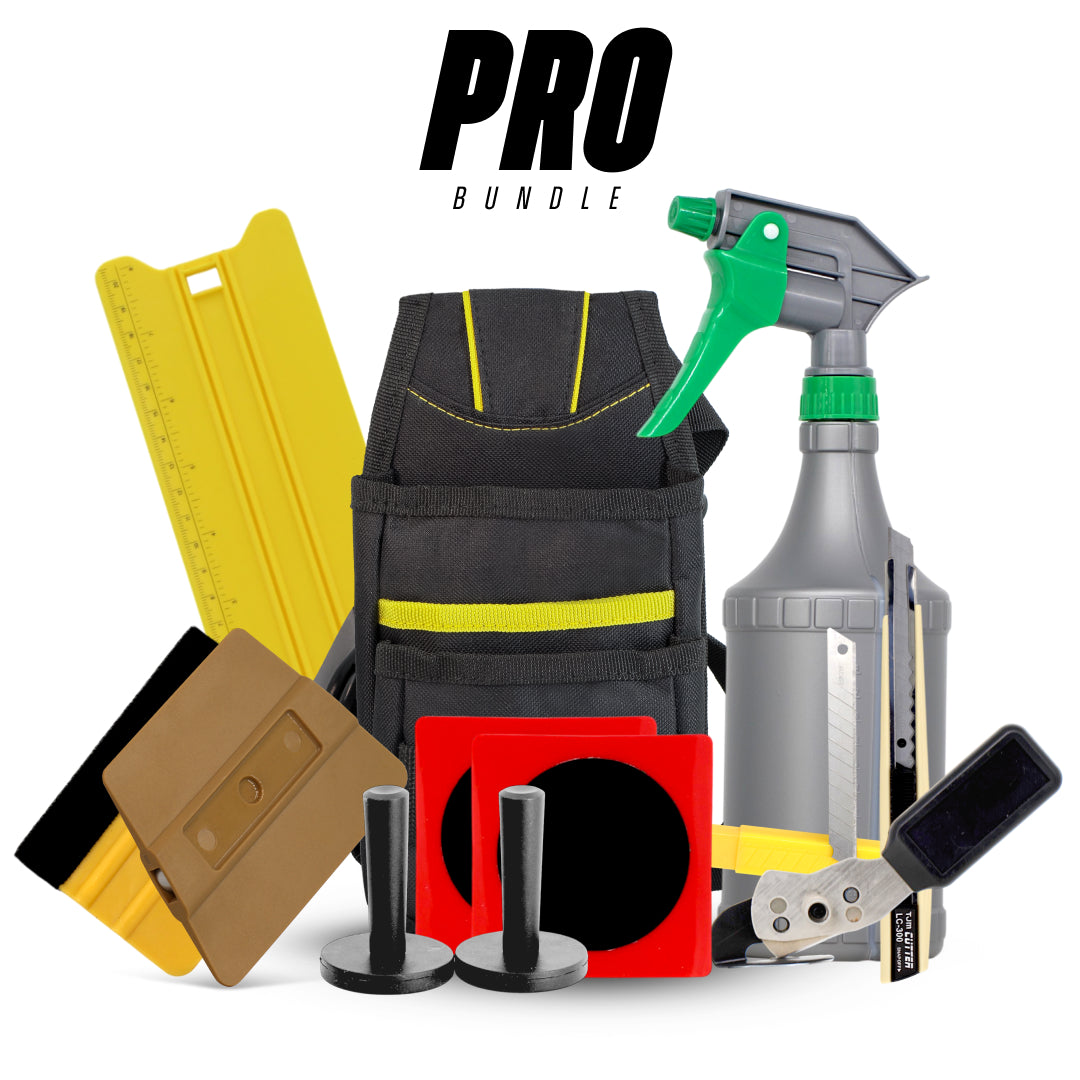
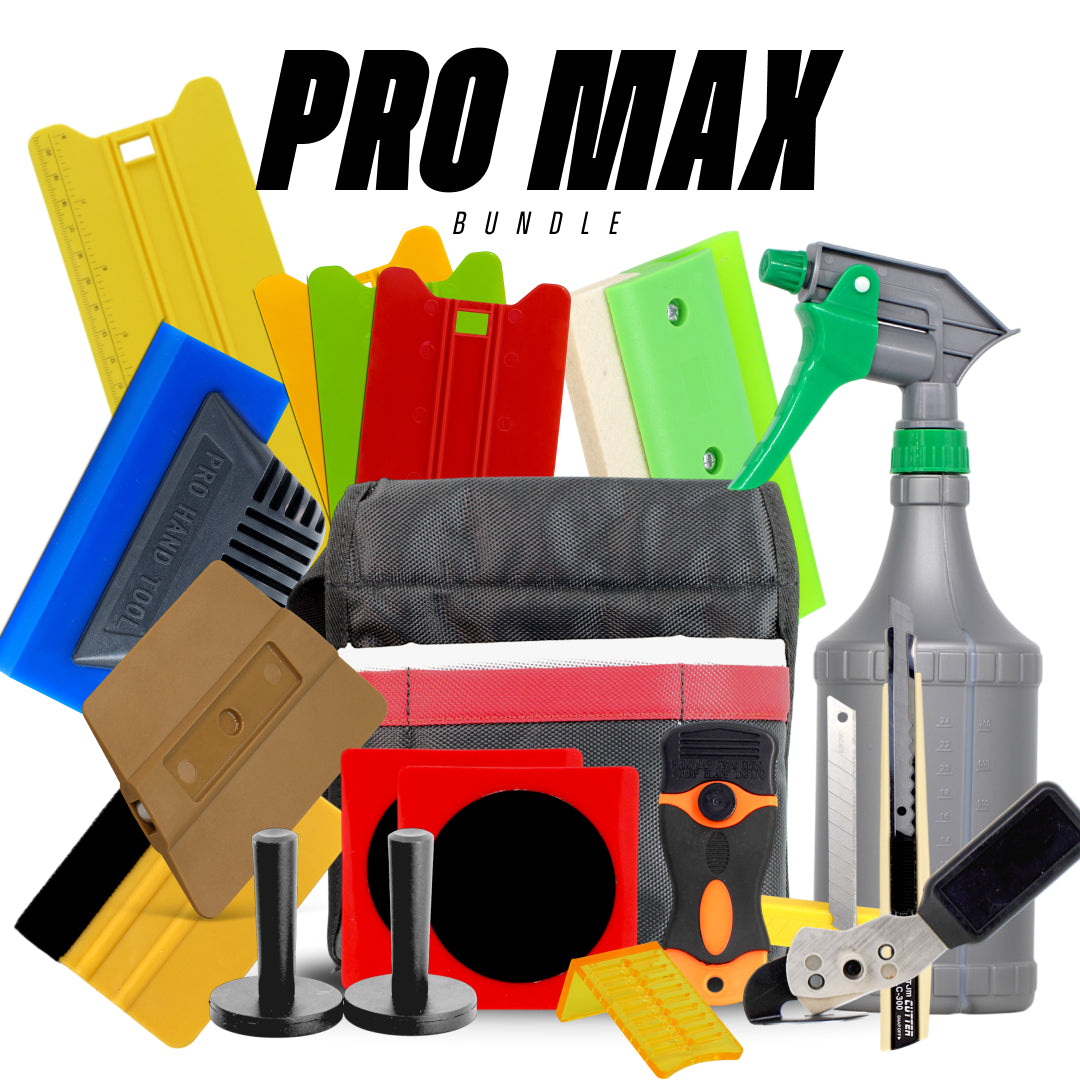
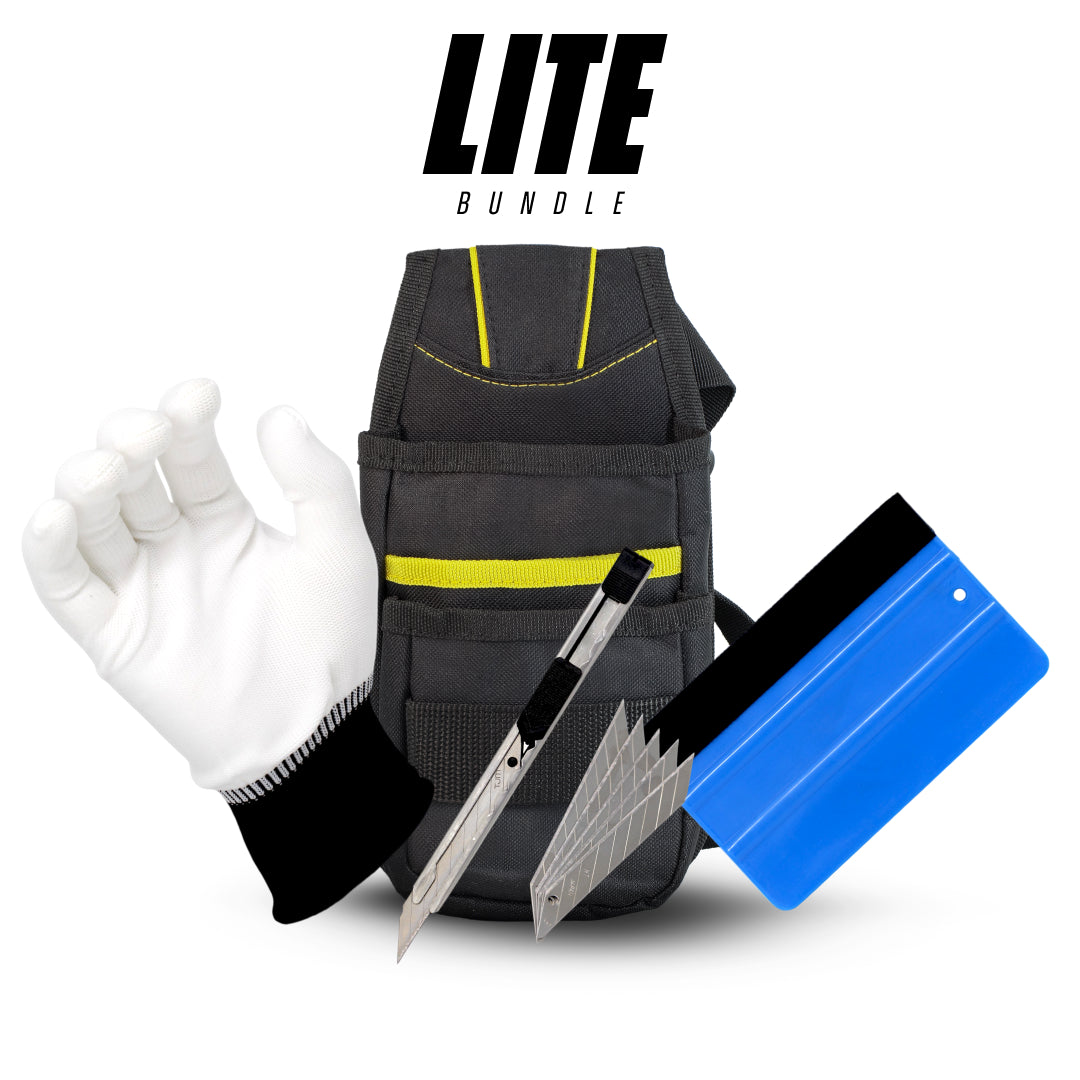
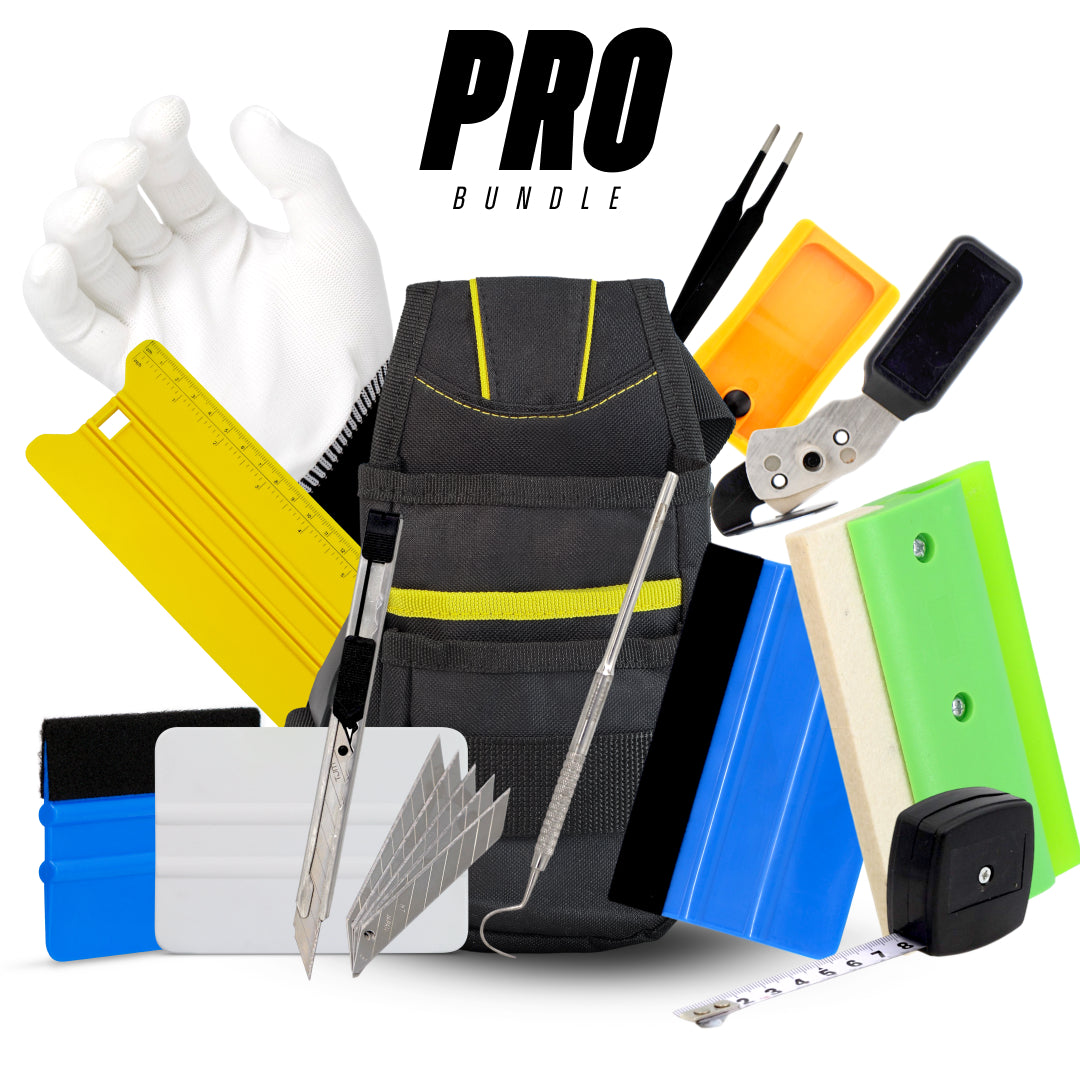
Installers starting from zero often begin with complete window tint kits that bundle the essential tools required for professional tint installations.

Choosing the Right Location for a Tint Shop
Location can dramatically influence how fast your tinting business grows. While it’s possible to start in a home garage, many professionals eventually upgrade to a commercial location that allows them to handle more vehicles and attract walk-in customers searching for window tinting close to me.
When selecting a location for your tint shop, visibility and accessibility should be top priorities. A shop located near busy roads, automotive service centres, or car dealerships can generate natural traffic. Drivers who are already thinking about upgrading their vehicles often notice nearby car tint services and decide to stop in.
Another strategic location is near car detailing shops or car washes. These businesses attract vehicle owners who already care about appearance and protection, making them perfect customers for automotive window tint. Partnerships with these businesses can also lead to referrals and package deals.
Inside the shop, you’ll want enough room to comfortably fit at least one vehicle with full door access. Ideally, a professional setup includes two tint bays, allowing you to work on multiple cars per day. This dramatically increases revenue potential.
Key features to look for in a location include:
- High ceilings for good lighting placement
- Large garage doors for easy vehicle entry
- Smooth flooring that’s easy to clean
- Good ventilation for adhesive fumes
A dedicated film storage area is also essential. Window film should be stored in a cool, dry place away from direct sunlight to preserve adhesive quality.
Startup costs vary depending on the city, but many tint professionals launch their first commercial shop with $5,000–$20,000 in setup expenses. This includes rent deposits, lighting, tint tools, and initial film inventory.
One smart strategy is to start mobile. Some installers begin by offering mobile car window tint services, travelling to customers with a portable car tinting kit and essential tools for tinting windows. This reduces overhead and helps build a customer base before investing in a physical shop.
Over time, as your reputation grows and customers begin searching for your business under terms like “automotive tint near me”, a dedicated shop becomes a powerful marketing tool that reinforces your brand as a professional tint provider.
Lighting, Cleanliness, and Dust Control
If you ask experienced installers what separates amateur tint jobs from professional tint results, many will give the same answer: dust control. Even the smallest particles can ruin the smooth finish of tinting windows film, which is why professional shops treat cleanliness as a top priority.
Dust enters a workspace from several sources: clothing fibres, outside air, vehicle carpets, and even cardboard packaging from new film rolls. Without proper control, these particles settle on glass surfaces just before you apply the window film, creating bumps or bubbles that customers immediately notice.
One of the simplest dust control methods is installing air filtration systems or ceiling-mounted fans with filters. These systems keep air circulating while trapping airborne particles. Some high-end shops even use positive air pressure systems, which push filtered air into the workspace to prevent outside dust from entering.
Another powerful technique is wet floor preparation. Before installing car window tint, many professionals lightly mist the floor with water. This traps dust particles and prevents them from becoming airborne while you work.
Lighting plays an equally important role in producing flawless tint installations. Standard shop lighting often isn’t bright enough to reveal small imperfections. Professional tint bays typically use high-output LED panel lights or long strip lights mounted above vehicles.
The goal is to eliminate shadows and reflections so you can clearly see the glass surface. When installing car windscreen tint or rear windshield film, this visibility helps identify trapped moisture or debris before the adhesive fully bonds.
Cleanliness routines should become part of your daily workflow. Many installers follow a simple process:
- Clean glass thoroughly before every installation.
- Wipe down tools and window tint squeegee after each job.
- Store tint window tools in sealed containers.
- Vacuum vehicle interiors to remove loose debris.
This level of discipline may sound excessive, but it’s exactly what allows professionals to produce flawless results consistently. Customers paying for pro tint services expect perfection, and maintaining a clean environment ensures you can deliver it every time.
As your skills progress, upgrading to specialised tint install tools helps improve control when working around tight seals, curved glass, and difficult edges.
Optimising Your Window Tint Workspace for Efficiency
A professional window tinting setup is not just about having the right tools. The layout and organisation of your workspace can significantly impact installation speed, workflow efficiency, and the quality of your finished results.
Professional tint installers often design their workspaces to minimise movement, reduce contamination, and keep essential tools within easy reach.
Maintain a Clean, Dust-Free Environment: Dust and debris are among the biggest challenges in window tinting. Even small particles can become trapped under the film and create visible imperfections.
Professional tint shops often use clean work surfaces, proper ventilation, and regular workspace cleaning to minimise contamination during installation.
Organise Tools for Quick Access: Keeping tint tools organised helps installers work more efficiently. Squeegees, trimming knives, spray bottles, and heat guns should be stored within easy reach so the installer can move smoothly through the tinting process without unnecessary interruptions.
Wall-mounted tool racks or dedicated workbenches are commonly used in professional tint workshops.
Ensure Proper Lighting: Good lighting is essential for identifying bubbles, creases, and dust particles during installation. Many tint professionals use bright LED workshop lights positioned around the vehicle to ensure the film is applied smoothly and evenly.
Create a Dedicated Film Preparation Area: Separating the tint film cutting area from the installation space helps prevent dust contamination. A clean cutting table allows installers to measure and trim film accurately before applying it to the vehicle.
Essential Elements of a Professional Window Tint Setup
- Clean, dust-controlled workspace
- Bright lighting for accurate film application
- Dedicated film cutting and preparation table
- Organised tint installation tools
- Proper heat guns and squeegees for installation
By designing a well-organised workspace, tint installers can improve productivity while consistently delivering clean, professional-quality window tint installations.
Essential Window Tinting Tools Every Beginner Needs
Starting a tinting business requires more than just film and enthusiasm. Professional installers rely on a collection of specialised tinting tools that allow them to cut, shape, apply, and finish window tint with precision. The good news is that you don’t need hundreds of tools to get started. A well-chosen car tinting kit with essential equipment can handle most automotive and residential tint jobs.
At the heart of every installation is the window tint squeegee. This simple-looking tool is responsible for removing water and air from beneath the film during application. Without it, the film would never properly adhere to the glass surface. Professional squeegees come in various materials and stiffness levels to handle different parts of the installation process.
Another must-have item is a spray bottle filled with slip solution, typically a mix of water and baby shampoo or specialised tint solution. This liquid allows installers to slide the window film across the glass before locking it into position with the squeegee.
Precision cutting tools are equally important. Tint installers usually use snap-off blade knives designed for ultra-clean cuts. These blades are incredibly sharp and allow precise trimming around window edges, seals, and defroster lines.
Heat guns are also essential when working with curved automotive glass. By carefully heating the film, installers can shrink and shape it to match the contours of the window, especially important for rear windshields in modern vehicles.
Other useful tools for tinting windows include:
- Application cards for tight areas
- Microfiber cloths for cleaning
- Hard cards for edge finishing
- Film cutting boards
- Magnetic film holders
These tools help streamline the installation process while reducing mistakes.
Many beginners make the mistake of buying cheap tools, assuming they’ll upgrade later. In reality, investing in quality window tinting tools from the beginning saves money because they last longer and produce better results. A high-quality squeegee for window tint can make the difference between a perfectly smooth installation and a film filled with streaks or trapped water.
When your toolkit is complete, every job becomes faster, cleaner, and more consistent, three things that define a true professional tint setup.
Core Tint Tools for Beginners
Starting with the right tint tools doesn’t mean buying everything at once. Most professional installers begin with a core set of tools that cover the majority of installation tasks. These foundational items allow you to handle car window tint, house window tint, and basic film installations while gradually expanding your equipment collection.
A basic window tinting starter kit usually includes the following essentials:
- Window tint squeegee
- Application cards
- Precision cutting knife
- Spray bottles
- Heat gun
- Microfiber towels
- Glass scraper
- Hard cards
Each tool plays a specific role during installation. For example, glass scrapers remove old adhesive or dirt from windows before applying tinting windows film. This preparation step is crucial because any contamination left behind will show through the final tint.
Application cards are flexible plastic tools used to press film into tight spaces around window seals and trim. These areas are often too narrow for a standard window tint squeegee, so smaller cards help achieve a clean edge finish.
Heat guns are used primarily for automotive work. When installing car tint on curved rear windshields, the heat gun allows you to shrink the film so it conforms perfectly to the glass shape. Without proper shrinking techniques, the film would wrinkle or lift over time.
Microfiber towels also deserve special attention. Professional installers rely on them for cleaning glass and removing excess solution without leaving lint behind. Using regular towels can introduce fibres that ruin a perfect tint job.
Investing in durable window tint tools early helps build good habits and improves installation accuracy. Over time, as you gain experience and take on more complex projects like one way glass window film or commercial tinting, you can expand your toolkit with specialised equipment.
Mastering these core tools is the foundation of becoming a skilled tint installer and the first step toward building a successful professional tinting business.
Squeegee for Window Tint and Application Cards
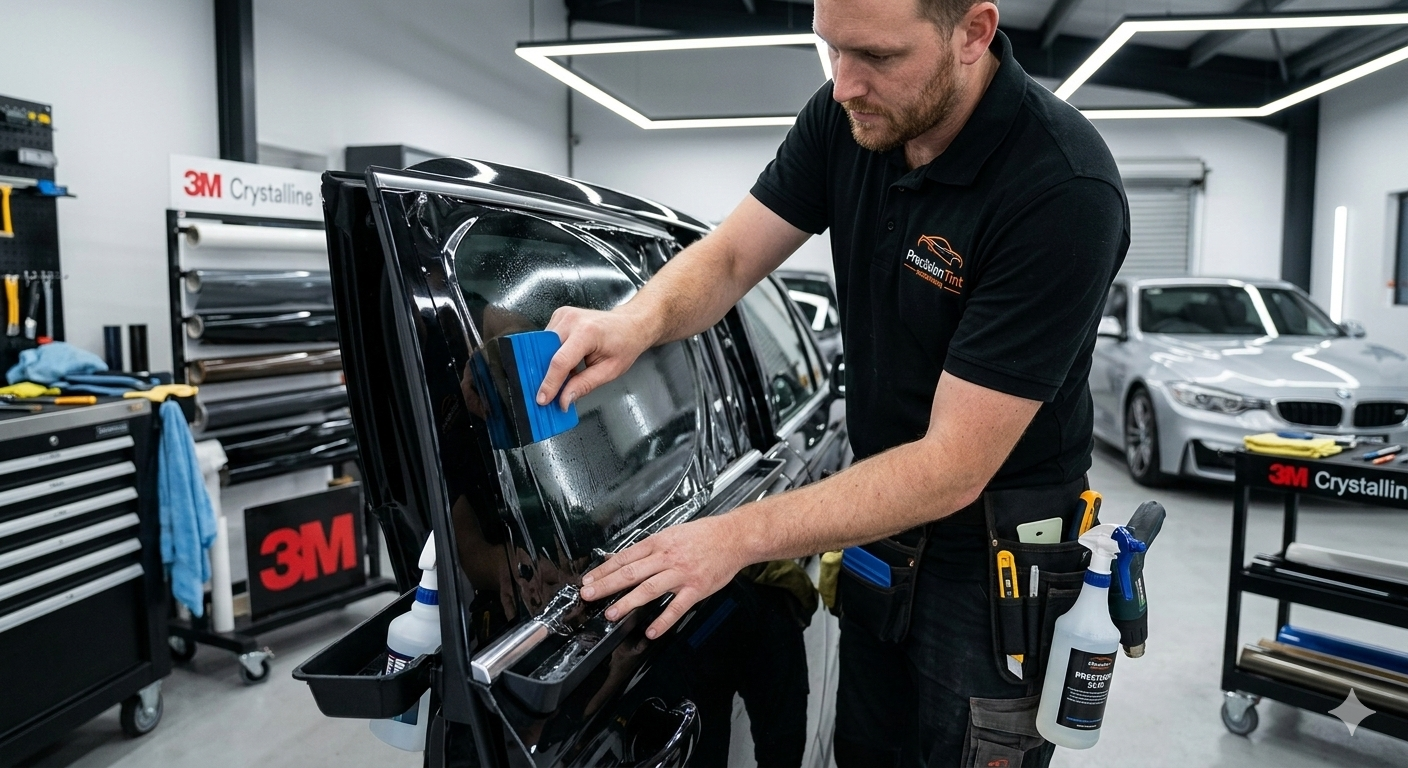
When it comes to window tinting tools, one tool stands above the rest in terms of importance and daily use: the window tint squeegee. At first glance, it might look like a simple rubber blade attached to a handle, but in the hands of a skilled installer, it becomes the most powerful tool for achieving a flawless finish. Nearly every stage of installing car window tint, automotive window tint, or house window film involves using some type of squeegee to control water, air, and adhesive bonding.
During installation, a slip solution, usually water mixed with a small amount of soap, is sprayed onto the glass. This liquid allows the window film to slide into position. Once aligned properly, the squeegee for window tint is used to push the solution and trapped air out from beneath the film. This process ensures the adhesive makes full contact with the glass surface, preventing bubbles or peeling later on.
Professional tint installers rarely rely on just one type of squeegee. Instead, they use several variations designed for different parts of the window. For example, larger squeegees are perfect for flat glass areas, while smaller or angled versions work better in tight corners or curved sections of a vehicle’s rear window.
Application cards play a similar but slightly different role in the installation process. These flexible plastic cards are essential tint window tools designed for pushing film into tight spaces where standard squeegees can’t reach. When working around rubber seals, door panels, or narrow edges, application cards allow installers to apply even pressure without damaging the film.
There are several common types of application cards used in tools for tinting windows:
- Soft cards for delicate film surfaces
- Hard cards for firm edge finishing
- Corner cards designed to reach tight window angles
- Teflon cards that glide smoothly across film without scratching
Experienced installers often wrap application cards in microfiber cloths when finishing edges. This technique helps absorb excess water while protecting the film surface from marks or scratches.
The combination of window tint squeegees and application cards essentially acts like a paintbrush and palette for tint installers. One tool spreads and shapes the film, while the other perfects the edges and details. Without these tools, installing tinting windows film smoothly would be nearly impossible.
Investing in high-quality squeegees and cards also increases efficiency. Professional-grade rubber blades maintain consistent pressure across the glass, allowing installers to remove water quickly without leaving streaks behind. Over time, this efficiency adds up, enabling installers to complete more car tint jobs each day and grow their business faster.
For anyone building a professional tint setup, choosing the right squeegees and application cards isn’t just a minor decision; it’s the foundation of producing consistent, high-quality results.
One of the most important items in any setup is a quality squeegee, which is why professional tint squeegees are designed to remove water and air evenly during film installation.
Heat Guns, Spray Bottles, and Precision Knives
If the window tint squeegee is the heart of tint installation, then tools like heat guns, spray bottles, and precision knives are the muscles that bring the process to life. These tools allow installers to shape film, control adhesion, and trim edges with incredible accuracy. Without them, achieving professional results with automotive window tint or house window film would be extremely difficult.
Let’s start with the heat gun, one of the most essential tools in any car tinting kit. Automotive glass, especially rear windshields, is rarely flat. Most vehicles have curved rear windows that require the tint film to be carefully shrunk to match the glass shape. Heat guns provide controlled hot air that softens the film, allowing installers to mould it smoothly across curved surfaces.
This technique, often called heat shrinking, is especially important when applying car windscreen tint or rear windshield tint. Without heat shrinking, the film would wrinkle or form “fingers,” which are vertical creases that prevent proper adhesion. Skilled installers use the heat gun in sweeping motions while gently pressing the film with a squeegee or card to create a perfectly smooth fit.
Spray bottles are another critical component of window tinting tools. They might seem simple, but they perform several important functions during the installation process. The solution inside the bottle, usually a mix of distilled water and a mild soap, creates a slippery surface that allows the window film to move freely across the glass.
Installers typically use multiple spray bottles for different stages of the job:
- One for cleaning the glass thoroughly
- One for applying the slip solution during installation
- One for rinsing tools or wiping surfaces
Maintaining clean spray solutions is extremely important because contaminated water can introduce debris under the film.
Precision knives are the final piece of the puzzle. Tint installers rely on snap-off blade knives to cut film with incredible accuracy. These blades are razor sharp and designed to glide smoothly across glass without damaging it. When trimming tinting windows film, installers carefully follow the edge of the window, creating a perfectly clean border that looks factory-installed.
Most professionals replace knife blades frequently, sometimes after every vehicle. A dull blade can drag across the film, causing jagged edges or small tears that ruin the installation.
Together, these tools, heat guns, spray bottles, and precision knives, form the backbone of professional tint tools. They give installers the ability to control film placement, shape it to complex surfaces, and finish every edge with precision.
When combined with the right window tint squeegee and application cards, these tools transform a simple piece of window film into a perfectly installed tint that enhances privacy, reduces heat, and gives vehicles or homes a sleek, polished appearance.
Achieving clean edges around windows requires precision knives and replacement blades built specifically for trimming tint film safely and accurately.
Window Tint Tools Checklist for Starting a Tint Business

Starting a professional window tinting business requires more than just tint film. Having the right tools ensures clean installations, faster workflow, and consistent professional results. Use the checklist below to build a complete window tint setup for your workshop or mobile service.
Essential Window Tint Installation Tools
These are the core tools every professional tint installer should have for applying film smoothly and removing air bubbles.
- Window tint squeegees – Used to remove water and air from beneath the film during installation
- Hard cards – Ideal for pushing film into tight edges and corners
- Micro squeegees – Designed for narrow spaces around seals and trim
- Tint application gloves – Help prevent fingerprints and contamination on the film
- Spray bottles – Used for applying slip solution during film positioning
These tools form the foundation of every professional tint installation.
Cutting and Trimming Tools
Precision cutting tools are necessary for shaping tint film accurately and achieving clean edges around windows.
- Snap-off blade knives for precise trimming
- Precision cutting knives for detailed work
- Stainless steel blades for clean, sharp cuts
- Cutting guides or rulers for straight edges
Keeping blades sharp and replacing them regularly helps avoid tearing or damaging tint film.
Heat Shaping and Film Conforming Tools
Heat tools allow installers to shape tint film to curved automotive glass.
- Professional heat gun for shrinking and shaping film
- Heat-resistant gloves for safety when working with heated surfaces
- Temperature-controlled heat tools to avoid overheating the film
Heat shaping is especially important for modern vehicles with curved rear windows.
Film Preparation and Workspace Equipment
A well-organised workspace improves installation speed and helps prevent dust contamination.
- Large cutting table or film preparation bench
- Lint-free cleaning cloths
- Glass cleaning solution or alcohol-based cleaner
- Lint rollers or dust removal tools
- LED workshop lighting for visibility
Clean workspaces significantly reduce the risk of dust particles appearing under the film.
Optional Tools for Professional Tint Shops
As your tinting business grows, additional tools can help increase efficiency and improve results.
- Steamers for removing old tint film
- Tint film plotters for precision cutting
- Magnetic positioning tools for large films
- Tool organisers or wall racks for efficient workflow
These upgrades help professional tint shops streamline installations and handle higher job volumes.
Quick Starter Tint Tool Kit Summary
If you’re building your first tinting setup, start with these essentials:
- Tint squeegees and hard cards
- Spray bottles and slip solution
- Snap-off knives and replacement blades
- Professional heat gun
- Microfibre cloths and glass cleaner
- Bright workshop lighting
With these tools in place, you’ll be able to perform clean, professional window tint installations while building the foundation of a successful tinting business.
Must-Have Window Tint Films and Materials
Tools are essential for installation, but the true star of any tinting job is the window film itself. Choosing the right film determines the performance, durability, and appearance of the final result. Not all films are created equal, and professional installers carefully select materials depending on the application, whether it’s car window tint, headlight tint, or home window tinting.
Most films are made from multiple layers of polyester combined with adhesives and UV-resistant coatings. These layers control how much light, heat, and ultraviolet radiation passes through the glass. Higher-quality films typically include advanced materials like carbon or ceramic particles, which dramatically improve heat rejection without interfering with electronics.
One important factor customers often ask about is Visible Light Transmission (VLT). This refers to the percentage of light that can pass through the film. For example, a 5% tint allows very little light through, creating a dark, privacy-focused look often seen on luxury vehicles.
Different types of films serve different purposes. Automotive tint films usually focus on heat reduction and style, while residential films prioritise energy efficiency and glare reduction. Specialty films like one way glass window film create privacy during daylight hours by reflecting exterior light.
Professional installers often stock multiple film types so they can recommend the best option for each customer. This approach builds trust and helps clients understand why certain films cost more than others.
High-quality films also last longer. Premium automotive window tint can remain effective for 10 to 15 years without fading, bubbling, or turning purple. Cheaper films may begin degrading within a few years, which is why experienced installers avoid them even if they’re less expensive upfront.
A strong inventory of quality films allows your professional tint setup to handle a wide range of projects, from car tint and car windscreen tint to house window film installations.
Automotive Window Tint Film Types
Automotive tint films come in several different categories, each offering unique benefits in terms of heat rejection, durability, and appearance. Understanding these options helps installers recommend the best automotive window tint for each vehicle and customer preference.
The most basic option is dyed window film. This type uses a dye layer to absorb sunlight and darken the glass. Dyed films are affordable and provide a sleek look, but they offer limited heat rejection compared to more advanced materials. Over time, cheaper dyed films may also fade or turn purple when exposed to constant sunlight.
A step above dyed film is metalised window film. These films contain tiny metallic particles that reflect sunlight away from the glass. This reflective property significantly improves heat reduction and durability. However, metalised films can sometimes interfere with GPS signals, radio reception, or mobile devices inside the vehicle.
One of the most popular options today is carbon window tint. Carbon particles block infrared light effectively, helping keep vehicle interiors cooler without causing signal interference. Carbon films also resist fading and maintain their deep black appearance for many years.
At the top of the market is ceramic window tint. Ceramic films use advanced nanotechnology to block heat, UV rays, and infrared radiation without reducing visibility. These films can reject up to 80% of infrared heat, making them ideal for hot climates or luxury vehicles.
Here’s a comparison of the main types:
| Film Type | Heat Rejection | Signal Interference | Durability |
|---|---|---|---|
| Dyed Film | Low | None | Moderate |
| Metalized Film | Medium | Possible | High |
| Carbon Film | High | None | Very High |
| Ceramic Film | Extremely High | None | Premium |
Many professional installers offer ceramic tint as their premium “pro tint” service because of its superior performance and long lifespan.
Stocking a range of car window tint films allows your tint business to serve customers with different budgets while still maintaining professional quality standards.
House Window Film and One Way Glass Window Film
While auto window tinting often gets the spotlight, the residential side of the industry is quietly booming. Homeowners today are far more conscious of energy efficiency, privacy, and UV protection than they were a decade ago. That’s why house window tint, house window film, and window film tint home installations have become some of the fastest-growing services in the tinting market. For someone building a professional tint setup, expanding into residential installations can significantly increase revenue and keep your schedule busy even when automotive demand slows.
Residential window film works a bit differently than automotive window tint. Instead of focusing primarily on aesthetics, most homeowners want practical benefits, lower energy bills, protection from sun damage, and improved privacy. In fact, the U.S. Department of Energy has reported that around 30% of residential heating and cooling energy is lost through windows, which explains why many homeowners are turning to home window tinting as a cost-effective solution.
One of the most requested products in residential tinting is one way glass window film. This type of film creates a mirrored appearance on the outside during daylight hours, allowing people inside to see out while preventing outsiders from seeing in. The effect works because the reflective side faces the brighter environment. When it’s brighter outside than inside, privacy is maintained.
These films are commonly installed in:
- Living room windows facing busy streets
- Home offices requiring daytime privacy
- Ground-floor apartments
- Commercial storefronts
Another popular category is solar control window film, designed specifically to reduce heat entering through the glass. These films can block up to 78% of solar heat, dramatically improving indoor comfort during hot months.
Decorative films are also gaining traction in modern interior design. Frosted, etched, or patterned house window film can transform plain glass into stylish design elements. Businesses frequently use decorative film for office partitions, conference rooms, and storefront branding.
Residential installations typically require larger tools and longer film sheets compared to vehicles. Installers often use oversized window tint squeegees, extension handles, and larger cutting guides to manage these bigger surfaces.
By adding home window tinting services to your skillset, your tint business becomes far more versatile. Customers who initially find you while searching for “automotive tint near me” may later hire you to install window film tint home solutions, creating repeat business and long-term relationships.
Proper preparation prevents most installation problems, making professional cleaning tools essential for removing dust, grease, and contaminants from glass surfaces.
Step-by-Step Process of Tinting Windows Professionally

Professional window tinting may look simple from the outside, but behind every flawless installation lies a precise, step-by-step process. Whether you're applying car window tint, car windscreen tint, or house window film, the workflow follows a similar structure designed to ensure perfect adhesion and long-term durability.
Skipping or rushing any step can lead to bubbles, peeling edges, or visible debris trapped under the film. That’s why experienced installers follow a strict routine every time they apply tinting windows film.
The process typically includes the following stages:
- Surface preparation
- Film measuring and cutting
- Film shaping (for curved glass)
- Applying the slip solution
- Positioning the window film
- Squeegeeing out water and air
- Edge trimming and finishing
- Final inspection and curing
Each stage relies heavily on specialised tint window tools such as spray bottles, heat guns, precision knives, and window tint squeegees. Professional installers also work methodically to avoid contamination and maintain alignment throughout the installation.
Timing is also important. While the installation itself might take 1 to 3 hours for most vehicles, the film continues curing for several days as moisture evaporates from beneath the adhesive. During this period, customers are usually advised not to roll down windows or clean the tinted surface.
Understanding this process is crucial for anyone building a professional tint setup, because it helps structure your workflow and ensures consistent results. Mastering the sequence also increases efficiency, allowing experienced installers to tint multiple vehicles per day without sacrificing quality.
Preparing the Vehicle or Home Windows
Preparation is the most underestimated step in window tinting, yet it’s the one that determines whether the final result looks professional or amateur. Even the highest-quality automotive window tint will fail if the glass surface isn’t perfectly clean before installation.
The preparation stage begins with a deep cleaning of the glass. Installers typically spray a specialised cleaning solution onto the window and scrub the surface using microfiber cloths or lint-free wipes. Any dirt, grease, or residue left on the glass can prevent the window film adhesive from bonding properly.
For older vehicles or previously tinted windows, additional preparation may be required. Removing old tint is sometimes necessary before applying new film. Many customers ask, “How do I get window tint off?”, and the answer usually involves heat, adhesive remover, and careful scraping with a razor blade.
Once the glass is clean, installers often use a glass scraper to remove stubborn contaminants such as:
- Paint overspray
- Tree sap
- Sticker residue
- Hardened adhesives
After scraping, the glass is cleaned again to remove any loose particles.
Interior preparation is equally important for auto window tinting. Carpets and seats can release dust particles that float into the air during installation. Professionals often vacuum the interior and wipe surrounding surfaces to minimise contamination.
For home window tinting, preparation includes cleaning large panes of glass and protecting nearby surfaces like window frames, walls, or flooring from excess slip solution.
A final spray of slip solution is applied before positioning the tinting windows film. This thin liquid layer allows installers to slide the film into the perfect position before locking it down with a window tint squeegee.
Skipping preparation might save a few minutes, but it almost guarantees problems later. Proper cleaning ensures the film bonds smoothly and remains durable for years.
Applying Tinting Windows Film Correctly
Once the glass is properly prepared, the most delicate stage begins, installing the tinting windows film itself. This step requires patience, steady hands, and the right combination of tint tools to achieve a smooth, bubble-free finish.
The film is first measured and cut slightly larger than the window. Installers often perform this step on the outside of the glass, using the window as a guide to create the correct shape. When working with curved automotive windows, a heat gun is used to shrink the film so it perfectly matches the contours of the glass.
Next, the protective liner on the film is removed, exposing the adhesive layer. At the same time, installers spray slip solution onto both the glass and the adhesive side of the film. This lubrication allows the window film to slide into position without immediately sticking.
Once aligned correctly, the installer begins using a window tint squeegee to press the film onto the glass. Starting from the centre and moving outward, the squeegee pushes water and air bubbles toward the edges of the window.
This step requires careful pressure control. Too little pressure leaves moisture trapped beneath the film, while too much pressure could shift or crease the film.
After the main water removal process, edges are trimmed using a precision knife to create a perfect border around the window. Application cards wrapped in microfiber cloths are then used to press the film firmly into tight corners and seals.
The final step involves another round of squeegeeing and visual inspection. Installers check for remaining bubbles, debris, or imperfections under bright lighting. Any small pockets of moisture typically disappear during the curing process over the next few days.
When done correctly, the finished result should look completely seamless, almost as if the glass came from the factory with tint already installed.
Keeping your equipment organised is easier with durable tool bags designed to store and transport tint tools safely between jobs.
Specialised Tinting Services You Can Offer
Once you’ve mastered the basics of window tinting, expanding your service offerings can significantly boost your income and attract a wider range of customers. Many successful tint businesses don’t rely solely on car window tint. Instead, they offer a variety of specialty services that use similar tinting tools but cater to different markets.
Some of the most profitable specialty services include:
- Headlight tint
- Car windscreen tint
- Decorative window film
- Commercial window tinting
- Security window film installations
Adding these services allows your professional tint setup to serve customers beyond basic automotive tint jobs. For example, someone visiting your shop for a car tint might also want a headlight tint to give their vehicle a more aggressive look.
Businesses and homeowners also frequently request privacy and decorative films. Offices use one way glass window film for conference rooms, while retail stores use decorative films for branding or window displays.
Offering multiple services makes your tint shop more versatile and positions you as a complete tinting solution provider rather than just a basic installer.
Headlight Tint and Car Windscreen Tint
Among the most popular specialty services in automotive tinting are headlight tint and car windscreen tint. These upgrades are especially popular among car enthusiasts who want their vehicles to stand out visually while still maintaining practical functionality.
Headlight tint involves applying a transparent or lightly smoked film over the vehicle’s headlights. Unlike traditional automotive window tint, headlight films are designed to allow enough light to pass through while slightly darkening the appearance of the lights.
Car enthusiasts often choose headlight tint because it creates a sleek, aggressive look, especially on sports cars or luxury vehicles. It can also provide a small amount of protection against scratches, road debris, and UV damage.
The installation process is similar to window tinting but requires more precision because headlights have complex shapes and curves. Installers typically use heat guns, squeegees, and small application cards to stretch the film smoothly across the headlight surface.
Car windscreen tint, on the other hand, is more regulated due to safety and visibility laws. Many regions only allow a tinted strip across the top portion of the windshield, often called a sun visor strip. This strip helps reduce glare from sunlight while maintaining clear visibility for the driver.
Because of these regulations, professional installers must understand local tint laws before offering windscreen tint services.
Both services are relatively quick to perform compared to full vehicle tinting, which means they can become profitable add-ons for your window tinting business.
Many tint installers eventually expand into paint protection services, where specialised PPF tools are required to handle thicker films and painted vehicle surfaces.
Home Window Tinting and Decorative Films
Expanding your services into home window tinting can transform a small tinting operation into a highly profitable business. While many installers initially focus on auto window tinting, residential and commercial projects often provide larger contracts and recurring work. Homeowners today are actively searching for solutions that reduce heat, improve privacy, and protect interior furnishings, which makes house window tint and window film tint home installations extremely attractive upgrades.
Residential window film serves several practical purposes. One of the most common is solar control, which reduces the amount of heat entering a home through glass surfaces. Large windows may look beautiful, but they also act like magnifying glasses that allow sunlight to heat interior spaces. Installing house window film can block a significant portion of this solar radiation, helping homeowners keep their homes cooler during summer months.
Another benefit is UV protection. Ultraviolet rays are responsible for fading furniture, carpets, and artwork. Quality home window tinting can block up to 99% of harmful UV rays, extending the lifespan of interior décor. For homeowners who have invested in expensive flooring or furniture, this protection alone can justify installing window film.
Privacy is another key reason homeowners seek window film tint home solutions. Films like one way glass window film create a reflective outer surface that prevents outsiders from seeing inside during daylight hours. This makes them especially useful for street-facing homes, apartments, and office buildings.
Decorative films are also becoming a popular design feature. Instead of plain transparent glass, homeowners and businesses can choose frosted, patterned, or etched films that mimic the appearance of expensive custom glass. Decorative house window film is commonly used for:
- Bathroom windows
- Office partitions
- Glass doors
- Conference rooms
- Storefront branding
From a business perspective, residential tinting projects often involve large glass surfaces, meaning a single job may require significantly more film than a standard car window tint installation. This can lead to higher profit margins per project.
Installing residential tint also uses many of the same window tint tools as automotive work, including window tint squeegees, spray bottles, and precision cutting knives. However, installers often use larger squeegees and longer film sheets to accommodate big windows.
Adding home window tinting to your service list allows your tint business to operate year-round while serving a broader customer base. Someone who originally found you while searching “vehicle tint near me” could eventually become a repeat customer for their home or office window film needs.
Cost of Starting a Professional Tint Setup
One of the biggest advantages of starting a window tinting business is its relatively low startup cost compared to other automotive industries. Opening a full mechanic shop or body repair facility can require hundreds of thousands of dollars in equipment. In contrast, building a professional tint setup can often be done for a fraction of that amount while still producing strong profits.
The total cost depends on several factors, including whether you start from a home garage, a mobile setup, or a commercial shop. Many successful installers begin with a basic car tinting kit and gradually expand their workspace as their customer base grows.
The primary expenses usually fall into three categories:
- Tinting tools and equipment
- Window film inventory
- Workspace setup
High-quality window tinting tools are essential for producing professional results. While cheaper tools exist, investing in durable equipment helps prevent installation mistakes and improves efficiency.
Film inventory is another major expense. Professional installers often carry multiple types of automotive window tint, including dyed, carbon, and ceramic films. Residential installers also stock house window film, decorative films, and one way glass window film.
Your workspace may require lighting upgrades, dust control systems, and storage areas for film rolls. Even small improvements like bright LED lighting can dramatically improve installation accuracy.
Despite these costs, many tint professionals report recovering their initial investment within a few months thanks to steady demand for car tint and home window tinting services.
Budget Breakdown for Tools and Materials
Understanding the cost of essential equipment can help you plan your professional tint setup more effectively. Below is a realistic breakdown of typical startup expenses for someone entering the window tinting industry.
| Item Estimated | Estimated Cost |
|---|---|
| Basic car tinting kit | $150 – $300 |
| Professional heat gun | $80 – $200 |
| Window tint squeegees and application cards | $50 – $150 |
| Precision knives and blades | $20 – $60 |
| Spray bottles and cleaning supplies | $20 – $50 |
| Initial window film inventory | $500 – $1,500 |
| LED shop lighting | $200 – $600 |
| Work tables and storage | $200 – $800 |
A minimal startup kit could cost around $1,000 to $2,000, which is surprisingly affordable compared to many automotive businesses. However, a more polished professional tint shop setup might require $5,000 to $15,000, especially if you invest in premium film brands and a dedicated workspace.
Another ongoing cost to consider is film replenishment. Once your business gains traction, you’ll regularly restock popular films such as automotive tint, carbon film, and ceramic window tint.
The good news is that the profit margins on tint installations are often very strong. A typical car window tint job can range from $150 to $600, depending on the film type and vehicle size. Premium ceramic installations may exceed $800 per vehicle.
Residential projects can be even more profitable. Large homes installing house window tint may spend anywhere from $1,000 to $5,000, depending on window size and film type.
With the right marketing strategy and quality workmanship, many tint professionals turn a modest startup investment into a highly profitable business within their first year.
Common Mistakes Beginners Make in Window Tinting
Every industry has a learning curve, and window tinting is no exception. Beginners often make mistakes that affect the final appearance of the film or reduce its durability. Understanding these common errors can help new installers avoid costly problems while improving their skills more quickly.
One frequent mistake is poor surface preparation. If the glass isn’t cleaned thoroughly before applying tinting windows film, dirt particles can become trapped beneath the film. These imperfections appear as bubbles or bumps once the film dries.
Another common issue is using low-quality tools. Cheap window tint squeegees, dull blades, or weak spray bottles make the installation process more difficult and less precise.
Incorrect heat shrinking is another challenge, especially when installing automotive window tint on curved glass surfaces. Applying too much heat can damage the film, while too little heat prevents it from conforming properly to the window shape.
Beginners also sometimes rush the installation process. Professional installers understand that patience and precision are essential for achieving a flawless finish.
Learning from these mistakes and practising regularly helps new tint installers develop the skills necessary to produce pro tint results consistently.
Businesses offering vinyl graphics or wraps often rely on vehicle wrapping tools that support larger film installations and complex vehicle surfaces.
FAQs
How much does it cost to start a window tinting business?
Starting a small window tinting business can cost between $1,000 and $5,000 for basic tools and film inventory. A full professional shop setup may cost $10,000 or more, depending on equipment and workspace upgrades.
What are the most important window tinting tools?
Essential window tint tools include a window tint squeegee, heat gun, spray bottles, precision cutting knives, application cards, microfiber towels, and glass scrapers.
How long does a car window tint last?
High-quality automotive window tint, especially ceramic or carbon films, can last 10 to 15 years when installed properly.
Can window tint reduce heat inside a car or home?
Yes. Quality window film can block up to 60–80% of solar heat and 99% of harmful UV rays, helping keep interiors cooler and protecting furniture or car interiors from fading.
Is home window tinting worth it?
Absolutely. Home window tinting improves privacy, reduces glare, lowers energy costs, and protects interior furnishings from UV damage.
Conclusion: Turning Your Tint Setup into a Profitable Business
Building a professional tint setup from scratch is one of the most accessible ways to enter the automotive and home improvement industries. With the right combination of window tinting tools, high-quality window film, and a clean workspace, anyone willing to learn the craft can start offering professional tint services.
From car window tint and auto window tinting to house window film and one way glass window film, the demand for tinting services continues to grow every year. Drivers want cooler, more private vehicles, and homeowners want energy-efficient solutions that protect their interiors.
The key to success lies in mastering the fundamentals, preparation, proper tool usage, and precise installation techniques. When these elements come together, your tint work becomes more than just functional; it becomes a craft that customers recognise and trust.
With consistent practice, strong customer service, and smart local marketing, your professional tint setup can evolve into a thriving business that serves both automotive and residential clients.
Are you unsure which tool or kit is right for your job?
Our expert team at Oz Sign Supplies is here to help. Reach out today, and we’ll direct you to the best tools to suit your project, ensuring you get the job done right the first time.
Leave a comment
This site is protected by hCaptcha and the hCaptcha Privacy Policy and Terms of Service apply.