

Car Tinting Kits vs. Professional Services: Which is Right for You?
The Essential Tools You Need for DIY Car Window Tinting
Car window tinting isn’t just about giving your ride a sleek, mysterious look; it’s also about protecting yourself and your vehicle. A good tint reduces glare, blocks harmful UV rays, keeps your car cooler, and even adds a layer of privacy. But here’s the big question: should you invest in a car tinting kit and do it yourself, or should you pay for professional installation?
Choosing between DIY car tinting tools and professional services can be a tricky decision. On one hand, doing it yourself saves money and gives you the satisfaction of personalising your car. On the other hand, professionals offer flawless results backed by experience and warranties. If you’ve ever stared at a perfect tint job and wondered, “Could I do that myself?”, you’re not alone.
In this guide, we’ll break down everything you need to know, from the essential window tinting tools you’ll need for a perfect DIY finish to understanding when it’s best to call in the pros. By the end, you’ll have a clear idea of which route, DIY or professional, is right for your car, your budget, and your skill level.
Understanding Car Window Tinting

Before you decide whether to grab a car tinting kit or book an appointment with a pro, it’s important to understand what window tinting really involves. Simply put, tinting is the process of applying a thin laminate film to your vehicle’s windows. This film can range in shade and material, offering varying levels of privacy, heat rejection, and UV protection.
There are several types of window tint films available, including dyed, metalised, carbon, and ceramic tints. Dyed tint is the most affordable option, often found in beginner-friendly tint window tools kits. It provides decent privacy but has a shorter lifespan. Metalised and carbon films offer better heat reduction, while ceramic tint provides top-tier UV protection and clarity. Although ceramic tint is more expensive, its durability makes it a favourite among professionals and car enthusiasts alike.
Tinting isn’t just about looks; it’s about comfort and longevity. Proper tinting blocks up to 99% of harmful UV rays, preventing your car’s interior from fading and cracking. It also keeps the cabin temperature cooler, reducing the load on your air conditioning system. And of course, there’s the added privacy and safety aspect: tinted windows make it harder for prying eyes to see inside your vehicle.
However, not all tinting jobs are equal. A poorly applied film can bubble, peel, or even turn purple over time. That’s where using the right window tinting tools or hiring a professional becomes crucial. Whether you go DIY or professional, understanding how tinting works will help you make a more informed decision about what’s best for your car.
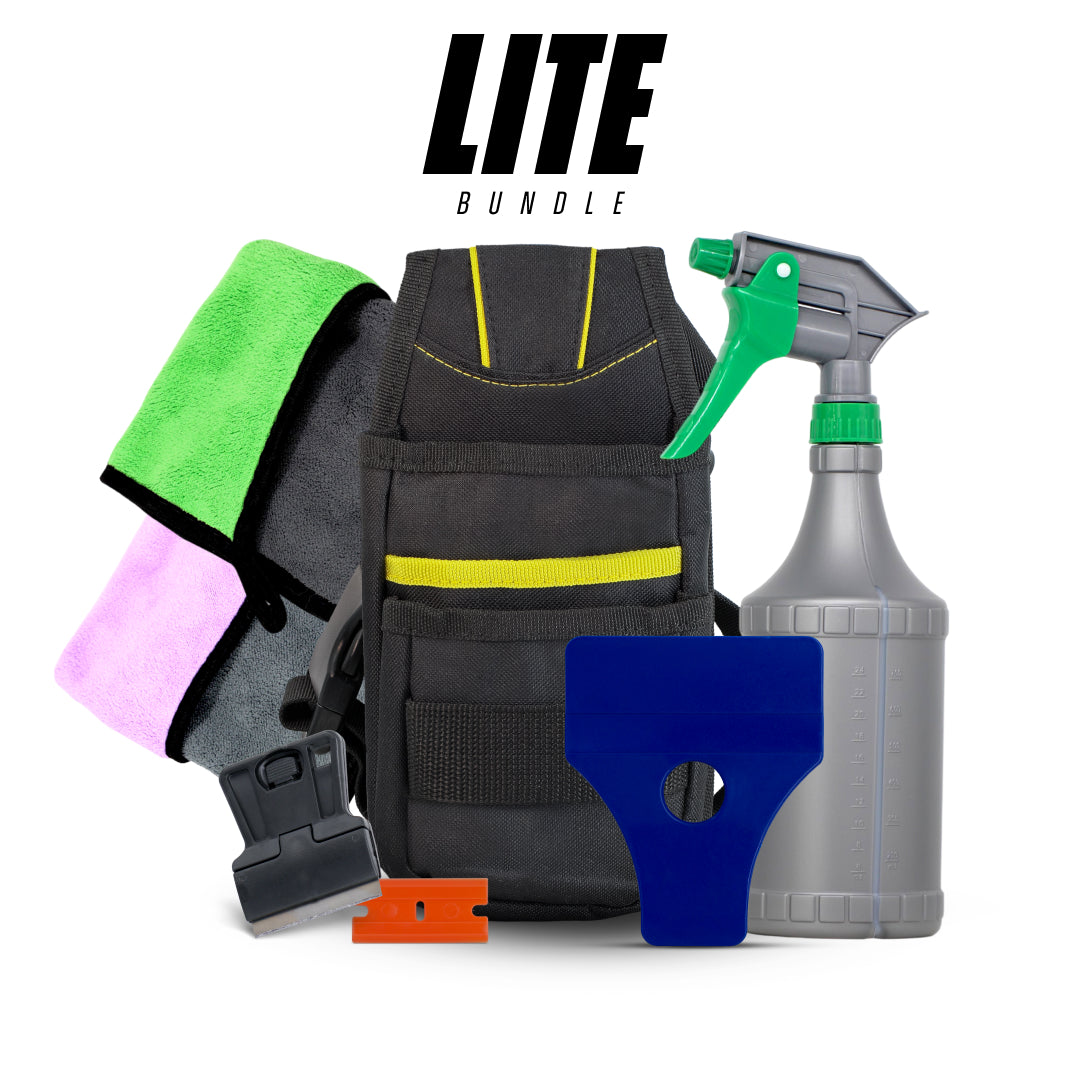
If you’re planning to tint your windows yourself, having the right window tint tools is essential for achieving a smooth, professional-looking finish →
DIY Car Tinting Kits: An Overview
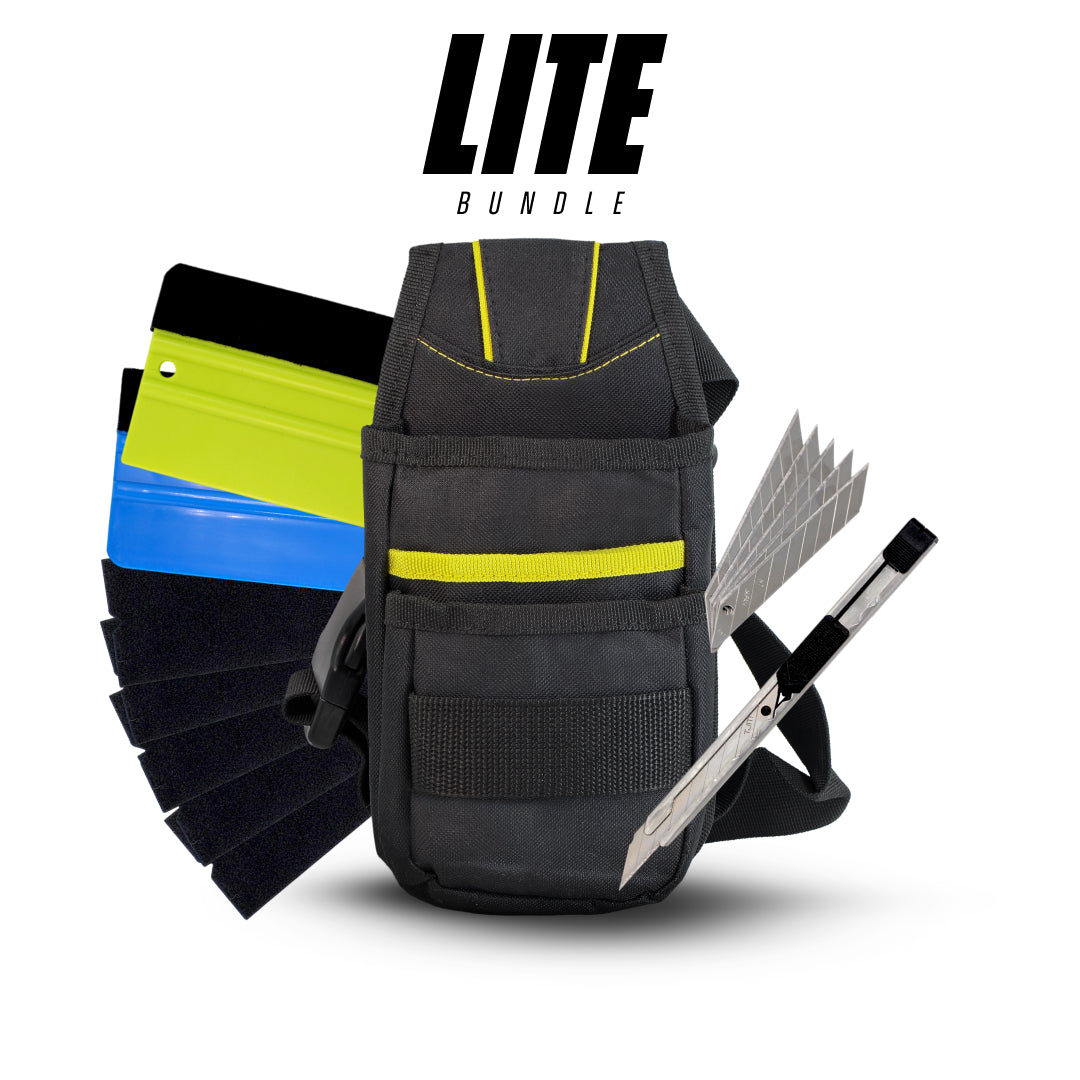
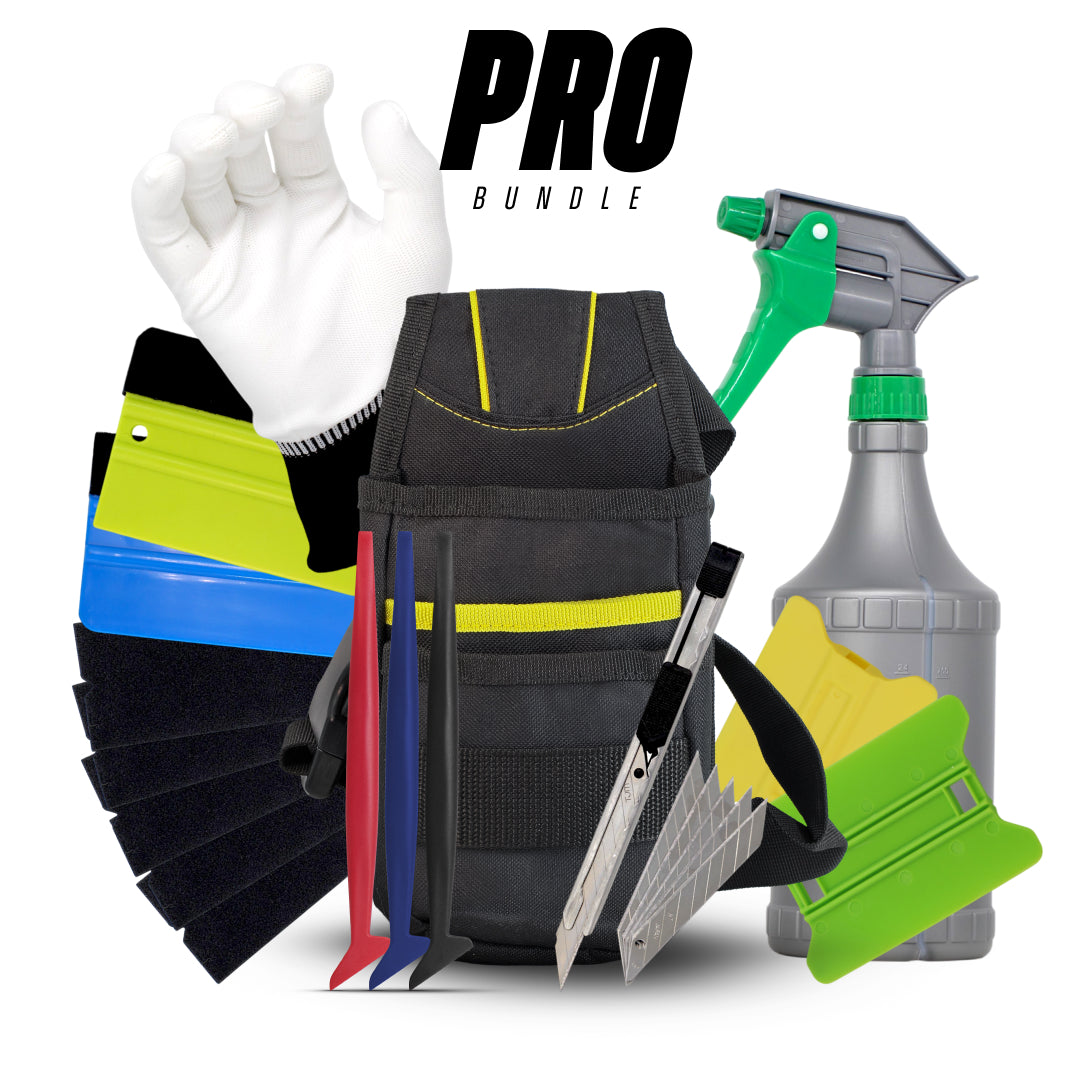
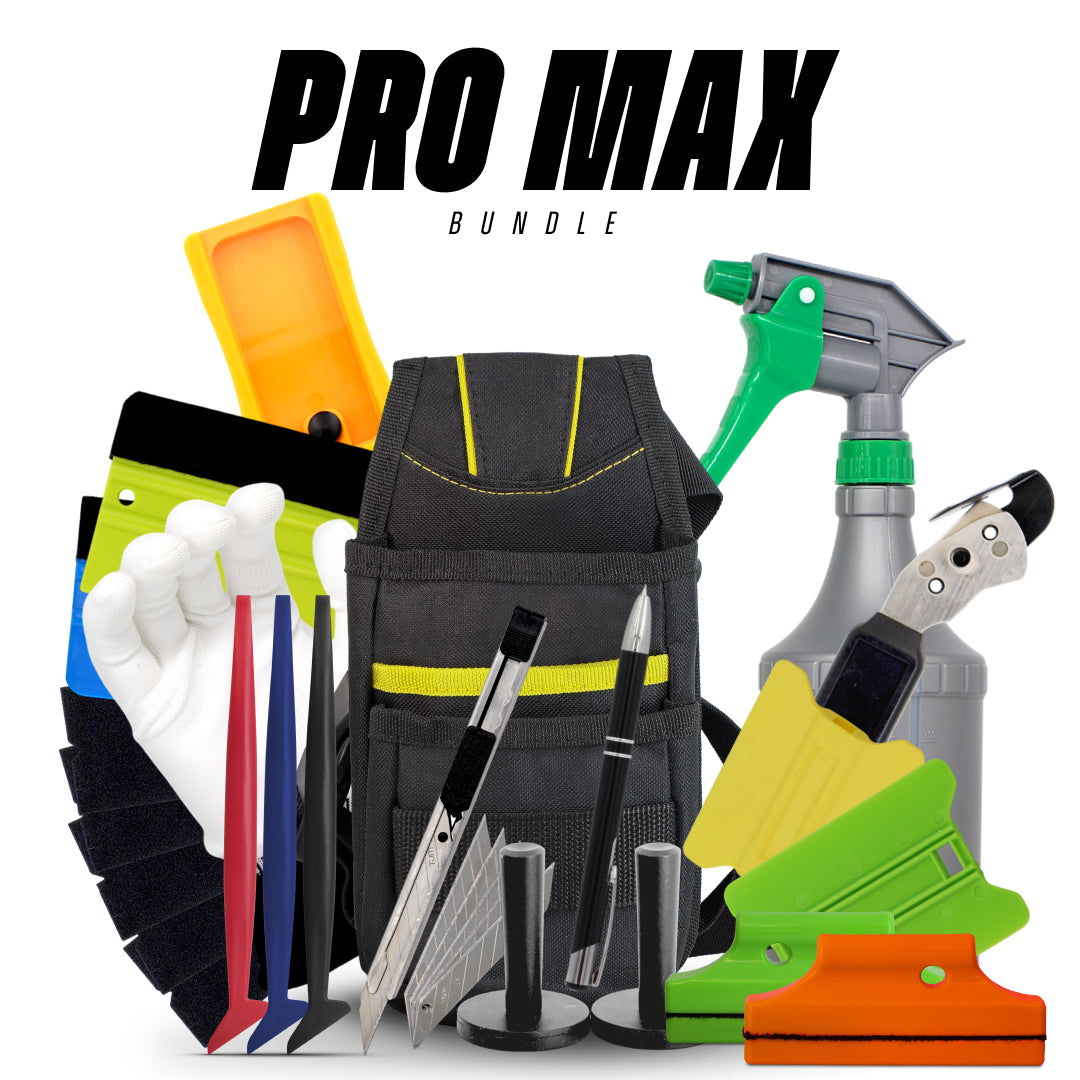
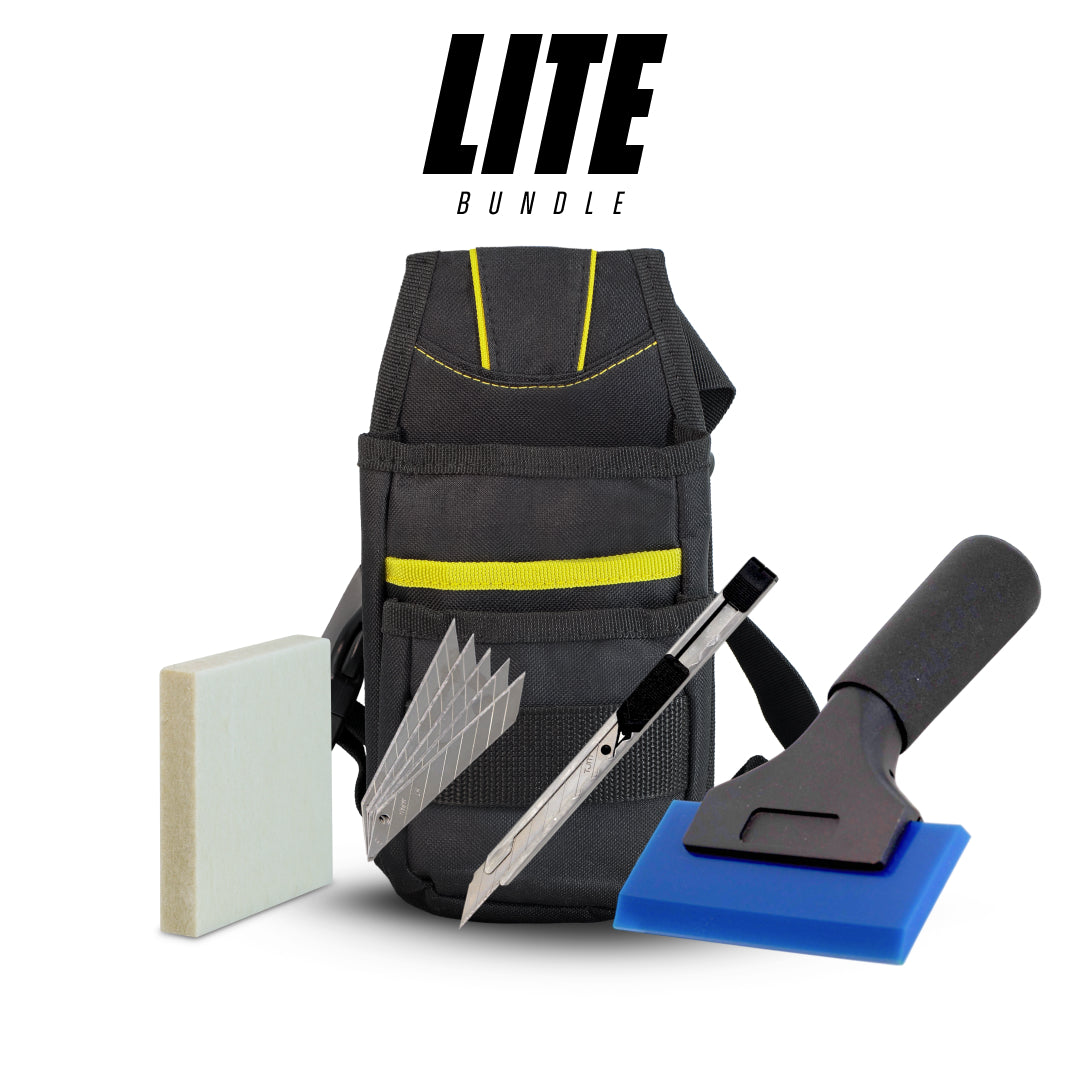
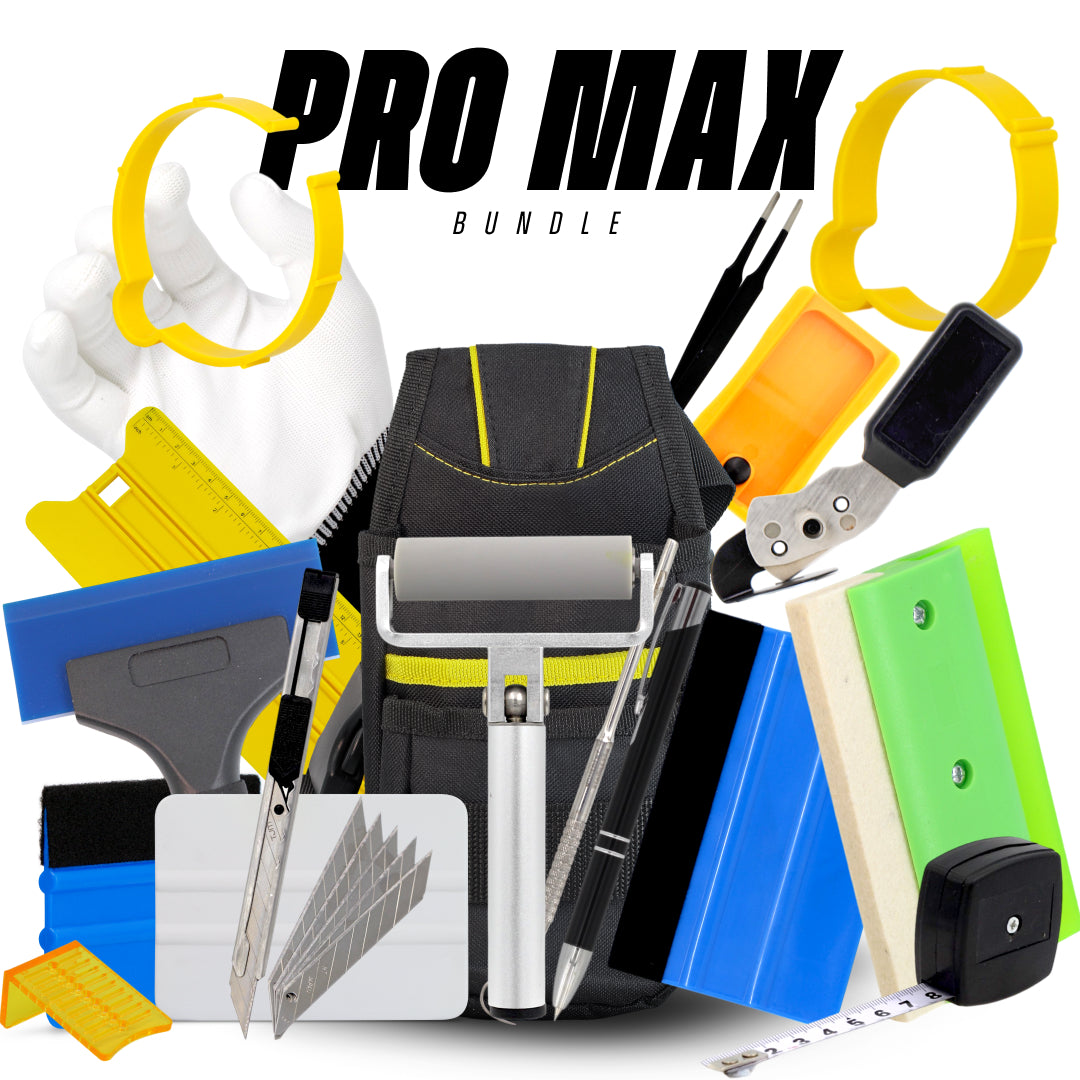
DIY car tinting has become increasingly popular, thanks to the availability of complete car tinting kits online. These kits typically include pre-cut tint films designed to fit specific car models, along with essential tinting tools like a squeegee, knife, and spray bottle. Some advanced kits also provide a heat gun and edge trimmer for better precision.
One of the biggest advantages of a DIY kit is affordability. Professional tinting can cost anywhere between $200 to $800, depending on the car size and tint type, while a good DIY kit usually ranges from $30 to $100. That’s a significant saving if you’re willing to put in the time and effort.
The convenience factor is another plus. With a window tint kit, you can tint your car anytime and anywhere, no appointments, no waiting. Plus, there’s a sense of satisfaction that comes with doing the job yourself. You control the process, choose the shade you want, and learn valuable hands-on skills.
However, there’s a catch. DIY kits require patience, precision, and practice. Without the right window tint tools, it’s easy to end up with creases, dust bubbles, or uneven cuts. That’s why investing in quality tint tools is key to achieving a professional-grade finish. The better your tools, the smoother your tint job will look.
So, if you’re a beginner eager to take on a new challenge, a DIY car tinting kit can be a rewarding option, as long as you’re prepared to follow the process carefully and have the right set of tools in hand.
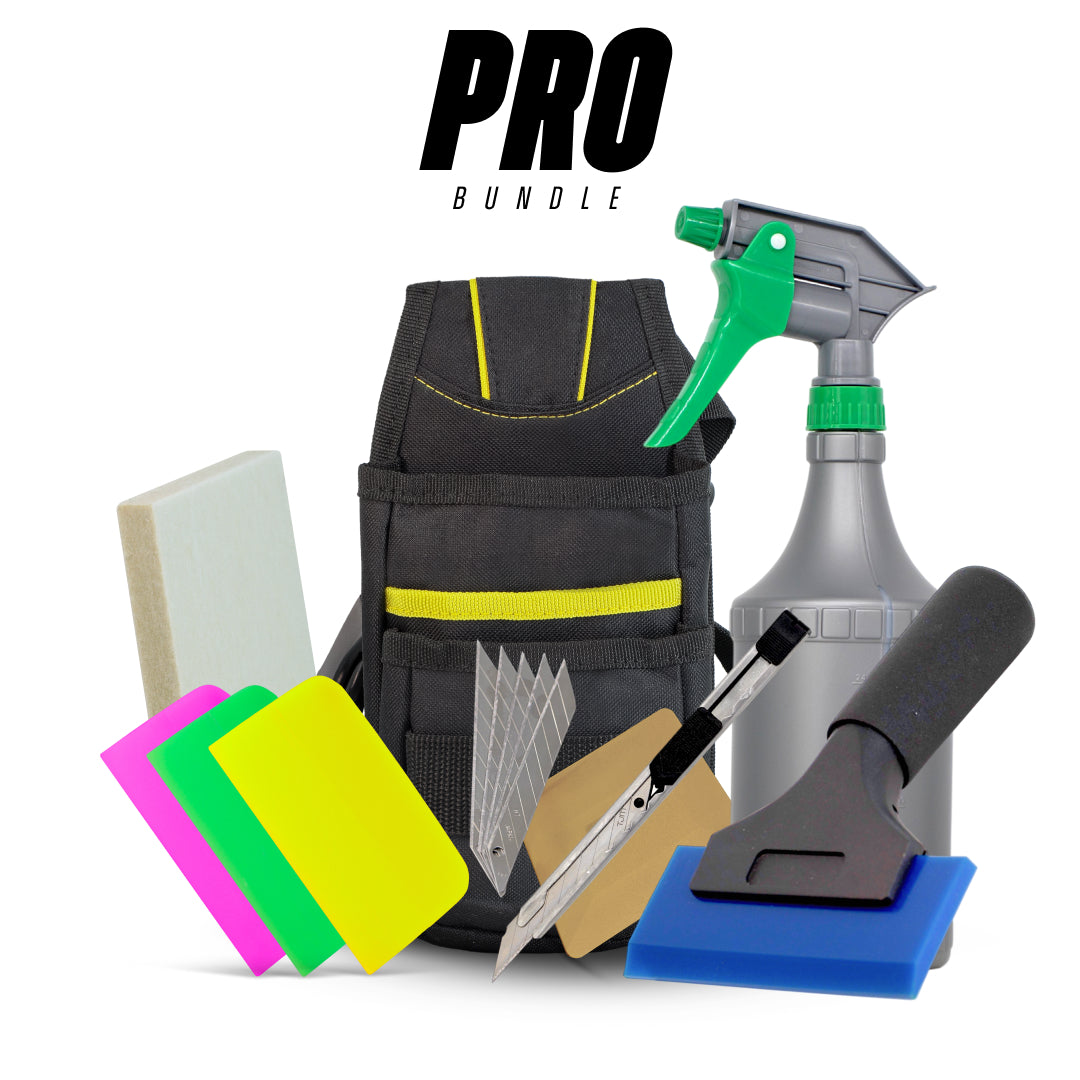
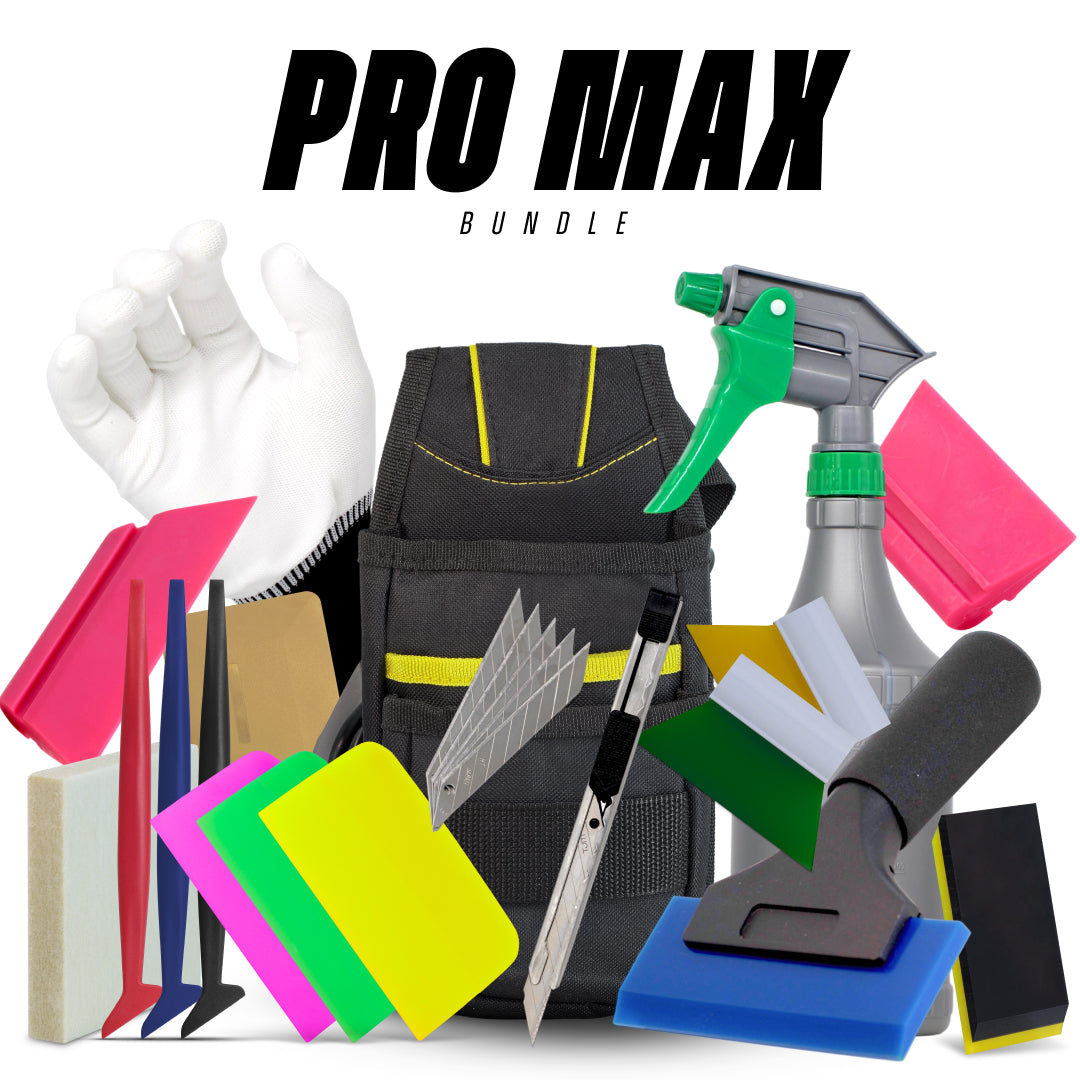
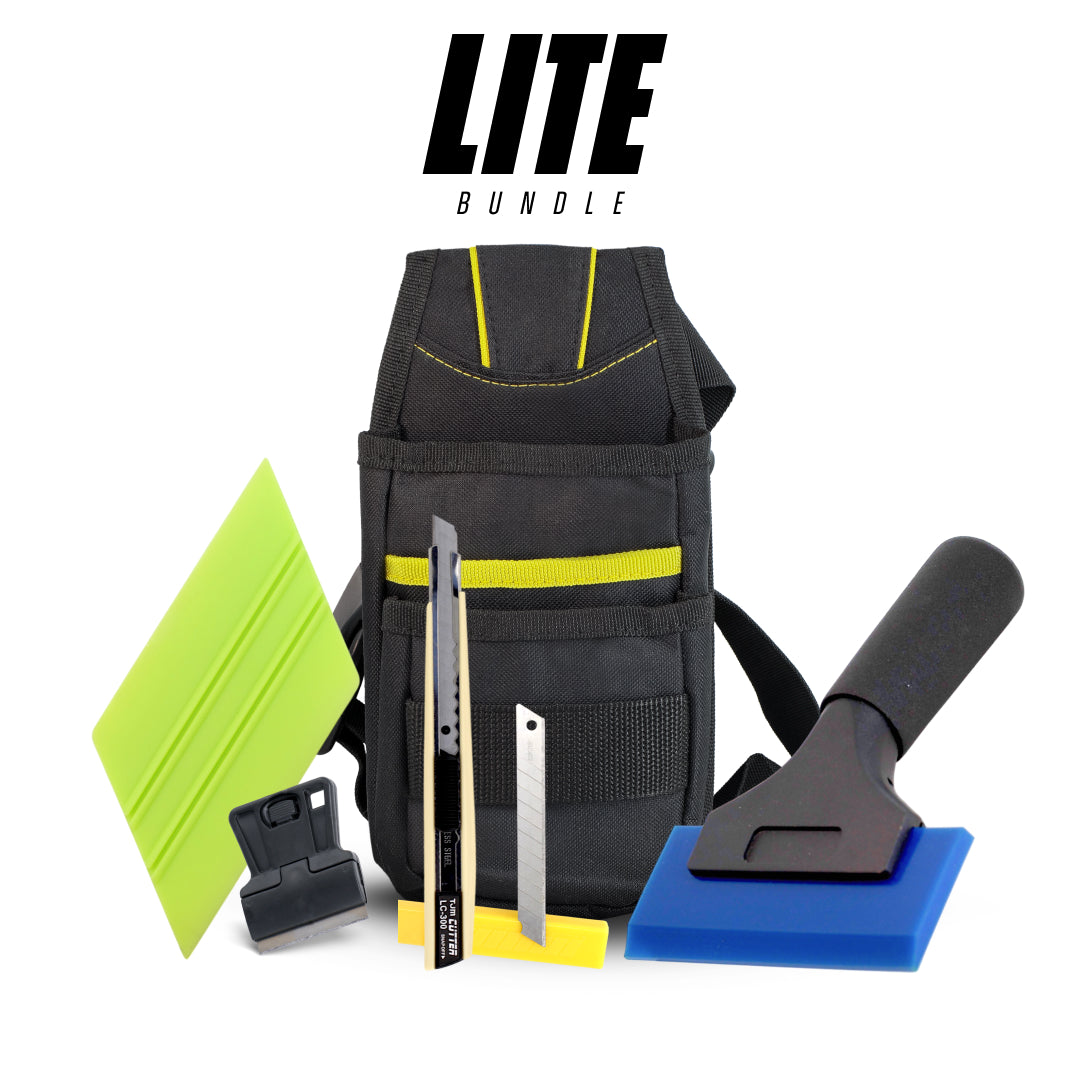
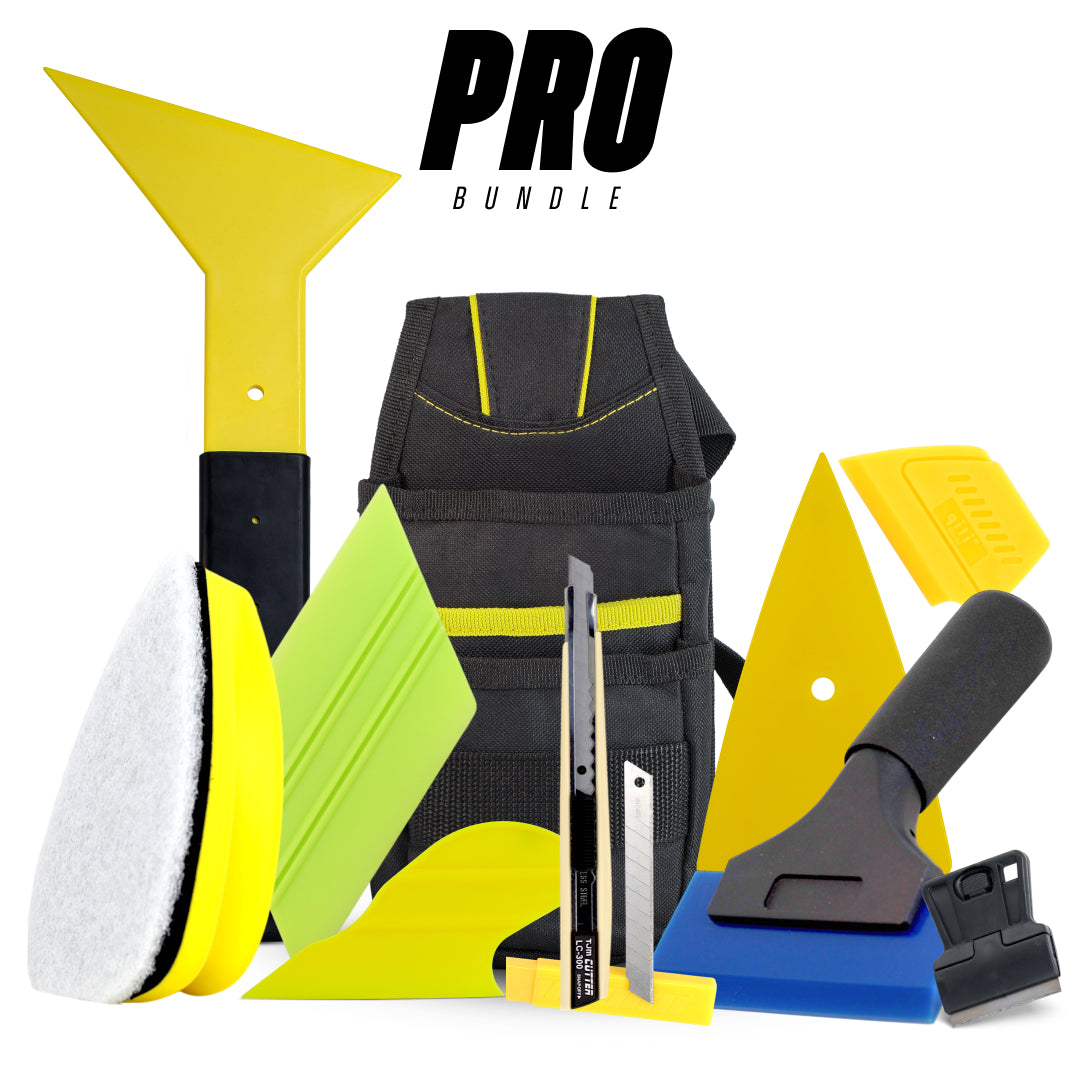
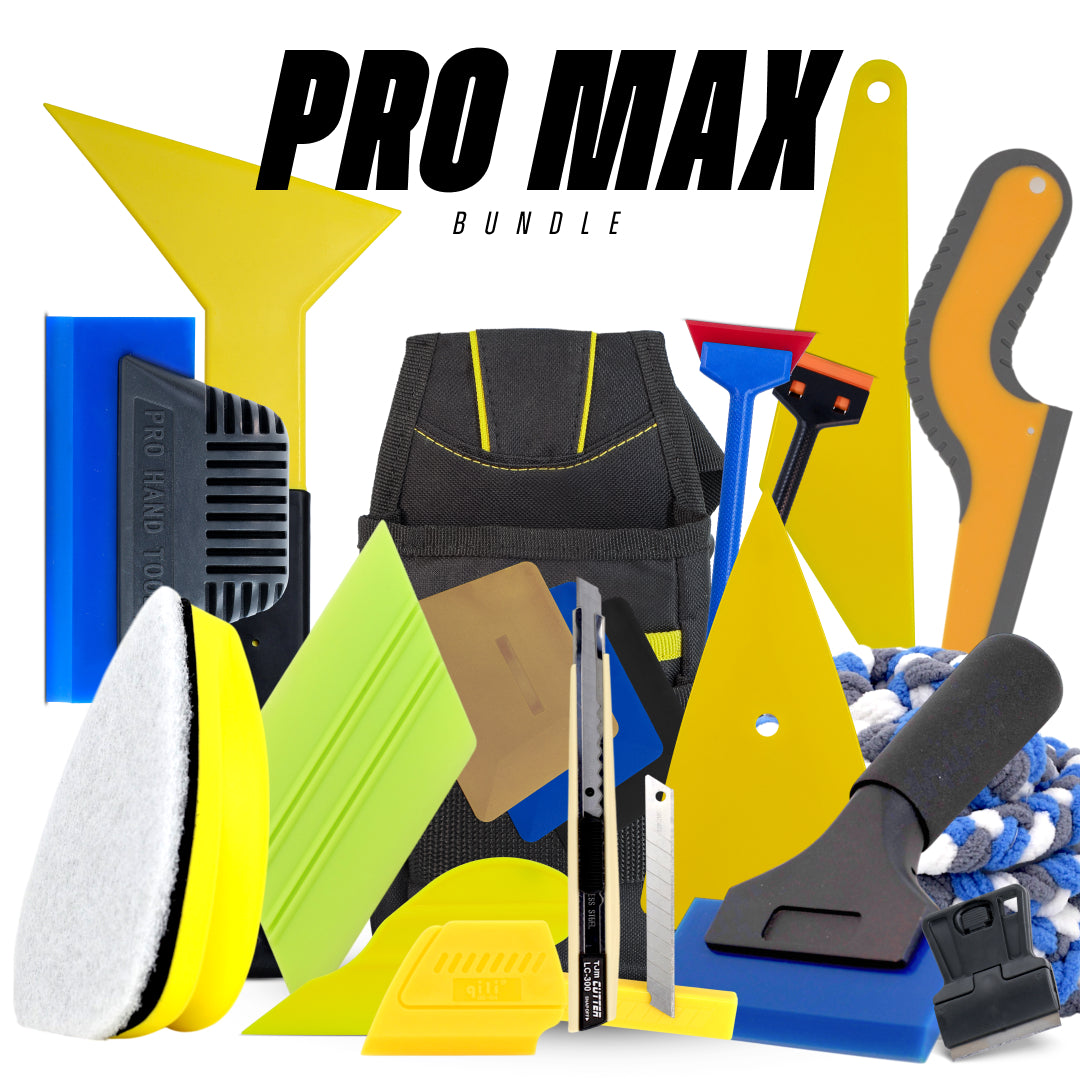
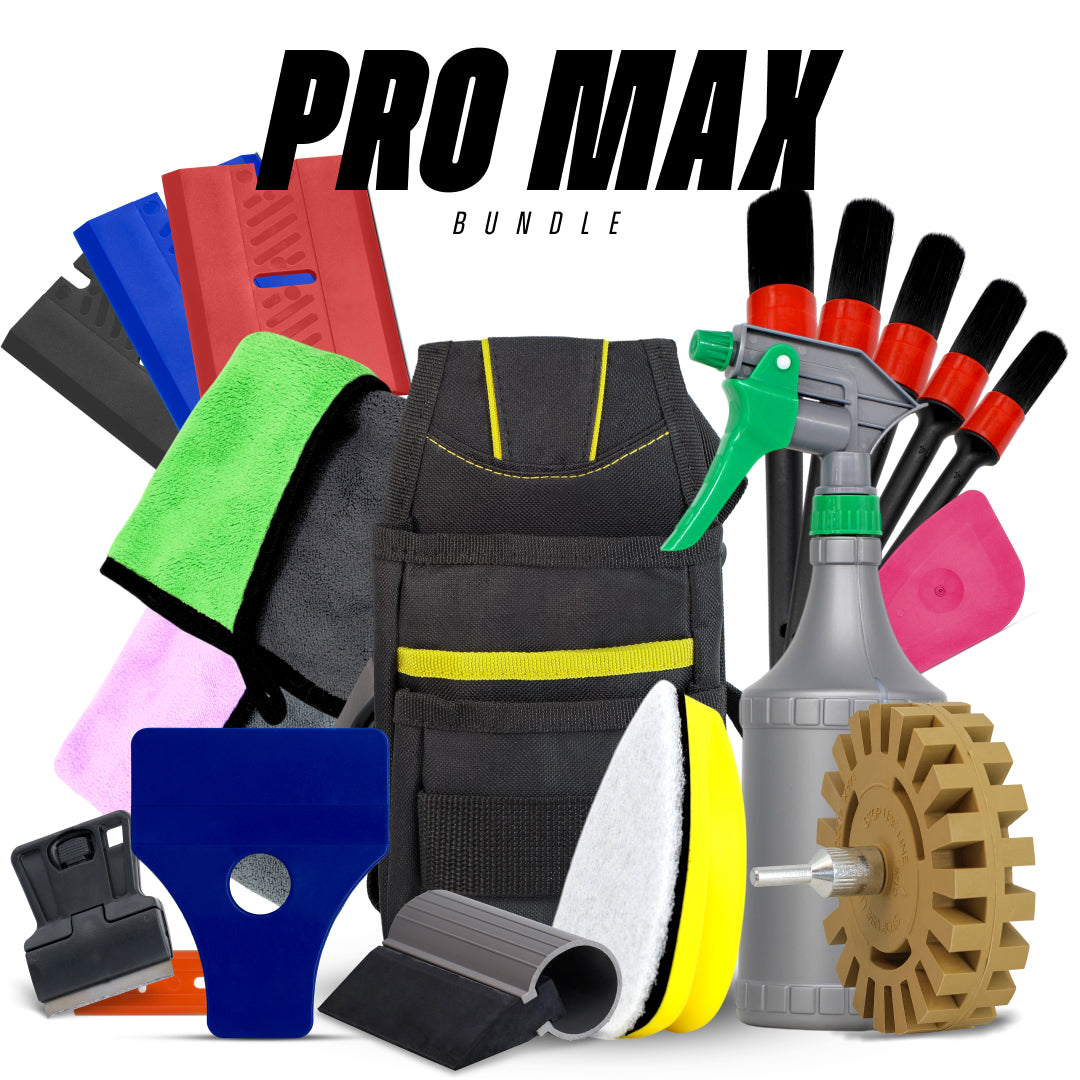
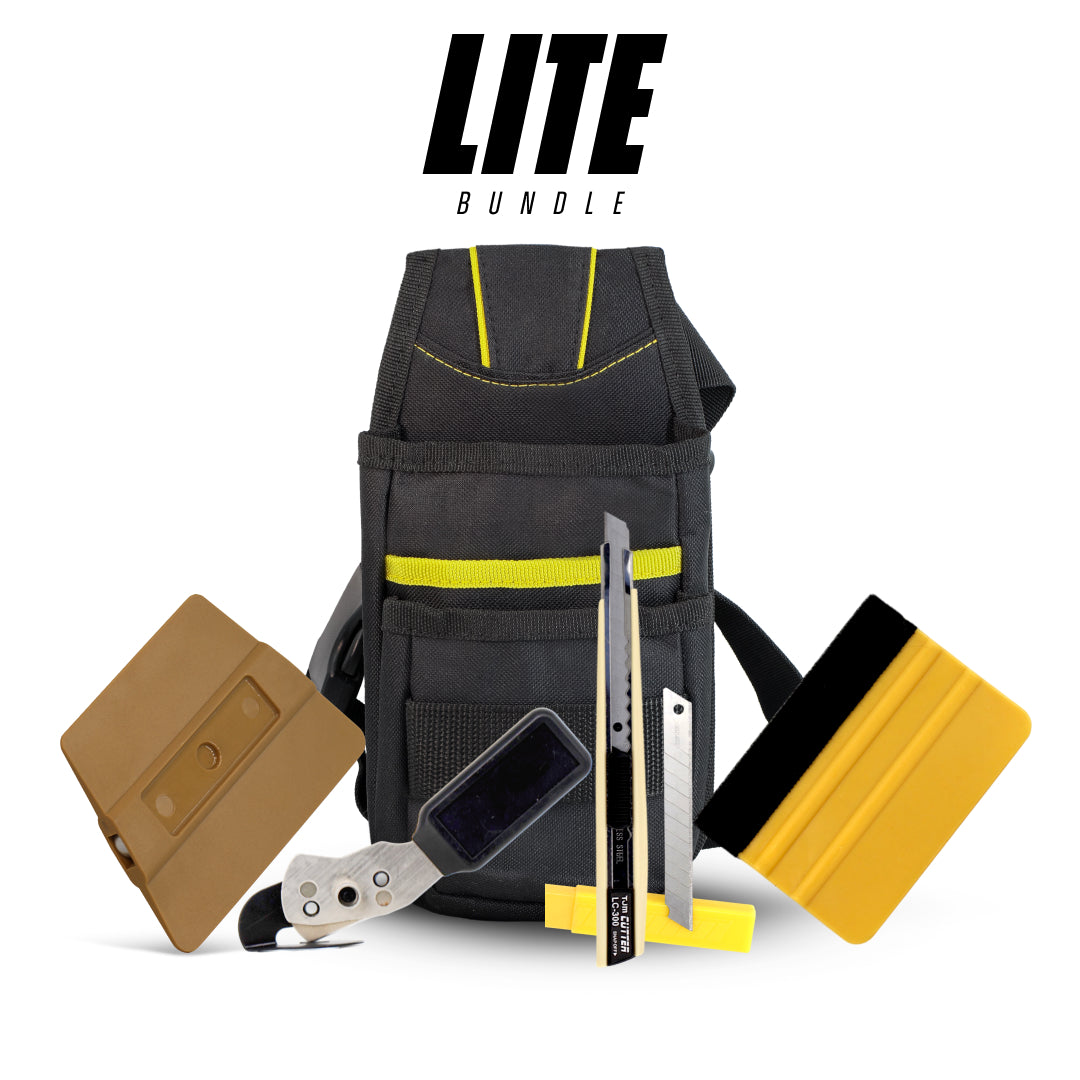
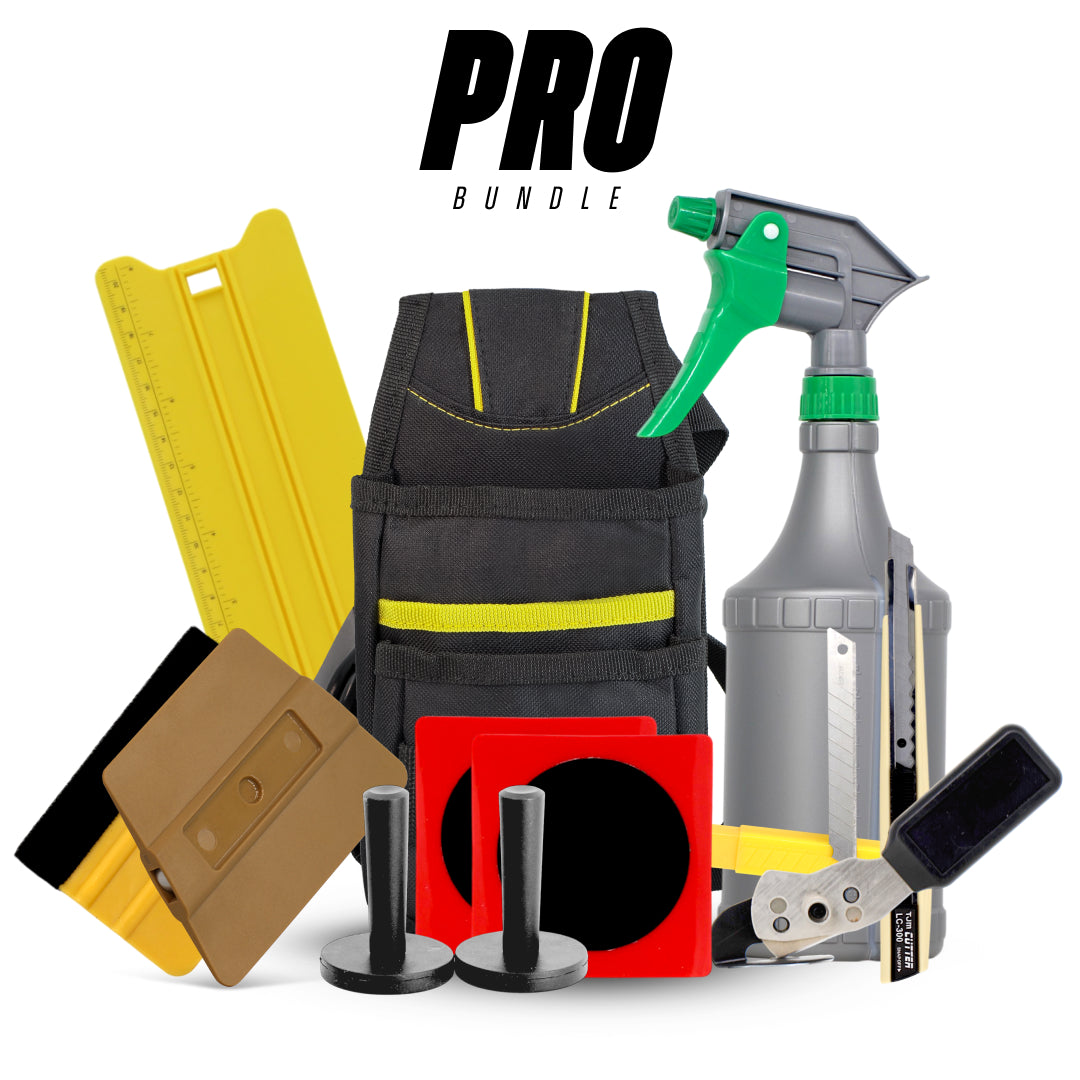
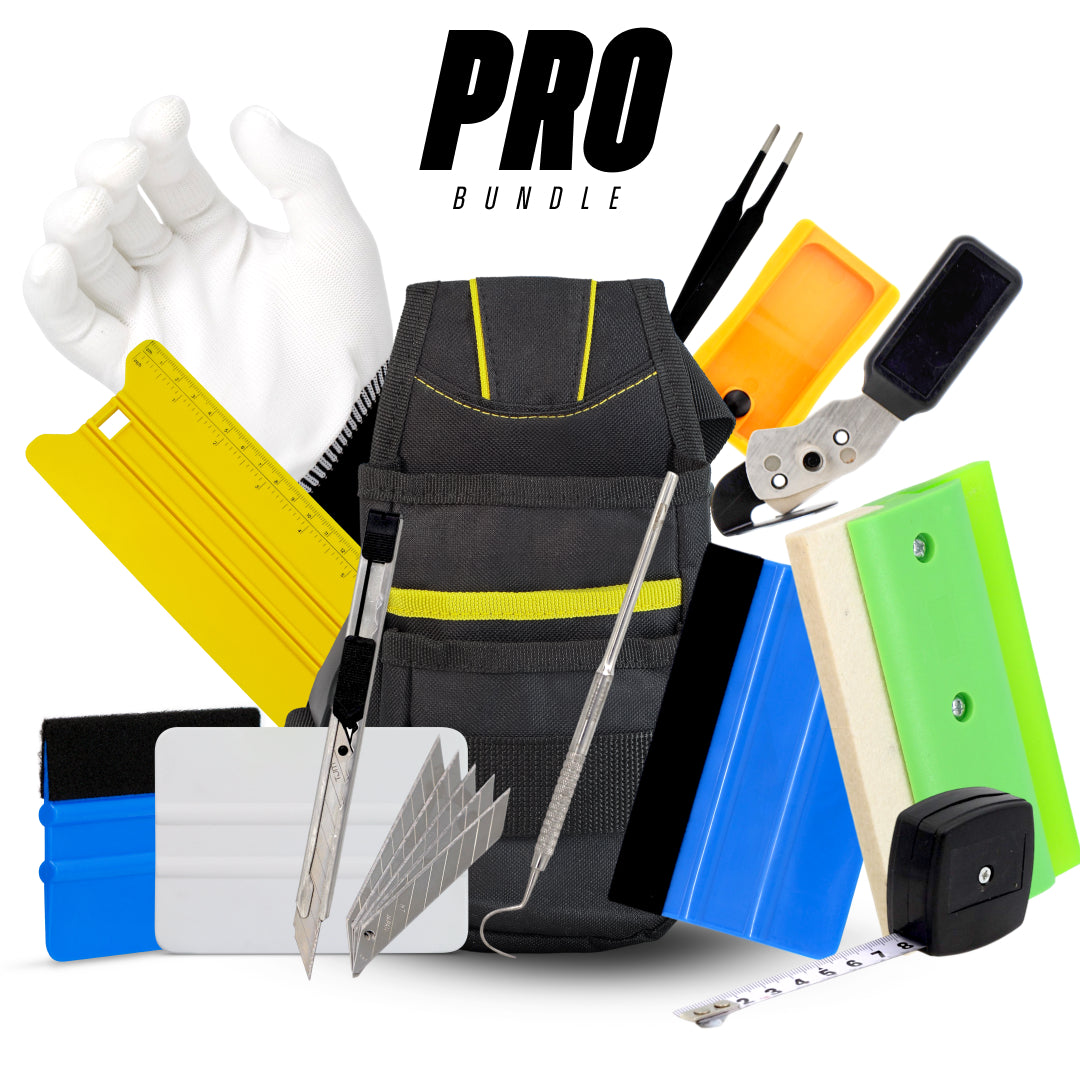
For beginners who want everything in one pack, our complete tinting tool kits offer all the essentials needed for a DIY tinting project →
The Essential Tools You Need for DIY Car Window Tinting
If you’re serious about DIY tinting, having the right tools for tinting windows can make or break your project. While most car tinting kits include a few basics, it’s worth knowing exactly what each tool does and why it matters.
Here’s a rundown of the must-have window tinting tools for beginners and pros alike:
Window Tint Squeegee: This is your best friend for removing air bubbles and smoothing out the tint film. A professional-grade squeegee for window tint ensures a flawless, streak-free finish.
Utility Knife or Precision Blade: Used for cutting and trimming the film to fit your car’s window shape perfectly.
Heat Gun: Helps the film conform to curved glass surfaces and improves adhesion.
Spray Bottle with Soap Solution: Keeps the tint film moist and manageable during installation.
Microfiber Cloth: For cleaning windows before application, dust or lint can ruin your tint.
Hard Card or Edge Tool: Helps push out trapped water or air near window edges.
Each of these tinting tools plays a vital role in ensuring your tint looks professional and lasts long. For instance, a cheap or worn-out window tint squeegee can scratch or tear your film. Similarly, using dull blades may result in jagged edges or misaligned cuts.
Quality tools don’t just make the process easier; they improve the result. Investing in a complete window tinting tool set ensures you have everything you need for smooth application, even on tricky surfaces.
To avoid bubbles and creases during installation, make sure you’re using high-quality tint squeegees suited for automotive window films →
Top 10 Must-Have Window Tinting Tools for a Flawless Finish

When it comes to getting that perfect, professional-grade finish on your car windows, the right window tint tools are non-negotiable. Even if you’ve got the best tint film, without proper tools, the results can be frustrating; bubbles, creases, or peeling edges can quickly ruin your hard work. So, here’s a detailed list of the top 10 must-have tools for tinting windows and how to use them effectively.
Window Tint Squeegee
The squeegee for window tint is arguably the most essential tool in your kit. It’s used to smooth the tint film, remove air bubbles, and push out excess water. Opt for a squeegee with a soft rubber edge for even pressure without scratching. Professionals recommend using a smaller squeegee for curved areas and a larger one for flat windows.
Precision Knife (Utility Blade)
A sharp utility knife ensures clean cuts and precise trimming around the window edges. Always replace dull blades frequently; clean cuts help prevent the film from tearing or peeling prematurely.
Whether you choose a kit or hire a professional, precise trimming is crucial, which is why many installers rely on sharp knives and blades for accurate cuts →
Heat Gun
Heat is crucial for shrinking the film to match the window’s curvature. A heat gun lets you gently warm and mould the tint for a tight, bubble-free finish. Remember, too much heat can warp the film, so control the temperature carefully.
Spray Bottle (Soapy Solution)
A mix of water and a few drops of baby shampoo or dish soap acts as a lubricant. It helps you position the tint film easily and prevents it from sticking prematurely. Use a fine-mist spray bottle for even coverage.
Microfiber Towels
Cleanliness is key. Any dust or debris can cause bubbles or imperfections. Use lint-free microfiber towels to clean the glass thoroughly before application.
Hard Card / Tint Card
This rigid card is great for pressing out moisture and bubbles near the window’s edges. Wrap it in a soft cloth to prevent scratching the tint film.
Razor Scraper
A razor scraper is used to remove old tint, adhesive, and residue from the glass surface. Always keep the blade flat to avoid scratching the window.
Edge Trimmer Tool
An edge trimmer helps you cut perfect, smooth edges after applying the tint. This tool ensures your tint lines up precisely with your window seals.
Tint Application Paddle
This flexible tool helps you push tint film deep into corners or under window seals where a regular squeegee can’t reach.
Window Film Peeler and Holder
Handling tint film can be tricky. This tool helps you separate the protective liner from the tint film without contaminating the adhesive side.
Having these tinting tools on hand will make your DIY tinting experience smoother, faster, and more enjoyable. Don’t skimp on quality; good tools can be reused for years and will drastically improve your results.
How to Use a Window Tint Squeegee Like a Pro
The window tint squeegee is your secret weapon for achieving a flawless finish. While it might look simple, mastering the right technique separates a clean tint job from a messy one. Here’s how to make the most of it:
Prep the Surface First
Before you even touch the squeegee, make sure your windows are spotless. Use a glass cleaner and a microfiber towel to remove dirt, dust, and oils. Then, spray your soapy solution generously over the glass.
Apply and Position the Film
After spraying the window with the soap solution, carefully place the tint film onto the glass (adhesive side facing the glass). The soapy solution allows you to slide and position the tint correctly before it sticks.
Start from the Centre and Move Outward
Using firm but gentle pressure, move the window tint squeegee from the center of the window toward the edges. This motion pushes out water and air trapped beneath the film, preventing bubbles from forming.
Use Controlled Strokes
Work methodically, avoid rushing. Apply even pressure to ensure consistent contact. Using overlapping strokes helps prevent streaks or uneven patches.
Apply Heat if Needed
For curved windows, use a heat gun lightly while squeegeeing to help the film conform to the shape. Always move the heat gun in motion to avoid overheating one spot.
Check for Imperfections
Inspect the tint for bubbles or creases. If you notice any, lift that section gently, re-spray, and smooth again. A good squeegee will help you fix minor imperfections quickly.
Drying and Finishing
Once the tint is applied, let it dry completely. Don’t roll down your windows for at least 3–5 days. During this time, the adhesive cures, and the film bonds securely to the glass.
Pro tip: Always clean your window tint squeegee after each use. Dirt or debris on its edge can scratch your tint film and ruin your finish.
A high-quality squeegee combined with patience and precision can help you achieve a result that looks just as good as professional work. Once you master this tool, you’ll realise why pros swear by it; it’s the difference between amateur and expert tint jobs.
Tools for Tinting Windows: A Complete Breakdown
When we talk about tools for tinting windows, it’s not just about having a squeegee or a blade; it’s about knowing which tools are for which stage of the job. Let’s break them down by category so you understand their purpose and how to use them efficiently.
1. Cleaning Tools
- Before tinting, the surface must be crystal clear.
- Razor scraper: Removes old film, adhesive, and grime.
- Microfiber towels: Wipe the glass without leaving lint.
- Spray bottle: Distributes your cleaning and soapy solutions evenly.
2. Cutting Tools
- You’ll need precision to match your film to the window’s shape.
- Utility knife or precision blade: Cuts straight, clean lines.
- Edge trimmer: Perfects the final edges after installation.
- Cutting mat: Prevents damage to surfaces while cutting your tint film.
3. Application Tools
- These ensure your tint adheres perfectly without bubbles.
- Window tint squeegee: Removes water and air for a flawless finish.
- Hard card: Reaches tight spots and window corners.
- Heat gun: Helps shrink and mould the film to the window’s curve.
4. Maintenance Tools
- After tinting, proper care extends the film’s life.
- Soft cloths: Used for gentle cleaning.
- Tint-safe cleaner: Prevents fading or damage to the film.
- Tool organiser: Keeps your tinting tools in good condition for reuse.
Each tool plays a specific role in achieving a durable, professional-grade tint. Neglecting even one step, like cleaning thoroughly or trimming neatly, can compromise the finish. The best results always come from preparation, patience, and the right window tinting tools.
Perfect results start with a spotless glass surface, so proper cleaning tools are a must before applying any tint film →
DIY Tinting Mistakes to Avoid: A Guide for Beginners

Even the most careful DIYers can make mistakes when tinting windows for the first time. The good news? Most of these errors are preventable when you know what to look out for. Here are the most common DIY tinting pitfalls and how to avoid them.
1. Not Cleaning Properly Before Tinting
This is the number one reason DIY tints fail. Even specks of dust can cause visible bubbles or uneven patches. Always spend extra time cleaning your windows thoroughly with a razor scraper and microfiber towel. Never rush this step; it’s the foundation for a flawless finish.
2. Using Low-Quality Tools
Cheap tinting tools often lead to poor results. A flimsy squeegee can scratch your film or fail to remove bubbles effectively. Dull knives cause uneven cuts, making your tint look sloppy. Investing in premium window tinting tools ensures smoother application and better long-term results.
3. Applying Film in Dusty or Windy Environments
Tinting outdoors might seem convenient, but even a light breeze can blow dust onto your film. Always work in a clean, enclosed space like a garage or workshop.
4. Not Using Enough Lubrication
The soapy solution is what allows you to position and adjust the film before it sticks. Beginners often use too little, causing the tint to adhere prematurely and trap air. Generously spray both the glass and the film during application.
5. Overheating with a Heat Gun
While heat is necessary to shape the film, too much can damage it. Always keep the heat gun moving and use it sparingly.
6. Rolling Down Windows Too Soon
Patience pays off here. Rolling down tinted windows before the adhesive has cured (about 3–5 days) can ruin your work by causing the edges to peel.
7. Skipping Edge Sealing
After trimming, always check that the edges are fully adhered to the glass. If you see lifting, apply gentle heat and press them down using a window tint squeegee or hard card.
Avoiding these mistakes can mean the difference between a professional-grade finish and a frustrating redo. Remember, window tinting is a skill, practice, and patience are your best tools.
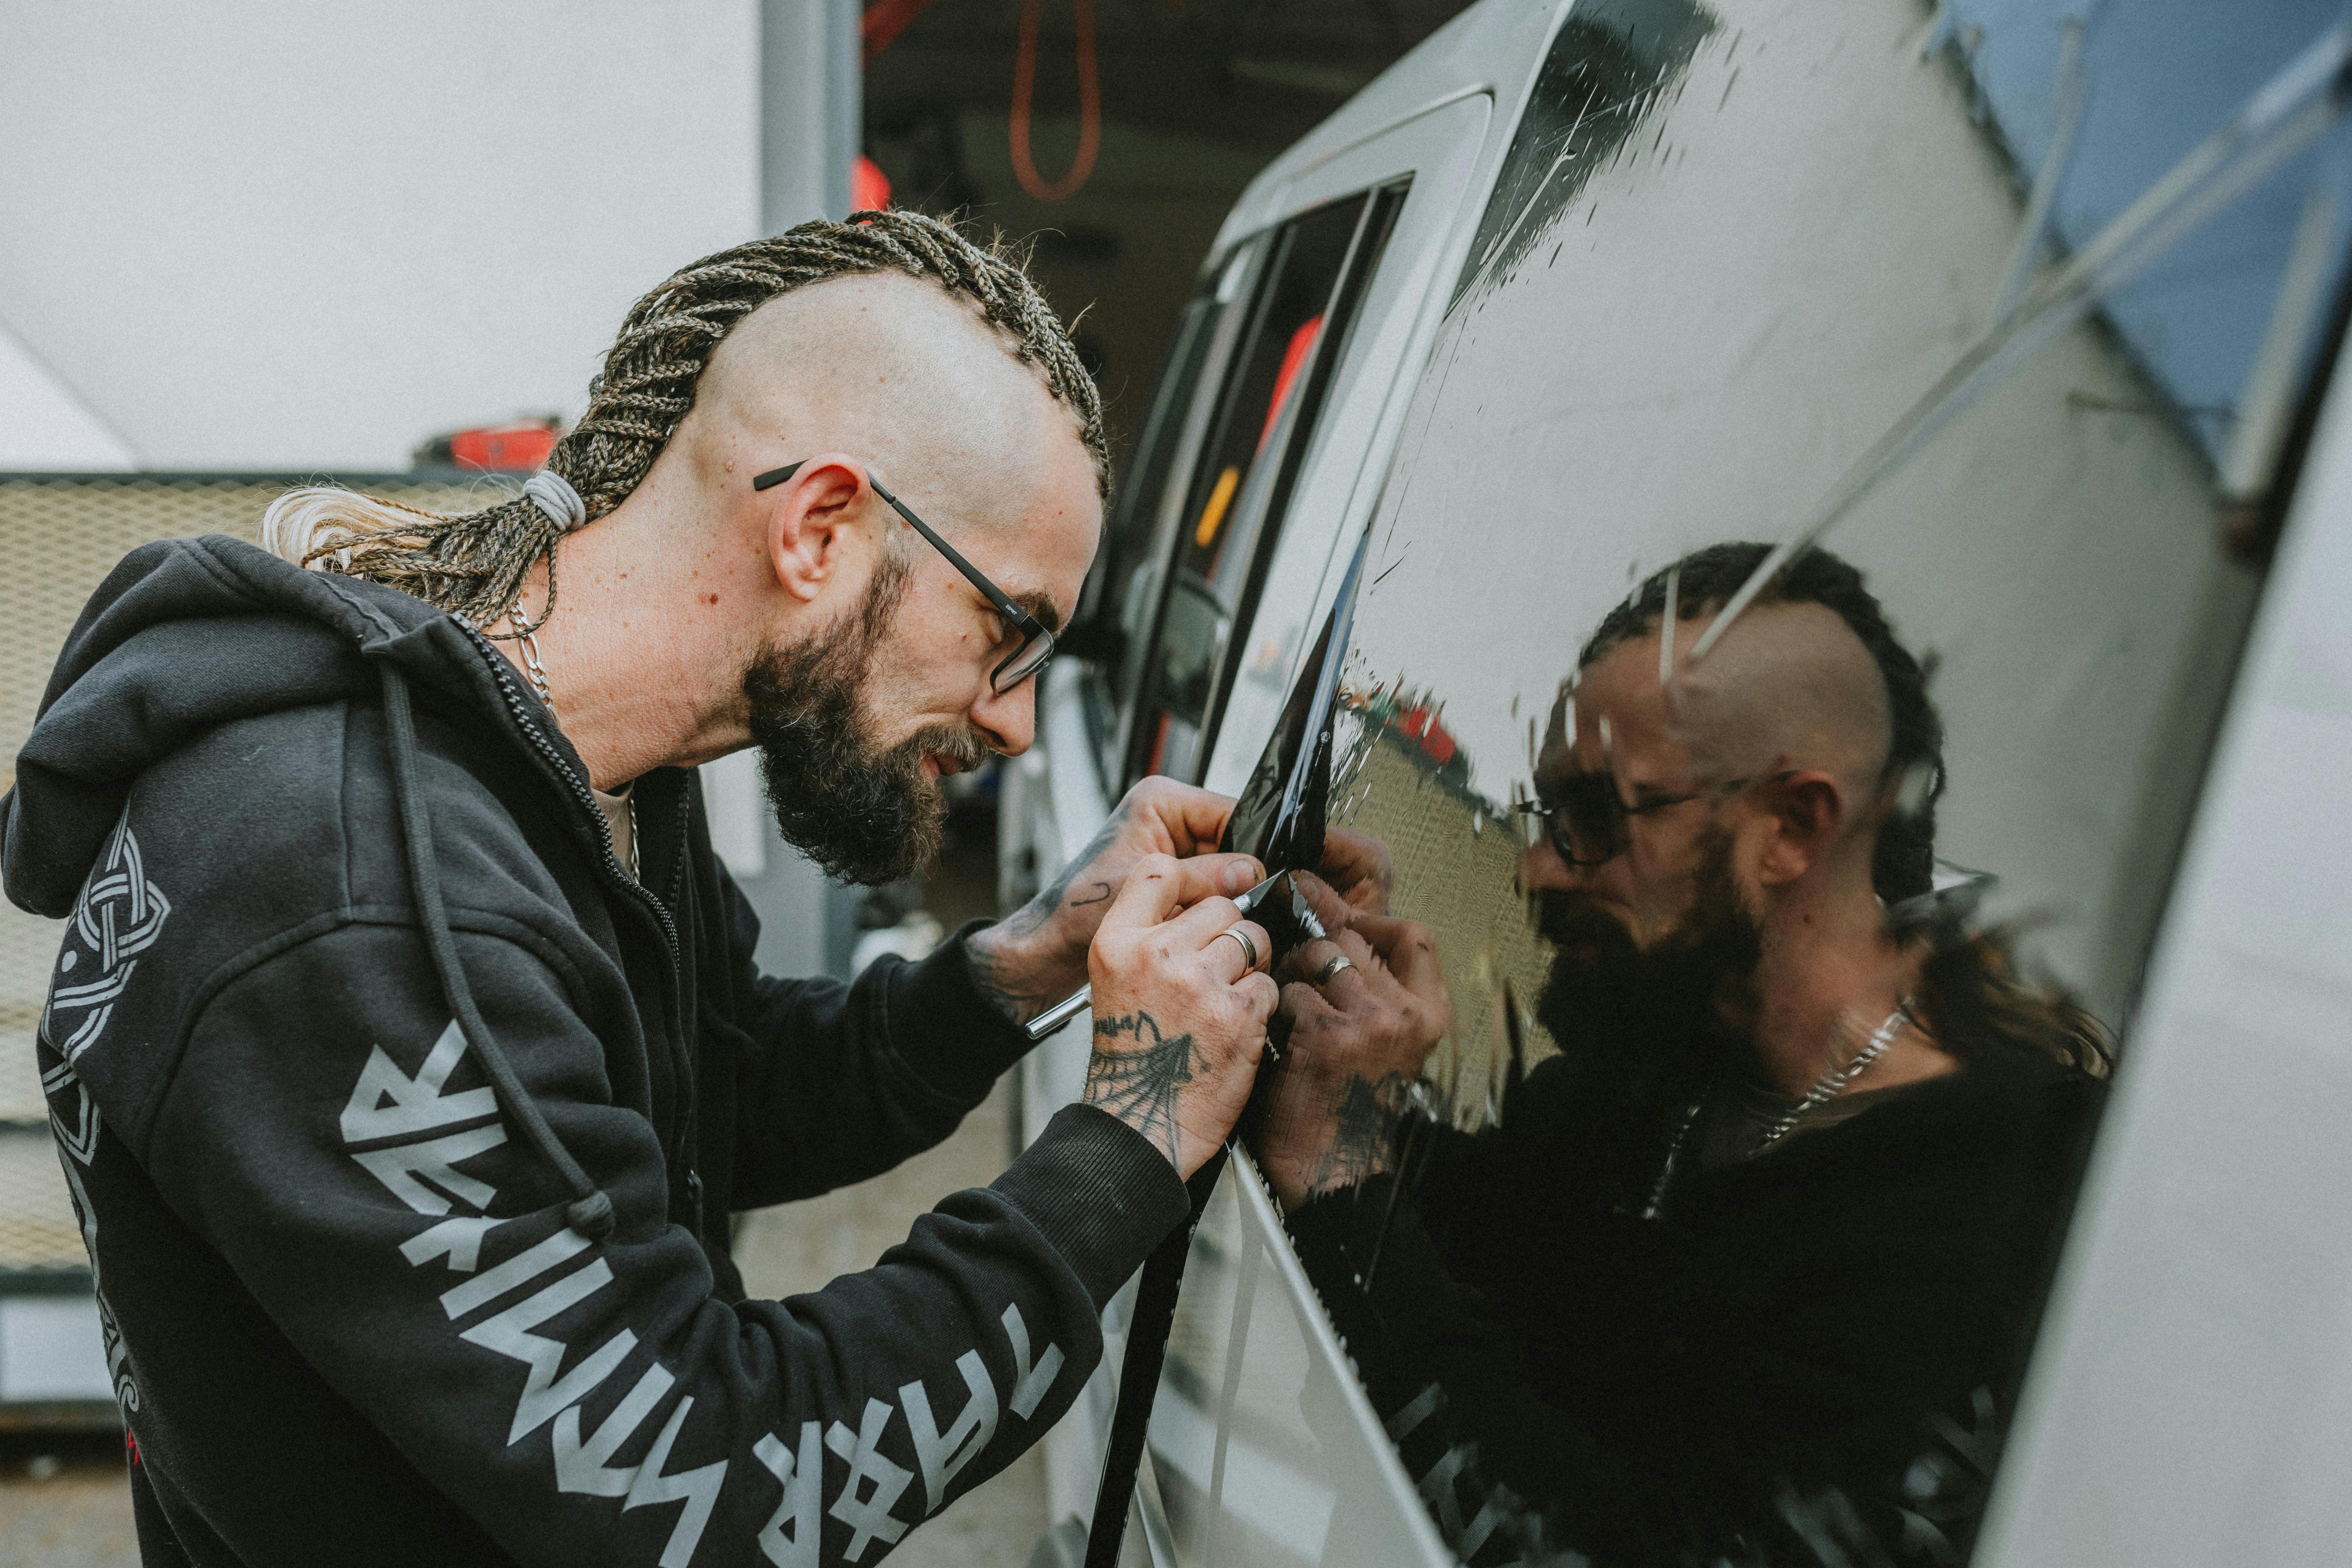
Professional Car Tinting Services: What to Expect
If DIY tinting feels daunting, going to a professional service might be your best bet. Professional installers use high-quality window tinting tools, industrial-grade heat guns, and precision cutting machines to deliver flawless results that last for years.
1. Professional Process
When you visit a tinting shop, they’ll start by showing you different film options: dyed, carbon, ceramic, or metalised. Once you choose the shade and type, they’ll clean the windows meticulously and apply the tint using advanced tools like heat-moulders and high-pressure window tint squeegees.
2. Cost and Time Involved
Professional tinting costs typically range from $200 to $800, depending on the car size, number of windows, and film quality. The process usually takes a few hours but guarantees long-lasting, bubble-free results.
3. Advantages of Professional Tinting
Precision Fit: Professionals use computer-cut templates for exact fits.
Durability: Premium films resist fading, bubbling, and peeling.
Warranty: Most professional jobs come with multi-year or lifetime warranties.
Legal Compliance: Installers ensure your tint complies with state tint laws.
While professional services cost more, they save time and eliminate the learning curve. If you’re not confident using car tinting tools, this route provides peace of mind and a guaranteed finish.
If you're comparing tinting to other customisation options, our range of vehicle wrapping tools shows how installers upgrade cars beyond window film →
DIY Car Tinting vs. Professional Services: A Detailed Comparison
When deciding between using a car tinting kit and hiring professional services, you’re essentially balancing cost, convenience, quality, and time. Both options have their perks, but the right choice depends on your skills, patience, and expectations. Let’s break it all down in a clear, honest comparison.
| Factor | DIY Car Tinting Kit | Professional Tinting Service |
|---|---|---|
| Cost | $30 – $100 (for kits and tools) | $200 – $800 depending on car and film quality |
| Skill Required | High (requires patience and practice) | None – handled by trained experts |
| Time Involved | 4 – 8 hours depending on experience | 1 – 3 hours |
| Tools Needed | Full tinting tools set (squeegee, heat gun, knife, etc.) | Professionals already have advanced tools |
| Durability | Moderate – depends on quality of film and application | High – professional-grade films and perfect application |
| Finish Quality | Good to excellent (if done carefully) | Flawless, consistent, and backed by warranty |
| Warranty | Usually none for DIY jobs | Often includes multi-year or lifetime warranty |
| Customization | Full control over tint level and type | Wide range of options guided by expert advice |
| Risk of Mistakes | High for beginners (bubbles, creases, misalignment) | Very low – handled by experienced installers |
Pros of DIY Tinting
Budget-Friendly: The biggest advantage is cost savings.
Learning Experience: Great for car enthusiasts who love hands-on projects.
Control: You choose every detail, film shade, style, and finish.
Cons of DIY Tinting
Steep Learning Curve: One wrong move can ruin an entire sheet of film.
Time-Consuming: Preparing, cutting, and applying tint properly can take hours.
No Warranty: You’re responsible for fixing any issues later.
Pros of Professional Tinting
Expert Precision: Professionals use precision cutters and window tinting tools for perfect alignment.
Quality Guarantee: Long-lasting results with fewer chances of bubbling or peeling.
Legal Compliance: They ensure your tint meets local regulations.
Cons of Professional Tinting
Higher Cost: Significantly more expensive upfront.
Less Customisation Flexibility: Limited to shop inventory or available brands.
Scheduling Required: You’ll need an appointment and might wait a few days.
In summary, if you’re confident, patient, and enjoy DIY projects, using a car tinting kit with the right tinting tools can save money and give great results. But if you value convenience, precision, and guaranteed quality, professional tinting is well worth the investment.
How Long Does Window Tint Last? (DIY vs. Professional)

Longevity is a key factor when comparing DIY and professional tinting. The lifespan of window tint depends on several factors: film type, application quality, environmental exposure, and maintenance.
DIY Tint Longevity
Most DIY kits use dyed or hybrid films, which typically last 2 to 5 years. These films tend to fade over time, especially when exposed to strong sunlight. Improper installation, like trapped air bubbles or misaligned edges, can also reduce lifespan significantly. Using high-quality window tint tools and following proper techniques helps extend durability.
Professional Tint Longevity
Professionally installed tints, especially ceramic or carbon films, can last 10 to 20 years or more. These films are designed to resist UV degradation and maintain colour consistency over time. Professionals also apply them in controlled environments with advanced tint window tools that ensure perfect adhesion.
Factors That Affect Tint Durability
Film Quality: Ceramic and carbon films last longest, while dyed films degrade faster.
Sun Exposure: Constant UV exposure accelerates fading.
Cleaning Habits: Harsh chemicals or rough sponges can scratch or weaken the film.
Installation Quality: Proper use of window tint squeegees and clean surfaces ensures lasting adhesion.
Those considering long-term paint protection in addition to tinting may also want to explore professional PPF tools for installing paint protection films →
Maintenance Tips for Long-Lasting Tint
Clean tinted windows with mild soap and water; avoid ammonia-based cleaners.
Use soft microfiber cloths only.
Don’t roll down windows for several days after installation.
Park in shaded areas when possible to reduce UV damage.
In short, while DIY tinting can be cost-effective, professional tinting offers superior durability and minimal upkeep. If you’re planning to keep your car for many years, a professional job might save you money in the long run.
Legal Considerations for Car Window Tinting
Before you tint your car windows, it’s essential to know your local tint laws. Every region has specific regulations about how dark or reflective your windows can be, measured by Visible Light Transmission (VLT%), the percentage of light allowed through your tint.
Common Tinting Laws
Front Windows: Typically must allow 70% or more light to pass through.
Rear Windows: Often more lenient, allowing 20% to 35% VLT.
Windshield: Only the top few inches may be tinted, depending on the jurisdiction.
Reflectivity: Some states ban metallic or mirror-like films to avoid glare issues.
Violating these laws can lead to fines or even mandatory tint removal. Professional installers are usually well-versed in local tint laws and ensure compliance automatically. If you’re going the DIY route, always check your region’s legal tint limits before applying.
How to Stay Compliant
Research your state or country’s tint laws online.
Purchase films labelled with VLT percentages.
Use a window tint meter to verify compliance if needed.
Penalties for Illegal Tint
Fines vary widely but can range from $50 to $300 per window, depending on severity and repeat offences. Some areas also require re-inspection to verify removal or correction.
Tinting your car is a fantastic upgrade, but staying legal ensures you enjoy those benefits without unwanted fines or hassle.
Expert Tips to Get a Professional Finish with a DIY Tint Kit
Even if you’re a beginner, you can still achieve a near-professional finish with the right techniques and tinting tools. Here are some insider tips that professional tinters swear by:
Work Indoors in Controlled Conditions
Temperature and humidity affect tint adhesion. Aim for a clean, dust-free space between 65°F and 75°F.
Use Generous Soap Solution
Don’t be stingy with the spray. The more lubricated the surface, the easier it is to position and adjust your tint.
Always Use Sharp Blades
Replace your utility knife blades frequently to maintain clean cuts. Dull blades tear the film and cause jagged edges.
Overlapping Squeegee Strokes
Apply even pressure and overlap your squeegee for window tint strokes slightly to avoid streaks or air pockets.
Warm the Film Gradually
Use your heat gun sparingly and evenly to avoid overheating or distorting the film.
Don’t Rush the Drying Process
Give the tint several days to fully cure before rolling down your windows or cleaning them.
Inspect in Different Lighting
After tinting, check your work in both daylight and indoor light to spot hidden imperfections.
By applying these expert tips and investing in the right window tinting tools, you can produce results that not only look professional but last just as long.
Drivers who enjoy DIY automotive projects often pair tinting with vinyl wraps, making our car wrap tool kits a great next step →
FAQs
1. What’s the best window tint kit for beginners?
Look for kits with pre-cut films, a window tint squeegee, a spray bottle, and a sharp blade. Brands like Lexen and Gila are great for starters.
2. Can I reuse tinting tools for multiple cars?
Yes! Quality window tinting tools like squeegees, hard cards, and heat guns are reusable with proper cleaning and maintenance.
3. How do I avoid bubbles during tint application?
Use plenty of soapy solution and squeegee from the centre outward. If bubbles appear later, reheat the spot lightly and smooth it out.
4. What’s the difference between ceramic and dyed tint?
Ceramic tint blocks more heat and UV rays, lasts longer, and doesn’t interfere with electronics. Dyed tint is cheaper but fades faster.
5. How long should I wait before rolling down tinted windows?
Wait at least 3–5 days to allow the film adhesive to cure fully. Rolling down too early may cause peeling or bubbling.
Conclusion
So, DIY car tinting kit or professional service, what’s the verdict?
If you love hands-on projects, enjoy learning new skills, and want to save money, a DIY tinting kit is a fun and rewarding challenge. With high-quality tinting tools, patience, and careful technique, you can achieve a finish that looks great and performs well.
However, if you value guaranteed results, long-term durability, and don’t want the hassle of trial and error, professional tinting is the smarter investment. You’ll get access to premium materials, expert craftsmanship, and legal compliance, all backed by a warranty.
Ultimately, it boils down to time versus money. DIY gives you control and satisfaction; professional tinting offers reliability and perfection. Either way, car window tinting is one of the best upgrades you can make for comfort, privacy, and style.
Are you unsure which tool or kit is right for your job?
Our expert team at Oz Sign Supplies is here to help. Reach out today, and we’ll direct you to the best tools to suit your project, ensuring you get the job done right the first time.
Leave a comment
This site is protected by hCaptcha and the hCaptcha Privacy Policy and Terms of Service apply.