


What Tools Do You Need to Wrap a Car? (Complete Toolkit Guide)
Introduction to Car Wrapping Essentials
Car wrapping has moved far beyond being a niche customisation trick used only by show car builders. Today, an auto wrap is a mainstream way to change a vehicle’s appearance, protect paintwork, and even advertise businesses using vehicle wraps. Whether you’re working with a full vehicle vinyl wrap, a partial vinyl wrap car kit, or experimenting with custom car wraps, the success of the job depends heavily on one thing: the tools you use. Without the right car wrap tools, even the highest-quality vinyl like 3M vinyl wrap or Avery wraps can end up with bubbles, wrinkles, or lifting edges.
A car wrap is essentially a large adhesive film applied over a vehicle’s painted surface. It can mimic finishes like matte black car wrap, gloss, satin, or even bold finishes like chrome wrap. While the material itself is flexible and engineered for precision, it is also unforgiving if mishandled. That’s where proper vehicle wrapping tools come in. Think of them as the bridge between raw vinyl and a flawless showroom finish.
The tools used in vinyl wrapping Australia or anywhere else are designed to control three critical things: surface cleanliness, application pressure, and heat management. If any one of these is off, the wrap won’t last. Professionals rely on structured vehicle wrap tool kits that include everything from squeegees to precision knives. DIY users often underestimate how important these tools are, assuming the vinyl alone will do the work. In reality, the difference between a professional-looking finish and a peeling disaster often comes down to the toolkit.
Having the right vehicle wrapping tools makes the installation process smoother, faster, and more beginner-friendly.

What Is a Car Wrap and Why Do Tools Matter
A car wrap is a large sheet of adhesive-backed vinyl that is applied over a vehicle’s exterior to change its appearance or branding. Unlike paint, a car vinyl wrap is removable, customizable, and far less permanent, making it a popular choice for personal vehicles, business fleets, and even specialty builds like a 3M truck wrap. However, the wrap is only as good as its installation, and installation is entirely tool-driven.
The reason tools matter so much is simple: vinyl is sensitive. It reacts to pressure, heat, and surface contamination almost instantly. A fingerprint, dust particle, or uneven stroke from a poor-quality squeegee can become permanently trapped under the film. That’s why professionals rely on dedicated vinyl wrap tools rather than improvised household items. A proper car wrapping tool ensures even pressure distribution, reducing the risk of air bubbles and stretch marks.
Another key reason tools are essential is repositioning. High-end films like 3M wrapping or Avery vehicle wraps often feature air-release channels, but they still require controlled movement during installation. Without a proper vinyl squeegee or heat gun, repositioning becomes chaotic, leading to overstretching or adhesive failure. In contrast, the right tools allow installers to “float” the vinyl into place before locking it down.
The wrap process is also heavily dependent on precision trimming. Vehicles are not flat surfaces; they have curves, edges, and recessed panels. A sharp car wrap kit knife or trimming blade is needed to ensure the vinyl fits seamlessly without cutting into the paint. This is where vehicle wrapping tools kit setups become invaluable, as they combine multiple instruments designed specifically for automotive contours.
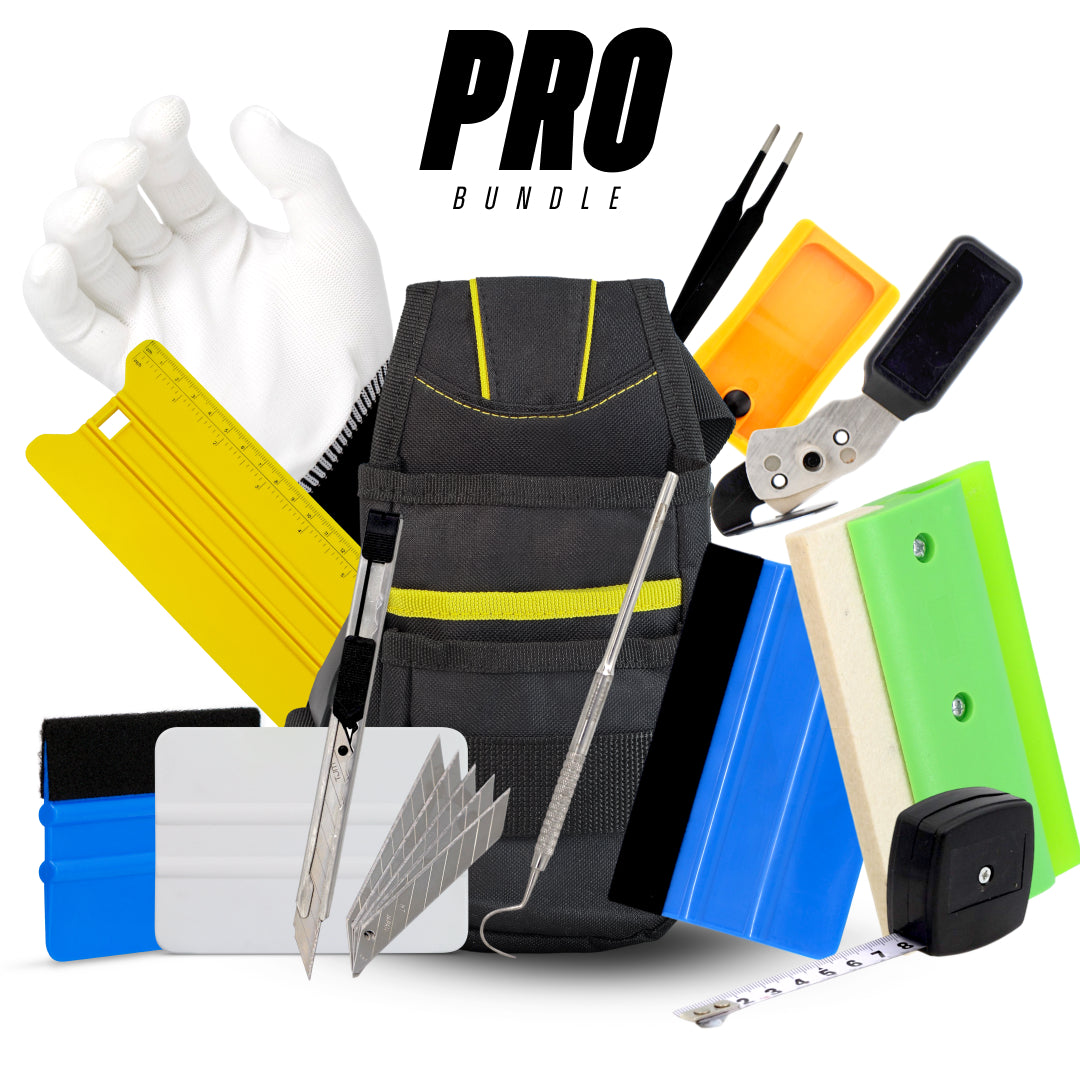
Many first-time installers prefer complete wrap tool kits because they include the core tools needed for most wrapping projects.
Ultimately, car wrapping is less about strength and more about control. The right tools don’t just make the job easier, they make it possible.
Types of Vinyl Wrap Used in Vehicle Wrapping
The type of vinyl used in a wrap directly influences the tools required and the technique used during installation. Not all vehicle vinyl wrap materials behave the same way. Some are soft and forgiving, while others, like chrome wrap, are extremely sensitive and require advanced handling. Understanding these differences helps installers choose the right wrap tools vinyl combination for the job.
Standard cast vinyl is the most commonly used material for car wrap kits. It is flexible, durable, and designed to conform to complex curves. Brands like 3M vinyl wrap and Avery wraps dominate this category due to their consistency and air-release technology. These films are ideal for beginners and professionals alike, but they still demand proper vinyl wrapping tools kit support, especially when dealing with edges and deep recesses.
Matte finishes, such as matte black car wrap, require extra care during application because they are more prone to showing fingerprints and surface imperfections. Gloss wraps behave similarly to painted surfaces and need careful alignment to avoid visible seams. In the end, chrome and metallic finishes are the most challenging. They stretch easily and can distort if overheated, making heat gun control and squeegee technique absolutely critical.
Many installers use knifeless tape to create clean cuts without risking damage to the paint underneath.
There are also specialty wraps used in commercial settings, including textured finishes and colour-shifting films. These often require a more advanced vehicle wrap tool kit because they are less forgiving during repositioning. Even the smallest mistake can create visible distortions that cannot be corrected once the adhesive bonds.
Choosing the right vinyl is not just about aesthetics; it directly determines the difficulty level of the installation. That’s why professional installers always match their car wrapping kit with the specific film being used. A beginner might start with standard gloss or matte vinyl, while advanced users may move toward chrome or printed custom car wraps for more complex projects.
Proper preparation is one of the most important steps, which is why professionals use dedicated surface prep tools before applying vinyl.

Gloss, Matte, and Chrome Wrap Differences
Gloss wraps are the closest visual match to factory paint and are often chosen for a polished, showroom finish. Matte wraps, on the other hand, absorb light and create a stealthy, modern appearance. Chrome wraps are reflective and highly attention-grabbing but require the most precision during installation. Each finish reacts differently to heat, pressure, and stretching, meaning your vehicle wrapping tools must be adjusted accordingly for each type.
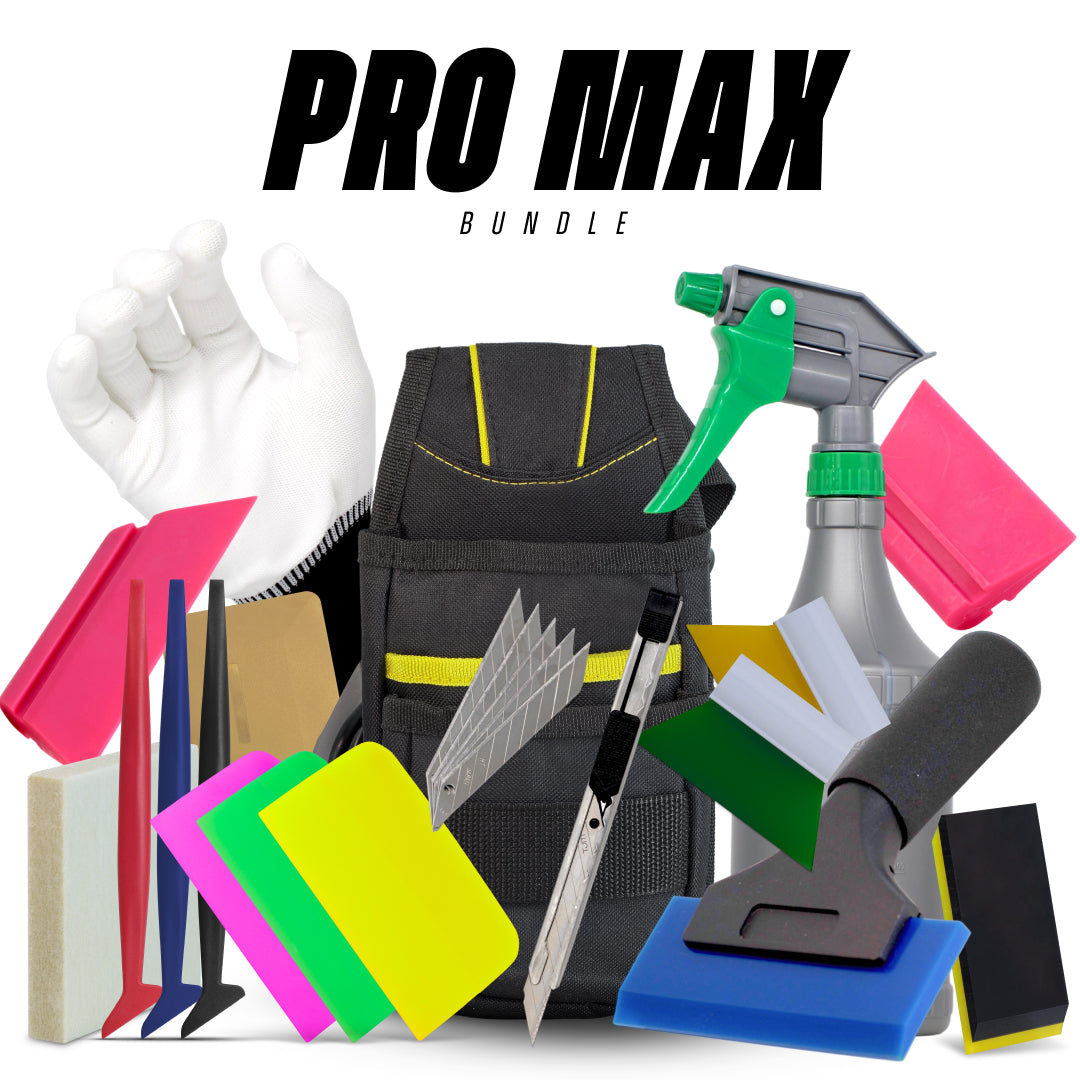
Professional vs DIY Wrap Setups
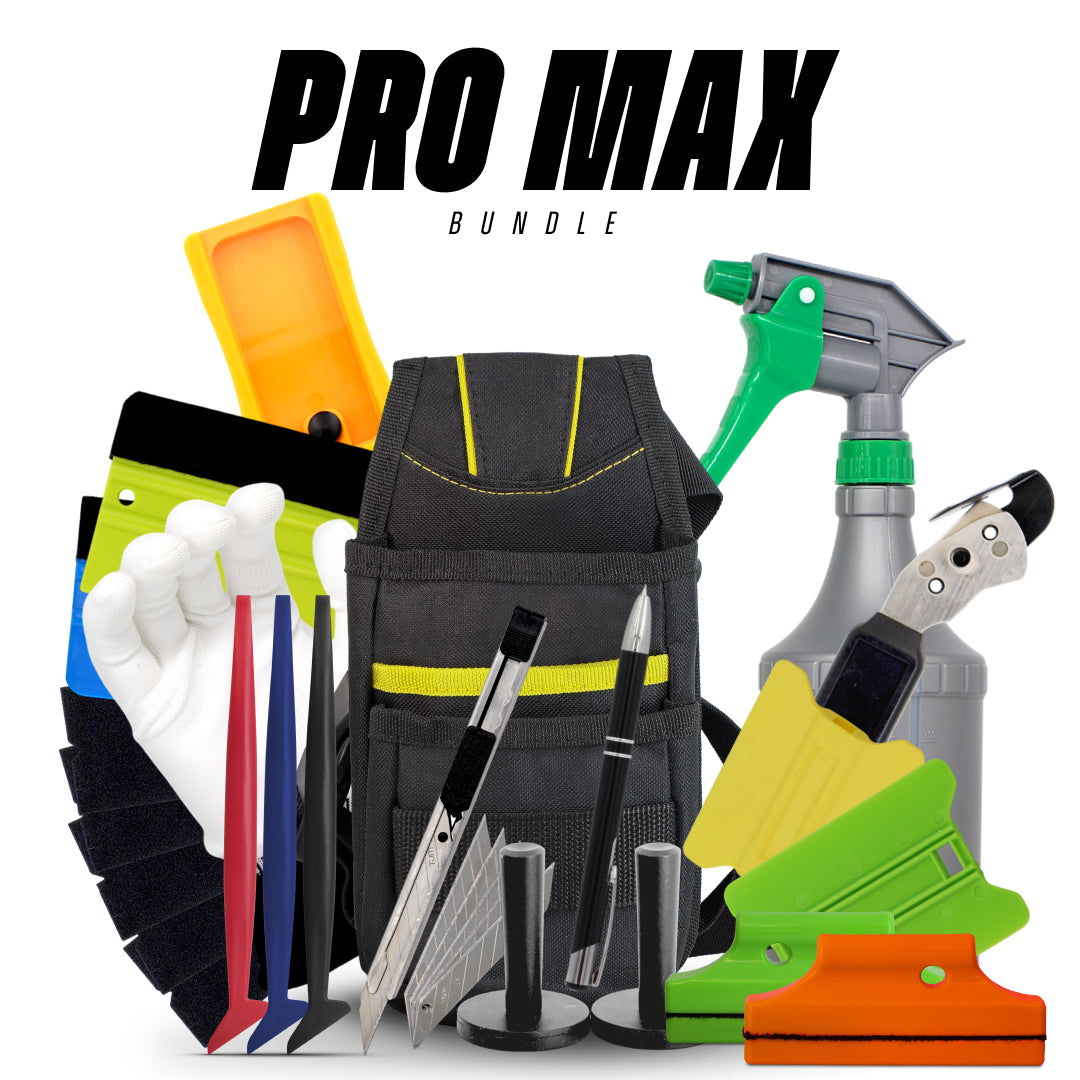
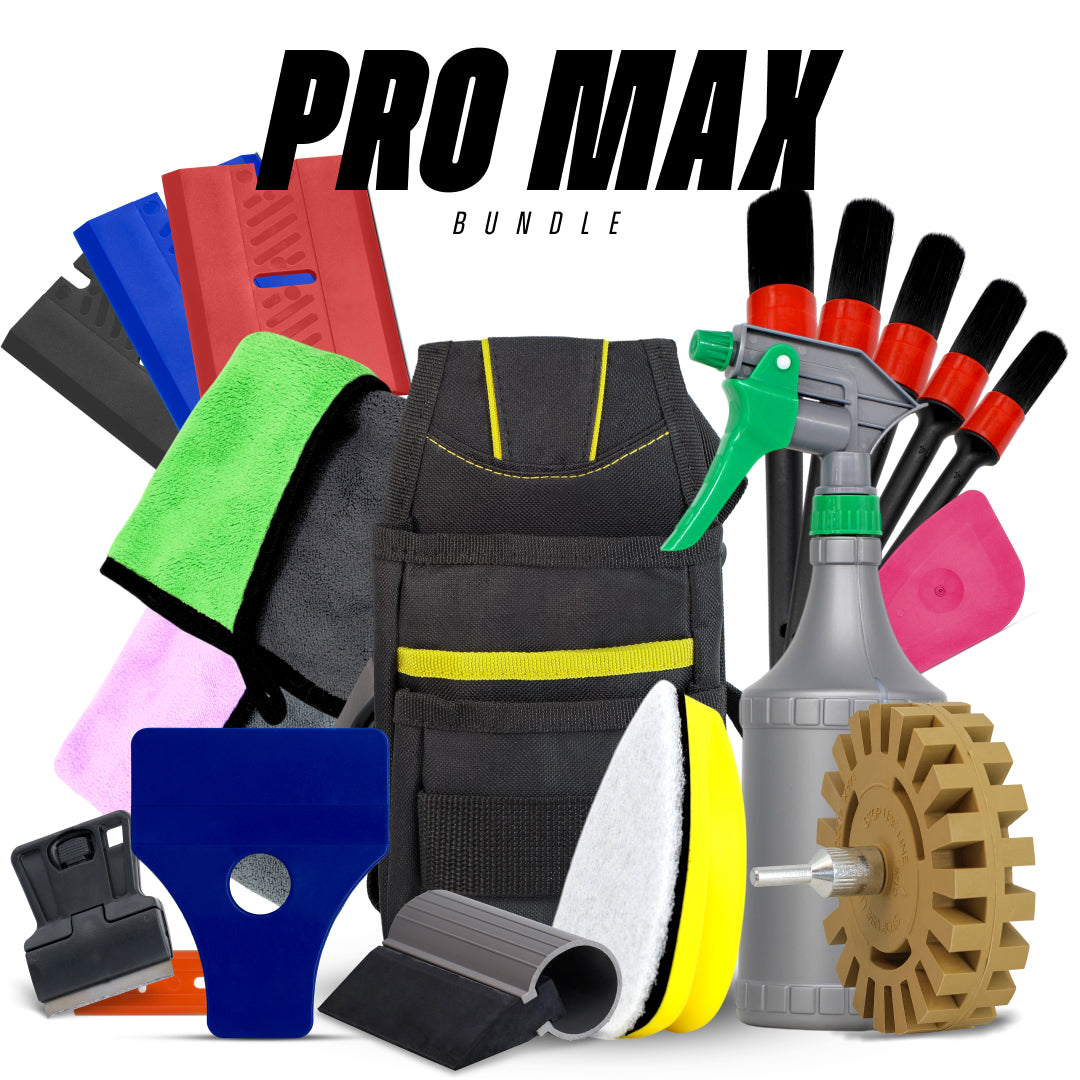
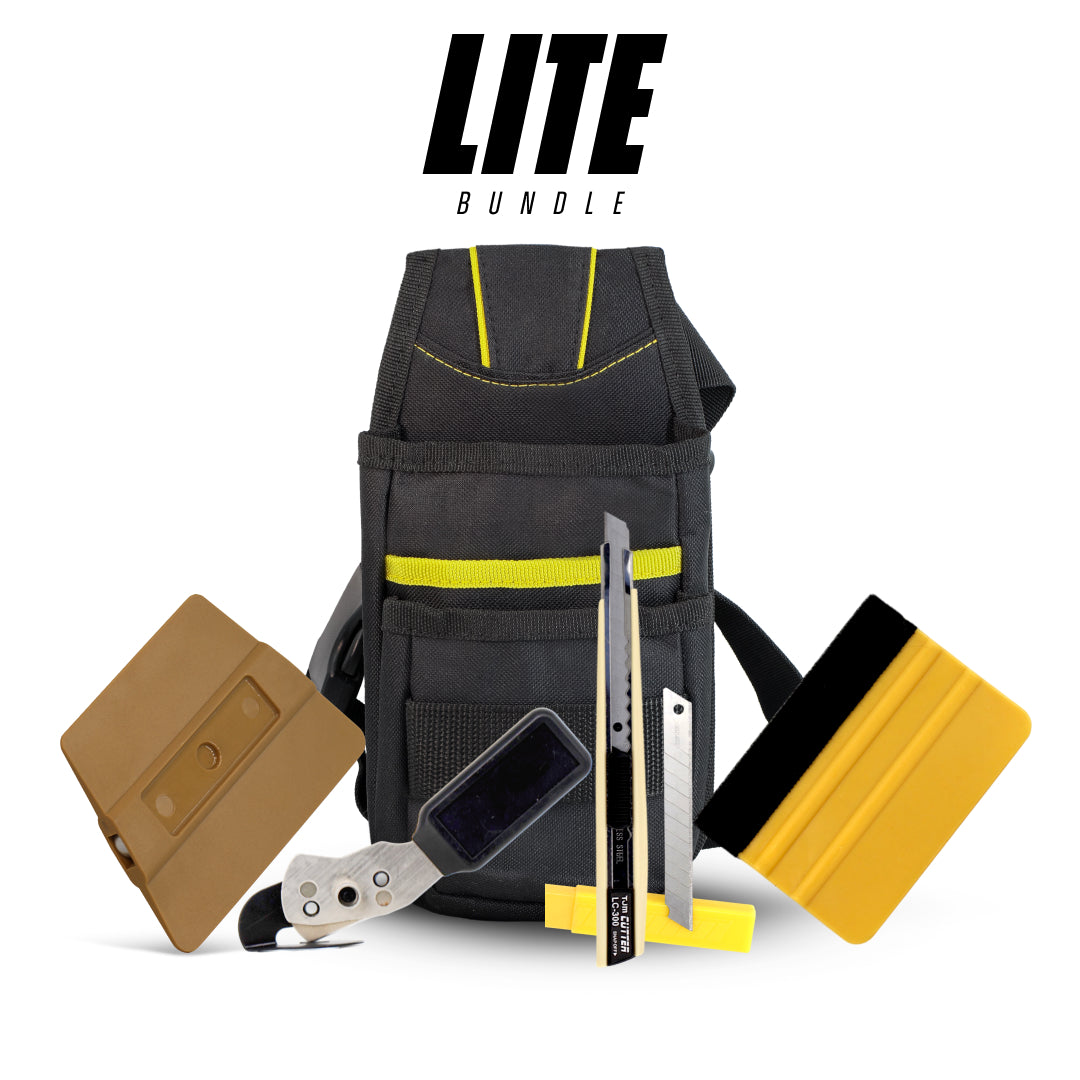
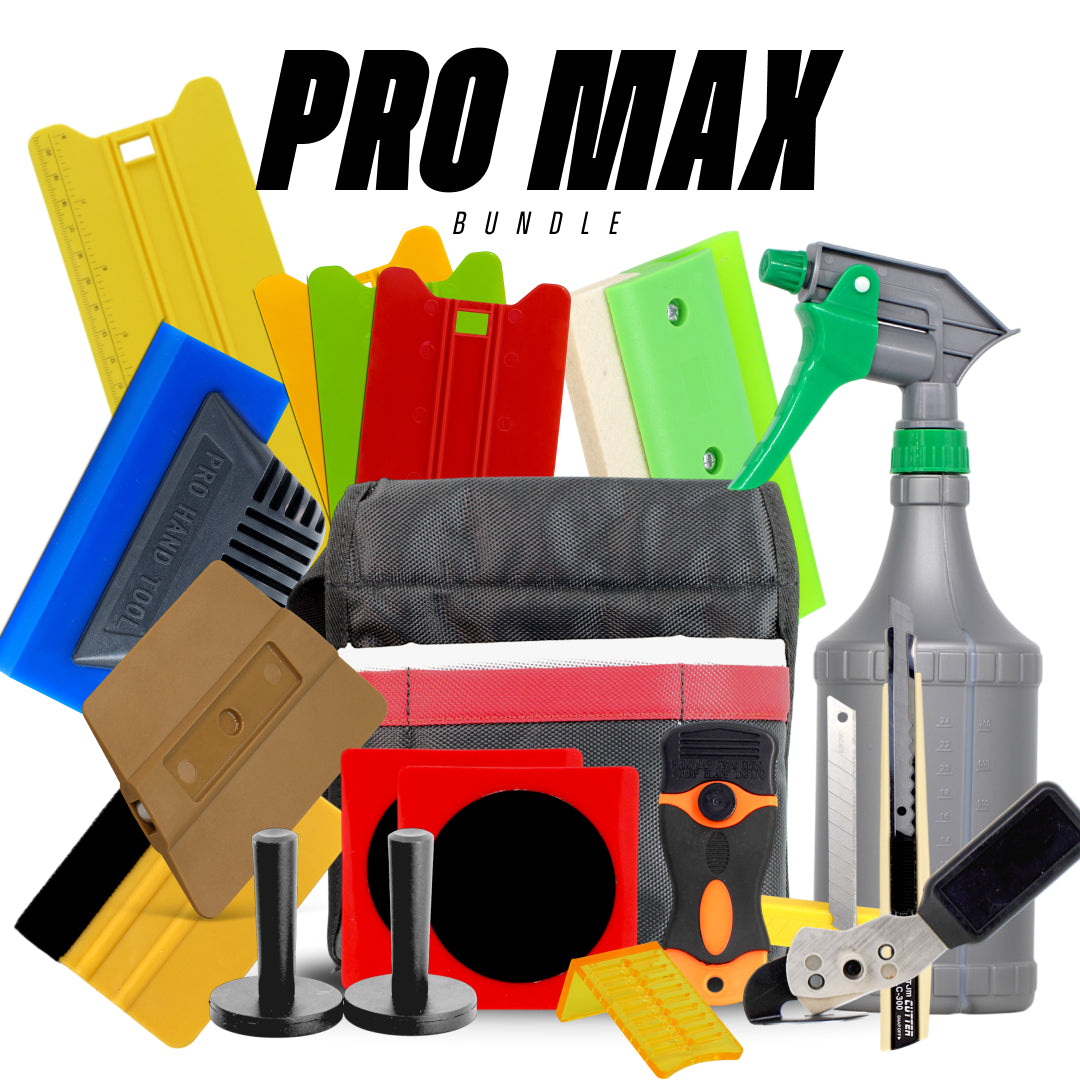
The difference between a professional wrap installation and a DIY attempt often comes down to the toolkit. Professionals invest in a complete vehicle wrap tool kit, while DIY users usually start with a basic vinyl wrap kit car package. The gap between the two setups can significantly affect the final result, especially when working with premium materials like 3M vinyl wrap or Avery wraps.
A professional setup includes high-grade car wrap tools, precision cutting instruments, multiple vinyl squeegees, heat guns with adjustable temperature control, and specialty cleaning supplies. These tools are designed for efficiency and accuracy, allowing installers to handle complex surfaces like bumpers, mirrors, and door handles without damaging the film. Professionals also rely on structured workflow systems where each tool has a specific role in the wrapping process.
Using professional car detailing tools can help eliminate dust, grease, and contaminants that cause bubbles or lifting.
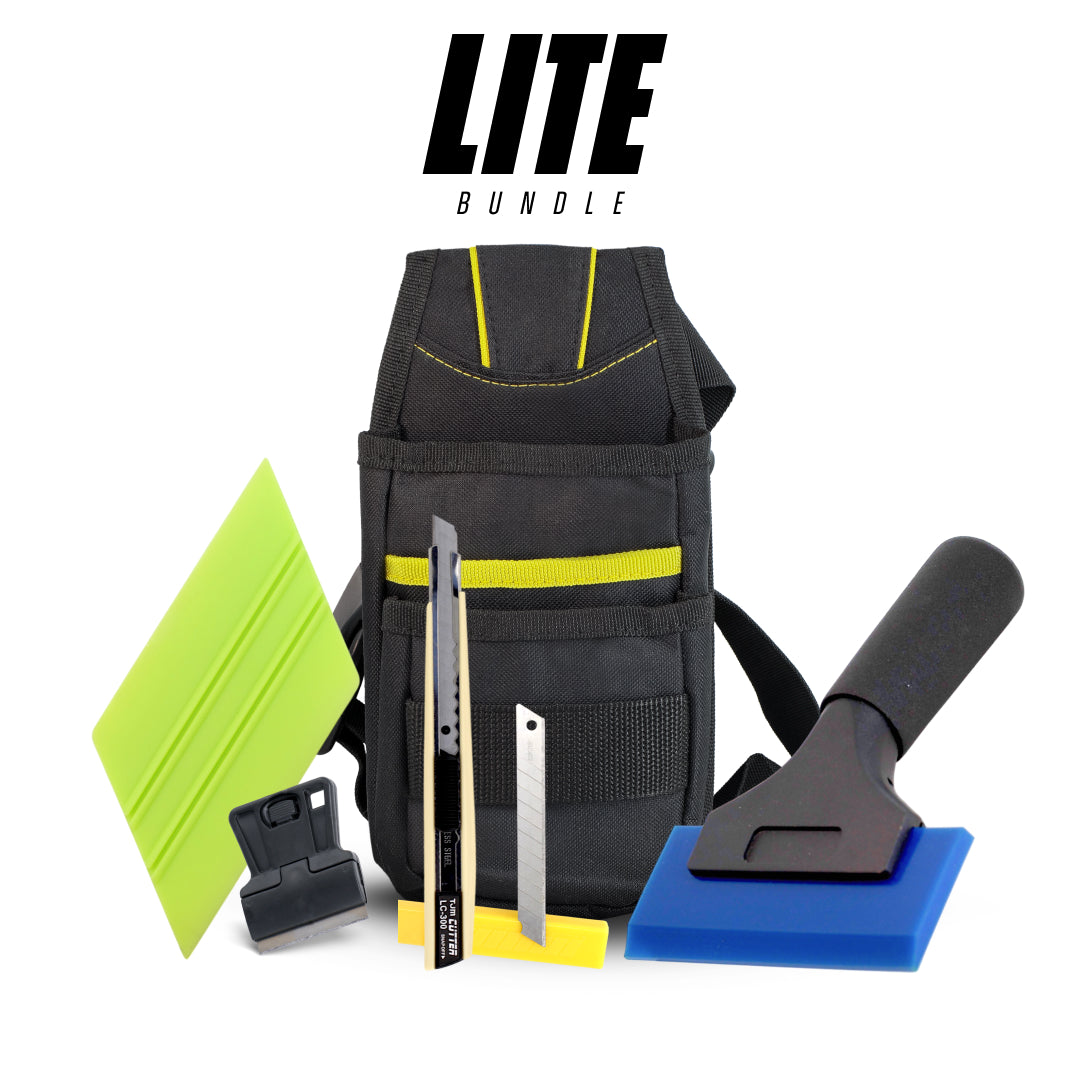
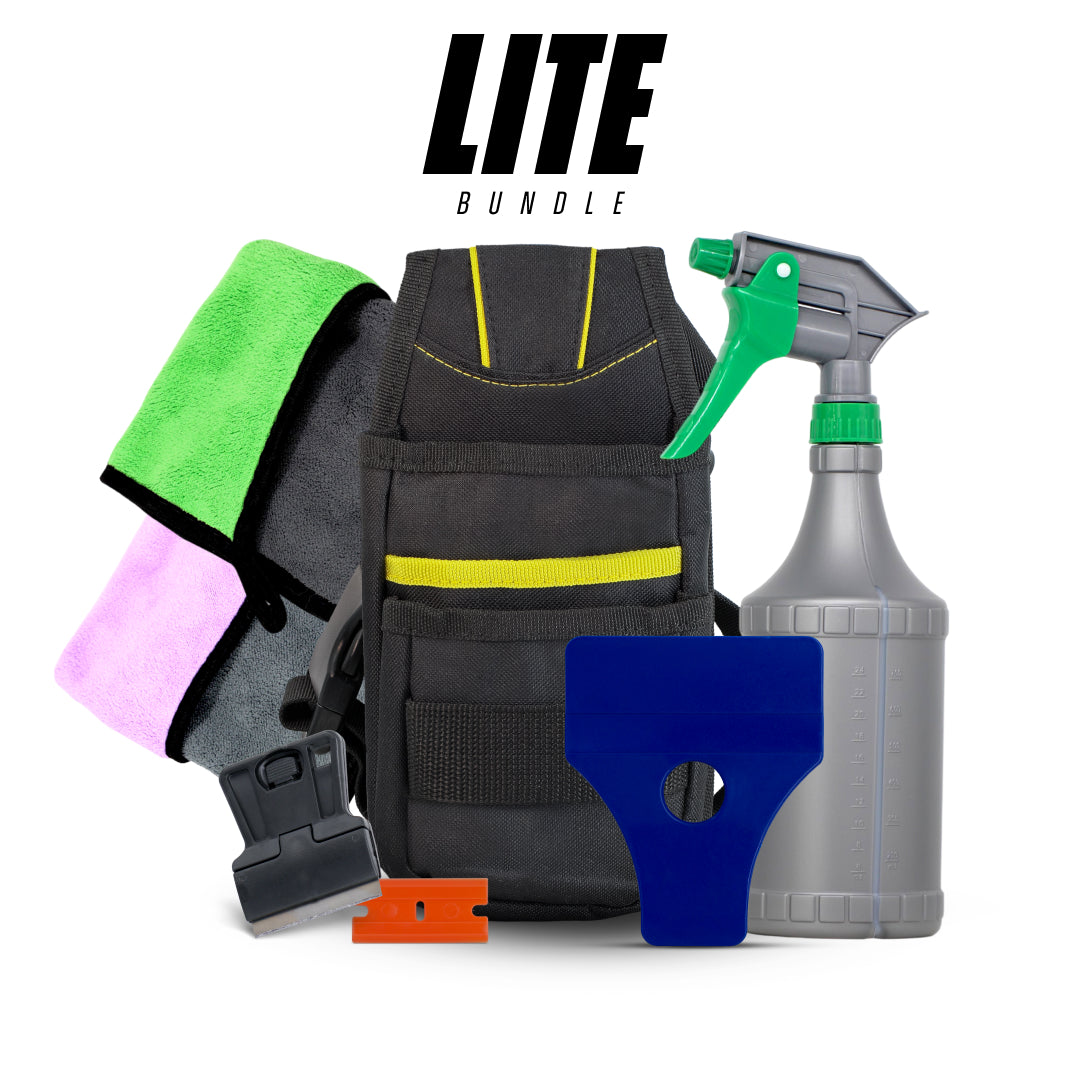
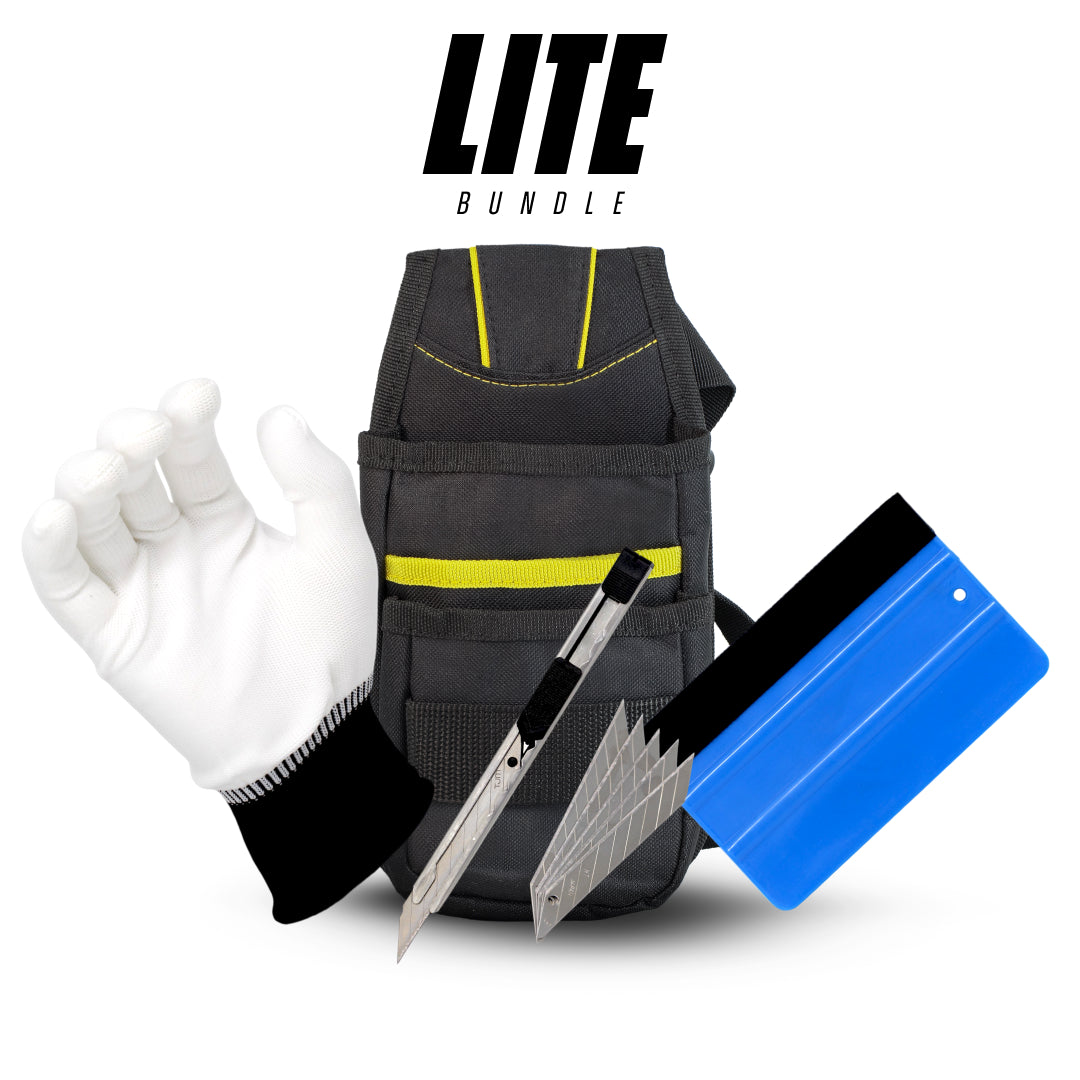
DIY kits, on the other hand, are simpler. A basic car wrapping tool kit might include a squeegee, a utility knife, and a small heat source. While this is enough for small projects or practice panels, it can be limiting for full vehicle wraps. Without professional-grade tools, achieving seamless edges and bubble-free surfaces becomes significantly more difficult.
Why Using the Right Car Wrapping Tools Matters
Many beginners focus heavily on choosing the right vinyl film, but the tools you use can have just as much impact on the final result.
- Professional-grade wrapping tools help:
- Reduce bubbles and wrinkles
- Prevent scratches and adhesive marks
- Improve installation speed and precision
- Extend the lifespan of the vinyl wrap
- Make difficult curves and edges easier to handle
Even experienced installers rely on specialised tools to achieve clean seams, smooth finishes, and long-lasting adhesion.

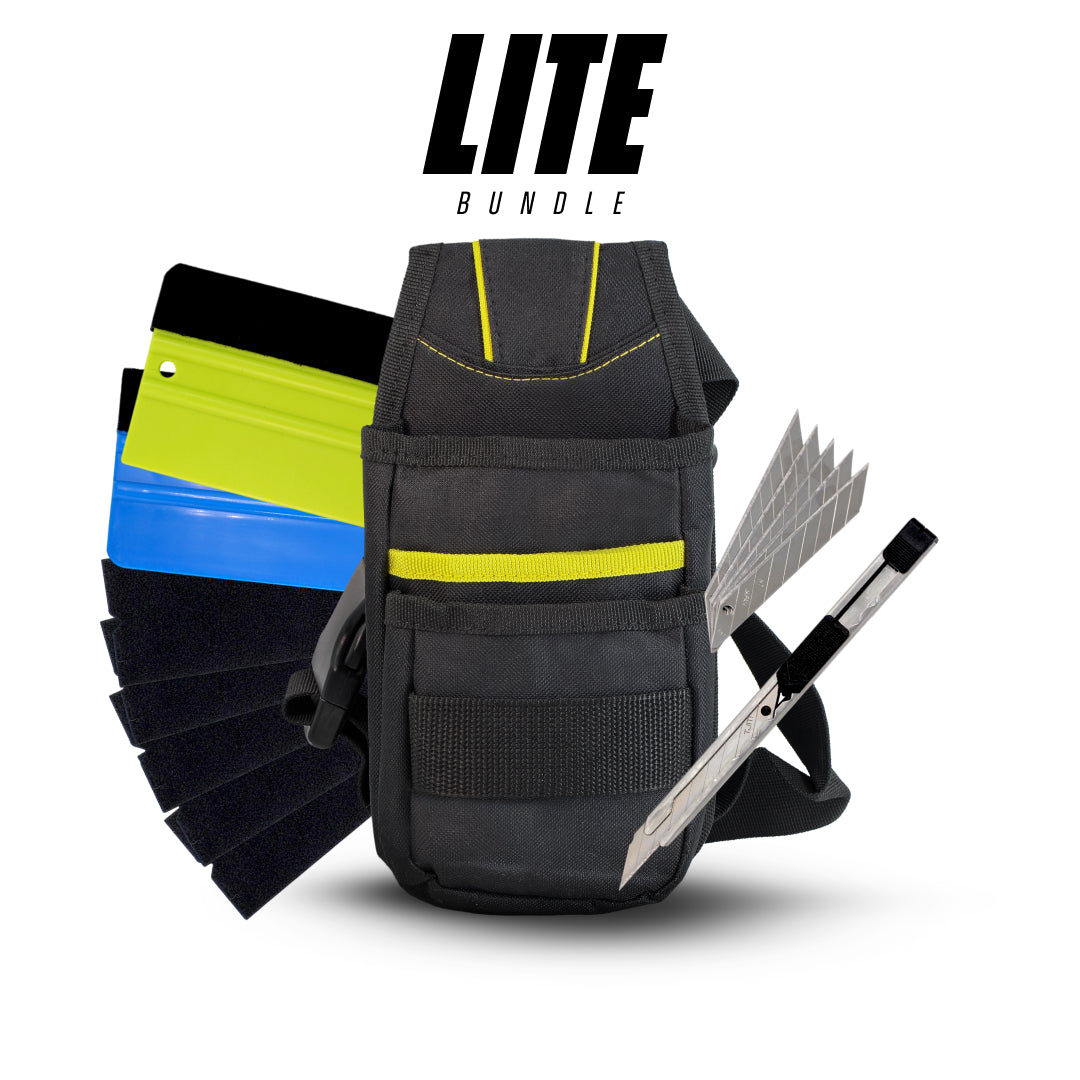
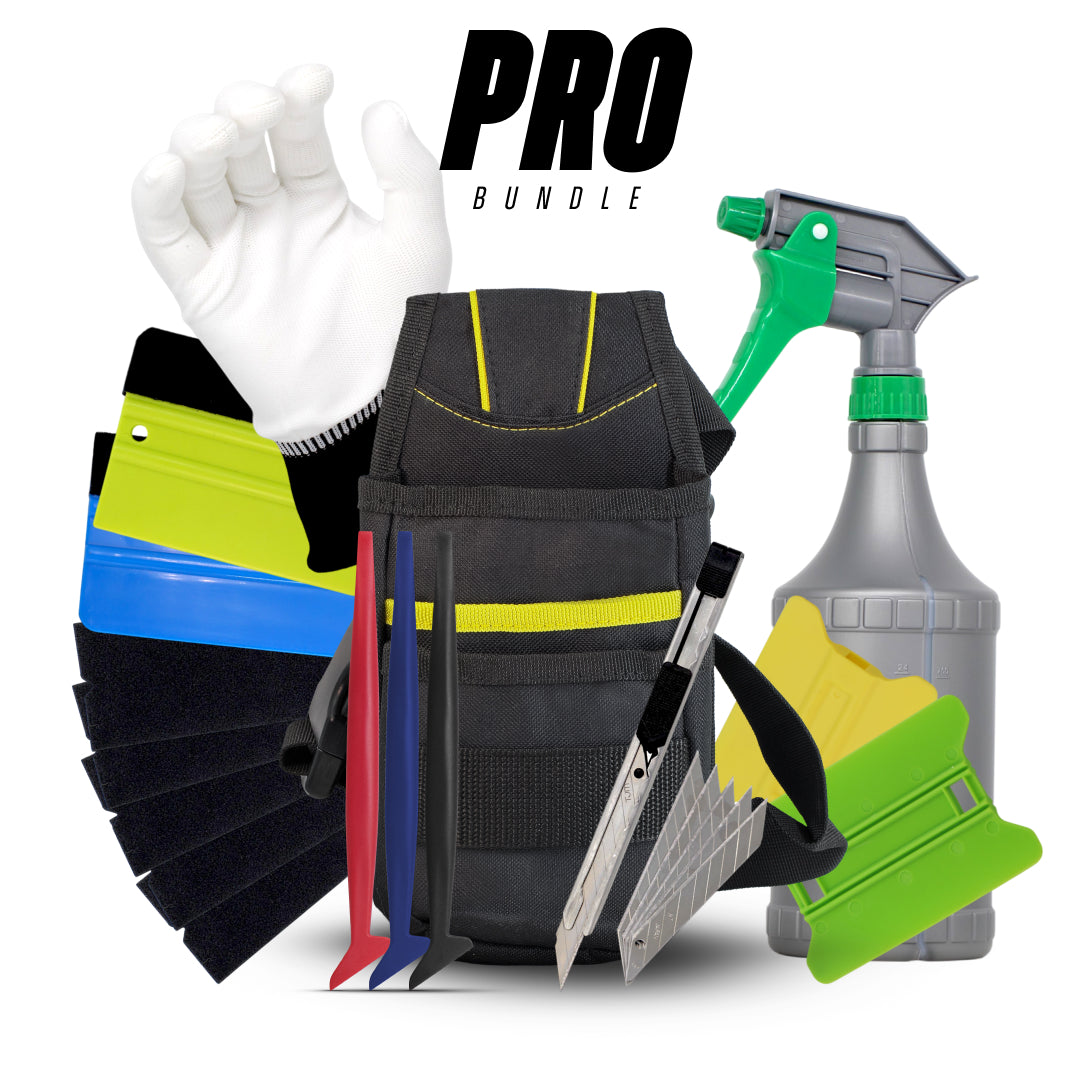
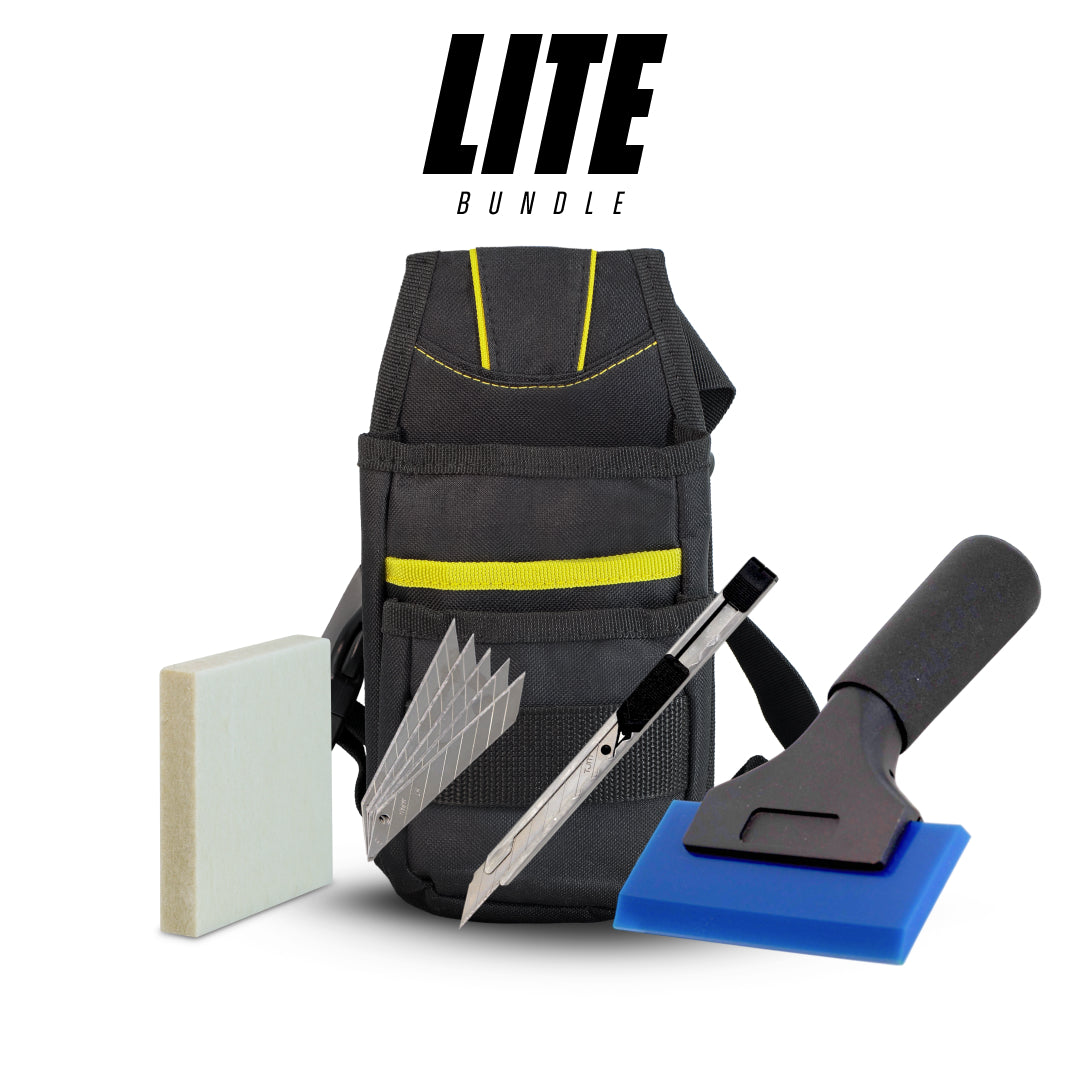
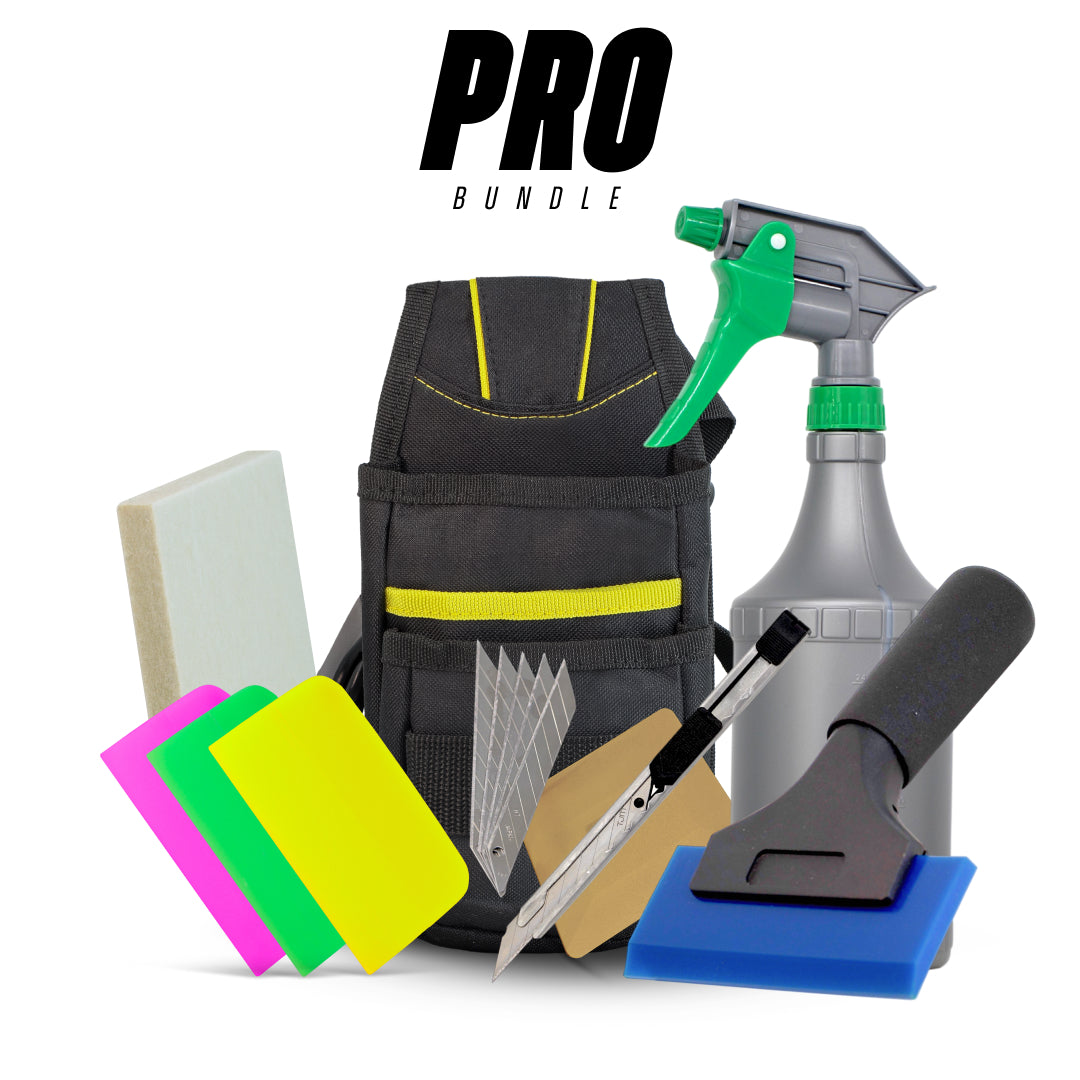
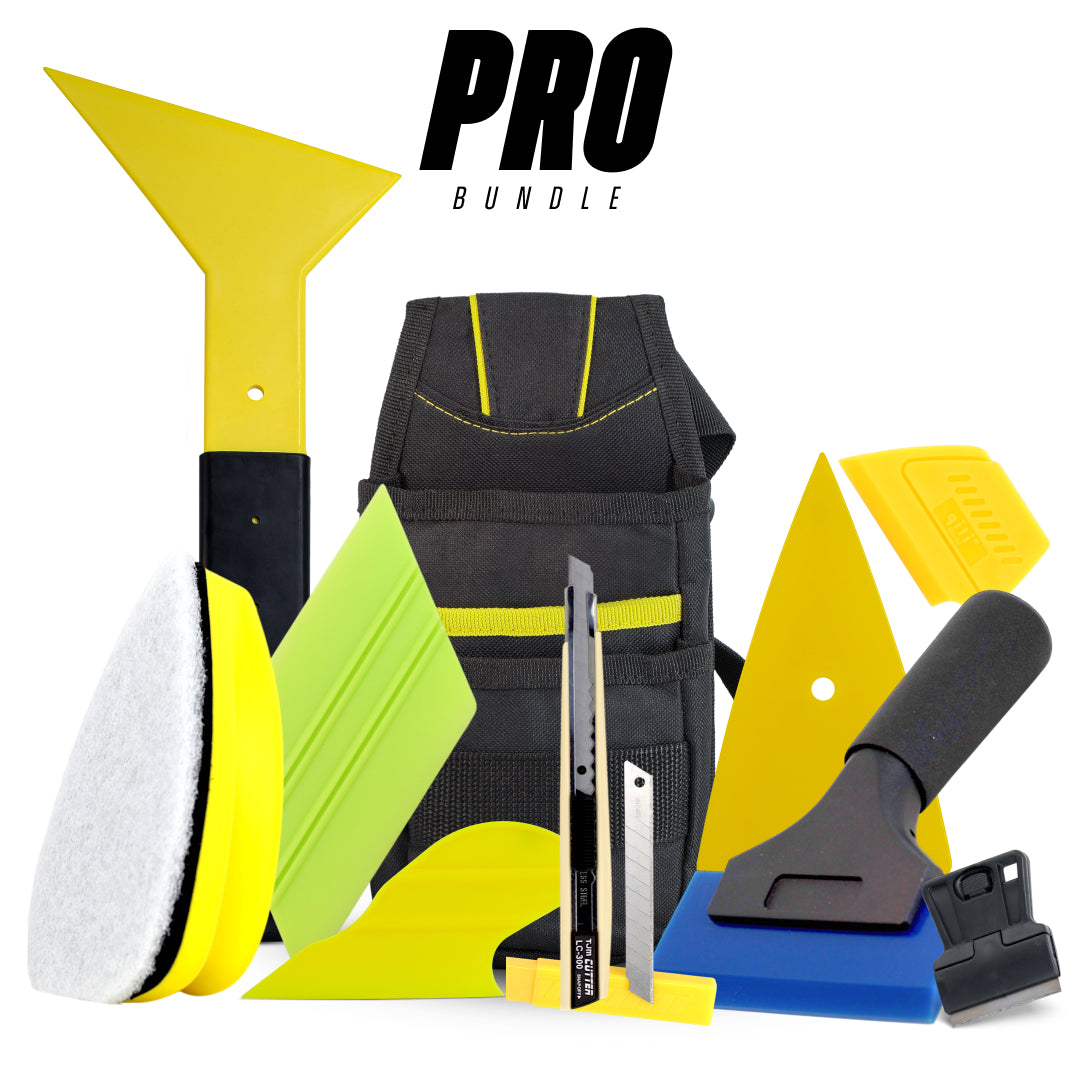
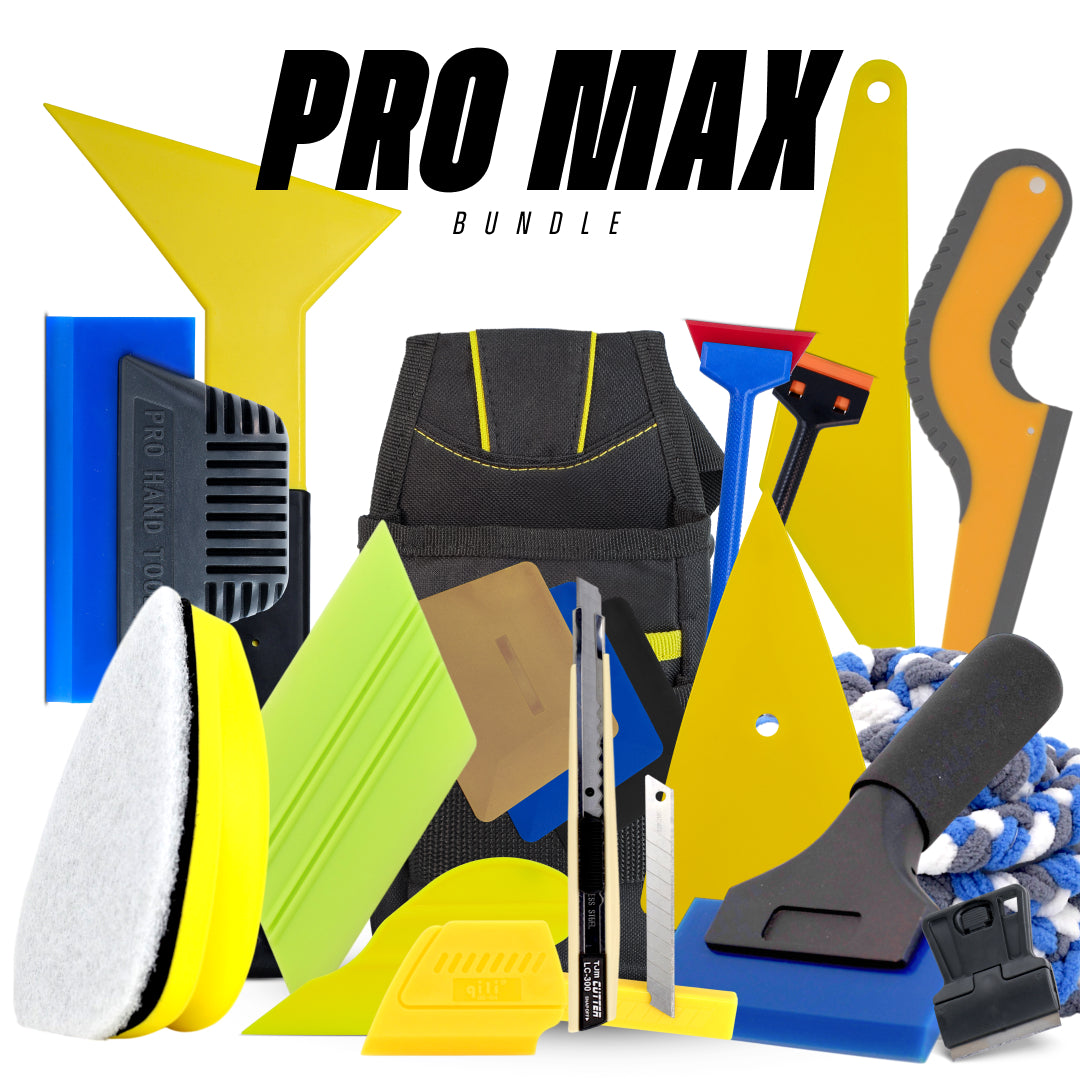
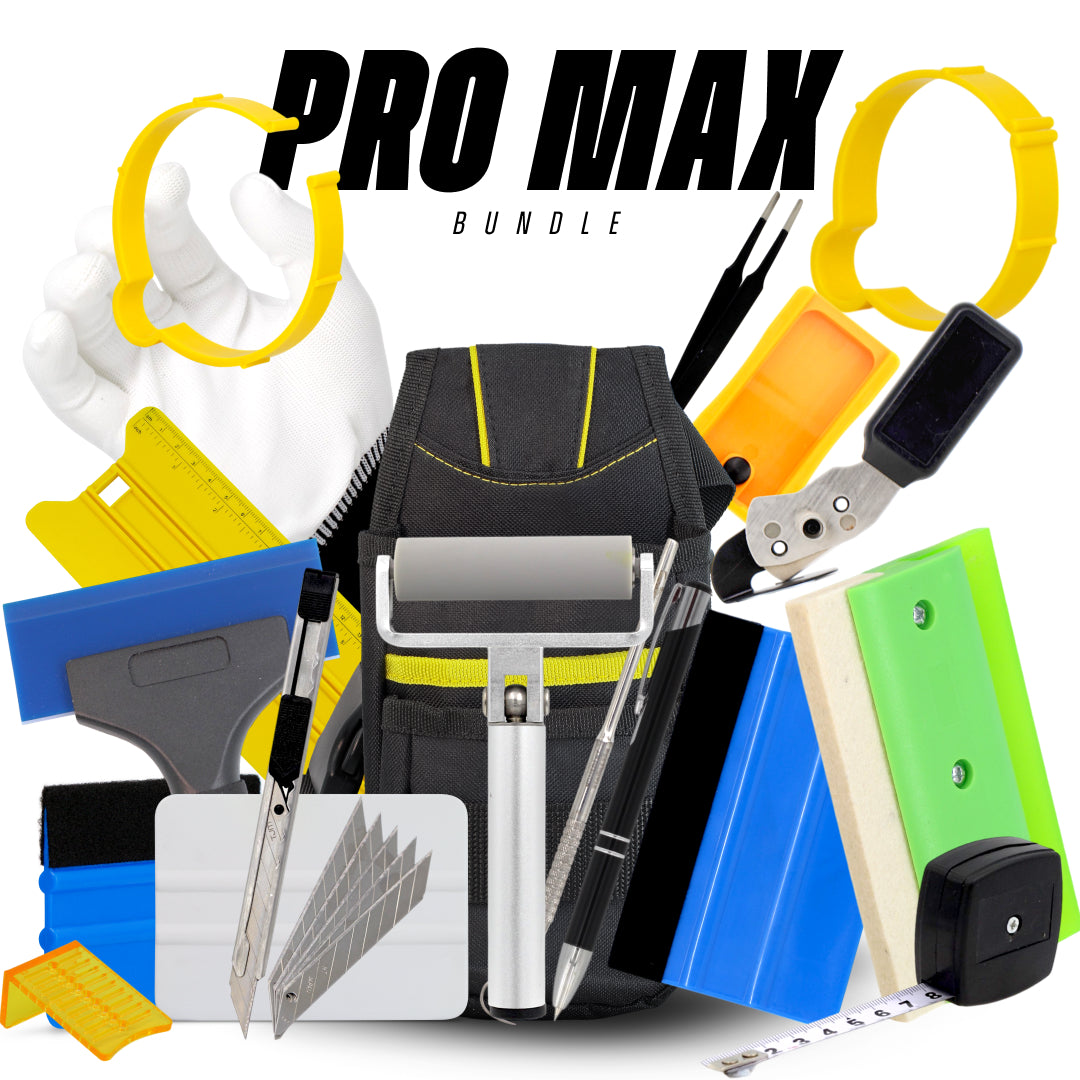
Essential Tools in a Basic Car Wrap Kit
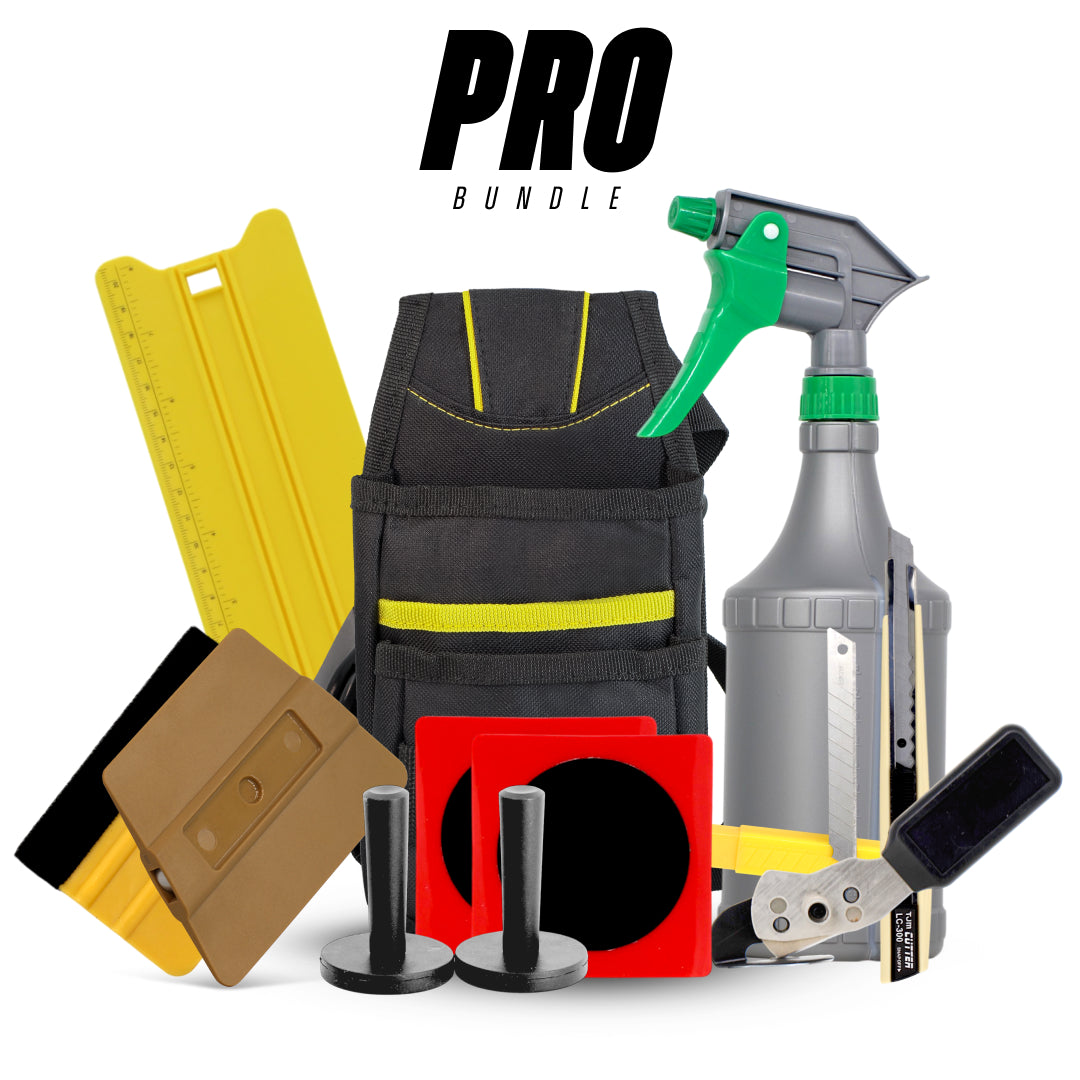
1. Application Tools
Squeegees, wrap gloves, and magnets help position and apply vinyl smoothly without damaging the surface.
2. Cutting Tools
Precision knives and snap-off blades are critical for trimming edges cleanly and safely.
3. Heating Tools
Heat guns allow vinyl to stretch and conform around curves, mirrors, bumpers, and recessed areas.
4. Surface Preparation Tools
Microfiber cloths, cleaning solutions, and surface prep sprays help ensure proper adhesion and reduce contamination.
5. Finishing Tools
Edge sealers, tuck tools, and detail applicators help achieve a professional-looking finish and reduce edge lifting over time.
Pro Tip for Beginners: Investing in a complete wrap tool kit is often more cost-effective than buying tools individually. A quality kit ensures compatibility between tools and gives beginners everything needed to start wrapping confidently.
Different surfaces and curves may require different types of vinyl wrap squeegees for better pressure control.
Can You Wrap a Car Without Professional Tools?
While it’s technically possible to wrap a vehicle using basic tools, professional-grade equipment dramatically improves both installation quality and efficiency.
Without the proper tools, beginners often experience:
- Air bubbles and wrinkles
- Uneven adhesion
- Damaged vinyl during installation
- Poor edge finishing
- Shorter wrap lifespan
Using the correct tools not only makes installation easier but also helps achieve a cleaner, more durable finish.
High-quality precision cutting blades help improve accuracy around trims, badges, and tight corners.
FAQs
What is the most important tool in a car wrap kit?
The vinyl squeegee is the most critical tool because it controls adhesion and prevents bubbles during installation.
Can I wrap a car without professional tools?
Yes, but results may be inconsistent. Professional vehicle wrapping tools greatly improve finish quality and durability.
Do I need a heat gun for vinyl wrapping?
Yes, especially for curves and edges. Heat helps the vinyl conform properly to the vehicle’s surface.
What type of vinyl is easiest for beginners?
Gloss and matte finishes from brands like 3M vinyl wrap are generally easiest to work with.
How long does a car wrap last?
With proper tools and installation, a vehicle vinyl wrap can last 5–7 years, depending on exposure and maintenance.
Conclusion
Car wrapping is a craft built entirely around control, precision, and the right set of tools. From surface preparation to final edge sealing, every stage depends on having a properly assembled vehicle wrap tool kit. Whether you’re using 3M vinyl wrap, experimenting with custom car wraps, or working with a full vinyl wrapping tools kit, the difference between a clean finish and a failed installation often comes down to the smallest tool in your hand.
Understanding how each tool functions, whether it’s a vinyl squeegee, heat gun, or cutting blade, helps transform a complex process into a manageable system. The more refined your toolkit, the more professional your results will look, whether you're wrapping a personal car or working on commercial vehicle wraps.
Are you unsure which tool or kit is right for your job?
Our expert team at Oz Sign Supplies is here to help. Reach out today, and we’ll direct you to the best tools to suit your project, ensuring you get the job done right the first time.


Leave a comment
This site is protected by hCaptcha and the hCaptcha Privacy Policy and Terms of Service apply.