


How to Wrap a Car: Step-by-Step Guide for Beginners (DIY Guide)
What Is a Car Wrap and Why Is It Popular
Car wrapping has exploded in popularity over the past decade, and it’s not hard to see why. Instead of committing to a permanent paint job, a car wrap lets you transform your vehicle’s appearance with a removable vinyl layer. Think of it like a high-end smartphone skin, but for your entire car. Whether you want a sleek matte black car wrap, a flashy chrome wrap, or a fully custom car wrap, vinyl gives you flexibility that paint can’t match.
At its core, an automotive wrap is a large sheet of adhesive-backed vinyl that is applied over your car’s exterior surfaces. These wraps come in a wide range of vehicle wrap colours, finishes, and textures, allowing car owners to express their personality or brand identity. Businesses, in particular, love vehicle wraps because they turn cars into moving billboards, cost-effective advertising that works 24/7.
Another reason behind the surge in popularity is accessibility. With the availability of high-quality materials like 3M vinyl wrap and Avery wraps, along with comprehensive car wrapping kits, beginners can now attempt DIY wrapping projects at home. You no longer need to be a professional detailer to achieve impressive results, just patience, the right tools, and a willingness to learn.
Interestingly, the demand for vehicle wrap Australia services has grown significantly, with more people opting for wraps instead of traditional resprays. Why? Because wraps protect the original paint underneath, maintain resale value, and can be removed without damage. That’s a huge advantage if you like to switch styles frequently or plan to sell your car later.
Understanding Auto Wrap vs Paint
When comparing an auto wrap to traditional paint, the differences go beyond just aesthetics. Paint is permanent, expensive, and time-consuming, often requiring weeks to complete and cure properly. On the other hand, a car vinyl wrap can be installed in a matter of days and removed whenever you feel like changing your vehicle’s look. That alone makes it a game-changer for enthusiasts and businesses alike.
Cost is another major factor. A high-quality paint job can easily run into thousands of dollars, especially if you’re going for custom finishes or intricate designs. In contrast, a vinyl wrap car kit is significantly more affordable, especially if you’re doing it yourself. Even professional wrapping services are often cheaper than premium paint jobs, making wraps an attractive option for budget-conscious car owners.
Durability is where things get interesting. While paint can chip and fade over time, modern vehicle vinyl wrap materials are designed to withstand harsh weather conditions, UV exposure, and minor abrasions. Brands like 3M wrapping solutions are engineered to last between 5 and 7 years with proper care. Plus, if a section gets damaged, you can replace just that portion instead of repainting the entire vehicle.
There’s also the creative aspect. With paint, your options are limited to the colours and finishes available at the shop. With wraps, you can experiment with textures like carbon fibre, brushed metal, or even unique patterns. Want a half-gloss, half-matte design? No problem. Wraps make it possible without permanent commitment.
If you’re comparing DIY against professional installation, this guide on how much a car wrap costs can help you evaluate the investment.

Benefits of Vinyl Wrapping
So why are so many people choosing vinyl wrapping Australia services or diving into DIY projects? The benefits go far beyond just aesthetics. First and foremost, wraps act as a protective layer for your vehicle’s original paint. This is especially valuable if you own a high-end car or plan to resell it in the future. The wrap absorbs minor scratches and environmental damage, keeping the paint underneath pristine.
Another huge advantage is customisation. With vehicle wraps, the sky is truly the limit. Whether you’re aiming for a subtle upgrade or a bold statement, there’s a wrap for every taste. From matte black car wrap finishes to eye-catching chrome wrap designs, you can tailor your car’s look exactly how you want it.
Ease of maintenance is another underrated benefit. Unlike paint, which may require polishing and waxing, a vehicle vinyl wrap is relatively low maintenance. A simple wash with mild soap and water is usually enough to keep it looking fresh. Plus, many modern wraps are designed to resist stains and fading, making them ideal for daily drivers.
Finally, wraps offer flexibility. If you get bored with your current design or need to update branding for your business, you can simply remove the wrap and apply a new one. This level of adaptability is something paint just can’t compete with.
Types of Vehicle Wraps You Should Know
When diving into the world of car wrapping, one of the first things you’ll notice is the sheer variety of options available. Not all wraps are created equal, and choosing the right type can make or break your project. Understanding the different types of vehicle wraps will help you make an informed decision that aligns with your goals, budget, and skill level.
The most common types include gloss, matte, satin, and textured wraps. Gloss wraps mimic the look of traditional paint, offering a shiny, polished finish that’s perfect for those who want a factory-like appearance. Matte wraps, on the other hand, provide a flat, non-reflective finish that has become incredibly popular in recent years. A matte black car wrap, for example, gives vehicles a stealthy, modern look that turns heads wherever it goes.
Textured wraps take things to another level. These include carbon fibre, brushed metal, and even leather-like finishes. They add depth and uniqueness to your car, making it stand out in a crowd. Then there’s the bold and flashy chrome wrap, which delivers a mirror-like finish that’s impossible to ignore. While stunning, chrome wraps are more challenging to install and require extra care.
For commercial purposes, custom car wraps are often used to display branding, logos, and promotional messages. These wraps are designed using high-resolution graphics and can cover the entire vehicle or just specific sections. Businesses across the vehicle wrap Australia markets rely heavily on these wraps for advertising.
Gloss, Matte, and Chrome Wraps
Choosing between gloss, matte, and chrome finishes is more than just a visual decision; it also affects installation difficulty and maintenance. Gloss wraps are generally the easiest to work with, making them ideal for beginners. They’re forgiving when it comes to minor mistakes and can be repositioned more easily during installation.
Matte wraps, while visually stunning, require a bit more precision. They tend to highlight imperfections such as dust particles or uneven surfaces, so preparation is key. However, the payoff is worth it. A well-installed matte wrap delivers a premium look that rivals high-end paint jobs.
Chrome wraps are in a league of their own. They’re incredibly reflective and eye-catching, but they’re also the most difficult to install. Even experienced professionals find chrome challenging due to its tendency to show every imperfection. If you’re a beginner, it’s best to start with gloss or matte before attempting chrome.
3M Vinyl Wrap vs Avery Wraps
When it comes to quality, two brands dominate the market: 3M vinyl wrap and Avery wraps. Both offer excellent performance, durability, and ease of use, but they have subtle differences that can influence your choice.
| Feature | 3M Vinyl Wrap | Avery Wraps |
|---|---|---|
| Ease of Installation | Moderate | Beginner-friendly |
| Air Release Technology | Advanced | Very Advanced |
| Finish Options | Wide variety | Slightly more premium finishes |
| Durability | 5–7 years | 5–6 years |
3M wrapping products are known for their durability and slightly thicker material, which can be beneficial for beginners as it’s less prone to tearing. Avery wraps, on the other hand, are softer and more flexible, making them easier to conform to curves and complex surfaces.
Choosing between the two often comes down to personal preference. If you want something forgiving and durable, go with 3M. If you prioritise ease of application and a smoother finish, Avery might be the better option.
Having the right vinyl wrap tools makes the installation process significantly easier for beginners.
Essential Tools for Car Wrapping
If you think you can successfully install a car vinyl wrap with just your hands and a roll of vinyl, that idea falls apart pretty quickly once you actually start. Wrapping a car is a precision-based process, and the difference between a professional-looking finish and a frustrating mess often comes down to having the right car wrap tools. Imagine trying to paint a masterpiece with a toothbrush; that’s what wrapping without proper tools feels like.
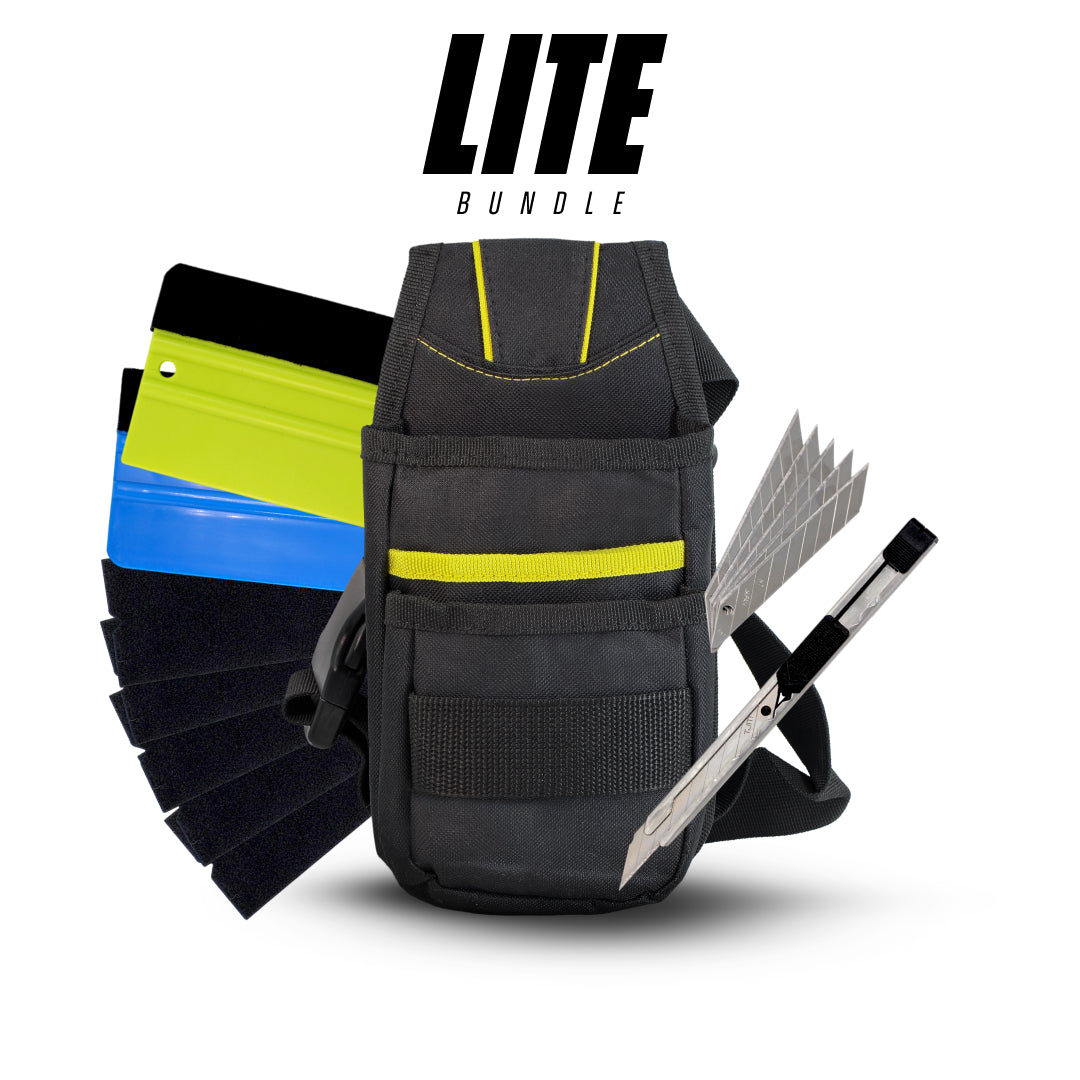
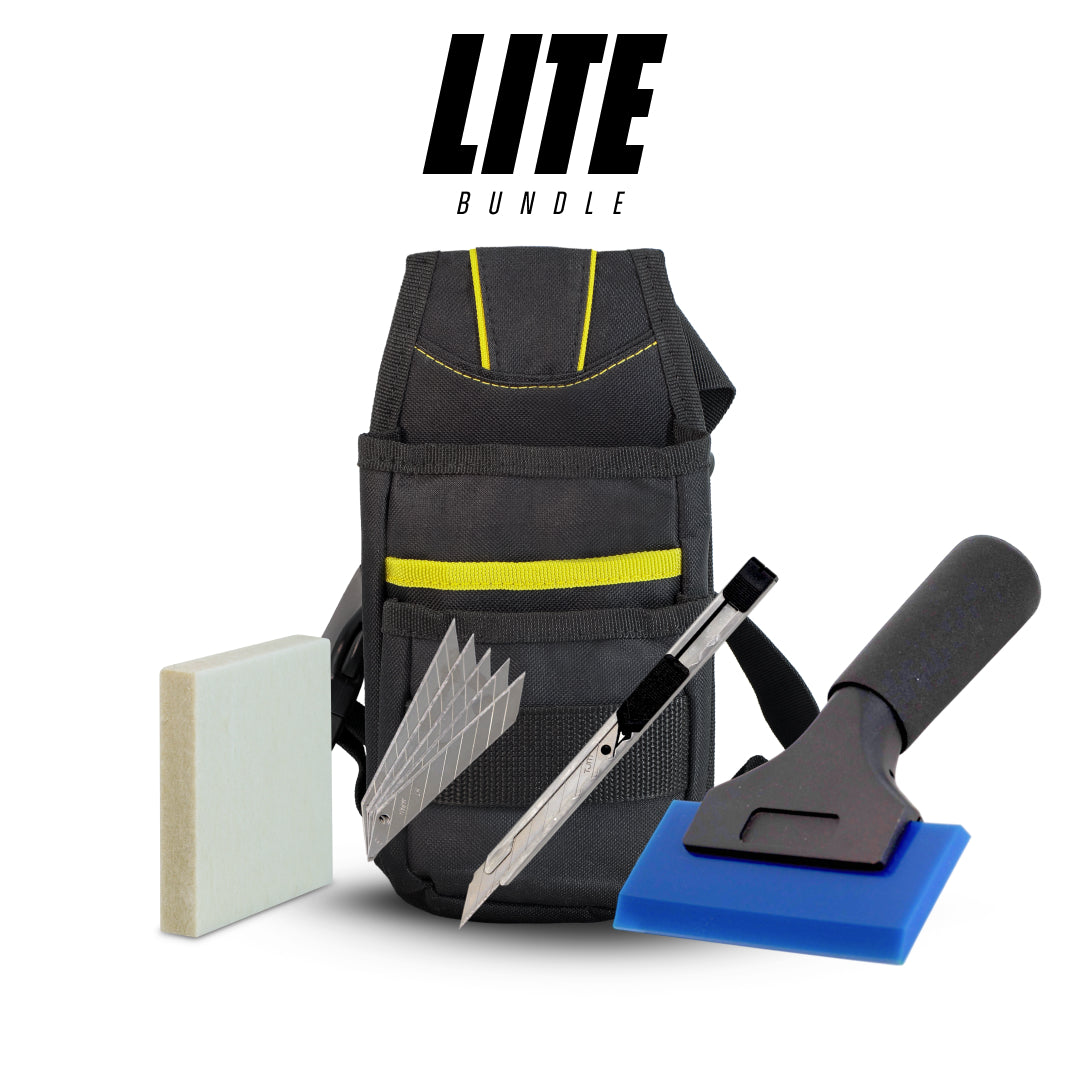
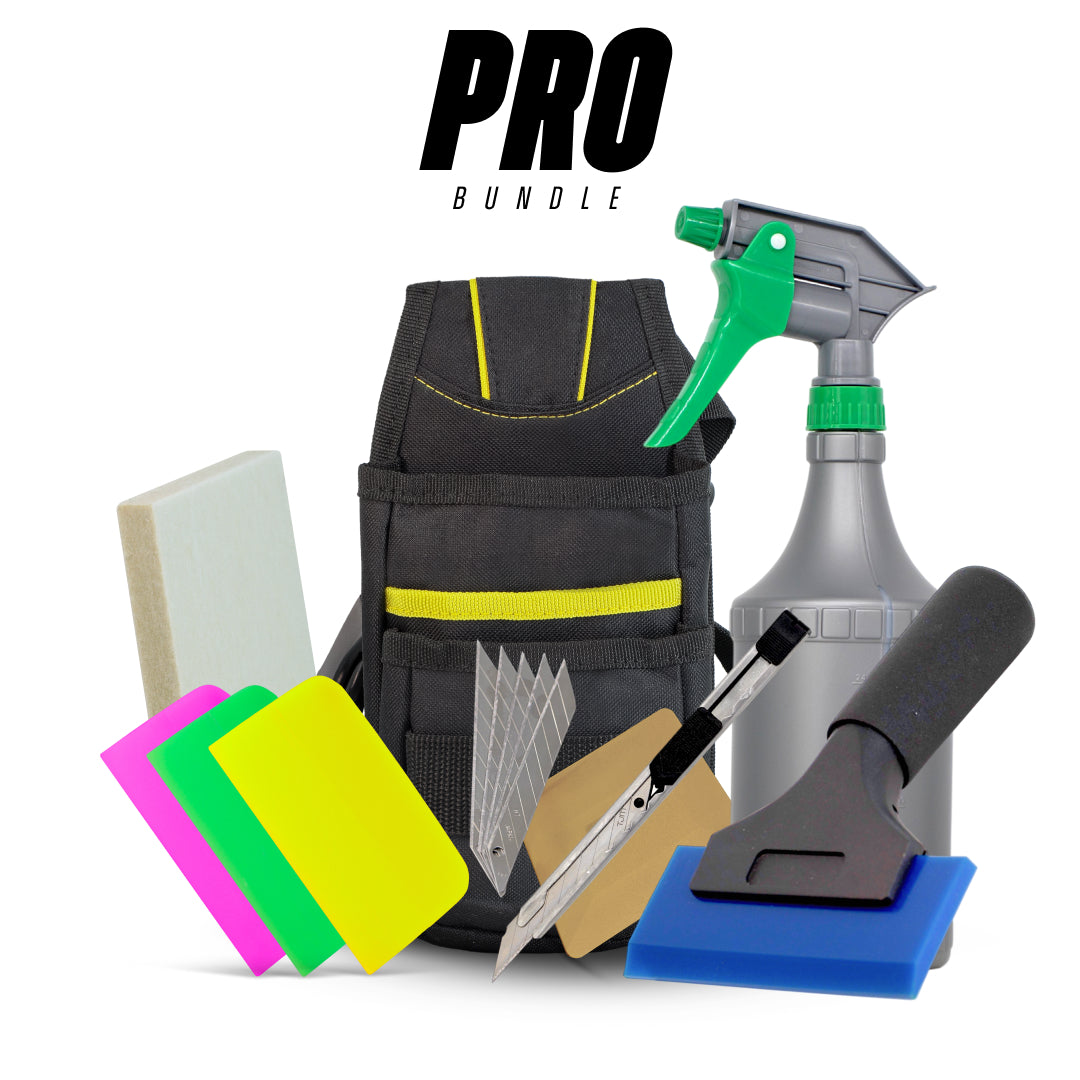
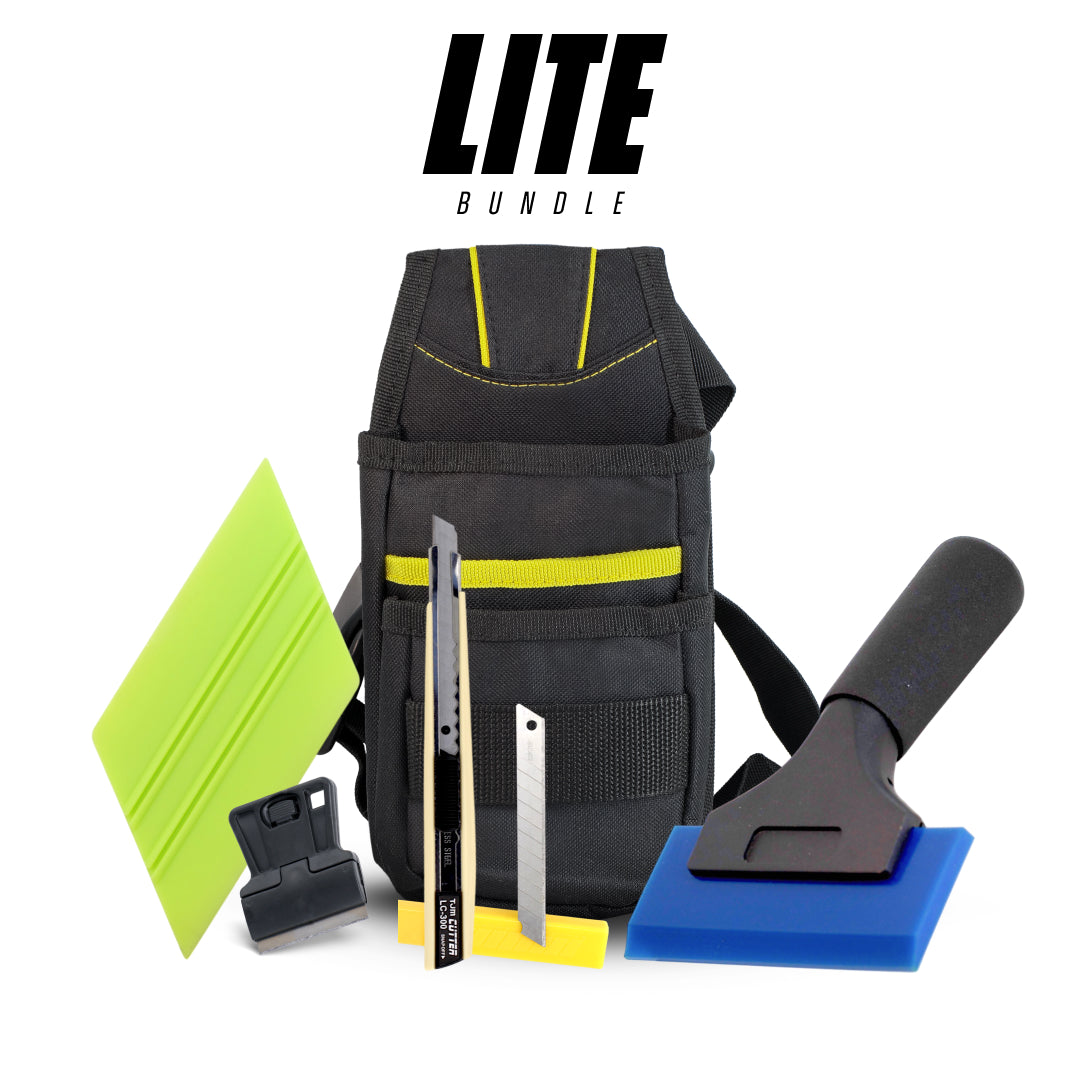
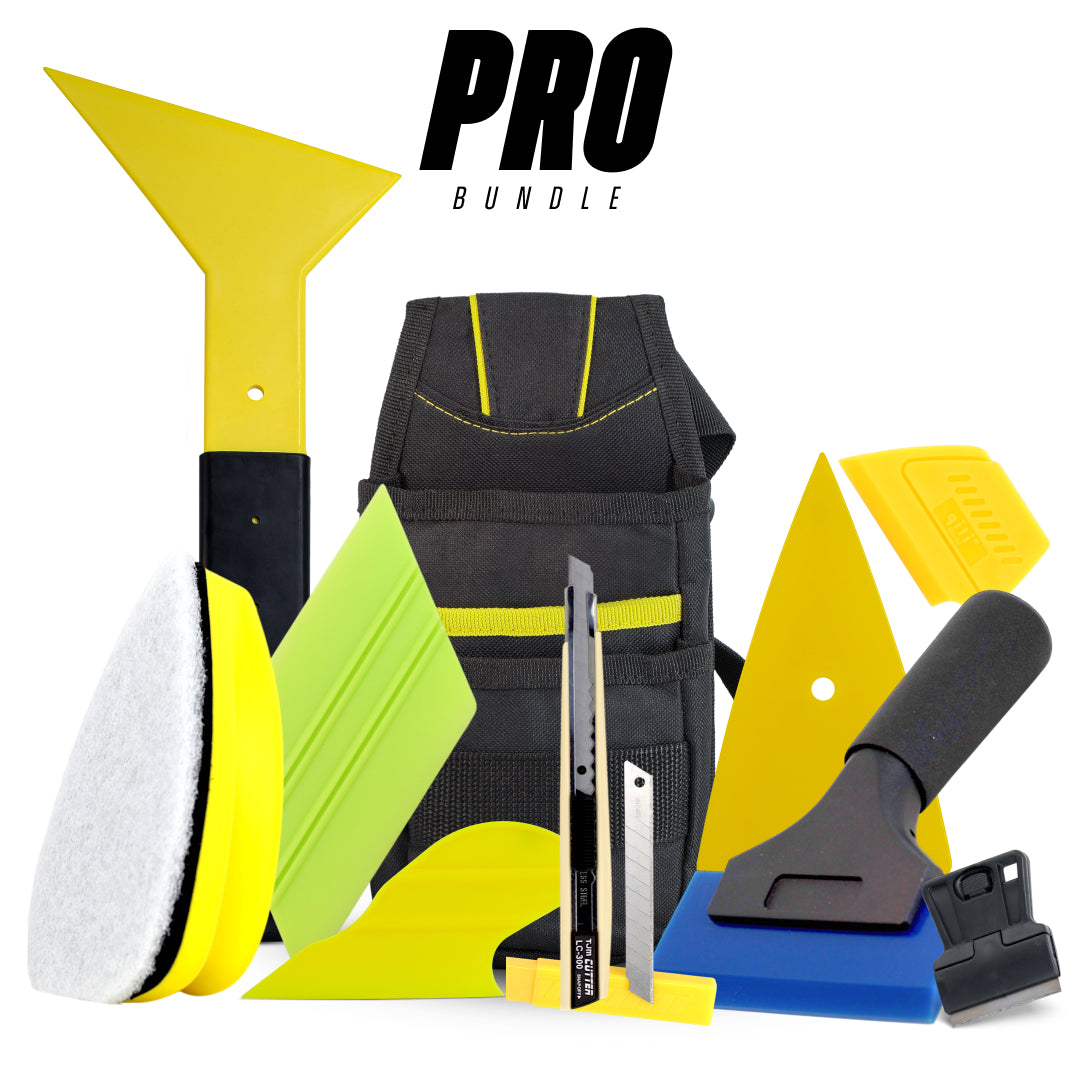
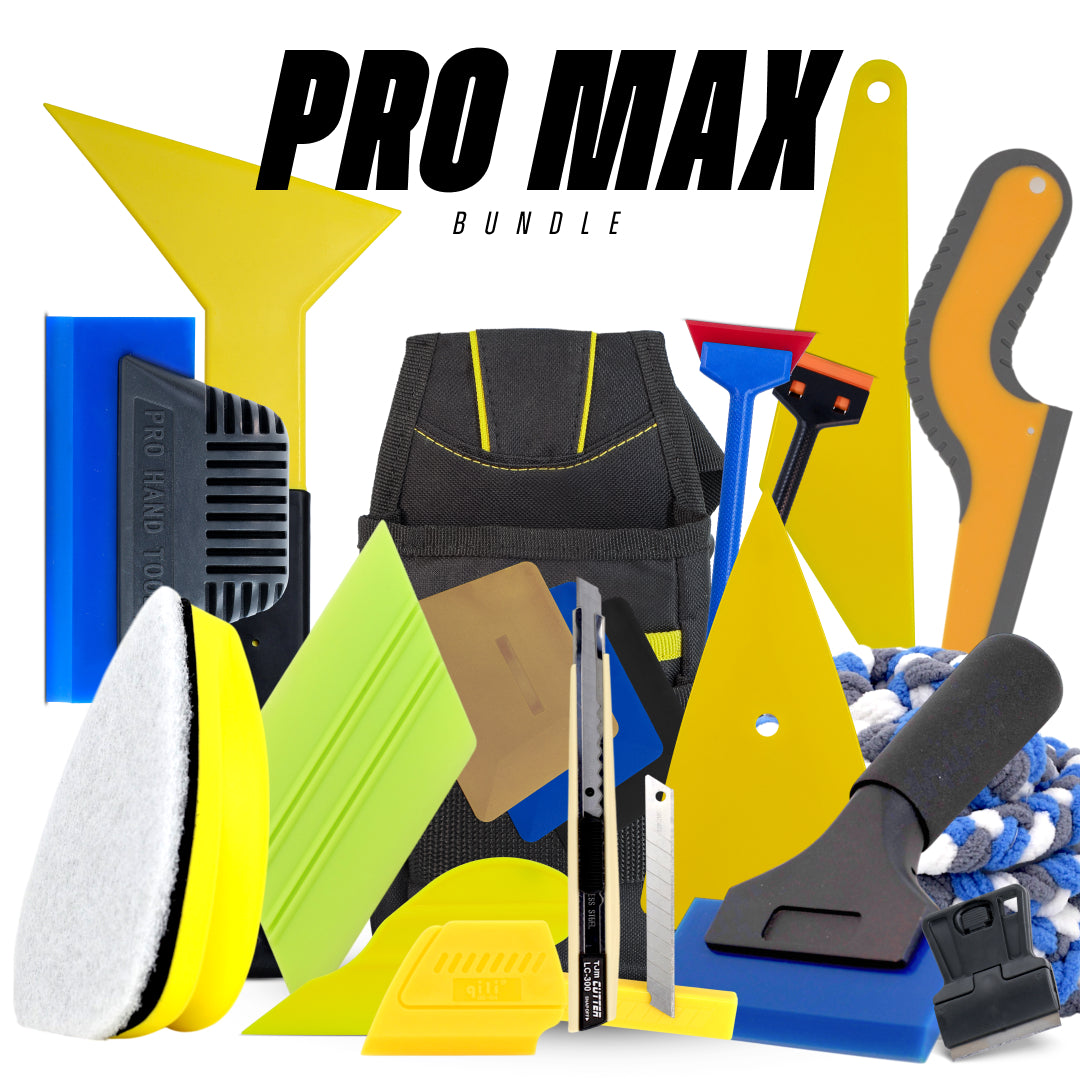
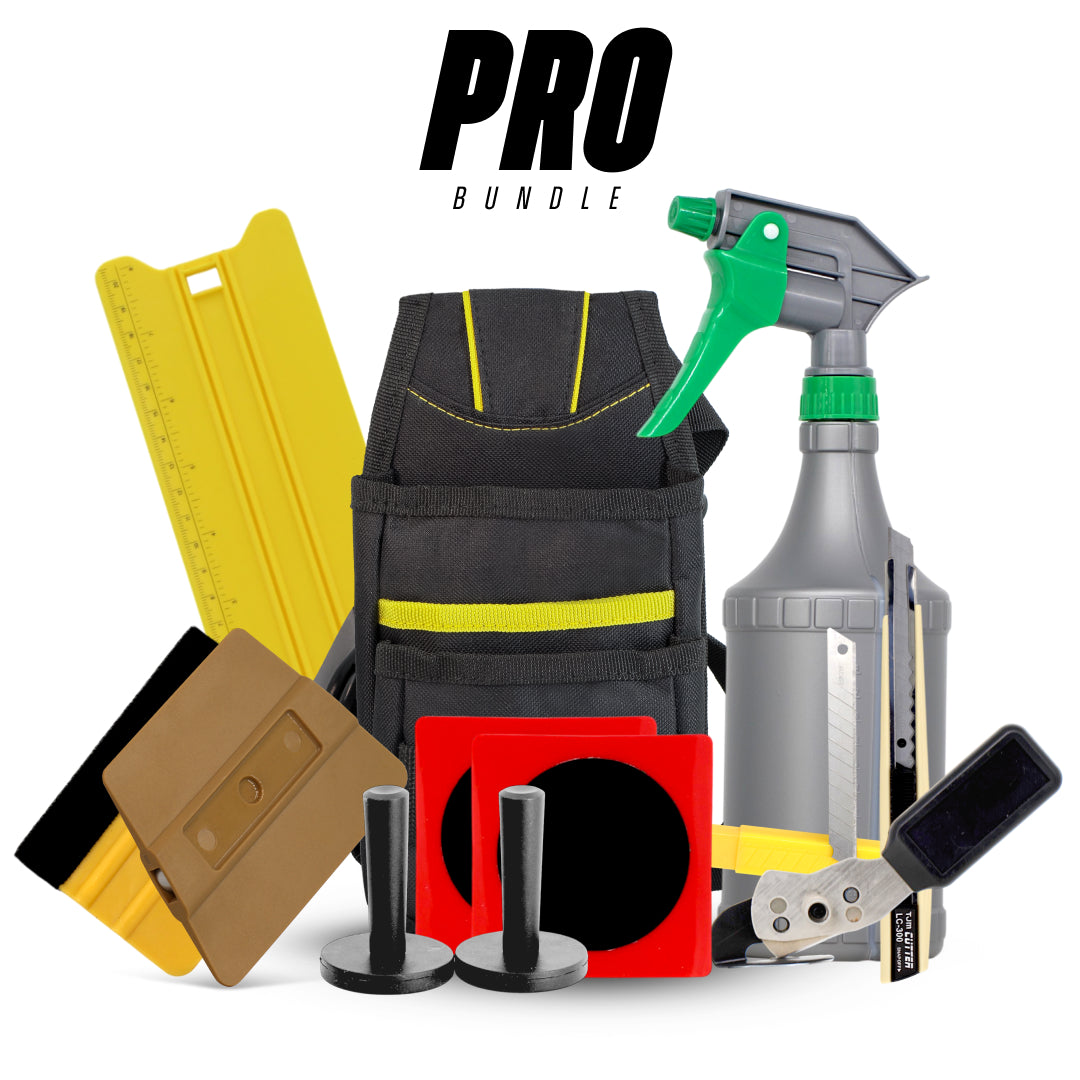
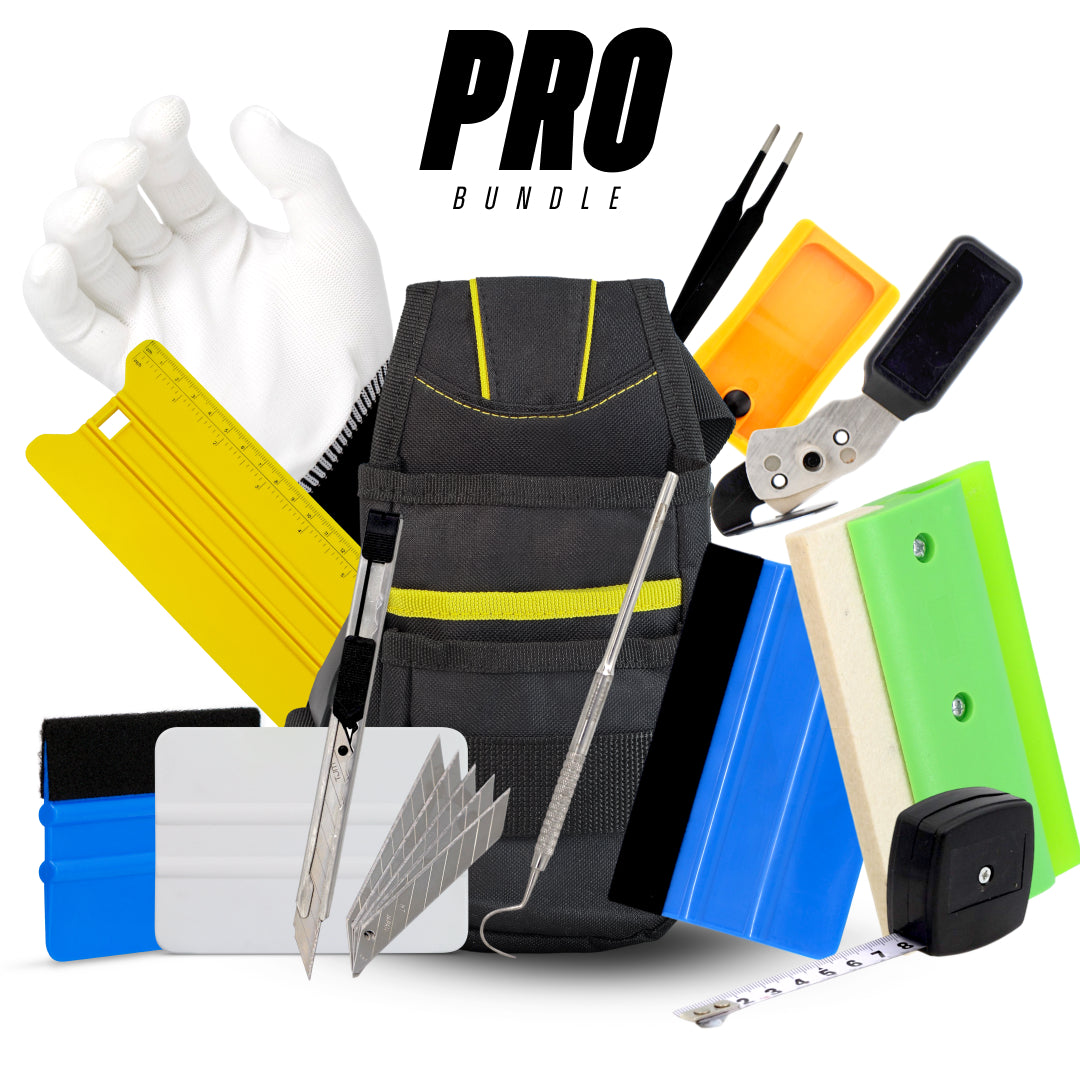
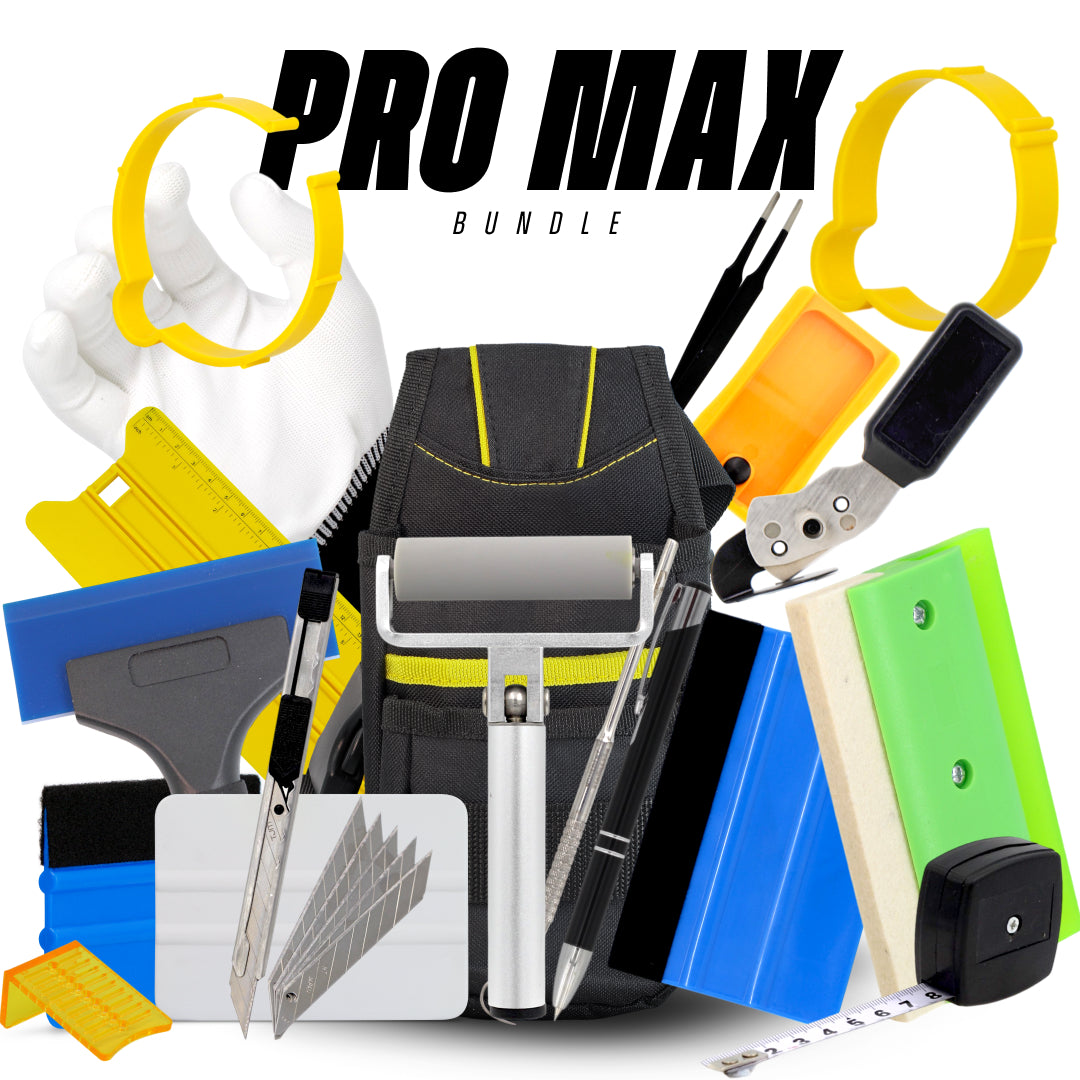
A proper vehicle wrapping kit is designed to make your job smoother, faster, and far more accurate. These kits usually include essential items like a vinyl squeegee, utility knives, heat guns, measuring tapes, and edge tools. Each tool plays a specific role in ensuring the vinyl adheres properly and looks flawless. For example, a squeegee for vinyl helps remove air bubbles and ensures even pressure during application, while a heat gun allows the vinyl to stretch and conform around curves and edges.
One of the most overlooked tools is the cutting blade. Precision cutting is crucial when trimming excess vinyl around edges, door handles, and panels. A dull blade can tear the vinyl, leaving jagged edges that ruin the entire look. That’s why professional-grade wrap tools vinyl kits always include high-quality, replaceable blades.
Another key component is surface preparation tools. Before applying any vehicle vinyl wrap, the surface must be spotless. Every speck of dust can create visible imperfections. Microfiber cloths, cleaning solutions, and degreasers are essential for prepping the car properly.
The bottom line? Investing in a good car wrapping tool kit isn’t optional; it’s necessary. It not only improves the quality of your work but also saves you time and frustration. Beginners often underestimate this step, but experienced wrappers know that tools are half the battle.

Complete Car Wrapping Tool Kit
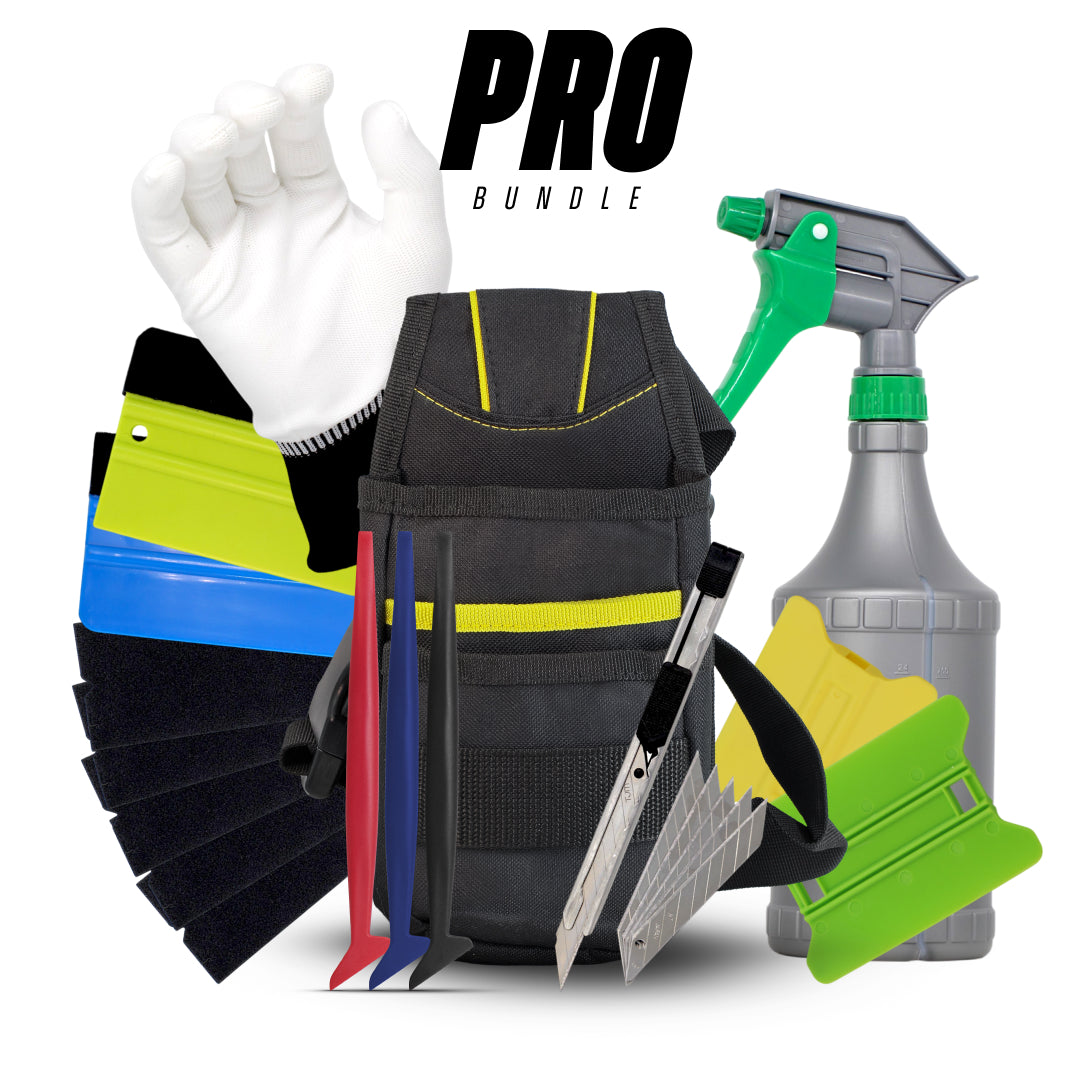
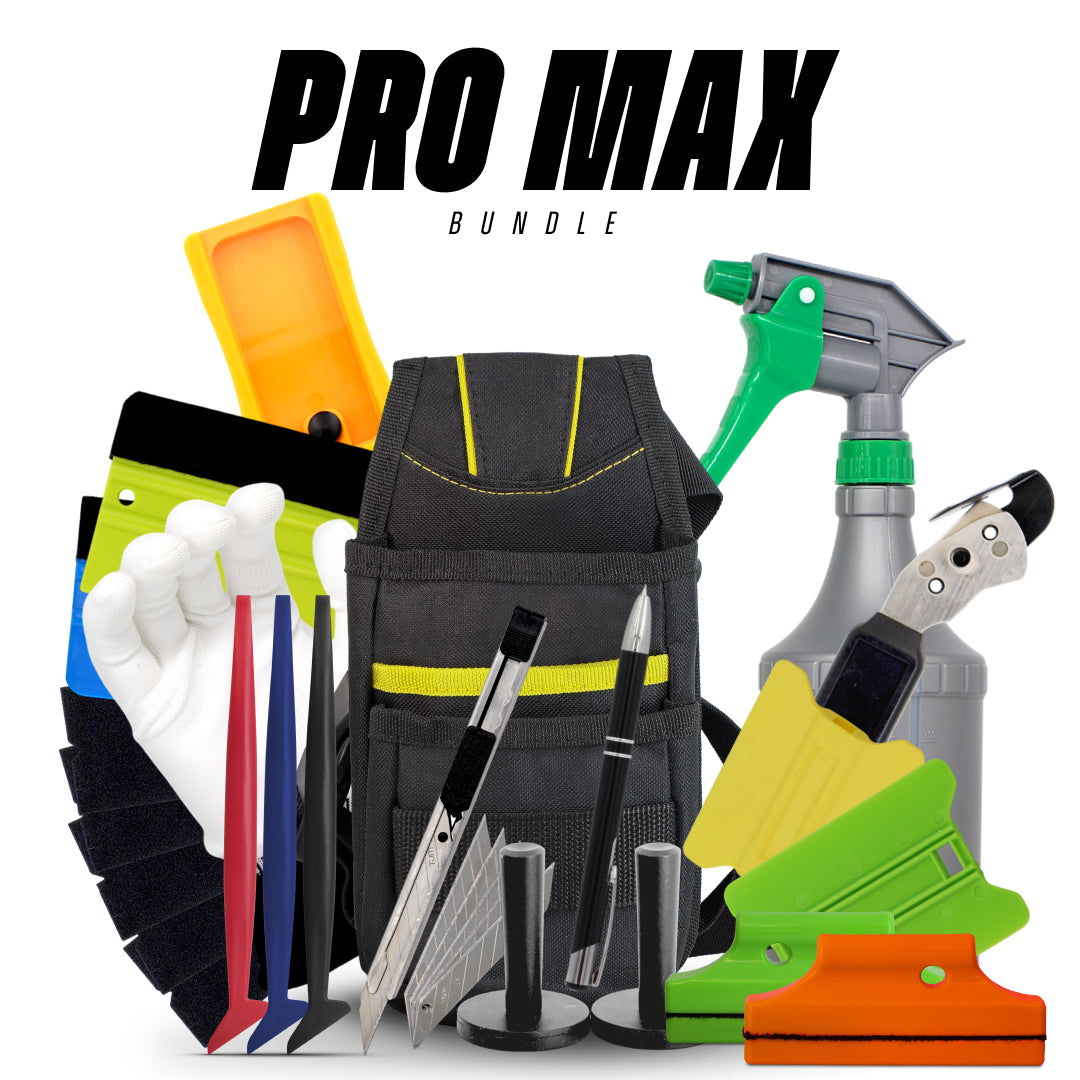
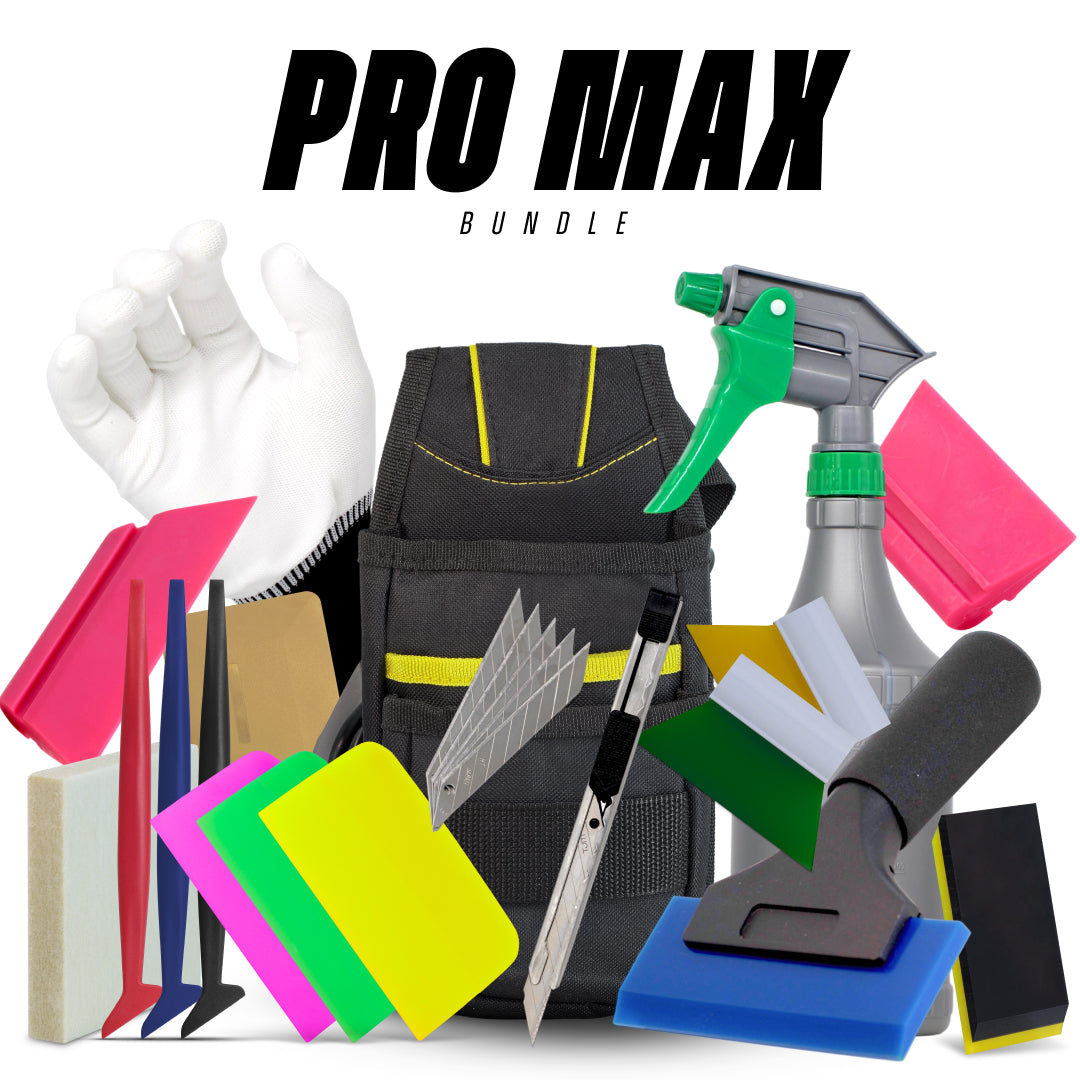
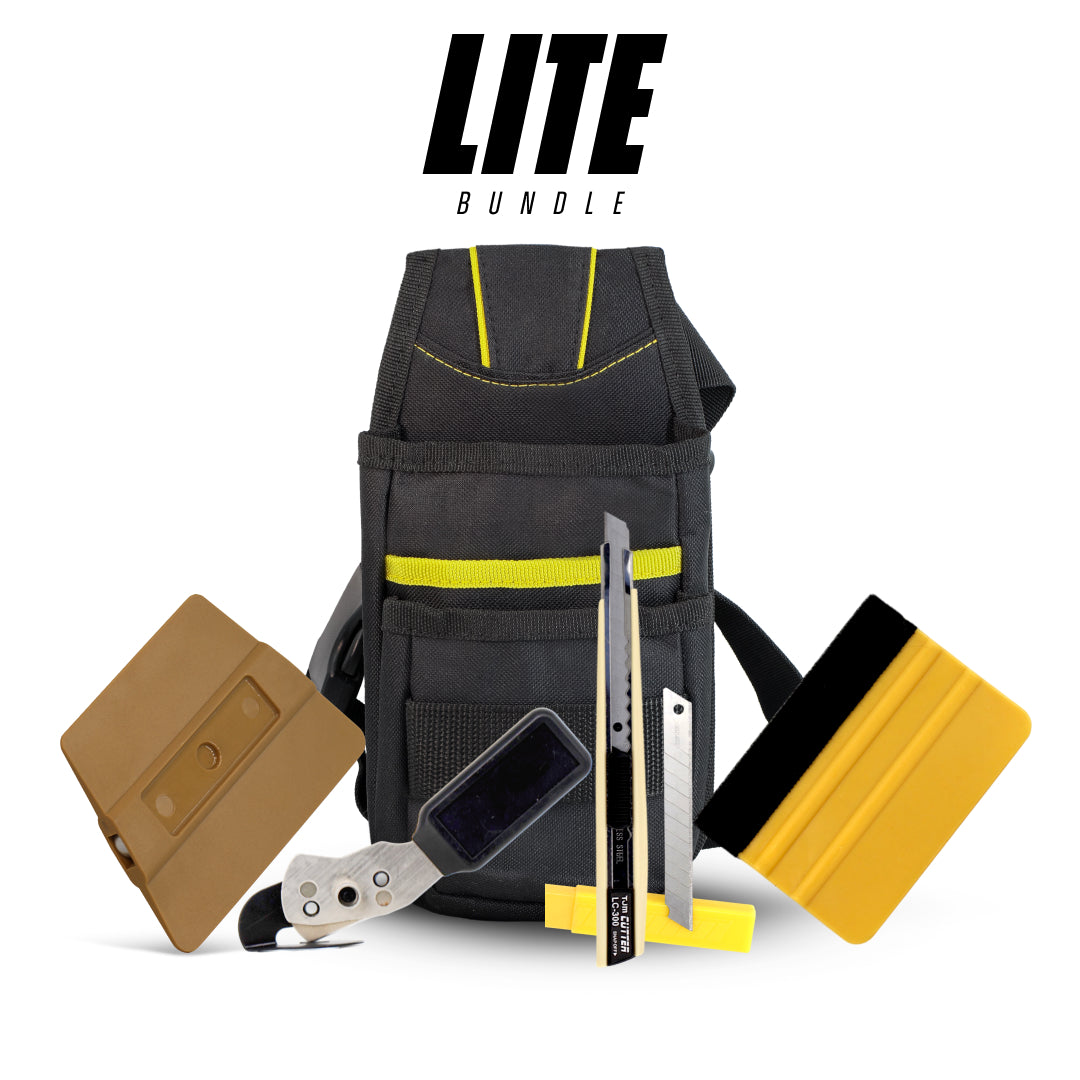
A well-equipped car wrapping kit is like a chef’s kit; then, every tool has a purpose, and skipping one can throw off the entire process. If you’re serious about achieving a clean, professional finish, you’ll want to assemble a complete vehicle wrap tool kit before you even unroll your vinyl.
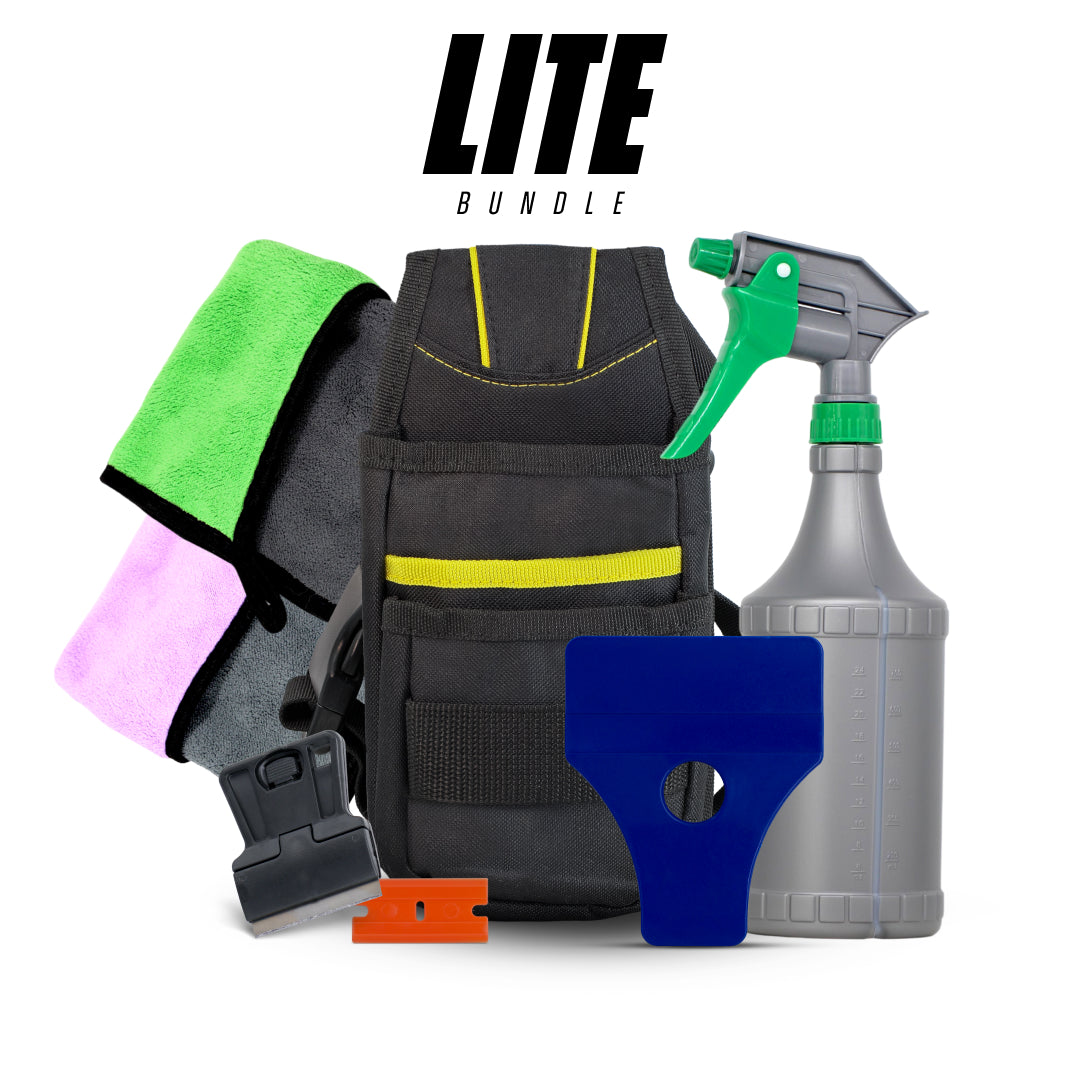
At the core of any vinyl wrapping tools kit, you’ll find a few must-have items:
Heat gun or torch – Used to soften the vinyl and make it flexible for curves and edges
Vinyl squeegee – Essential for smoothing out the wrap and removing air bubbles
Utility knife – For precise trimming
Measuring tape – Ensures accurate cuts and alignment
Gloves – Prevent fingerprints and allow smooth handling
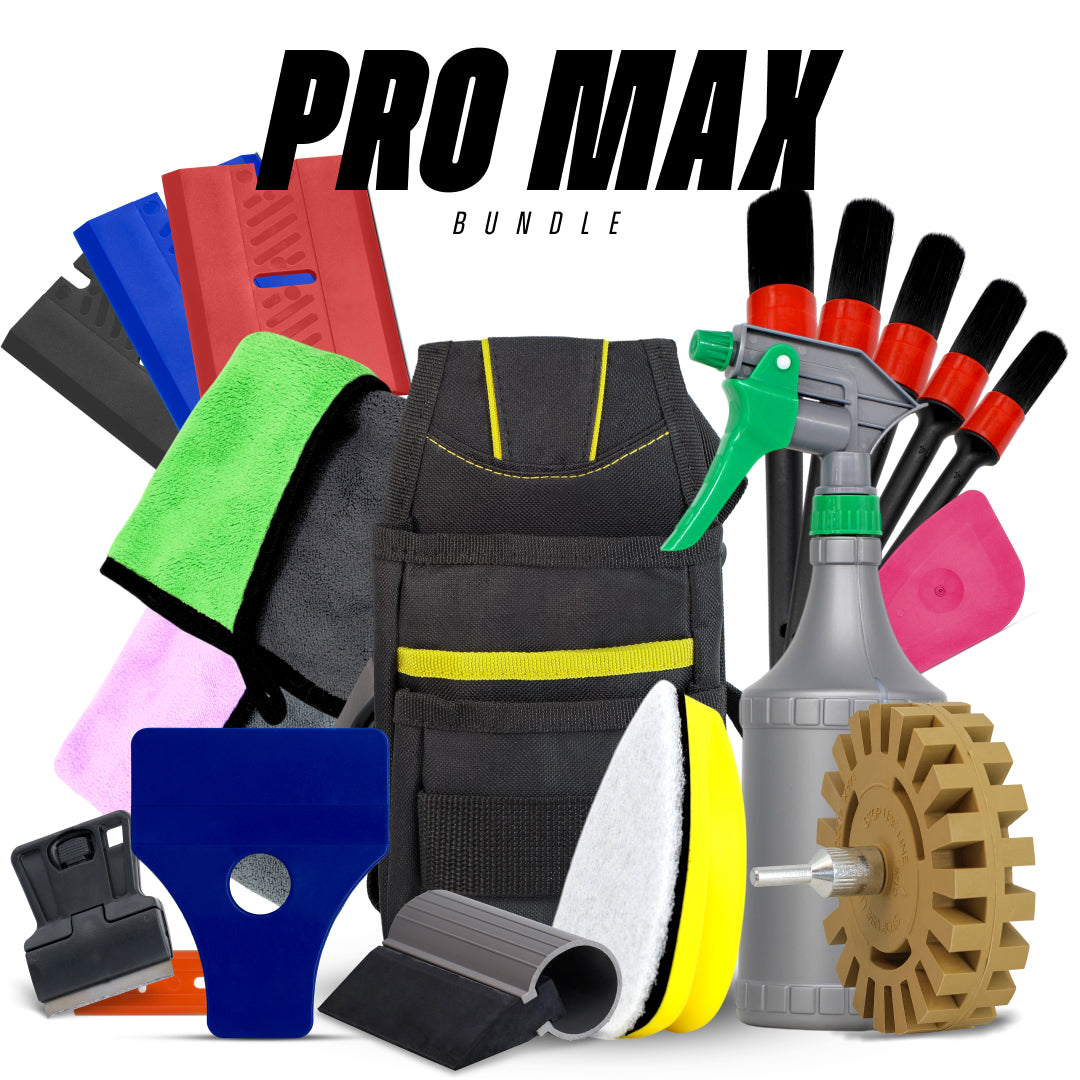
Beyond the basics, there are advanced tools that can elevate your work. Edge tucking tools, for instance, help you push the vinyl neatly into tight gaps and seams. Magnets can hold large sheets of vinyl in place while you position them, which is incredibly helpful when working alone.
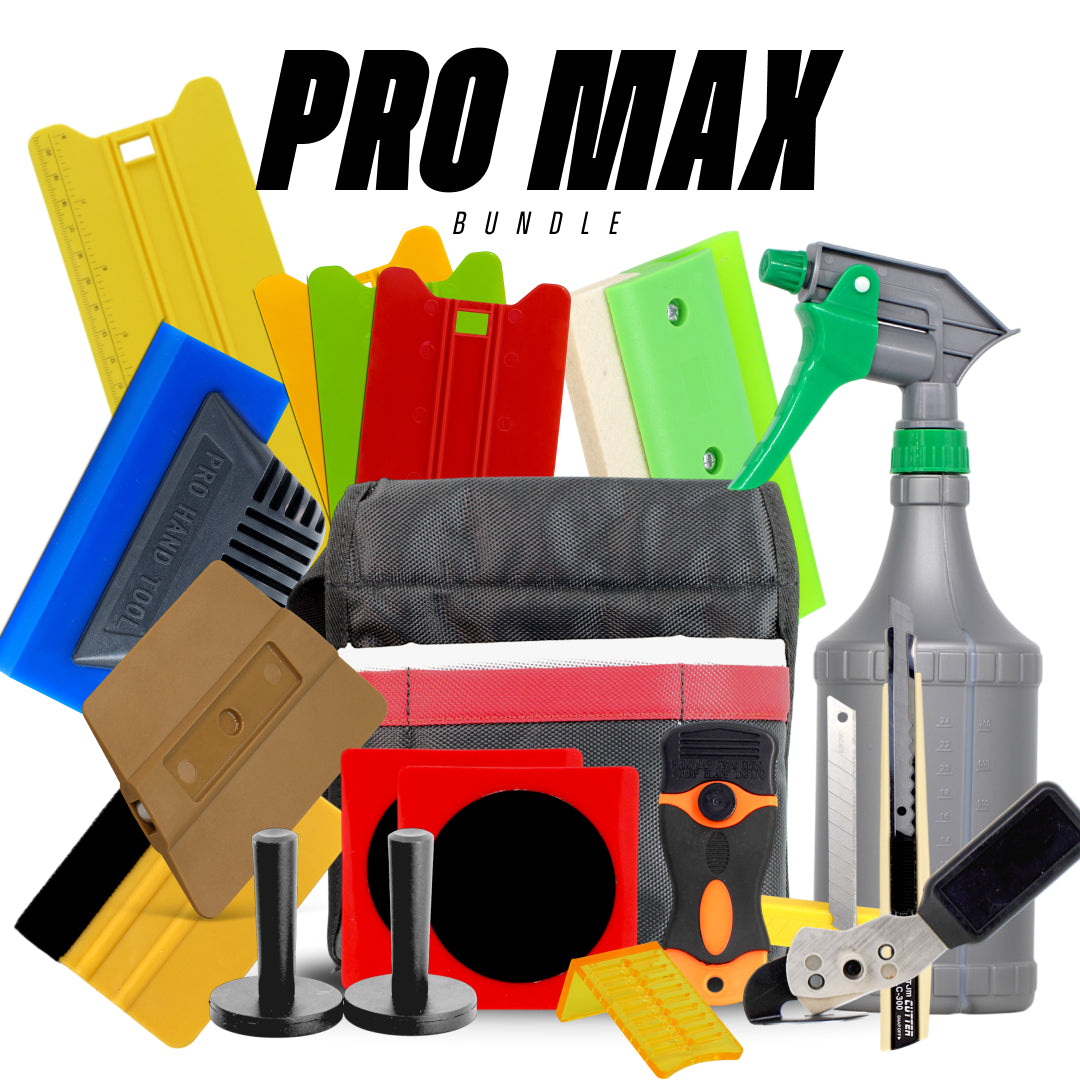
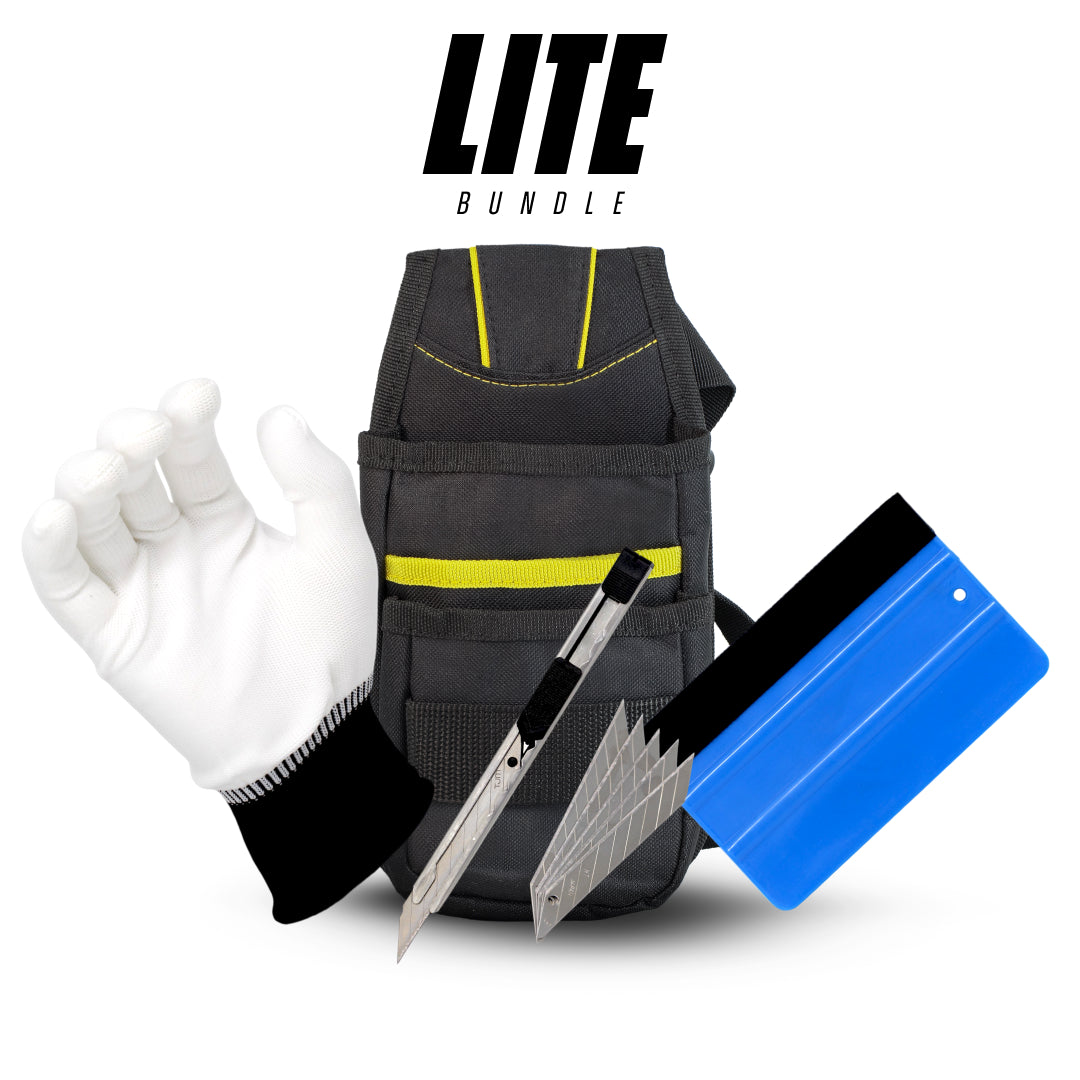
A vinyl wrap car kit often bundles these tools together, making it easier for beginners to get started without hunting for individual items. Many kits also include practice vinyl, which is incredibly useful for learning techniques before touching your actual car.
Interestingly, professionals often customise their vehicle wrap tools based on personal preference. Some prefer softer squeegees for delicate finishes, while others use firmer ones for aggressive smoothing. As a beginner, it’s worth experimenting to find what works best for you.
Many first-time installers prefer complete wrap tool kits because they include the essential tools needed for application.
Choosing the Right Vinyl Squeegee
It might sound surprising, but the humble vinyl squeegee is arguably the most important tool in your entire wrapping arsenal. Think of it as the bridge between the vinyl and your car’s surface. Without it, achieving a smooth, bubble-free finish would be nearly impossible.
Not all vinyl squeegees are created equal. They come in different shapes, sizes, and materials, each suited for specific tasks. Soft squeegees are ideal for delicate finishes like chrome wrap or gloss surfaces, as they reduce the risk of scratching. Hard squeegees, on the other hand, provide more pressure and are better for flattening stubborn areas.
Many wrap tools also include felt-edged squeegees. These are a favourite among professionals because they glide smoothly over the vinyl without leaving marks. If you’re just starting, a felt-edged vinyl wrap squeegee is a safe and versatile choice.
Technique matters just as much as the tool itself. Using consistent pressure and working from the centre outward helps eliminate air bubbles and ensures even adhesion. Rushing this step often leads to wrinkles and imperfections that are difficult to fix later.
Another tip? Keep multiple squeegees on hand. Different parts of the car, like curves, edges, and flat panels, require different approaches. Having a variety of vinyl wrapping tools allows you to adapt as needed and achieve better results overall.
Preparing Your Vehicle for Wrapping
Jumping straight into applying a car wrap without proper preparation is like building a house on sand, and it might look okay at first, but problems will show up quickly. Preparation is one of the most critical steps in the entire automotive wrap process, and skipping it is one of the biggest mistakes beginners make.
The goal of preparation is simple: create a clean, smooth surface that allows the vinyl to adhere perfectly. Any dirt, grease, or imperfections can interfere with adhesion and lead to bubbles, peeling, or uneven finishes. This is why professionals often spend hours prepping a vehicle before applying any vinyl.
Start by thoroughly washing the car using a mild detergent. Pay special attention to areas like door handles, mirrors, and seams where dirt tends to accumulate. After washing, use a degreaser to remove any leftover oils or residues. Even fingerprints can affect how the vinyl sticks.
Next comes inspection. Look for scratches, dents, or rust. While a vehicle vinyl wrap can hide minor imperfections, larger issues will still be visible and may even worsen over time. Addressing these problems beforehand ensures a smoother final result.
Finally, make sure the car is completely dry. Moisture trapped under the vinyl can cause adhesion issues and reduce the lifespan of the wrap. Taking the time to prepare properly sets the foundation for a successful wrap.
Using professional wrap installation tools can improve both speed and finish quality.

Cleaning and Surface Preparation
Cleaning isn’t just about making your car look nice; it’s about creating the perfect canvas for your car vinyl wrap. Even the highest-quality 3M vinyl wrap won’t stick properly if the surface isn’t prepared correctly.
Start with a thorough wash using automotive soap. Avoid household cleaners, as they can leave residues that interfere with adhesion. Once the car is clean, use isopropyl alcohol to wipe down all surfaces. This step removes any remaining oils, waxes, or contaminants.
Pay extra attention to edges and crevices. These areas are often overlooked but are crucial for ensuring the wrap stays in place. Dirt trapped in these spots can cause the vinyl to lift over time.
Another important step is clay bar treatment. While optional, it helps remove embedded contaminants that regular washing can’t eliminate. This results in an ultra-smooth surface, which is ideal for wrapping.
Ideal Environment for Vinyl Wrapping
Believe it or not, the environment you choose can significantly impact the success of your vinyl wrapping Australia project. Wrapping a car outdoors might seem convenient, but it introduces variables like dust, wind, and temperature fluctuations that can ruin your work.
The ideal environment is a clean, enclosed space with controlled temperature and lighting. A garage is perfect, as it protects your project from external elements. Temperature is especially important; most vehicle wraps are designed to be applied between 18°C and 25°C (64°F to 77°F). Too cold, and the vinyl becomes stiff and difficult to work with. Too hot, and it becomes overly soft and hard to control.
Lighting is another factor that’s often overlooked. Good lighting helps you spot imperfections, bubbles, and alignment issues early on. Without it, you might only notice problems after the wrap is complete.
Humidity also plays a role. High humidity can affect adhesion and make the process more challenging. Keeping the environment dry ensures better results.
Creating the right setup might take a bit of effort, but it dramatically increases your chances of success. After all, even the best vehicle wrapping tools can’t compensate for a poor working environment.
Proper preparation is critical, which is why professional installers use dedicated surface prep tools before applying vinyl.
Step-by-Step Guide to Wrapping a Car
Now comes the part you’ve probably been waiting for, the actual process of applying a car wrap. This is where preparation, tools, and patience all come together. Wrapping a car isn’t just about sticking vinyl onto metal; it’s a careful, methodical process that requires attention to detail at every step. If you rush it, the results will show. But if you take your time, even as a beginner, you can achieve a finish that looks surprisingly professional.
The first thing to understand is that you should never attempt to wrap the entire car in one go, especially if you’re new to automotive wrap projects. Instead, break the car down into manageable sections: hood, roof, doors, bumpers, and so on. This makes the process less overwhelming and allows you to focus on getting each panel right before moving on.
Before applying any vinyl, position it over the panel and secure it lightly using magnets or masking tape. This helps you visualise alignment and ensures you’re not wasting material. Once you’re satisfied, peel back a portion of the backing and begin applying the vinyl gradually. The key here is to work slowly and consistently, using your vinyl squeegee to press the material onto the surface while pushing out air bubbles.
Heat plays a crucial role during this stage. A heat gun softens the vinyl, making it more flexible and easier to stretch around curves and edges. However, too much heat can damage the material, so it’s important to find a balance. Think of it like cooking, you want just enough heat to make things workable, not so much that you ruin the dish.
As you progress, constantly check your work. Look for bubbles, wrinkles, or misalignments and fix them immediately. Vinyl is forgiving to a point, but once it sets, adjustments become more difficult. This step-by-step approach ensures that each section is applied correctly, resulting in a clean, cohesive finish across the entire vehicle.
Measuring and Cutting Vinyl Wrap
Measuring and cutting might seem like a straightforward task, but in the world of vehicle vinyl wrap, it’s a skill that can save you both time and money. Cutting too little vinyl forces you to patch pieces together, which can ruin the seamless look you’re aiming for. Cutting too much, on the other hand, leads to unnecessary waste, something you definitely want to avoid, especially when working with premium materials like 3M vinyl wrap or Avery wraps.
Start by measuring each panel of your car carefully. Always add a few extra inches to your measurements to account for edges, curves, and potential mistakes. This extra margin acts as a safety net, giving you room to adjust and reposition the vinyl during application. It’s much easier to trim excess material than to deal with shortages.
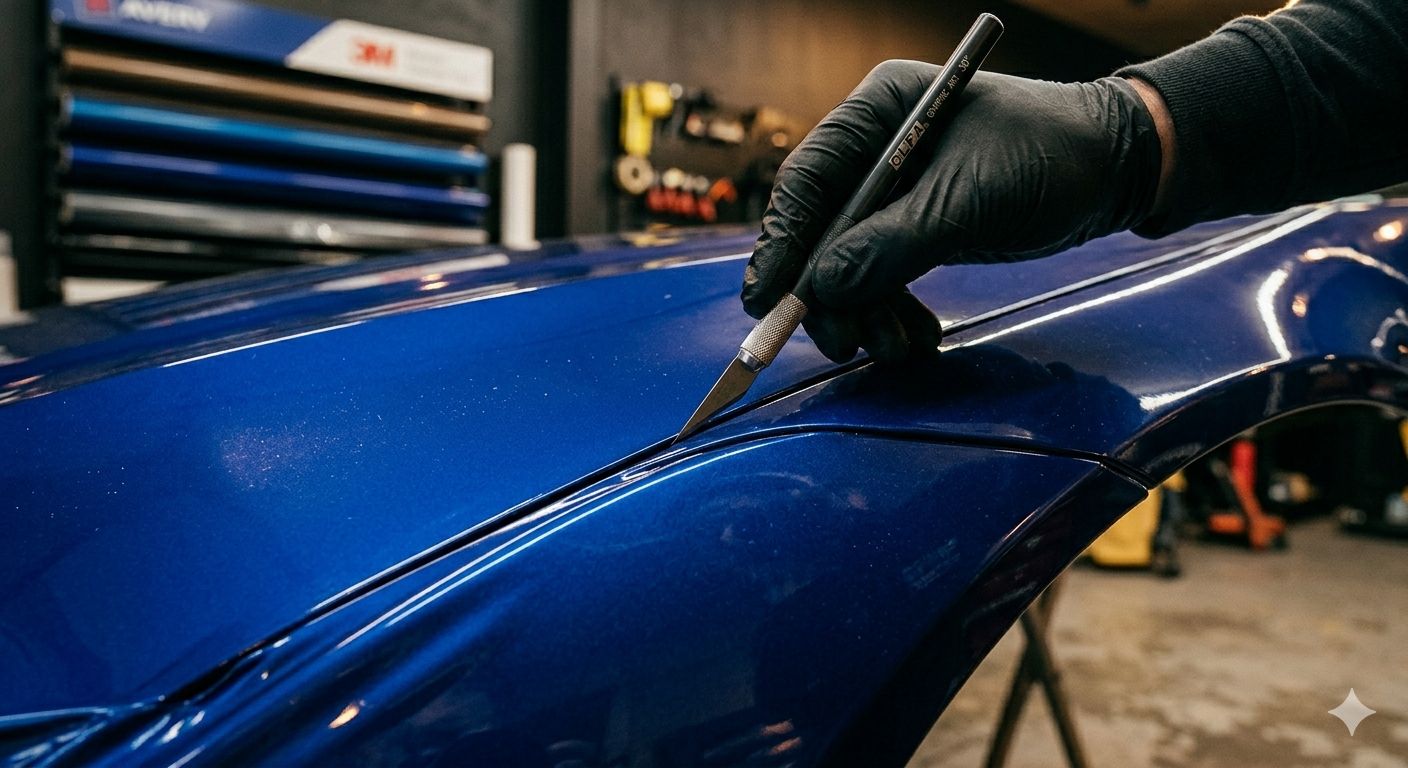
When it comes to cutting, precision is everything. Use a sharp utility knife or blade from your car wrapping tool kit. A dull blade can snag or tear the vinyl, creating jagged edges that are difficult to fix. Many professionals recommend changing blades frequently to maintain clean cuts.
Another useful technique is “pre-cutting” sections for complex areas like mirrors or bumpers. These parts often require more intricate handling, and having pre-sized pieces can make the process more manageable. However, avoid overcomplicating things; sometimes it’s better to apply a larger piece and trim it down afterwards.
Alignment is also critical. Before fully committing the vinyl to the surface, double-check that it’s positioned correctly. Misalignment can lead to uneven finishes and visible seams, especially on larger panels. Taking a few extra minutes here can save hours of frustration later.
Many beginners underestimate the importance of cleaning; using proper car detailing tools helps prevent bubbles and adhesion issues.
Applying the Vinyl Wrap
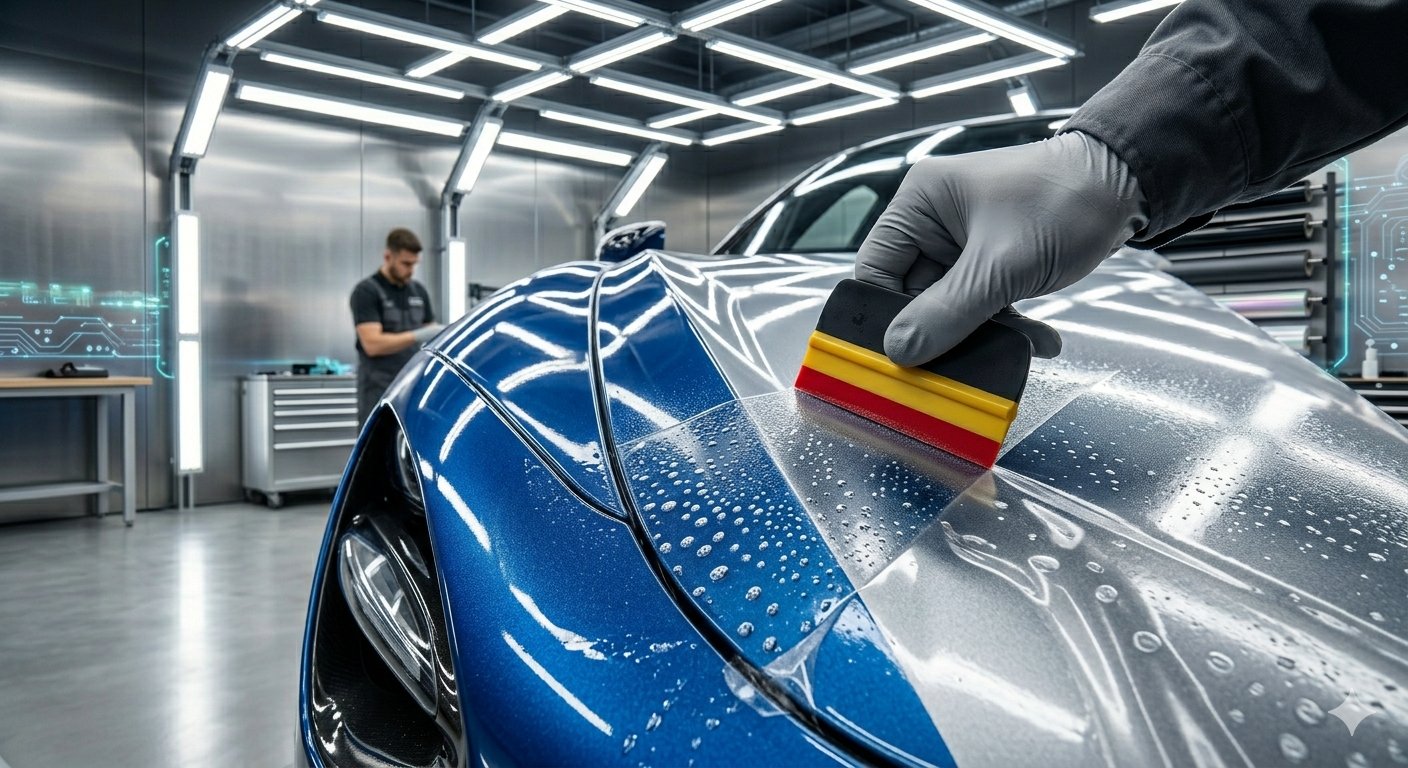
Applying the vinyl is where the transformation truly begins. This step is both exciting and challenging, especially for beginners tackling their first car vinyl wrap project. The goal is simple: achieve a smooth, bubble-free surface that conforms perfectly to the car’s shape. The execution, however, requires patience and technique.
Begin by peeling back a small section of the backing paper and pressing the vinyl onto the surface. Use your vinyl wrap squeegee to secure it in place, working from the centre outward. This method helps push air bubbles toward the edges, preventing them from getting trapped underneath.
As you continue, gradually peel away more backing while maintaining steady pressure with the squeegee. Avoid pulling the vinyl too tightly, as this can cause distortion or premature lifting later on. Instead, let the material lie naturally and use heat to guide it into place.
Curves and contours are where things get tricky. This is where your heat gun becomes your best friend. By gently warming the vinyl, you can stretch it to fit around complex shapes. Just be careful not to overheat, as this can weaken the adhesive and affect durability.
If you notice bubbles or wrinkles, don’t panic. Small bubbles can often be worked out with the squeegee or popped with a pin and smoothed down. Wrinkles may require lifting the vinyl and reapplying it carefully. Remember, even professionals encounter these issues; it’s all part of the process.
Using Heat and Squeegee Techniques
Mastering heat and squeegee techniques is what separates an average wrap job from an exceptional one. These two elements work hand in hand to ensure the vinyl adheres properly and looks flawless. Think of them as the dynamic duo of vinyl wrapping tools.
Heat is used to make the vinyl more pliable. When warmed, the material becomes easier to stretch and mould around curves, edges, and intricate details. This is especially important for areas like bumpers and side mirrors, where flat application simply won’t work. However, it’s crucial to keep the heat gun moving to avoid overheating any one spot.
The vinyl squeegee, on the other hand, is used to apply pressure and remove air bubbles. The technique involves smooth, overlapping strokes, working from the centre outward. Consistency is key here; uneven pressure can lead to visible lines or trapped air.
One advanced technique is “post-heating.” After the vinyl is applied, certain areas, especially edges and stretched sections, are heated again to set the adhesive. This helps prevent lifting and ensures the wrap stays in place over time.
Combining proper heat application with effective squeegee use takes practice, but once you get the hang of it, the results are incredibly satisfying. It’s like learning to ride a bike, challenging at first, but second nature once you’ve mastered it.
Achieving a smooth finish depends heavily on using the correct wrap squeegees during installation.

Common Beginner Mistakes When Wrapping a Car (And How to Avoid Them)
Learning how to wrap a car takes patience, preparation, and the right tools. While beginners can achieve impressive results, there are a few common mistakes that often lead to bubbles, lifting edges, or wasted vinyl.
1. Skipping Proper Surface Preparation
A clean surface is critical for vinyl adhesion. Any dirt, wax, grease, or dust left on the vehicle can create imperfections under the film and reduce durability.
Before wrapping:
- Wash the vehicle thoroughly
- Use isopropyl alcohol for final cleaning
- Remove contaminants from edges and panel gaps
2. Using Too Much Heat
Heat guns help vinyl conform to curves, but overheating can distort the film, weaken adhesive strength, or permanently stretch the material.
The key is controlled, even heating, especially around corners and recessed areas.
3. Trying to Wrap Large Panels Alone
Large sections like bonnets, roofs, and bumpers are difficult for beginners to manage solo. Having a second person helps reduce wrinkles, tension marks, and accidental creasing.
4. Ignoring Post-Heating on Edges and Curves
Post-heating helps “lock in” the vinyl memory after stretching. Skipping this step can cause lifting or peeling over time, especially around corners and deep contours.
5. Choosing Cheap Vinyl Instead of Quality Film
Low-quality vinyl is harder to install, less forgiving, and more prone to shrinking or tearing. Premium films are designed with air-release channels and repositionable adhesives that make installation significantly easier for beginners.
Cost of Car Wrapping in Australia
The cost of vehicle wrap Australia services can vary widely depending on several factors, including the size of the vehicle, the type of wrap, and whether you choose DIY or professional installation. On average, a full professional wrap can range from $2,500 to $6,000 AUD, while partial wraps or simpler designs may cost less.
DIY wrapping, on the other hand, is significantly more affordable. A high-quality vinyl wrap car kit might cost between $500 and $1,500 AUD, depending on the brand and coverage. While this option saves money, it requires time, effort, and a willingness to learn.
DIY vs Professional Vehicle Wrap Australia
Choosing between DIY and professional wrapping comes down to your budget, skill level, and expectations. DIY is great for those who enjoy hands-on projects and want to save money. It also gives you complete control over the process.
Professional wrapping, however, offers expertise and precision that’s hard to match as a beginner. If you’re working with expensive materials like chrome wrap or want a flawless finish, hiring a professional might be the better option.
Clean edges are typically achieved using specialised wrap cutting tools designed for precision trimming.
Maintenance and Longevity of Car Wraps
Once your vehicle vinyl wrap is installed, proper maintenance is essential to keep it looking great and extend its lifespan. Fortunately, wraps are relatively low-maintenance compared to traditional paint.
How to Care for Your Vinyl Wrap
Caring for your wrap involves regular cleaning, avoiding harsh chemicals, and protecting it from extreme conditions. Hand washing is recommended, as automatic car washes can damage the edges. With proper care, most wraps, especially 3M vinyl wrap and Avery wraps, can last 5 to 7 years.
Many installers use knifeless tape to create clean lines without cutting directly on the paint.
Pro Tip for DIY Beginners
Start with smaller, flatter panels first, such as mirrors or bonnets, before attempting bumpers or complex curves. This helps build confidence and improve technique without wasting material.
FAQs
How long does a car wrap last?
Most vehicle wraps last between 5 and 7 years with proper care.
Can I wrap my car myself?
Yes, with a good car wrapping kit and patience, beginners can successfully wrap their cars.
Is a vinyl wrap cheaper than paint?
Generally, yes. DIY wraps are significantly cheaper than professional paint jobs.
What is the best brand for vinyl wraps?
3M vinyl wrap and Avery wraps are among the most popular and reliable options.
Does wrapping damage car paint?
No, when applied and removed correctly, wraps actually protect the original paint.
Conclusion
Wrapping your car is more than just a cosmetic upgrade; it’s a creative and practical way to transform your vehicle while protecting its original paint. With the right tools, preparation, and techniques, even beginners can achieve impressive results.
Are you unsure which tool or kit is right for your job?
Our expert team at Oz Sign Supplies is here to help. Reach out today, and we’ll direct you to the best tools to suit your project, ensuring you get the job done right the first time.
Leave a comment
This site is protected by hCaptcha and the hCaptcha Privacy Policy and Terms of Service apply.