


The Role of a PPF Squeegee in Achieving a Flawless Finish
Why Choosing the Right Squeegee Makes All the Difference in PPF Application
A perfect paint protection film (PPF) installation doesn’t happen by chance; it’s the result of skill, patience, and the right tools, especially the PPF squeegee. Whether you’re a professional installer or a DIY enthusiast, this one tool determines how smooth, clean, and bubble-free your final finish will be. A high-quality squeegee helps the film settle properly, ensures strong adhesion, and prevents issues like silvering, wrinkles, or trapped moisture. Without it, even premium paint protection film can end up looking uneven or poorly applied. In this article, you’ll discover why the PPF squeegee is the hero of every successful installation, how to choose the correct one, and how to use it like a pro for a flawless, showroom-grade finish.
Choosing the right paint protection film squeegee is just as important as choosing high-quality PPF itself. Many people assume that all squeegees perform the same basic job, but the reality is far different. The type of squeegee you use influences how smoothly the film adheres to the vehicle, how effectively you can remove moisture, and whether or not you’ll deal with bubbles, creasing, or scratching. A well-designed PPF squeegee glides across the film effortlessly, helping you maintain even pressure and prevent marks during installation. On the other hand, a cheap or poorly designed squeegee can drag, snag, or even scratch the film, completely ruining the finish.
To achieve a smooth, bubble-free finish, professional installers always rely on high-quality PPF squeegees designed specifically for paint protection film →
One of the biggest factors that determines squeegee performance is the material. Rubber squeegees are flexible and great for curved surfaces, silicone squeegees provide smooth glide with minimal friction, felt-edged squeegees protect against micro-scratches, and hybrid squeegees combine multiple materials to offer the best of both worlds. Each type of squeegee has its strengths, and choosing the right one depends on the specific area of the vehicle you’re working on. For example, hard squeegees are ideal for flat surfaces like doors and hoods, while soft ones excel on bumpers, fenders, and other contoured areas.
Another crucial aspect is the shape and size of the squeegee. Installers who work with intricate details often prefer slim, ergonomic designs that fit into tight spaces. Wider squeegees help speed up large-panel installations. The choice also affects how much force you can apply without over-stretching the film. A properly engineered squeegee ensures precision and control, giving you confidence during the entire process.
Ultimately, using the right PPF squeegee ensures a cleaner, smoother installation and extends the life of the film by preventing early lifting or edge failure. A good squeegee becomes an extension of your hand, allowing you to work quickly, accurately, and with a level of consistency that transforms an ordinary installation into a professional-quality finish.
For a complete installation setup, you’ll want to pair your squeegee with other essential PPF tools that help ensure precision and long-term adhesion →
Best Tools for Installing Paint Protection Film Like a Professional

When you’re aiming for a flawless, showroom-quality PPF finish, you need more than just skill; you need the right set of tools. Professional installers know that every tool plays a role in ensuring the film adheres properly, remains bubble-free, and maintains its clarity for years. The centrepiece of any installer’s toolkit is, of course, the ppf squeegee, but it works best when paired with supporting tools that help you control moisture, heat, and alignment.
One of the first must-have accessories is a high-quality spray bottle or pressure sprayer. These are used to apply slip solutions that make it easier for the film to glide into place before you squeegee it down. A fine mist helps you minimise waste and maximise precision. Many professionals use multiple sprayers labelled as “slip,” “tack,” and “alcohol mix” for different stages of installation.
Next is the heat gun, which is essential when shaping the film around curves, edges, and complex areas like bumpers. Heat softens the PPF, making it more stretchable and easier to mould. A consistent heat source ensures that the film doesn’t overstretch, warp, or become brittle. In combination with the squeegee, the heat gun gives you full control over tight spots that require finesse.
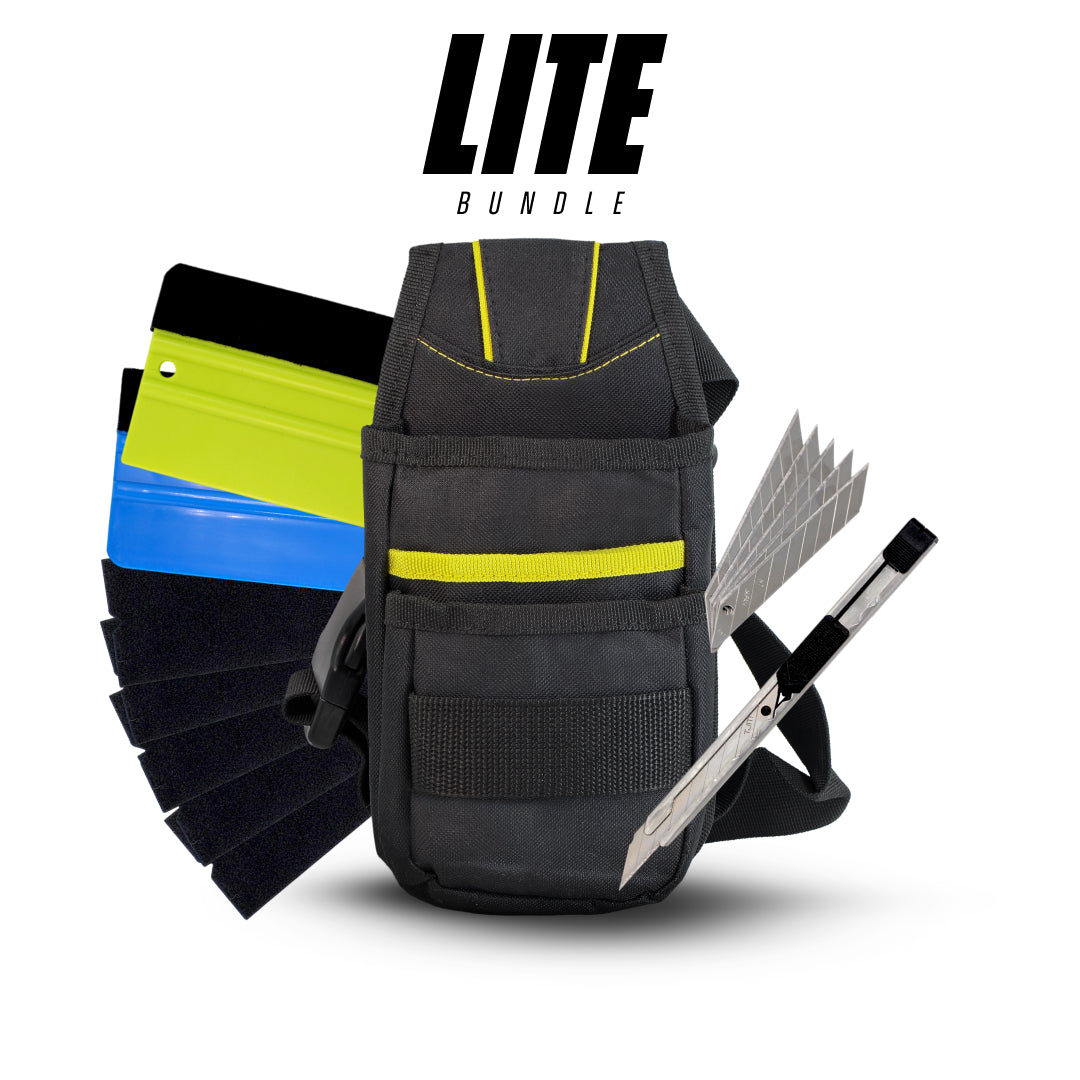
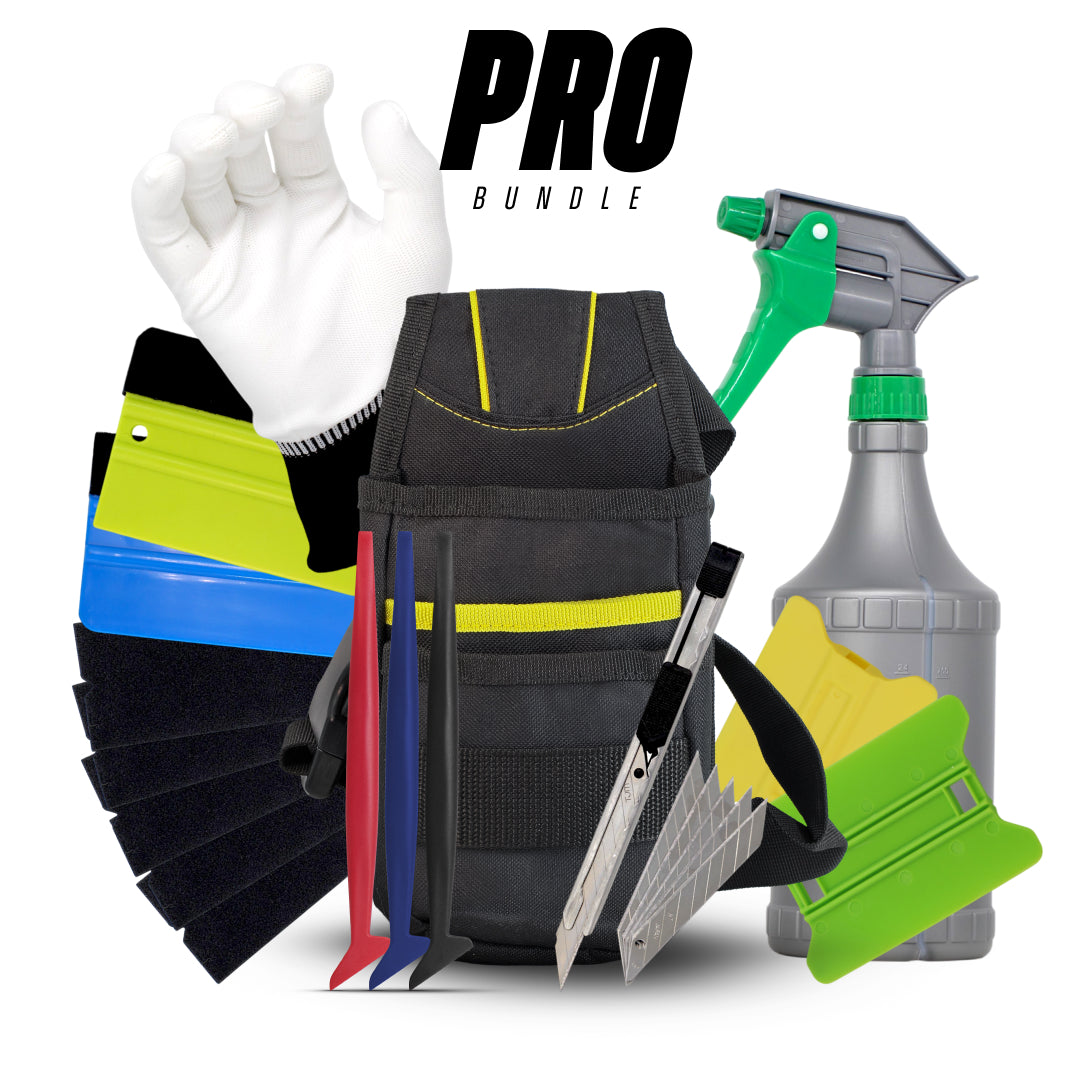
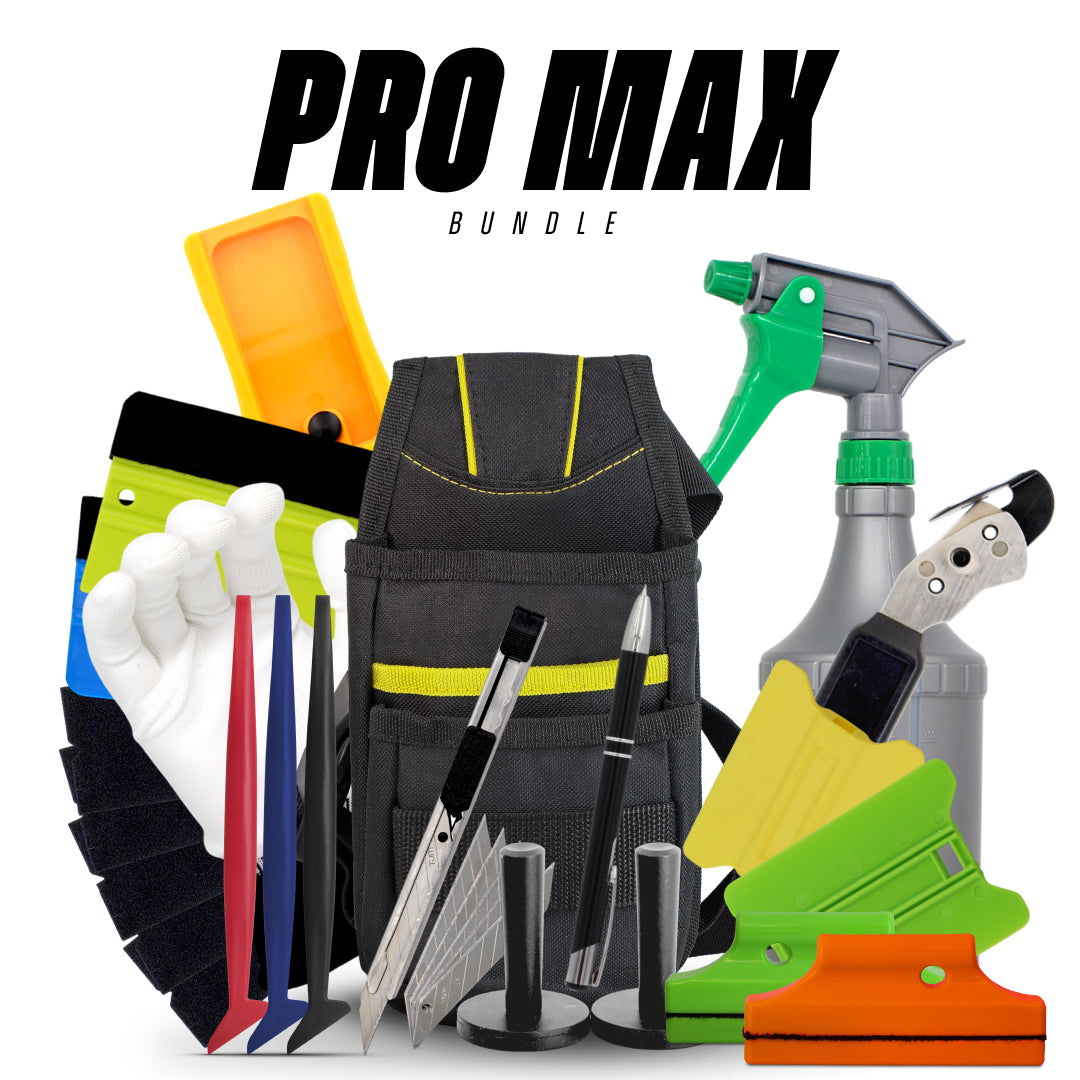
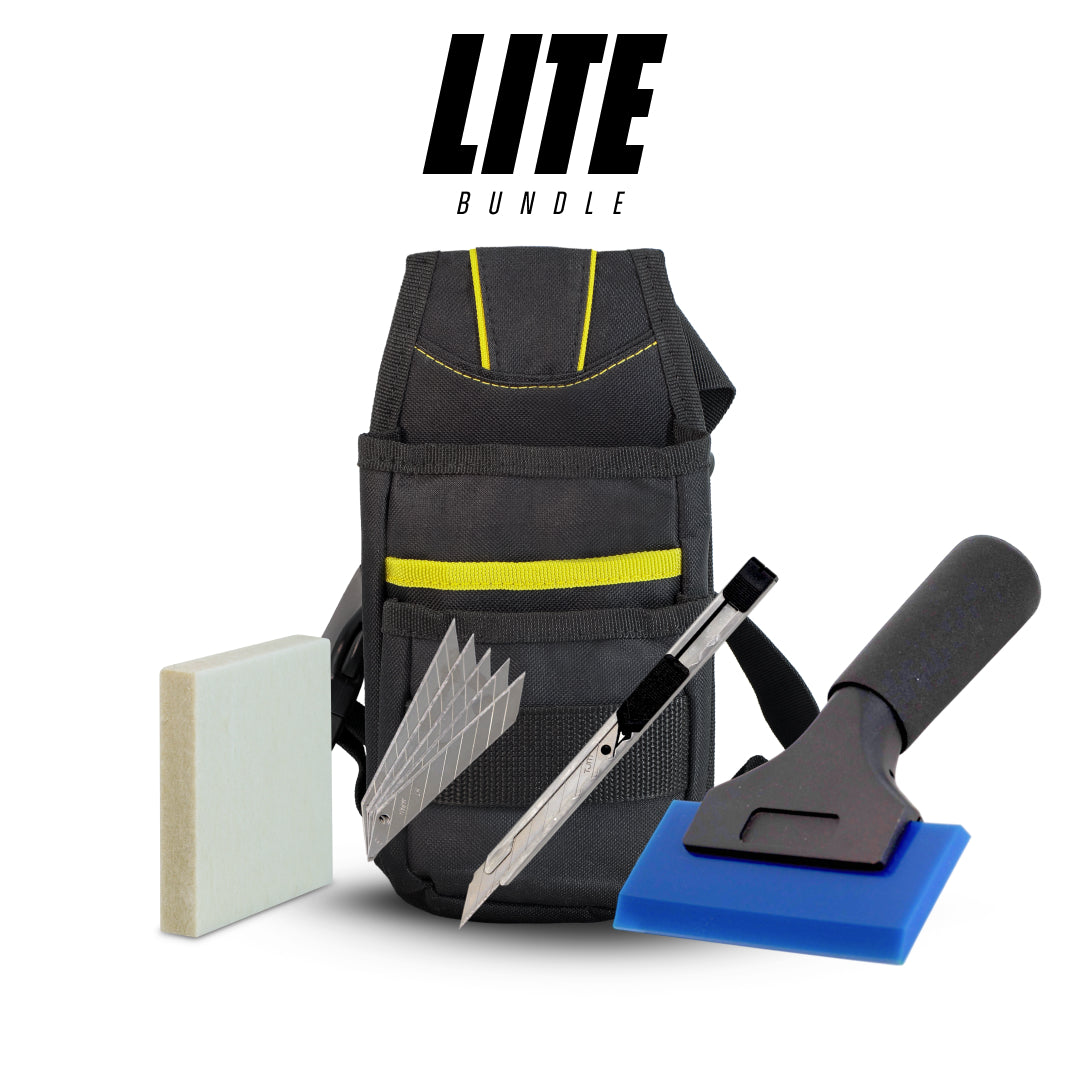
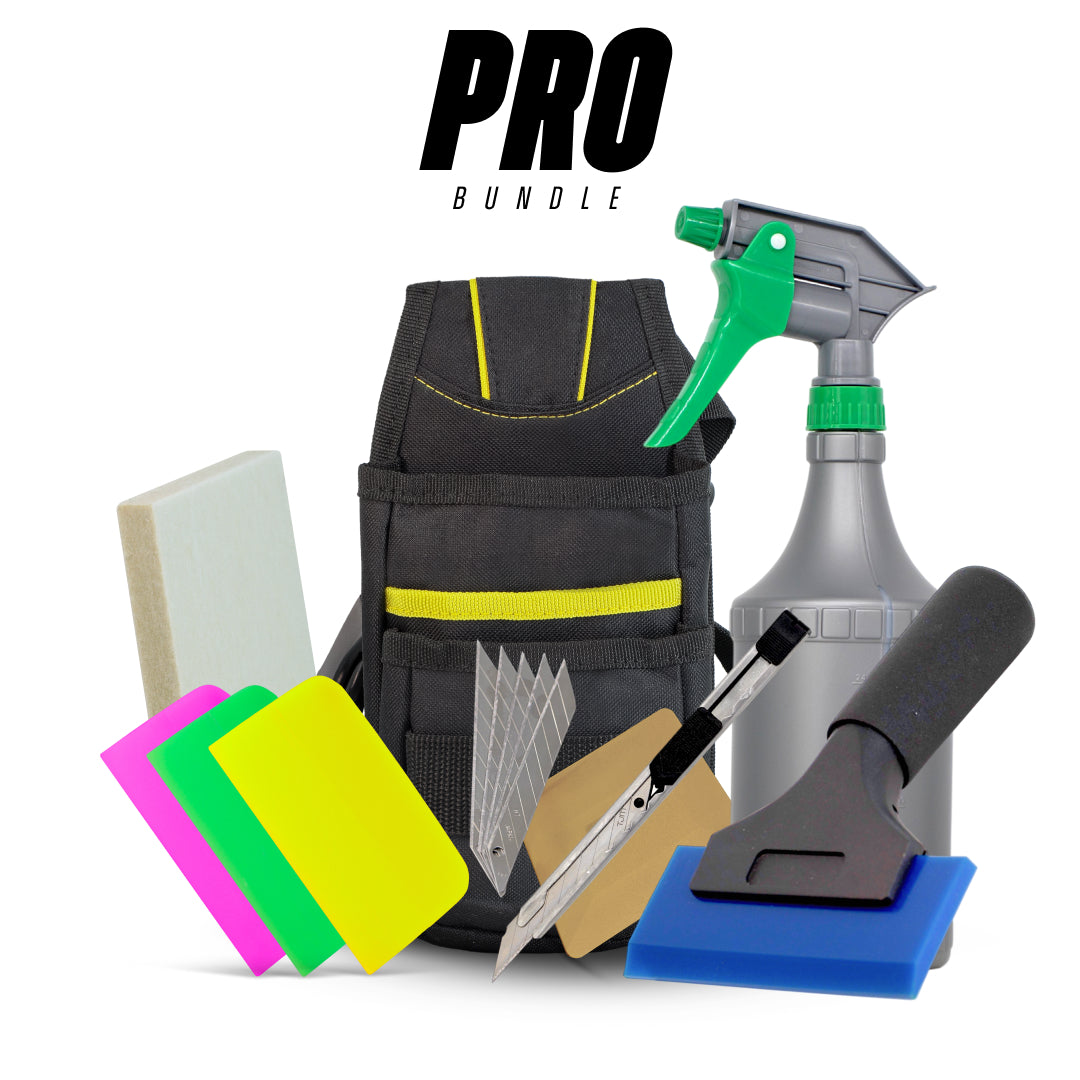
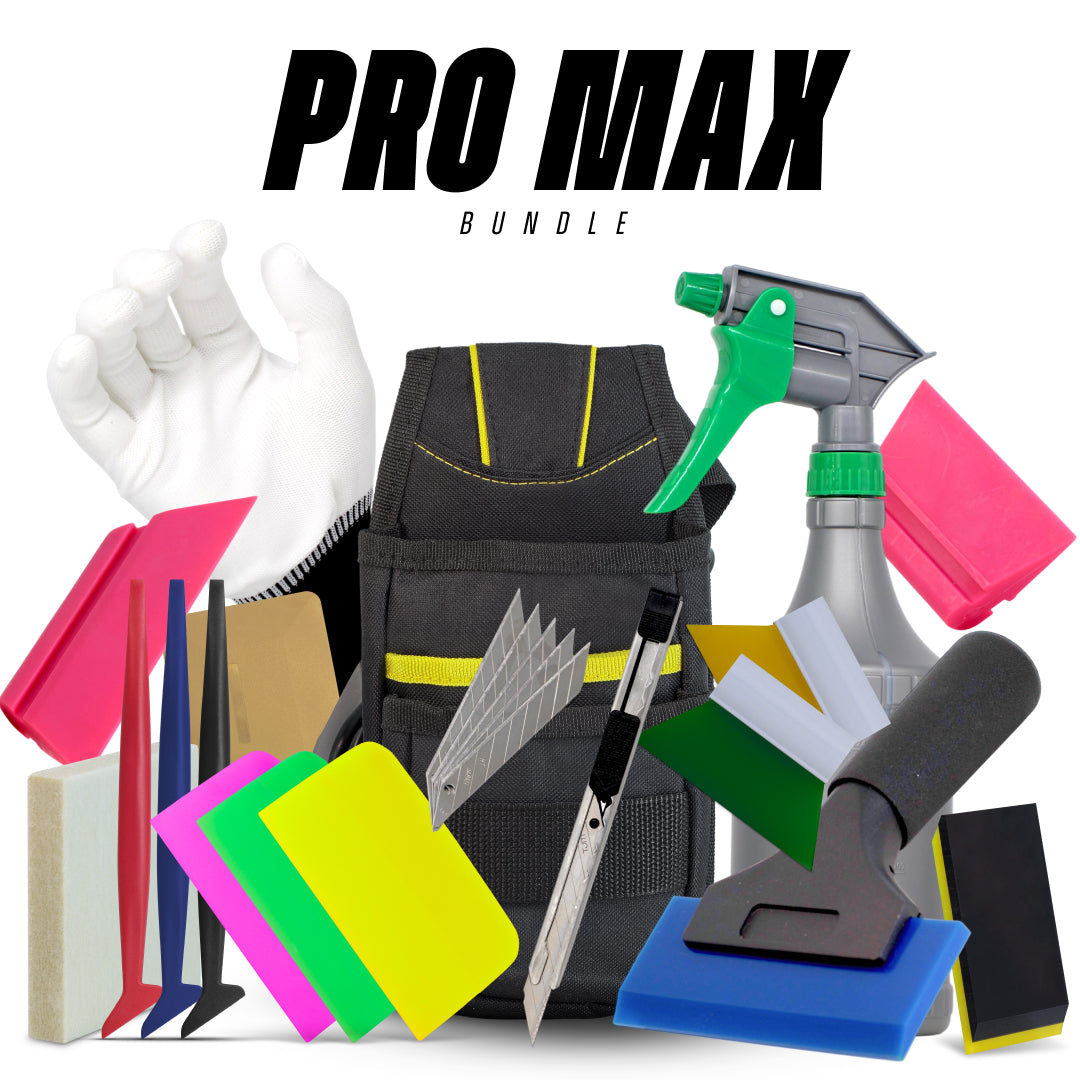
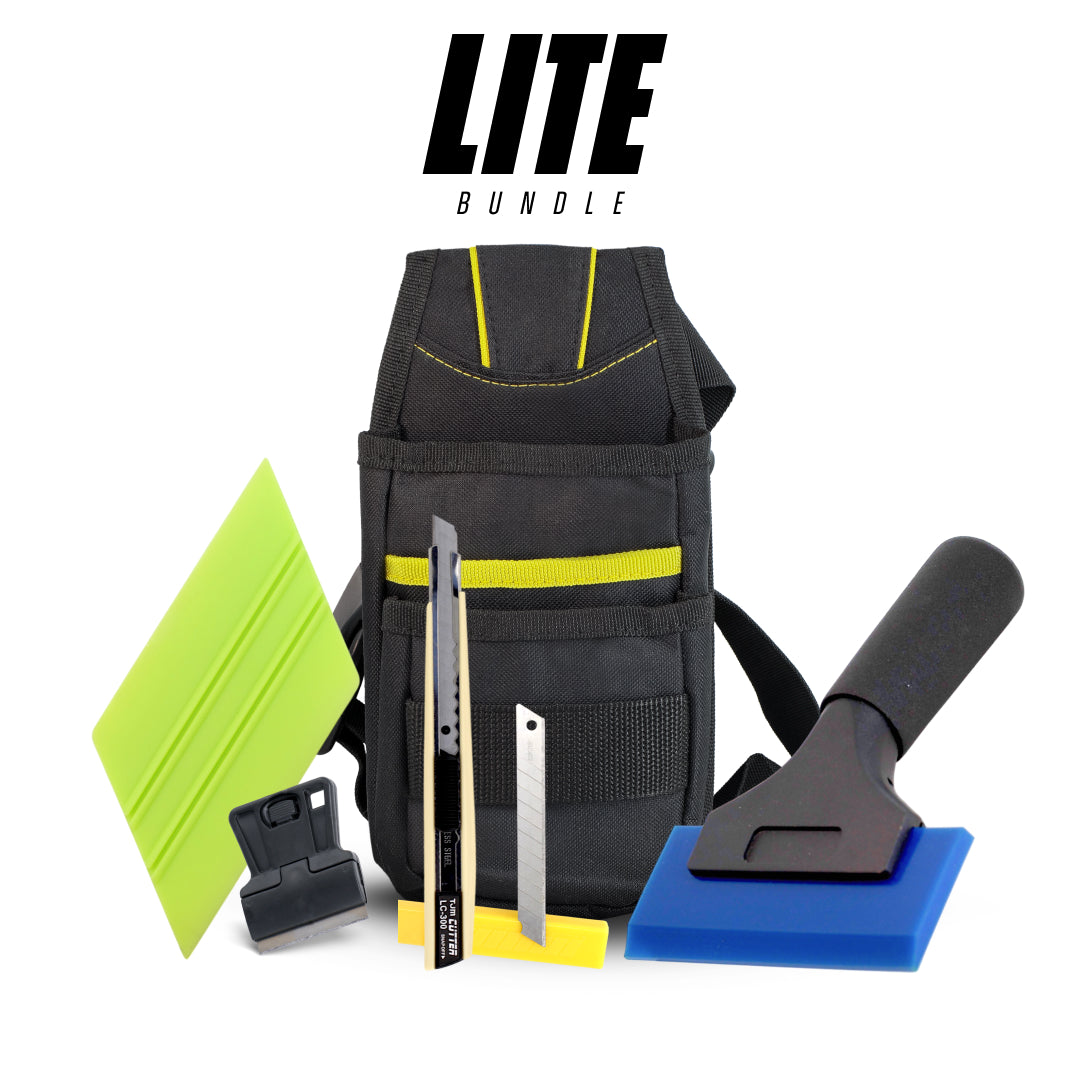
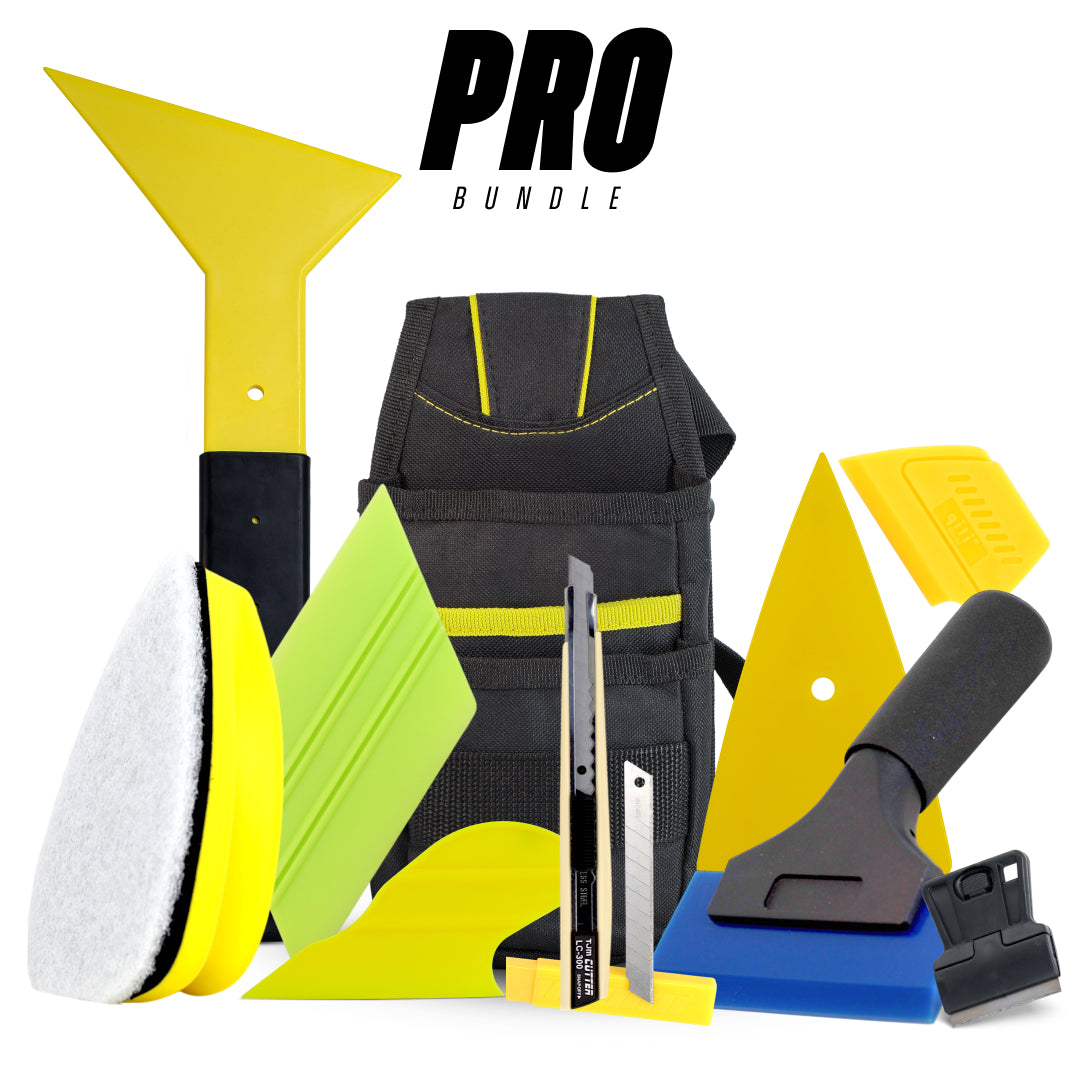
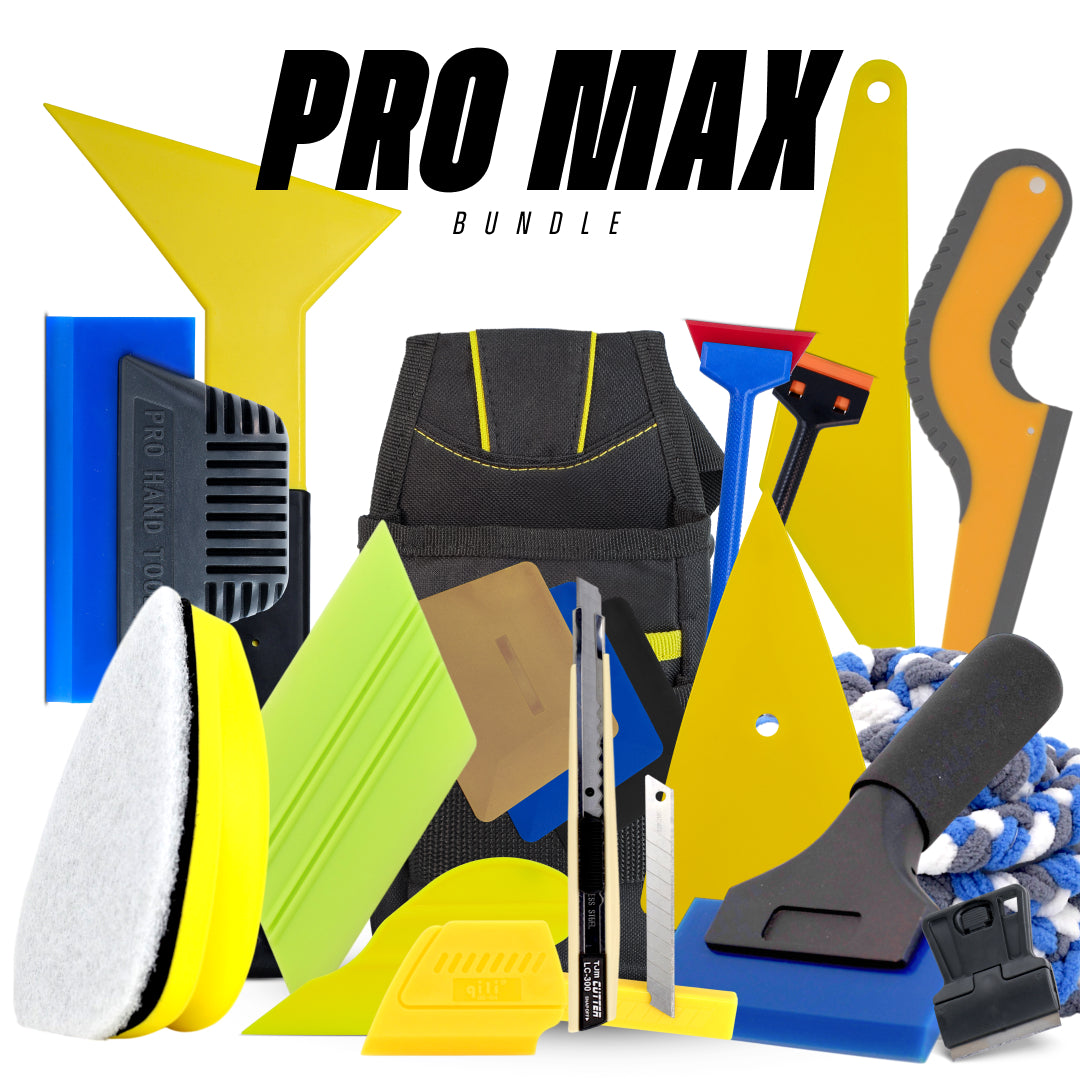
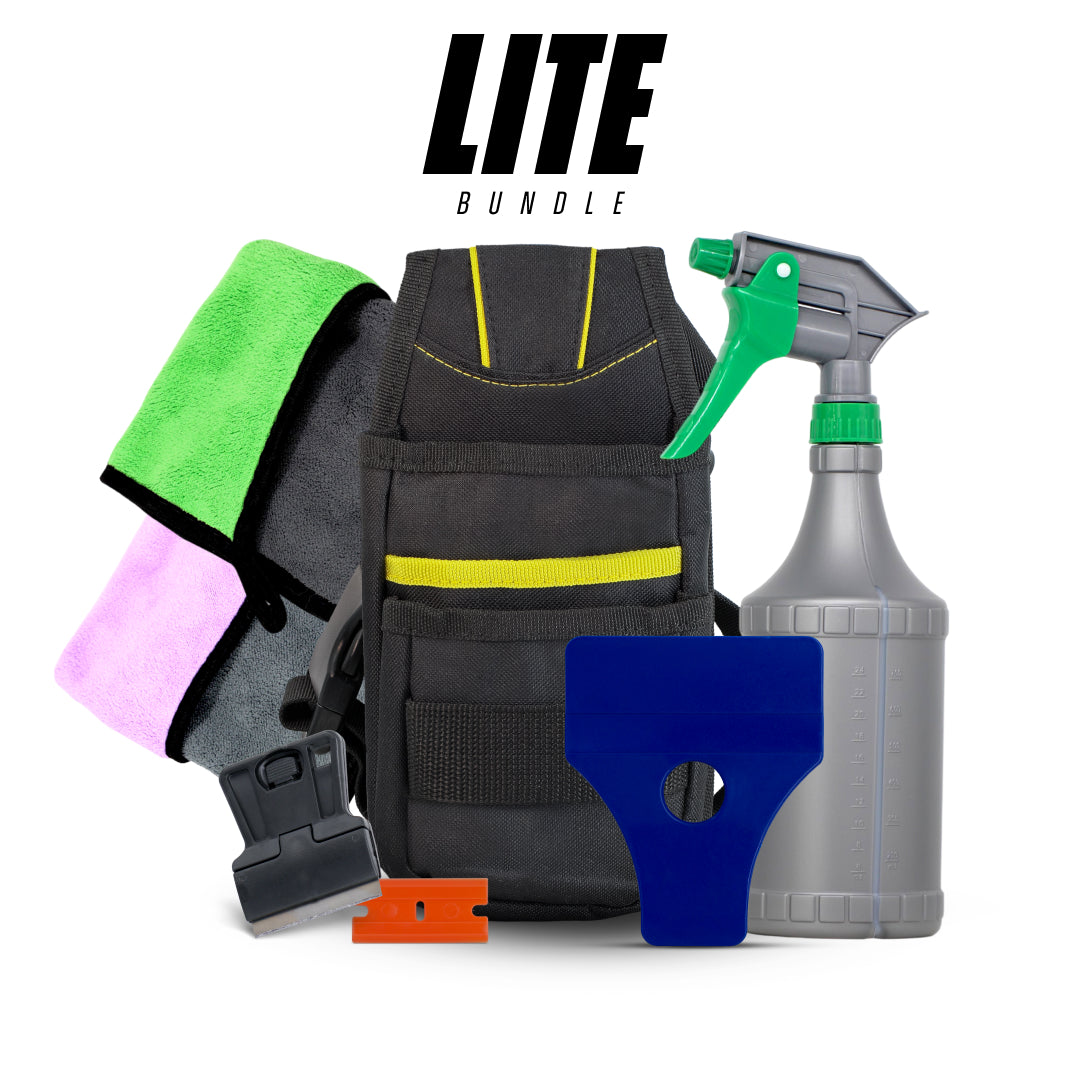
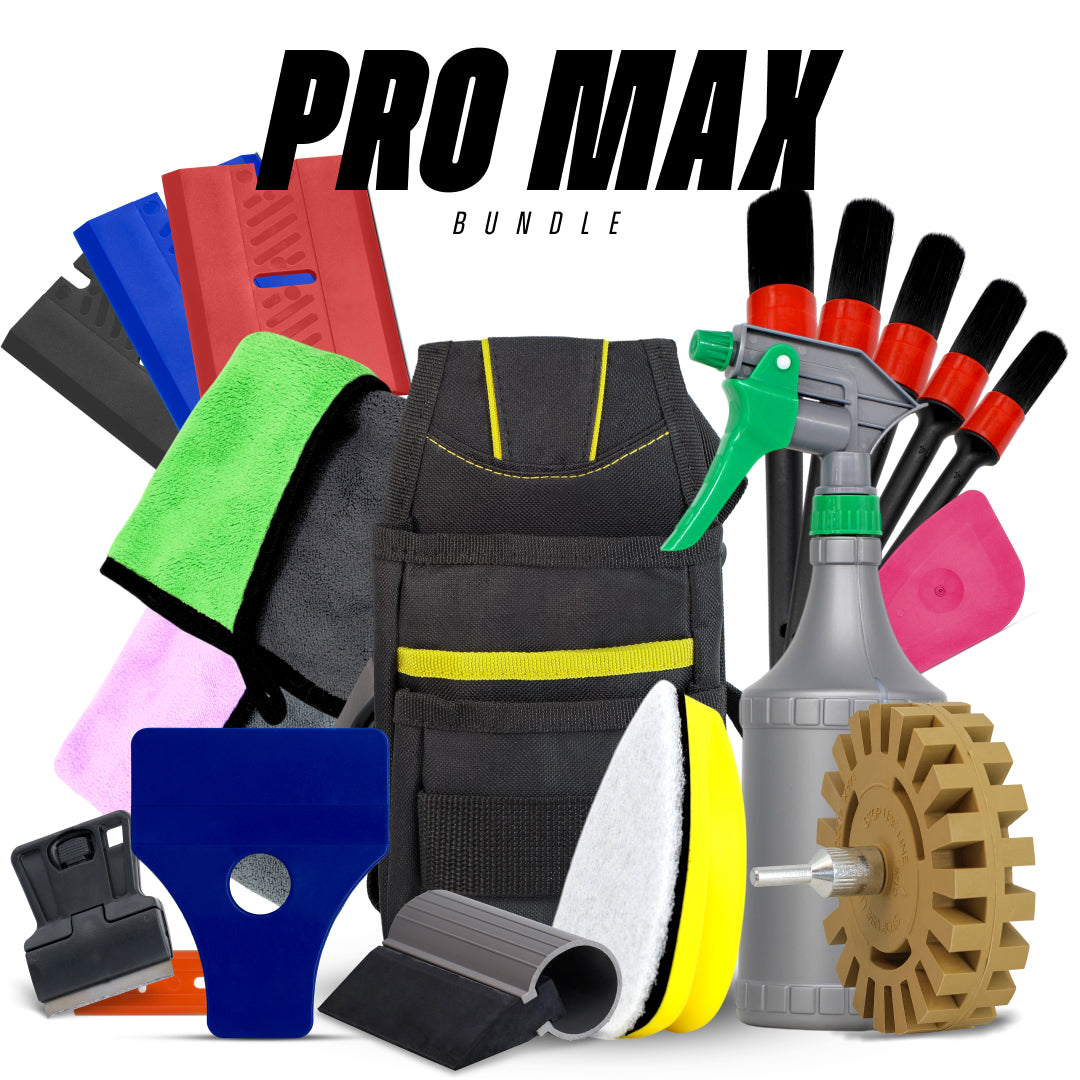
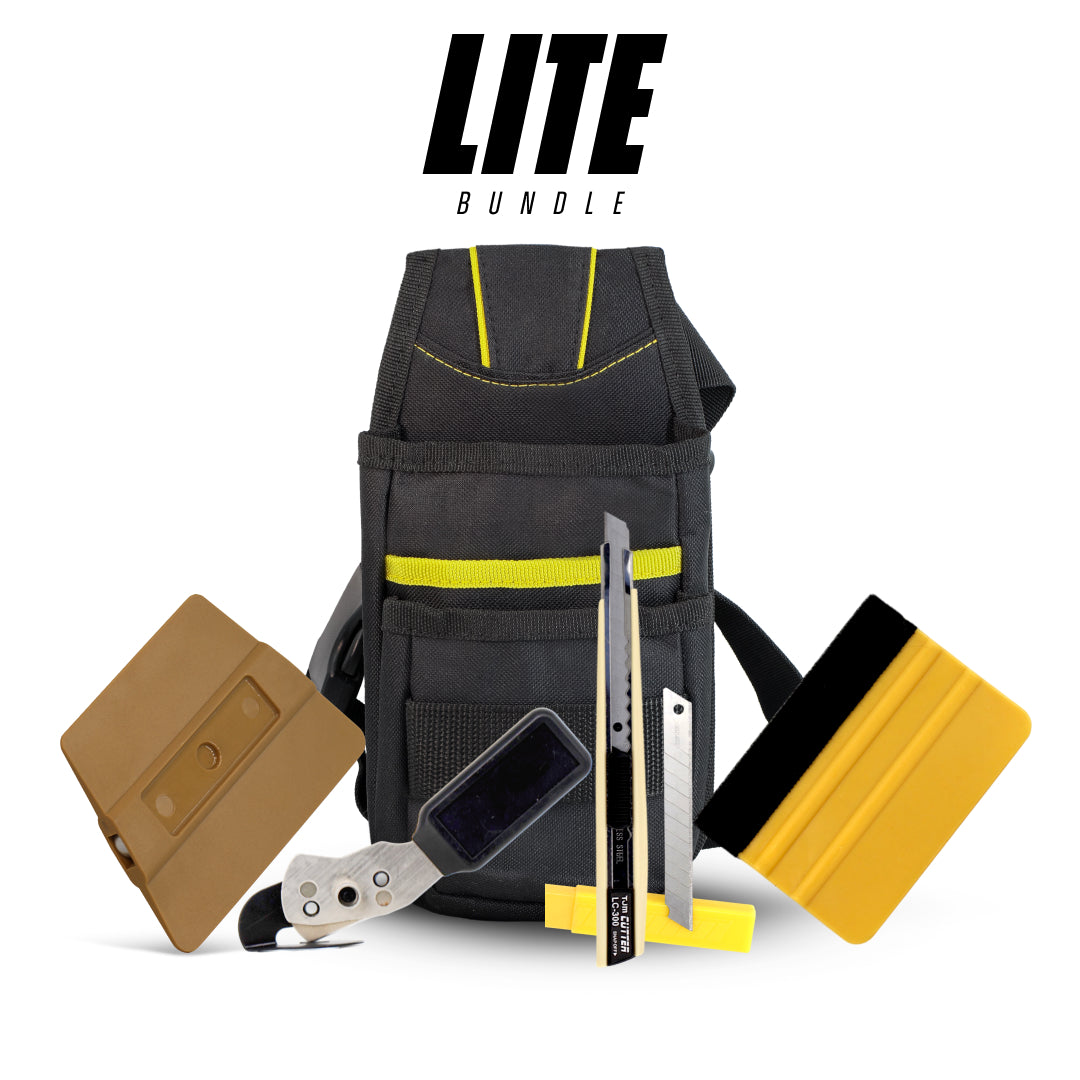
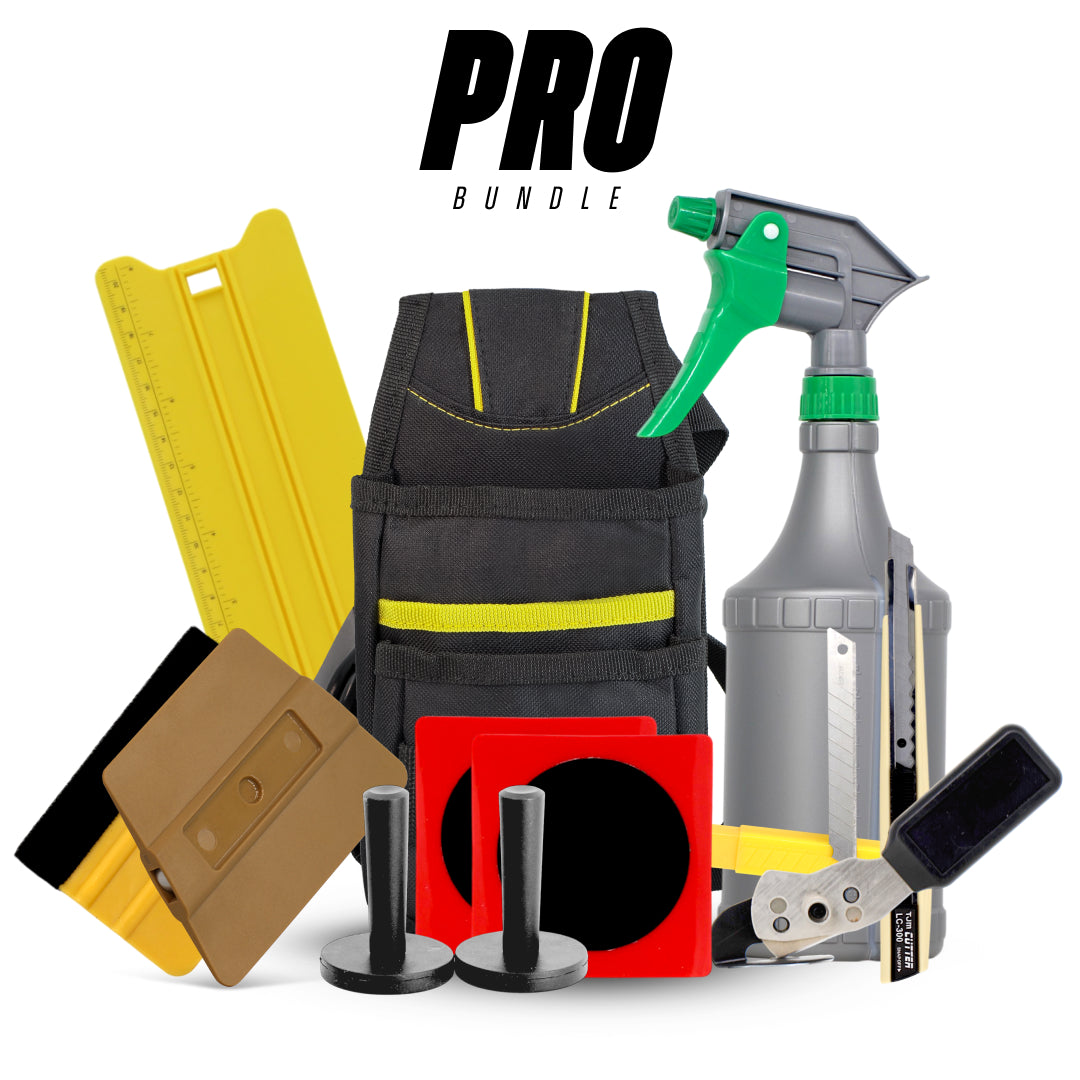
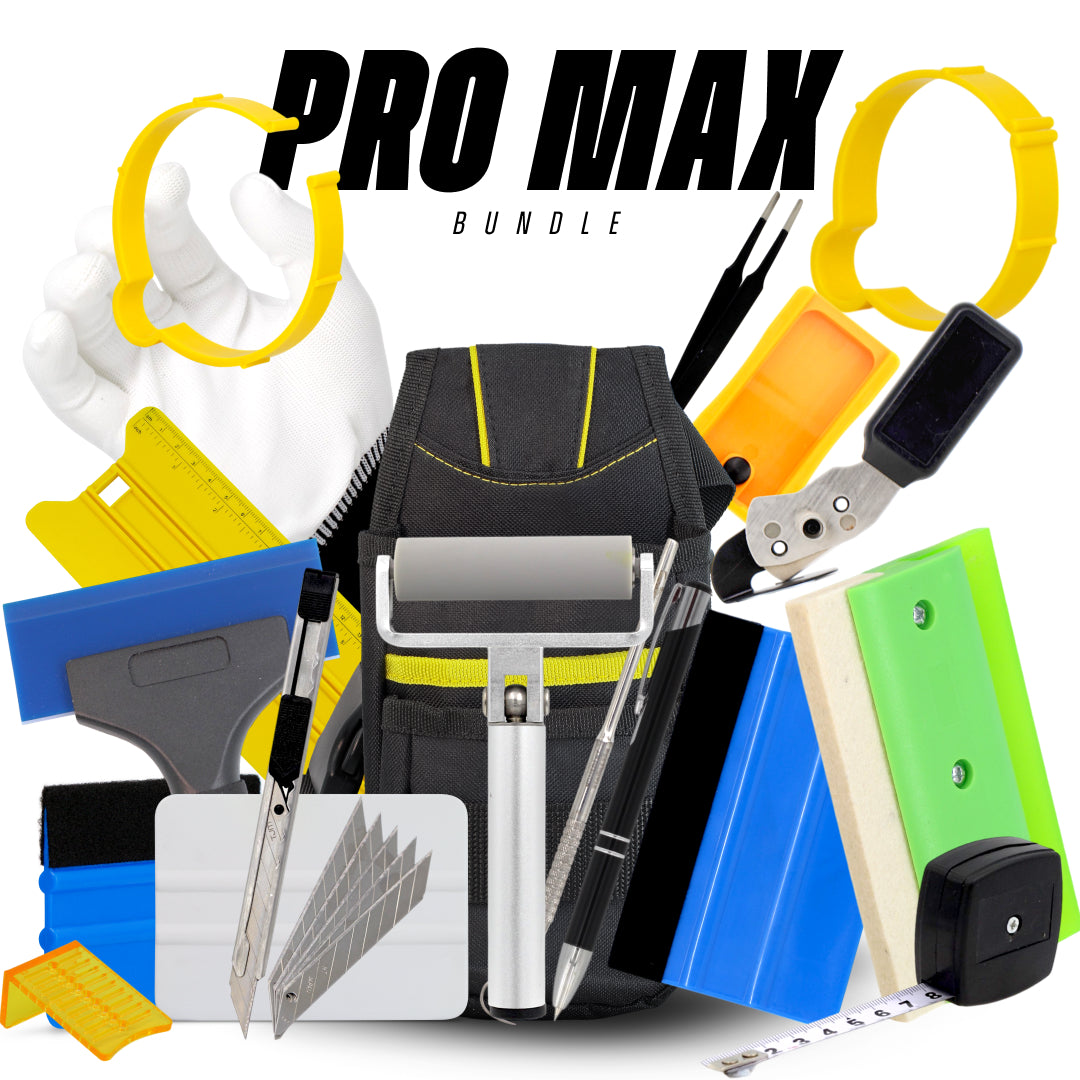
Beginners can simplify the process by choosing one of our all-in-one PPF kits, which include the tools needed for a clean, professional-level finish →
Professional installers also rely heavily on cutting tools like precision knives, stainless steel blades, and pre-cut templates. A sharp blade helps you trim excess film cleanly without tearing or jagged edges. Some installers prefer using knifeless tape to avoid accidental scratches on vehicle paint.
Of course, no toolkit is complete without a variety of PPF squeegees with different hardness levels and edges. Soft squeegees are perfect for curved panels, while medium and hard ones are essential for pressing out moisture from flat surfaces. Having multiple squeegees ensures you’re prepared for any area of the car, no matter how simple or complex.
By combining the right tools with proper technique, you can achieve a professional-grade finish every time, whether you’re working in a detailing studio or your own garage.
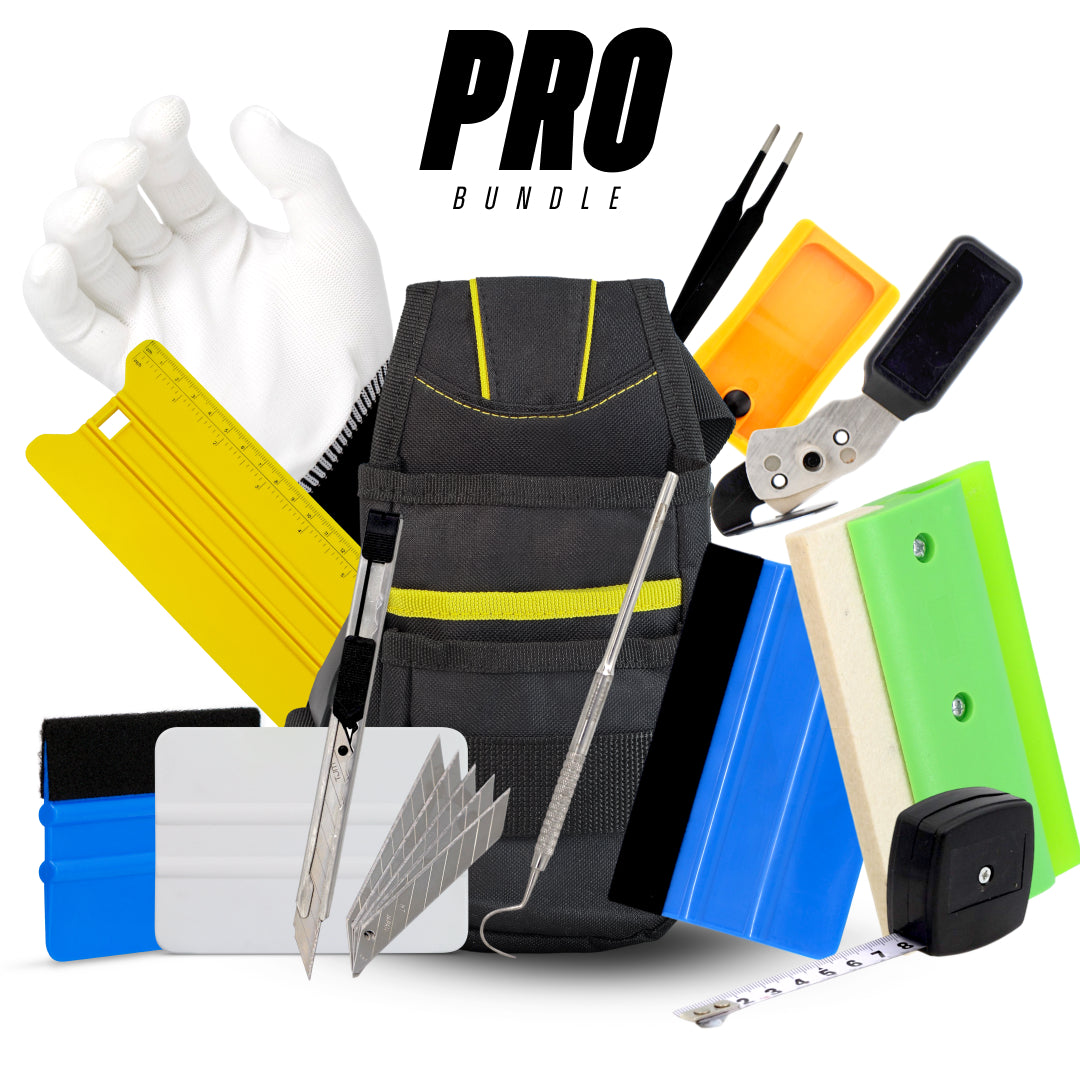
Installers who handle PPF regularly depend on specialised PPF install tools to maintain consistency and avoid film damage during application →
How to Use a PPF Squeegee for Bubble-Free Application
Using a PPF squeegee correctly is the secret to avoiding bubbles, creases, and uneven adhesion. Even high-quality film and expensive tools won’t deliver a flawless result if your technique isn’t right. The good news? When you understand the basics, surface prep, pressure control, and squeegee direction, you can achieve a crystal-clear finish that looks like it was done by a seasoned professional.
Start with proper surface preparation, which is one of the most overlooked steps. Before applying the film, the vehicle’s surface must be washed, decontaminated, and wiped with isopropyl alcohol to remove any waxes or residues. Even a speck of dust can create a bubble that becomes visible once the film cures. A perfectly clean surface allows your squeegee to glide more smoothly and helps the film bond securely.
Once you position the film using the slip solution, it’s time to start squeegeeing. Always begin in the centre of the panel and push outward in overlapping strokes. This prevents moisture from getting trapped between sections. Use consistent pressure, not too light, which leaves moisture behind, and not too hard, which can distort or stretch the film. Your goal is to push the slip solution out while securing the adhesive side of the film to the paint.
If you encounter air bubbles, don’t panic. Many bubbles form because the squeegee stroke wasn’t firm enough or the film lost contact in a specific area. Avoid poking holes unless necessary. Instead, lift the film slightly, reapply slip solution, and re-squeegee the area using smooth, controlled strokes.
Heat can help when dealing with stubborn bubbles or curved surfaces. A gentle touch with a heat gun loosens the film just enough for you to reposition it and squeegee it out cleanly. Keep the heat gun moving to avoid overheating or warping the material.
For edges and curves where blades are risky, knifeless tape allows you to achieve clean finishes without cutting into the vehicle’s paint →
Perfecting your squeegee technique takes practice, but once you master the rhythm, you’ll enjoy bubble-free installations that look as clean as any professional job.
DIY PPF Installation: Essential Tools You’ll Need

If you're planning a DIY PPF installation, the right tools will determine whether your final result looks like a professional job or an uneven, bubble-filled mess. Many beginners underestimate the importance of preparation and assume that a single squeegee and a roll of film are enough. But to achieve a clean, long-lasting finish, you need a full set of reliable tools designed specifically for PPF work.
The most important tool you’ll need is a high-quality PPF squeegee. Choose at least two versions: a soft squeegee for curves and a firmer one for flat surfaces. A felt-edged squeegee can also help reduce friction and prevent scratches on delicate areas. These tools help you remove moisture evenly and prevent creasing or overstretching.
Next, invest in a good slip solution and spray bottle. Without proper lubrication, the film will grab too quickly, making it impossible to position accurately. Most installers mix baby shampoo with distilled water, but you can also use specialised slip solutions designed for PPF.
You’ll also need a microfiber towel set, isopropyl alcohol, and panel prep cleaner. These tools help you remove oils, dust, and contaminants from the surface before applying the film.
For trimming, make sure you have a sharp precision blade or a knifeless tape system to avoid cutting into the paint. And don’t forget a heat gun, which is essential for stretching the film around curves and edges.
Precise trimming is essential in PPF work, which is why professionals keep sharp cutters and blades on hand for detailed shaping →
DIY installers also benefit from using tack solution, squeegee buffers, wrap gloves, and even a PPF installation gel. Together, these tools make the entire process smoother, safer, and more predictable.
With the right tools and patience, a DIY installer can achieve a surprisingly professional finish. The key is taking your time, using the proper squeegee strokes, and keeping everything clean throughout the installation.
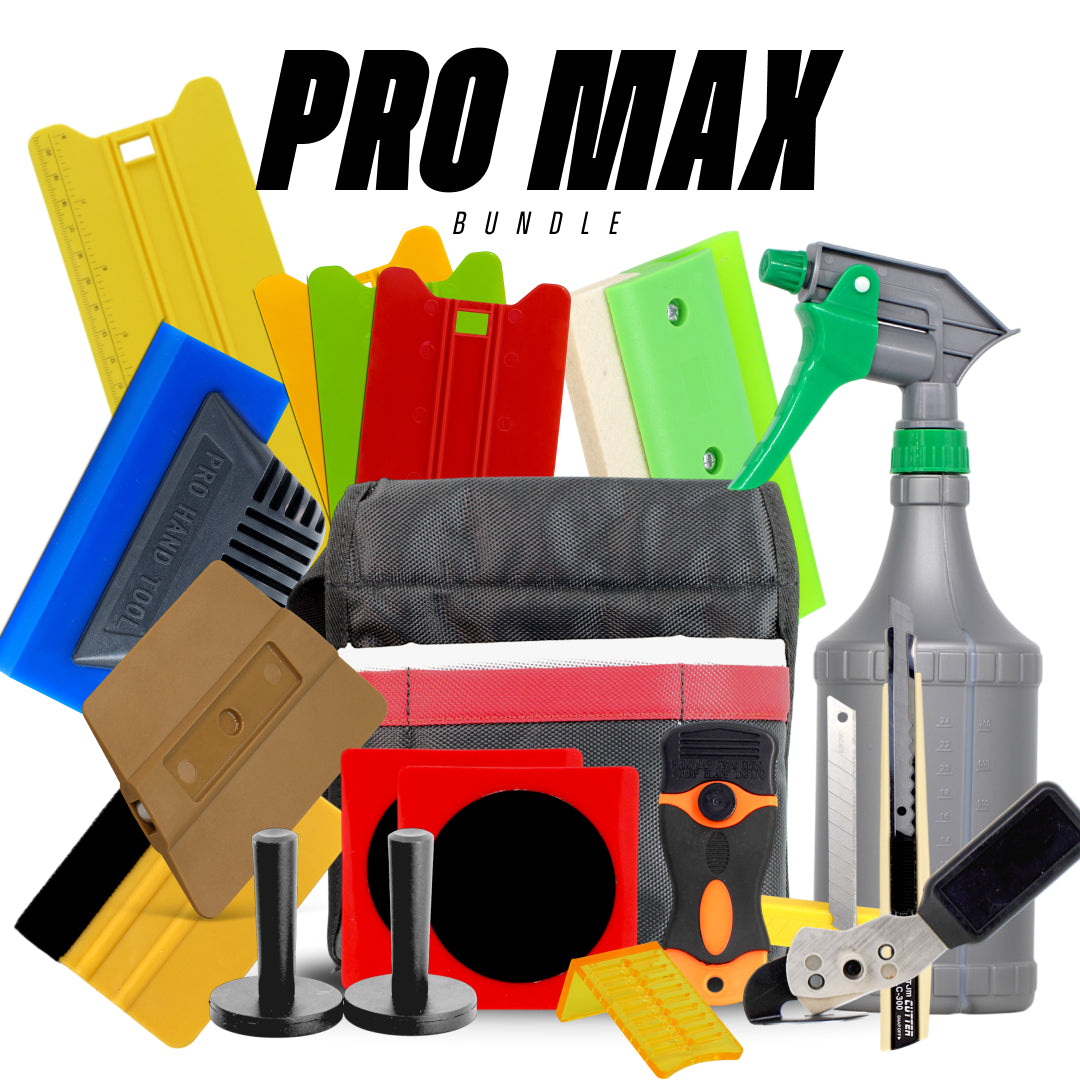
Those transitioning from vinyl wrapping to PPF may find value in complete car wrap tool kits that offer the core tools needed for both applications →
FAQs
What type of squeegee is best for PPF installation?
Soft and felt-edge squeegees work best for curves, while firmer squeegees are ideal for flat panels.
Can I install PPF without a squeegee?
No. A squeegee is essential for removing moisture and ensuring the film adheres properly.
How do I prevent scratches when using a squeegee?
Use felt-edged squeegees, lubrication, and smooth strokes.
Should I choose a hard or soft squeegee for car film?
Use both. Soft for curves, hard for large flat surfaces.
What is the easiest PPF for beginners to install?
Pre-cut kits or self-healing films with high elasticity are easiest for DIY users.
Conclusion
A flawless PPF installation depends heavily on choosing the right PPF squeegee and using proper tools and techniques. Whether you're a professional or a DIY installer, the squeegee determines how clean, smooth, and bubble-free your final result will be. By understanding the different types of squeegees, mastering the correct application method, and using the right supporting tools, you can achieve a polished, long-lasting finish that truly protects and enhances your vehicle.
Because PPF and vinyl wraps often go hand-in-hand, many installers also rely on durable vehicle wrapping tools to handle both types of film →
Are you unsure which tool or kit is right for your job?
Our expert team at Oz Sign Supplies is here to help. Reach out today, and we’ll direct you to the best tools to suit your project, ensuring you get the job done right the first time.

%20installation%20doesn%E2%80%99t%20happen%20by%20chance;%20it%E2%80%99s%20the%20result%20of%20skill,%20patience,%20and%20the...)
Leave a comment
This site is protected by hCaptcha and the hCaptcha Privacy Policy and Terms of Service apply.