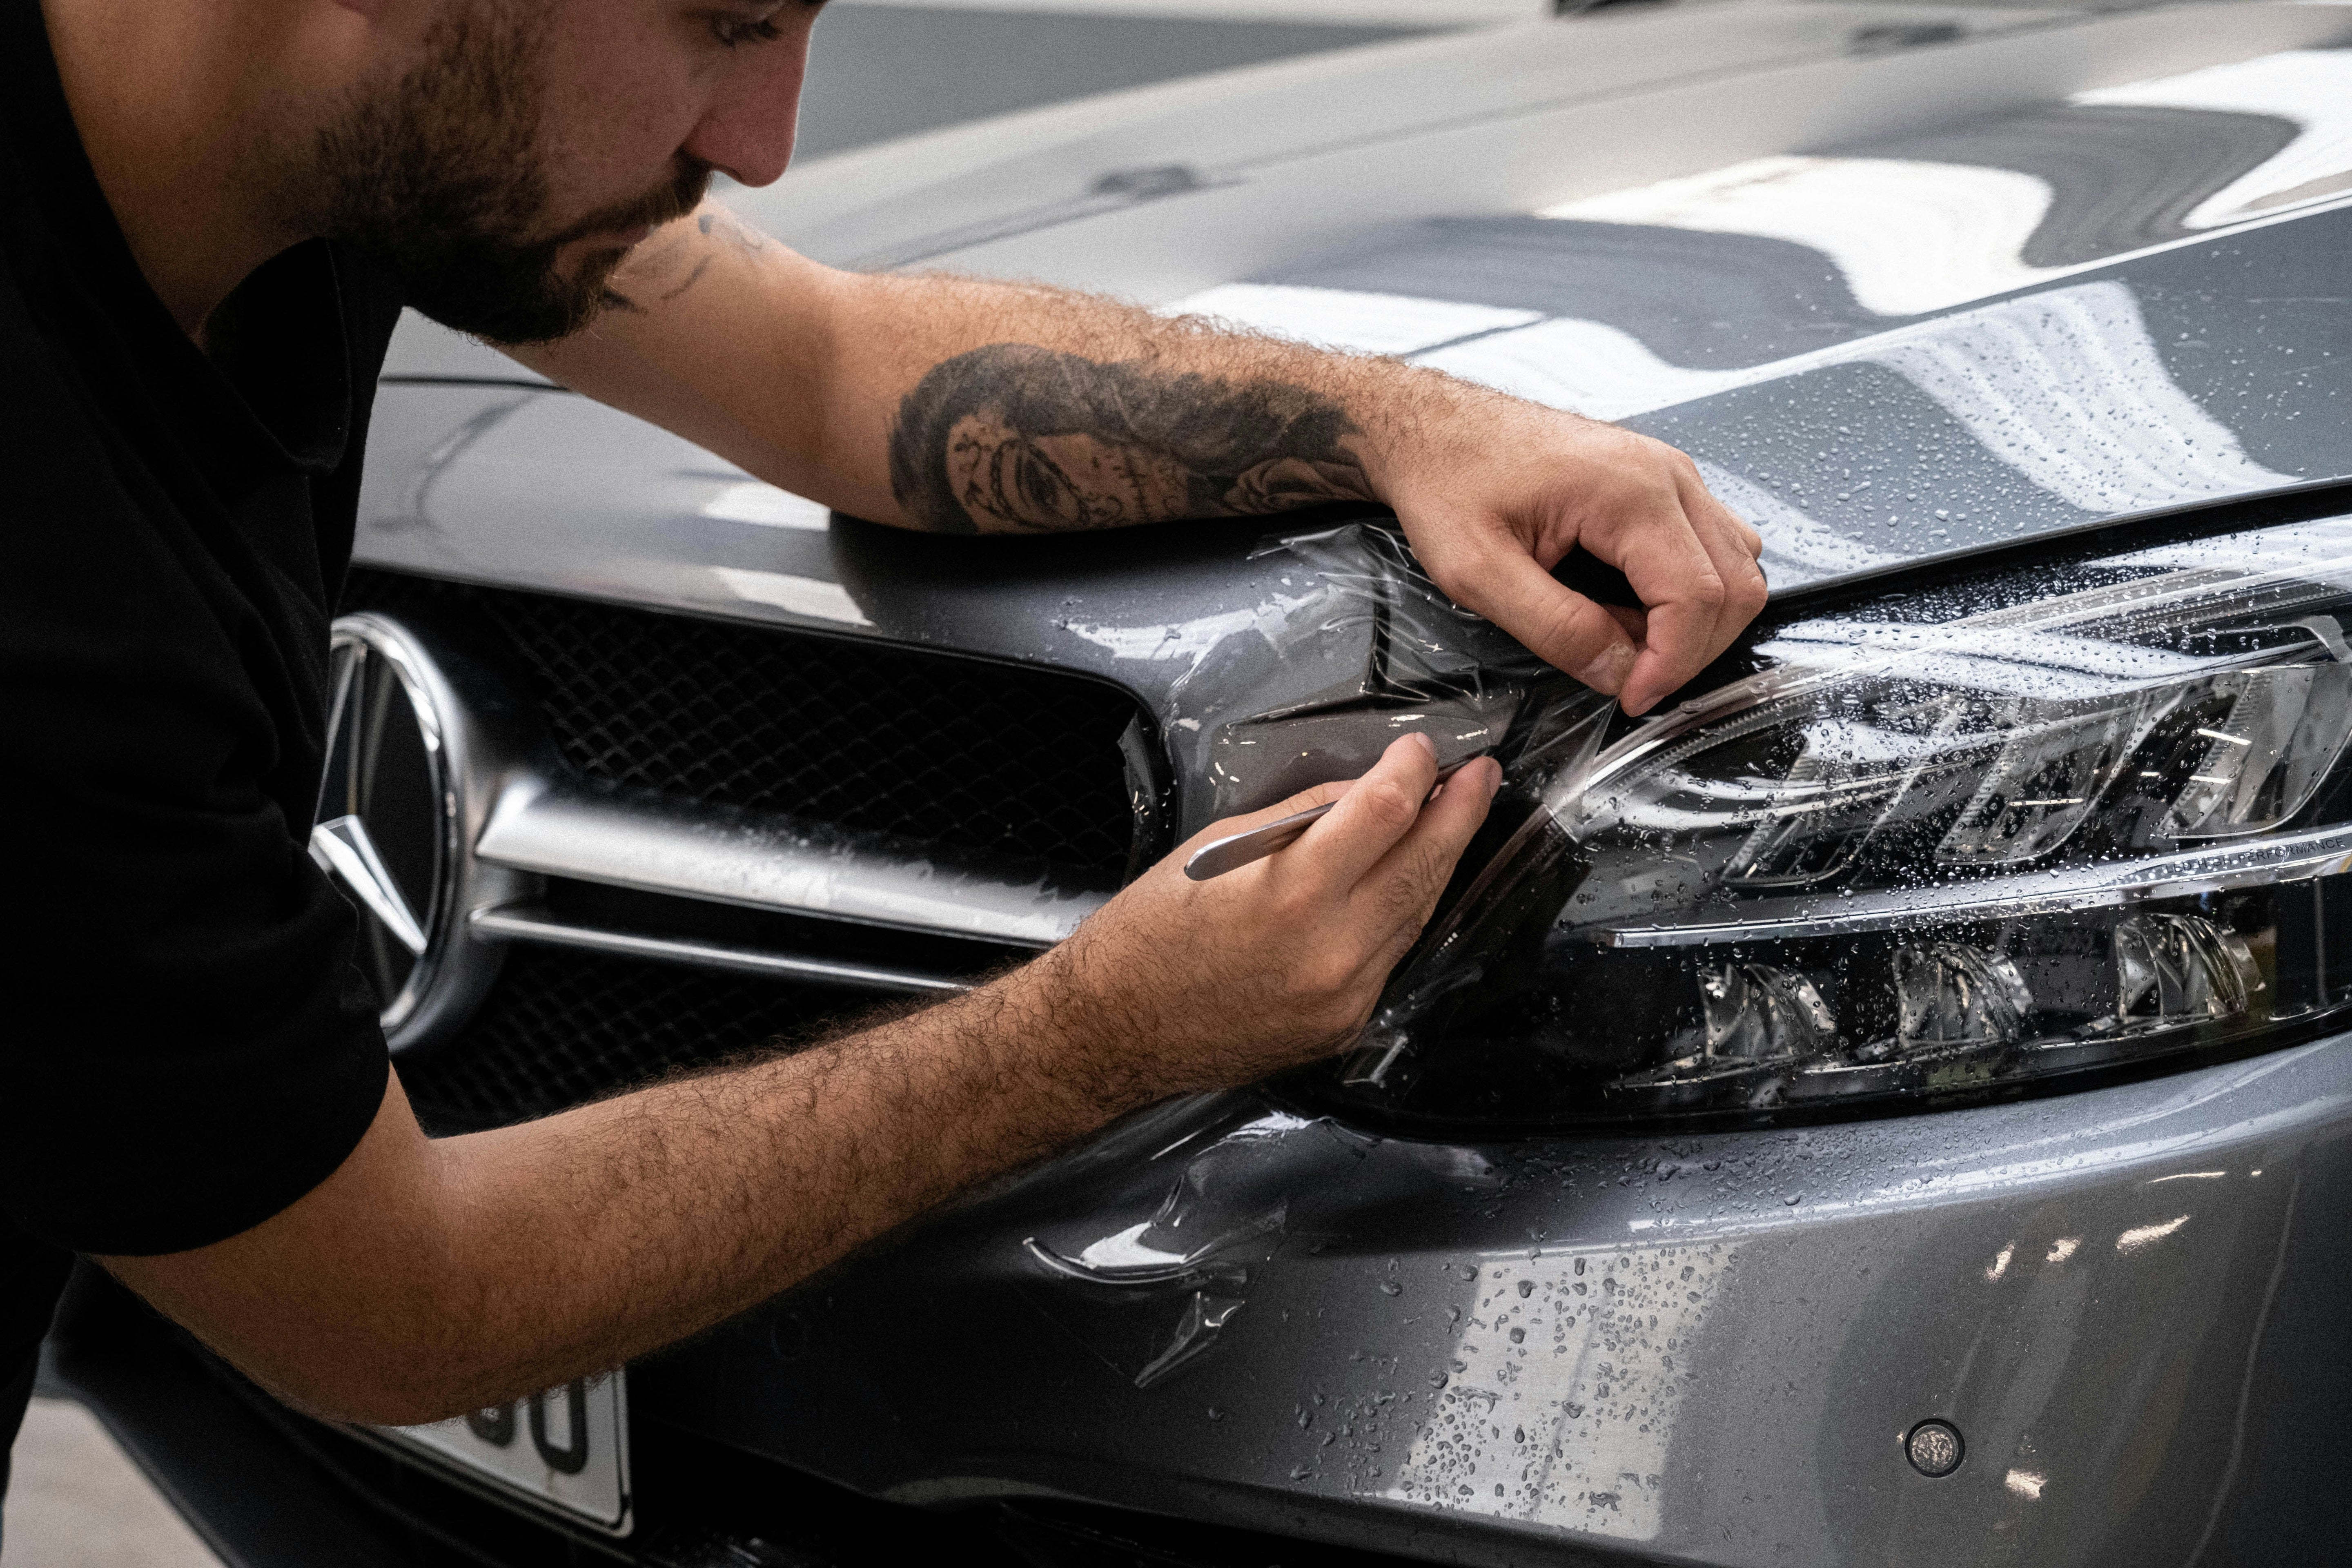
PPF Squeegee Guide: Choosing the Right Tool for Paint Protection Film
PPF Squeegee vs. Wrap Squeegee: What’s the Difference?
What is Paint Protection Film?
Paint Protection Film (PPF) is a thin, transparent polyurethane or polymer-based layer applied over a vehicle’s painted surfaces. Its primary purpose is to protect the paint from scratches, rock chips, road debris, UV rays, and chemical damage. Many car owners invest in PPF because it helps maintain the car’s showroom-like finish while increasing resale value. Unlike ceramic coatings, which only offer chemical and hydrophobic protection, PPF provides a physical shield that absorbs impacts.
PPF can be applied to high-impact areas like the hood, bumpers, side mirrors, and door edges, or it can be installed as a full-body wrap for maximum protection. Over the years, technology has improved dramatically, modern PPF is self-healing, meaning minor scratches and swirl marks disappear when exposed to heat. However, installing this protective layer requires precision, patience, and, most importantly, the right tools.
That’s where the squeegee comes into play. Without a high-quality squeegee, even the best film won’t sit properly on your vehicle. Air bubbles, wrinkles, and poor adhesion often result from using the wrong tools. For both DIY enthusiasts and professional installers, understanding the role of the PPF squeegee is critical for achieving a flawless finish.
Why Proper PPF Installation Tools Matter
When it comes to installing paint protection film, many beginners underestimate the importance of tools. They assume that any plastic scraper or wrap squeegee can get the job done. But here’s the catch: PPF is much thicker and more delicate than vinyl wraps. Using the wrong tool can scratch the surface of the film, leave streaks, or cause uneven adhesion that leads to peeling over time.
A proper PPF squeegee ensures smooth application, reduces the risk of bubbles, and evenly distributes the slip solution between the film and the paint. The right tool doesn’t just make installation easier, it determines whether the job looks professional or amateur. Think of it like painting a wall: you wouldn’t use a broom instead of a paint roller, right? The same principle applies here.
For a smooth, bubble-free installation, it helps to start with the right PPF tools designed specifically for paint protection film application →
Additionally, professional installers rely on different squeegees for different parts of the car. A large, firm squeegee might be perfect for flat surfaces like hoods, while smaller, soft-edge squeegees work better for curves, edges, and corners. Understanding these variations allows for a more precise and controlled application.
What is a PPF Squeegee?
A PPF squeegee is a specialized hand tool designed to apply paint protection film without damaging it. Unlike general-purpose scrapers or wrap squeegees, PPF squeegees are made with softer edges to avoid scratching and often feature materials like felt, rubber, or hybrid compounds that glide smoothly over the film. Their main function is to push out air bubbles and excess liquid, ensuring the film adheres tightly to the paint surface.
Some squeegees come in different shapes and sizes for specific tasks, wide blades for large panels, narrow ones for tight spots, and flexible ones for curves. Many professionals keep an entire toolkit of squeegees to handle various challenges during installation.
How Does a Paint Protection Film Squeegee Work?
The process is simple in theory: you spray a slip solution (a mix of soap and water) on both the car’s surface and the adhesive side of the film. Once the film is positioned correctly, you use the squeegee to press it firmly against the car’s paint, pushing out air pockets and excess solution. The squeegee helps bond the film to the paint without leaving marks or imperfections.
The efficiency of the squeegee comes from its ability to apply consistent pressure. Unlike using bare hands, which can leave uneven spots and fingerprints, the squeegee spreads pressure evenly across the film. Some squeegees are designed with a balance between firmness and flexibility, allowing installers to work seamlessly across flat and curved areas.
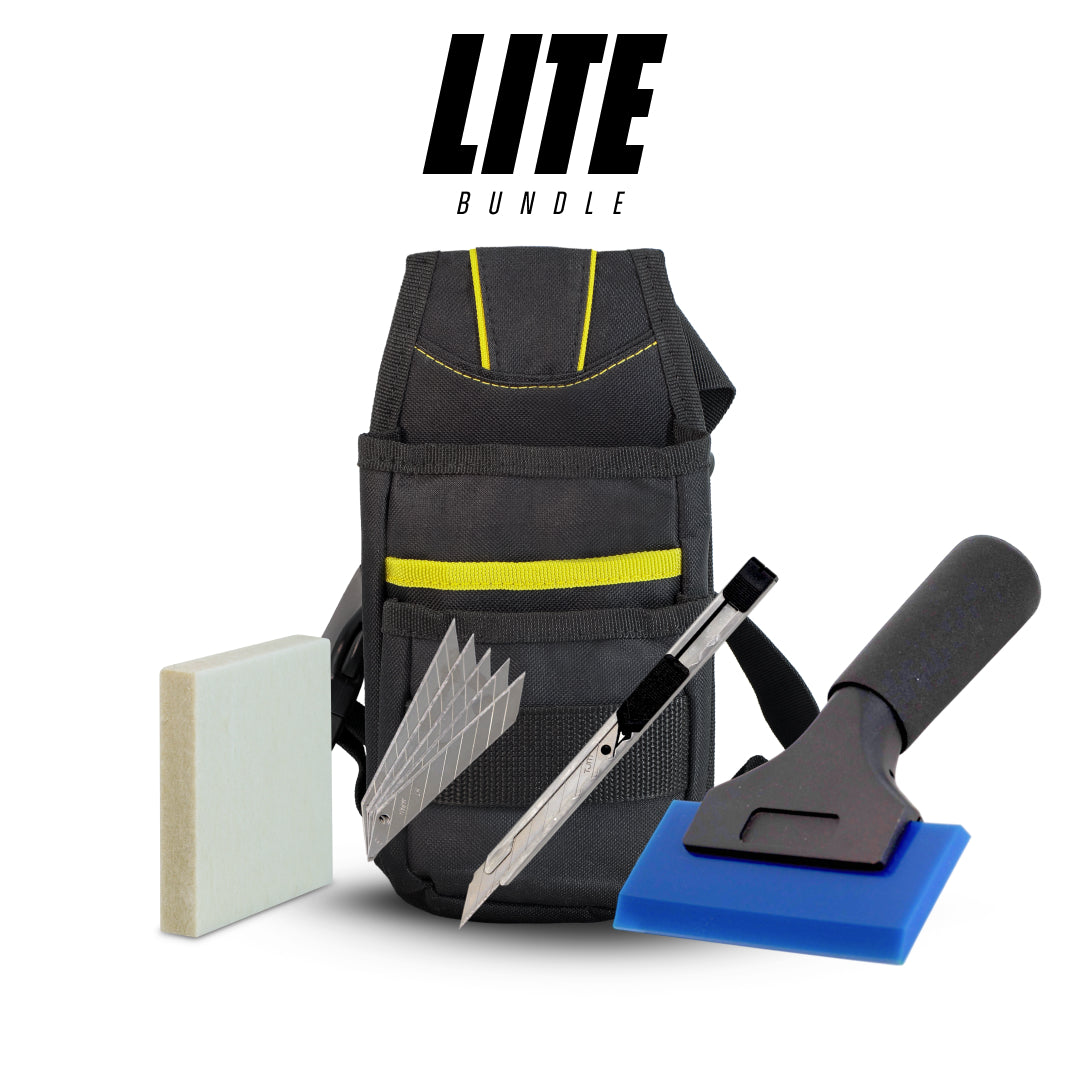
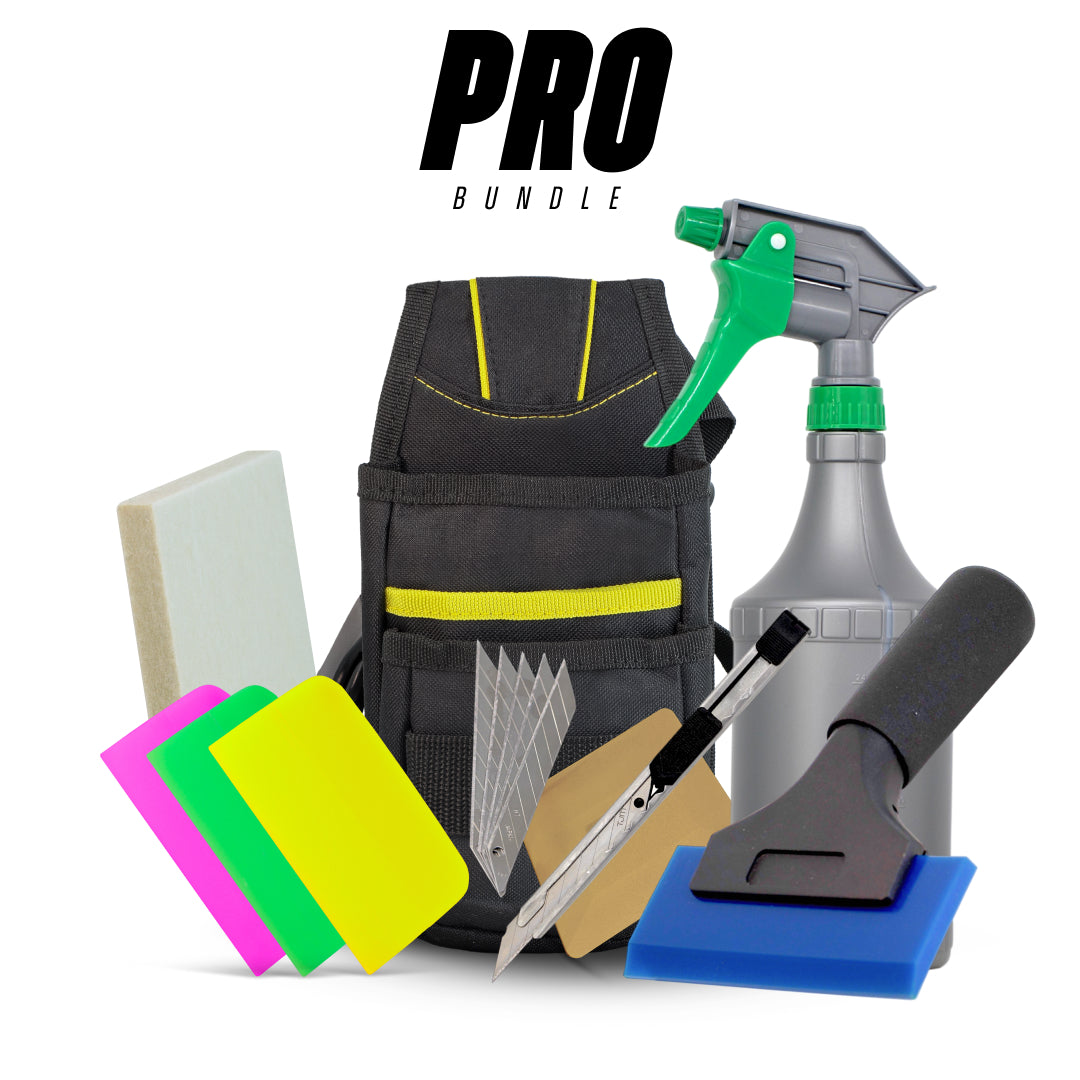
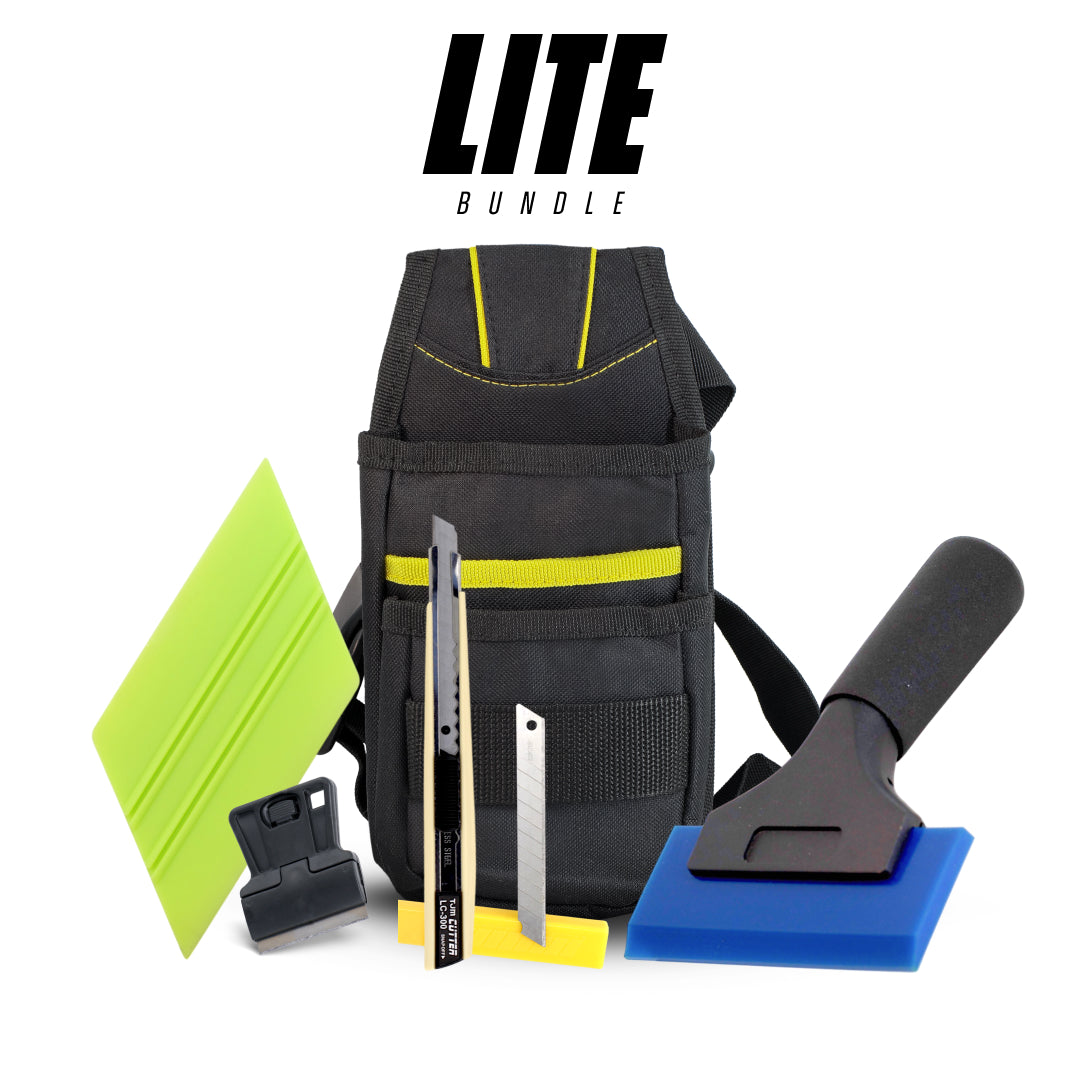
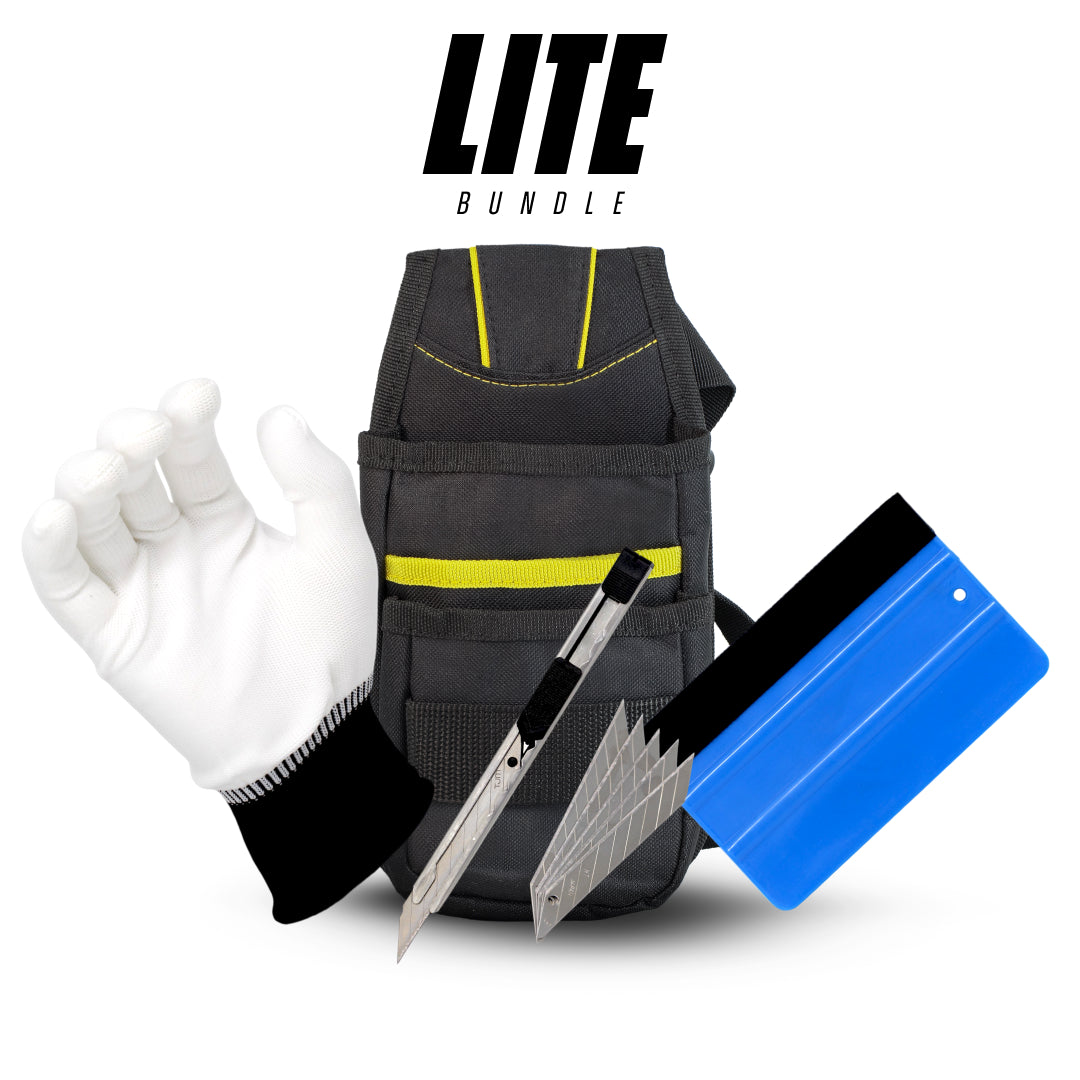
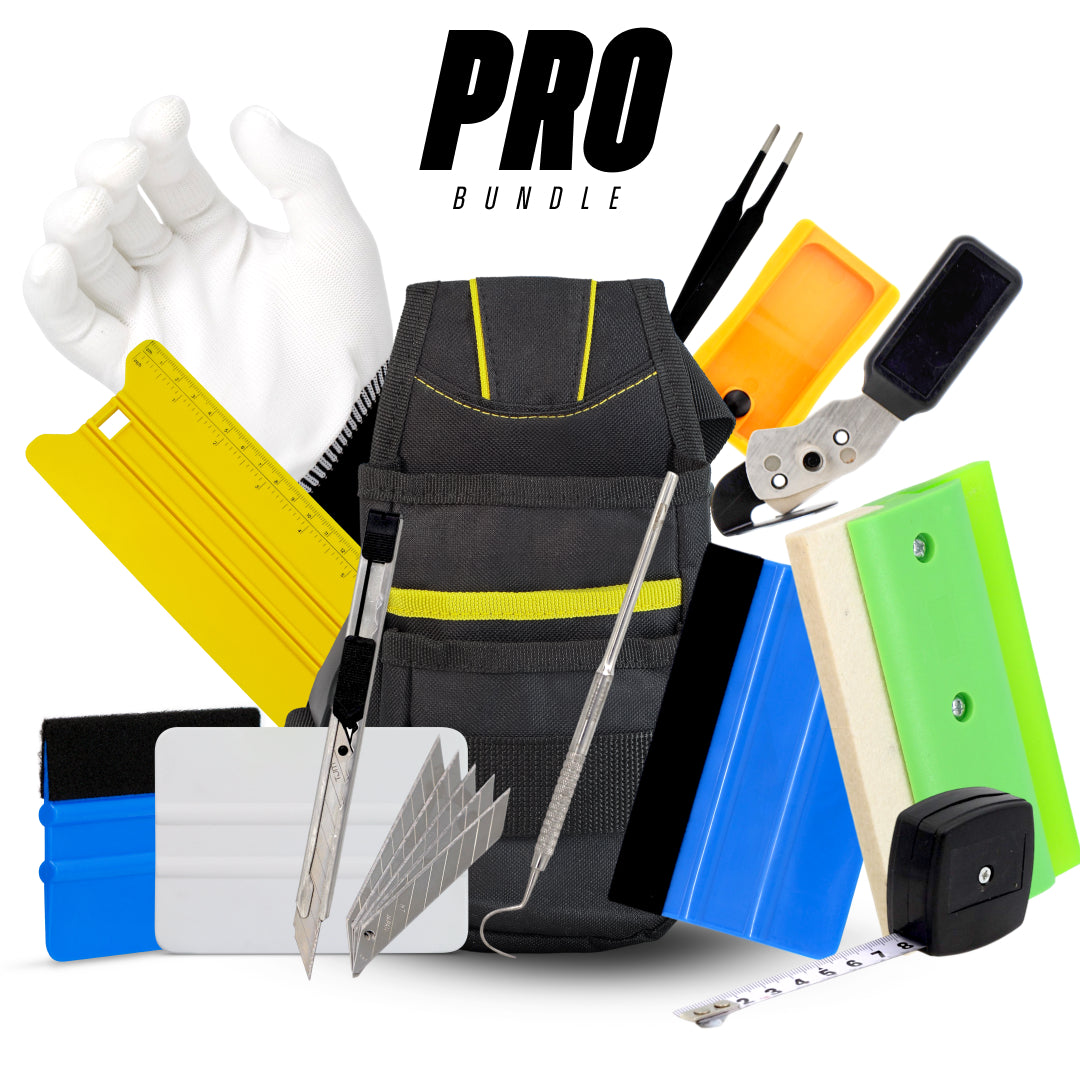
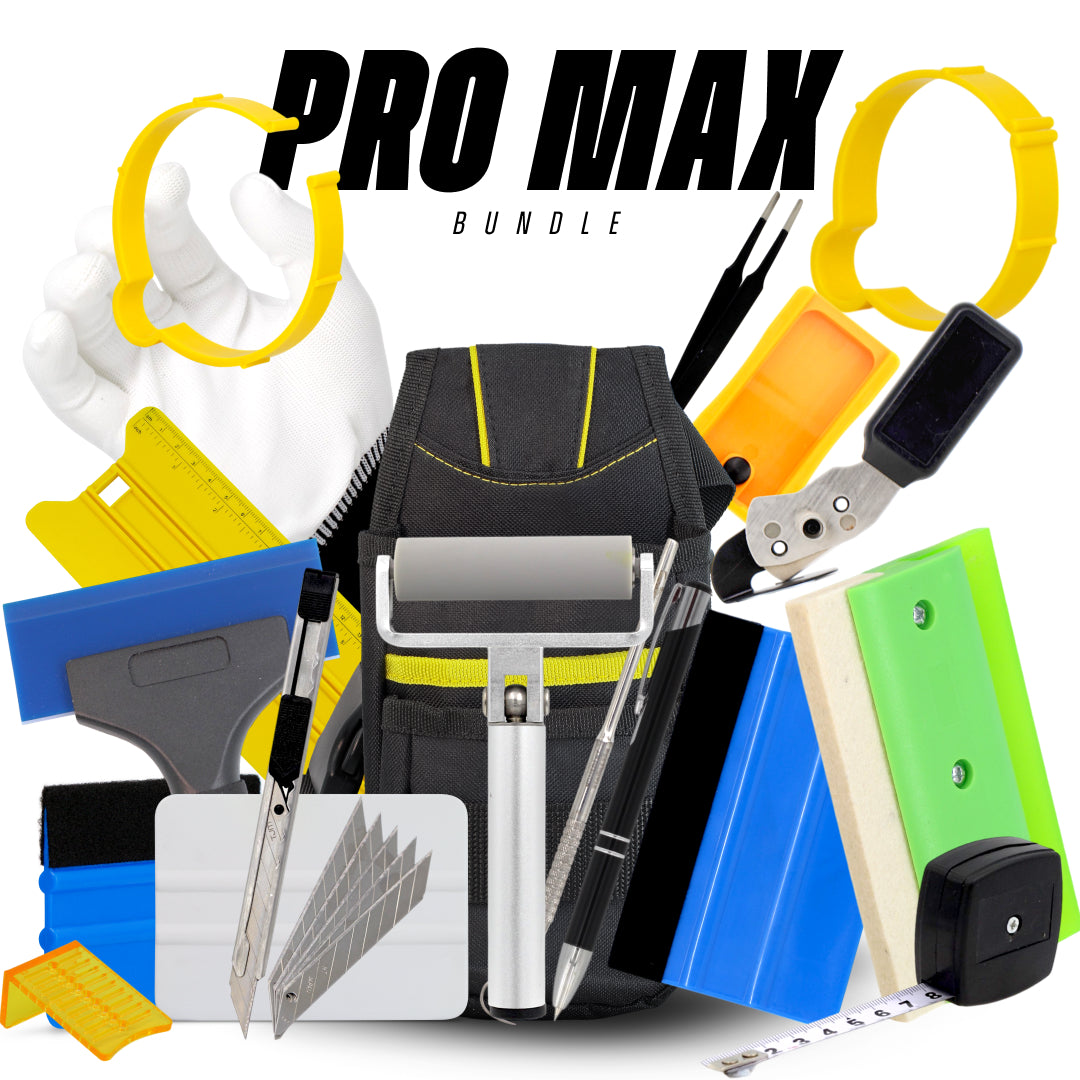
Many beginners find it easier to learn with a PPF kit that includes squeegees, blades, and other must-have tools →
Benefits of Using the Right PPF Squeegee
Choosing the right squeegee makes all the difference in PPF installation. Some of the biggest benefits include:
Bubble-Free Finish: The right squeegee ensures that trapped air and excess liquid are pushed out completely.
Prevents Scratches: Soft-edge or felt squeegees protect the film’s surface during installation.
Faster Application: A well-designed squeegee allows for smooth, consistent strokes, saving time.
Better Adhesion: Proper tools ensure the film bonds tightly and lasts longer.
Professional Results: Even DIY users can achieve near-professional results with the right squeegee.
If you’re looking for a complete selection, browse our PPF squeegees collection where you’ll find soft, medium, and firm options for different films →
Without the correct tool, you risk bubbles, wrinkles, and even damage to the PPF itself. It’s like trying to cut wood with a butter knife, you’ll eventually get it done, but the result won’t be pretty.
PPF Squeegee vs. Wrap Squeegee: What’s the
Difference?
Materials Used in Each Type
At first glance, PPF squeegees and wrap squeegees look very similar. Both are designed to smooth out films and vinyl wraps, but the materials used set them apart. Wrap squeegees are often firmer, made from harder plastics or Teflon materials, which work well for vinyl but are too aggressive for delicate PPF. On the other hand, PPF squeegees typically feature softer rubber or felt edges that won’t scratch the film’s surface.
Another key difference is in thickness. PPF squeegees are often thicker and more flexible to handle the weight of the film, while wrap squeegees are designed for thin, stretchable vinyl. This difference in material ensures that the tool is suited for the job and doesn’t compromise the finish.
Application Techniques and Surface Needs
When installing vinyl wraps, the process often requires stretching the material around corners and edges. A wrap squeegee is designed to handle this stretch and usually applies more aggressive pressure. PPF, however, does not stretch in the same way, it requires careful alignment and even pressure to avoid damage.
This is why a PPF squeegee is smoother and softer. It’s built to gently press the film onto the surface while removing liquid and bubbles. Using a wrap squeegee on PPF often leads to scratches and uneven adhesion, which is why professionals keep them separate in their toolkits.
Which One Should You Choose?
If your goal is to install PPF, a wrap squeegee simply won’t cut it. The wrong tool could ruin your expensive film before it’s even applied. Always invest in a proper PPF squeegee, it’s designed for the thickness, adhesive type, and sensitivity of protective films. Wrap squeegees, on the other hand, should be reserved for vinyl applications like color changes or decals.
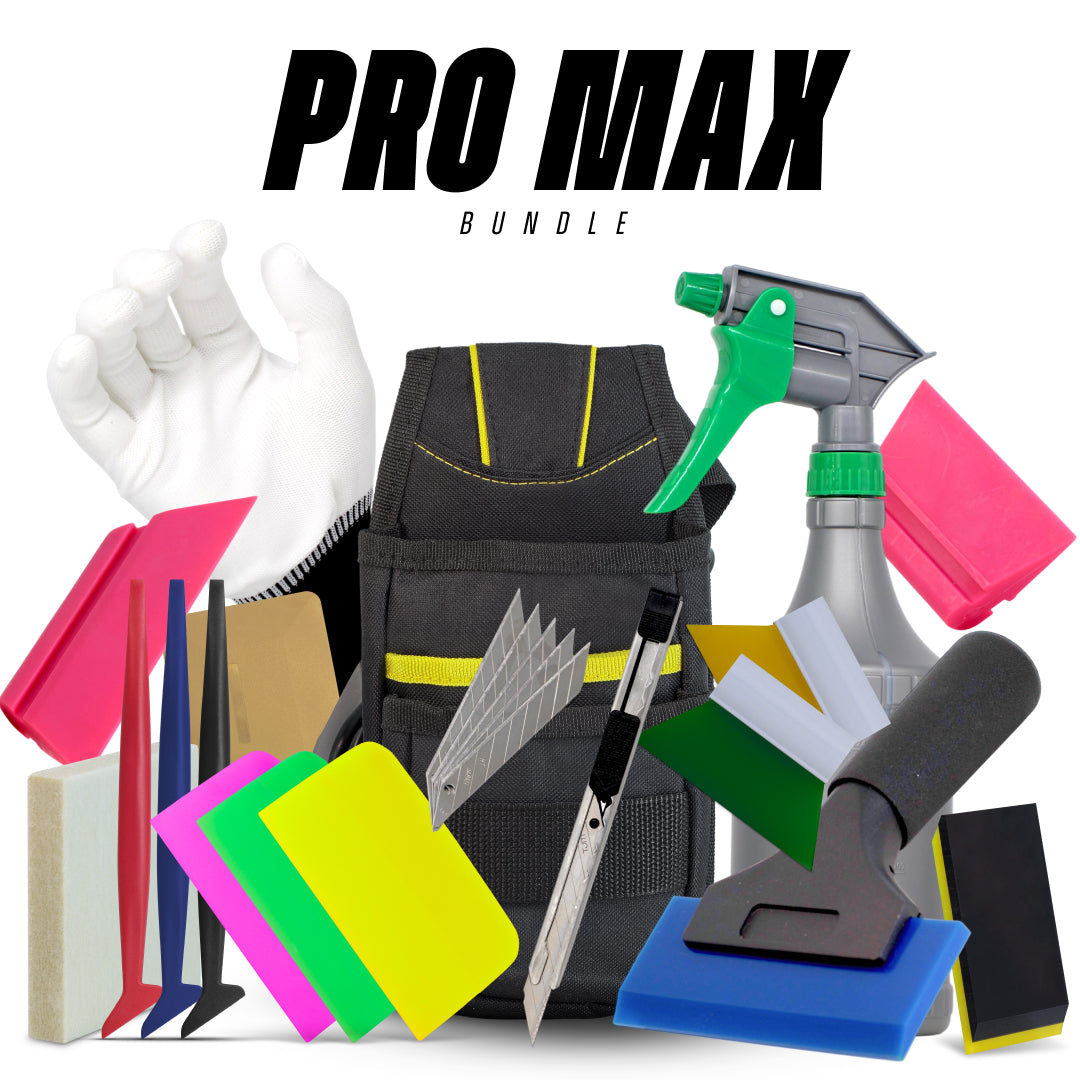
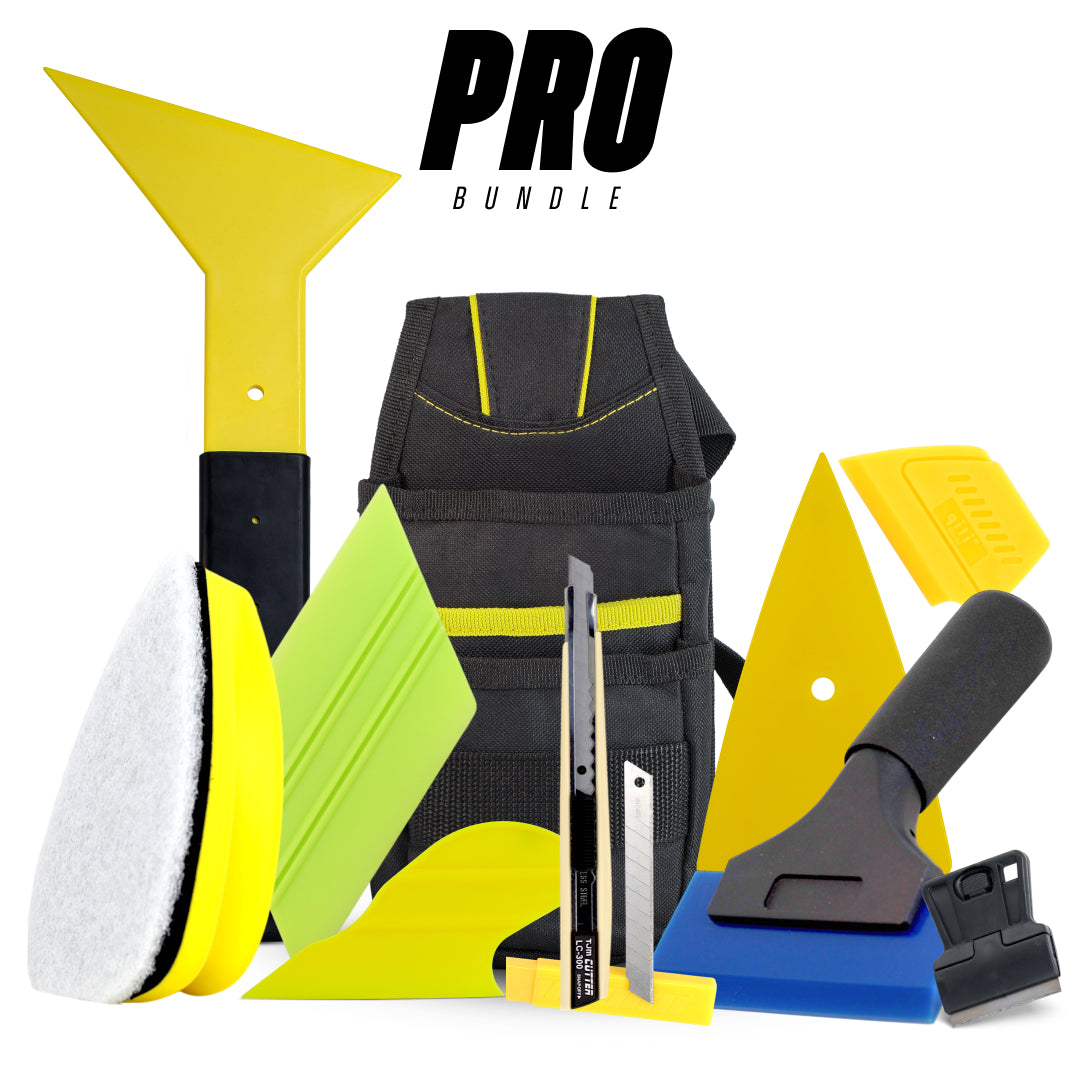
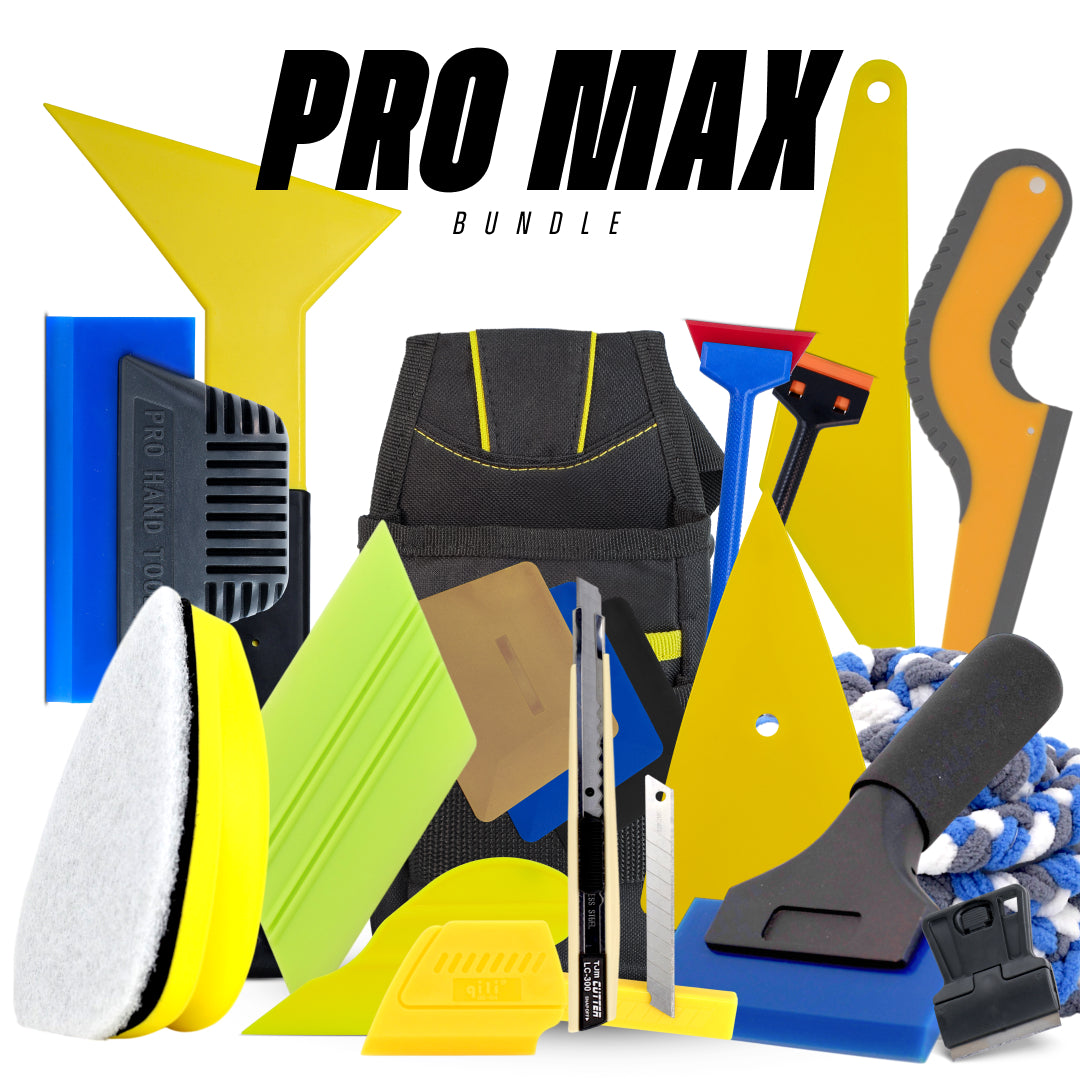
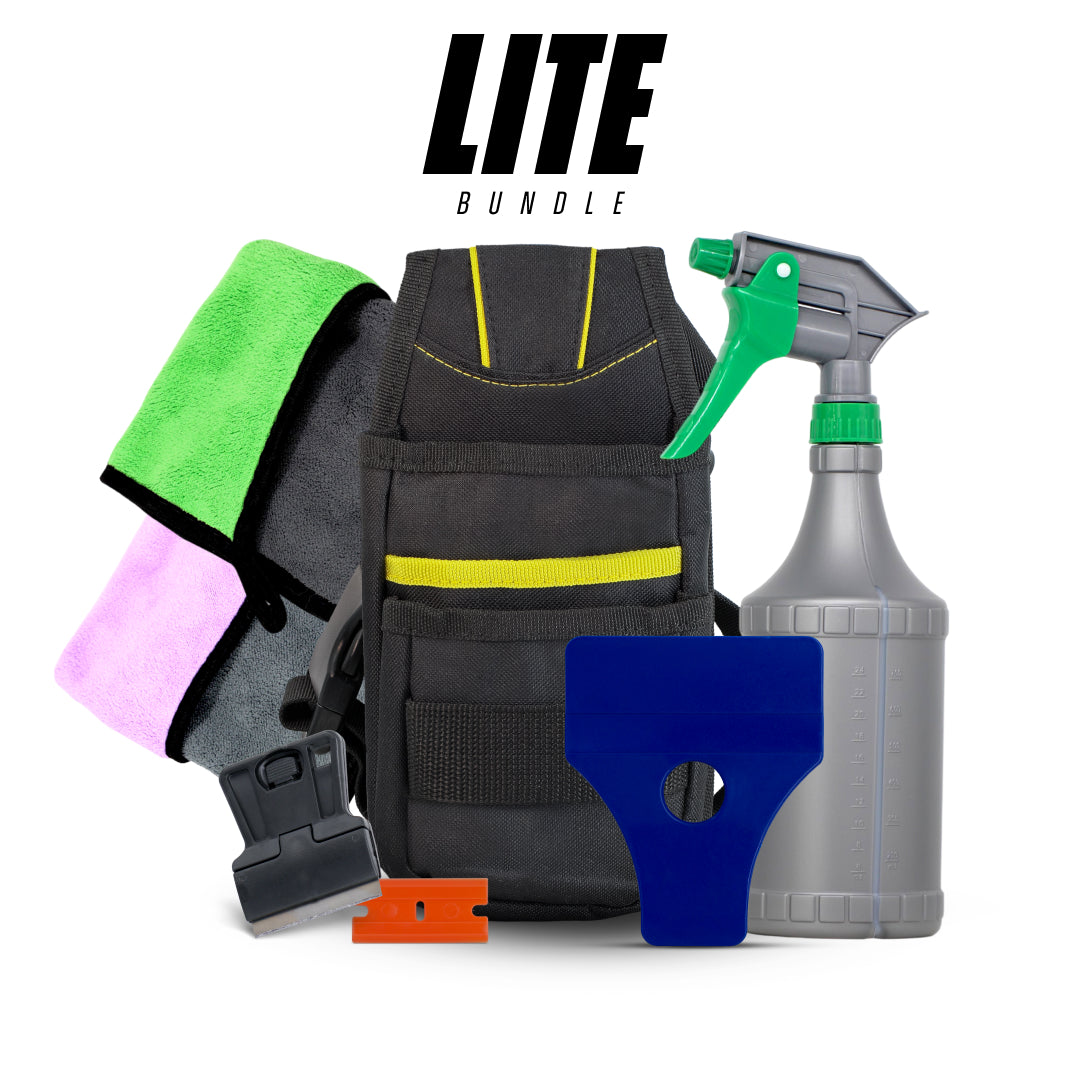
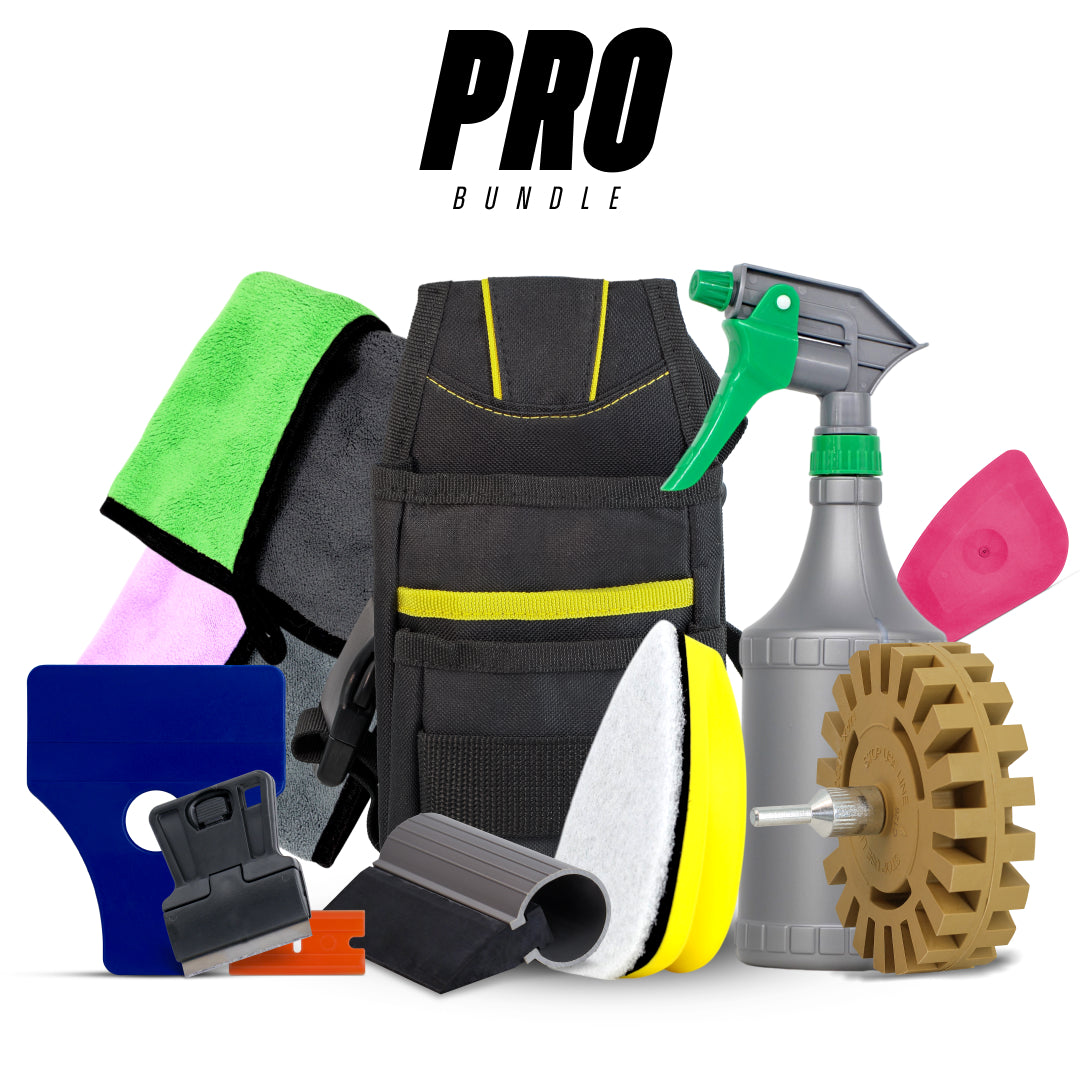
For larger projects, many professionals turn to vehicle wrap tool kits that include extra squeegees, applicators, and edge tools →
For DIY users, the safest choice is to purchase a beginner-friendly PPF squeegee kit. These kits usually include a variety of squeegees with different edge types, allowing you to practice and find what works best for your car’s surfaces. Professionals often prefer high-end, specialized squeegees for precision work.
Types of Paint Protection Film Squeegees
Felt-Edge PPF Squeegees
Felt-edge squeegees are among the most popular choices for PPF installation. The felt layer protects the film from scratches and makes it easier to glide across the surface without leaving marks. These are especially useful for finishing touches, where the goal is to smooth out any last air bubbles or solution without damaging the top layer of the film.
Felt squeegees are also a favorite for working on glossy finishes since they reduce the risk of streaks. However, they may not always provide enough pressure for larger, flat surfaces. In those cases, professionals often combine felt squeegees with firmer rubber ones to achieve a balance of protection and effectiveness.
Rubber PPF Squeegees
Rubber squeegees are essential for the initial installation process. They’re firmer than felt options, making them ideal for pushing out large amounts of slip solution and ensuring the film sticks properly to the surface. They come in various hardness levels, ranging from soft, flexible rubber for curves to hard rubber for flat, broad panels.
Their main advantage is efficiency, rubber squeegees can cover large areas quickly and with consistent pressure. However, without proper technique, they can leave streaks or slight marks on the film, which is why many installers follow up with a felt squeegee.
Hybrid and Specialty PPF Squeegees
Hybrid squeegees combine the best of both worlds. They often feature one side with rubber and another with felt, allowing installers to switch quickly between pushing solution and finishing details. These tools are highly versatile, making them a favorite for both professionals and DIY enthusiasts.
Specialty squeegees also exist for hard-to-reach spots, such as narrow edges, door handles, or curved bumpers. Some come with angled edges, ergonomic grips, or unique blade designs to tackle specific challenges. A complete squeegee set usually includes a mix of standard, felt, rubber, and specialty tools for maximum flexibility during installation.
Choosing the Right Paint Protection Film Squeegee
Factors to Consider Before Buying
Selecting the right squeegee isn’t just about picking the first one you see online. There are several factors to keep in mind:
Material: Felt, rubber, or hybrid materials each serve different purposes.
Size: Larger squeegees cover more area but may be harder to use on curves.
Flexibility: A flexible blade works better on complex shapes, while rigid blades are best for flat panels.
Grip and Comfort: Long installations can be tiring, ergonomic handles make a difference.
Price: While budget options exist, investing in a high-quality squeegee pays off in durability and performance.
Best Materials for PPF Squeegees
When it comes to materials, felt is best for finishing, rubber is best for initial application, and hybrids give you versatility. Some installers even use microfiber-covered squeegees for delicate surfaces. The best material often depends on your experience level and the specific job.
For example, if you’re new to PPF installation, a felt-edge squeegee provides a safer learning curve since it’s less likely to scratch the film. Professionals, however, may prefer harder rubber blades that allow them to work faster and with more precision.
To extend the life of your PPF, consider using detailing tools that keep the protective film polished and well-maintained →
Top 5 Paint Protection Film Squeegees for Perfect
Installs
Product Reviews and Key Features
When it comes to achieving a flawless PPF installation, the right squeegee can make or break your project. After testing and reviewing some of the most popular options on the market, here are the top five paint protection film squeegees worth considering:
Gold Felt-Edge Squeegee – A reliable, versatile tool that provides firm pressure while protecting the film with its felt edge.
Turbo Squeegee – Perfect for large surfaces, offering smooth liquid removal and consistent adhesion.
Felt Squeegee – Ideal for finishing touches, ensuring a streak-free and scratch-free application.
Hybrid Squeegee – Combines rubber and felt edges, making it a versatile choice for different stages of installation.
Soft Rubber Squeegee – Flexible and great for curves, edges, and hard-to-reach areas.
Whether you’re a beginner or a professional, these squeegees help you achieve a flawless PPF installation every time.
Price vs. Performance
Price doesn’t always reflect performance when it comes to PPF squeegees. While premium options offer unmatched precision and durability, many mid-range and even budget tools perform surprisingly well for DIY users.
Budget Range ($5–$15): Ideal for small projects or beginners experimenting with PPF installation.
Mid-Range ($15–$30): Offers better materials, improved ergonomics, and longer durability.
High-End ($30+): Professional-grade squeegees designed for daily use, providing consistent results and lasting performance.
If you’re planning to apply PPF on just one vehicle, a mid-range squeegee is sufficient. But if you’re an installer handling multiple projects, investing in high-end tools is a must.
Best Choice for Beginners vs. Professionals
For Beginners: A felt-edge squeegee is the safest choice since it’s less likely to damage the film. A hybrid kit that includes different squeegees also gives DIY users flexibility to learn proper techniques.
For Professionals: A combination of high-quality rubber squeegees for large areas and felt squeegees for finishing provides the speed and precision needed for customer-grade results.
In short, beginners should focus on ease of use and affordability, while professionals need tools that can handle repeated use without compromising on results.
Step-by-Step: Installing Paint Protection Film with a PPF Squeegee
Preparing the Surface
Before you even think about applying PPF, preparation is key. Start by washing the car thoroughly with a pH-neutral car shampoo to remove dirt, grease, and debris. Pay special attention to edges and corners where grime tends to accumulate. After washing, use a clay bar to eliminate embedded contaminants that could interfere with adhesion. Finally, dry the vehicle completely using a microfiber towel.
Many professionals also recommend using isopropyl alcohol to wipe down the surface, ensuring no oils or residues remain. Skipping this step is one of the fastest ways to ruin an installation since even tiny particles can cause bubbles or raised spots under the film.
Applying the Paint Protection Film with a PPF Squeegee
Once the surface is prepped, spray a slip solution (water mixed with a few drops of baby shampoo or a professional PPF solution) onto both the adhesive side of the film and the car’s surface. This allows the film to move freely and prevents it from sticking prematurely.
Place the film onto the panel, align it carefully, and begin working from the center outward using a rubber squeegee. Apply firm, consistent strokes to push out excess solution and air bubbles. Work slowly and methodically, ensuring the film lays flat without wrinkles. For complex curves, use a softer or smaller squeegee that adapts to the contour.
After the main application, switch to a felt-edge squeegee to refine the finish. This step ensures that no streaks or marks remain on the top layer of the PPF.
Avoiding Bubbles and Wrinkles
Bubbles and wrinkles are the biggest enemies of a clean installation. To avoid them:
Use plenty of slip solution during positioning.
Apply steady pressure with the squeegee rather than pressing too hard.
Work in overlapping strokes to ensure no air pockets are left behind.
Reheat the film lightly with a heat gun if necessary to help it conform to curves.
If bubbles do appear, don’t panic. Small bubbles often disappear as the solution evaporates, while larger ones can be carefully pushed out with a squeegee or, in some cases, pricked with a fine needle to release trapped air.
Along with squeegees, you’ll need precision knife cutters and blades to trim PPF cleanly and avoid jagged edges →
Common PPF Squeegee Mistakes to Avoid
Using the Wrong Pressure
One of the most common mistakes DIY users make is applying either too much or too little pressure with the squeegee. Pressing too hard can stretch or damage the film, while using too little pressure leaves air and solution trapped underneath. The goal is to find a balance, firm enough to bond the film but gentle enough to avoid distortion.
Think of it like ironing clothes: too much force can burn the fabric, but too little won’t smooth out the wrinkles. The same principle applies to PPF installation.
Choosing the Wrong Material
Another frequent mistake is using a wrap squeegee or a generic scraper instead of a dedicated PPF squeegee. Wrap squeegees are often too rigid and can scratch or damage the film. Likewise, using hard plastic edges without a felt covering increases the risk of leaving permanent marks.
Always choose tools designed specifically for PPF, and if you’re unsure, go with a hybrid or felt-edge option to minimize risks.
Rushing the Installation Process
Installing PPF is not a five-minute job. Rushing through it often leads to crooked alignment, trapped bubbles, and uneven adhesion. Professionals take their time, working panel by panel, ensuring every stroke of the squeegee is deliberate and effective.
Patience is essential, especially for beginners. It’s better to spend a few extra minutes perfecting a single panel than to rush and end up redoing the entire job.
Maintenance of Your PPF Squeegee
Cleaning and Storage Tips
A clean squeegee is just as important as a clean car surface. Dirt and debris stuck to the edge of your squeegee can scratch the film during application. After each use, rinse your squeegee under warm water and wipe it down with a microfiber cloth.
When storing, keep your squeegees in a clean, dry place, preferably in a dedicated tool pouch. Avoid leaving them in direct sunlight or extreme temperatures, as this can cause the materials to warp or degrade over time.
When to Replace Your Squeegee
Even the best squeegees don’t last forever. Over time, the edges can wear down, felt can peel off, and rubber can harden or crack. If you notice streaks, scratches, or inconsistent performance, it’s time for a replacement.
As a general rule:
Felt-edge squeegees should be replaced every 6–12 months, depending on use.
Rubber squeegees may last longer but should be inspected regularly for signs of wear.
Extending the Life of Your Tools
To get the most out of your squeegees:
Always clean them after each use.
Rotate between different squeegees during projects to reduce wear.
Use each type for its intended purpose, don’t use a finishing squeegee for heavy liquid removal.
Taking care of your tools not only extends their lifespan but also ensures every PPF installation looks its best.
Advanced PPF Installation Techniques
Heat and Squeegee Method
Professional PPF installers often use heat in combination with a squeegee to achieve a flawless application. A heat gun or infrared lamp softens the film, making it more pliable and easier to conform around complex curves and sharp edges. Once the film is warmed, the squeegee is used to press it firmly into place, eliminating wrinkles and helping the adhesive bond more effectively.
The key here is control, too much heat can overstretch or even burn the film, while too little won’t make a noticeable difference. Professionals recommend short bursts of heat while working in small sections. When done correctly, the heat-and-squeegee method produces a smooth, factory-like finish that lasts for years.
Working with Complex Curves and Edges
Curved panels, such as bumpers, side mirrors, and wheel arches, are some of the most challenging parts of a PPF installation. Regular flat squeegees often struggle to lay the film down evenly in these areas. That’s where specialty squeegees, smaller, more flexible tools, come into play.
For edges, installers often use narrow squeegees with soft tips that can slide under the lip of the film without tearing it. Applying extra slip solution also helps prevent sticking too soon, giving you more time to align and adjust the film. Patience and precision are crucial here, as rushing can lead to creases that are nearly impossible to fix without redoing the section.
Using Multiple Squeegees for Different Tasks
No single squeegee can handle every part of a PPF job perfectly. Professionals typically carry a set of tools designed for different tasks:
Wide rubber squeegees for covering large, flat surfaces like hoods and doors.
Soft felt-edge squeegees for finishing and bubble removal.
Mini or angled squeegees for corners, edges, and hard-to-reach spots.
Hybrid squeegees for versatility when switching between liquid removal and delicate finishing.
By rotating between different tools, installers can achieve cleaner results in less time. For DIY users, investing in a complete squeegee kit ensures you’ll be prepared for every stage of the process.
FAQs
Do I need multiple squeegees for PPF?
Yes. Different squeegees serve different purposes, wide rubber squeegees are great for large panels, while felt-edge squeegees are best for finishing. Having a variety ensures better results.
Can I use a wrap squeegee for PPF?
It’s not recommended. Wrap squeegees are often too hard and can scratch or damage PPF. Always use tools specifically designed for paint protection film.
What’s the best squeegee for beginners?
A felt-edge squeegee is ideal for beginners since it’s soft and less likely to scratch the film. Hybrid kits that include different edge types are also a great choice for learning.
How long does a PPF squeegee last?
With proper care, rubber squeegees can last a year or more, while felt squeegees may need replacement every 6–12 months depending on usage.
Do professionals use heat when installing PPF?
Yes, heat is often used to make the film more pliable, especially on complex curves and edges. It helps prevent wrinkles and ensures better adhesion.
Conclusion
A paint protection film squeegee isn’t just another tool, it’s the secret to achieving a smooth, bubble-free, and professional-looking installation. Whether you’re a DIY enthusiast trying to protect your daily driver or a professional installer working on high-end vehicles, the right squeegee makes all the difference.
From understanding the differences between PPF and wrap squeegees to learning proper installation techniques, every detail matters. Investing in the right squeegee set, maintaining your tools, and practicing patience during installation will reward you with a flawless finish that enhances your car’s look and protects it for years.
If you want the best results, don’t cut corners, equip yourself with the proper tools and take your time. After all, your vehicle deserves the same care and precision you’d give to a masterpiece.
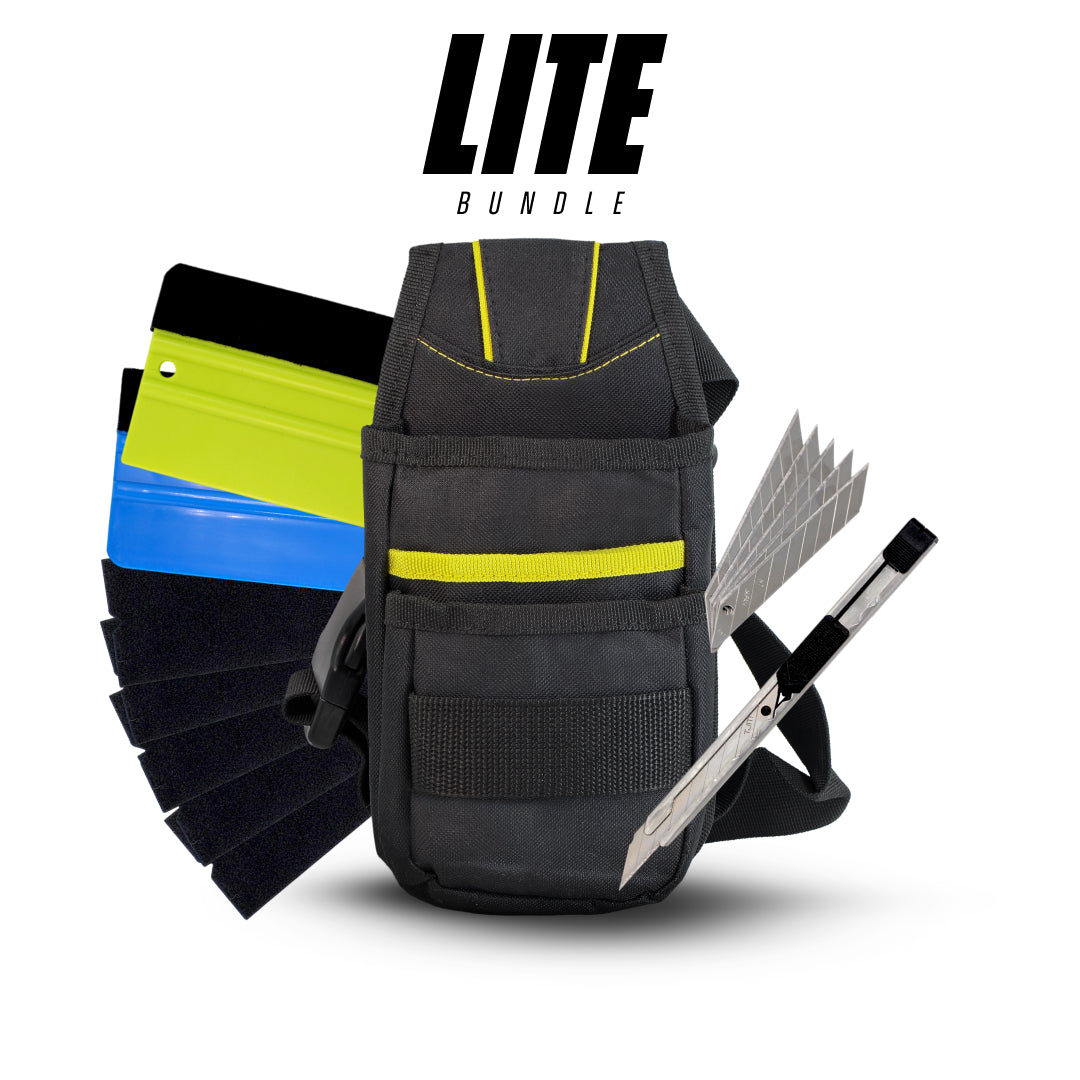
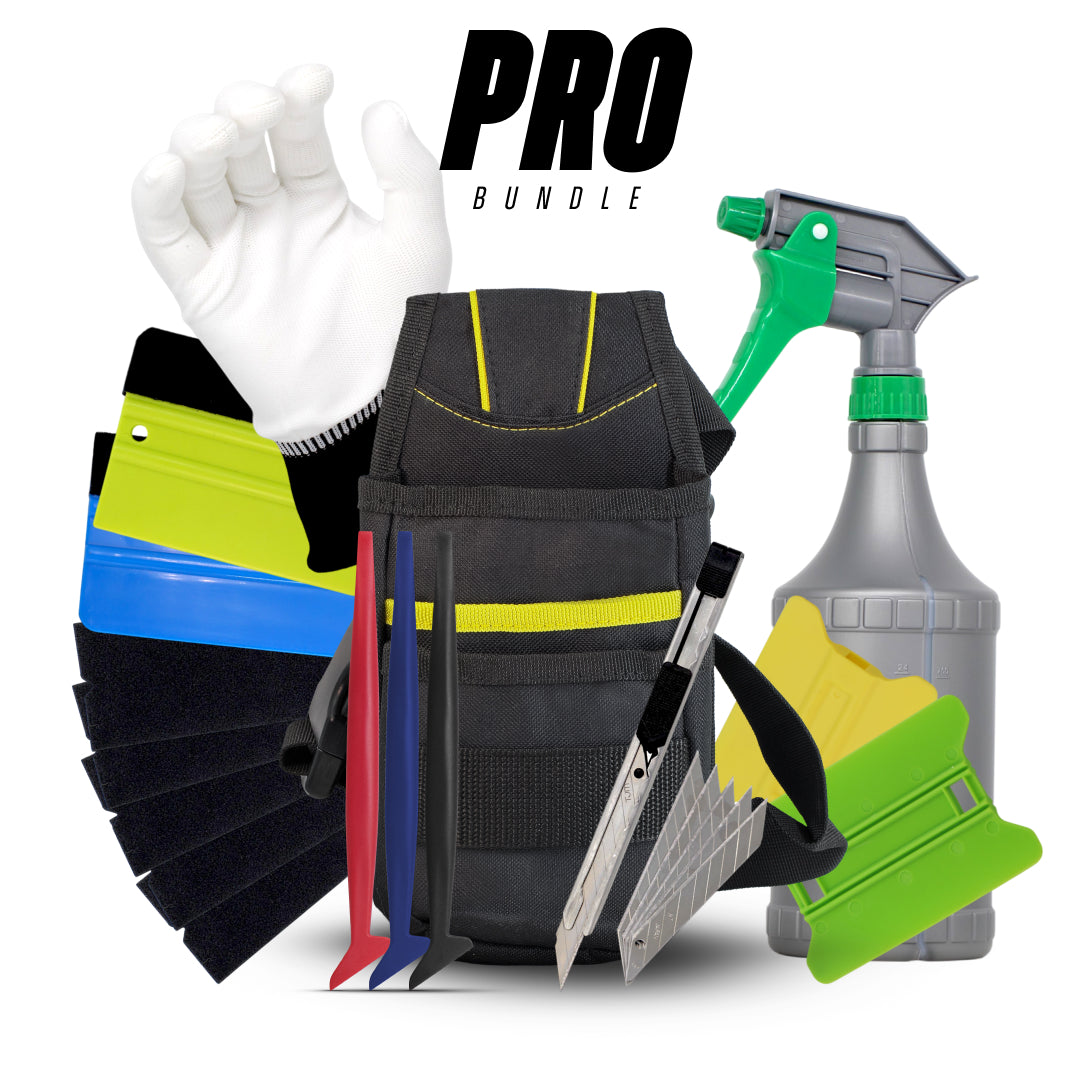
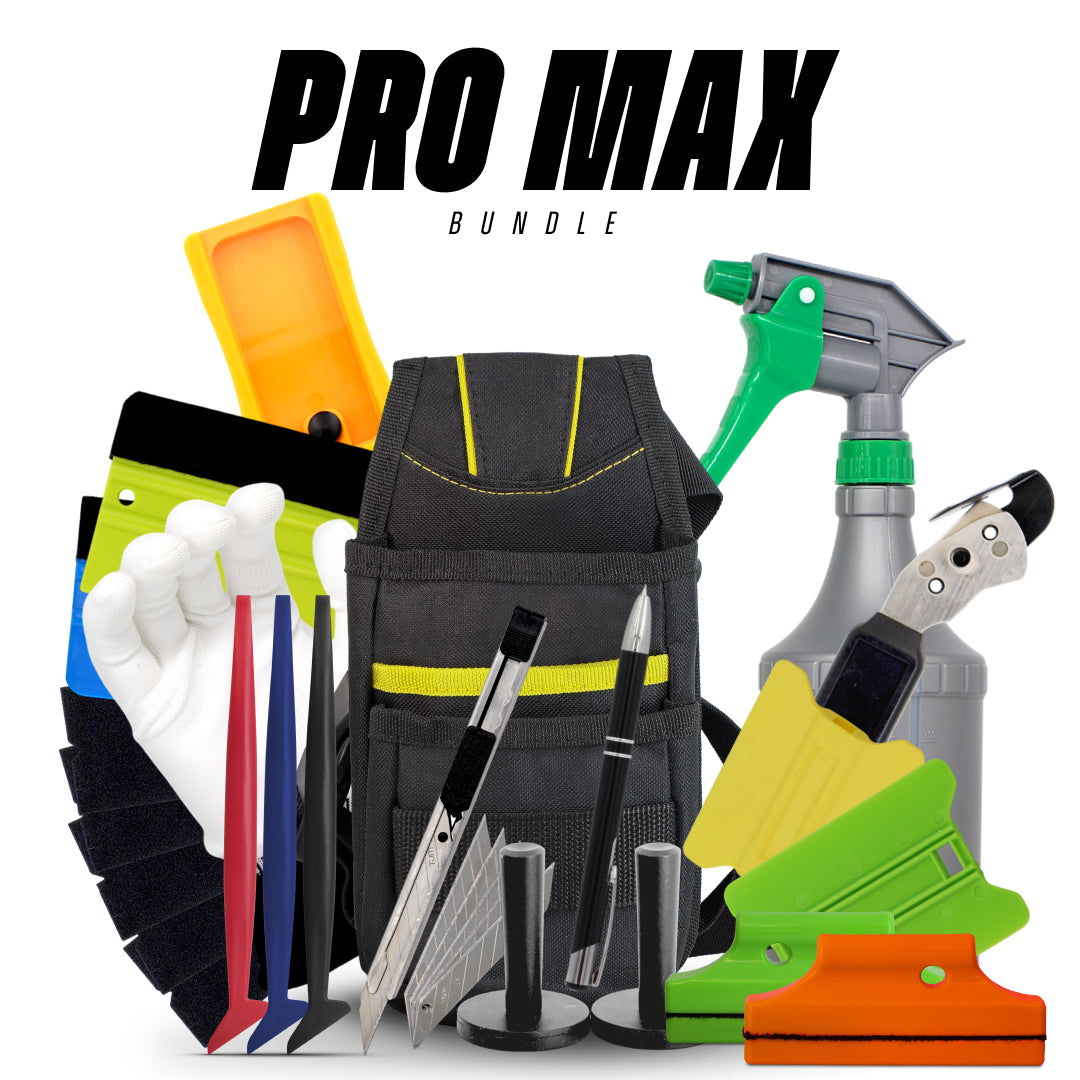
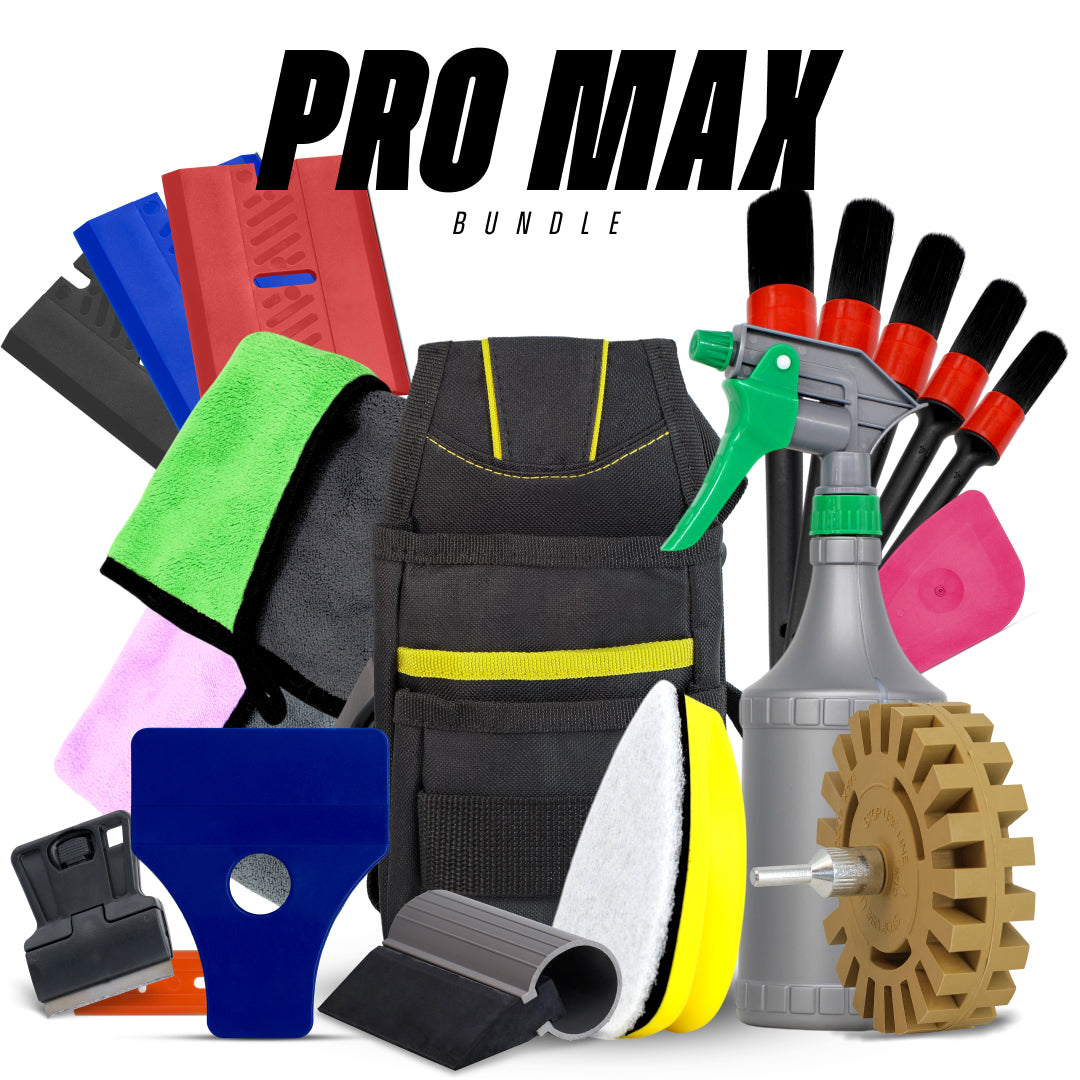
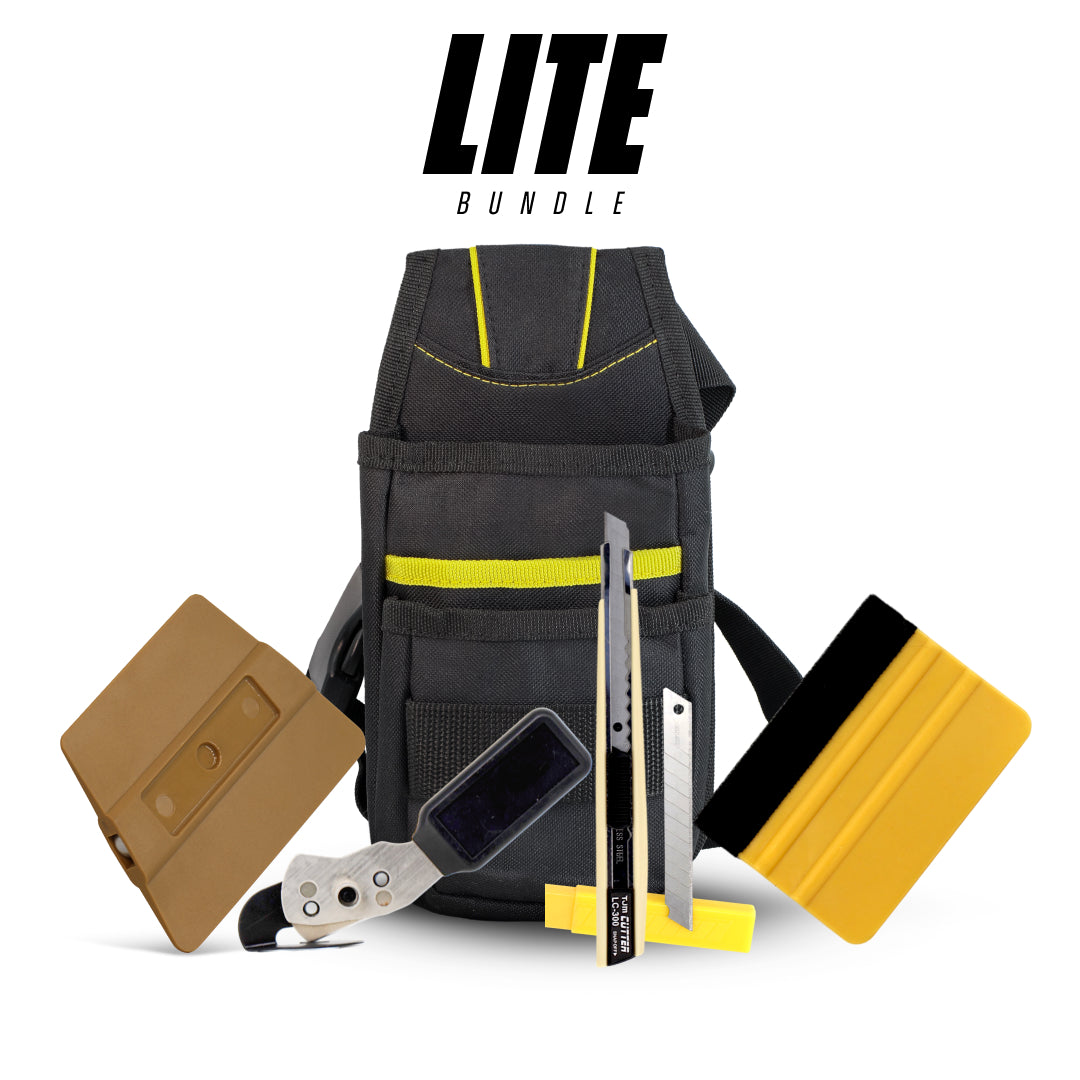
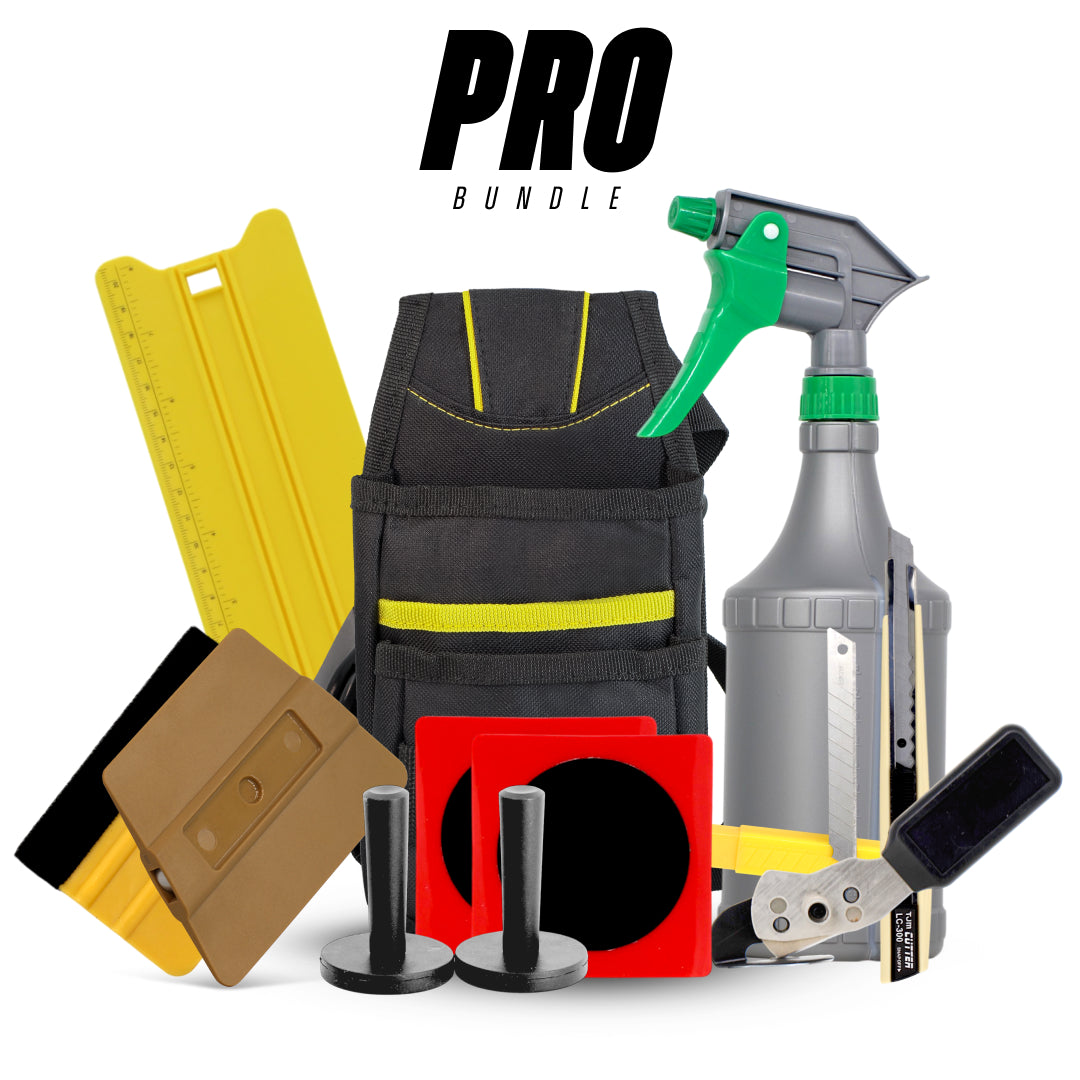
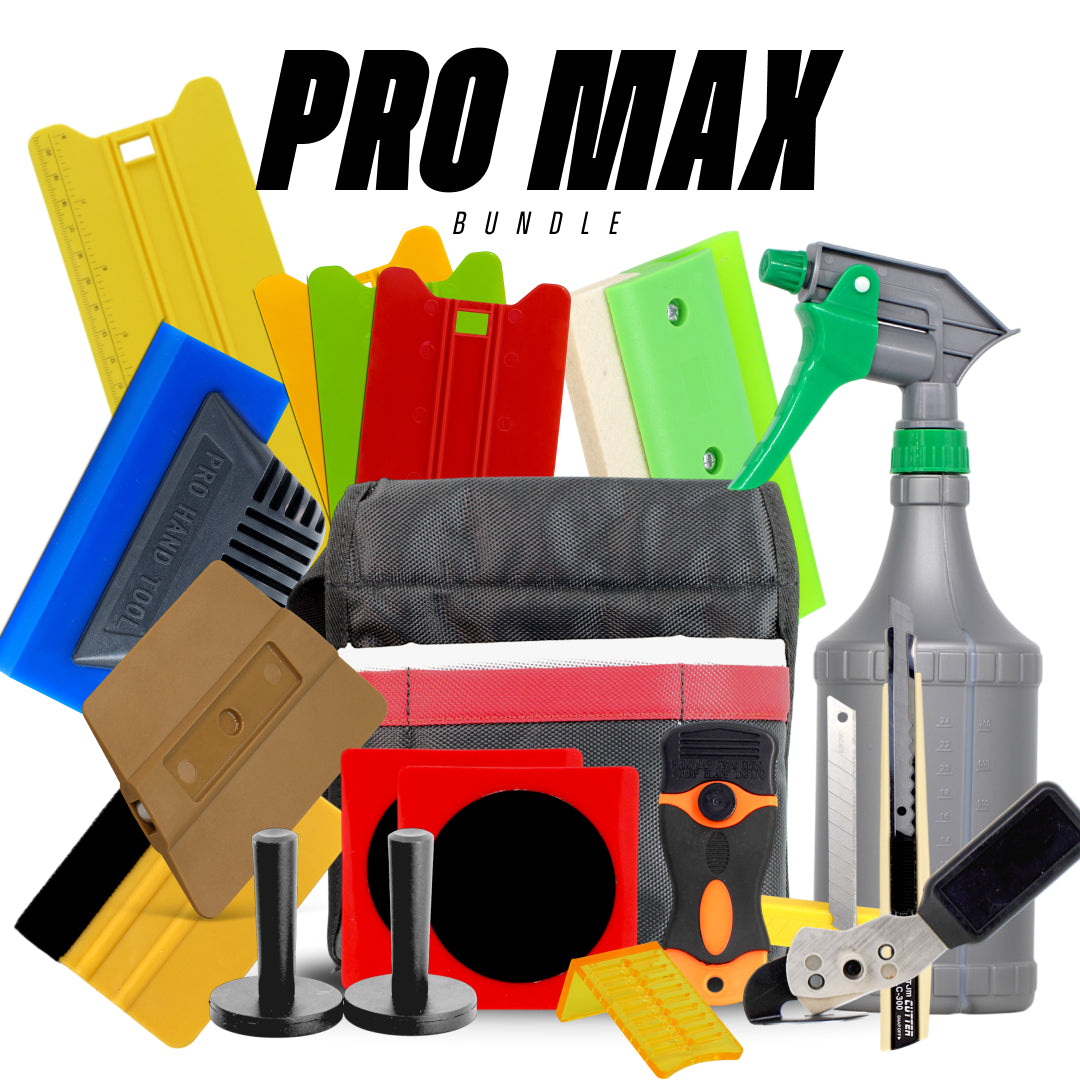
For complete solutions beyond squeegees, check out our workshop tool kits that combine PPF, wrap, signage, and detailing tools in one set →
Are you unsure which tool or kit is right for your job?
Our expert team at Oz Sign Supplies is here to help. Reach out today, and we’ll direct you to the best tools to suit your project, ensuring you get the job done right the first time.





Leave a comment
This site is protected by hCaptcha and the hCaptcha Privacy Policy and Terms of Service apply.