


Article: Kitchen Unit Vinyl Wrap: The Affordable Way to Upgrade Kitchen Cabinets and Benchtops
Kitchen Unit Vinyl Wrap: The Affordable Way to Upgrade Kitchen Cabinets and Benchtops
Kitchen Unit Vinyl Wrap vs. Spray Painting: Which Lasts Longer?
If your kitchen feels outdated but a full remodel isn’t in the budget, vinyl wrapping might be the game-changer you’re looking for. Instead of spending thousands on new cabinets or benchtops, you can use a durable adhesive vinyl wrap to give your space a fresh, modern look for a fraction of the cost. It’s a DIY-friendly solution, making it perfect for homeowners who want a big impact without breaking the bank. In this guide, we’ll cover everything from why vinyl wrap is worth considering to step-by-step instructions for applying it like a pro.

Why Choose Vinyl Wrap for Kitchen Units?
Upgrading your kitchen often comes with a hefty price tag. Whether it’s replacing cabinet doors, installing stone benchtops, or repainting units, costs can spiral quickly. That’s where vinyl wrap steps in as a budget-friendly, versatile alternative.
Cost-Effective Alternative to Replacement
Cabinet replacement often means hiring professionals, removing existing units, and fitting new doors or drawers. Even a “budget remodel” can cost several thousand dollars. By contrast, vinyl wrapping your existing cabinet doors or benchtops can cost as little as 10–20% of replacement. A roll of high-quality vinyl can range between $50 and $150, depending on the style, which makes it incredibly cost-effective. For homeowners wanting a refreshed look without draining savings, wrapping is a no-brainer.
It also saves hidden costs, no need for carpentry, plumbing adjustments, or disposal fees that come with tearing out old units. Essentially, you keep your kitchen’s bones and just give it a new skin.
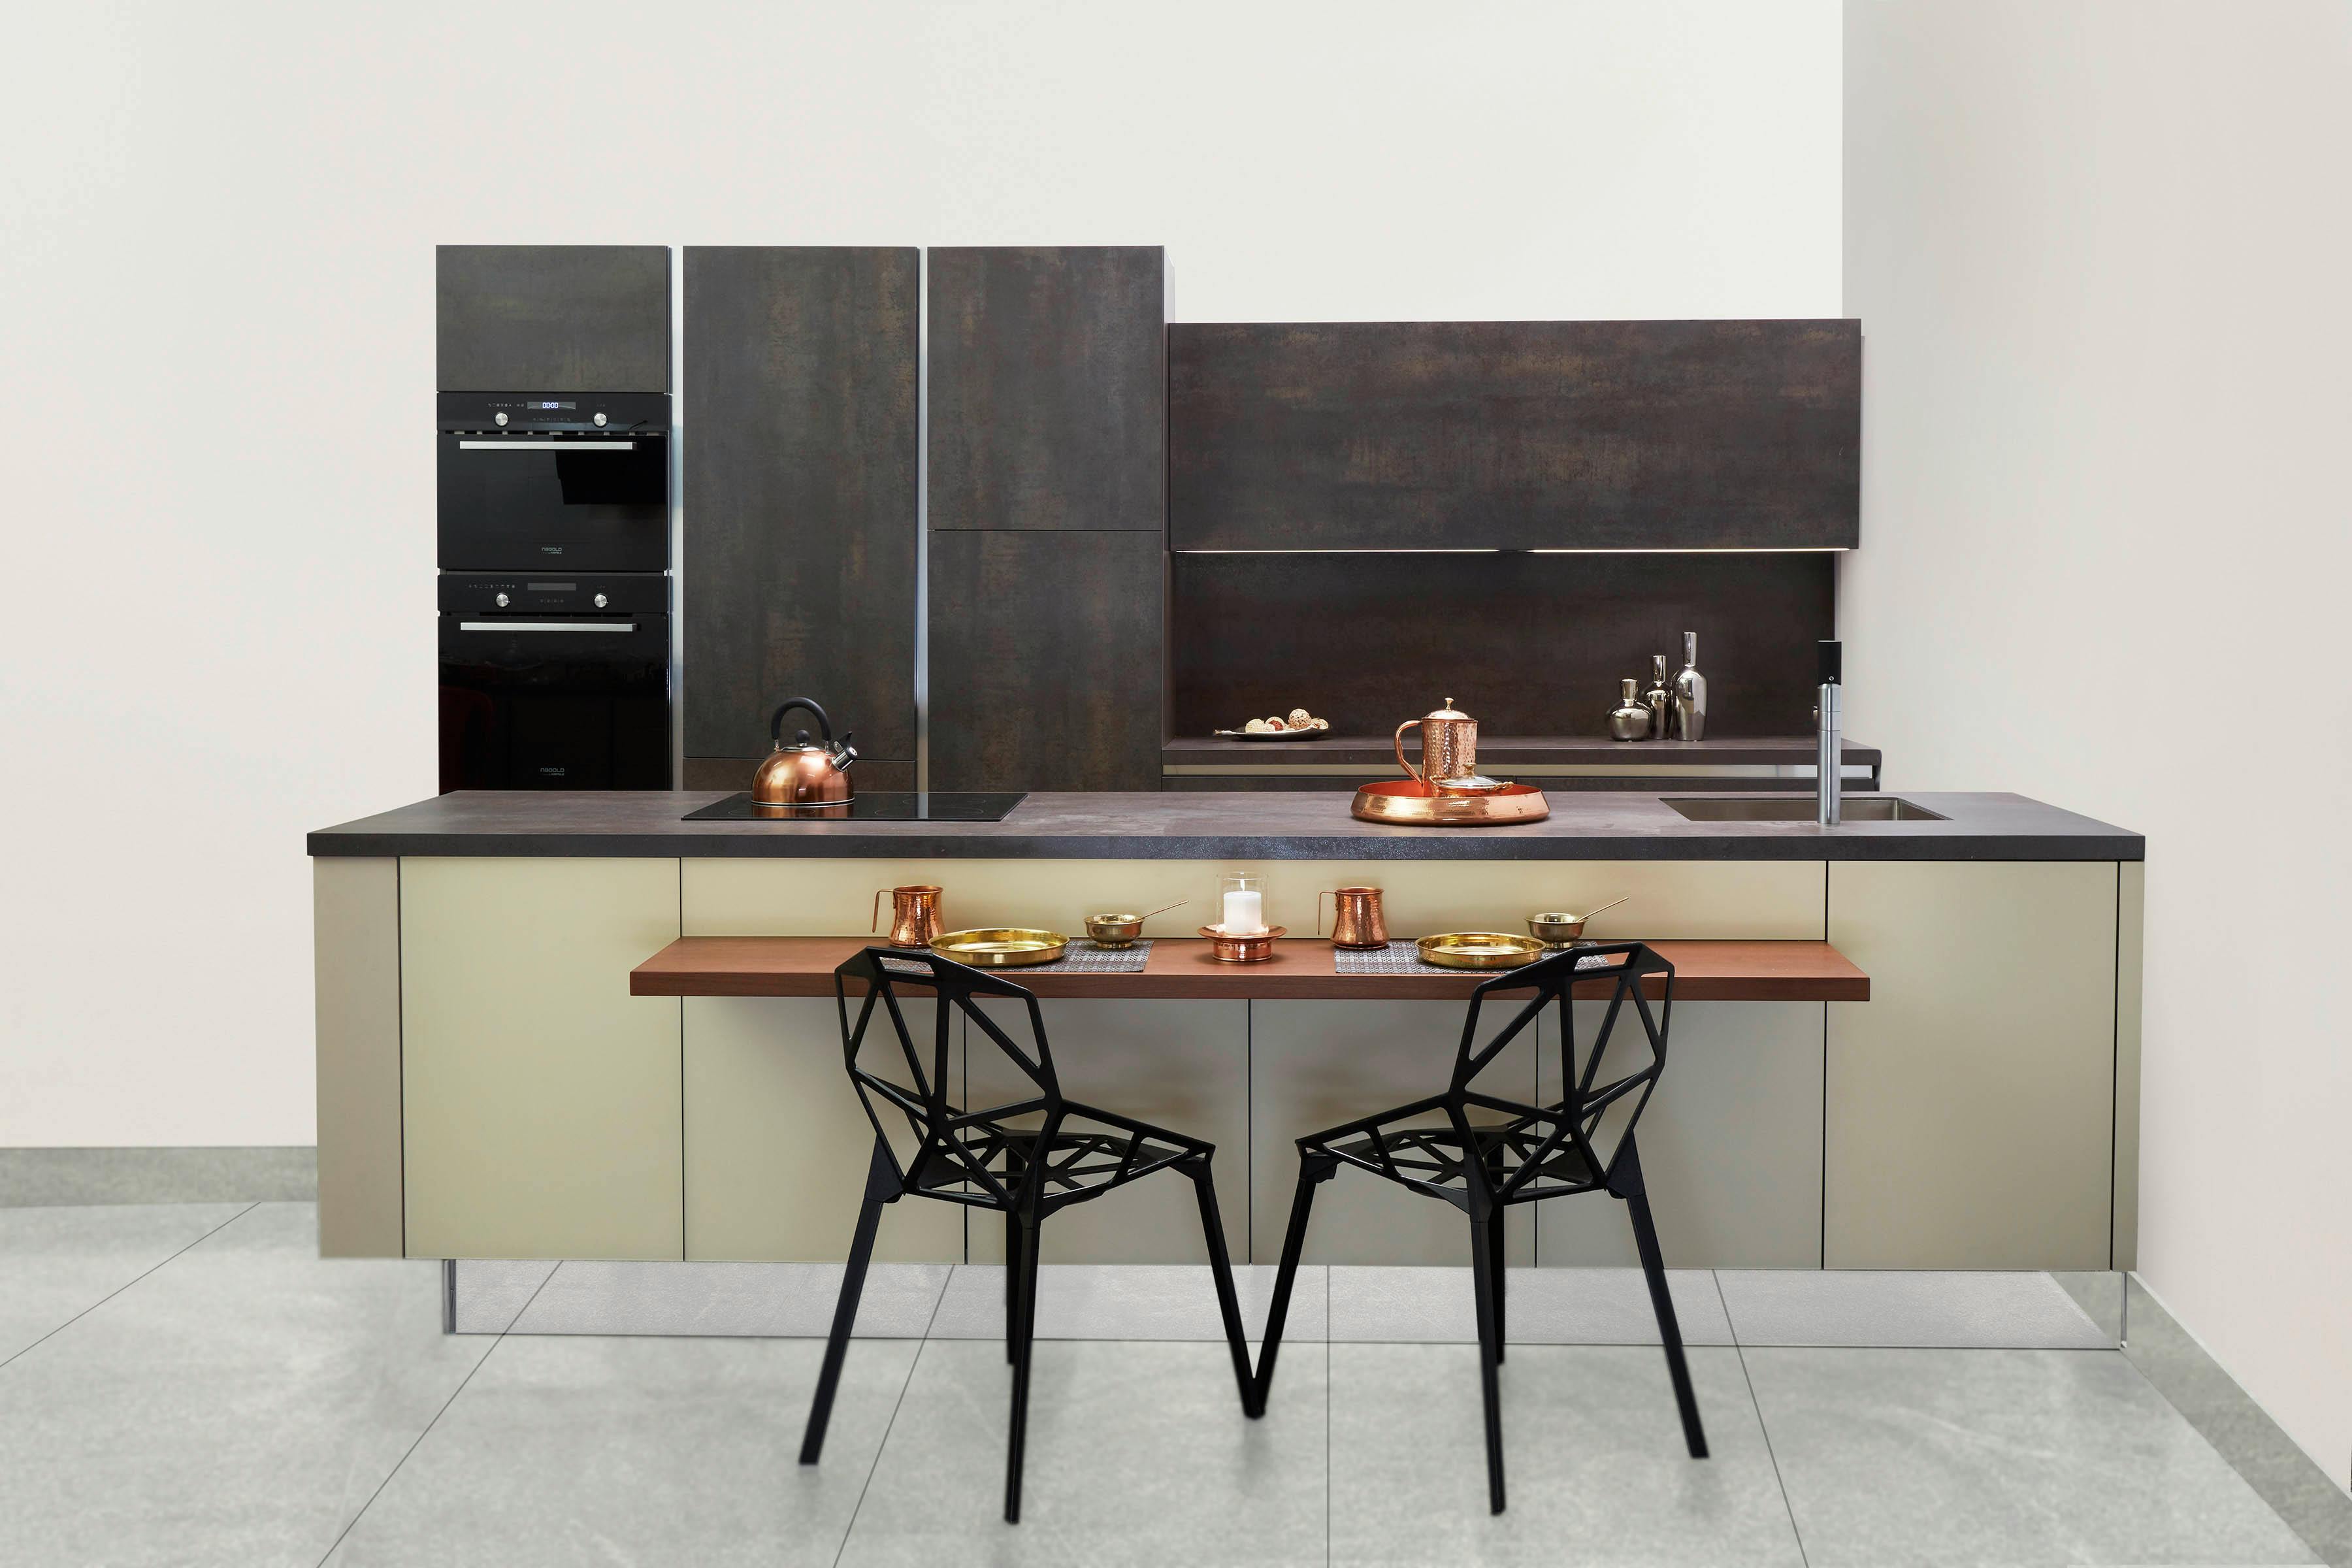
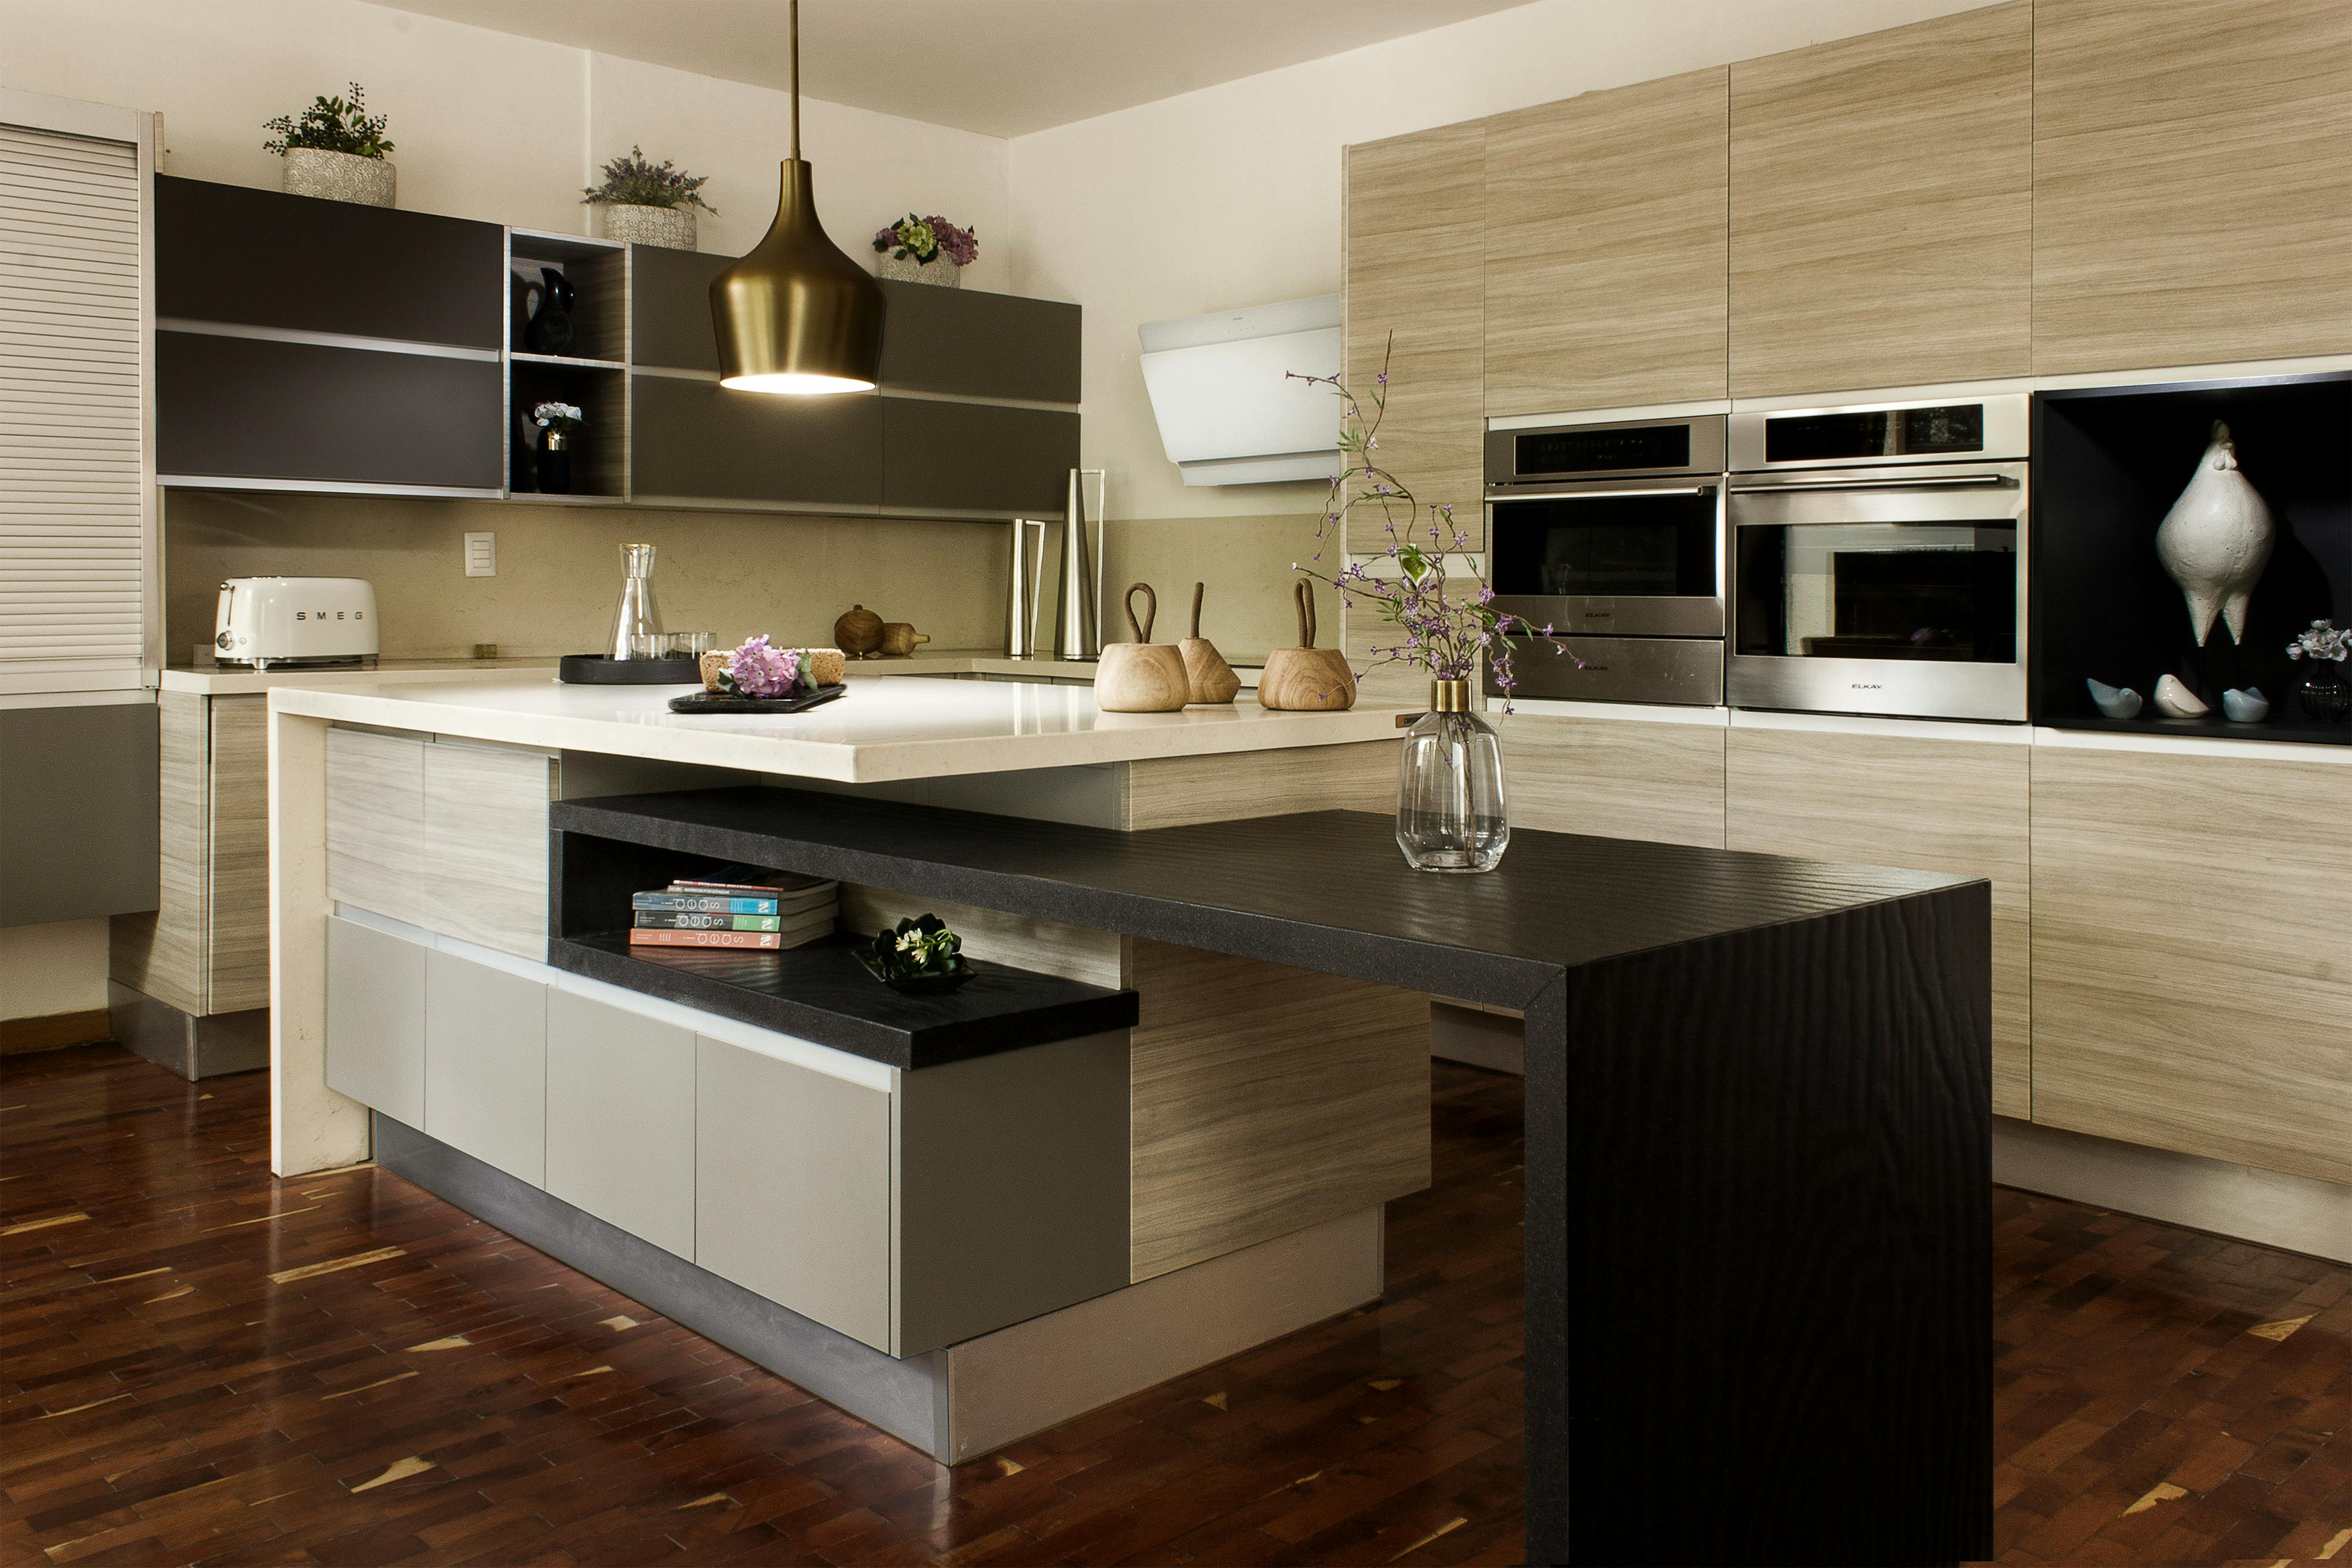
Wide Range of Finishes & Styles
Vinyl wrap comes in an almost endless variety of finishes. Want high-gloss white for a modern, minimalist look? Or maybe a matte black for a sleek, dramatic kitchen? Perhaps you love rustic oak or industrial concrete finishes? There’s a vinyl wrap for nearly every design trend.
These finishes are more than just looks. Many are textured, so a marble-look wrap might actually feel like stone to the touch. With advances in vinyl printing and durability, it’s hard to tell the difference between wraps and more expensive materials at first glance.
Easy Maintenance & Durability
Kitchens are high-traffic spaces with spills, splashes, and greasy fingerprints. Vinyl wrap holds up surprisingly well against these everyday messes. A simple wipe-down with a damp cloth usually does the trick. Unlike paint, which can chip or stain, vinyl has a protective top layer that resists most household wear and tear.
Durability depends on the quality and installation, of course. High-quality wraps, when applied properly, can last 5–10 years, making them a worthwhile investment for both homeowners and renters.
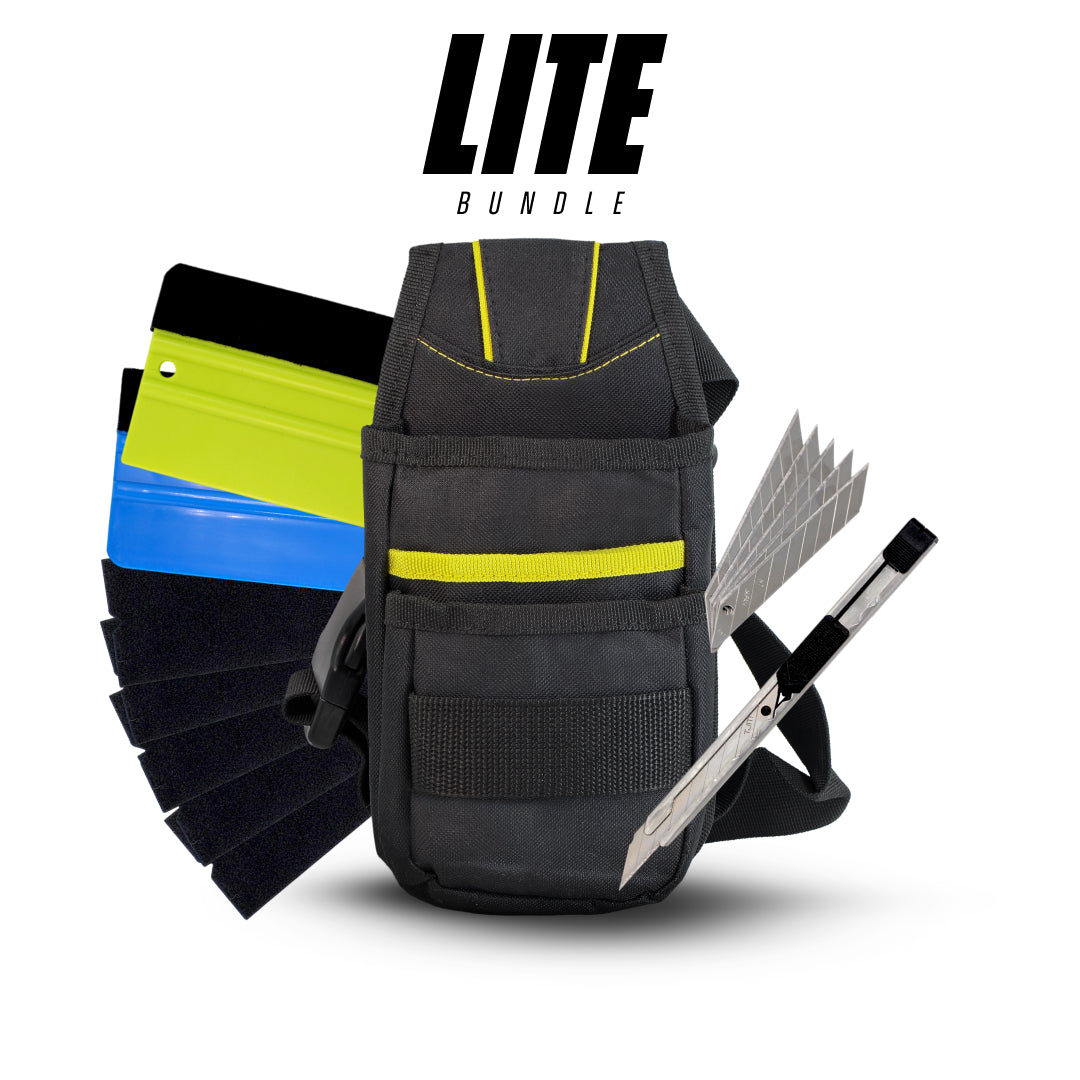
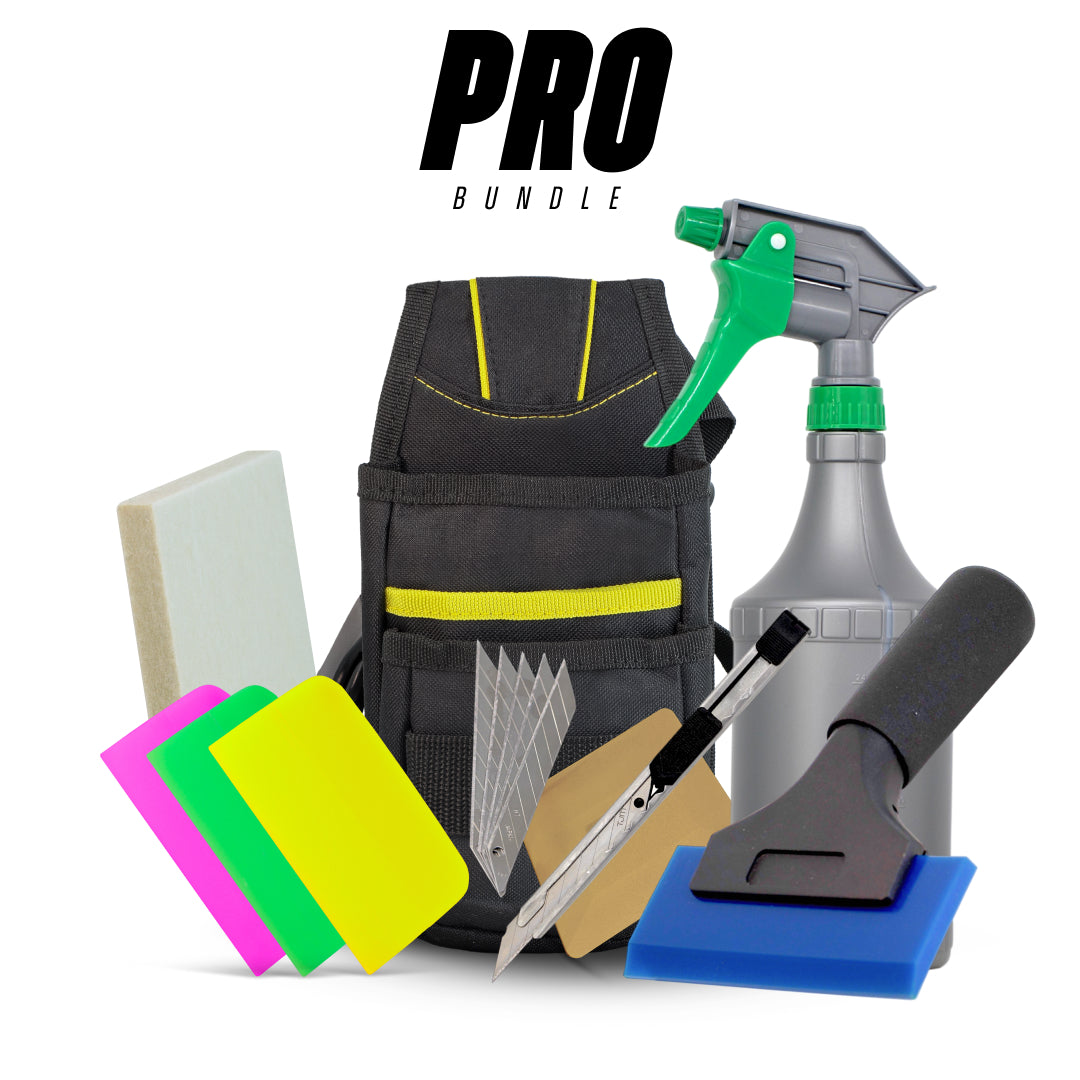
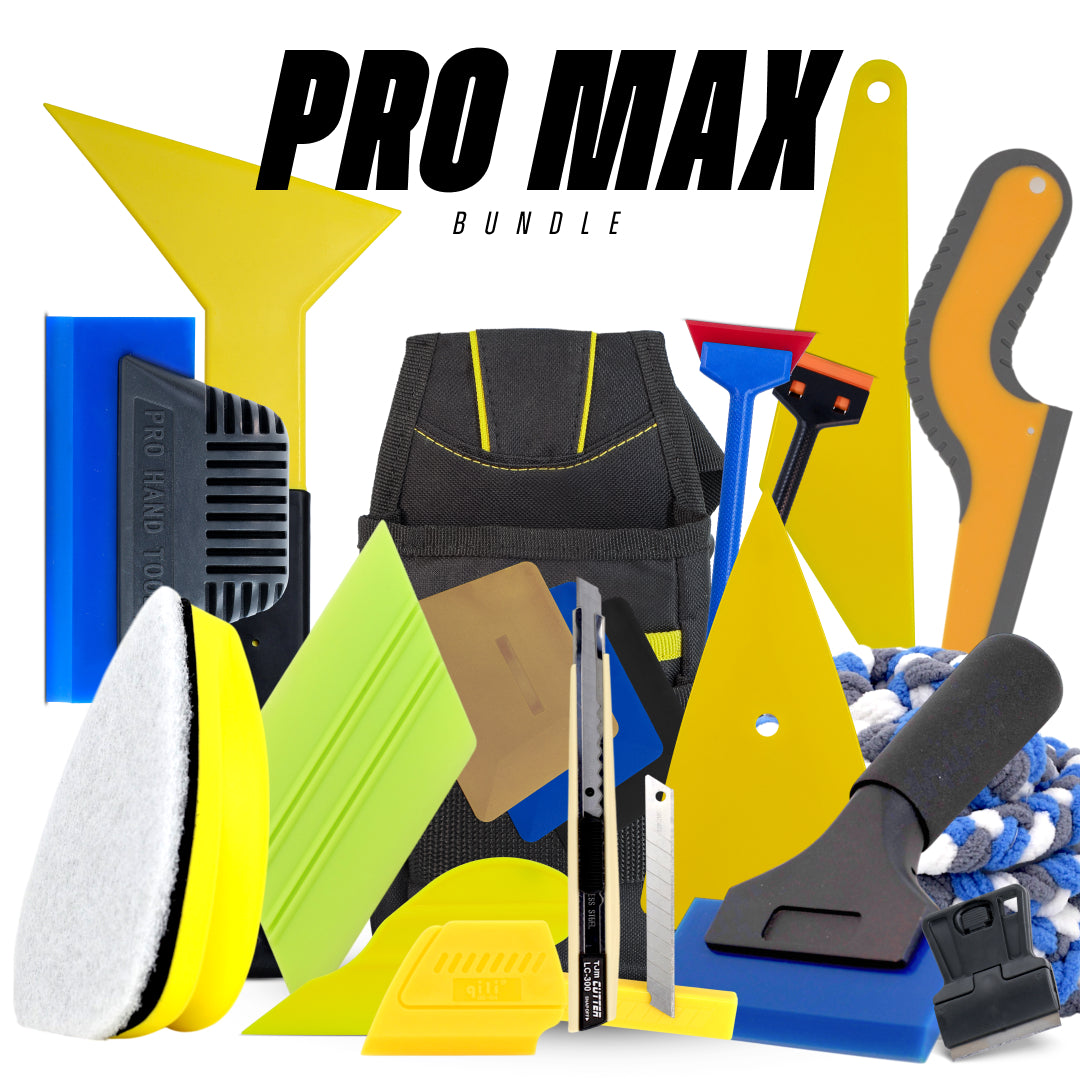
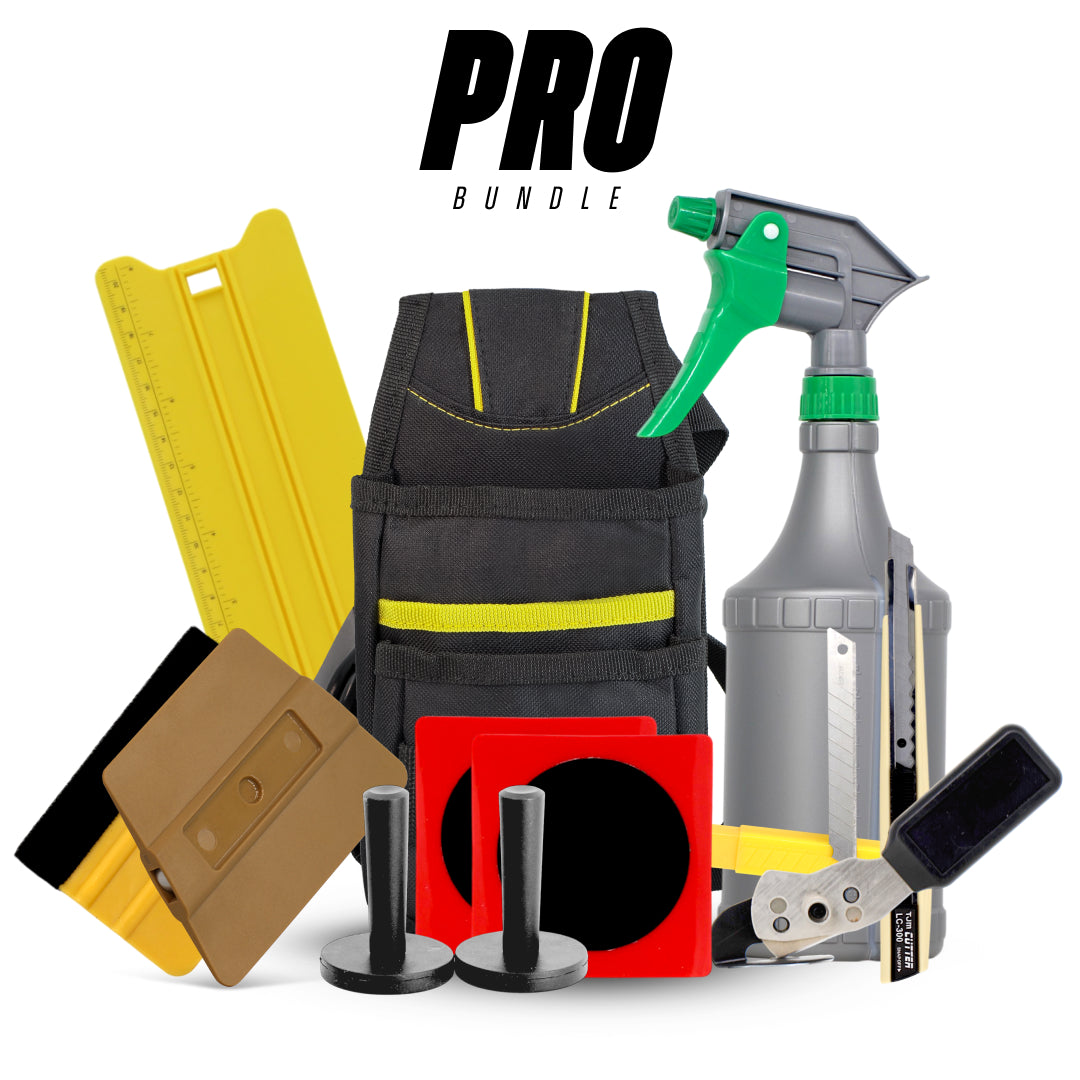
If you’re thinking about trying a DIY approach, our signage tools collection offers versatile equipment that works just as well for kitchen vinyl wrapping projects →
Is Kitchen Vinyl Wrapping Worth It?
Vinyl wrapping has become one of the most popular alternatives to replacing kitchen cabinets and benchtops. Instead of removing existing cabinetry, high-quality architectural vinyl films can be applied directly over clean, smooth surfaces to create a completely refreshed appearance.
For homeowners, landlords, and property renovators, kitchen vinyl wrapping offers several advantages:
Cost-Effective Kitchen Renovation
Replacing cabinets or benchtops can be one of the most expensive parts of a kitchen renovation. Vinyl wrapping provides a much more affordable solution while still delivering a modern, professional finish.
Many homeowners use vinyl wrap to update older kitchens with finishes such as matte colours, woodgrain textures, brushed metal, or stone-look designs.
Fast Installation with Minimal Disruption
Traditional kitchen renovations can take weeks and involve demolition, dust, and construction work. Vinyl wrapping can often be completed in a much shorter timeframe, allowing kitchens to be refreshed with minimal disruption to the home.
Wide Range of Design Finishes
Modern architectural vinyl films are available in a wide range of finishes, including:
- Woodgrain textures
- Matte and satin colours
- Marble and stone effects
- Brushed metal finishes
These options make it possible to achieve a high-end designer look without the cost of a full kitchen remodel.
Durable and Easy to Maintain
When installed correctly, quality vinyl wraps are designed to withstand everyday kitchen use. They are resistant to moisture and can be easily cleaned using mild household cleaners and a soft cloth.
This makes vinyl wrapping a practical option for cabinet doors, drawers, splashbacks, and benchtop surfaces.
Benefits of Vinyl Wrapping Kitchen Cabinets
- More affordable than replacing cabinets
- Fast installation with minimal renovation work
- Wide range of modern finishes and textures
- Durable surface suitable for everyday use
- Ideal for DIY upgrades and rental property improvements
Vinyl Wrap vs. Spray Painting Kitchen Cabinets

One common debate when upgrading cabinets is whether to go for vinyl wrapping or spray painting. Both are popular DIY-friendly options, but they differ significantly in terms of cost, durability, and results.
Which Lasts Longer?
Spray-painted cabinets can look stunning initially, but over time, chips, scratches, and fading are common, especially in high-use kitchens. Paint requires regular touch-ups to maintain that “just-painted” finish.
Vinyl wrap, on the other hand, is designed to resist daily wear. It’s less likely to chip and generally maintains its finish longer. With proper care, wraps can outlast spray paint by several years, making them the better option for long-term durability.
Comparing Costs & Effort
Spray painting can be done cheaply if you DIY, but achieving a professional finish requires specialised tools like sprayers and a dust-free workspace. Hiring professionals for spray painting can cost just as much, if not more, than cabinet wrapping.
Vinyl wrapping requires an upfront investment in the material and a few essential tools, but once purchased, the process is straightforward. Wrapping also avoids the mess and fumes that come with painting, making it a cleaner option for DIY renovators.
Pros and Cons of Each Method
Vinyl Wrap Pros:
- Durable and resistant to moisture and scratches
- Huge variety of styles and textures
- Easy to clean
- Reversible (can be removed later)
Vinyl Wrap Cons:
- Requires precision to avoid bubbles and peeling
- Poor installation can shorten the lifespan
Spray Painting Pros:
- Customizable colours with mixing options
- Smooth finish when applied professionally
- Works well on uneven or detailed cabinet designs
Spray Painting Cons:
- Prone to chipping and scratching
- Messy and requires proper ventilation
- Time-consuming, especially with drying times
If you want longevity and versatility, vinyl wrap wins. If you want a quick colour change and don’t mind potential touch-ups, spray paint could work.
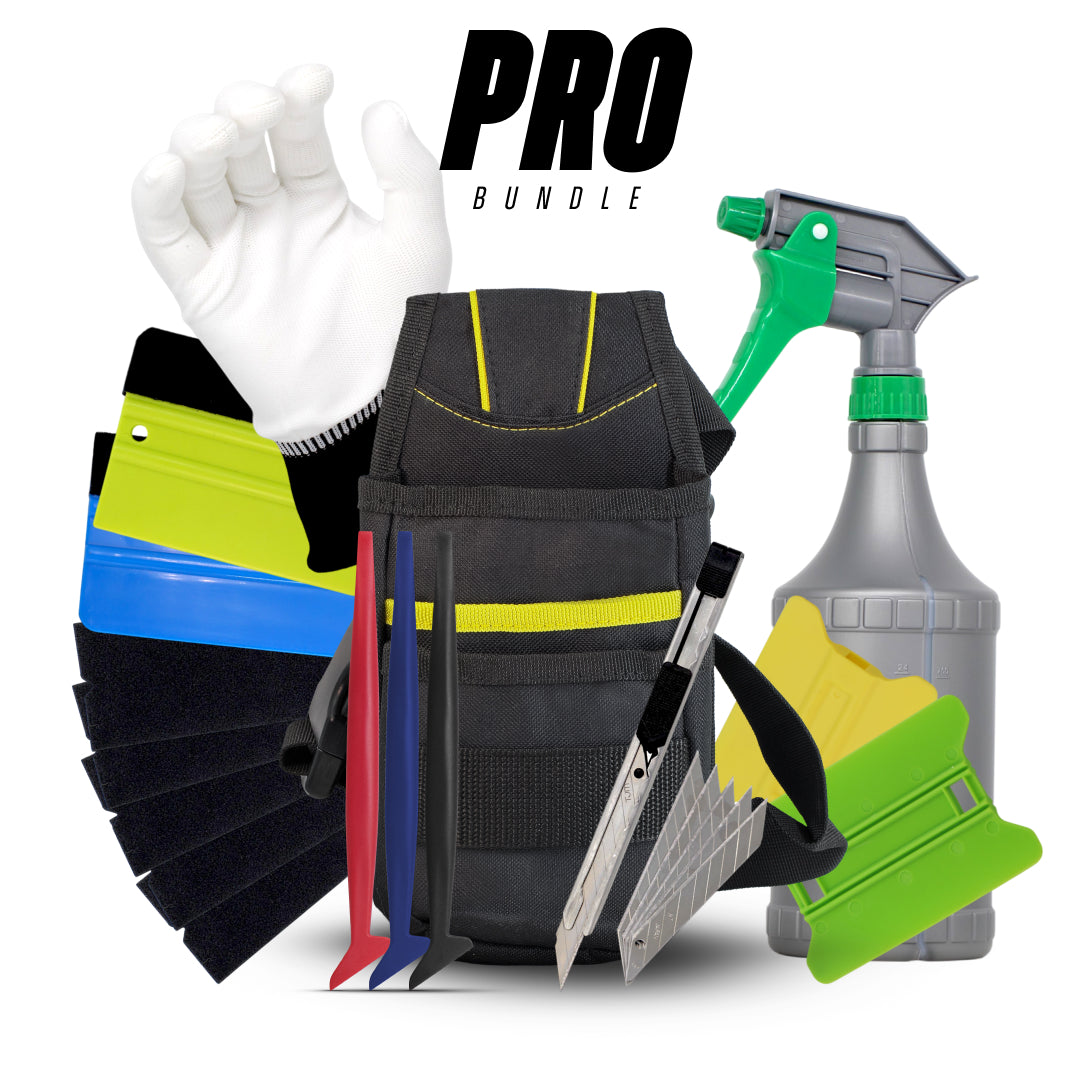
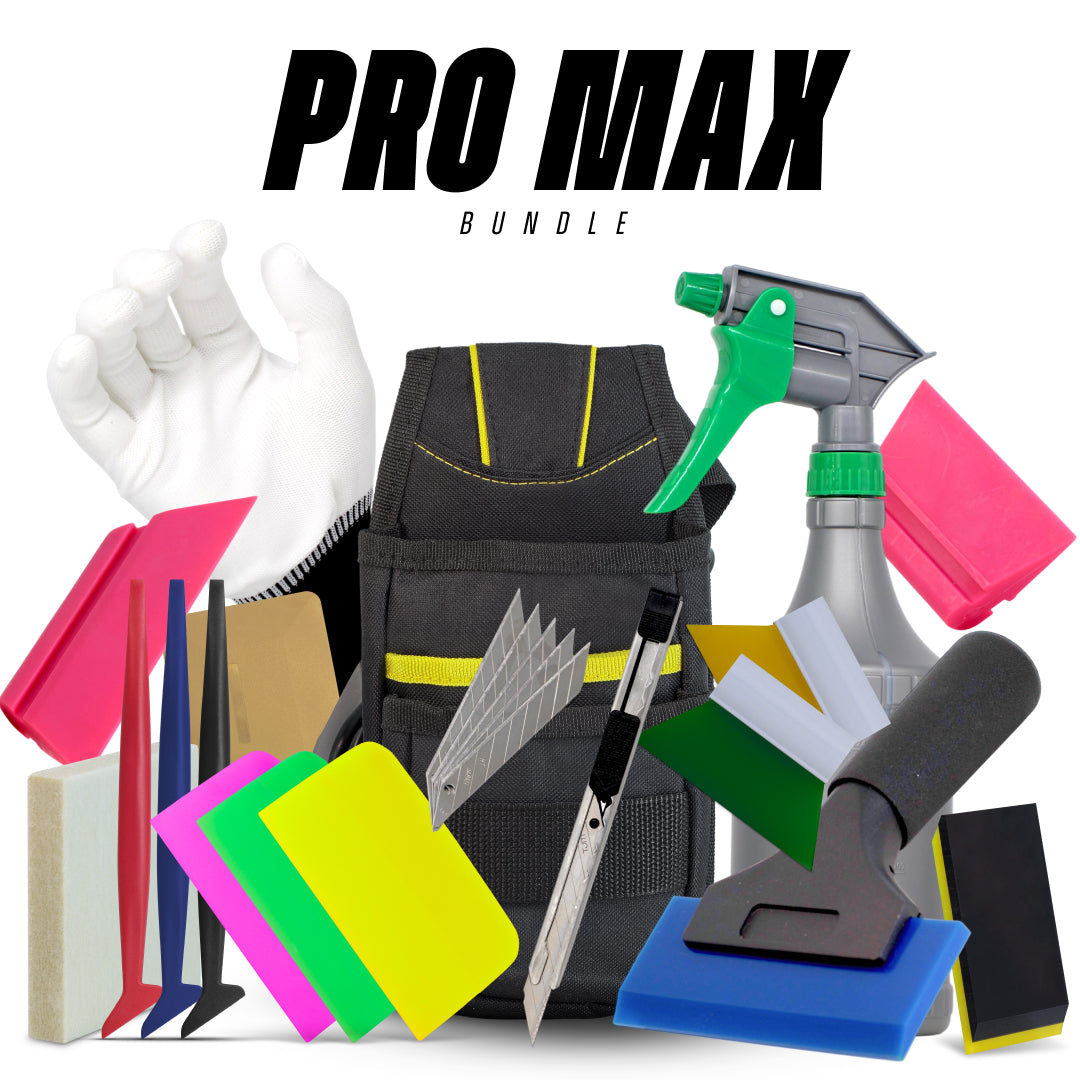
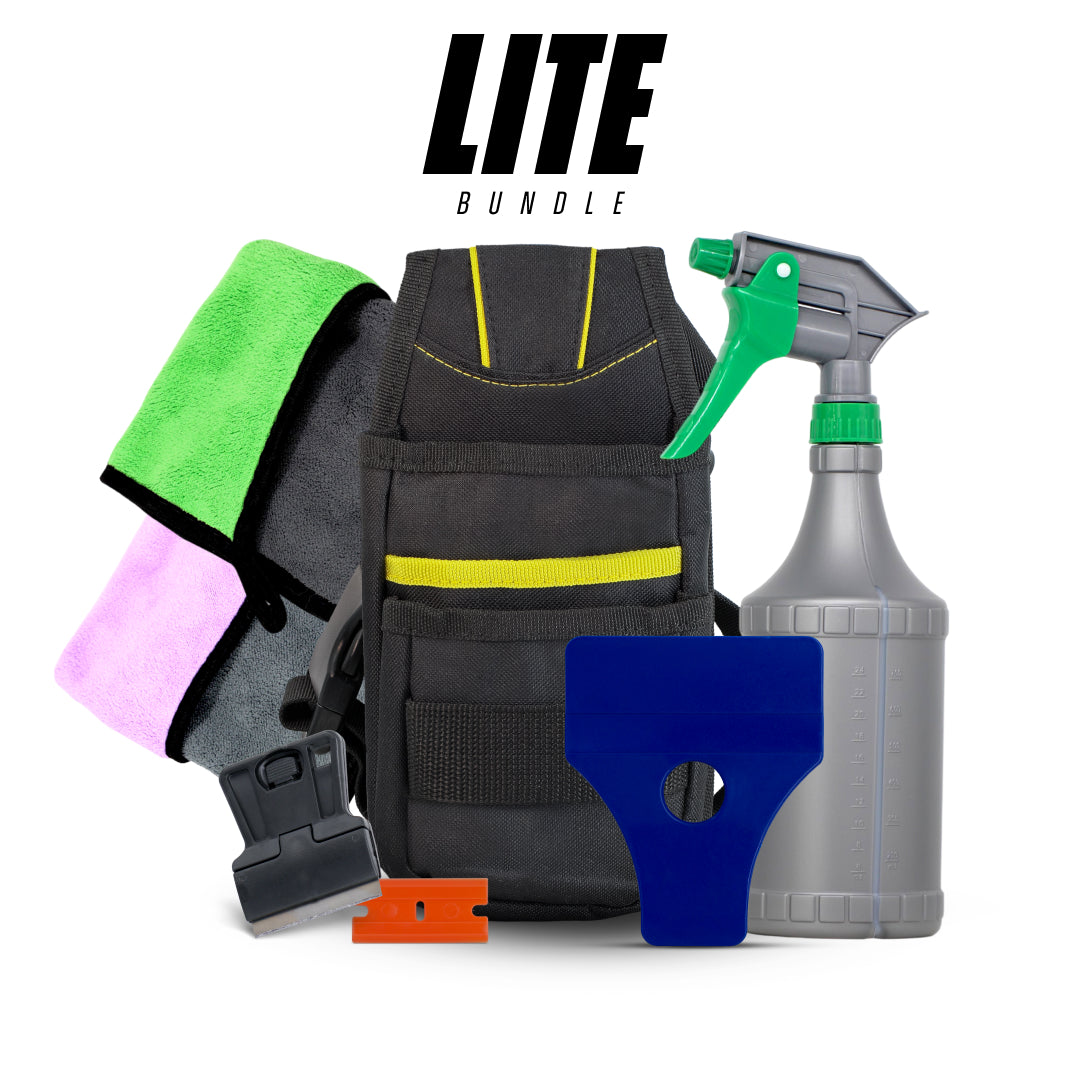
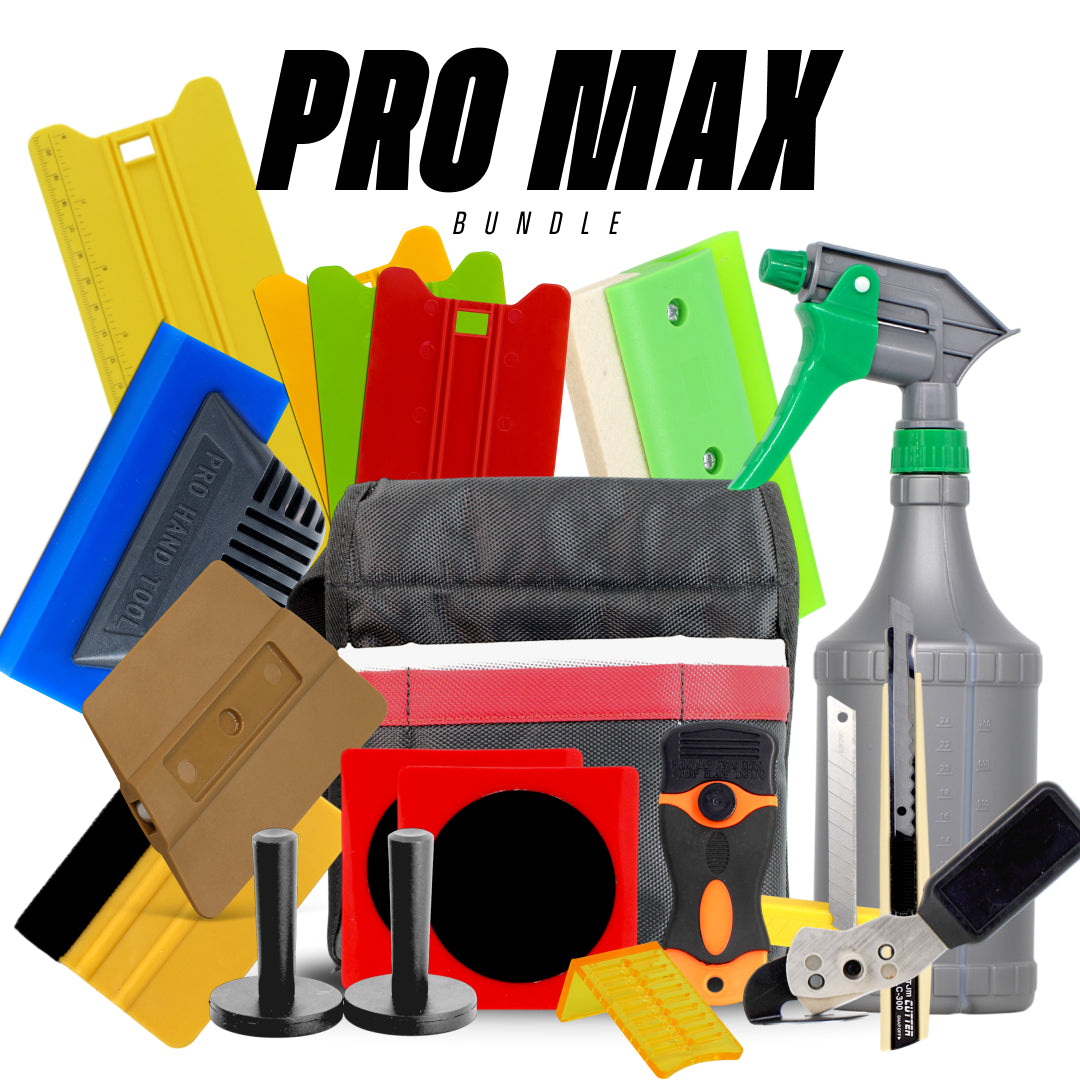
To make sure you’ve got everything on hand, many renovators start with wrap tool kits that include squeegees, cutters, and applicators in one package →
Best Vinyl Wraps for Kitchen Units
Choosing the right vinyl wrap is just as important as the installation process. Not all wraps are created equal, and the finish you choose will determine both the look and durability of your kitchen makeover.

Gloss, Matte, and Satin Finishes
Gloss finishes are perfect if you want a clean, modern kitchen that reflects light beautifully. They make small kitchens feel larger, but require frequent cleaning as fingerprints show up easily.
Matte finishes are more forgiving, hiding smudges and fingerprints while giving a sophisticated, understated look. Satin offers the best of both worlds, with a soft sheen that balances elegance and practicality.
Woodgrain and Textured Options
Woodgrain wraps mimic natural wood at a fraction of the price. You can choose from light oak, walnut, or even reclaimed wood looks. Textured options, such as stone or concrete, add a tactile element that feels realistic and gives your kitchen a designer edge.
Heat and Moisture Resistant Wraps
Since kitchens are exposed to heat, steam, and spills, investing in wraps specifically designed for kitchen environments is essential. Look for vinyl rated as heat-resistant up to at least 75–85°C and waterproof to prevent peeling near sinks and stovetops.
How to Vinyl Wrap Kitchen Units Without Bubbles or Peeling
One of the biggest fears people have with vinyl wrapping is ending up with bubbles, creases, or peeling edges. The good news? These problems are avoidable if you follow the right process.
Preparing Surfaces Properly
The secret to a smooth finish is preparation. Clean every surface thoroughly to remove grease, dust, and old adhesive. Even specks of dirt can create bumps under the wrap. For best results, use a degreasing cleaner and let the surface dry completely.
If your cabinet doors have chips or scratches, fill them in with wood filler and sand them smooth. Vinyl needs a flat surface to adhere properly. Think of it like applying wallpaper to a wall: the smoother the base, the better the result.
Applying Wrap Smoothly
Start by cutting vinyl slightly larger than your cabinet door. Peel back a small section of the backing paper, align it carefully, and press it down slowly with a squeegee or credit card. Work your way across the surface, peeling the backing as you go and pressing out air bubbles.
Heat guns can help soften the vinyl, making it more flexible around corners and edges. Gentle heat also improves adhesion, ensuring the wrap sticks firmly.
Fixing Common Wrapping Issues
If you notice bubbles, don’t panic. Small ones often disappear on their own within 24 hours. Larger bubbles can be pricked with a pin and smoothed out with a squeegee.
For peeling edges, reapply heat and press down firmly. Adding edge tape or a clear sealant can provide extra security in high-use areas.

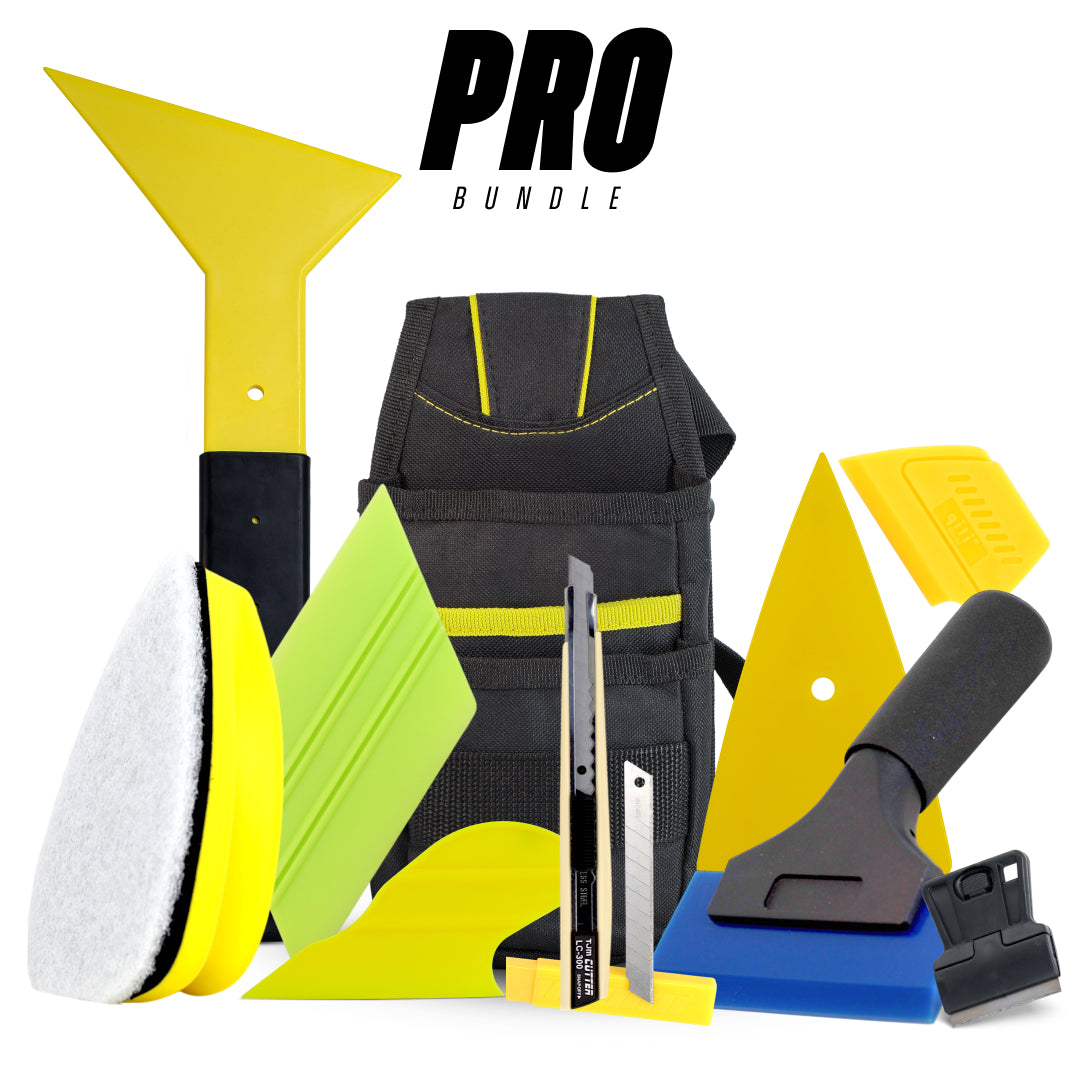
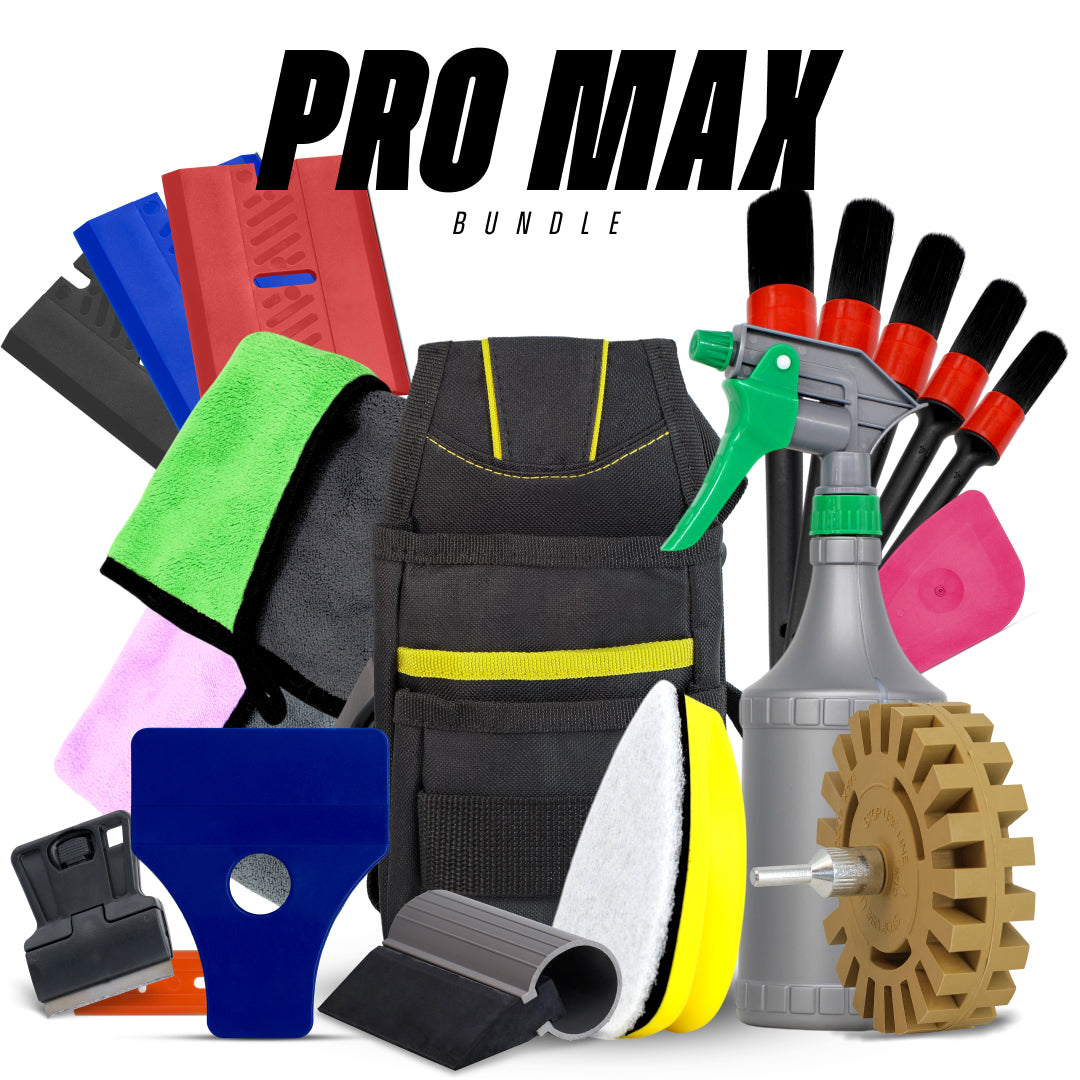
For bubble-free application on flat surfaces, check out our vinyl wrap squeegees that help achieve a smooth finish on cabinets and benchtops →
How to Wrap Kitchen Cabinets with Vinyl: Step-by-Step Guide
Wrapping kitchen cabinets might sound complicated, but once you break it down into smaller tasks, the process becomes surprisingly manageable. Think of it like wrapping a gift, except this one has edges, hinges, and daily use in mind.
Removing Cabinet Doors & Handles
The first step to success is removing the doors from their hinges. While you can wrap doors in place, it’s far easier to work on a flat surface. Unscrew handles, knobs, and hinges, then label each door so you know where it belongs when reinstalling.
Don’t forget the drawers, pull them out, remove handles, and set them aside. This not only makes wrapping easier but also prevents vinyl from being interrupted by hardware or edges.
Measuring & Cutting Vinyl Correctly
Accuracy matters here. Measure each door carefully, then cut your vinyl wrap at least 2–3 cm larger on all sides. This extra material ensures you can wrap around edges without leaving gaps.
For patterned vinyls (like woodgrain or marble), make sure you align the design consistently across doors. Nothing looks worse than mismatched grain direction! A good trick is to mark the back of each vinyl cut with its corresponding door label to avoid mix-ups.
Applying Wrap to Doors & Frames
Start by peeling a small section of the vinyl backing. Align the top edge, then slowly press down while peeling the backing as you go. Use a squeegee in firm, overlapping strokes to push air outwards.
For edges, warm the vinyl with a heat gun and gently stretch it around corners. Trim excess with a sharp blade, making clean cuts along the inside edges for a professional look.
Frames can be wrapped in place. Measure strips of vinyl slightly wider than the frame and apply carefully, working from top to bottom. Smooth out bubbles with your squeegee as you go.
Patience is key; don’t rush this process. Done correctly, your cabinets will look like they’ve just rolled out of a designer showroom.
Vinyl Wrap vs Painting vs Replacing Kitchen Cabinets
Homeowners often compare several options when updating their kitchen. The table below highlights the key differences between vinyl wrapping, repainting, and replacing cabinets.
| Feature | Vinyl Wrap | Repainting Cabinets | Replacing Cabinets |
|---|---|---|---|
| Cost | Low to moderate | Moderate | High |
| Installation Time | 1–2 days | Several days, including drying | Several weeks |
| Surface Finish Options | Matte, gloss, woodgrain, stone, metallic | Limited to paint colours | Full material options |
| Mess and Disruption | Minimal | Moderate | Significant demolition |
| Durability | Durable when installed properly | Can chip or peel over time | Long-term structural solution |
| Best For | Quick aesthetic upgrades | Colour refresh | Complete kitchen remodel |
For many homeowners, vinyl wrapping provides the best balance between cost, speed, and visual impact when upgrading kitchen cabinets.
Best Tools & Materials for Wrapping Kitchen Cabinets

Just like cooking, wrapping cabinets is easier when you have the right tools. Using the correct equipment not only makes the job smoother but also ensures your vinyl lasts longer.
Essential Tools (Squeegees, Heat Guns, Knives)
Squeegee or applicator card – Your best friend for smoothing vinyl and preventing bubbles. Some come with felt edges to avoid scratches.
Heat gun or strong hair dryer – Helps the vinyl become more flexible and stick better, especially around edges.
Utility knife or precision blade – Sharp blades are crucial for trimming excess vinyl cleanly. A dull blade will tear instead of cutting.
Measuring tape & ruler – Accurate measurements reduce wasted vinyl.
Microfiber cloths & degreaser – For cleaning surfaces before wrapping.
Kitchen Cabinet Wrapping Mistakes to Avoid
Even the most enthusiastic DIYer can make mistakes when wrapping cabinets. Avoiding these common errors can save you time, money, and frustration.
Skipping Surface Preparation: This is the number one mistake people make. Wrapping over greasy, dusty, or uneven surfaces leads to peeling, bubbling, and poor adhesion. Always deep-clean cabinets with a degreaser and sand down rough patches before starting.
Applying Wrap Too Quickly: Patience pays off. If you try to cover the entire door in one go, bubbles and creases will appear. Instead, peel the backing gradually, pressing and smoothing as you move along.
Also, don’t rush corners, use heat to soften vinyl, stretch it gently, then seal it firmly.
Ignoring Edge Sealing: Edges are the first areas to peel if not secured properly. Always wrap vinyl around the edges where possible, rather than cutting flush with the door. For high-use kitchens, consider applying a clear edge sealer or adhesive promoter to lock everything in place.
Another mistake is forgetting about heat and moisture. Placing wrapped doors too close to ovens or dishwashers without using heat-resistant vinyl will result in peeling within weeks.
Avoid these errors, and your cabinets will not only look stunning but also last for years.
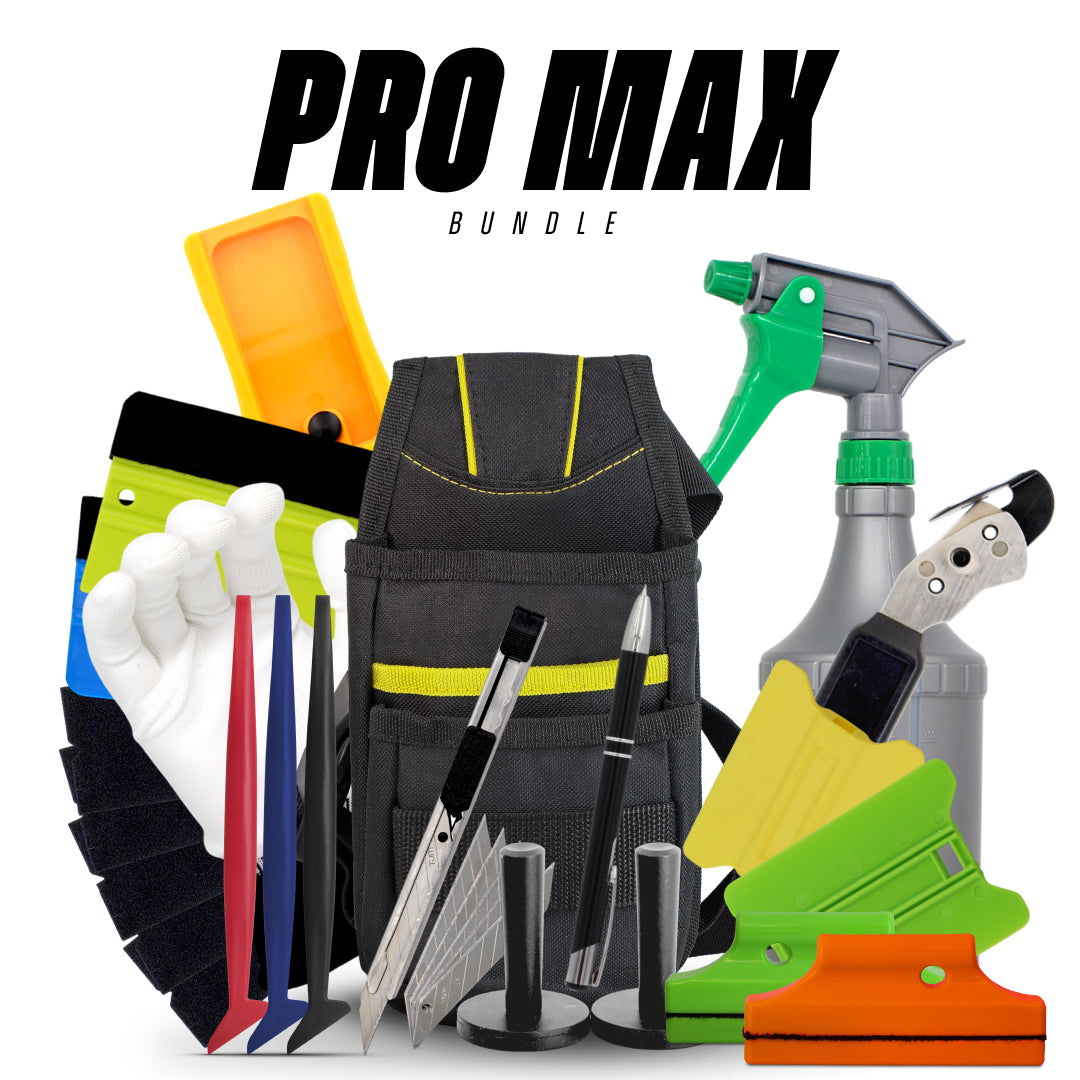
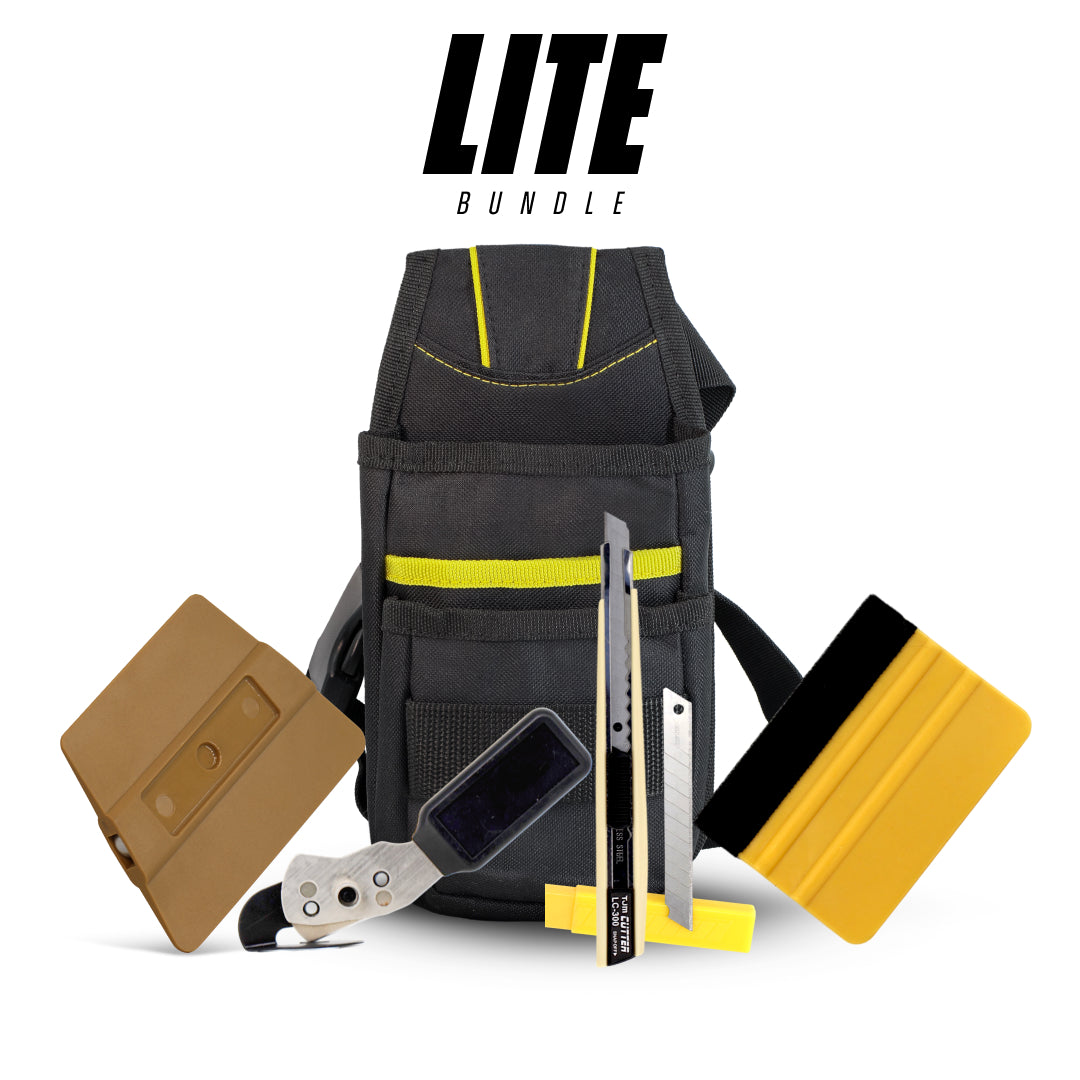
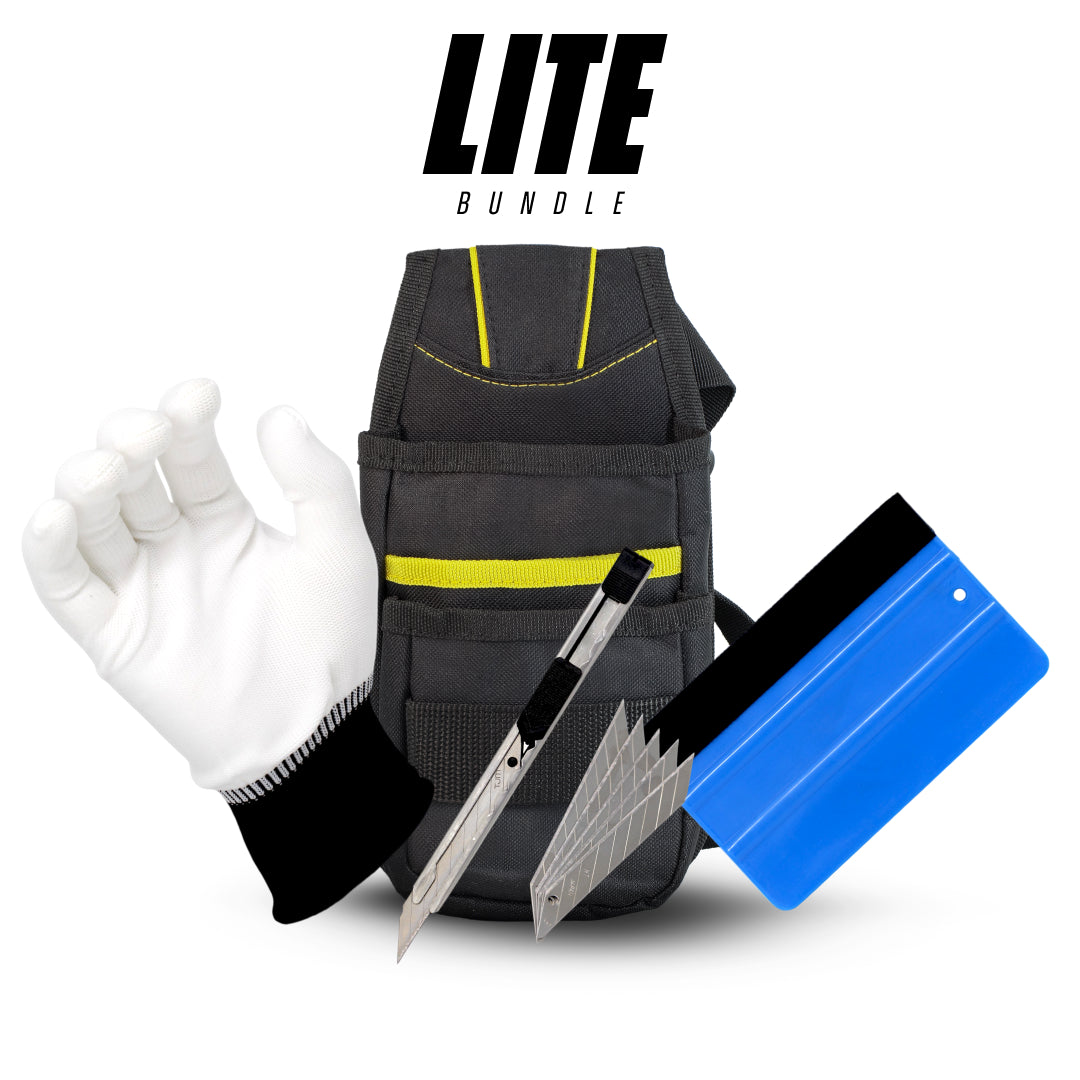
Clean, straight edges are easier to achieve with our precision knife cutters and blades designed for vinyl wrapping projects →
Cost of Wrapping Kitchen Cabinets vs. Replacing Doors
When planning a kitchen upgrade, budget plays a huge role. Wrapping and replacing are two main options, but the costs differ significantly.
Price Breakdown of Wrapping
On average, wrapping kitchen cabinets costs between $500–$1,500 depending on kitchen size and vinyl quality. A roll of high-quality vinyl (large enough to cover multiple doors) might cost around $100–$200. Add in tools, and your total investment remains affordable compared to replacements.
If you DIY, labour costs are zero. Hiring professionals can add $30–$60 per door, but the finish will be flawless.
Replacement Cost Comparison
Replacing cabinet doors, even with budget-friendly MDF or laminate, can cost between $2,000–$6,000 for a medium kitchen. Solid wood or custom finishes cost even more.
You also need to factor in labour, carpentry, and potential plumbing or electrical adjustments if sizes change.
Which Option Offers Better Value?
If your cabinet structure is solid, wrapping offers the best value. It refreshes your kitchen for a fraction of the cost, with a lifespan of 5–10 years. Replacements may last longer, but the upfront cost is significantly higher.
For budget-conscious homeowners or those wanting a quick update before selling, vinyl wrapping is the clear winner. For those planning a long-term remodel with an unlimited budget, replacement may be the better investment.
Kitchen Benchtop Wrap: Affordable Alternative to Replacement

When people think about updating their kitchen, they often assume replacing the benchtop is the only way to achieve a fresh look. But ripping out stone, laminate, or wood benchtops is costly and disruptive. That’s where vinyl benchtop wrap shines; it gives you the look of a brand-new surface without the heavy price tag or mess.
Why Wrap Instead of Replace?
The average kitchen benchtop replacement can cost anywhere between $2,500–$8,000, depending on the material you choose. Stone and quartz options lean toward the higher end, while laminate sits at the lower end. On top of that, there’s the added expense of removing and disposing of the old benchtop, hiring tradespeople, and sometimes modifying cabinets to fit the new surface.
Wrapping, by contrast, costs just a fraction of this. A single roll of high-quality vinyl, large enough for a benchtop, might cost $100–$250. Even if you hire a professional, you’re still looking at less than a quarter of the price of replacement.
Durability of Benchtop Wraps
Many homeowners wonder, “Will it hold up?” The answer is yes, provided you choose the right vinyl and care for it properly. Benchtop wraps are designed to withstand daily kitchen use, including moisture, spills, and heat from cups or plates.
That being said, they aren’t indestructible. You shouldn’t cut directly on the vinyl, place hot pans on it, or use harsh cleaners. But if you treat it with the same care you would laminate, a good-quality wrap can last 3–7 years before showing signs of wear.
Best Vinyl Finishes for Benchtops
The beauty of vinyl wrap is the sheer variety of styles available:
Marble-look wraps – Ideal for a luxury vibe without the hefty price tag. White Carrara marble and black marble patterns are especially popular.
Concrete or stone finishes – Perfect for industrial-style kitchens.
Woodgrain wraps – Adds warmth and character, resembling oak, walnut, or reclaimed timber.
High-gloss finishes – Reflect light beautifully, great for modern kitchens.
With these options, you can mimic high-end materials while sticking to a realistic budget.
Step-by-Step Guide to Wrapping a Kitchen Benchtop
Wrapping a benchtop may sound intimidating, but with the right approach, it’s a doable DIY project. It requires patience, precision, and a bit of practice.
Preparing the Benchtop Surface
Preparation is everything. Start by clearing the surface of all items and cleaning it thoroughly with a degreaser. Any grease, dirt, or old adhesive will prevent the vinyl from sticking properly.
If your benchtop has chips, dents, or cracks, fill them with filler and sand the area smooth. A flat, clean surface ensures the vinyl adheres evenly and looks professional once applied.
Applying Wrap Around Edges
This step is what sets apart a good wrap from a sloppy one. Measure your vinyl carefully, leaving 3–4 cm extra on all sides to wrap around the edges.
Peel the backing slowly, pressing the vinyl down as you go using a squeegee. When you reach the edges, use a heat gun to soften the vinyl and stretch it around the corners. Press it firmly to make sure it sticks without creasing.
For rounded or bevelled edges, take extra care. Work slowly with heat, smoothing the vinyl gradually. Don’t pull too hard, as overstretching can distort patterns like marble veins or woodgrain.
Finishing Touches for a Professional Look
Once the vinyl is applied, check for bubbles. Small ones often disappear overnight, but larger ones can be pricked with a pin and smoothed out with your squeegee.
Trim excess vinyl underneath the benchtop with a sharp blade, ensuring straight, clean lines. Re-seal any joins with a clear adhesive or edge sealer for extra durability.
Finally, step back and admire your work; you’ve just transformed your benchtop for a fraction of the cost of replacement.
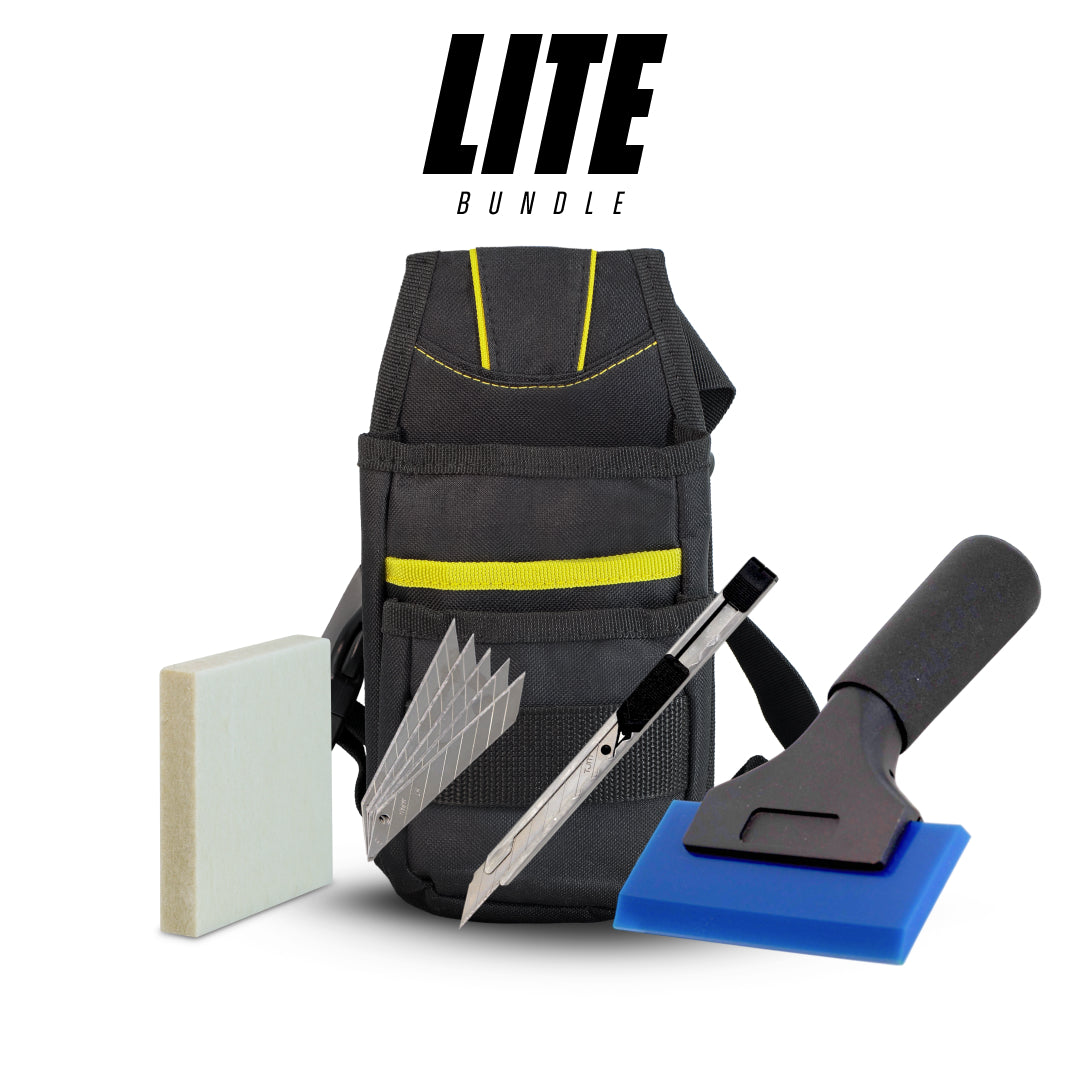
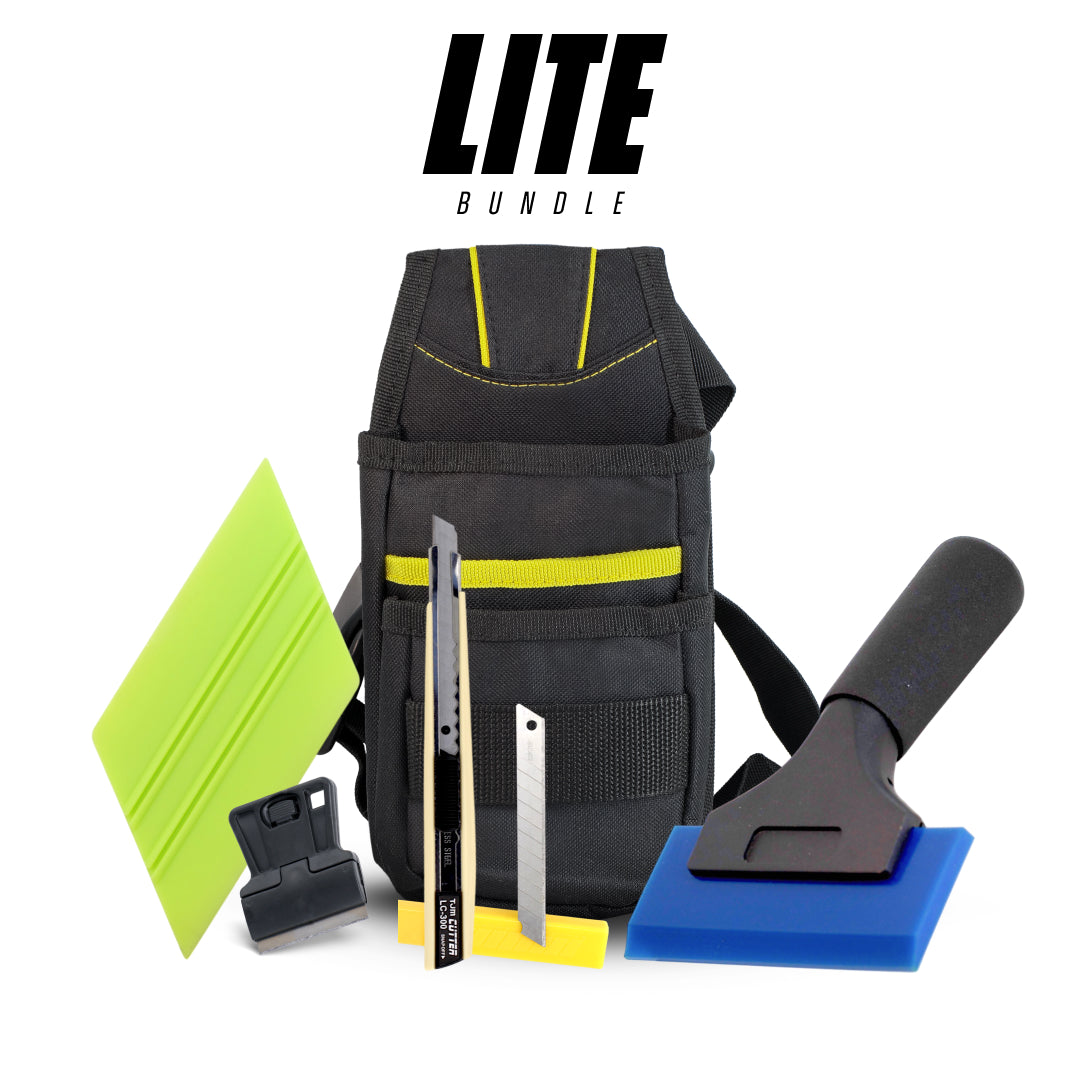
For those tackling a full kitchen makeover, keeping your gear organised in a dedicated tool bag makes the process much smoother →
Best Vinyl Wraps for Kitchen Benchtops

Not all vinyl wraps are suitable for benchtops. Since these surfaces experience heavy daily use, you need a product designed for durability.
Marble & Stone-Look Wraps
Marble-look vinyl is one of the most popular choices for benchtops. White with subtle grey veins is timeless and pairs beautifully with both dark and light cabinets. Black marble with gold veining creates a bold, luxury aesthetic.
Stone-look vinyls, such as granite or slate patterns, are also great for achieving a premium look at a budget-friendly price.
Woodgrain & Industrial Styles
If you’re after warmth and texture, woodgrain vinyls are an excellent choice. Lighter tones like oak create a Scandinavian feel, while darker walnut or reclaimed wood patterns bring richness to the space.
For an industrial vibe, concrete-look wraps are trendy. They add a raw, modern edge to kitchens, especially when paired with matte black or stainless steel finishes.
Heat & Scratch Resistant Options
Since benchtops face constant use, choosing vinyl with extra resistance is wise. Look for wraps marketed as heat-resistant (up to 85°C) and scratch-resistant. These hold up better against daily wear and extend the lifespan of your kitchen makeover.
Pro tip: Always use cutting boards and trivets to protect the wrap; it’s an affordable upgrade, but you’ll want to maximise its durability.
Kitchen Benchtop Wrap vs. Stone Replacement
Many homeowners dream of having sleek marble or granite countertops, but the price tag often makes that dream feel out of reach. This is where vinyl wrap competes directly with natural stone replacement; it delivers the look at a fraction of the cost.
Cost Comparison
Natural stone benchtops can cost anywhere from $3,000 to $10,000+, depending on the size of your kitchen and the type of stone chosen. Installation requires professional stonemasons, cutting, and transport, which all add up quickly.
By contrast, a vinyl wrap costs anywhere between $150 and $600 for DIY projects or around $1,000–$1,500 if done by professionals. That means you can save up to 80–90% compared to real stone.
Aesthetic Differences
Let’s be honest: while vinyl does a brilliant job mimicking the look of marble, granite, or wood, it won’t completely fool everyone. Real stone has depth, texture, and cool-to-the-touch qualities that vinyl can’t perfectly replicate.
However, modern wraps are incredibly realistic. Most guests will only notice the difference upon close inspection or by touch. For many homeowners, the slight trade-off in authenticity is worth the massive cost savings.
Longevity & Maintenance
Stone benchtops can last decades, but they’re not without drawbacks. Marble is porous and stains easily, while granite requires sealing. Vinyl wrap, meanwhile, can last 3–7 years with proper care.
Indeed, vinyl isn’t forever, but it gives you flexibility. If trends change or you move house, you can replace it with a new design quickly and affordably.

How Long Does a Kitchen Benchtop Wrap Last?
A common question people ask is, “Will a vinyl wrap really last?” The short answer: yes, but it depends on how well it’s applied and how you treat it.
Factors Affecting Lifespan
Quality of the vinyl – Premium wraps from brands like 3M and VViViD often outlast budget options.
Installation technique – Poorly applied vinyl (with air bubbles or weak edges) is more likely to peel early.
Kitchen environment – Benchtops near ovens, dishwashers, or sinks experience more heat and moisture, which can shorten vinyl lifespan.
Daily use – Heavy chopping, dragging pots, or placing hot pans directly on vinyl will wear it down quickly.
Maintenance Tips
- Always use chopping boards and trivets.
- Clean with mild soap and a damp cloth; avoid harsh chemicals.
- Wipe up spills quickly to prevent staining.
- Avoid placing extremely hot items (like pans straight off the stove) directly onto the surface.
With these practices, your wrap can easily last 5+ years while maintaining its original look.
Signs It’s Time to Replace the Wrap
- Even the best wraps eventually show signs of wear. Look out for:
- Peeling edges, especially around sinks and stoves.
- Scratches or cuts that expose the surface underneath.
- Fading colour from constant sunlight.
Replacing vinyl is quick and affordable, so you can refresh your kitchen without a major investment.
Key Benefits of Vinyl Wrapping Kitchen Cabinets
- Affordable alternative to cabinet replacement
- Wide range of modern finishes and textures
- Fast installation with minimal disruption
- Suitable for DIY kitchen upgrades
- Durable surface for everyday kitchen use
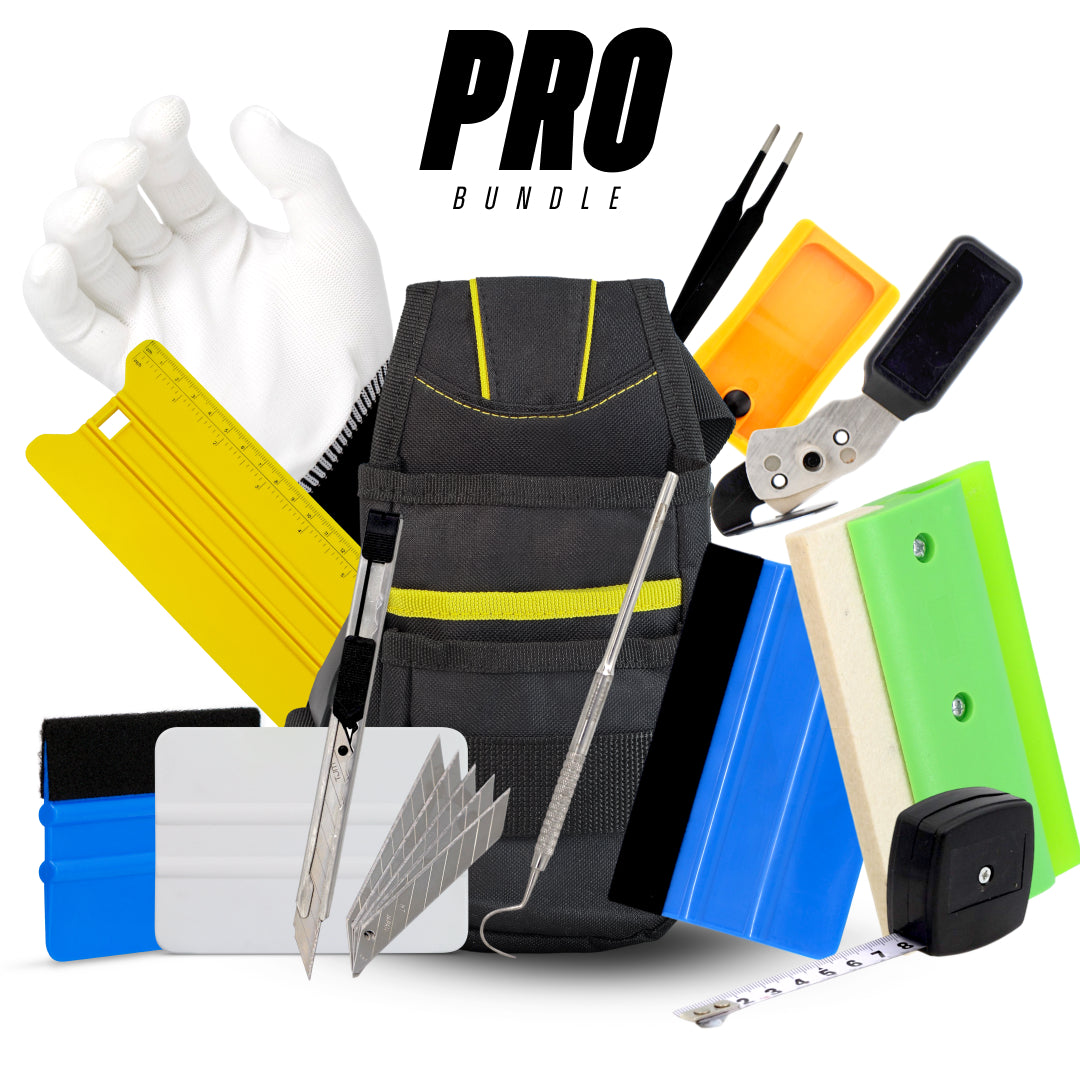
Once your wrap is applied, you can maintain its fresh look with our detailing tools that help care for vinyl and extend its lifespan →
Conclusion
Wrapping your kitchen units and benchtops is one of the smartest, most budget-friendly ways to upgrade your home. It combines affordability with endless design choices, giving you the flexibility to achieve a look that suits your taste, whether that’s sleek high-gloss, rustic woodgrain, or luxury marble.
While it may not last forever like solid stone, vinyl wrap offers incredible value, especially for homeowners who want a fresh look without a hefty price tag. With the right tools, careful installation, and proper care, wrapped cabinets and benchtops can completely transform your kitchen and keep it looking stylish for years to come.
Whether you’re updating a single cupboard or an entire kitchen, you can shop professional vinyl wrapping tools online at Oz Sign Supplies →
Are you unsure which tool or kit is right for your job?
Our expert team at Oz Sign Supplies is here to help. Reach out today, and we’ll direct you to the best tools to suit your project, ensuring you get the job done right the first time.
Learn more in our Full Guide to Kitchen Wrapping →
FAQs
Can you vinyl wrap kitchen cabinets?
Yes. Kitchen cabinets can be wrapped with architectural vinyl film as long as the surfaces are smooth, clean, and in good condition. Vinyl wrap adheres well to materials such as laminate, MDF, and painted wood.
How long does a vinyl wrap last on kitchen cabinets?
High-quality vinyl wrap can last 5–10 years or longer, depending on the quality of the material, installation technique, and daily kitchen use.
Is vinyl wrap cheaper than replacing cabinets?
Yes. Vinyl wrapping is significantly more affordable than replacing cabinets because the existing cabinetry structure remains in place while only the surface finish is upgraded.
Can you wrap kitchen benchtops with vinyl?
Yes. Certain architectural vinyl films are designed for benchtops and other flat surfaces. Proper surface preparation and heat application are important for durability.
Is vinyl wrap suitable for DIY kitchen renovations?
Many DIY renovators successfully wrap cabinet doors and drawers themselves using the correct tools and installation techniques. However, complex surfaces or large kitchens may benefit from professional installation.
Leave a comment
This site is protected by hCaptcha and the hCaptcha Privacy Policy and Terms of Service apply.