


How to Use Common Paint Protection Film Tools: Squeegees, Blades, & Knifeless Tape
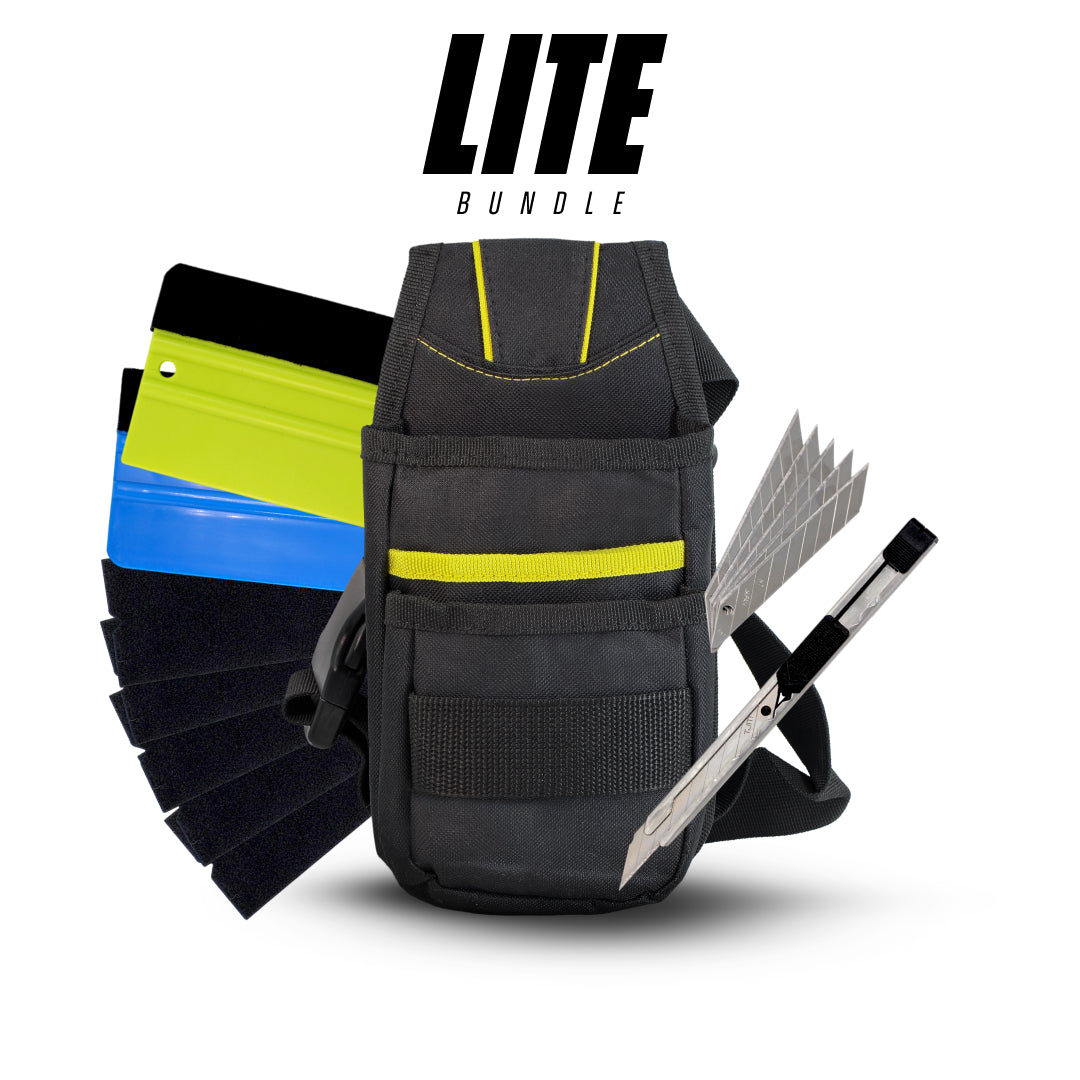
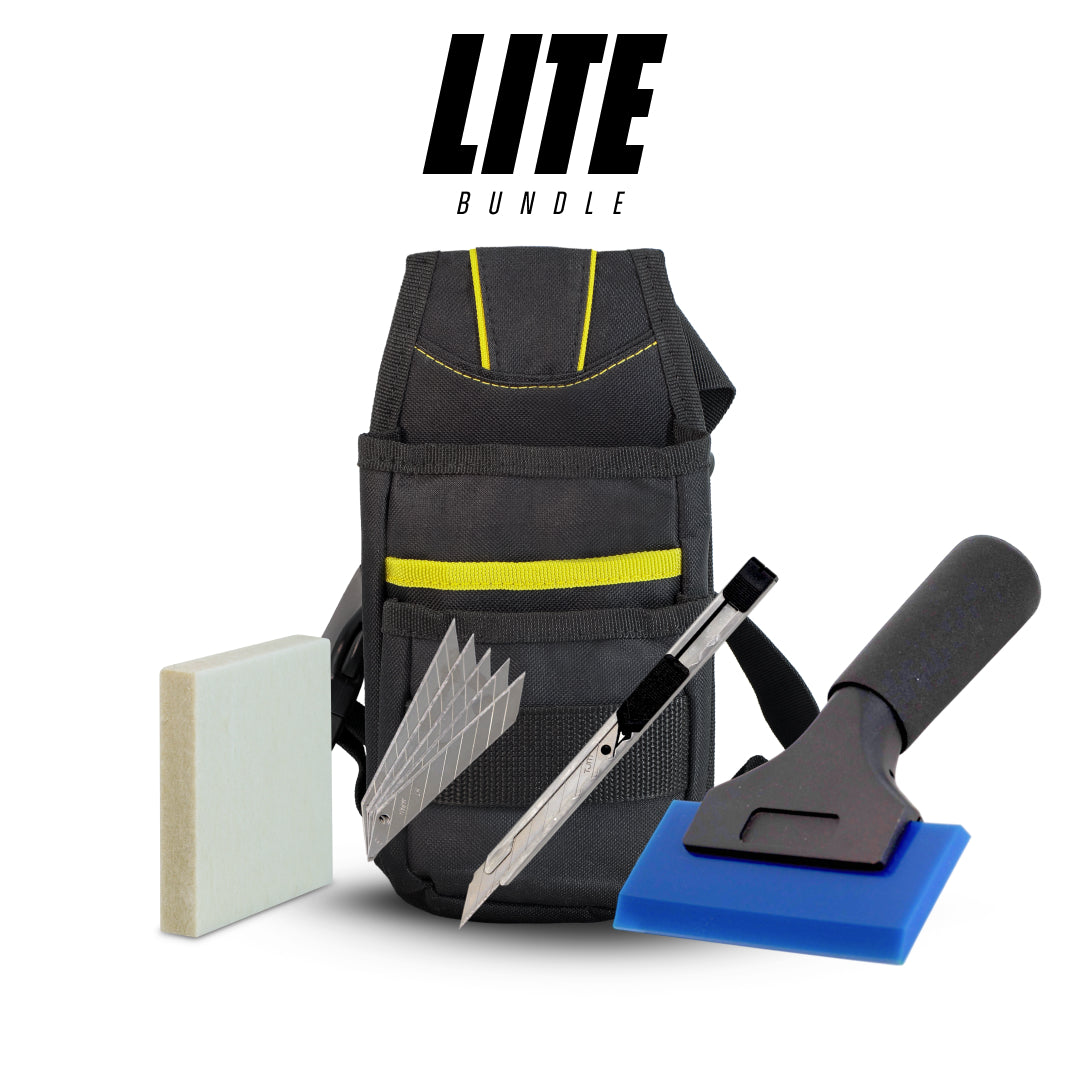
Best Paint Protection Film Tools for Beginners Learning PPF Installation
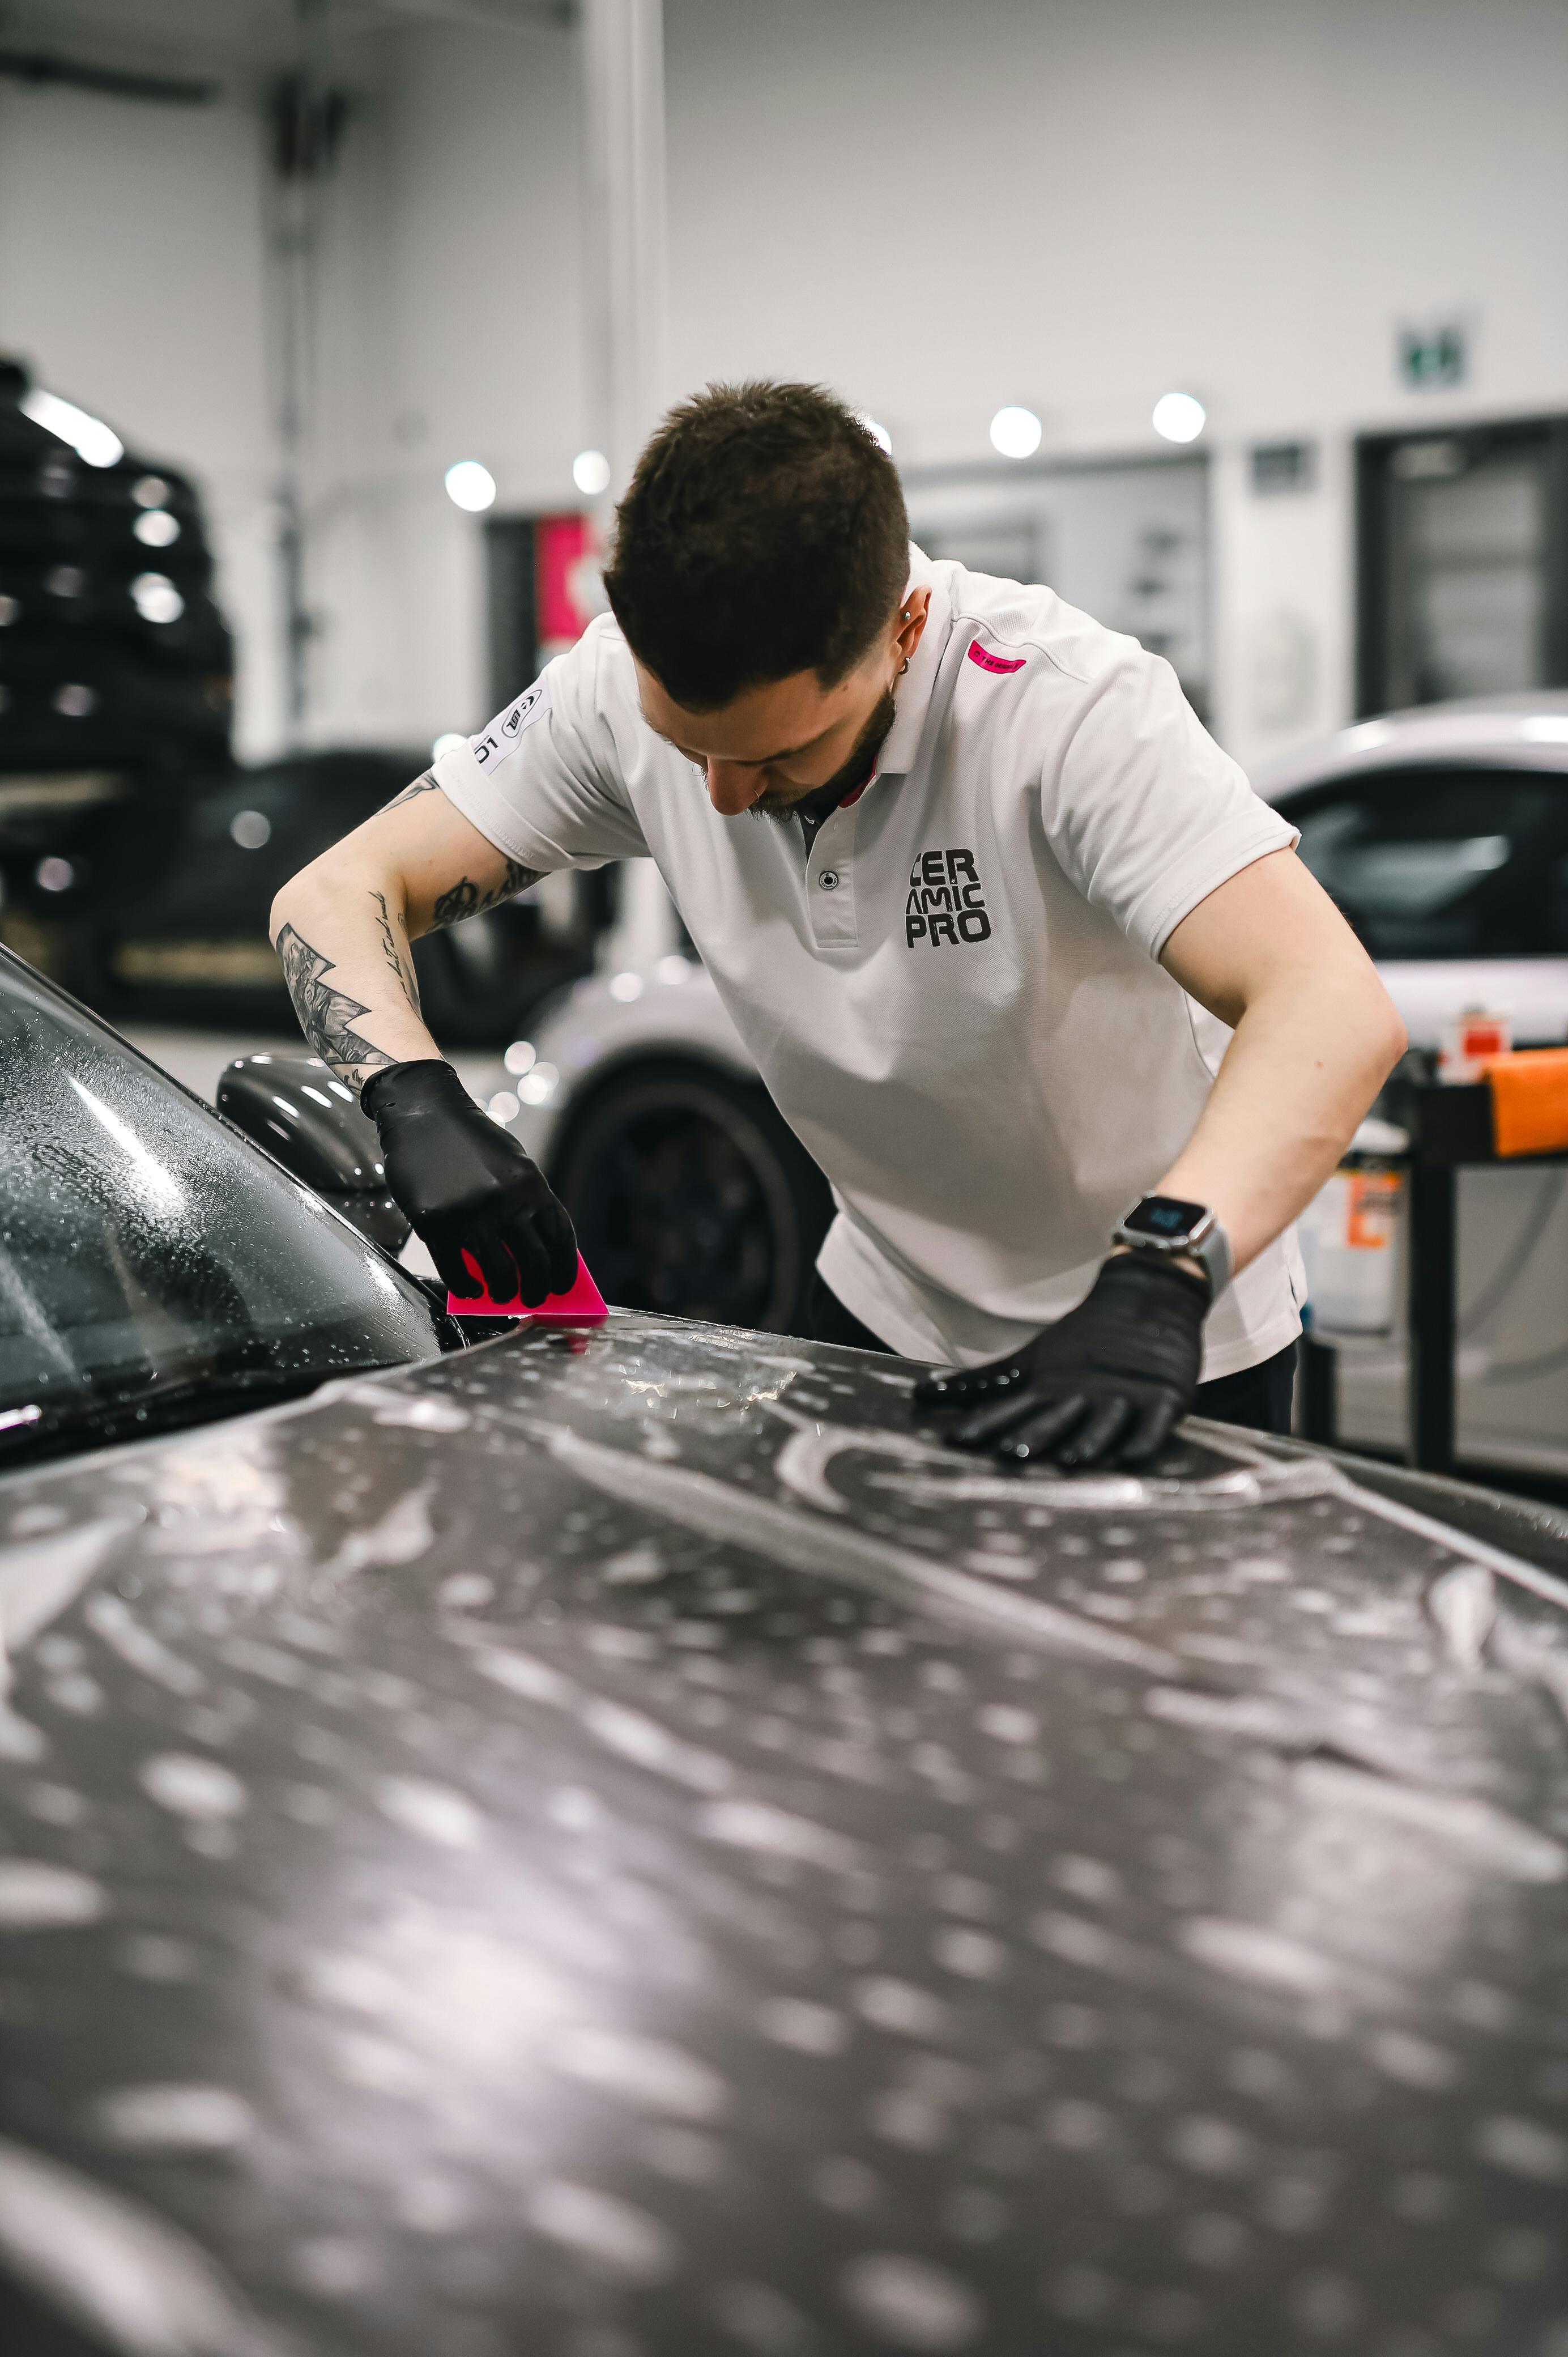
Paint protection film (PPF) installation is one of those crafts that looks simple from the outside, until you actually try doing it. The secret behind a flawless, bubble-free, stretch-balanced installation doesn’t just come down to skill. It comes from the quality of the tools you use and how well you understand them. Whether you're brand-new to automotive film or already running a busy workshop, mastering the foundational PPF tools dramatically improves speed, accuracy, and consistency.
Using the right tools the wrong way can ruin a perfectly cut piece of film. Using the wrong tools entirely? That usually leads to creases, trapped moisture, silvering, distorted stretch lines, or, worst of all, damage to a customer’s paint. That’s why this guide covers squeegees, cutting tools, blades, knifeless tape, heat guns, spray bottles, and every other essential tool used in the industry today.
This article blends beginner guidance with expert-level detail so anyone can improve their installation quality. Expect practical tips, tool breakdowns, workflow tricks, and maintenance habits all in one place. Think of this as the ultimate toolbox guide for anyone working with paint protection film, simple enough for new installers, but deep enough for full-time professionals who want to refine their craft.
Starting your journey in the world of paint protection film installation can feel overwhelming, especially when you see professionals handling heat, slip solution, squeegees, and blades with effortless precision. But every expert installer started somewhere, and the secret to learning quickly, without wasting film or damaging a vehicle, is choosing the right beginner-friendly PPF tools. The good news? You don’t need every fancy tool in the industry to get started. What you truly need are simple, reliable tools that help you build confidence, control, and good habits from day one.
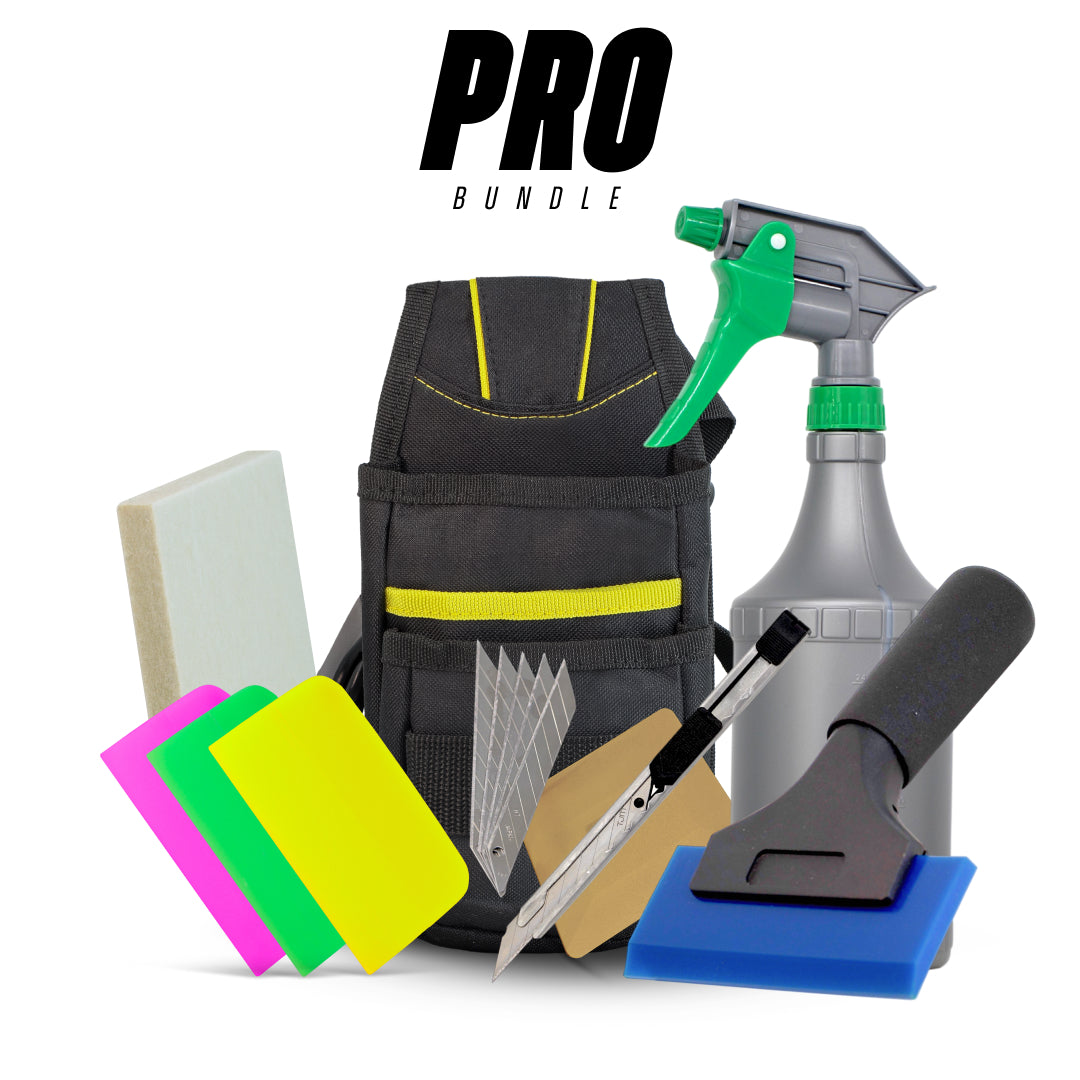
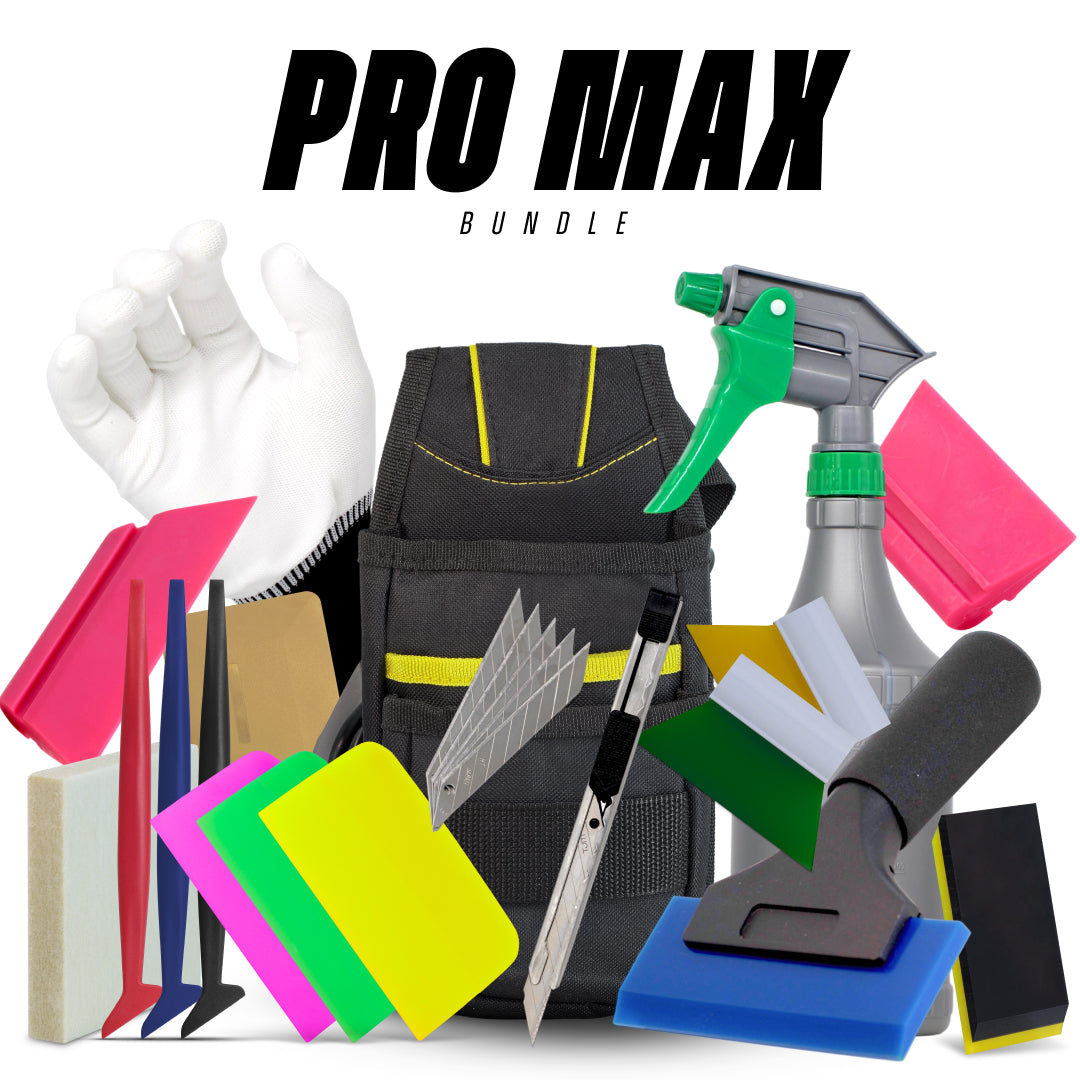
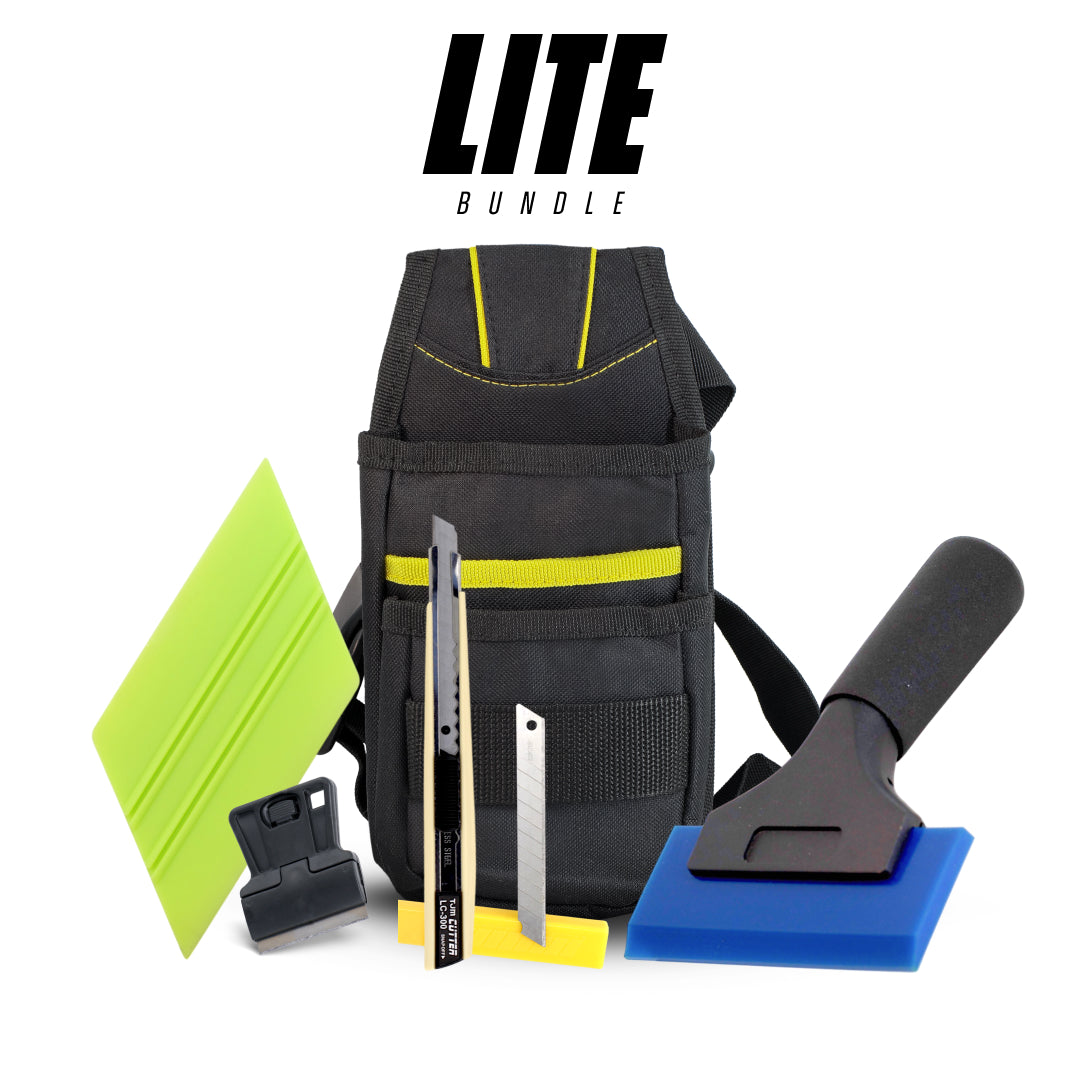
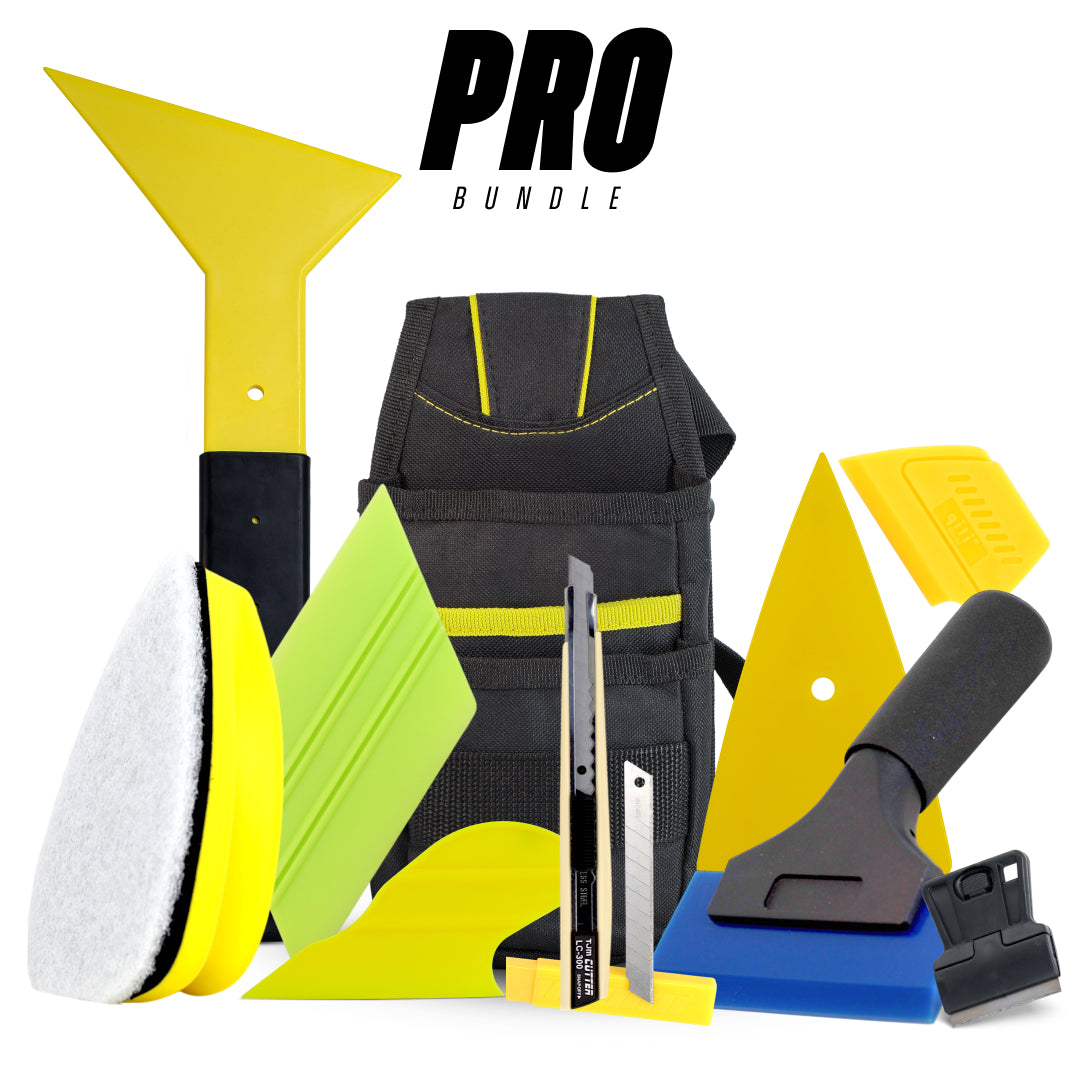
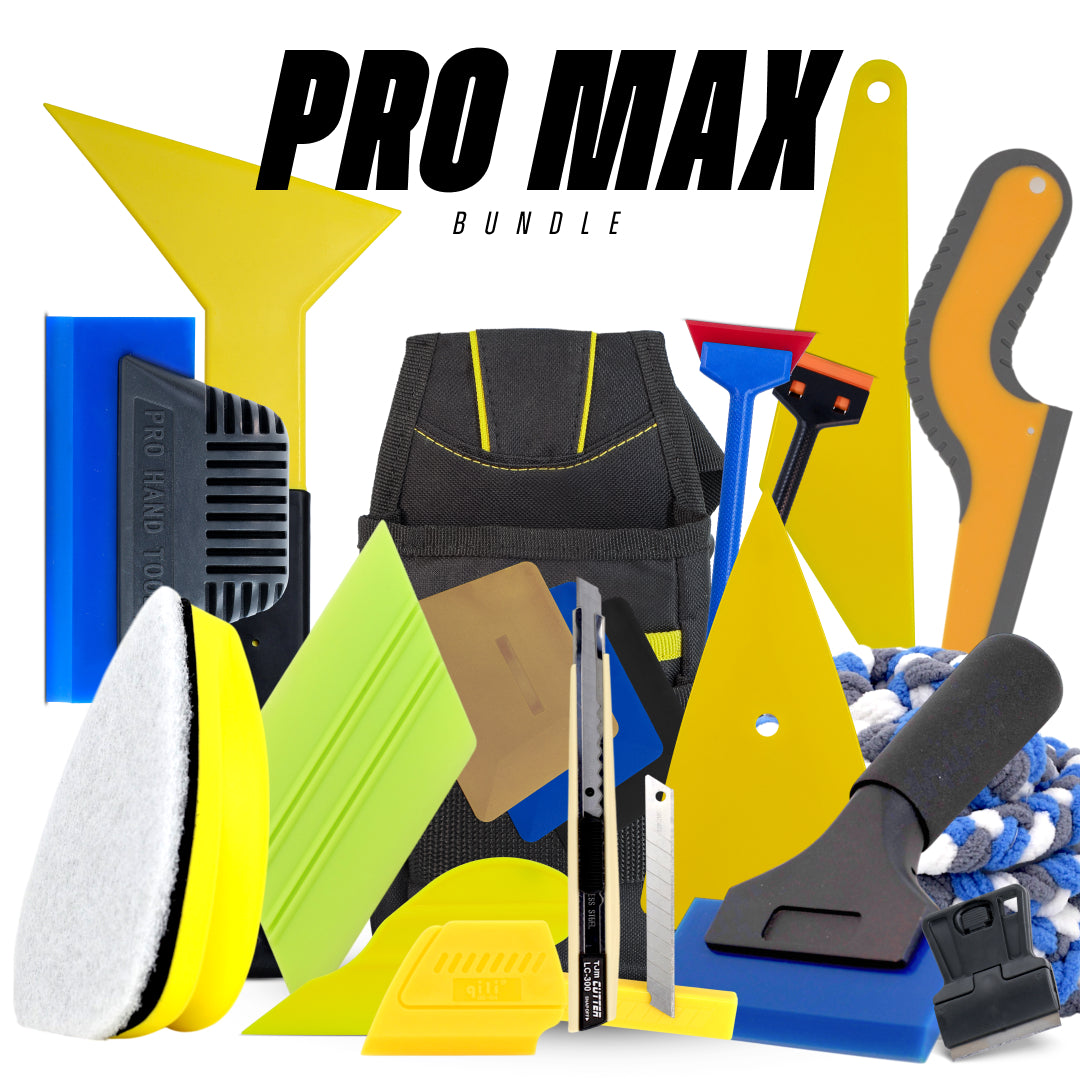
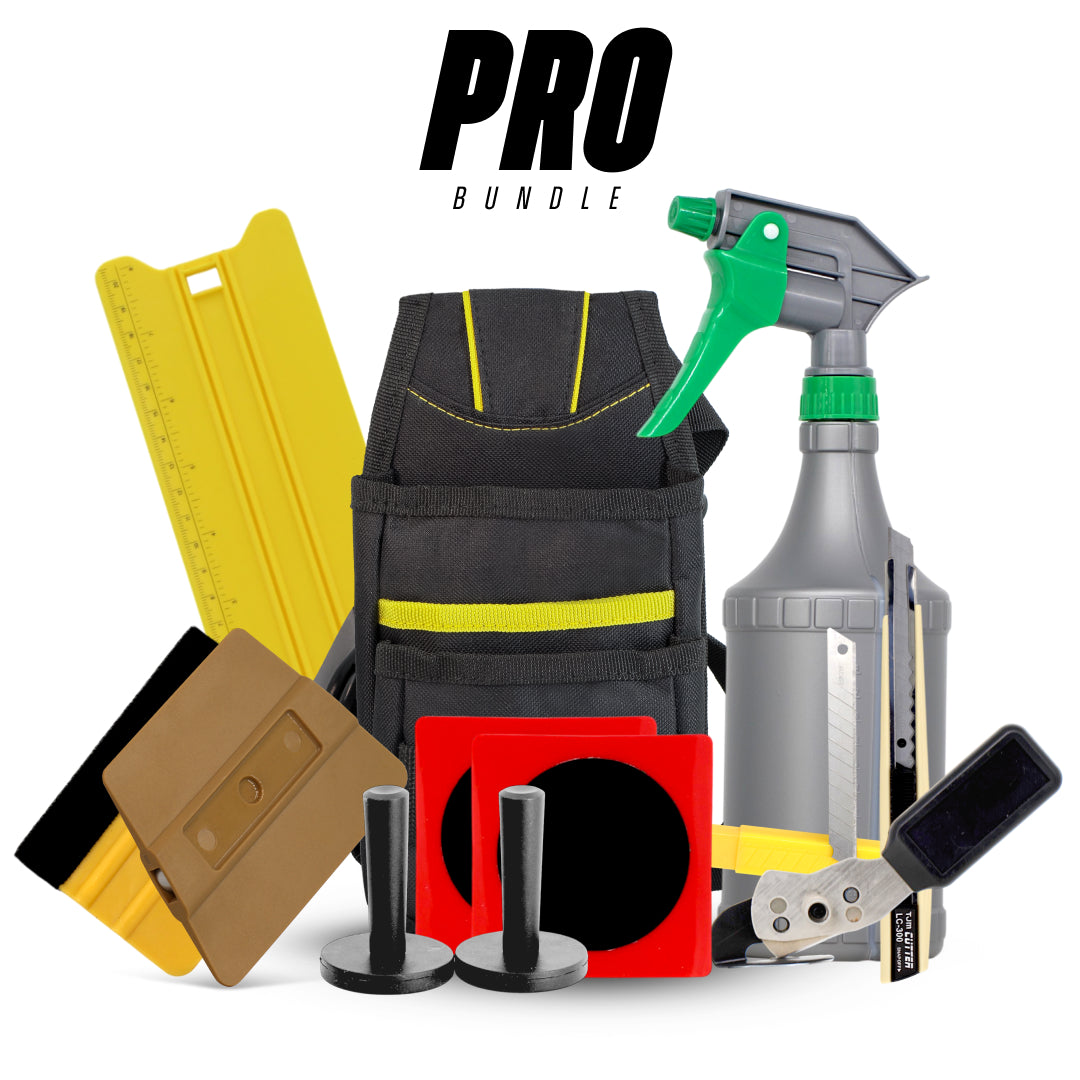
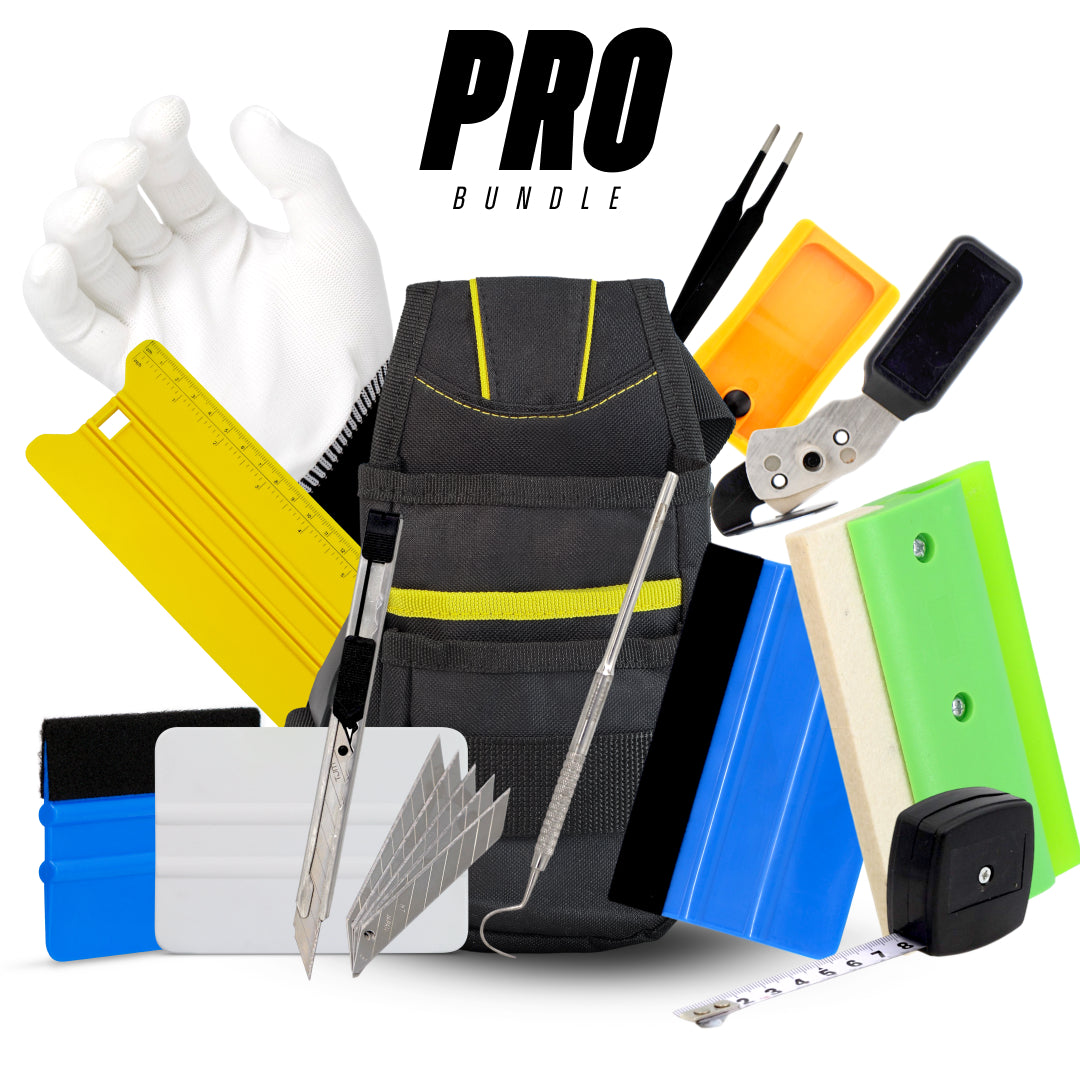
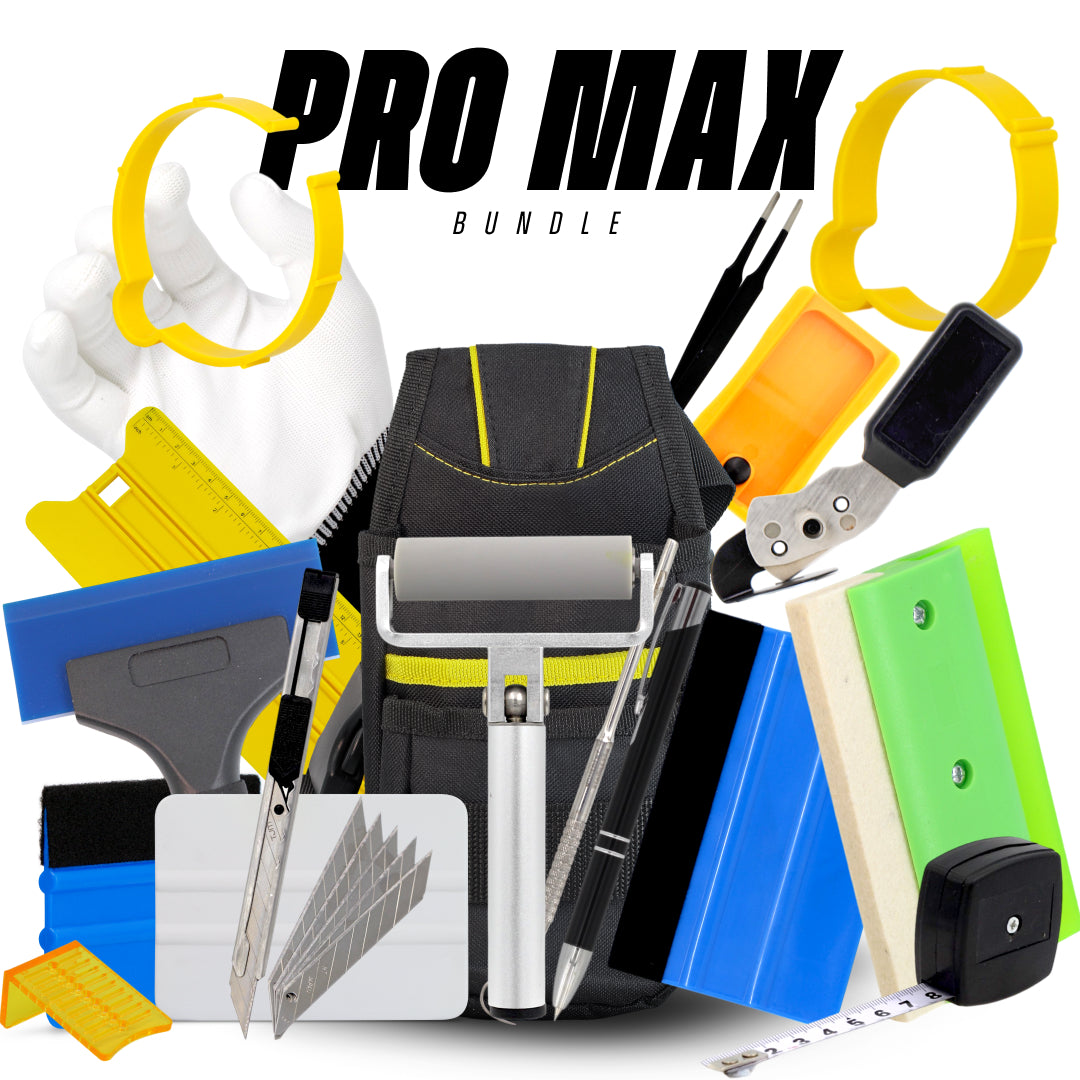
If you’re preparing for a full PPF installation, our complete range of PPF tools gives you access to professional-grade squeegees, blades, tapes, and accessories designed specifically for paint protection film applications →
One of the first essentials for beginners is a soft-edge PPF squeegee, usually wrapped in felt or microfiber. Unlike harder squeegees used by pros for aggressive water removal, soft squeegees give you grace while learning. They allow you to make mistakes without creasing or scratching the film. Beginners often struggle with hand pressure, too light and bubbles remain, too heavy and you distort the film, so a forgiving squeegee is your best friend during practice sessions. Pair this with a comfortable spray bottle that offers a fine mist, and you instantly make the learning process smoother. Many new installers underestimate how much a good spray bottle matters, but consistency in your slip and tack solution coverage dramatically affects whether your film glides or grabs at the wrong time.
You will also need a quality heat gun, but not an expensive industrial one yet. Something with stable temperature control and comfortable handling is enough. Beginners often overheat film, causing overstretching or permanent marks, so simple, predictable heat settings help avoid early frustration. Combined with a basic cutting tool, usually a snap-off blade design, you can practice safe trimming without risking deep cuts into paint. If you're nervous about knife work, a beginner kit with PPF knifeless tape will help you perform edge cuts without touching the vehicle at all.
Finally, a beginner should invest in a small cleaning kit: lint-free towels, a clay bar, a panel wipe solution, and a gentle surface prep spray. Ninety percent of installation problems come from poor prep. Dust, hair, and tiny contaminants become magnified under PPF, so learning proper cleaning early will dramatically improve your results.
For smoother glides and cleaner water displacement, explore our selection of PPF squeegees, which are engineered to help installers push out slip solution and create a flawless, bubble-free finish →
If you gather these core tools and commit to consistent practice, you’ll quickly feel more confident. The best advice? Don’t rush into advanced tools before understanding the basics. Good habits come from simple tools used correctly, and once you master these, the professional tools become far easier to control.
The Complete Guide to Paint Protection Film Tools: Everything Installers Need
If you’re serious about delivering flawless, professional-grade PPF installations, you need more than just the film itself. You need the right tools, and not just a handful, a thoughtfully organized set that covers prep, installation, cutting, shaping, and finishing. Paint protection film is incredibly sensitive to pressure, heat, moisture, and surface conditions. Because of that, every tool plays a specific role, and skipping even one can cost you time, money, and quality. This section breaks down the full range of tools installers rely on daily, helping you understand what each one does and why it matters.
At the foundation of every setup are PPF squeegees, which come in a wide range of materials and stiffness levels. Installers use soft squeegees for gentle glide work, medium squeegees for controlled water removal, and harder squeegees for aggressive extraction on thicker films. Microfiber-wrapped squeegees protect against scratching, while curved-edge squeegees help handle rounded areas like bumpers and mirrors. Because film follows the shape of a vehicle, you’ll quickly find that no single squeegee works for everything, you need options.
Next, you have your cutting tools. These include snap-off blades, precision knives, trimming blades, and safety-edge cutters. Cutting is one of the most nerve-racking steps for new installers, and even seasoned pros prefer to have multiple blade styles on hand. For example, sharper angles are ideal for tight edges, while longer blades help perform straight cuts along body lines. A dull blade is dangerous because it drags film instead of slicing it, which is why pros constantly snap blade segments to maintain clean cuts.
One of the most underrated but essential tools is knifeless tape. This tool allows installers to cut film along curves, stripes, or intricate shapes without ever touching the paint with a blade. It’s especially useful for custom installs on hoods, fenders, and complex designs. Combined with contour-specific tools like micro-squeegees, magnets, and PPF wrap gloves, knifeless tape transforms what used to be risky cutting into a stress-free part of the job.
When working around tight corners, badges, and sensitive vehicle areas, using premium knifeless tape ensures you can make precision cuts without risking damage from traditional blades →
No complete toolkit is finished without heat control tools, which include heat guns, torches, and infrared lamps. Heat is required for activating the film’s adhesive, shrinking material, locking stretched areas, and forming the film around curves. Different tools provide different levels of heat control, some installers prefer the precision of a mini-torch, while others prefer a stable, adjustable heat gun for safer work.
Finally, installers need spray bottles, mixing bottles, tack solution bottles, lint-free towels, clay bars, and panel prep chemicals. The slip and tack ratio used in your spray bottle can completely change how the film behaves. Too much soap and the film won’t grip; too little and you lose repositioning ability.
Together, these tools form the backbone of a professional PPF workflow. When used correctly, they save time, reduce film waste, and lead to cleaner, more consistent results, every single time.
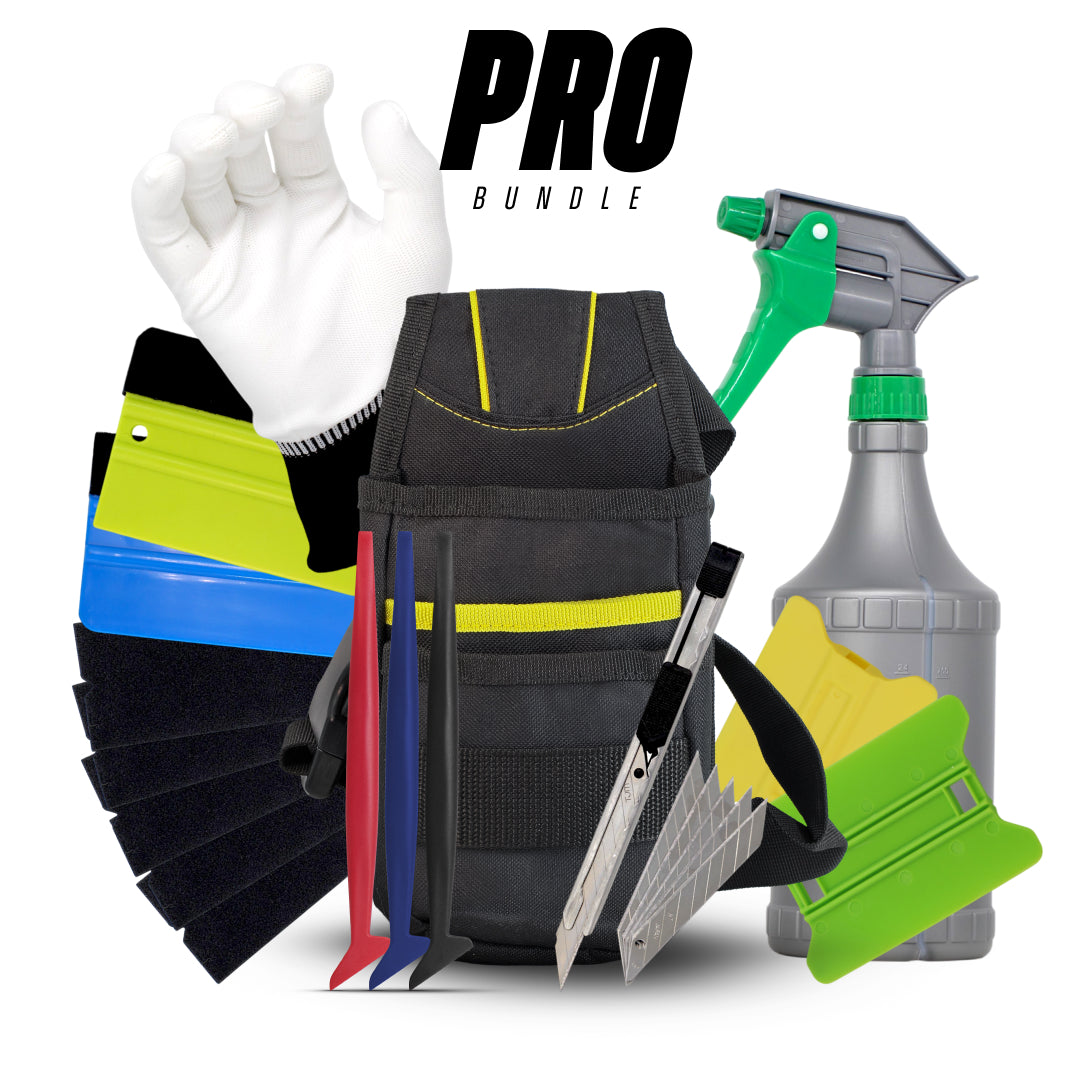
Essential Paint Protection Film Tools for Professional Installers

Once you move beyond the beginner stage and start taking on paid projects, or even full-time workshop work, the tools you use must evolve with you. Professional-grade PPF installation requires precision, speed, and consistency, and that only becomes possible when you’re equipped with high-quality, durable, and purpose-built tools. Professionals don’t just buy better tools because they want nicer equipment… they buy them because cheap tools slow you down, cause lifting, scratch the film, or create installation errors that cost money and reputation. In this section, we dive deep into the tools every serious installer should have in their arsenal.
First, professional installers rely on multiple squeegees, each chosen strategically for different parts of the car. Pros often use a combination of soft, medium, and hard squeegees, but they also use specialized shapes like whale-tail squeegees, narrow-edge squeegees, hybrid rubber-and-felt squeegees, and contour squeegees made specifically for tight or curved surfaces. A professional can switch squeegees several times during a single hood installation. It might seem excessive, but each tool removes moisture differently and applies pressure in a unique way, helping achieve flawless results without overstretching film or trapping pockets of liquid.
Next, professionals must invest in high-precision cutting tools. This means not just a standard snap-off blade, but a selection of blade angles (like 30-degree detail blades), depth-controlled cutters, safety cutters for edge trimming, and heavy-duty blade handles for long cuts. Many pros use premium Japanese stainless-steel blades because they maintain sharper edges longer and reduce drag while cutting. When you’re trimming near paint, the difference between a clean slice and a dragging blade is the difference between a perfect edge and a ruined panel.
A professional PPF installer also needs a quality heat management system. Cheap heat guns fluctuate in temperature, which is disastrous when you’re shrinking film, relaxing stretch lines, or activating adhesive. A pro-grade heat gun gives stable heat output, adjustable airflow, multiple temperature settings, and ergonomic grip for long hours of use. Many shops also use infrared curing lamps for consistent heat distribution across larger sections, especially on bumpers or hood edges.
Additionally, professional installers rely on PPF knifeless tape, but not the generic kind found in basic kits. They use multiple types: finish-line, design-line, and bridge-line tape, each designed for different levels of curvature, tension, and cutting precision. Using the right knifeless tape ensures crisp edges without tearing film or leaving adhesive residue behind.
For trimming excess film and refining edges, our selection of knives and cutters offers sharp, reliable tools that help installers maintain clean, professional lines on every panel →
Finally, but equally important, are workshop-specific tools: magnetic holding guides, vehicle-edge protectors, seamless spray bottles with adjustable mist functions, panel prep chemicals, clay bars, microfiber gloves, and lint-free cloths. The prep stage is where pros separate themselves from amateurs. A single speck of dust under the film can lead to a redo worth hundreds of dollars. Pros use lighting, air filtration, and dust removal tools to maintain immaculate working conditions.
In the end, professional installers know that success isn’t about having the most tools, it’s about having the right tools and maintaining them well. Quality tools don’t just improve the final result; they also improve workflow efficiency, reduce film waste, and make every install smoother and more predictable.
Best Squeegees for PPF Installation: Types, Uses and Recommendations
When it comes to paint protection film installation, the squeegee is arguably the most used and most important tool in your entire kit. It determines how smoothly the film lays, how effectively air and moisture are removed, and how clean your final finish looks. While beginners often assume a squeegee is just a simple piece of rubber, professionals know that choosing the right one, and knowing when to use each type, makes a massive difference in installation speed and quality. This section breaks down the most common types of PPF squeegees, what each is best used for, and which ones are worth adding to your toolkit.
Most installers start with the classic soft squeegee, often wrapped in microfiber, felt, or suede. Soft squeegees glide over the film more gently, making them perfect for spreading slip solution, floating large panels, and smoothing film into place without applying aggressive pressure. They’re particularly useful when you’re positioning film during the initial stages of installation. Because they don’t scratch the film surface, they’re the safest option for new installers who are still learning squeegee pressure control. However, their soft nature means they don’t extract moisture as efficiently as firmer tools.
Next, you have medium-firm squeegees, which strike the perfect balance between flexibility and strength. These are the workhorses of the PPF world. Professionals use them to remove most of the trapped liquid during installation because they provide enough pressure to push water outward while still maintaining a degree of surface safety. These squeegees are ideal for hoods, doors, roofs, and flat-to-mildly curved areas. If you had to choose only one squeegee to complete an installation, this would be the best universal choice.
Then there are the hard squeegees, designed for maximum pressure and precision. These are used to finish edges, corners, and deep contours where tack solution has been applied. Hard squeegees extract moisture extremely well, the kind of extraction needed to seal edges and ensure long-term durability. However, using them incorrectly can scratch the film or leave micro creases, which is why they’re typically recommended for more experienced installers. Some hard squeegees come with interchangeable edge buffers that reduce scratching risk, allowing for aggressive water removal with improved safety.
Specialty squeegees are also growing in popularity. Curve squeegees, for example, are perfect for mirrors, bumpers, and other high-contour areas where a flat squeegee simply can’t conform. Triangle squeegees help reach tight corners and edges without lifting the film. Whale-tail squeegees slide into gaps around trim pieces to smooth hidden edges. And micro-squeegees with tiny, thin edges are ideal for working film into tight channels, headlights, and grille areas.
Since many PPF techniques overlap with vinyl wrapping, you may also benefit from our vehicle wrapping tools, which include application cards and squeegees suitable for both wrap and protection film work →
Finally, professional installers often use PPF squeegee handles, which give better grip and allow for more even pressure distribution across wider surfaces. These can significantly reduce hand fatigue during long installs, especially on large vehicles like SUVs or trucks.
A well-rounded installer will own multiple squeegees and switch between them throughout the job. The key is understanding the strengths of each type and developing an instinct for when to use which one. Once you understand this, your installations will become faster, cleaner, and noticeably more professional.
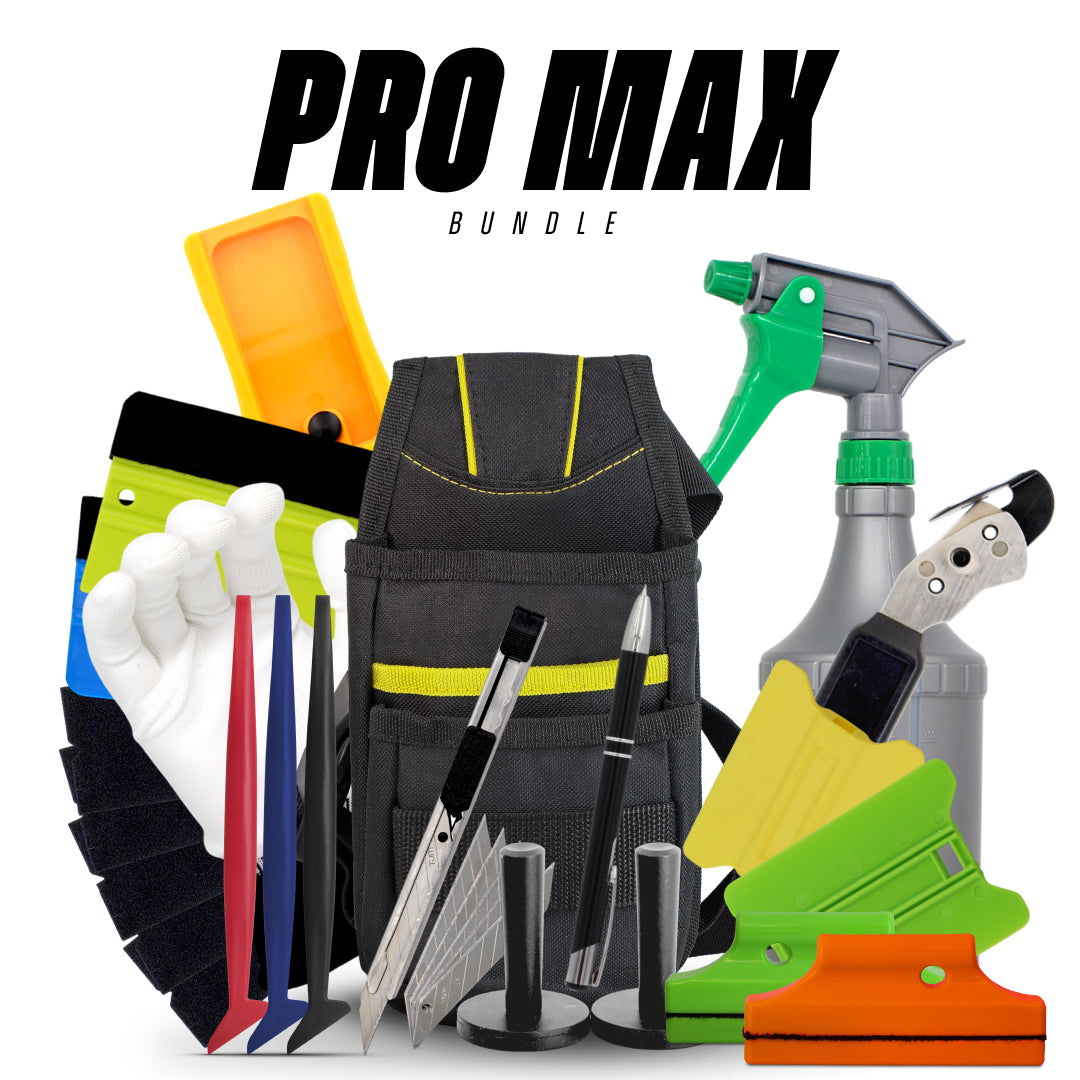
What’s Inside a PPF Tool Kit? Breakdown of Must-Have Items for Clean Installs
A well-organized PPF tool kit is the backbone of every clean installation. Whether you’re a beginner building your first kit or a professional upgrading your workshop inventory, understanding what belongs in a complete setup helps you stay efficient and avoid mistakes. A proper PPF tool kit isn’t just a random collection of blades and squeegees, it’s a thoughtfully curated set of tools that cover prepping, installing, cutting, heating, sealing, and maintaining the film. In this section, we’ll break down every essential item that should be inside a high-quality paint protection film kit and explain why each one plays a vital role.
The first and most obvious category is squeegees, and every full kit needs a variety. You’ll want soft, medium, and hard squeegees to handle different pressure requirements. Microfiber-wrapped squeegees are perfect for initial placement. Flat-edged squeegees handle large panels like hoods and doors. Narrow or angled squeegees are crucial for tight curves, body lines, or recessed areas. A pro kit often includes at least five types of squeegees because no single tool can handle all areas effectively.
Next are your cutting tools, which include snap-off blade knives, precision edge cutters, small-detail knives, and trimming blades. A good kit should contain multiple blade angles, especially 30-degree and 45-degree blades, because different angles allow for cleaner cuts along bends and edges. A blade dispenser or blade-safe container is also essential, both for safety and for keeping blades sharp and ready to use. Professional kits often include magnetic knife holders for quick access during installations.
A proper PPF kit also includes knifeless tape, which is one of the safest tools for cutting film directly on the car. You’ll typically find several versions: finish line tape for straight cuts, design line tape for curves, and bridge line for wide or overlapping sections. Keeping these tapes in your kit ensures you can perform custom installs or tricky cuts without ever touching the paint with a knife.
From there, spray bottles are another critical part of every kit. Your tool kit should include at least two labeled bottles: one for slip solution and the other for tack solution. Some installers carry a third bottle for pure water rinsing. The bottle must have an adjustable spray head that allows light misting as well as strong, direct spraying depending on the panel you are working on. Poor-quality bottles produce inconsistent spray patterns, which can make the film grab in some areas while floating in others, something every installer wants to avoid.
A high-quality heat gun also belongs in the kit. Look for one with consistent temperature output, multiple settings, and a comfortable grip. Some complete kits even include heat-resistant gloves or small torches for precision heat work. Heat management is central to contouring, shrinking, and activating adhesive, so a reliable heat tool is non-negotiable.
In addition, your kit should contain prep tools: clay bars, panel wipes, lint-free towels, microfiber towels, alcohol spray, dust removal pads, and plastic razors for removing old adhesive. Clean surfaces are essential for a flawless install. Even the best installers struggle if the prep stage isn’t done properly, so your kit must include everything needed to eliminate dust, grease, wax, and contaminants.
Finally, a complete PPF tool kit includes organization accessories: tool belts, magnetic trays, pockets for squeegees, and knife holders. The more organized your kit is, the smoother your workflow becomes. A disorganized installer wastes precious minutes searching for tools, and when film is drying, those minutes matter.
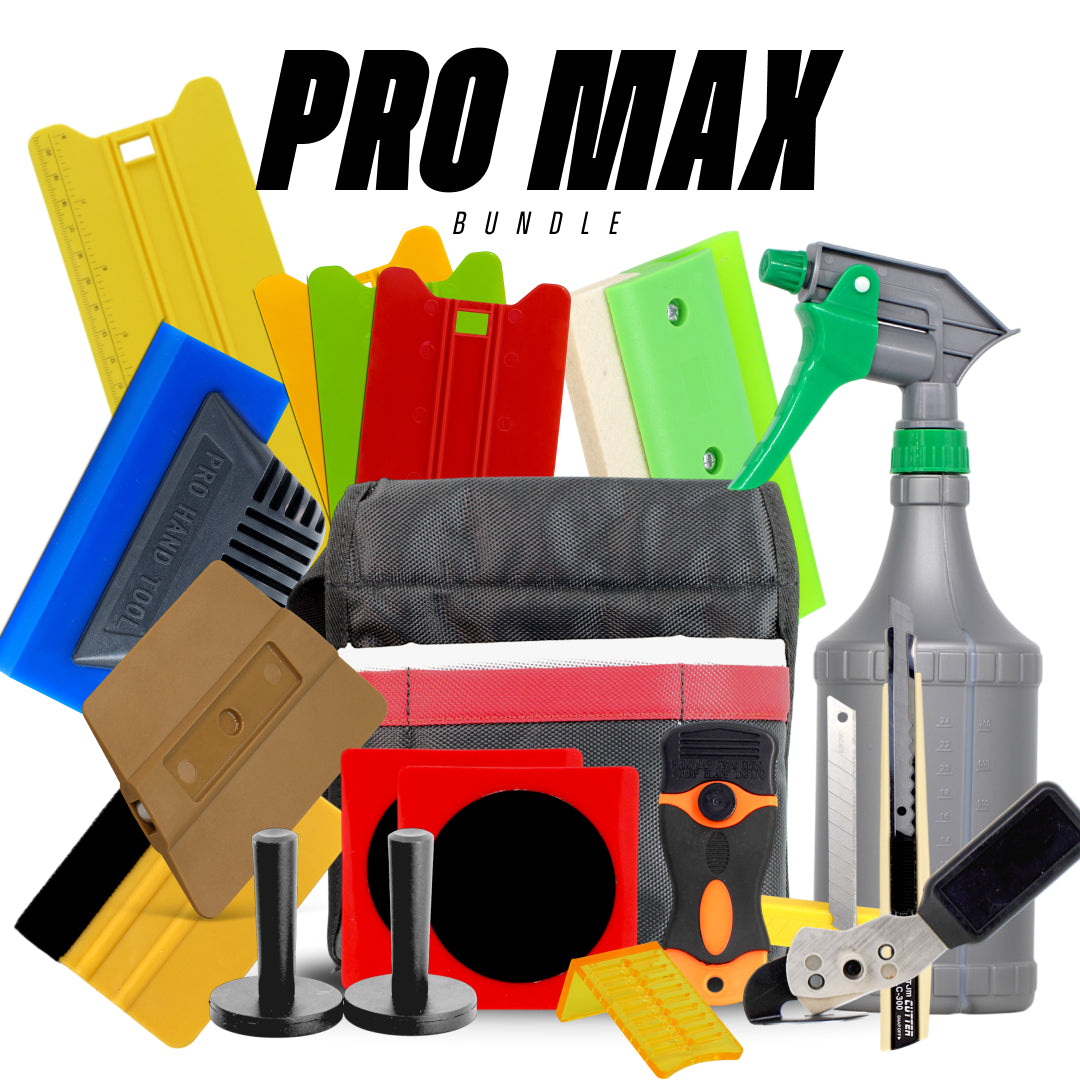
For a ready-made setup that covers all the essentials in one package, our PPF tool kits combine blades, squeegees, tapes, and prep items to help simplify the installation workflow →
By understanding what belongs in a full PPF tool kit, you set yourself up for cleaner, faster, and more reliable installations. A good kit doesn’t just improve results, it improves confidence.
The Role of Knifeless Tape in PPF Installation: When and How to Use It

Knifeless tape is one of the most important innovations in the paint protection film industry. Before it existed, installers had only two options: cutting on the paint with a blade (risky) or pre-cutting film patterns (time-consuming and limiting). Knifeless tape changed the entire workflow by allowing installers to create precise cuts on painted surfaces without ever touching the paint with a knife. Whether you’re working on full-front PPF, custom stripes, complex curves, or areas where traditional blades simply can’t reach safely, knifeless tape becomes a lifesaver. Understanding when to use it, and more importantly, how to use it correctly, can dramatically improve both the quality and safety of your installations.
There are three main types of knifeless tape used for PPF: Finish Line, Design Line, and Bridge Line. Each is built differently for a specific purpose. Finish Line is the most commonly used type and is ideal for straight lines, edges, borders, and large panel separations. It gives clean, crisp cuts and works on most areas of the vehicle. Design Line is thinner and more flexible, making it perfect for curves, intricate shapes, and custom patterns like racing stripes or hood accents. If you’ve ever wondered how installers create perfect, flowing custom shapes without templates, Design Line is the answer. Bridge Line, on the other hand, has a thicker structure that allows it to span gaps between panels, perfect for cutting film without pushing tape into panel gaps or seams.
Using knifeless tape starts with proper placement. You apply the tape to clean, dry paint, ensuring the string inside the tape follows the exact line where you want the cut. It’s important to keep tension on the tape and avoid creating wrinkles or slack, because whatever you do here will transfer into the final cut. Once the tape is in place, you lay the film over it as you normally would, making sure the film adheres well across the tape line. A common mistake beginners make is leaving too much solution under the tape area, which prevents the film from sticking tightly and results in uneven cuts.
When you’re ready to cut, you simply pull the filament string upward and toward yourself at a consistent angle. This slicing action separates the film without damaging the paint underneath. After the string cuts through the film, you pull away the excess piece and press the film down along the cut line using your squeegee. If done correctly, you’ll end up with a clean, sharp edge that looks factory-perfect.
To access cleaner edges and reduce trimming risks, many installers use part removal tools to safely lift or remove vehicle trims before applying paint protection film →
Knifeless tape is especially useful for complex areas like bumpers, door cups, tight channels, and custom installations where pre-cut templates may not fit perfectly. Many professional installers rely on it for high-risk areas because it eliminates the possibility of accidental paint cuts, something that can cost thousands to repair.
In short, knifeless tape isn’t just a convenience; it’s a game-changing tool that improves safety, enhances creativity, and ensures precision. Mastering it is a key skill for any serious PPF installer.
Heat Guns for Paint Protection Film: Choosing the Right Temperature and Tool
A heat gun is one of the most powerful, and potentially dangerous, tools in a PPF installer’s arsenal. When used correctly, it helps the film relax, stretch, shrink, and activate its adhesive properties. When used incorrectly, it can overstretch material, distort patterns, burn adhesive, or even permanently mark the film. That’s why choosing the right heat gun, understanding temperature control, and knowing when to apply heat are essential skills every installer must master. Heat isn’t just about warming the film; it’s about controlling how the material behaves under your hands.
Most installers start with a standard adjustable 1,500–1,800W heat gun, which provides enough power for automotive applications without being overly aggressive. However, the real secret to professional-level installs is temperature consistency. Cheap heat guns pulse unpredictable levels of heat, which leads to uneven stretching or shrinking. A good heat gun offers multiple temperature settings, strong airflow, a stable output, and an ergonomic grip so you can hold it comfortably for long periods. Some installers even upgrade to digital heat guns that display exact temperatures, making it easier to avoid overheating delicate areas like mirror caps and bumper corners.
A typical working range for PPF installation is between 150°F and 180°F (65°C–82°C) for general warming and repositioning. For shrinking or locking stretched areas, professionals often use 190°F to 220°F (88°C–104°C). Going above 230°F (110°C) risks damaging both the film surface and the adhesive layer underneath. The adhesive can crystallize if overheated, causing the film to lose tack or develop long-term lifting issues. It’s important to note that heat affects different film brands differently, some become extremely soft quickly, while others take longer to react.
Heat guns also play a huge role in addressing tension. When you heat an overstretched section, the film contracts and returns to its natural state. This helps eliminate fingers, lift lines, and distortion. You’ll also use heat for post-heating edges and recessed areas. Post-heating “locks” the film in place by activating the adhesive more intensely, preventing areas from lifting over time. Skipping post-heating is one of the biggest mistakes beginners make.
Some installers prefer to keep a mini-torch on hand for pinpoint heating, especially in tight spaces like door edges or small bumper pockets. While torches heat faster, they also increase the risk of scorching if handled poorly, so they’re usually recommended only for experienced installers.
A proper PPF setup should also include a heat-resistant glove to protect your hands while manipulating warm film. You’ll often need to stretch and massage film while applying heat, and bare hands simply won’t survive the temperatures safely.
In short, a heat gun isn’t just for softening film, it’s a precision tool that dictates how the film lays, stretches, seals, and ultimately performs for years. Master the heat gun, and every part of the installation process becomes smoother and more controlled.
Slip vs Tack Solution: Tools and Techniques for Proper PPF Application
Ask any experienced PPF installer and they’ll tell you: mastering slip and tack solutions is just as important as mastering squeegee technique or blade control. These solutions determine how the film behaves from the moment it touches the paint. Too much slip and the film will skate uncontrollably. Too much tack and it will grab before you’re ready, creating tension, creases, or irreversible stretch marks. Understanding how to mix, apply, and adjust these solutions, and using the right tools to deliver them, is one of the most important skills for clean installations.
Let’s start with slip solution, your main “glide fluid.” Its purpose is to help the film float smoothly across the panel so you can position it without the adhesive grabbing too soon. Slip solution is typically a mixture of distilled water + baby shampoo or a mild surfactant, though specific measurements vary by film brand. A common ratio is 1–2 ml shampoo per liter of water, but you may adjust depending on humidity, vehicle shape, and film tackiness. Humid weather might require a stronger slip mixture, while dry climates often need less soap to keep the film from drifting excessively.
Your slip solution must be sprayed using a fine-mist spray bottle. A good bottle creates a consistent, even mist that coats the surface without heavy droplets. If your bottle sprays too much water, the film will float excessively and become difficult to control. If it sprays too little, the film can grab unexpectedly and force you to restart placement. Many installers use commercial-grade bottles with adjustable nozzles or pressurized sprayers for smoother distribution.
Next is tack solution, which is the opposite of slip. Its job is to increase adhesive strength to secure edges, corners, curves, and high-tension areas. Tack solution is normally a mixture of distilled water + 25%–30% isopropyl alcohol, though some installers modify the ratio depending on the film type. When sprayed on a surface, tack solution instantly boosts adhesion and helps the film lock into place. It’s especially useful for sealing headlights, bumper edges, hood corners, door cups, and areas where the film naturally wants to lift.
The golden rule every installer learns is this: start with slip, finish with tack. You float the film into position with slip, squeegee it until most moisture is removed, then introduce tack where needed to secure final edges and tension points. The key is control. Beginners sometimes overuse tack solution, which causes premature grabbing and creates stubborn fingers or stretch marks. Professionals apply tack sparingly and strategically, understanding that less is often more.
Your spray bottle setup should include two clearly labeled bottles: one for slip and one for tack. Many installers also use a third bottle with pure distilled water for rinsing or reducing slip in specific zones. High-end shops sometimes use stainless-steel pressurized sprayers, which maintain constant pressure and spray pattern throughout the install.
Before any PPF install, proper cleaning is essential, and our surface prep tools ensure the vehicle is completely free from dust, oils, and contaminants that can affect adhesion →
When you master slip vs. tack control, choosing the right mixture, applying it with precision, and adjusting ratios for environmental conditions, your installations become dramatically smoother, cleaner, and more predictable. It’s one of the true secrets behind professional PPF work.
How to Maintain and Clean Your PPF Tools for Long-Lasting Performance

A professional installer’s tools are an investment, not just in equipment, but in the quality of every installation you complete. Even the best squeegees, blades, spray bottles, and heat guns won’t perform well if they’re not properly maintained. Clean tools prevent contamination, reduce installation errors, extend the lifespan of materials, and help you work faster with fewer interruptions. This section breaks down the complete process of caring for your PPF tools so they stay reliable, consistent, and ready for daily use in a busy workshop.
Let’s start with squeegees, your most frequently used PPF tools. The edges of a squeegee collect soap residue, adhesive, dirt, and micro-grit over time. If you don’t clean them regularly, those contaminants can scratch the film or leave streaks. After each installation, rinse your squeegees under warm water, gently rub the edges with your thumb to remove residue, and dry them with a lint-free towel. Avoid using harsh chemicals, which can harden or crack the rubber. If your squeegees use felt or microfiber wraps, replace the covers often. A dirty or frayed felt edge can do more harm than good. Professionals typically keep replacement covers in bulk and change them daily, sometimes multiple times for large installs.
Next, consider cutting tools, which require more than just snapping blade segments. Blades exposed to moisture can rust, even high-quality ones. Store your blades in a dry container and never leave a knife near your slip solution bottle. Wipe blade handles regularly to prevent adhesive buildup, which can cause the blade to drag during cuts. If you use precision cutters, lubricate the internal mechanism lightly to keep the movement smooth. Sharp blades are essential for clean edges; dull ones are dangerous and unpredictable.
Your spray bottles also demand attention. Soap residue builds up inside nozzles over time, affecting spray patterns. At the end of each day, empty your slip and tack bottles, fill them halfway with warm water, shake thoroughly, and spray until the water runs clean. This prevents clogging and extends the life of the sprayer heads. For pressurized sprayers, release pressure after use and rinse the internal tank to prevent bacteria or soap film from forming.
Heat guns require maintenance too. Dust and film fibers often get sucked into the intake vent, reducing airflow and causing overheating. Use a small brush or compressed air to clean the vents weekly. Inspect the nozzle for residue or buildup from tape or film, residue can cause uneven heating or scorching. Never wrap the cord tightly around the gun, as this stresses internal wiring. A damaged cord is not only inefficient but dangerous.
Finally, make tool storage part of your routine. Keep everything organized in a dedicated drawer, toolbox, or wall-mounted holder. Squeegees should lie flat to avoid warping. Blades must be stored safely to prevent accidental cuts. Heat guns should cool completely before storage. Keeping tools organized speeds up workflow and reduces the risk of grabbing the wrong tool mid-install.
If you’re installing PPF on a vehicle that already has old film or adhesive, using specialised decal removal tools helps strip away residue cleanly without scratching the paint →
When you maintain your tools consistently, you get smoother installations, fewer mistakes, and a more professional workflow. Your tools are extensions of your hands, take care of them, and they’ll take care of your results.
Top Time-Saving Paint Protection Film Tools Every Installer Should Use
Time is one of the most valuable resources in any PPF workshop. Whether you’re doing a simple partial front or a full-body wrap, the difference between a slow installer and an efficient one often comes down to the tools they use. Time-saving PPF tools don’t just help you work faster; they help you work smarter, reduce fatigue, minimize film waste, and boost overall installation quality. When the right tools are at your fingertips, your workflow becomes smoother, cleaner, and far more predictable. This section highlights the most effective time-saving tools that professional installers rely on daily, tools that streamline the installation process without sacrificing precision.
One of the most underrated time-saving tools is the PPF magnet set. These tiny but powerful magnets help position film panels quickly and accurately, especially on large surfaces like hoods and fenders. Instead of constantly re-lifting, re-aligning, or calling a second installer to hold corners in place, magnets keep everything steady while you adjust the film. Many professionals use magnets during bulk installs or custom cuts to keep the film locked exactly where they want it without slipping.
Another essential time-saving tool is the pressurized spray bottle. Standard trigger bottles work, but they require constant squeezing, which slows you down and tires out your hand. Pressurized sprayers deliver a consistent mist or stream with a single pump, allowing for faster surface wetting and more uniform slip/tack application. This also helps prevent uneven moisture distribution, a common issue that causes film drag in some areas and excessive float in others. The result? Faster alignment, smoother repositioning, and cleaner squeegee passes.
Quick-change blade holders are also game-changers. Dull blades damage film and waste time, but constantly snapping blade segments interrupts your workflow. A quick-change knife allows you to swap out blades instantly, keeping you in the zone without stopping to reset your tool. Pair this with high-capacity blade cartridges, and you’ll avoid ever fumbling with loose blade pieces.
When it comes to squeegees, using specialty contour squeegees dramatically speeds up installs on curved areas. Instead of fighting with a flat squeegee on a complex bumper, a curved or winged squeegee molds naturally to the vehicle’s shape. This allows smoother water extraction and reduces repeated passes. Micro-squeegees also save time in tight gaps, eliminating the need for awkward tool angles or multiple repositioning attempts.
If you frequently work with custom installations, knifeless tape is another major time-saver. It eliminates the need for detailed pre-cutting or template adjustments and allows you to create perfect lines in seconds. For intricate edges or multi-curve shapes, knifeless tape can reduce cutting time by 50% or more while producing cleaner results.
Lastly, one of the biggest time-saving upgrades a shop can make is investing in a professional plotter. Pre-cut kits fit panels perfectly and drastically reduce trimming time. Instead of laying bulk film and cutting around body lines manually, you simply install pre-cut pieces with minimal adjustments. For high-volume shops, a plotter is not a convenience, it’s a necessity.
For installers who work across both vinyl wraps and PPF, our wrap squeegees offer versatile performance and help maintain consistent pressure during application →
With the right time-saving tools, installers can maintain quality while working faster and more efficiently. In the competitive PPF industry, cutting installation time without compromising craftsmanship is a strategic advantage that boosts revenue and customer satisfaction.
Advanced PPF Tools for Complex Curves and High-Contouring Areas
Every installer eventually encounters the “problem zones” of a vehicle, the areas where ordinary squeegees, standard slip solution, and basic techniques simply don’t cut it. We’re talking about deep bumper recesses, sharp curves, aggressive body lines, fog light pockets, mirror caps, door handles, and other high-contour surfaces. These zones test your skill, patience, and tool selection. That’s where advanced PPF tools come in. They’re designed to handle extreme curves, difficult tension points, and surfaces where the film naturally wants to lift. Mastering these tools gives you the confidence to take on complex installations and deliver flawless results even in the toughest areas.
One of the most important advanced tools is the micro-squeegee. These are small, firm-edge squeegees that allow you to work film into tight or narrow gaps, such as headlight crevices or bumper corners. Because of their compact shape, micro-squeegees give you direct fingertip-level control, making them perfect for precision pressure on sensitive zones. Many pros rely on multiple sizes to navigate curves that larger tools simply can’t reach.
Another powerful tool for contour-heavy work is the curve or winged squeegee. These squeegees have angled, ergonomic edges built specifically for rounded surfaces. They allow you to apply even pressure along curves without forcing the film flat. When combined with controlled heat, they enable the film to settle naturally into complex shapes instead of fighting against it. If you’ve ever struggled with stubborn fingers on mirror caps or deep pockets on bumpers, a contour squeegee can be a game-changer.
Then we have PPF rollers, which are often overlooked but extremely effective. Rollers help press the film into deep recesses or intricate shaping zones without creating creases. The rolling motion evenly distributes tension, reducing the risk of overstretching. Installers especially like using rollers on modern vehicles with aggressive styling, think sporty bumpers with multiple cut-outs and aerodynamic blades.
For intense stretching zones, professional installers use heat-focused tools, including torches, heat pens, and digital heat guns with pinpoint nozzles. These tools deliver highly targeted heat, allowing the film to relax and mold without affecting surrounding areas. Precision heat tools are critical when working on curves where only a small section of the film needs controlled shrinking or tension release.
Another advanced tool worth mentioning is tack enhancer pads, which help secure high-tension areas that typically want to lift during drying. These pads work with tack solution to bond edges more quickly and securely, preventing future lifting or peeling. Paired with the right squeegee angle, tack enhancers reduce redo work and save time.
For truly complex shapes or custom installs, advanced knifeless tapes such as Design Line and Bridge Line allow clean cuts along curves without the risk of cutting the paint. They enable professional-level custom wrapping on surfaces most installers would hesitate to cut on manually.
Finally, lighting plays a massive role in advanced installs. LED edge lights, panel lights, and overhead diffused lighting help you see every bubble, finger, and tension mark clearly. Good lighting can mean the difference between a flawless installation and a callback from a client.
Keeping your installation area organised and efficient becomes easier with our workshop tools, which support everything from measurement to trimming and finishing →
Advanced tools aren’t just optional add-ons; they’re essential for anyone serious about delivering high-end PPF work. When you pair these tools with experience and technique, even the most complicated vehicle designs become manageable.
Manual vs Automatic Paint Protection Film Tools: Which Is Better for Your Workshop?
As the PPF industry continues to grow, workshops now face an important decision: rely on traditional manual tools, or invest in cutting-edge automatic equipment that speeds up production and enhances precision. Both approaches have their strengths, and choosing the right combination can significantly impact your workflow, installation quality, and long-term profitability. In this section, we’ll break down the differences, advantages, and ideal uses for manual and automatic PPF tools so you can decide what’s best for your workshop.
Manual tools, squeegees, blades, knifeless tape, spray bottles, contour tools, and standard heat guns, form the foundation of every installation. They give installers complete hands-on control over pressure, stretch, and repositioning. Many professionals prefer manual tools because they provide tactile feedback that no machine can replicate. For example, the feel of a squeegee removing slip solution or the tension under your fingers during a stretch tells you exactly how the film is behaving. Manual tools also offer maximum flexibility for custom installations and unique vehicle shapes. If you specialize in one-off jobs, custom patterns, show cars, or high-end exotic vehicles, manual tools give you the control necessary for precision craftsmanship.
However, manual work has limitations. It's slower, more physically demanding, and prone to human error, especially when installers are tired or rushed. This is where automatic tools come into play. One of the most game-changing pieces of automatic equipment in modern PPF shops is the plotter machine. With a plotter, you can cut pre-designed patterns perfectly tailored to each vehicle model. This eliminates most hand-cutting, reducing the risk of paint damage and drastically speeding up installation time. For high-volume workshops handling several cars per day, a plotter isn’t just useful, it's essential.
Automatic spray systems are another popular upgrade. These systems apply uniform slip solution faster than manual spray bottles, helping installers prep large panels more efficiently. Some shops also use automated film dispensers, which feed bulk film smoothly and reduce waste caused by wrinkling or uneven pulling. These tools help installers maintain consistency and minimize downtime.
Heat control can also be automated to some extent. Infrared curing lamps provide controlled, evenly distributed heat for post-heating and edge sealing. Unlike handheld heat guns, which require constant movement and attention, infrared systems heat large areas uniformly, reducing the risk of overheating small sections.
But automatic tools come with trade-offs. They’re expensive, require maintenance, and limit customization if you rely heavily on pre-cut templates. Not every vehicle fits perfectly into software-generated patterns, and some installers feel that excessive automation removes the “craftsmanship” element that makes PPF installation a skilled trade.
So which is better? The answer depends on your business model. If you focus on high-output production, fleet vehicles, or everyday retail PPF packages, automatic tools will drastically increase efficiency and profitability. If you specialize in custom work, luxury vehicles, or artistic installs, manual tools provide the control needed for premium results. In reality, the best workshops blend both, using automation for speed and consistency, and manual tools for craftsmanship and detail work.
How to Build a Professional PPF Installation Setup: Tools, Workspace & Workflow

A great installer is only as good as the environment in which they work. Even with the best tools and the sharpest skills, a poor workspace can sabotage an installation before you even start. Dust, bad lighting, improper layout, lack of organization, and limited mobility are the hidden enemies of clean PPF work. Building a professional setup isn’t just about having expensive tools, it’s about creating a controlled, efficient environment that supports flawless installations from prep to finish. Here’s how to design a workspace that maximizes quality, speed, and safety.
Start with the most important factor: cleanliness. Dust is the number one enemy of PPF. A professional installation bay should have sealed floors, controlled airflow, and dedicated cleaning tools. Epoxy-coated floors or polished concrete reduce dust buildup and make sweeping easier. A high-quality air filtration system keeps contaminants from floating around. Even simple additions like sticky entrance mats and anti-static gloves dramatically reduce debris. Many installers also use air blowers to remove dust from crevices around headlights, mirrors, and trim before applying film.
Lighting is the second critical element. You need bright, shadow-free illumination to spot bubbles, streaks, silvering, and stretch marks. Overhead LED panels, side-mounted light bars, and movable inspection lights give you complete visual control. Installers often angle light panels at 45 degrees to highlight imperfections that would be invisible under standard lighting. If your lighting is poor, your quality will suffer, no matter how skilled you are.
Next comes workspace organization. Every tool should have a dedicated home. Use wall-mounted racks for squeegees, magnetic strips for blades, shelving for spray bottles, and storage drawers for knifeless tape and microfiber cloths. A cluttered workspace slows you down and increases mistakes, especially when you’re in the middle of a complex panel install. Many shops invest in tool carts that roll alongside the vehicle so everything is within arm’s reach.
Temperature control is another crucial element. PPF behaves differently in hot, cold, dry, or humid environments. The ideal installation temperature is between 65°F and 75°F (18°C–24°C). Too cold and the film becomes stiff; too hot and it becomes overly soft and difficult to control. Dehumidifiers or humidifiers help maintain stable moisture levels, especially in regions with extreme seasonal changes.
For workflow efficiency, a proper setup includes prep, install, and post-install zones. The prep zone houses cleaning tools, clay bars, panel wipes, and air blowers. The install zone is clean, well-lit, and stocked with squeegees, knives, magnets, and heat tools. The post-install zone is where you inspect edges, perform final heat sealing, and check for imperfections under strong lighting.
Another upgrade for serious installers is a film plotting station. A plotter paired with PPF cutting software reduces trimming time and improves accuracy. The plotter zone should be dust-free and large enough to handle wide rolls of film without creasing or contamination.
Finally, think about client experience. A professional setup includes a clean waiting area, a viewing window into the bay, and proper vehicle intake and inspection processes. These details build trust and elevate your brand image.
Building a professional PPF installation setup takes planning, but once everything is in place, your workflow becomes smoother, your results improve, and your business looks more credible to customers.
Common Mistakes When Using Paint Protection Film Tools (and How to Avoid Them)
Even with high-quality tools and plenty of experience, mistakes can still happen during PPF installations. Many of these issues aren’t caused by bad film or poor technique, they stem from incorrect use of tools. If you’ve ever dealt with lifting edges, stretch marks, silvering, trapped moisture, or uneven cuts, chances are the root of the problem was tool misuse. In this section, we’ll break down the most common mistakes installers make and how to avoid them, ensuring cleaner, faster, and more professional results.
One of the biggest mistakes is using the wrong squeegee for the job. Many beginners rely on a single squeegee for the entire installation, which almost always leads to problems. Using a hard squeegee during repositioning can scratch the film or create pressure points. Using a soft squeegee to extract moisture from edges won’t generate enough pressure, leaving behind water that later causes lifting. The fix is simple: use soft squeegees for initial placement, medium ones for general water removal, and firm ones for locking edges. Switch tools based on the surface you’re working on, flat areas, curves, and tight corners all require different squeegee characteristics.
Another common mistake is using dull blades. A dull blade drags instead of slicing, causing jagged edges, film bunching, or accidental stretching. Worse, it increases the risk of cutting too deep and damaging paint. Many installers underestimate how frequently blades need to be snapped or replaced. The rule of thumb: if a cut doesn’t glide effortlessly, change the blade. Keeping multiple blade angles in your kit also ensures smoother, safer cuts around curves and edges.
Heat gun misuse is another major issue. Too much heat causes overstretching, discoloration, or weakened adhesive. Not enough heat prevents the film from conforming properly, especially around curves and recessed areas. Many installers also forget to keep the heat gun moving, which leads to hot spots, melted edges, or uneven adhesive activation. The solution? Use controlled, consistent heat and learn the film’s reaction temperature. Practice on scrap pieces to perfect your timing and distance.
Improper use of slip and tack solutions is equally problematic. Too much slip makes the film glide uncontrollably, leading to misalignment and wasted time. Too little slip causes the film to grab too early, creating tension and severe stretch marks. Overusing tack solution on large sections is another rookie error, tack is meant for edges and tension points, not full-panel coverage. Always label your spray bottles clearly and adjust ratios based on temperature, humidity, and film brand.
A frequently overlooked mistake is poor tool hygiene. Dirty squeegees can scratch film. Contaminated spray bottles introduce debris under the surface. Blades with adhesive residue create dragging cuts. Heat gun vents clogged with dust reduce airflow and cause overheating. Maintaining your tools daily prevents most of these issues and improves installation consistency.
Finally, many installers struggle because they are simply rushing the process. PPF is a precision craft. Skipping prep, ignoring lighting, or forcing the film into difficult shapes without proper heat and tool selection leads to avoidable errors. Take your time with each tool and understand its purpose. Proper technique always beats speed.
Avoiding these common tool-related mistakes will dramatically improve your installations, reduce rework, and help you gain professional reliability faster than anything else.
FAQs
1. What tools do beginners need for their first PPF installation?
Beginners need soft squeegees, a basic heat gun, quality snap-off blades, knifeless tape, slip and tack spray bottles, and cleaning tools like clay bars and microfiber towels.
2. Can I install PPF without a plotter?
Yes, bulk installs are completely possible with manual tools, though a plotter increases speed and accuracy for high-volume shops.
3. How often should I replace my squeegee felt or microfiber wrap?
Most installers replace them daily or after major installations to prevent scratches or contamination.
4. Why does my PPF keep lifting on edges?
It’s usually caused by poor squeegee pressure, lack of tack solution, insufficient post-heating, or dirty edges during prep.
5. What’s the biggest mistake new installers make with heat guns?
Holding the heat gun too close or staying in one spot, which overheats and overstretches the film.
Conclusion
Paint protection film installation is a blend of craftsmanship, strategy, and precision. And while skill is essential, the tools you choose, and how you use them, make all the difference. From squeegees and cutting tools to heat guns, knifeless tape, slip solutions, and advanced contouring equipment, each tool plays a vital role in achieving a clean, professional finish. Understanding these tools, maintaining them properly, and learning when to use each one helps you work faster, smarter, and with far more confidence.
Whether you’re a beginner building your first toolkit or a professional refining your shop setup, the key to mastering PPF is simple: respect the tools, learn their behavior, and use them with intention. With the right combination of equipment and technique, even the most complex installations become manageable, and even enjoyable.
Are you unsure which tool or kit is right for your job?
Our expert team at Oz Sign Supplies is here to help. Reach out today, and we’ll direct you to the best tools to suit your project, ensuring you get the job done right the first time.
%20installation%20is%20one%20of%20those%20crafts%20that%20looks%20simple%20from%20the%20outside,%20until%20you%20actually%20try%20d...)
Leave a comment
This site is protected by hCaptcha and the hCaptcha Privacy Policy and Terms of Service apply.