

How to Remove Car Decals Safely Without Damaging Your Paint
Remove Car Decals Safely: How to Remove Stickers Without Damaging Paint
Car decals, stickers, and vinyl wraps have become more than just decorations; they’re personal statements, advertisements, or even protective layers for your vehicle. You’ve probably seen cars with sports team logos, brand stickers, or witty bumper stickers. While these decals may look great for a while, the time often comes when they need to be removed, whether you’re selling your car, updating your style, or simply tired of the old look.
The process of removing car decals safely is something every car owner should understand. A hasty approach or using the wrong tools can easily scratch the paint, leave stubborn adhesive residue, or even cause permanent damage to the clear coat. This is why knowing the right decal removal tools and methods is critical.
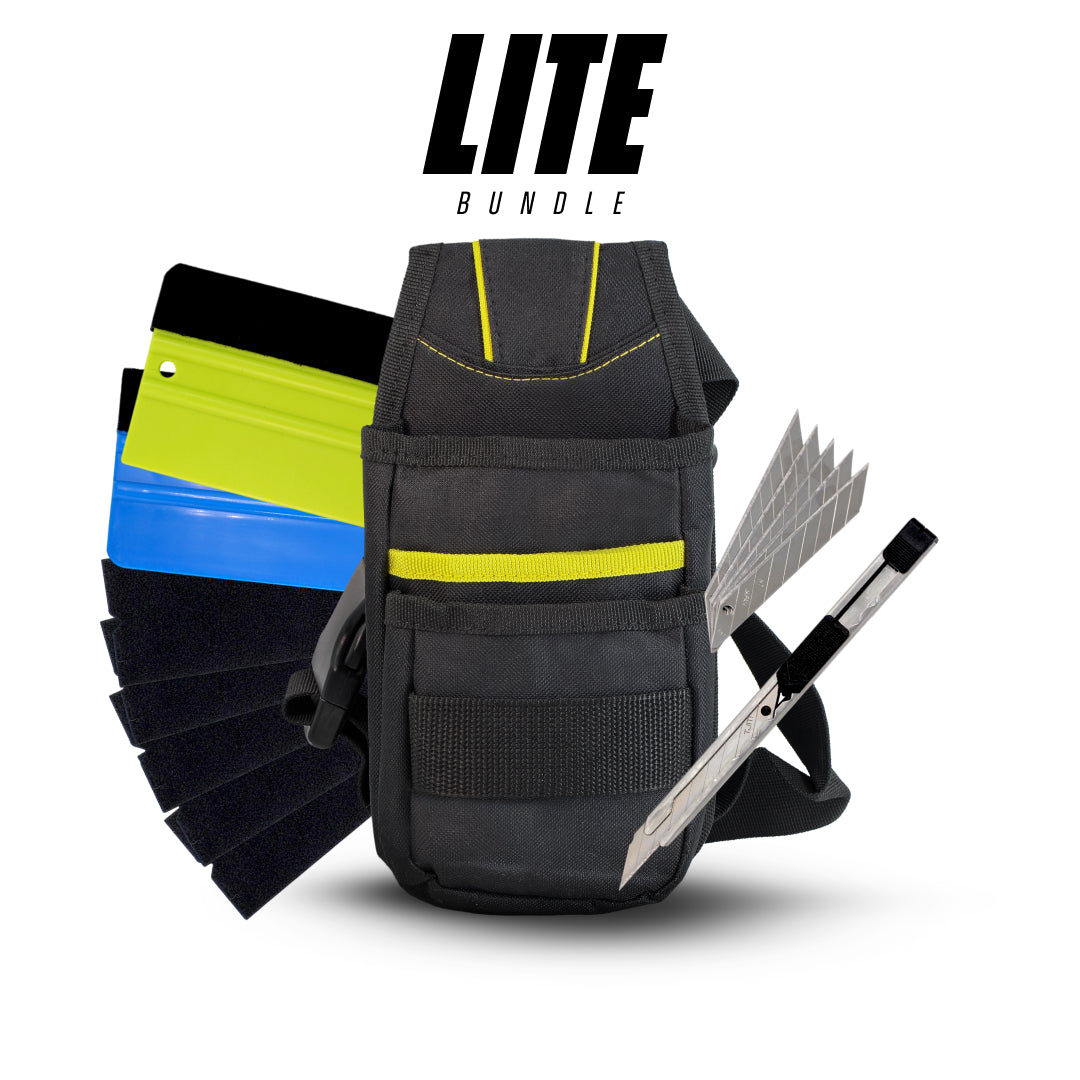
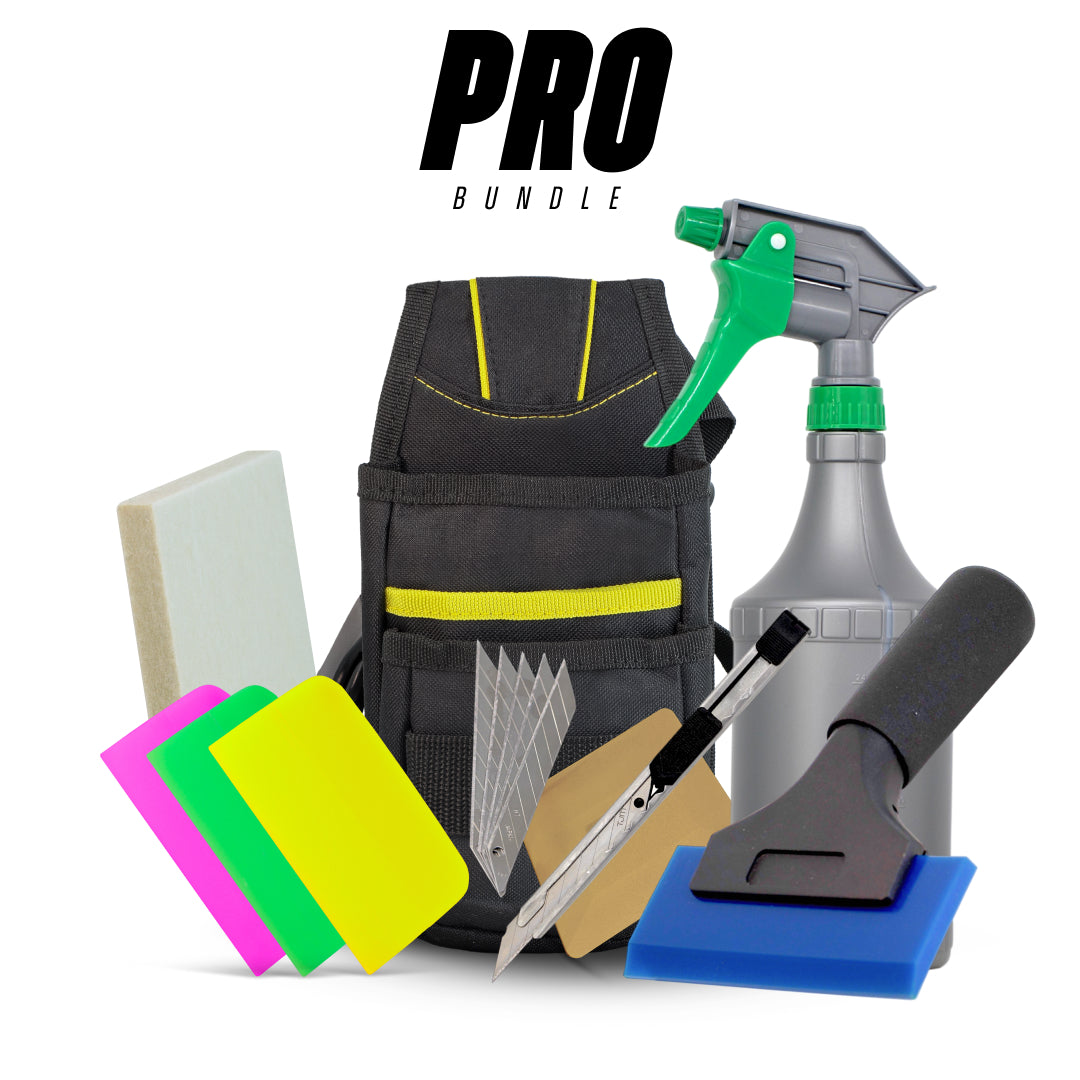
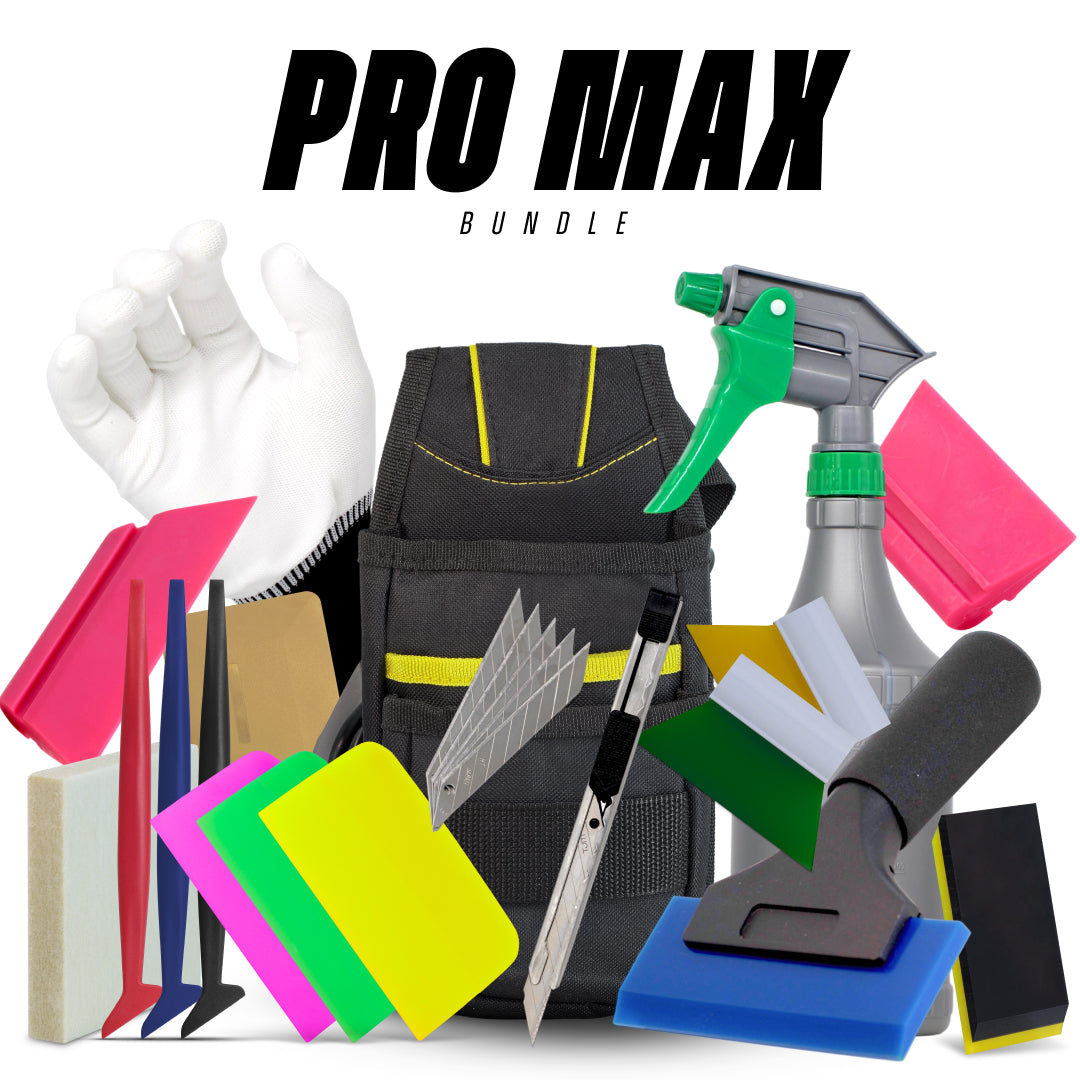
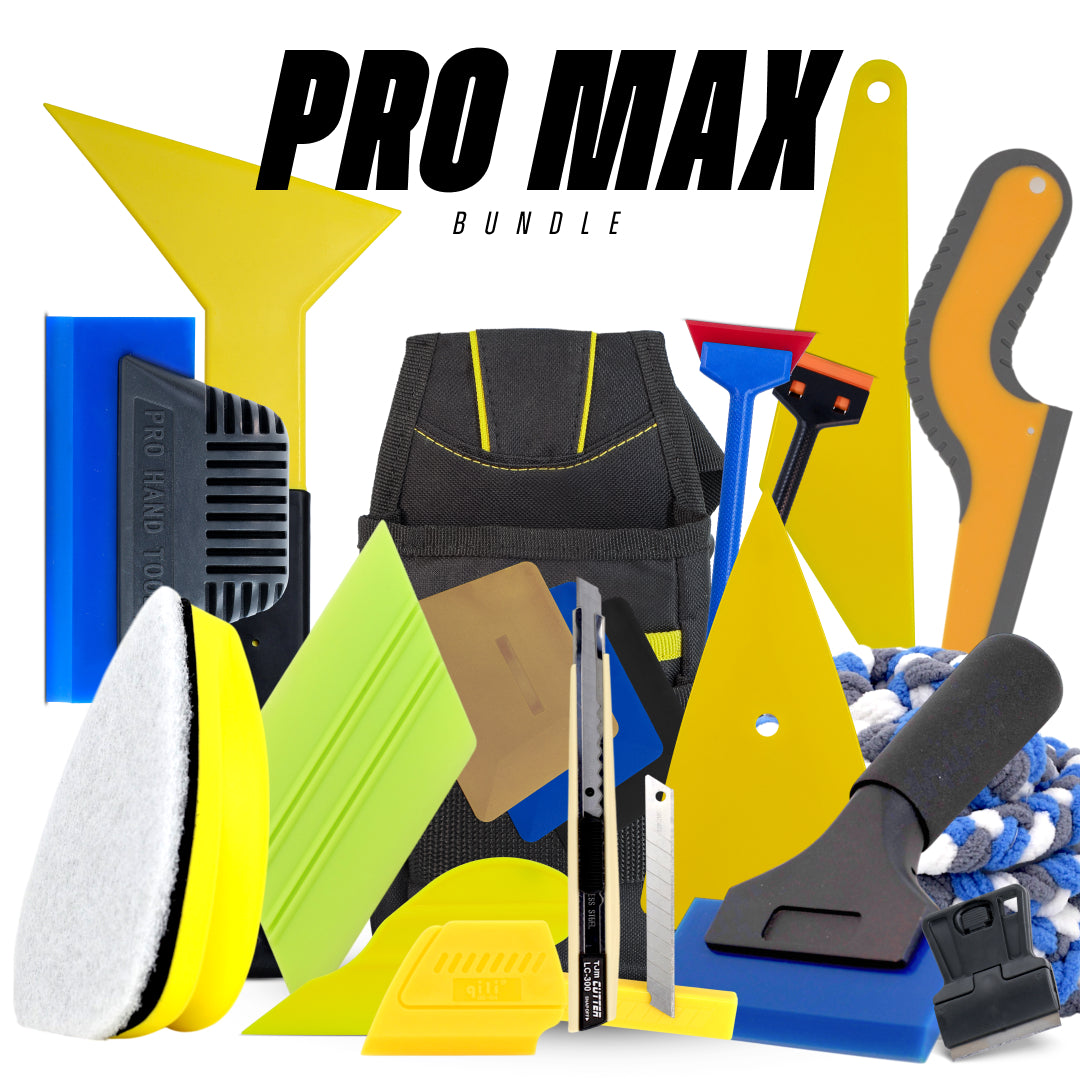
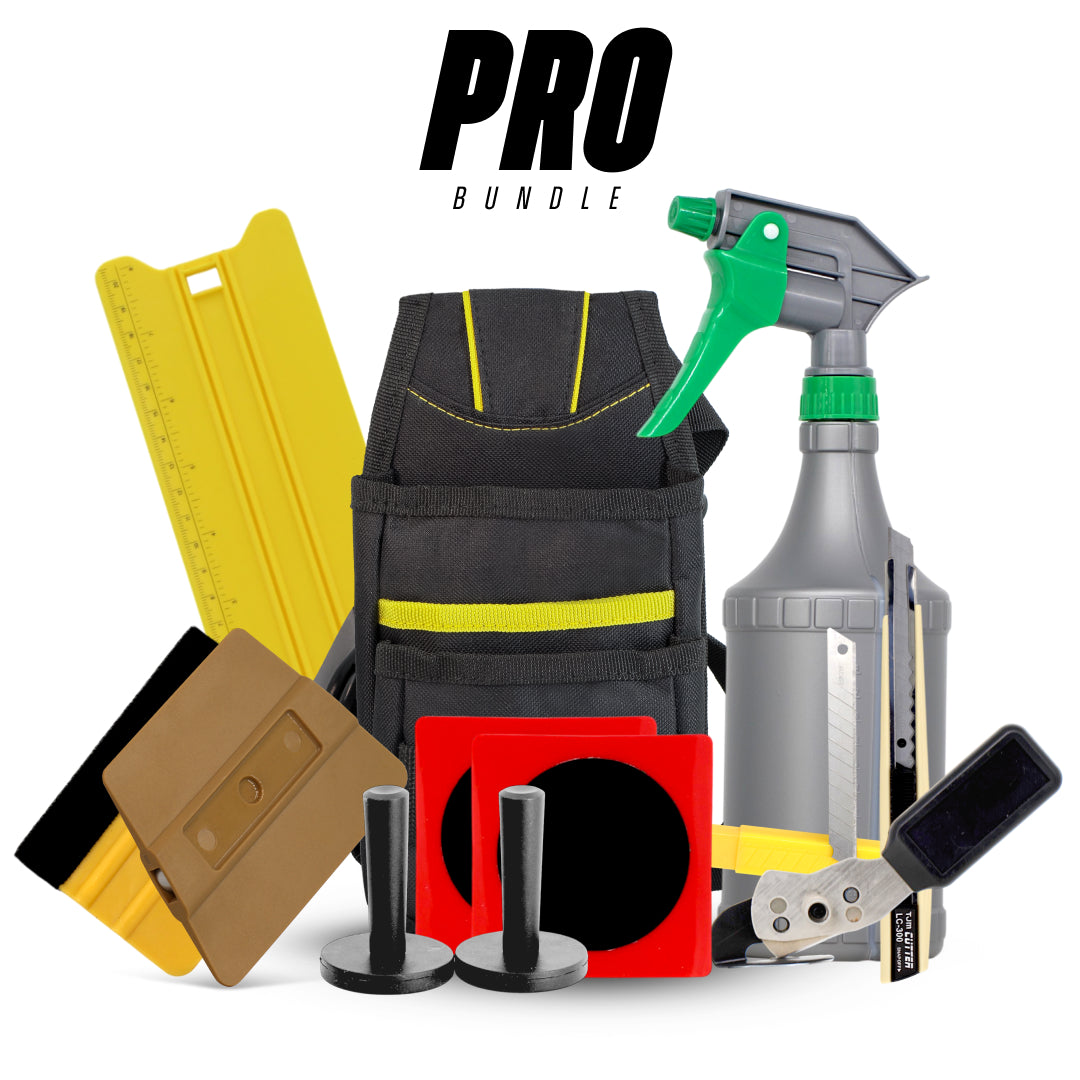
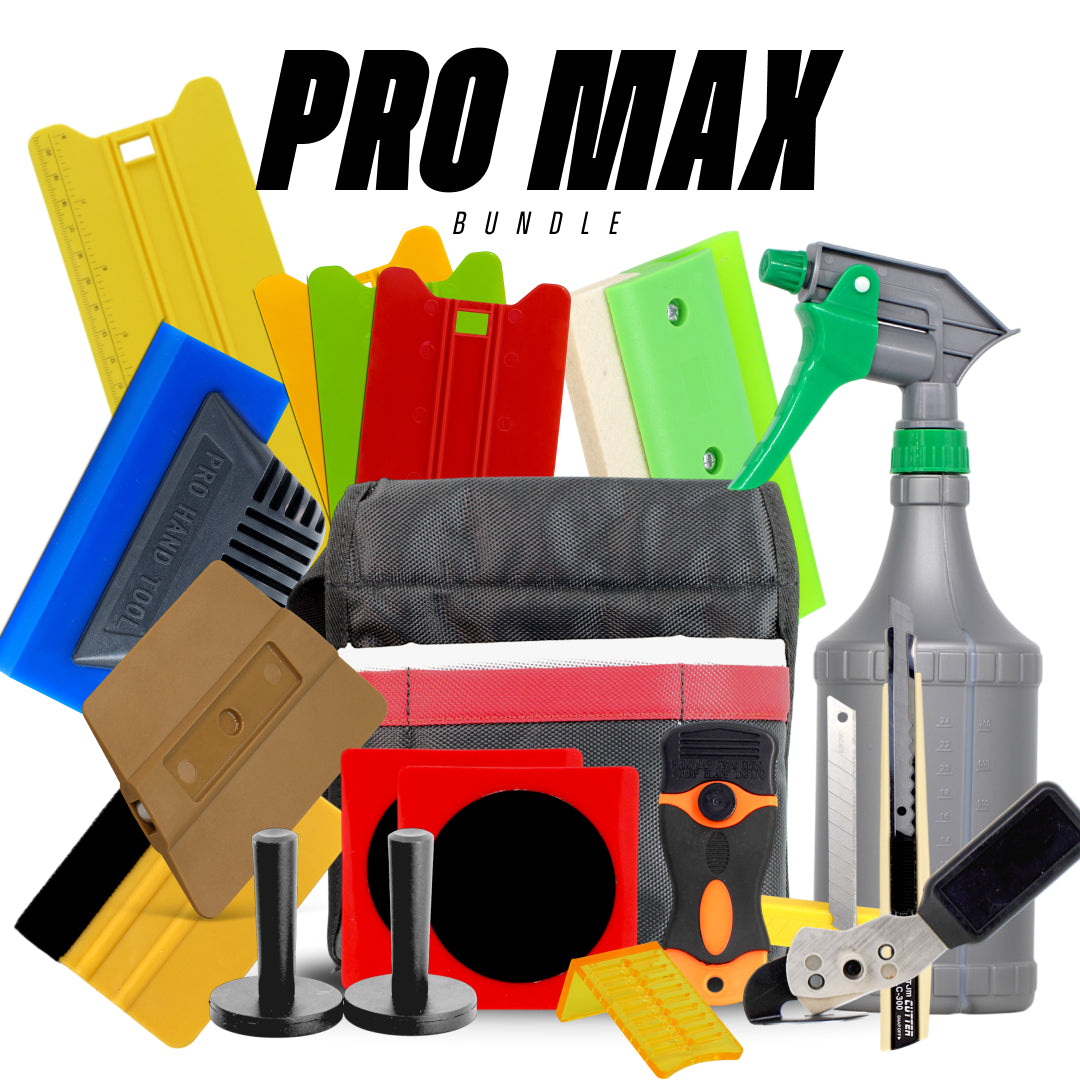
Find all your decal removal needs in our Decal Removal Tools Collection →
In this article, we’ll explore not only the step-by-step guide to removing car decals without harming your paint but also the best practices, tools, and professional tips to make the process seamless. If you’ve ever wondered how to tackle car sticker removal efficiently, you’re in the right place.
Understanding Car Decals and Their Impact on Paint

Before we jump into removal techniques, it’s worth understanding what car decals are made of and how they interact with your car’s paint.
Car decals are typically made of vinyl materials with adhesive backing. Depending on the manufacturer and intended use, they can range from lightweight, removable stickers to heavy-duty decals designed to last years in harsh weather. The adhesive used in these decals is pressure-sensitive, meaning the longer it stays, the stronger it bonds to your car’s surface.
Over time, decals can cause issues such as:
Paint fading: Areas covered by stickers often remain brighter than exposed areas, leading to a noticeable color difference once removed.
Residue build-up: Adhesives can dry out or harden, making it difficult to clean the surface after removal.
Clear coat stress: Poor-quality decals or improper removal can chip the clear coat, exposing your paint to damage.
This is why choosing the right decal removing tool and technique matters. Not all stickers peel off easily, and some may require heat, solvents, or specialized adhesive removers. Understanding the type of decal you’re dealing with helps you pick the safest removal strategy.
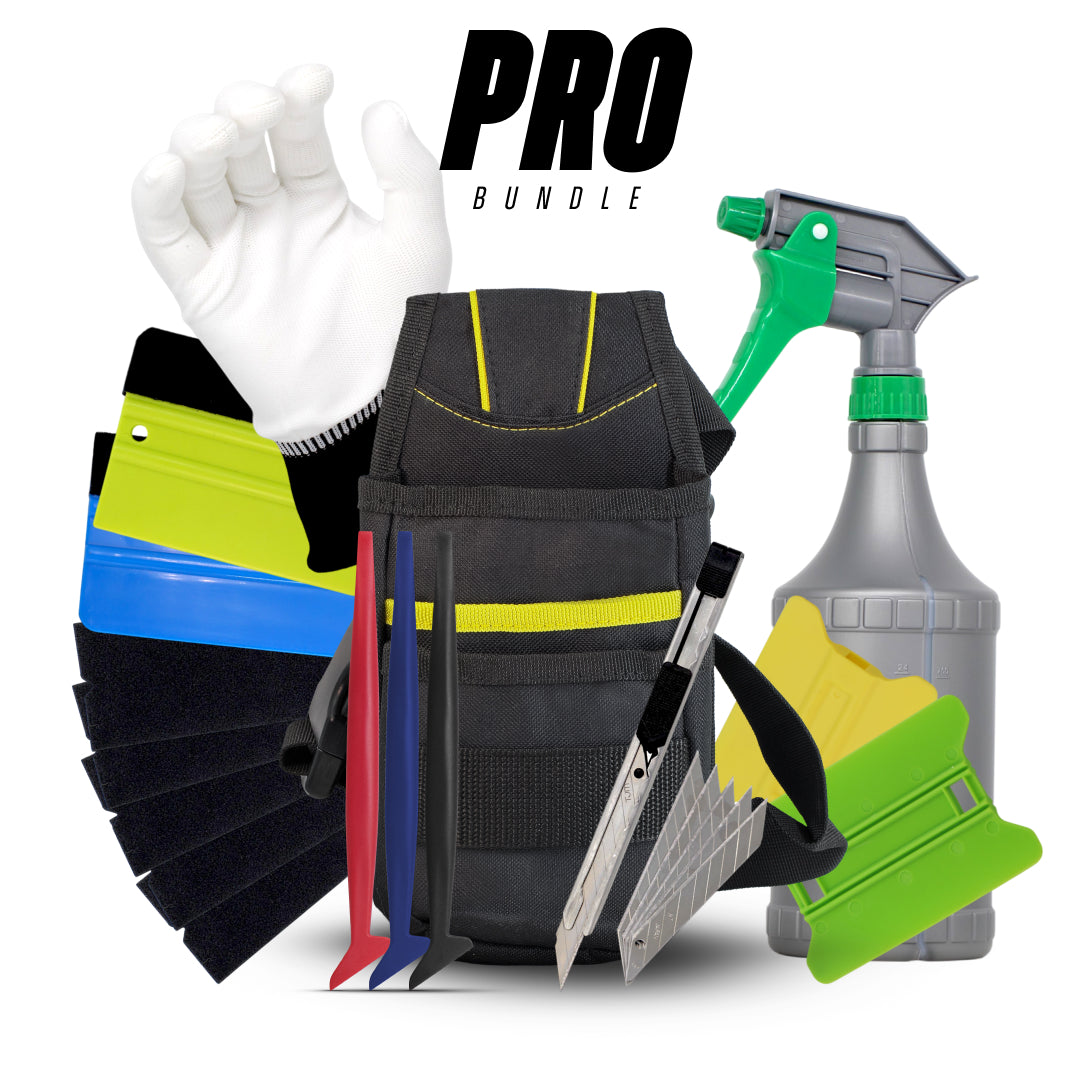
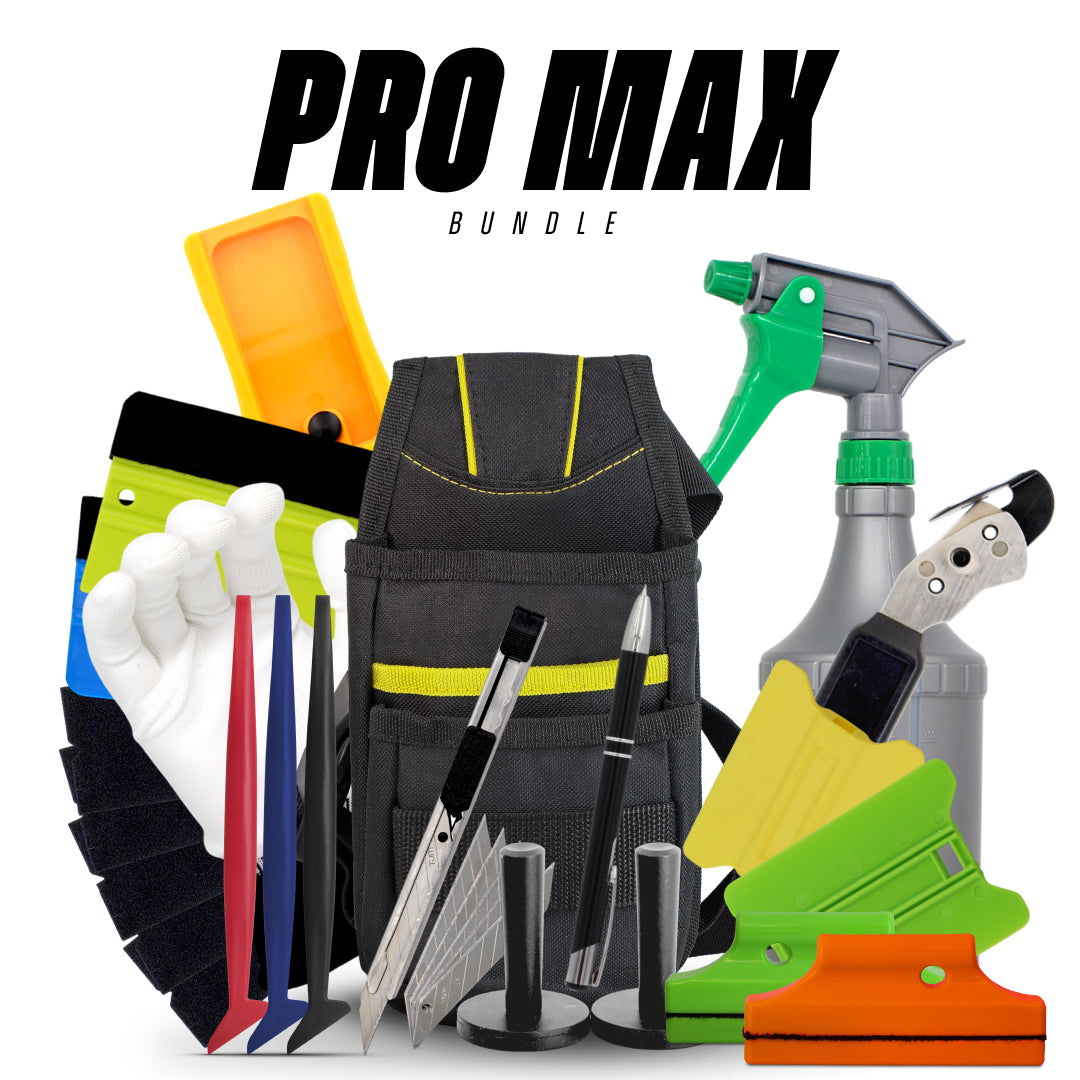
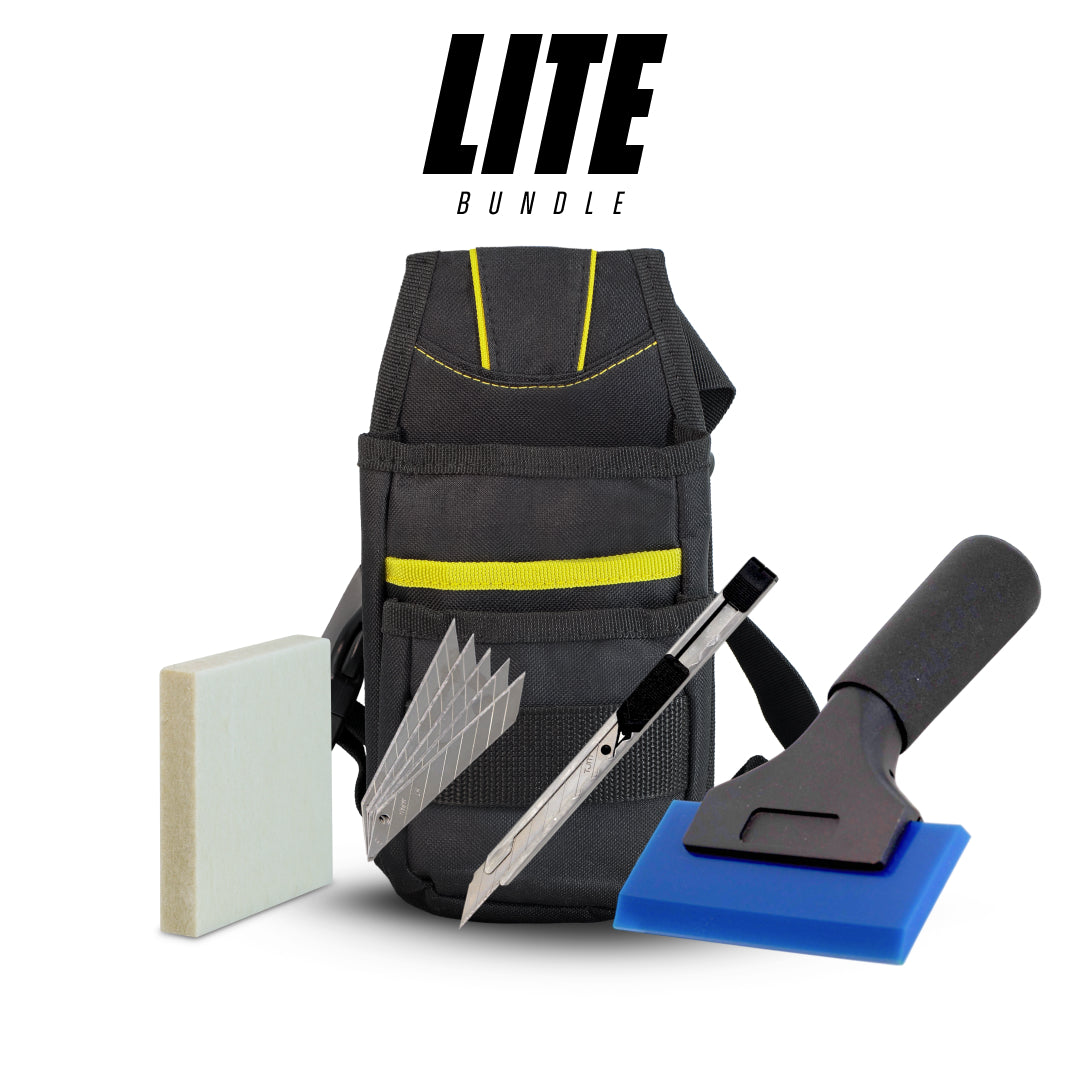
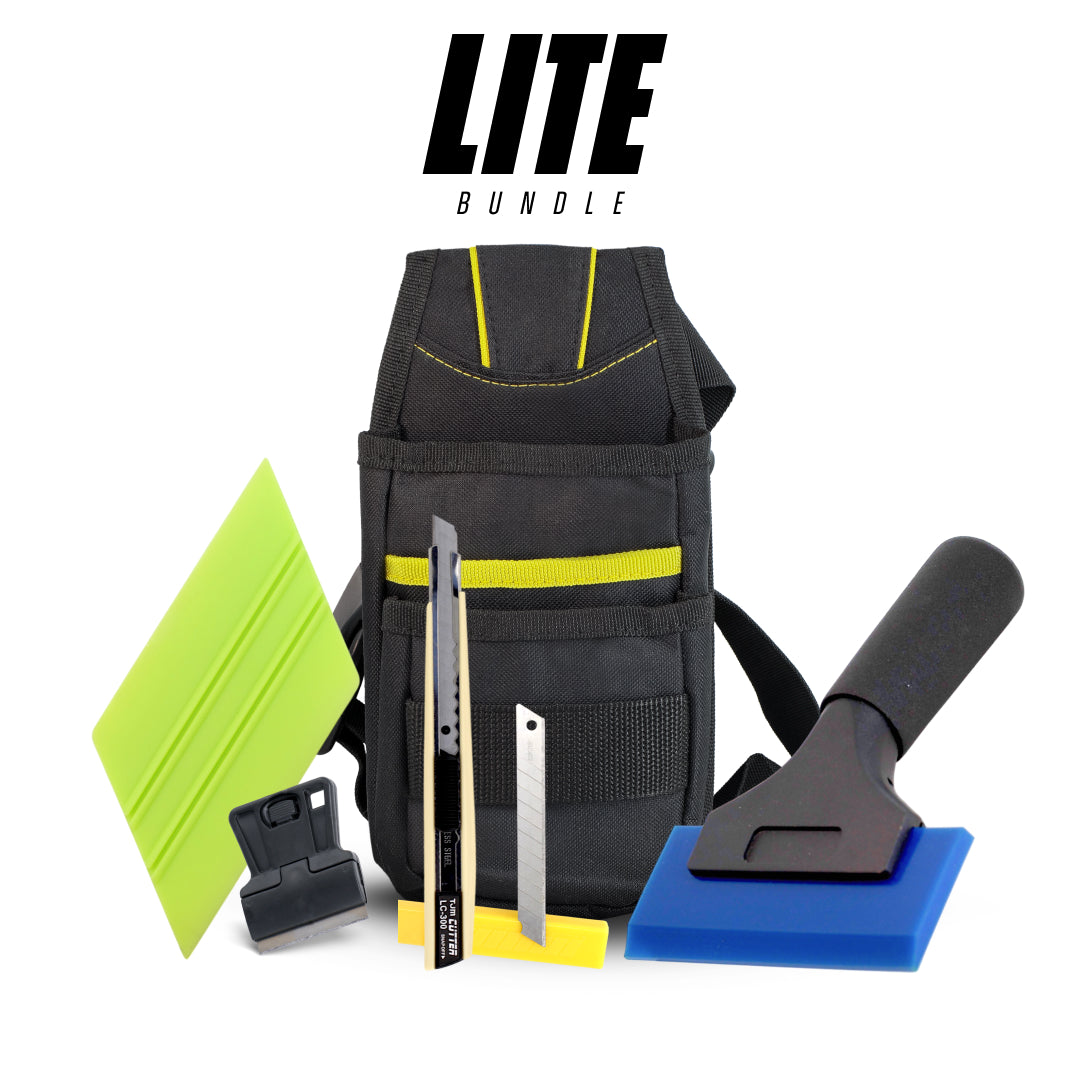
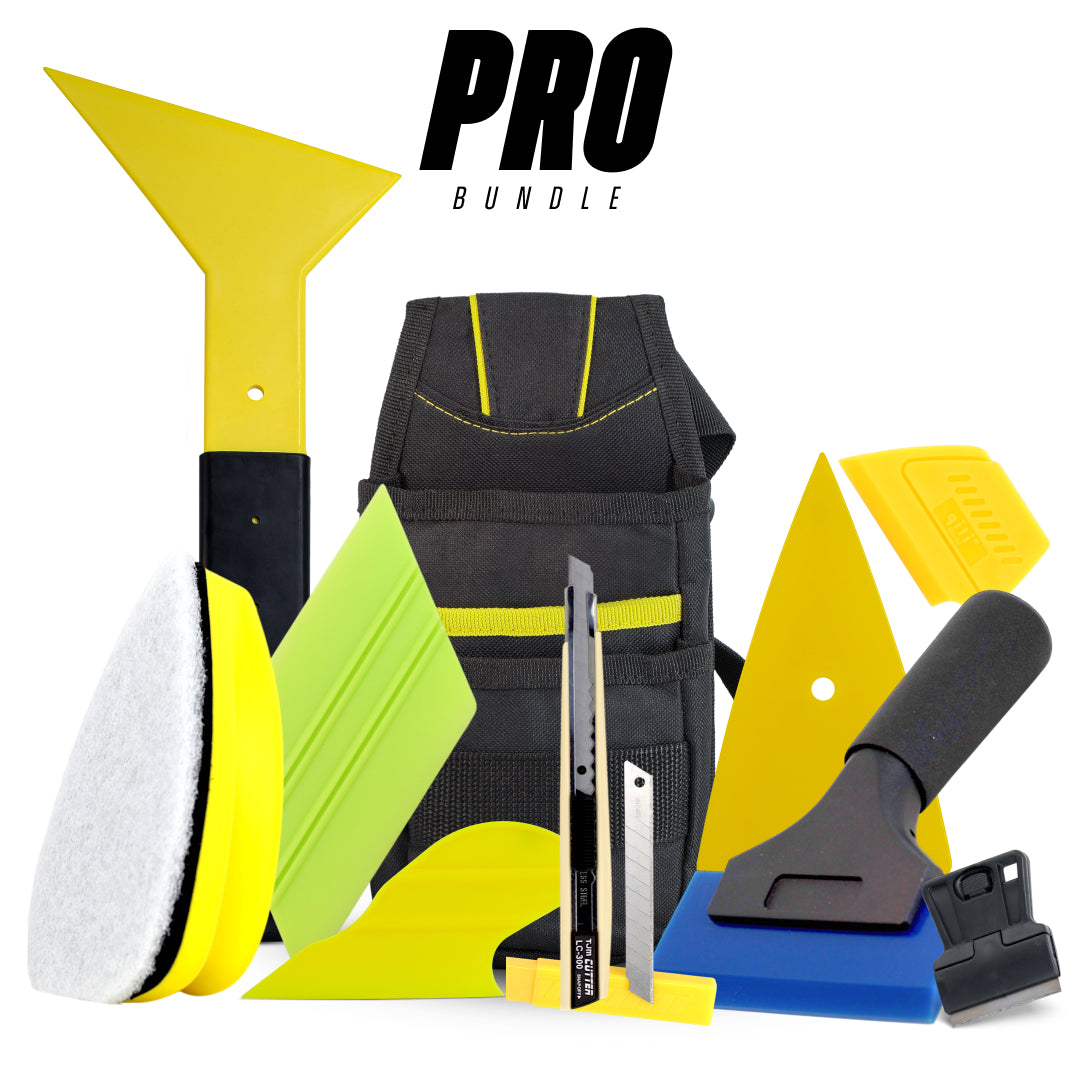
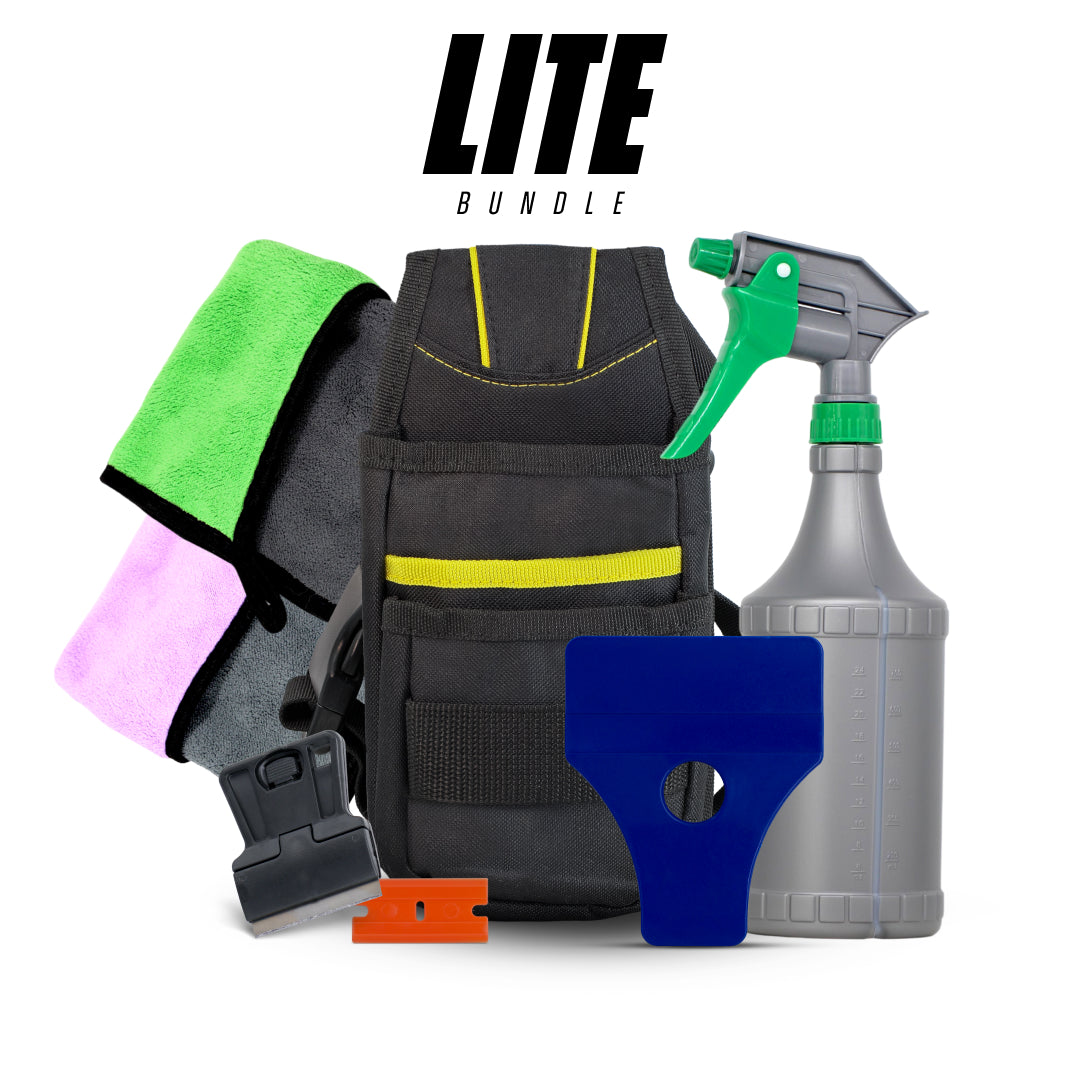
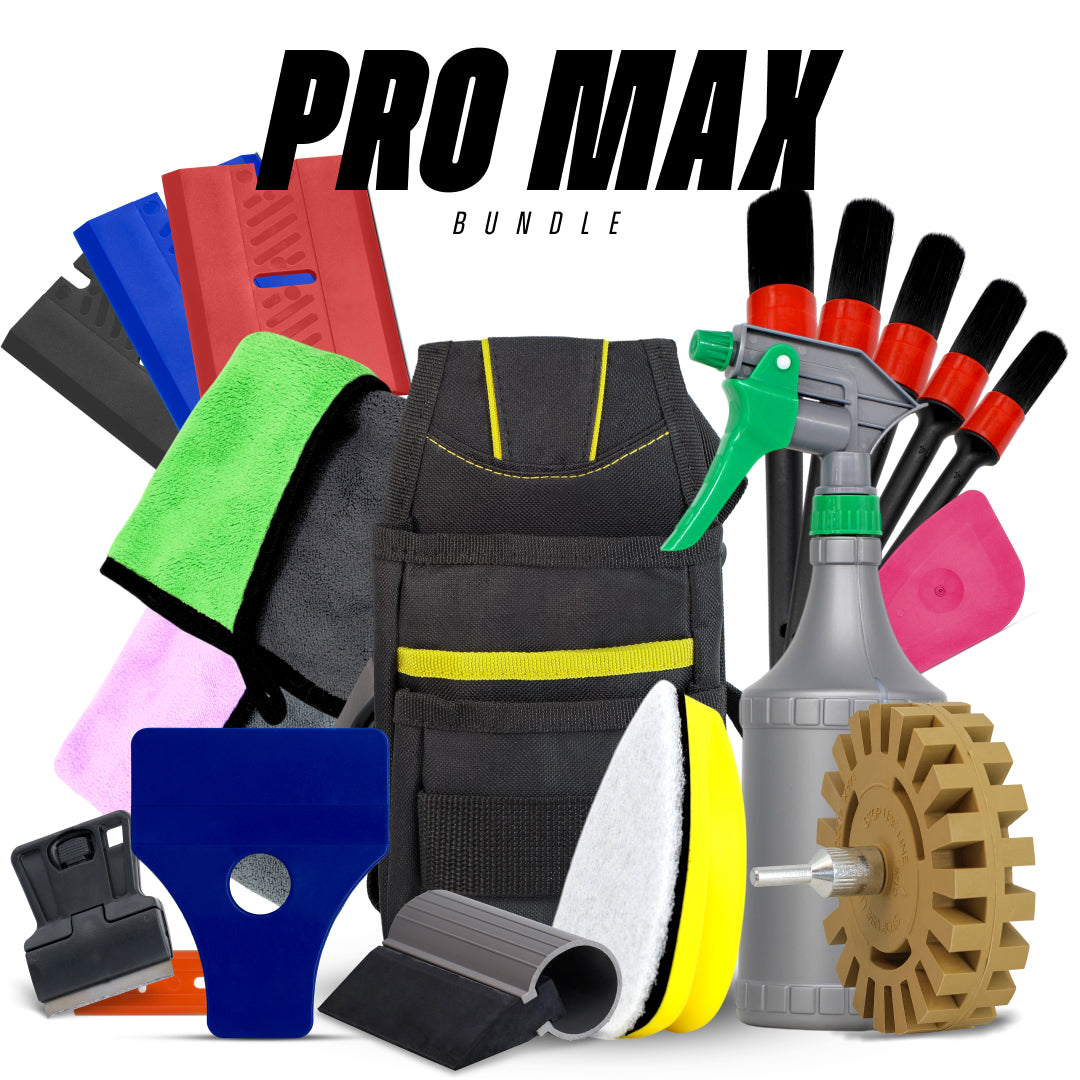
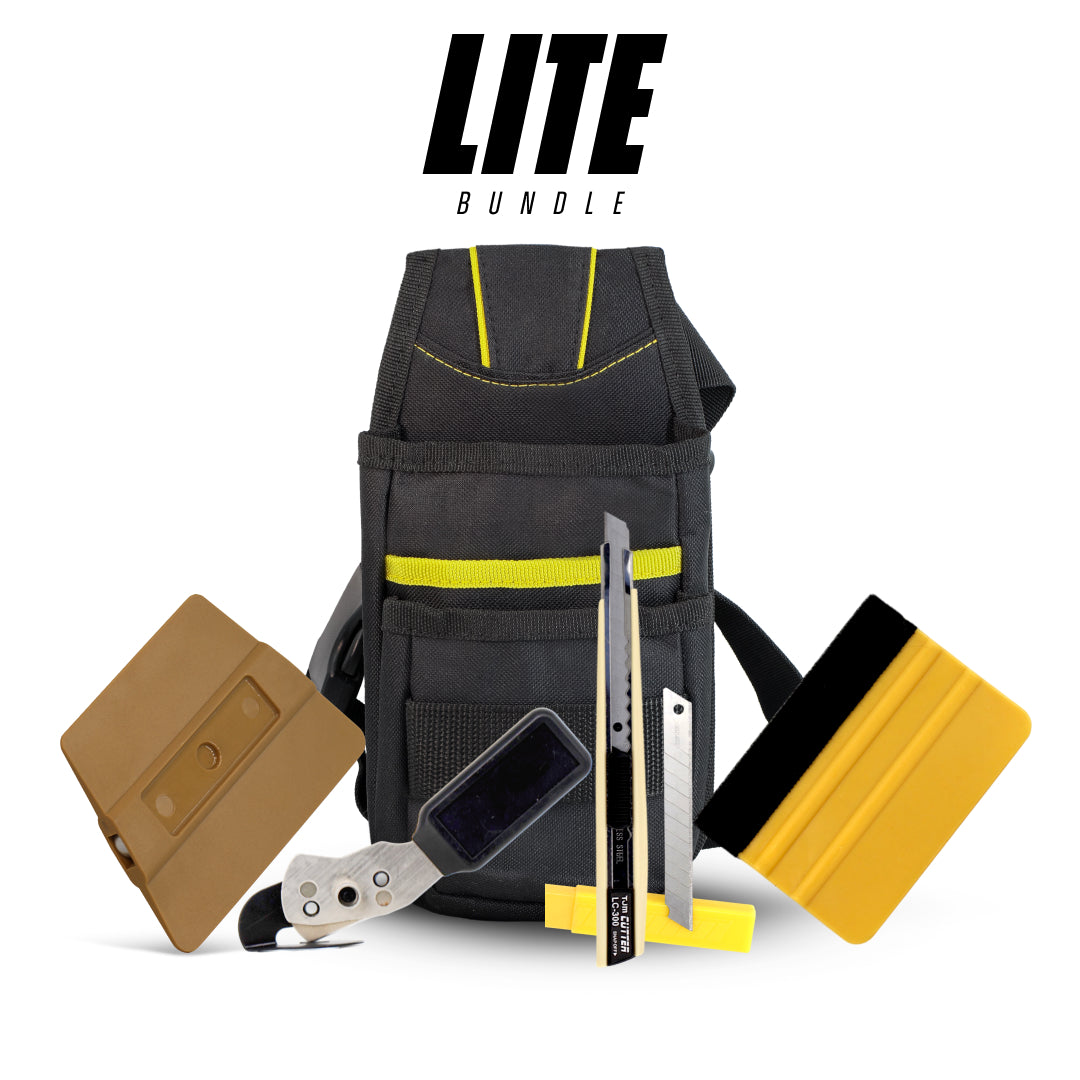
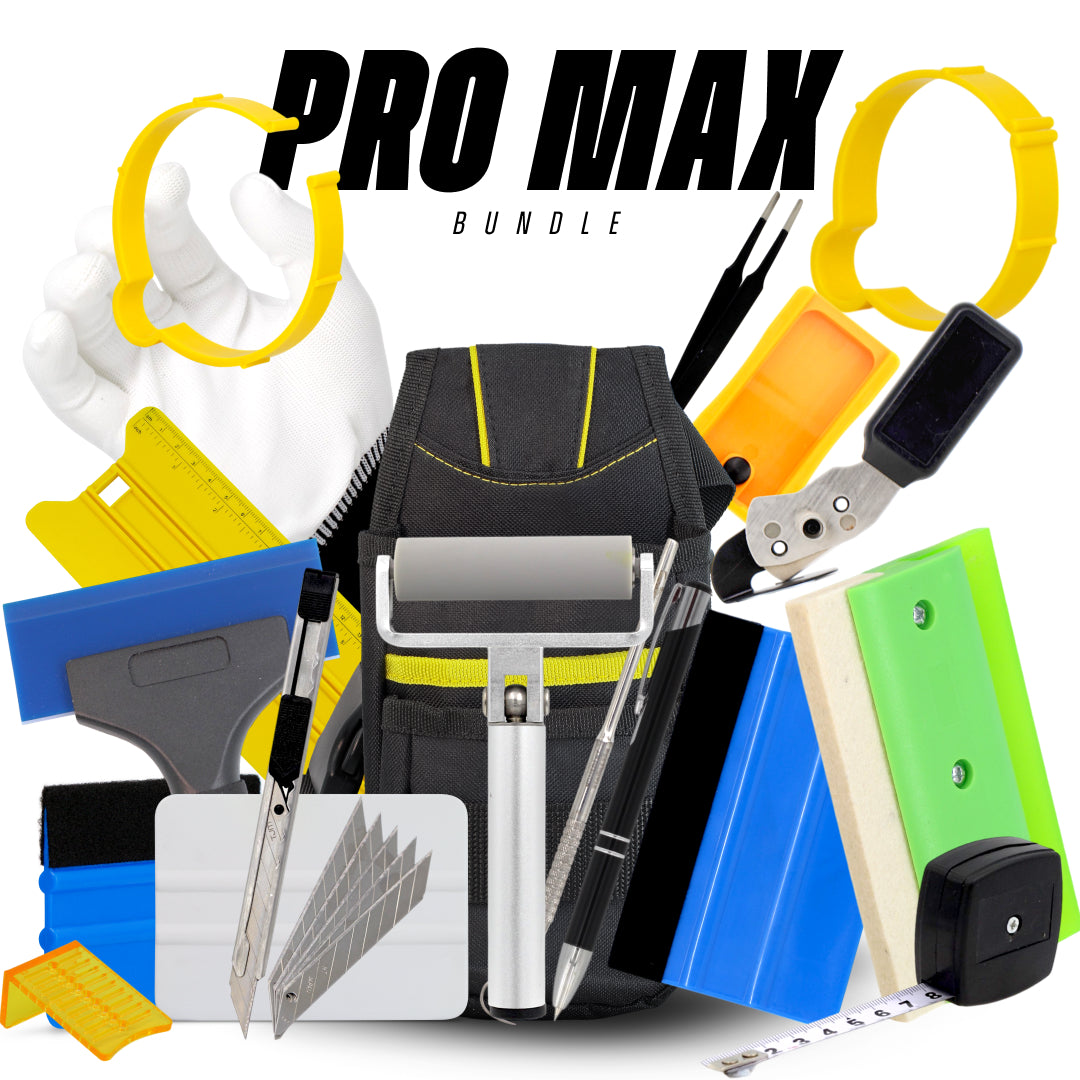
Essential Tools and Materials for Safe Decal and Car Sticker Removal

Attempting car sticker removal without the right tools can quickly turn into a frustrating and messy experience. The good news? Most of the tools you’ll need are inexpensive and readily available.
Must-Have Decal Removal Tools
Heat Source: A heat gun or hair dryer to soften adhesive.
Plastic Scraper or Squeegee: To lift the decal without scratching paint.
Adhesive Remover: Products like Goo Gone, WD-40, or citrus-based cleaners to dissolve sticky residue.
Microfiber Towels: Gentle cloths for cleaning without leaving scratches.
Soapy Water: For washing the area before and after removal.
Optional Decal Removing Tools That Make the Job Easier
Rubbing Alcohol: Helps wipe away oils and residue.
Vinyl Eraser Wheel (Decal Removing Tool): Attaches to a drill and quickly removes large decals without paint damage.
Protective Gloves: Keeps your hands safe from chemicals.
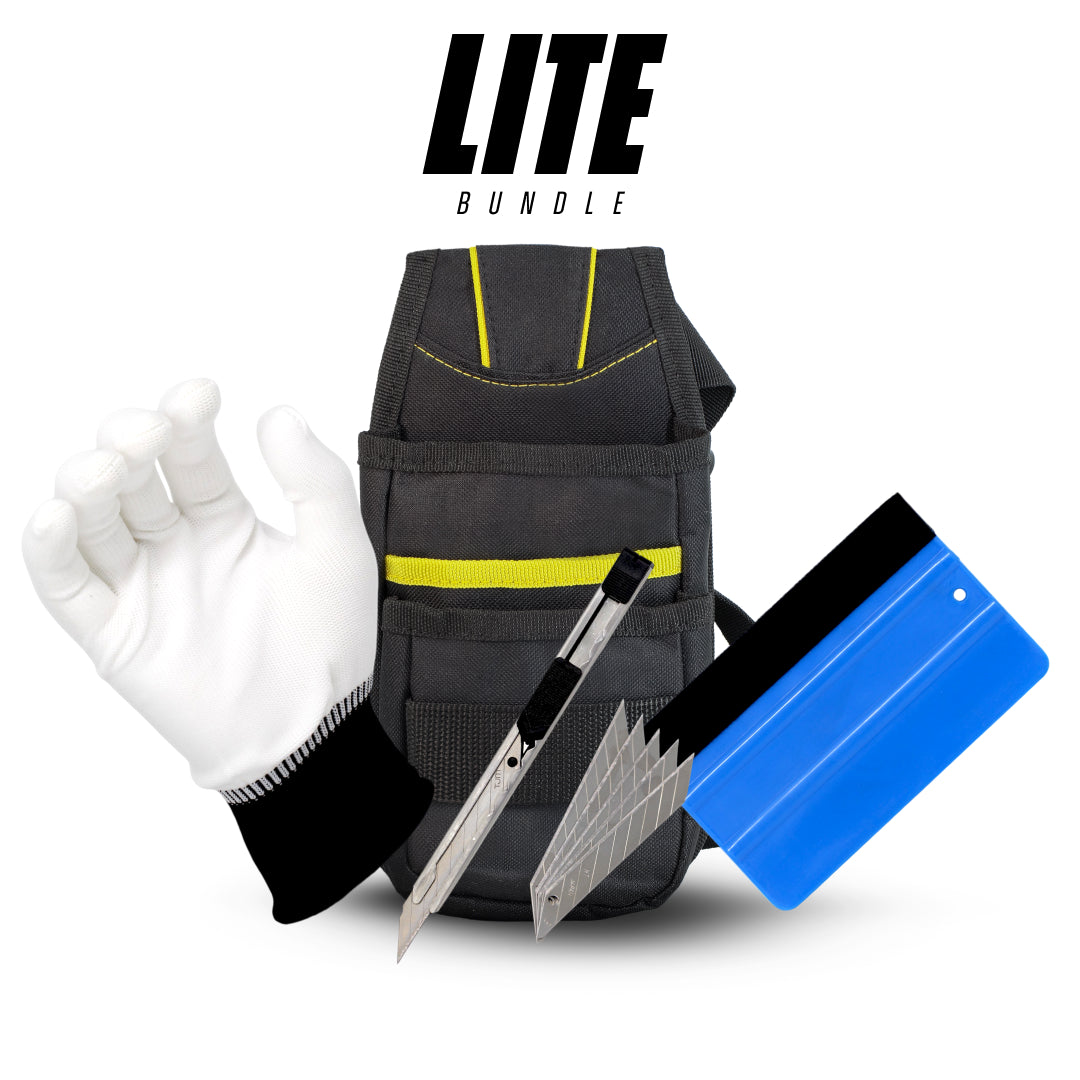
Make sure to prepare the surface using our Cleaning Tools Collection before starting the process →
Safety Precautions Before Starting
Always test adhesive removers on a small, hidden area first.
Avoid using sharp metal tools, which can gouge the paint.
Keep the heat gun at a safe distance to avoid burning the clear coat.
Having these tools on hand ensures you’re prepared for smooth, damage-free car sticker removal, whether it’s a tiny bumper sticker or a full-door decal.
Step-by-Step Guide to Removing Car Decals Without Damage
Now that you have your tools ready, it’s time to start the actual process. Removing decals isn’t just about peeling them off; it’s about doing it with patience and precision to avoid any harm to your vehicle’s finish.
Step 1: Preparing the Surface
Start by washing the area with warm, soapy water. Dirt or grit can scratch the paint if dragged while peeling the decal. A clean surface ensures the adhesive softens evenly when heat is applied.
Step 2: Heating the Decal for Easy Removal
Use a hair dryer or heat gun to gently warm up the sticker. Move the heat source in circular motions about 6–8 inches away from the decal. The heat loosens the adhesive, making it more pliable and easier to peel off.
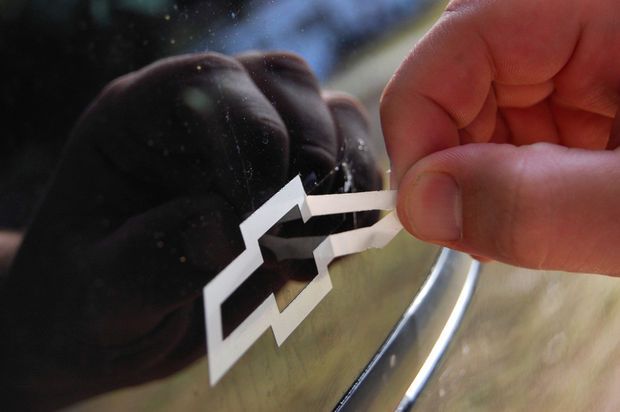
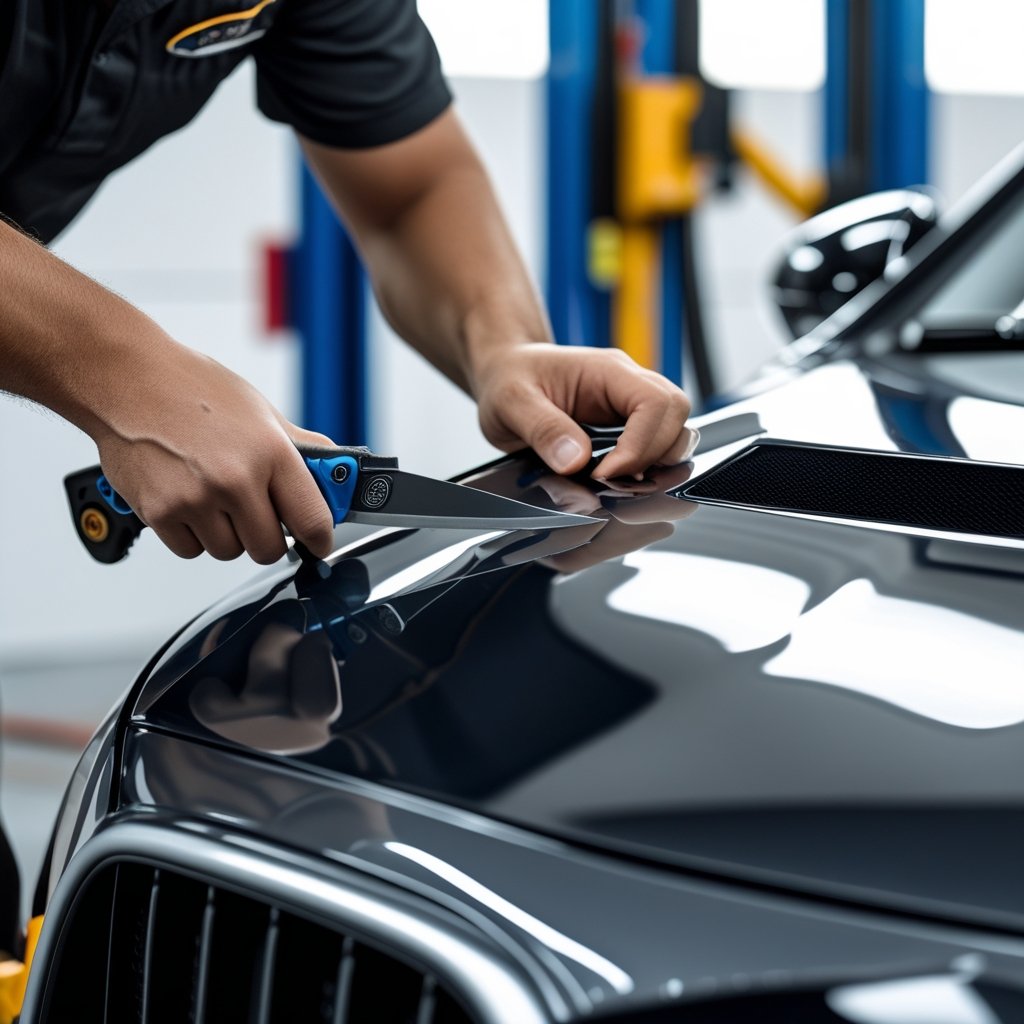
Step 3: Peeling Off the Sticker Correctly
Once the decal feels warm, use a plastic scraper or your fingernail to lift one corner. Slowly pull back at a 45-degree angle. Avoid yanking it off in one go, this increases the risk of tearing or leaving behind more residue.
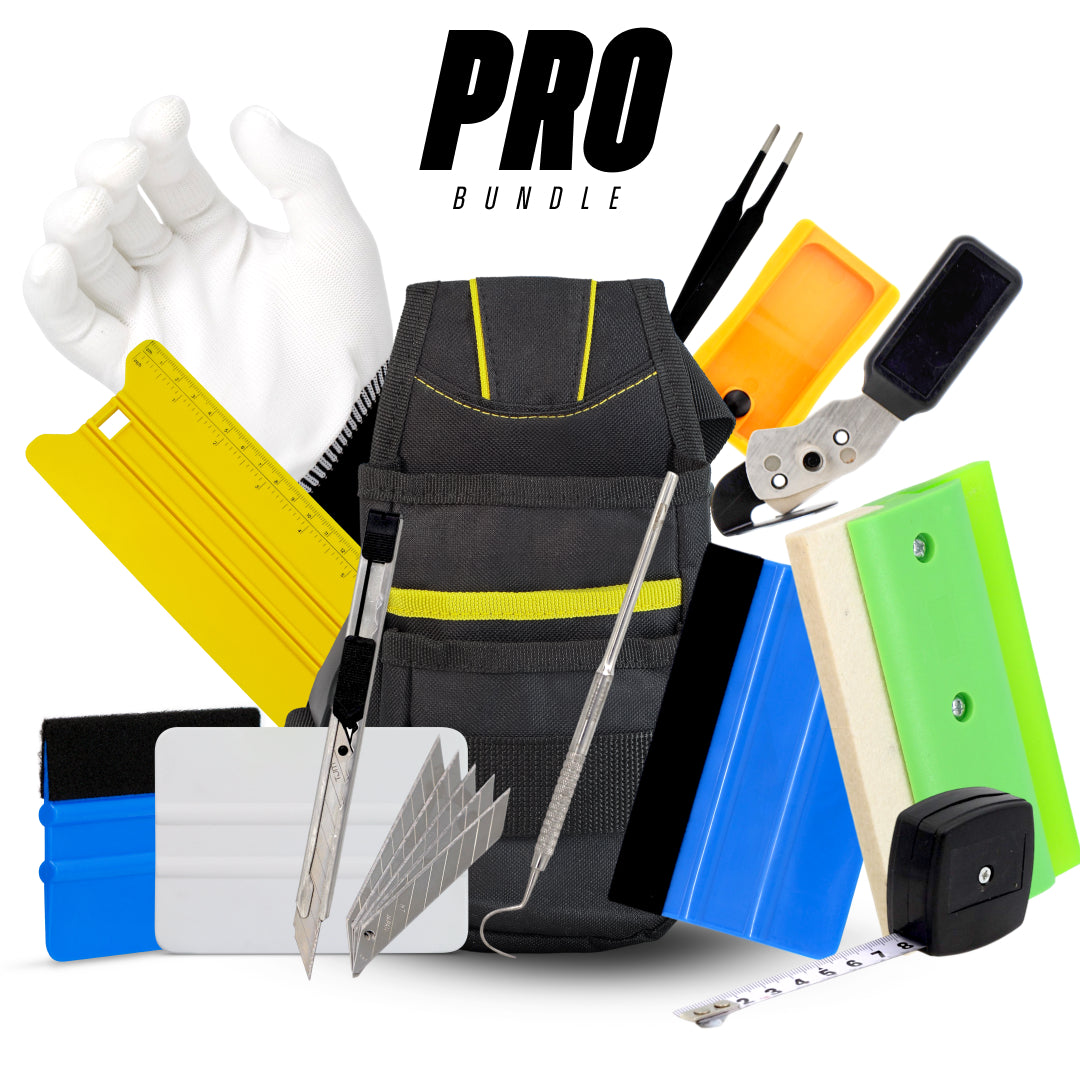
For stubborn or layered decals, consider our Part Removal Tools Collection →
Step 4: Cleaning Residue and Adhesive Left Behind
After the decal is removed, there’s usually sticky residue left. Apply adhesive remover or rubbing alcohol on a microfiber cloth and gently rub until the surface feels smooth again.
Step 5: Final Wash and Inspection
Give the area another wash with mild soap and water. Check for paint fading, scratches, or ghosting outlines where the sticker once was. If needed, polish and wax the area for a uniform finish.
This method is the safest and most effective way to remove car decals without damaging paint, whether you’re tackling a small sticker or a full panel wrap.
Common Mistakes to Avoid During Car Decal Removal

Even with the right tools, many car owners make mistakes that end up causing more harm than good. Removing a decal might look straightforward, but improper techniques can leave you with scratches, stubborn adhesive patches, or even damaged paint. Let’s break down the most common mistakes so you know exactly what to avoid.
Using the Wrong Tools
One of the biggest errors is reaching for metal tools like razor blades or knives. While they may seem like a quick fix for scraping, they’re notorious for causing deep scratches and chips in the paint. Instead, stick to plastic scrapers, old credit cards, or professional decal removal tools that are designed to be gentle on car surfaces.
Another mistake is relying solely on household cleaning chemicals like bleach or acetone. These may remove the glue but can also strip the clear coat, leaving dull or damaged spots. Always use products made for car sticker removal or safe alternatives like rubbing alcohol or citrus-based removers.
Use a sharp 30-Degree Knife 9 mm for clean trimming along edges →
Rushing the Process
Impatience often leads to damage. Many people try to yank decals off in one go, only to find the sticker tearing into tiny pieces or leaving thick layers of adhesive behind. The correct method requires slow and steady peeling, usually with heat applied in stages. Think of it like peeling a bandage, quick yanks hurt more and leave a bigger mess.
Applying Too Much Heat or Pressure
While heat is essential in loosening adhesives, there’s such a thing as too much. Holding a heat gun too close or using a high setting can scorch your car’s paint and even warp plastic trim. The same applies to scraping, using too much force can gouge the surface. Gentle pressure is key here.
Ignoring the Residue
Some car owners stop once the sticker is gone, ignoring the sticky film left behind. Over time, this residue attracts dirt, dust, and grime, making the spot more noticeable. Always finish the process with a good adhesive remover and a thorough wash to restore a smooth finish.
By avoiding these mistakes, you’ll save yourself the headache of costly paint repairs and keep your car looking spotless even after decal removal.
Best Decal Removal Tools on the Market
If you’re serious about keeping your car in top condition, investing in the right decal removing tool is worth it. While basic household items can do the job, professional tools make the process quicker, safer, and more effective. Let’s look at the most recommended options.
Heat Guns vs. Hair Dryers
Both tools work by warming up the adhesive so it softens and peels easily.
Heat Guns: More powerful, with adjustable temperature settings. Perfect for larger decals or vinyl wraps. However, they require caution because too much heat can damage paint.
Hair Dryers: Safer for beginners since they provide milder heat. Best for smaller stickers or decals that haven’t been on for years.
If you’re only removing a few bumper stickers, a hair dryer will do. But if you’re dealing with full panels or aged decals, a heat gun is the better investment.
Plastic Scrapers vs. Metal Tools
Plastic Scrapers: Gentle, flexible, and effective at lifting decals without scratching. Many professional kits come with these.
Old Credit Cards: A budget-friendly alternative that works similarly to scrapers.
Metal Blades: Not recommended, as they can easily scratch and chip paint.
For safety and efficiency, always stick with plastic tools when removing decals.
Adhesive Removers and Their Effectiveness
Removing the decal is only half the battle, the sticky residue is the real challenge. Popular adhesive removers include:
Goo Gone Automotive: Citrus-based, effective, and safe for car paint.
WD-40: Works well on light adhesive but may need follow-up cleaning.
Rubbing Alcohol: Gentle and effective for stubborn patches.
3M Adhesive Remover: Professional-grade and highly recommended.
For large decals, you might consider a vinyl eraser wheel, a rubber wheel that attaches to a drill and safely buffs off decals and residue. It’s a game-changer for removing big stickers quickly.
With the right tools, car sticker removal becomes a straightforward, stress-free task instead of a battle.
Aftercare: Protecting Your Car Paint Post-Removal
Once your decal is gone, you might think the job is done, but proper aftercare is just as important as the removal process. Without it, your car’s paint could look uneven, faded, or vulnerable to new damage.
Washing and Polishing the Surface
Start with a gentle wash using car-safe soap and microfiber cloths. This removes any lingering adhesive remover or oils. After drying, inspect the surface closely. If you see dull spots, polishing can help restore shine. A light buffing compound applied with a polishing pad works wonders for blending the area back into the rest of your car’s paint.
Applying Wax for Extra Protection
Waxing your car after decal removal isn’t just about looks, it adds a protective barrier against UV rays, dirt, and water. This is especially important if the decal area looks brighter than the rest of the paint due to fading around it. A high-quality carnauba wax or synthetic sealant will help even out the finish and keep your car’s paint healthy.
Checking for Faded Paint or Ghosting Effects
If the decal has been on for years, you might notice a faint outline or color difference, this is called ghosting. While it can’t always be removed completely, polishing and waxing can significantly reduce its visibility. In extreme cases, professional paint correction may be necessary to fully blend the affected area.
Taking the extra time to care for your car post-removal ensures your vehicle looks sleek and polished, not like it just had a sticker ripped off.
Preventing Damage from Future Car Decals

If you plan on applying new decals after removing old ones, it’s smart to think ahead about how to prevent future issues. The good news is there are plenty of ways to enjoy decals without compromising your car’s paint.
Choosing High-Quality Stickers
Not all decals are created equal. Cheap stickers use harsh adhesives that harden over time, making them nearly impossible to remove without damage. Look for automotive-grade vinyl decals that are designed for vehicles and promise clean removal.
Temporary Decals vs. Permanent Stickers
If you like changing designs frequently, go for removable decals or magnetic stickers. They adhere firmly but peel off cleanly without leaving residue. Permanent decals should only be used if you plan to keep them on long-term.
Proper Placement and Removal Tips
Avoid placing decals on areas that get the most sun exposure, as this increases fading.
Apply decals to smooth, clean surfaces for easier removal later.
When it’s time to remove them, don’t wait years, do it before adhesives harden.
By being mindful of the type and placement of your decals, you can enjoy personalizing your car while ensuring easy, damage-free car sticker removal in the future.
Learn gentle removal methods from this Popular Mechanics guide to removing car vinyl →
Eco-Friendly Car Sticker Removal Options
In today’s world, car owners are not just concerned about their vehicles but also about the environment. Traditional adhesive removers and harsh chemicals may work fast, but they often contain strong solvents that aren’t exactly eco-friendly. If you’re someone who wants to safely remove car decals while minimizing environmental impact, you’ll be glad to know there are sustainable methods available.
Natural Adhesive Removers
One of the simplest green solutions is to use household products that are safe for both your car and the planet. For example:
Vinegar: Its acidic nature helps break down adhesive residue without damaging paint.
Baking Soda + Coconut Oil Paste: A natural scrub that lifts sticky patches effectively.
Citrus Oil: Derived from orange or lemon peels, citrus oils are excellent for dissolving glue naturally.
These alternatives may take a little longer compared to commercial adhesive removers, but they’re much safer and eco-conscious.
Sustainable Disposal of Old Decals
Many people simply peel off decals and toss them in the trash. However, vinyl stickers are not biodegradable. To minimize waste, consider:
Recycling if possible (check with local recycling centers).
Cutting old decals into smaller pieces and using them for craft projects or labeling.
Choosing biodegradable stickers in the future so that disposal is less harmful.
Switching to eco-friendly methods ensures that you protect both your car’s paint and the environment while carrying out car sticker removal.
FAQs
How long do decals last on a car?
Most high-quality automotive decals last between 3 to 7 years, depending on exposure to sunlight, weather, and washing habits. Cheaper stickers may start fading or peeling in as little as one year.
Can I reuse a decal after removal?
Unfortunately, most decals are not reusable. Once peeled off, the adhesive weakens or gets contaminated, making it difficult to reapply. Magnetic decals are the only exception, as they can be removed and reused multiple times.
Does removing decals lower car value?
On the contrary, removing decals often increases resale value because buyers prefer a clean, sticker-free vehicle. However, if removal causes paint damage or leaves ghosting, it might reduce value slightly.
Will professional removal cost a lot?
Professional decal removal costs vary depending on size and complexity. Small stickers may cost as little as $50, while full vinyl wrap removal can range from $300 to $800. While pricier than DIY, it ensures a flawless finish.
Can decals damage car paint permanently?
If high-quality decals are applied and removed properly, they rarely cause permanent damage. Problems arise when cheap stickers, harsh adhesives, or incorrect removal techniques are used. Always stick with the right decal removal tools and methods.
Conclusion
Car decals are a fun and creative way to personalize your ride, but when it’s time to take them off, doing it the wrong way can turn into a nightmare. By using the right decal removal tools, applying heat carefully, peeling slowly, and cleaning up with safe adhesive removers, you can easily remove car decals without damaging your paint.
Aftercare, like washing, polishing, and waxing, ensures your car’s surface looks flawless post-removal. And if you plan on applying new stickers, choosing high-quality, removable decals will make future removal hassle-free.
Whether you’re a DIY enthusiast or prefer professional help, safe decal removal keeps your car looking sharp and protects its long-term value. Remember, patience and the right technique are your best friends in this process.
Keep everything organized and ready in one spot with our Tool Bag Collection →
Are you unsure which tool or kit is right for your job?
Our expert team at Oz Sign Supplies is here to help. Reach out today, and we’ll direct you to the best tools to suit your project, ensuring you get the job done right the first time.

Leave a comment
This site is protected by hCaptcha and the hCaptcha Privacy Policy and Terms of Service apply.