Article: Must-Have Tools in a Vinyl Wrap Kit for Flawless Installation
Must-Have Tools in a Vinyl Wrap Kit for Flawless Installation
Essential Tools Every Vinyl Wrap Kit Should Include and Why They Matter
Over the last decade, vinyl wrapping has become one of the most talked-about automotive customization techniques. Unlike traditional paint jobs, vinyl wrap gives car enthusiasts, businesses, and even hobbyists the ability to completely transform the appearance of a vehicle without making permanent changes. Whether it’s a glossy finish, matte black stealth look, or a head-turning chrome wrap, vinyl offers versatility that paint simply cannot match.
But why exactly is it gaining so much traction? One of the biggest reasons is affordability. A full professional paint job can cost thousands of dollars and requires weeks of downtime. In contrast, a vinyl wrap is not only cheaper but also faster to apply and reversible. If you get bored of the color or design, you can peel it off and return to the original paint or switch to another style altogether.
Another key factor is protection. Vinyl acts as a shield against minor scratches, road debris, and UV rays, which can prolong the life of the factory paint beneath. Car owners who lease vehicles also love wraps because they can add personalization without risking penalties for altering the original paintwork.
Professional vinyl wrap tools for smooth applications →
Beyond cars, vinyl wrapping is now widely used for motorcycles, boats, furniture, electronics, and even architectural applications like cabinets and doors. This widespread adoption has created a booming demand not just for the wraps themselves but also for the tools needed to install them correctly.
Benefits of Using the Right Tools for Vinyl Wrapping

Imagine trying to hang a picture frame without a hammer and nails. Sure, you might improvise, but the results probably won’t look great. The same principle applies to vinyl wrapping. Without the proper tools, even the best-quality wrap film can end up full of air bubbles, wrinkles, or uneven edges.
Using the right tools ensures:
Smooth application: Squeegees and felt-edge applicators help press the vinyl onto the surface evenly without scratching.
Precision: Cutting tools like sharp utility knives make it possible to trim edges and corners cleanly.
Durability: A well-installed wrap lasts longer, resists peeling, and maintains its vibrant finish.
Time savings: The right kit speeds up installation, reducing frustration and errors.
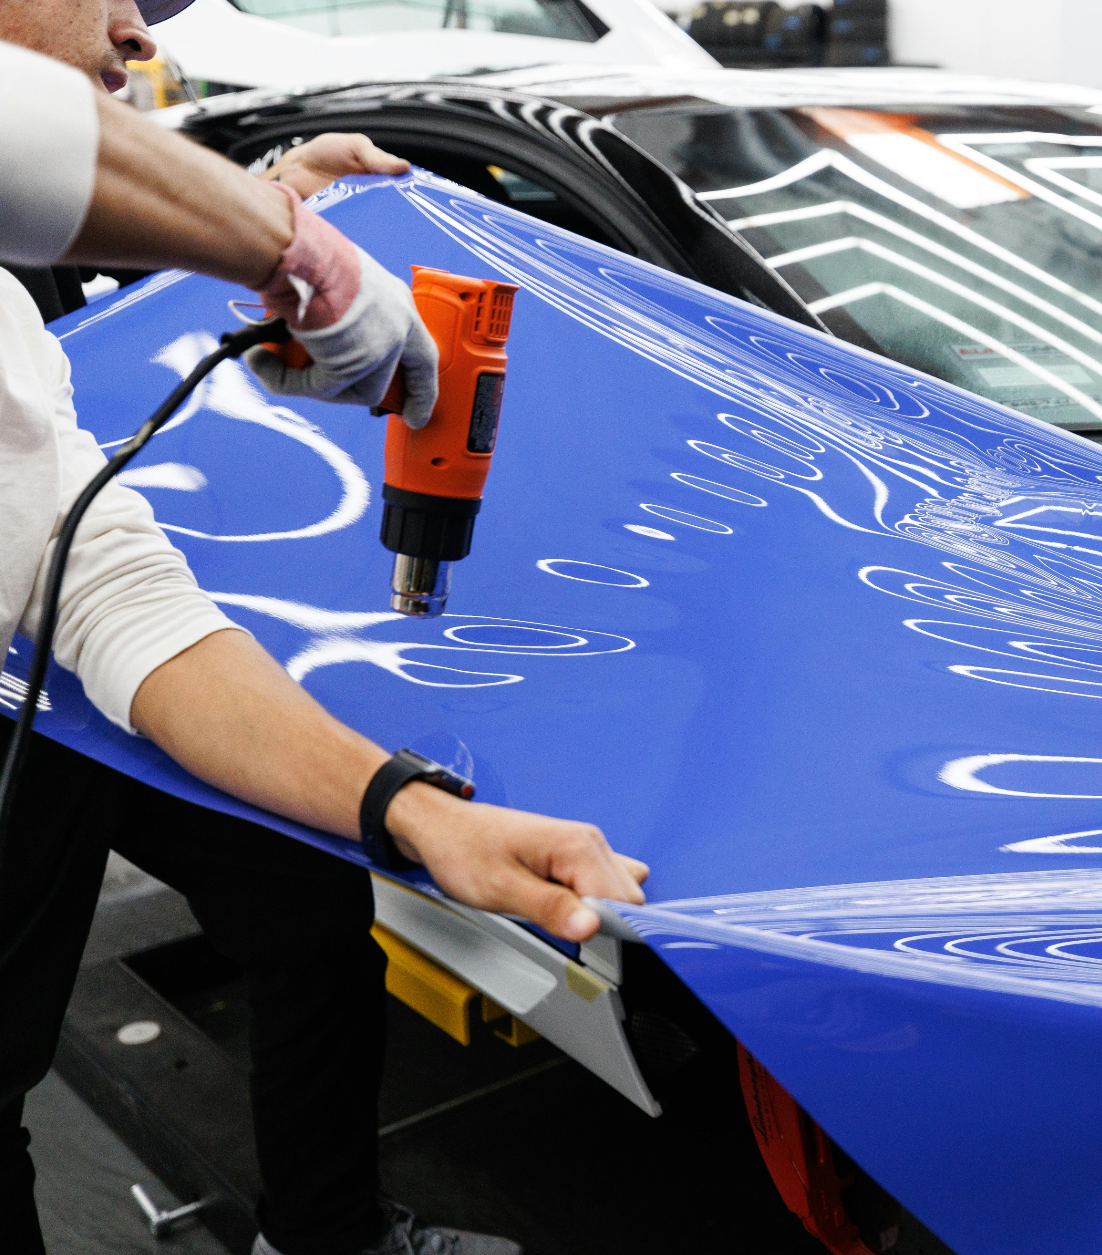
Professional installers know that tools can make or break a job. A cheap squeegee might leave streaks, while a high-quality one glides over the vinyl effortlessly. Similarly, a heat gun helps stretch the vinyl around curves and contours, making the difference between a flawless wrap and one full of creases.
In short, tools aren’t just accessories, they are essentials. That’s why anyone serious about vinyl wrapping, whether DIY hobbyists or seasoned professionals, needs a complete kit designed for the job.
What is a Vinyl Wrap Tools Kit?
A vinyl wrap tools kit is essentially a carefully curated set of instruments specifically designed to help with every stage of the wrapping process. Instead of buying individual tools one by one, these kits bundle everything you need into a single package. This is especially helpful for beginners who may not know which tools are necessary.
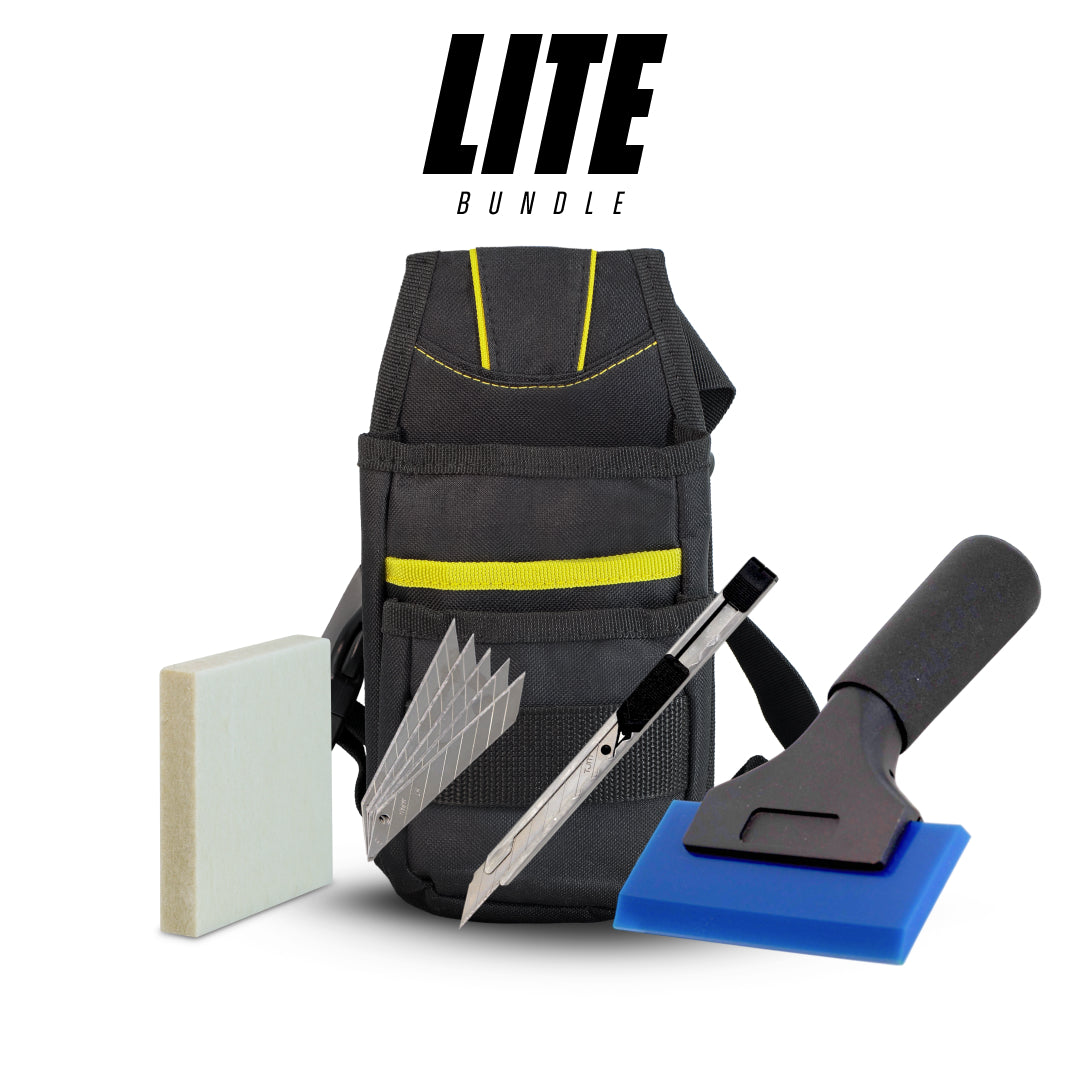
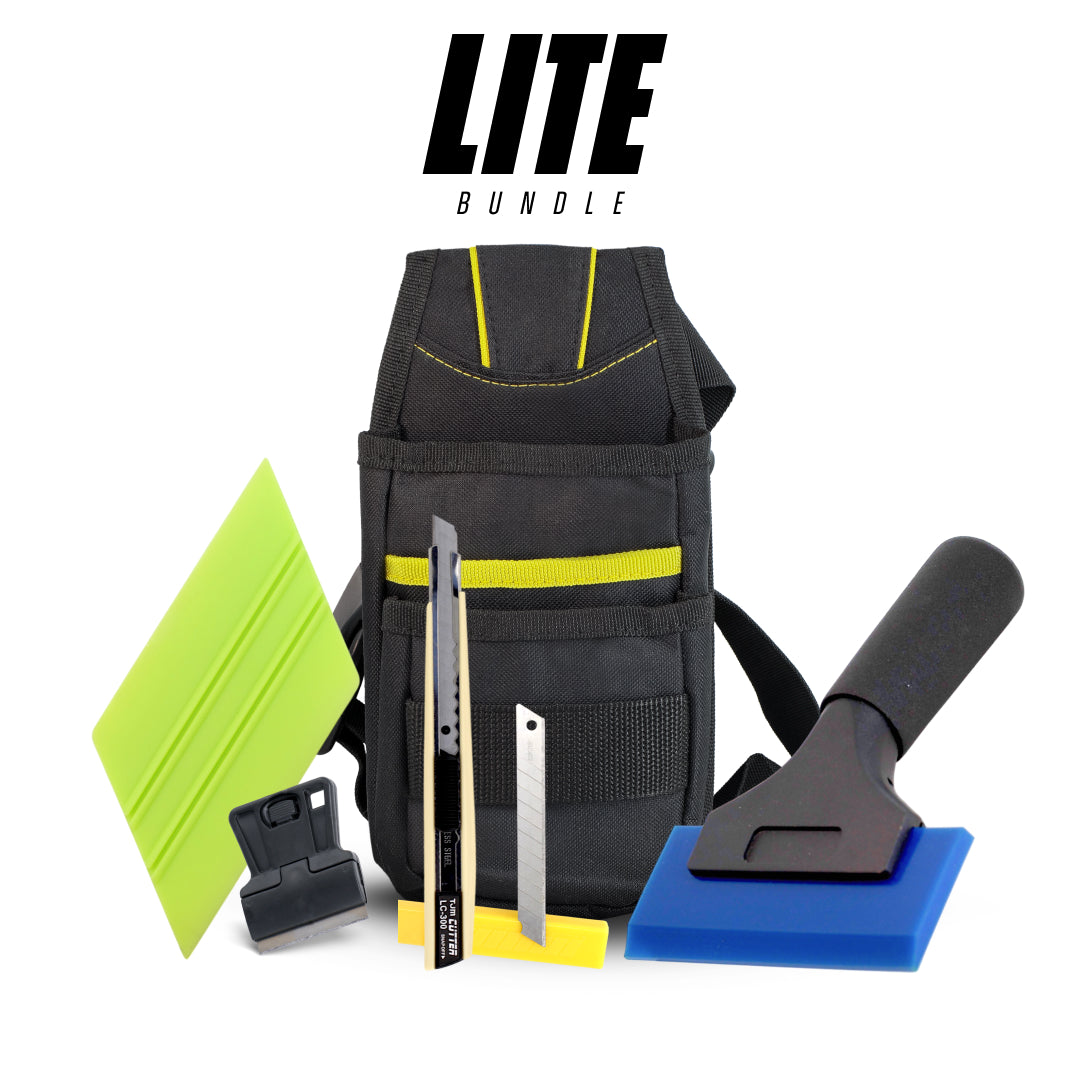
A basic kit typically includes:
A squeegee with a felt edge
A sharp utility knife
Replacement blades
A heat gun
Measuring tape or ruler
More advanced kits may also include items like wrap sticks, knifeless tape, and even magnets to help hold the vinyl in place. The idea is simple: by having all the right tools within reach, you eliminate the guesswork and make the wrapping process smoother.
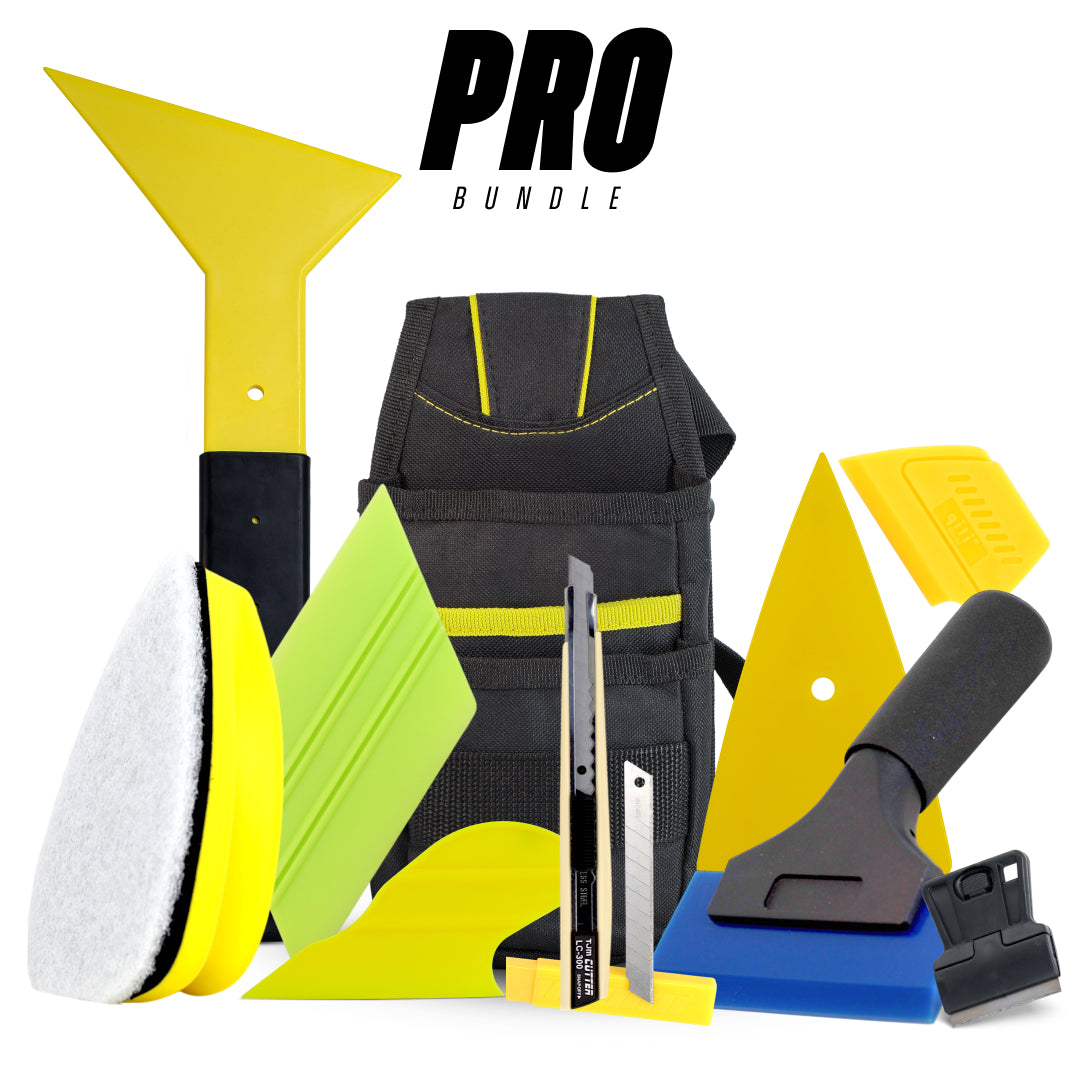
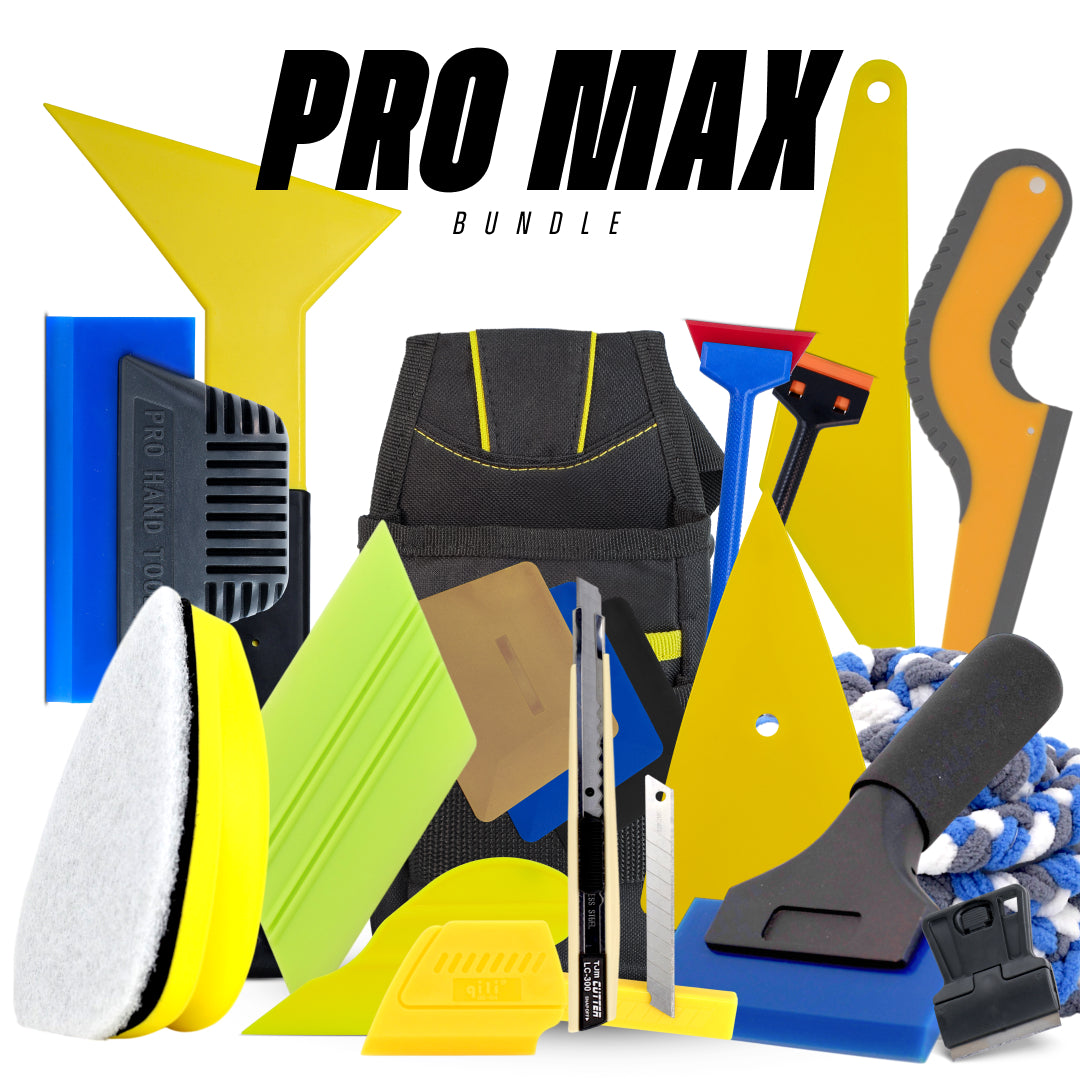
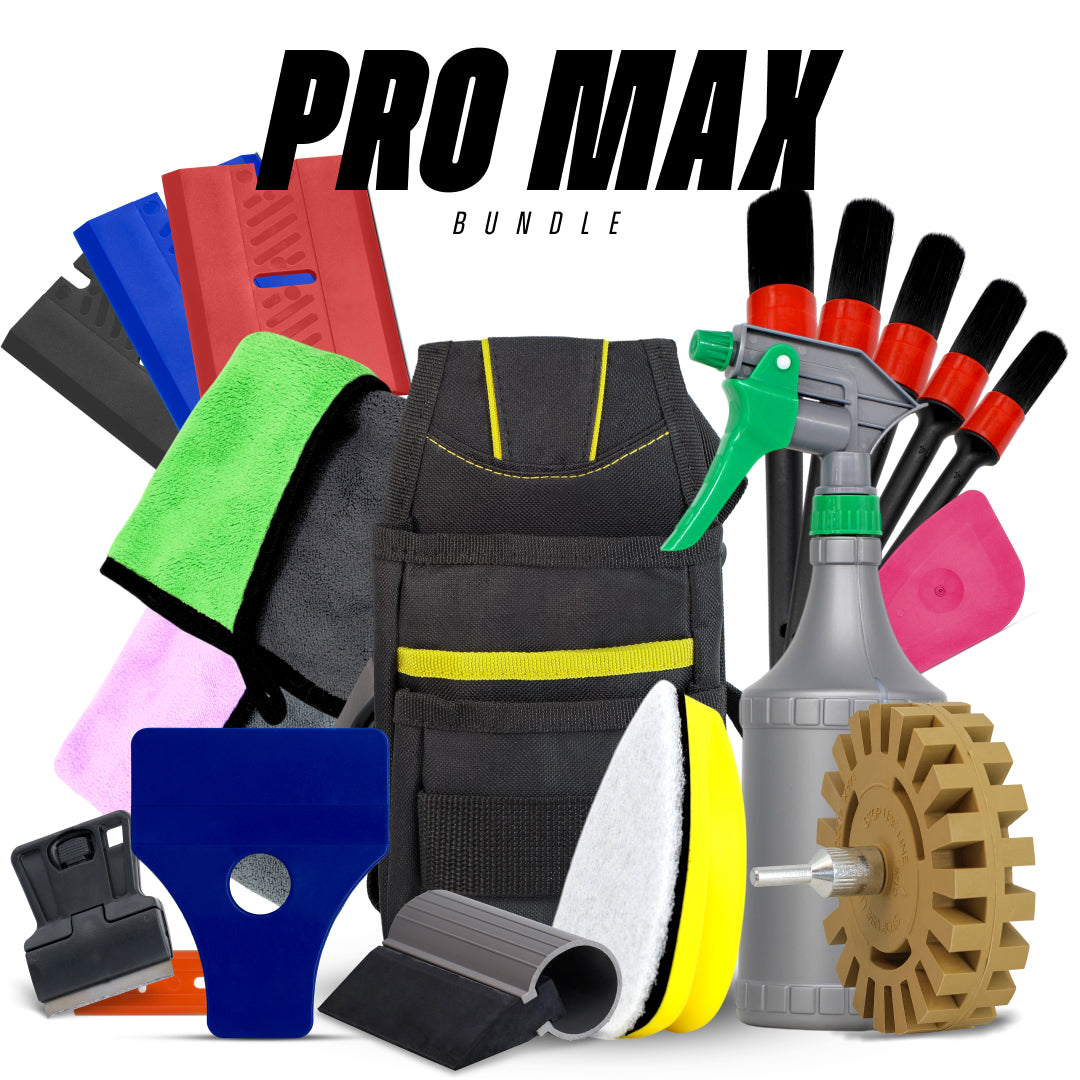
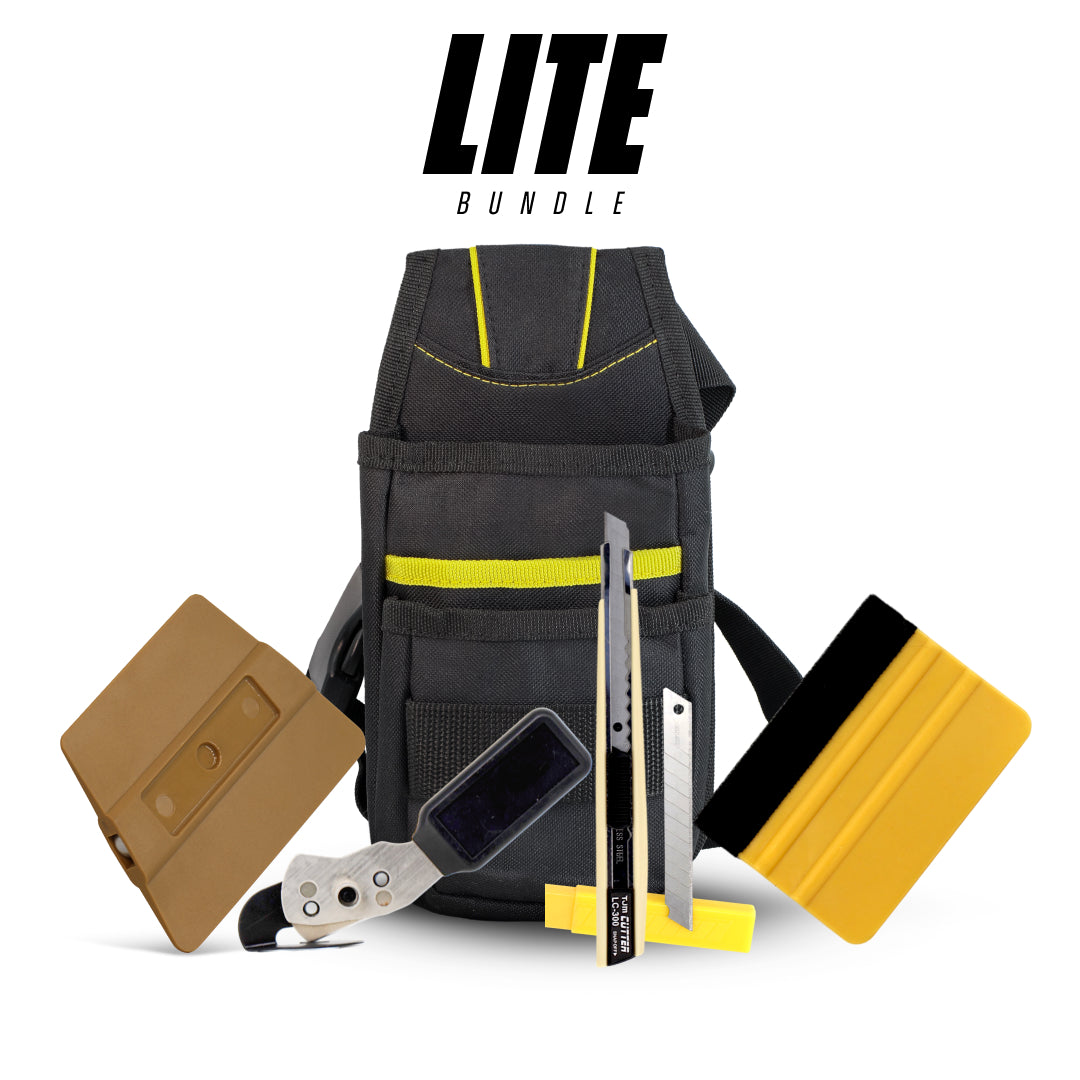
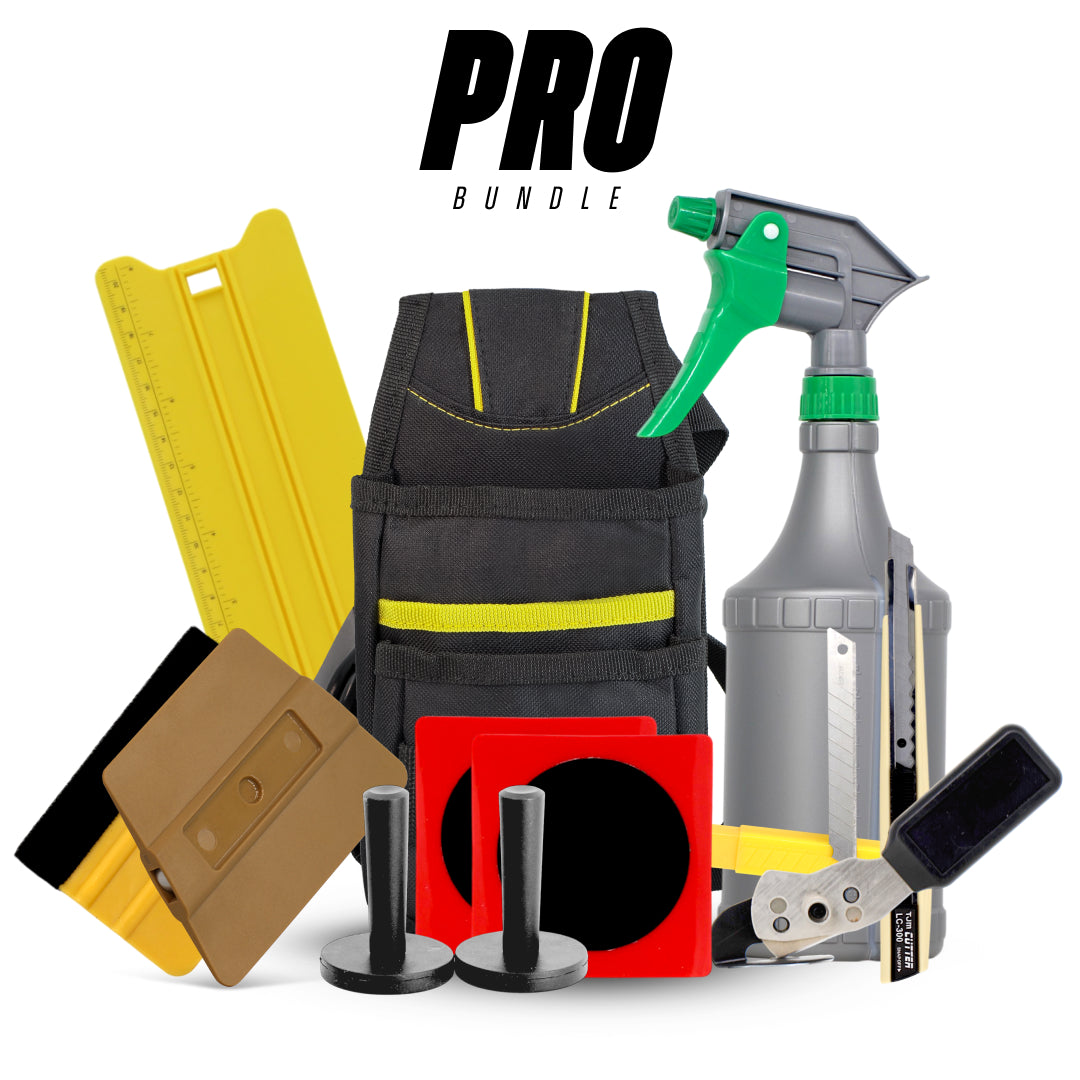
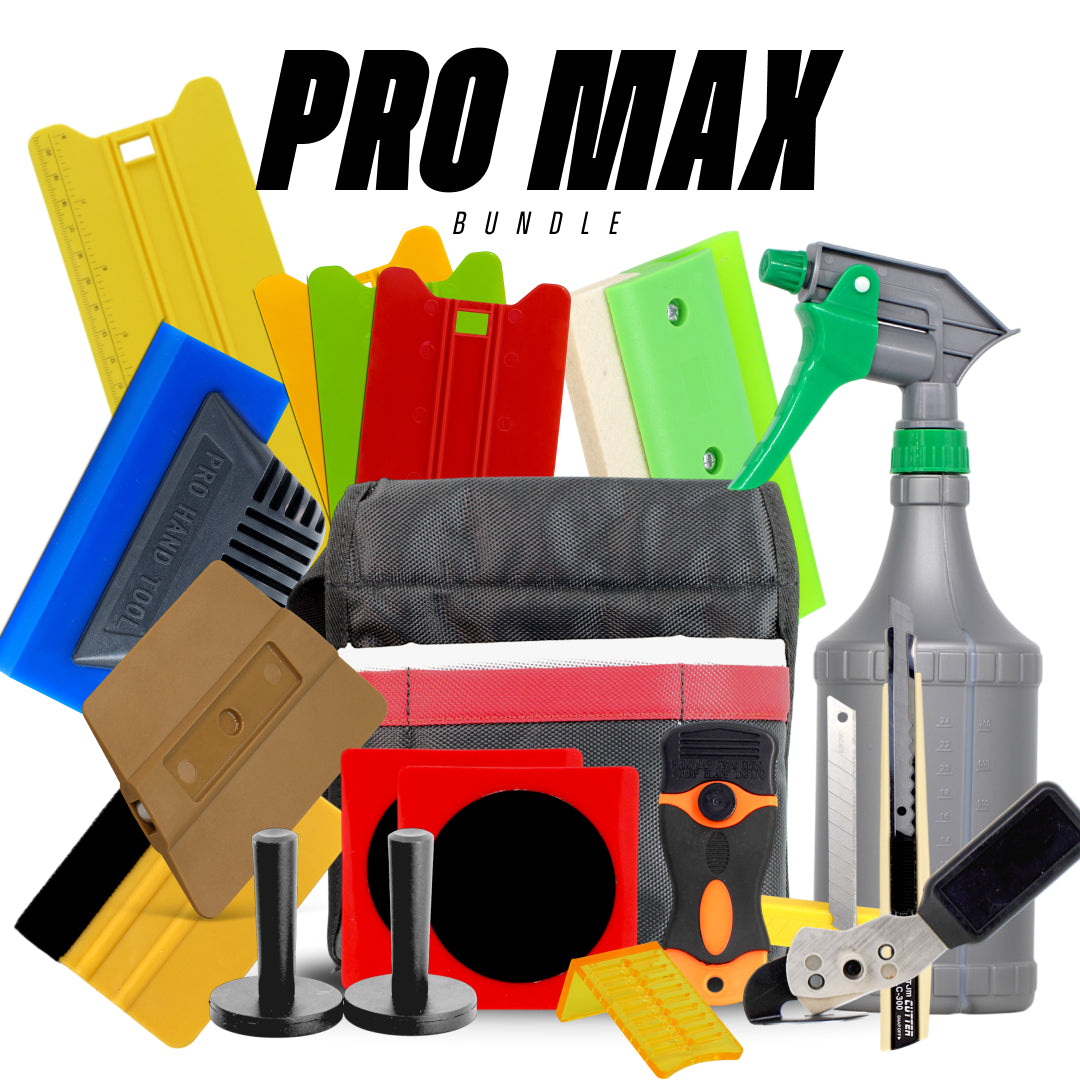
All-in-one car wrap kits with squeegees, blades, and magnets →
Why Having a Complete Kit Matters for Perfect Finishes
A common mistake beginners make is thinking they can “make do” with a few household tools. While it’s technically possible to wrap with just a heat gun and credit card, the results are usually disappointing. A complete kit ensures that you:
Have the right tool for each stage of the process.
Avoid damaging expensive vinyl with improper techniques.
Save time by working more efficiently.
Achieve a professional-grade finish without frustration.
Think of it like cooking. Sure, you could try flipping pancakes with your hands, but wouldn’t a spatula make the job a lot easier, and less painful? The same logic applies to vinyl wrapping: the right kit isn’t just convenient, it’s the difference between success and failure.
Core Tools in Every Vinyl Wrap Kit
Squeegees - The Backbone of Vinyl Installation
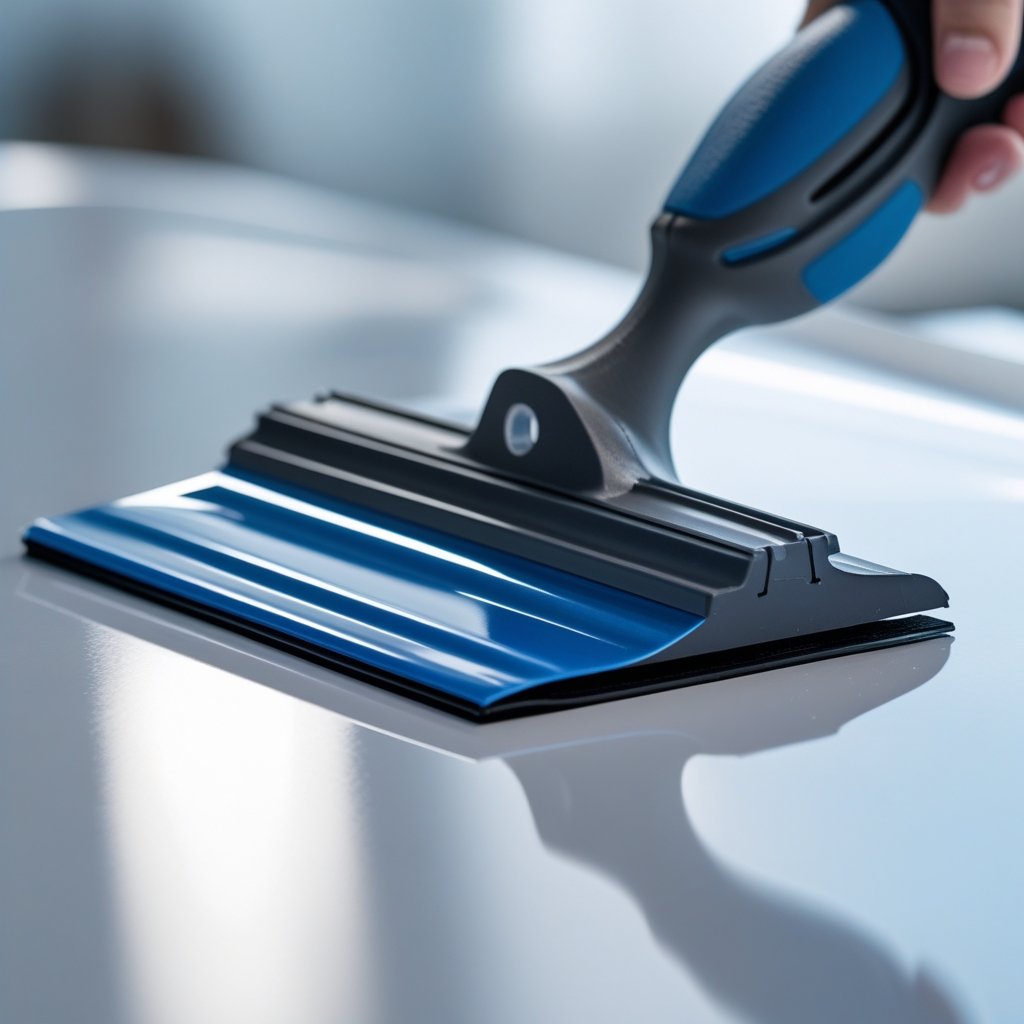
If vinyl wrapping had a hero, it would undoubtedly be the squeegee. This simple yet powerful tool is the key to pressing vinyl smoothly onto surfaces without leaving bubbles or wrinkles behind.
There are different types of squeegees:
Hard plastic squeegees for general application.
Felt-edge squeegees for delicate surfaces (to avoid scratching).
Mini squeegees for tight corners and smaller surfaces.
A good squeegee evenly distributes pressure, ensuring the adhesive sticks properly. Without it, you’d be left trying to smooth vinyl with your hands, which usually results in uneven patches.
Professional kits often include multiple squeegees so you can switch depending on the job. For example, wrapping a flat car door might call for a standard squeegee, while tackling a side mirror requires a more flexible or mini one.
Vinyl wrap squeegees for bubble-free applications →
Utility Knives and Cutting Tools for Precision
Once the vinyl is applied, trimming becomes the next challenge. This is where utility knives and precision cutting tools shine. A sharp blade ensures clean, straight cuts along edges, seams, and corners.
Blunt or low-quality blades, on the other hand, can tear the vinyl, leaving jagged edges that ruin the look. That’s why most kits include a knife along with replacement blades, since sharpness is crucial for accuracy.
Some installers even use specialized cutting tapes, like knifeless tape, which allow for perfectly straight or curved cuts without risking scratches on the paint beneath.
Whether you’re a beginner or a pro, one golden rule applies: always keep your blade sharp. Dull blades don’t just make the job harder, they can completely ruin an expensive roll of vinyl.
Heat Guns - The Secret to Smooth Applications
Vinyl is a flexible material, but to really make it conform to curves, bends, and complex surfaces, you need heat. Enter the heat gun, a must-have in every vinyl wrapping kit.
A heat gun softens the vinyl, making it stretchable and easier to mold around tricky areas like bumpers, door handles, and side mirrors. It also activates the adhesive, helping the vinyl bond more securely.
While a hair dryer might work in a pinch, it doesn’t deliver the same precision or consistent heat as a professional heat gun. Some advanced installers even use infrared thermometers alongside their heat guns to monitor temperatures and prevent overheating.
Measuring Tapes and Rulers for Accuracy
Before cutting vinyl, accuracy is everything. Cutting too small means wasted material, while cutting too large means extra trimming and frustration. That’s why measuring tapes and rulers are indispensable.
A simple tape measure helps estimate how much vinyl you’ll need, ensuring you don’t run out mid-job. Rulers, on the other hand, assist with straight cuts and alignment. Some professional kits also include flexible measuring tools that can wrap around curves for more precise measurements.
In vinyl wrapping, an inch too short can ruin an entire panel wrap. That’s why measuring tools may not be flashy, but they’re absolutely essential for success.
Magnets and Masking Tape for Positioning
One of the trickiest parts of vinyl wrapping is holding the film in place before it’s applied. This is where magnets and masking tape come into play.
Magnets allow you to “pin” the vinyl against the car body without sticking it prematurely. This way, you can adjust positioning as needed before committing to application. Masking tape serves a similar purpose, helping to mark alignment points and hold vinyl temporarily in place.
These small tools may not seem as critical as heat guns or knives, but they make the process much smoother, especially for beginners who struggle with alignment.
Gloves - Protecting Both Vinyl and Hands
Wearing the right gloves during installation might not sound important at first, but trust me, it makes a world of difference. Specialized wrap gloves allow you to glide your hands over vinyl without leaving fingerprints, smudges, or oils that could affect adhesion.
They also protect your hands from accidental cuts when using sharp blades and from the heat of the gun. For beginners, gloves provide confidence, while for professionals, they speed up the process significantly.
Felt Edge Tools for Scratch-Free Finishes
One common frustration with vinyl wrapping is scratching the surface while smoothing it down. That’s why many squeegees now come with felt edges, and why dedicated felt tools are included in most professional kits.
These tools let you apply firm pressure while still being gentle on the vinyl, ensuring that glossy, matte, or chrome finishes remain flawless.
Spray Bottles and Cleaning Solutions
Last but not least, cleanliness is key. Dust, grease, or dirt trapped under vinyl can cause bubbles and weak adhesion. That’s why a good kit should include a spray bottle and cleaning solution for prepping the surface beforehand.
A mix of water and mild soap often works, but specialized cleaners ensure maximum bonding. Skipping this step is one of the fastest ways to ruin an otherwise perfect wrap.
Advanced Tools for Professional Vinyl Wrapping
Infrared Thermometers for Temperature Control
Heat is the lifeblood of vinyl wrapping. Too little heat and the film won’t conform properly; too much heat and you risk burning, overstretching, or damaging the adhesive. This is where an infrared thermometer becomes invaluable.
Unlike guessing with your hand or relying solely on a heat gun’s settings, an infrared thermometer gives an exact reading of the vinyl’s surface temperature. Most vinyl films work best between 180°F to 200°F (82°C to 93°C) for stretching and post-heating. Staying in that sweet spot ensures the material stays flexible without compromising adhesive strength.
For beginners, this tool eliminates trial and error. For professionals, it ensures consistency across jobs, reducing the risk of wrap failure. Think of it like cooking a steak, you wouldn’t just “eyeball” the doneness, right? You’d use a thermometer to make sure it’s perfect every time. The same principle applies here: precision leads to flawless results.
Wrap Sticks and Edge Tools for Tight Corners
Every vehicle has those tricky spots, tight corners, deep recesses, rubber seals, or hard-to-reach edges. Trying to force a squeegee or your fingers into those areas usually leads to wrinkles or lifted edges. That’s where wrap sticks and edge tools come into play.
These tools are slim, flexible, and come in different shapes designed to fit into tight spaces. Some are angled for deep grooves, while others are rounded for smooth edging. Professional wrappers often say that these tools are “lifesavers,” especially when working around headlights, grilles, and door trims.
Not only do they make the process easier, but they also ensure the vinyl adheres fully in these high-stress areas, reducing the chance of peeling later.
Vinyl Roll Holders and Stands
If you’ve ever tried handling a full roll of vinyl film by yourself, you know how frustrating it can be. It unrolls unevenly, sticks to itself, or picks up dust from the floor. Enter the vinyl roll holder or stand, a simple but game-changing tool for anyone wrapping large surfaces.
These stands keep your vinyl elevated, aligned, and ready to use. Some advanced versions even have rollers to help you pull out the vinyl smoothly. This not only saves time but also prevents costly mistakes like creases or wasted material.
For professionals handling multiple wraps per week, a roll holder isn’t just convenient, it’s practically essential.
Specialized Cutting Tapes (Knifeless Tape)
Cutting vinyl directly on a car with a blade is always risky. One wrong move and you could slice through the vinyl and into the paint beneath. That’s why many installers swear by knifeless cutting tape.
Knifeless tape for seamless vinyl wrap edges →
This tape is applied to the surface before the vinyl. Once the film is laid down, you simply pull the tape’s filament, and it slices through the vinyl cleanly, without ever touching the paint.
It’s perfect for:
Creating custom designs and patterns
Splitting two colors in a wrap
Cutting around delicate areas without risk
Not only does this save time, but it also provides peace of mind. With knifeless tape, you can achieve precision cuts and creative designs without the stress of damaging the car.
Vinyl Wrap Tool Kit Comparison
Entry-Level Kits for Beginners
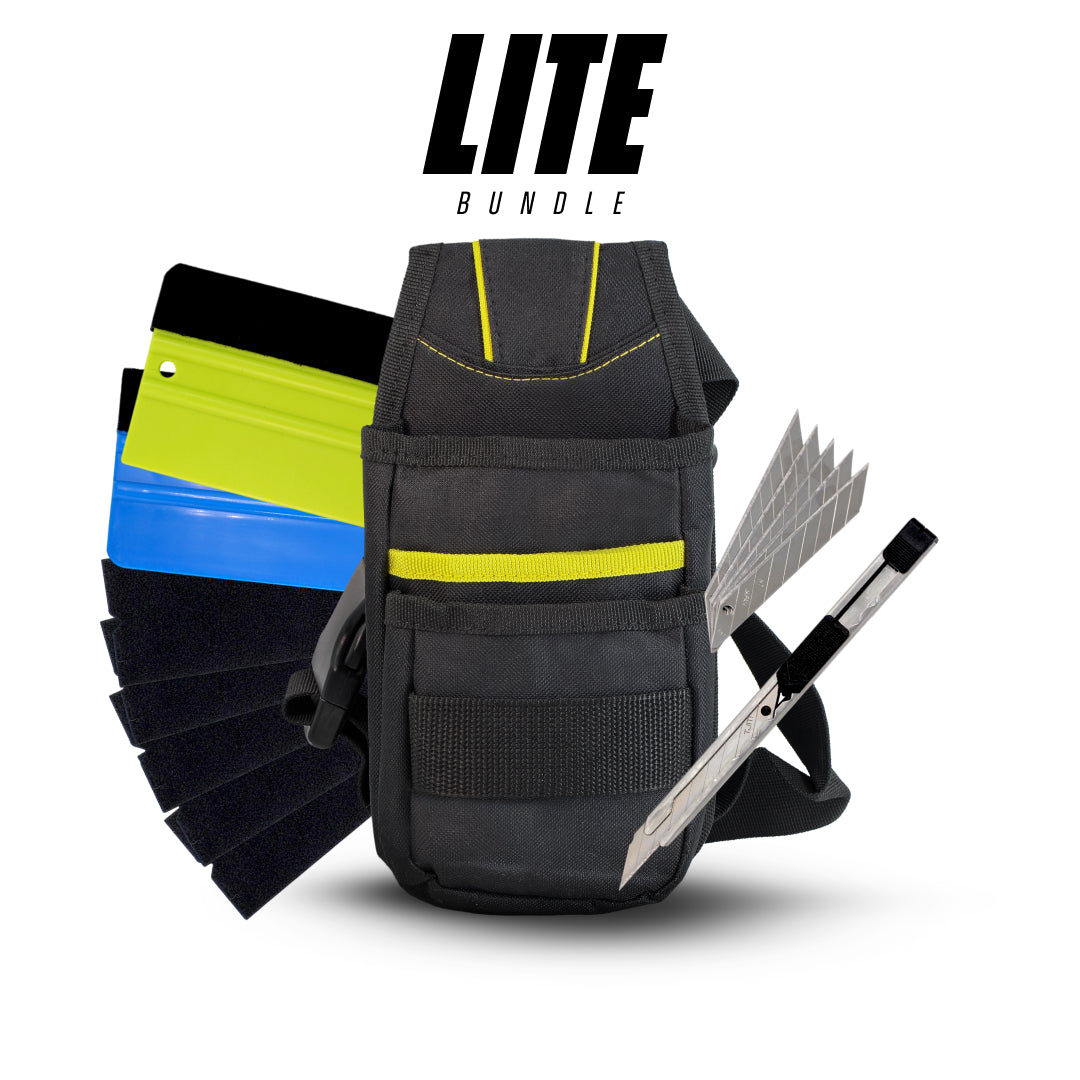
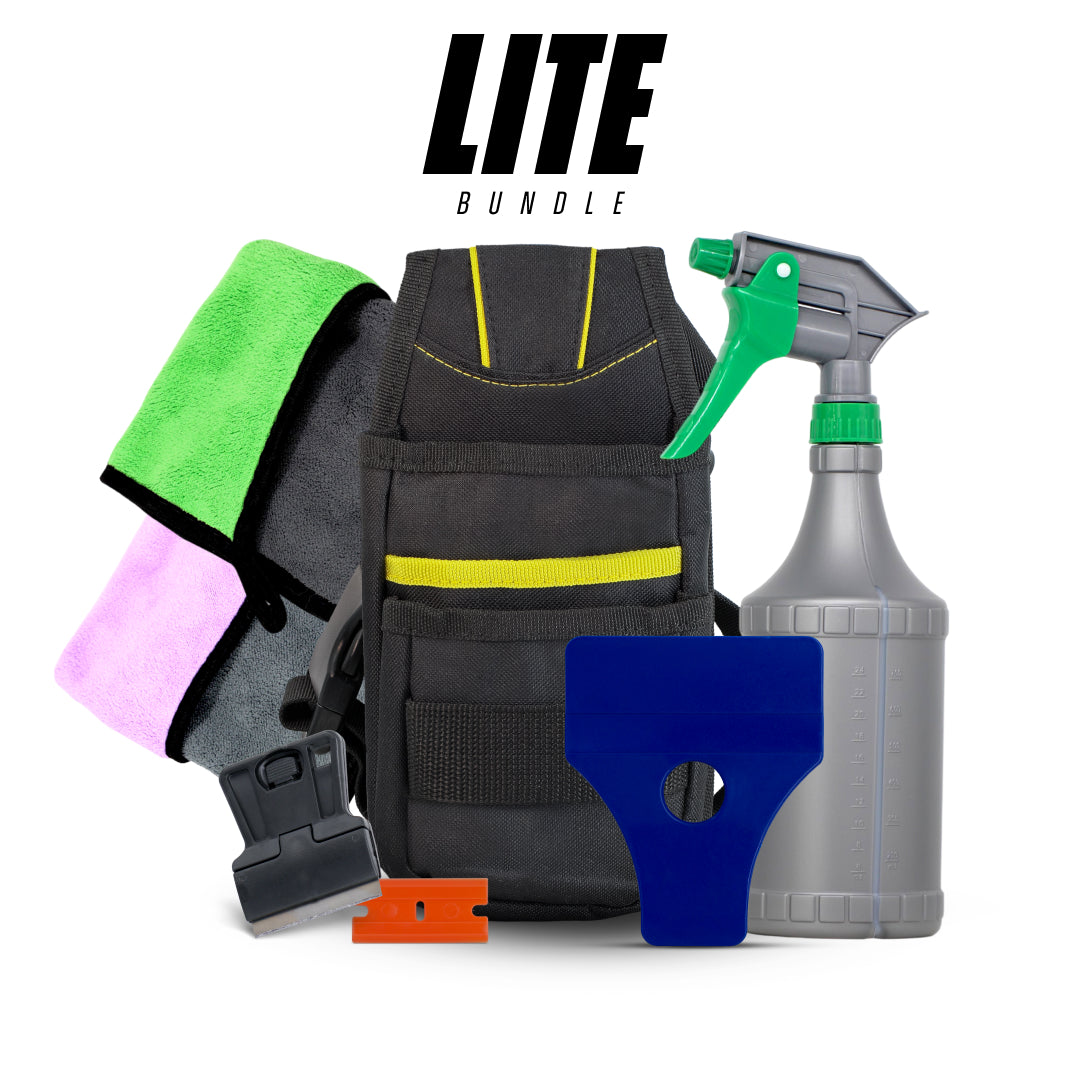
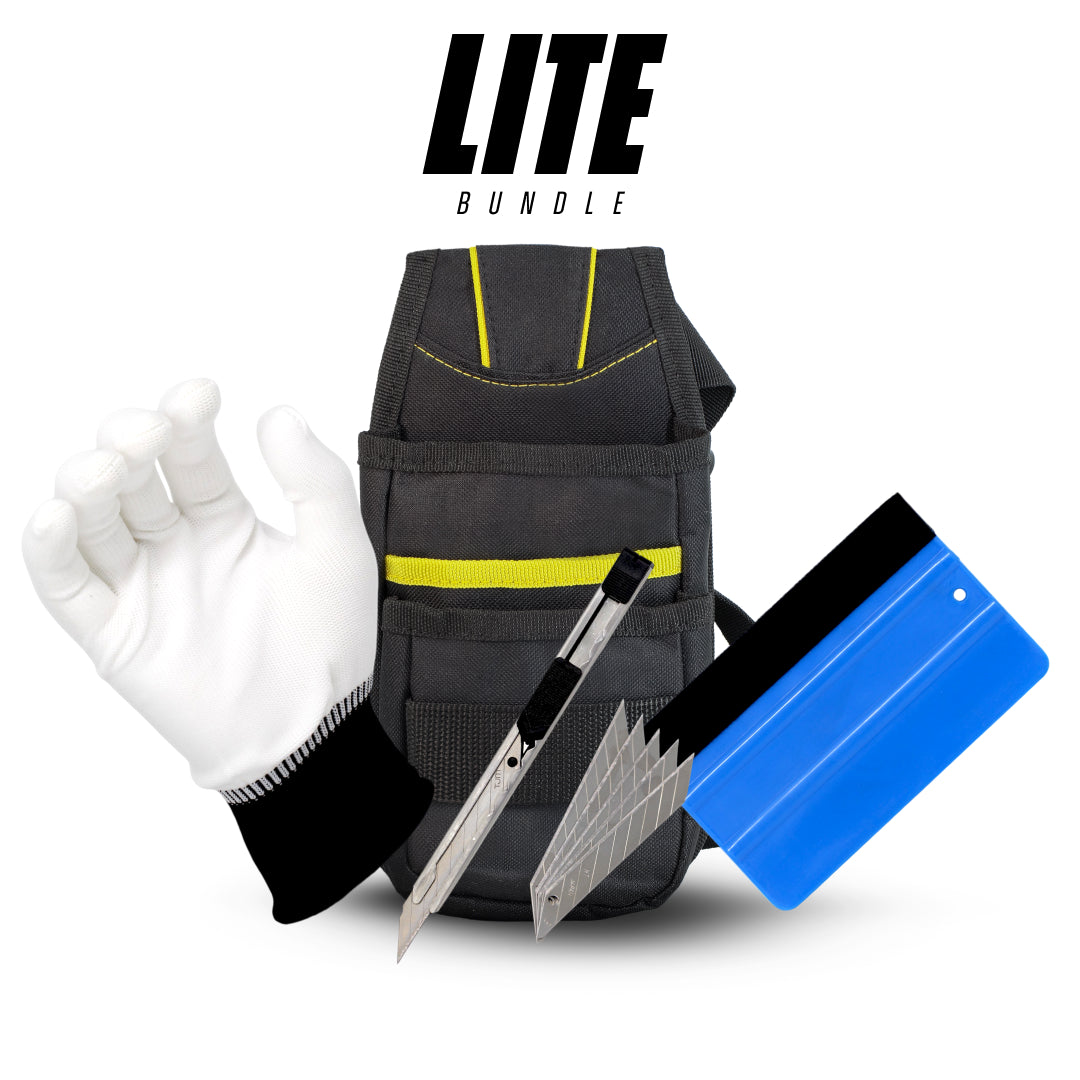
For those dipping their toes into vinyl wrapping, entry-level kits are budget-friendly and cover the essentials.
They usually include:
A basic squeegee
A utility knife with spare blades
A heat gun (sometimes optional)
Measuring tape
These kits are great for wrapping smaller items like laptops, phones, or interior trims. However, they may not hold up well for full car wraps due to limited durability and fewer specialized tools.
Pros: Affordable, simple, good for practice
Cons: Limited tools, less durable, not ideal for complex wraps
Mid-Range Kits for Enthusiasts
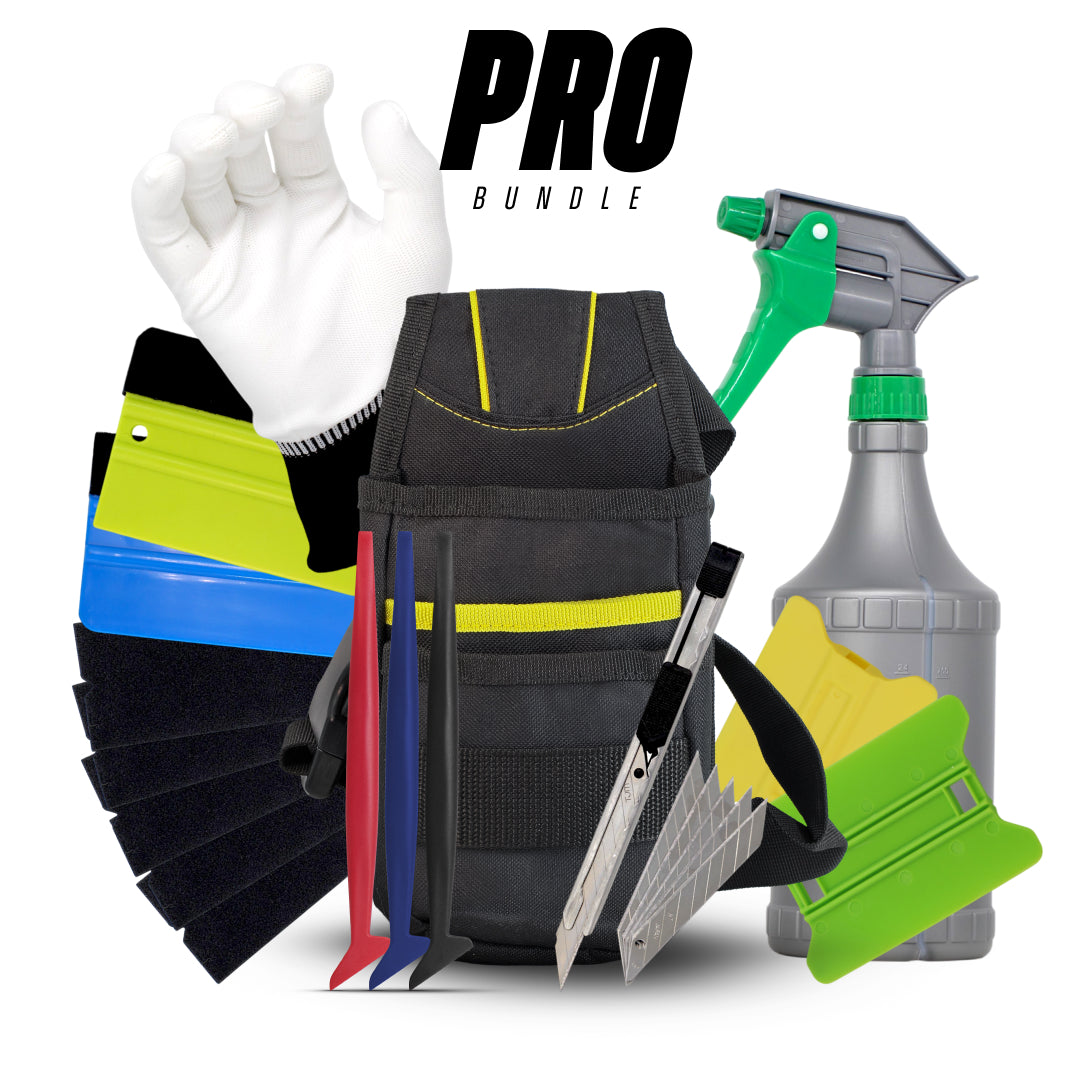
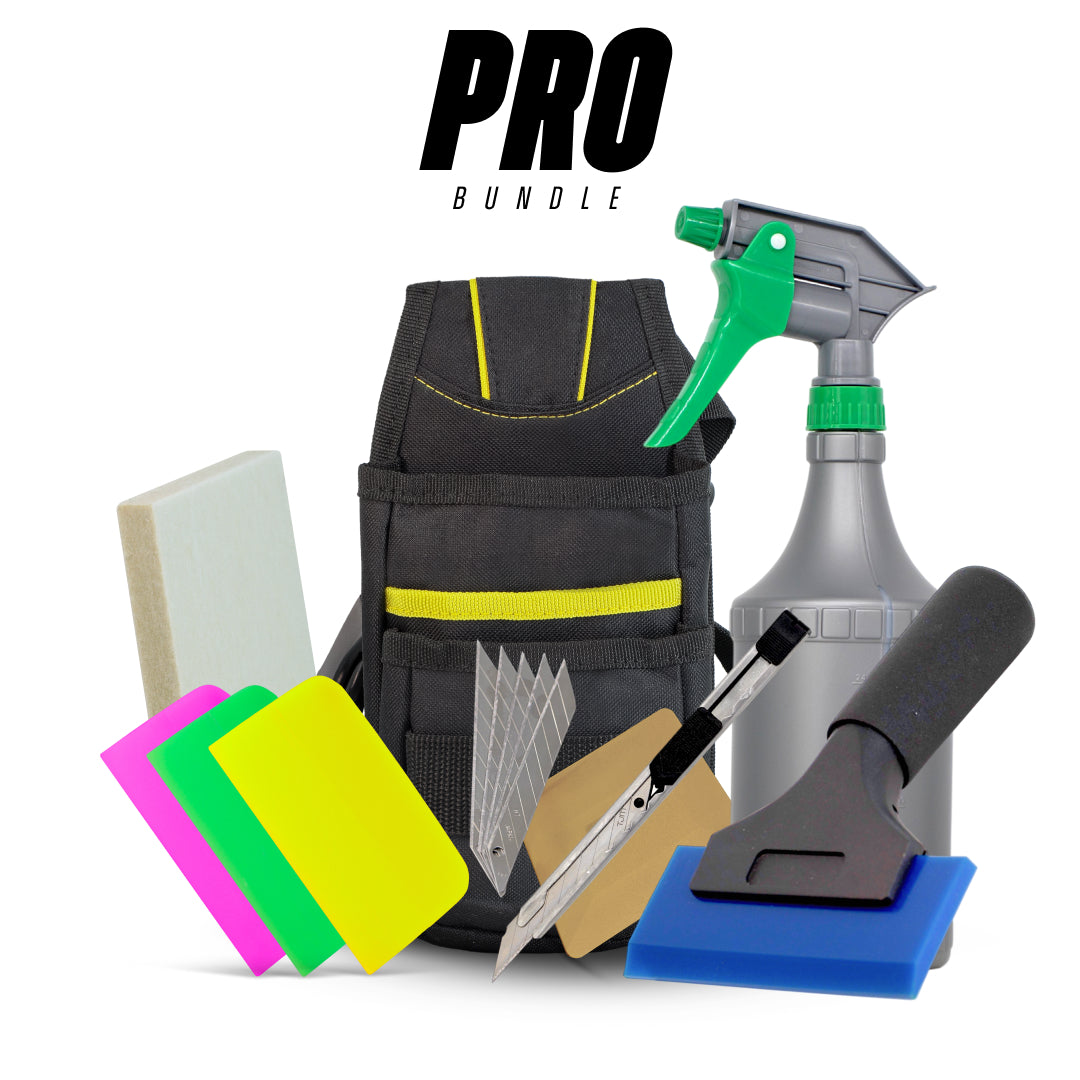
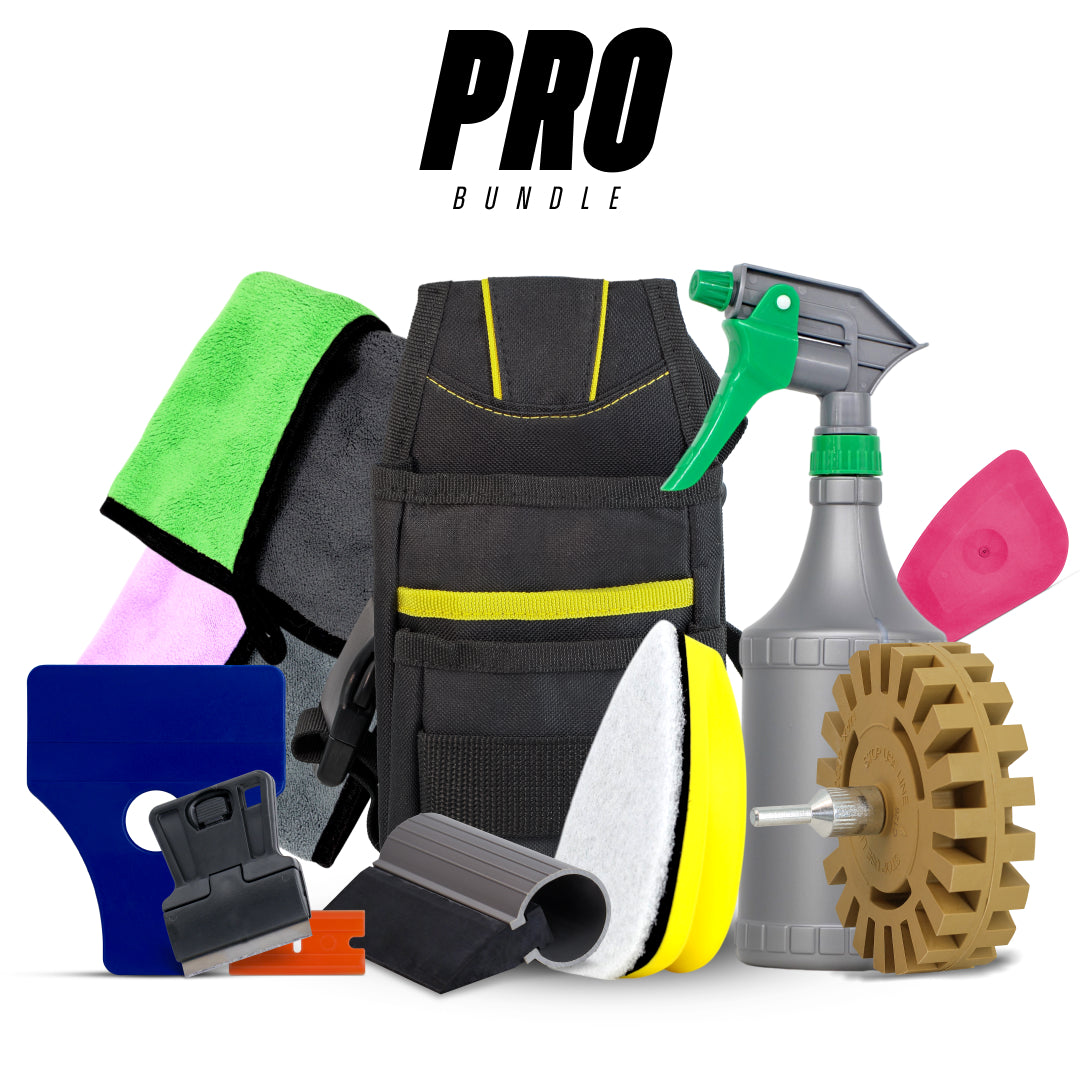
Mid-range kits strike a balance between affordability and functionality. These kits include:
Multiple squeegees (with felt edges)
Heat gun with adjustable settings
Wrap gloves
Knifeless tape
Magnets for positioning
Spray bottle and cleaning cloths
These are perfect for enthusiasts who want to wrap their own vehicles or tackle more advanced projects. The tools are more durable and versatile compared to entry-level kits.
Pros: Comprehensive, good quality, great for DIY car wraps
Cons: Slightly higher price, may still lack professional-grade extras
Professional Kits for Installers
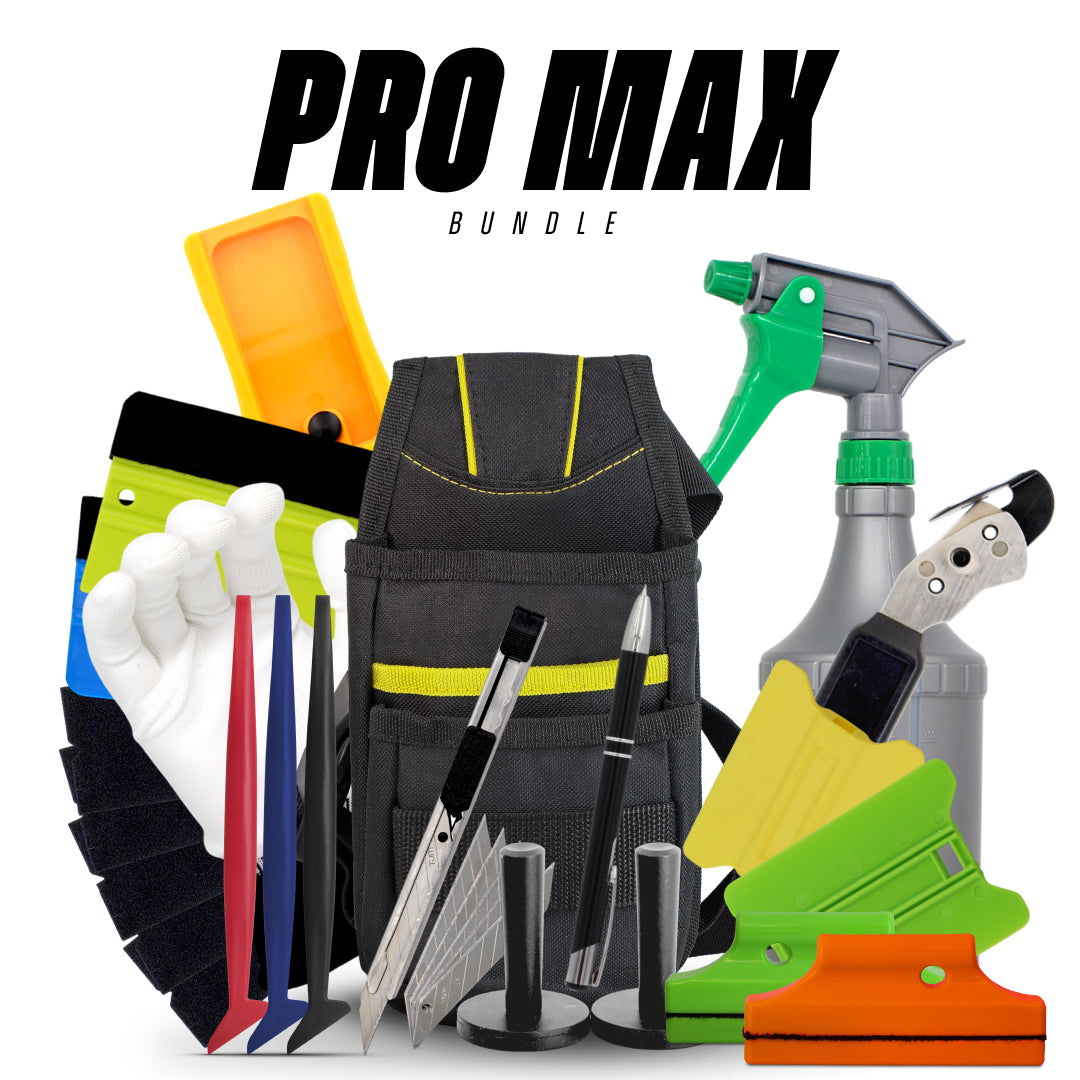
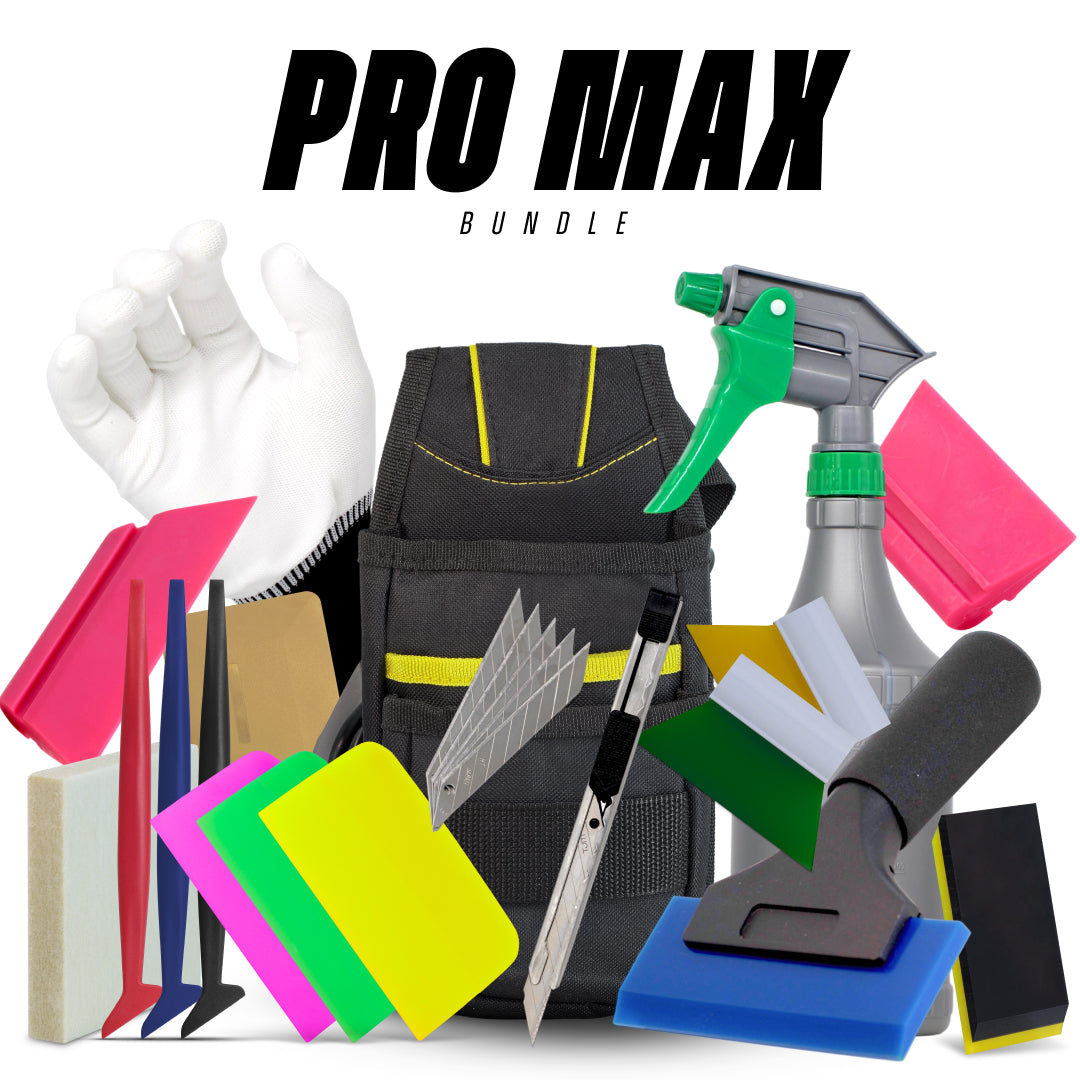
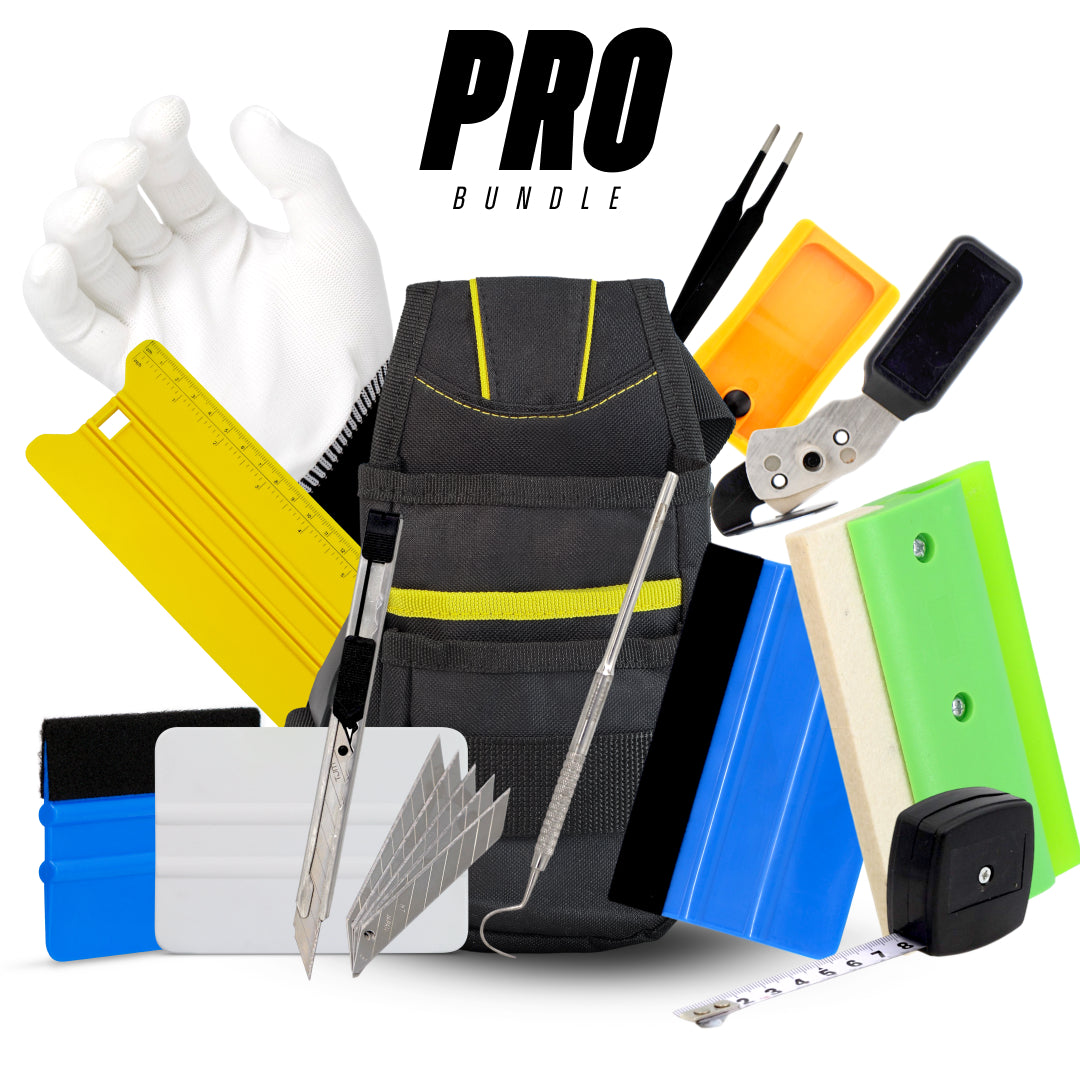
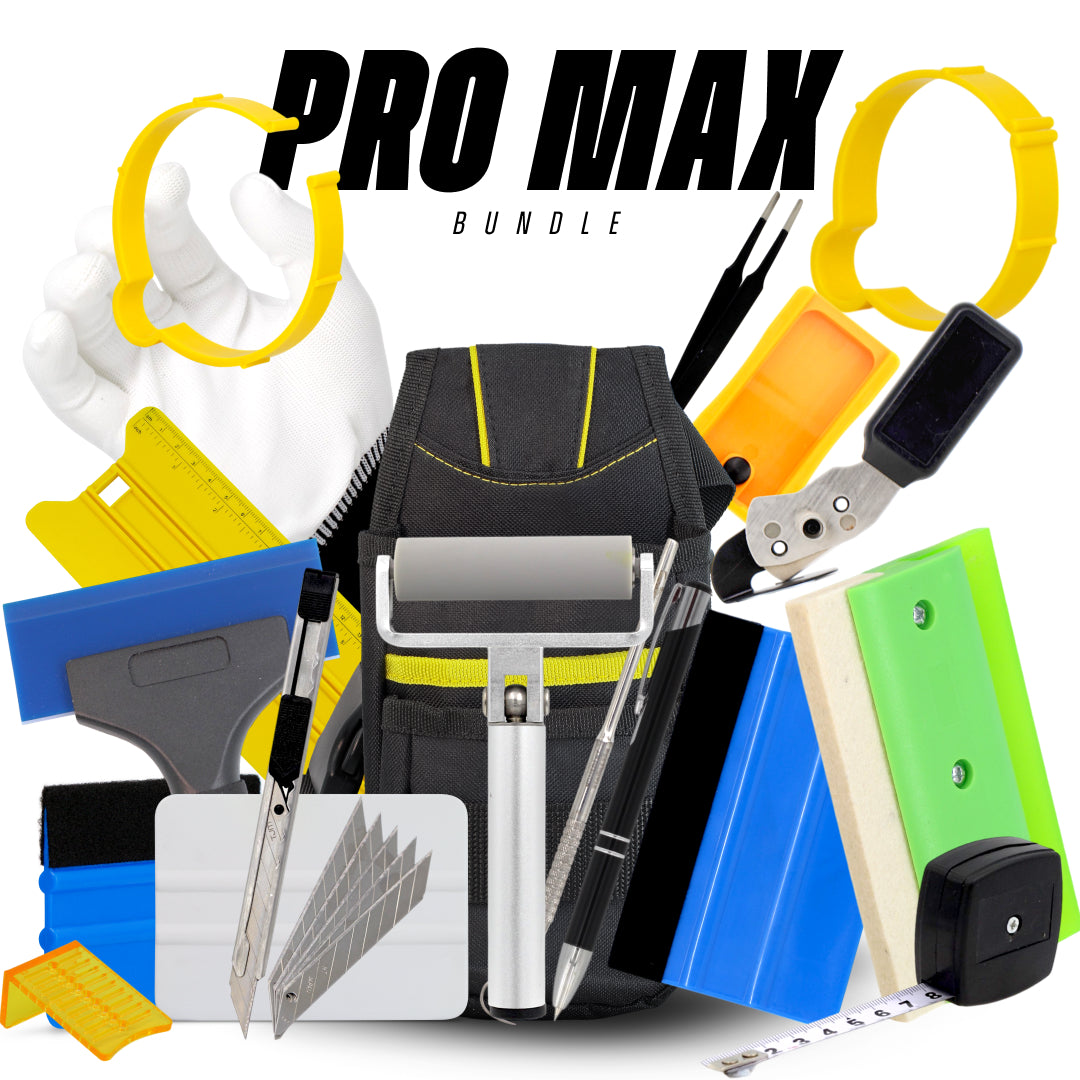
Professional kits are built for speed, precision, and long-term use. They often include high-quality, specialized tools such as:
Multiple squeegees of different hardness levels
Precision utility knives with extra blades
Infrared thermometer
Knifeless tape varieties
Wrap sticks for edges and corners
Vinyl roll holder
Heavy-duty heat gun
These kits are ideal for businesses or individuals planning to wrap cars frequently. The tools are designed for heavy use and deliver professional finishes with fewer mistakes.
Pros: Durable, complete, ideal for business use
Cons: Higher cost, more tools than a casual user might need
How to Choose the Best Vinyl Wrap Tool Kit for Your Needs
Factors to Consider Before Buying
Not every vinyl wrap kit is created equal, so choosing the right one requires a little thought.
Here are the main factors to consider:
Your Skill Level: Beginners don’t need every advanced tool right away, while professionals can’t afford to skimp on quality.
Project Size: Wrapping a phone or laptop requires fewer tools than a full vehicle wrap.
Budget: Higher-end kits offer durability and efficiency, but if you’re experimenting, a starter kit may suffice.
Durability: Cheap tools often wear out quickly, costing more in the long run.
Tool Variety: Look for kits with squeegees, knives, and heat tools at minimum.
Common Mistakes to Avoid When Choosing Tools
Many beginners make mistakes when buying kits. Some of the most common include:
Choosing only based on price: The cheapest kits often sacrifice quality.
Ignoring squeegee quality: A poor squeegee can ruin an otherwise perfect wrap.
Skipping the heat gun: Without proper heat, vinyl won’t conform correctly.
Forgetting extra blades: Dull blades cause jagged cuts and wasted material.
Learning from these mistakes ensures you invest wisely and avoid frustration later.
Step-by-Step Vinyl Wrap Installation Guide (Using Your Kit)
Surface Preparation and Cleaning
Before you even touch the vinyl film, preparation is key. A dirty surface is the number one cause of bubbles, poor adhesion, and peeling wraps.
Steps for proper prep:
Wash the vehicle thoroughly: Use soap and water to remove dirt and grime.
Degrease the surface: Wipe with isopropyl alcohol or a specialized vinyl wrap cleaner.
Dry completely: Moisture under the vinyl can cause lifting.
Inspect the surface: Remove wax, polish, or contaminants that may interfere with adhesion.
A little extra time spent on preparation can save hours of frustration later. Think of it like painting a wall, if you don’t sand and prime first, no amount of high-quality paint will hide imperfections.
Vinyl wrap cleaning tools for perfect surface prep →
Measuring and Cutting the Vinyl
Once the surface is clean, it’s time to measure and cut your vinyl. This step is all about accuracy:
Use a tape measure to determine the dimensions of each panel.
Cut slightly larger than needed, excess can be trimmed later.
Keep pieces organized by labeling them if wrapping multiple panels.
A sharp utility knife or precision cutter is essential here. Dull blades cause jagged edges, which not only look bad but can also lead to peeling.
Pro tip: Always cut on a flat, clean surface to avoid contaminating the adhesive.
Applying the Vinyl with Heat and Squeegee
Now comes the fun part, actually applying the vinyl.
Position the vinyl: Use magnets or masking tape to hold it in place.
Peel and stick gradually: Remove the backing paper in sections instead of all at once.
Use the squeegee: Work from the center outward, pushing out air bubbles as you go.
Apply heat: Use the heat gun to soften the vinyl, especially on curves and corners.
Patience is key here. Rushing can lead to wrinkles, trapped air, and misaligned edges. Professionals often say wrapping is like ironing clothes, you want smooth, even strokes without rushing the process.
Trimming and Finishing Touches
The final step is trimming and sealing the edges. Use a sharp knife or knifeless tape for clean cuts along panel lines, handles, and edges. Apply post-heat to set the adhesive fully, especially on stretched areas.
Maintenance and Care of Vinyl Wrap Tools
Proper Storage of Tools
Once you’ve invested in a good vinyl wrap tool kit, the last thing you want is to shorten its lifespan through poor storage. Just like a mechanic treats wrenches and sockets with care, a wrapper should protect their squeegees, knives, and heat guns.
Start with a dedicated storage box or pouch. Many professional kits already come with one, but if yours doesn’t, it’s worth buying separately. Knives should be stored with blade covers to prevent dulling or accidental cuts. Heat guns should be placed in a cool, dry area away from moisture and dust.
Keeping tools organized not only prevents damage but also saves time. Imagine being mid-install and scrambling around for the right squeegee, it slows you down and adds stress. Proper storage ensures everything is within reach when you need it.
For long-term storage, avoid damp environments, as moisture can rust blades and degrade adhesives on felt-edge squeegees. Think of your tools as investments, treat them right, and they’ll serve you well for years.
Cleaning and Maintaining Tools for Longevity
Even the best tools require upkeep. Vinyl wraps are sensitive materials, and dirty or worn-out tools can cause scratches, streaks, or uneven application.
Here are some maintenance tips:
Squeegees: Wipe down after every use. Replace felt edges when they become dirty or worn.
Knives: Change blades frequently. A dull blade causes jagged cuts and risks tearing vinyl.
Heat Guns: Dust vents regularly to prevent overheating. Never store immediately after use, let it cool first.
Gloves: Wash regularly to remove oils and dirt. Dirty gloves can transfer contaminants to the vinyl.
By keeping tools clean, you maintain the professional finish of your wraps. It’s like sharpening knives in a kitchen, skipping maintenance only makes the job harder and less precise.
When to Replace Old or Damaged Tools
Every tool has a lifespan, and knowing when to replace it is part of being an efficient installer.
Knives and Blades: Replace after 2–3 panels or when cuts become rough.
Squeegees: Replace felt edges once they’re frayed or no longer glide smoothly.
Heat Guns: Replace if they lose temperature consistency or emit strange noises.
Gloves: Replace when holes appear or grip is lost.
Holding onto worn-out tools might feel cost-saving, but it usually leads to poor-quality wraps and wasted vinyl. In the long run, replacing tools on time saves money and frustration.
Double-check corners and seams for bubbles or loose spots. A second pass with the squeegee ensures everything is locked in place.
Once finished, step back and admire your work, you’ve just completed a vinyl wrap installation like a pro.
Future Trends in Vinyl Wrapping Tools
Eco-Friendly Wrapping Tools and Materials
Sustainability is becoming more important across industries, and vinyl wrapping is no exception. Expect to see:
Biodegradable cleaning solutions
Reusable squeegee covers and eco-felt edges
Recyclable packaging for kits
These eco-friendly innovations not only reduce waste but also appeal to environmentally conscious customers.
Technological Innovations in Heat and Cutting Tools
The future of wrapping is looking more high-tech. Some tools already in development include:
Smart heat guns with digital temperature readouts and auto-shutoff features.
Laser-guided cutters for perfectly straight trims.
Battery-powered portable heat tools for mobility.
These advancements will make wrapping faster, safer, and more precise.
Smart Tools for Better Precision and Efficiency
In the near future, we might see tools integrated with smart technology, like:
Bluetooth-enabled thermometers that sync with mobile apps.
Digital measuring tapes with memory functions.
AI-guided cutting tools for flawless patterns.
The industry is evolving quickly, and professional wrappers who embrace new tech will have a strong competitive edge.
FAQs
What is the most important tool in a vinyl wrap kit?
The squeegee is often considered the most important, as it ensures smooth application and removes air bubbles.
Can I wrap my car with just a heat gun and squeegee?
Technically, yes, but without knives, measuring tools, and edge applicators, the results won’t look professional.
How do I choose between different squeegee types?
Use hard squeegees for flat areas, felt-edge squeegees for delicate finishes, and mini squeegees for tight spaces.
How long do vinyl wrap tools usually last?
With proper care, most tools last years. Blades, however, should be replaced frequently for precision cuts.
Conclusion
Vinyl wrapping isn’t just about having the right film, it’s about having the right tools. From basic squeegees and knives to advanced thermometers and wrap sticks, every tool plays a role in achieving a smooth, bubble-free finish. Whether you’re a beginner wrapping your first laptop or a pro running a wrap shop, investing in a proper vinyl wrap tools kit is the key to flawless results, efficiency, and long-term satisfaction.
The bottom line? Tools matter. The right kit can make vinyl wrapping fun, creative, and professional-looking, while the wrong tools can turn it into a frustrating mess. Choose wisely, maintain your tools, and you’ll enjoy wrapping like never before.
You may also like the PPF installation kits with squeegees and blades →
Are you unsure which tool or kit is right for your job?
Our expert team at Oz Sign Supplies is here to help. Reach out today, and we’ll direct you to the best tools to suit your project, ensuring you get the job done right the first time.




Leave a comment
This site is protected by hCaptcha and the hCaptcha Privacy Policy and Terms of Service apply.