


Article: Ultimate Guide to Signage Tools: Everything You Need for Professional Sign Making

Ultimate Guide to Signage Tools: Everything You Need for Professional Sign Making
Signage Tools for Beginners vs Professionals: What’s the Difference?
The sign-making industry has changed dramatically over the last decade. From traditional shopfront signs to vehicle wraps, LED panels, acrylic 3D letters, and full retail interior branding, the demand for high-quality signage continues to explode worldwide. With this growth comes an equally important requirement: the right tools. Using the correct signage tools isn’t just about convenience; it’s the backbone of producing clean, professional, durable signs that clients will proudly display. Whether you’re installing vinyl on a window, fabricating aluminium panels, or attaching acrylic lettering, the quality of your tools directly influences the final result.
A well-equipped sign maker can work faster, reduce mistakes, and produce consistent results across every project. On the other hand, poor-quality or improper tools often lead to bubbling, crooked installations, uneven cuts, wasted material, and disappointed customers. Think of signage tools as the “invisible craftsmanship” behind every sign, the part clients never see but always feel in the final product.
This guide was designed to help beginners, small businesses, and established professionals understand exactly which sign-making tools matter most. Throughout this article, you’ll discover detailed explanations, step-by-step usage tips, comparisons, maintenance advice, and buying recommendations. Every section is crafted with human-level storytelling, practical insights, and real-world examples.
If you’ve ever wondered why your vinyl sometimes bubbles despite your best efforts, or why your acrylic letters never seem perfectly aligned, or even why two squeegees that look identical deliver completely different results, this guide will answer every question.
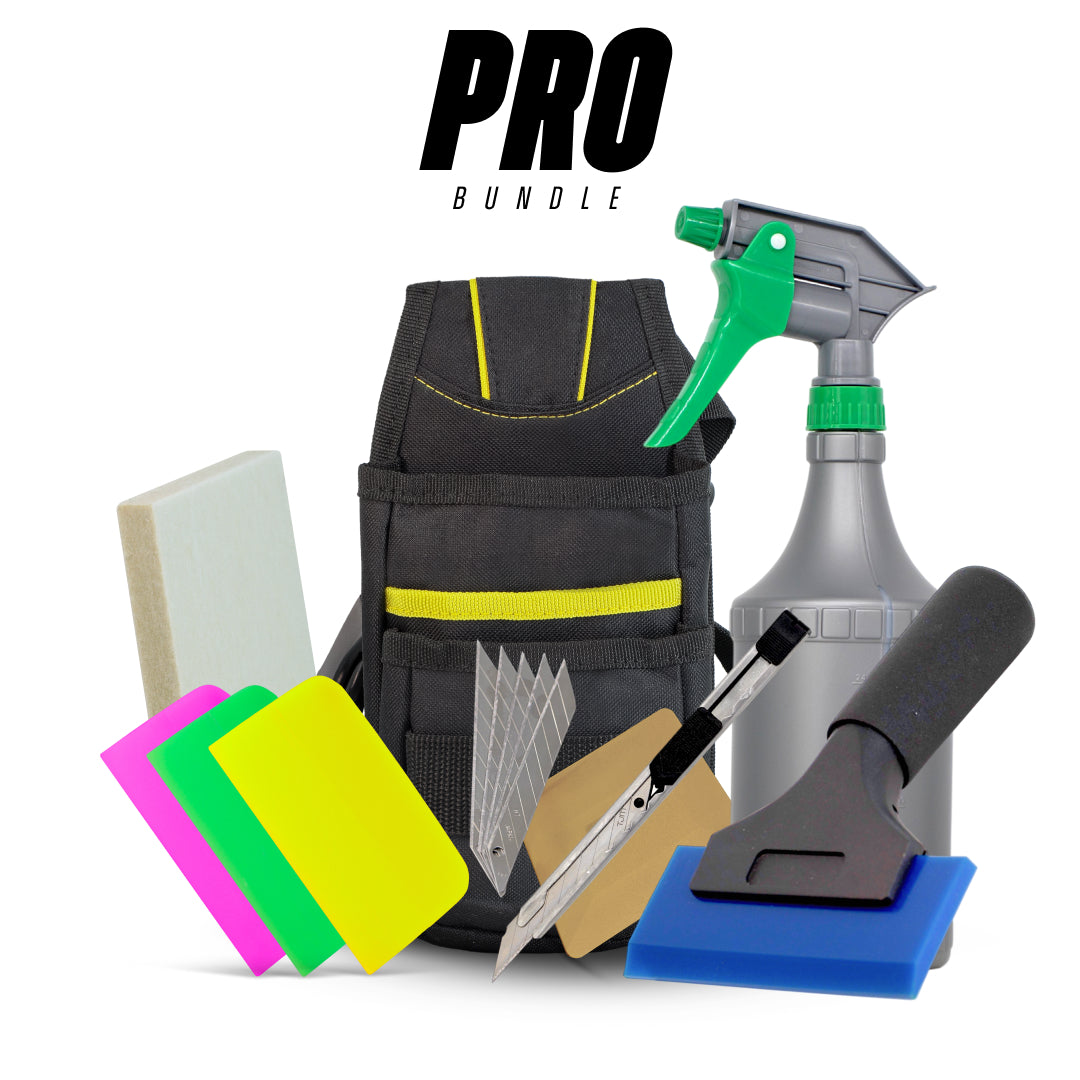
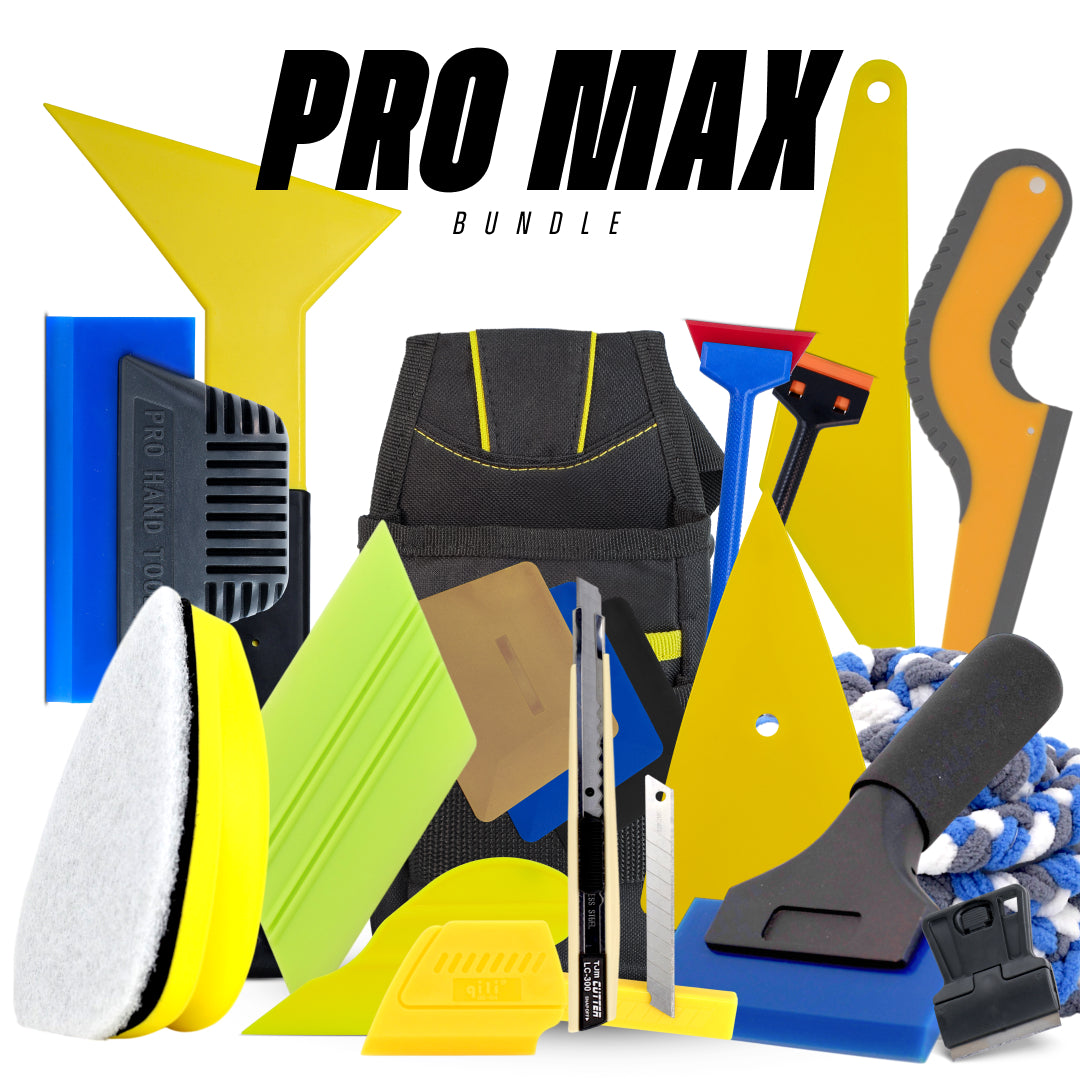
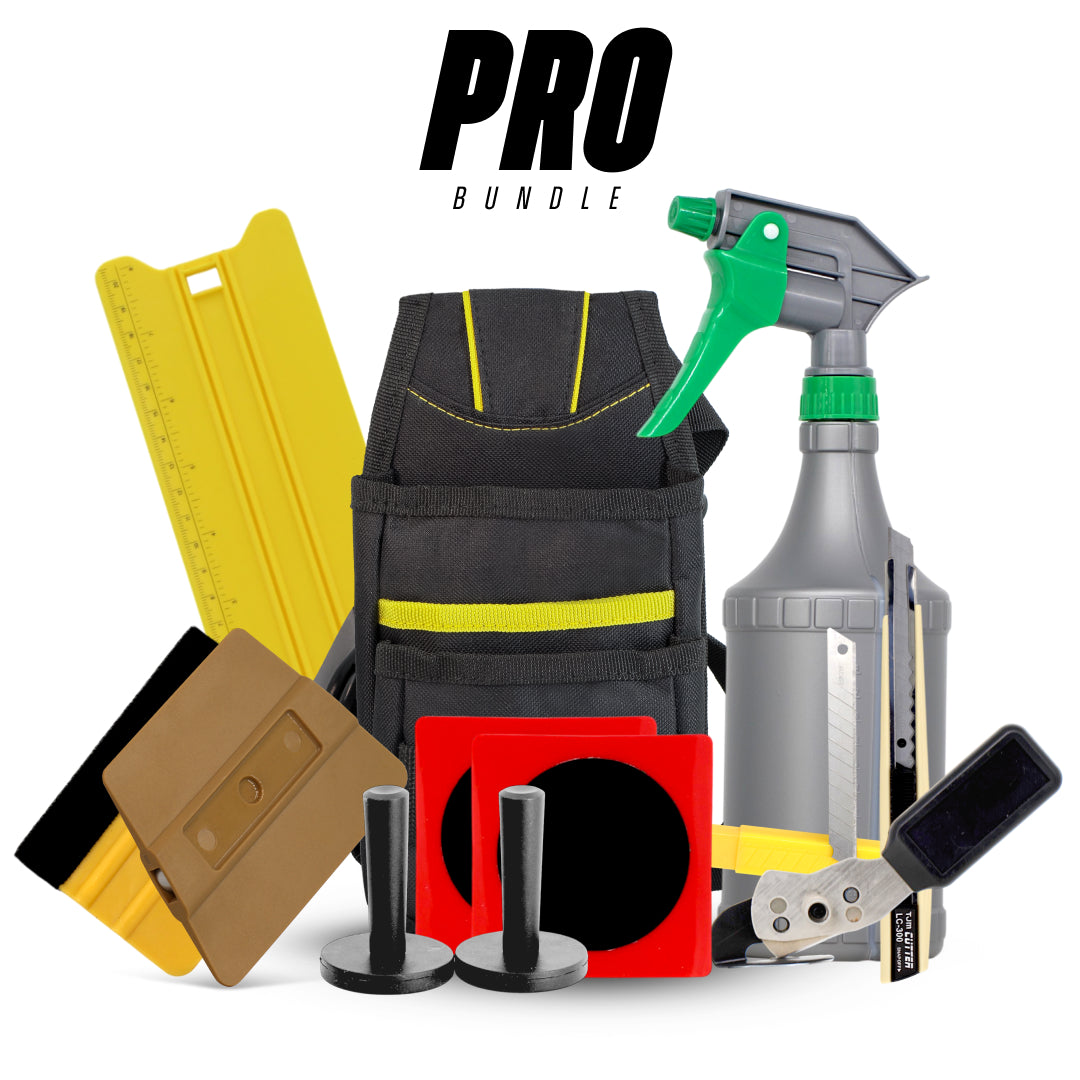
If you’re looking to build a professional setup from the ground up, our full range of signage tools includes everything from squeegees and cutters to application aids designed for sign makers of all experience levels →
Whether you're building your first sign-making toolkit or upgrading for more professional-level installations, this Ultimate Guide to Signage Tools will show you everything you need to know.
Essential Signage Tools Every Sign Maker Should Own
Every sign maker, whether a beginner setting up a small workshop or a seasoned professional installing signs daily, needs a reliable collection of essential tools. These tools form the foundation of accurate cutting, smooth vinyl application, proper measurement, and clean installation. Without them, even the most skilled sign maker will struggle to produce quality results. What separates a good sign from a mediocre one often comes down to how effectively these core tools are used. Let’s break down each major category and why it matters.
First, cutting tools are the heart of any sign-making setup. Utility knives, precision cutters, and rotary trimmers ensure you can cut vinyl, weed excess material, trim edges, and shape signage substrates with clean lines. A sharp blade is crucial, dull blades cause tearing, uneven cuts, or frayed edges, which instantly make a sign look unprofessional. Professionals often carry multiple knife types with varying blade thicknesses for different materials such as vinyl, laminate, foam board, corrugated plastic, and even thin aluminium sheets. A cutting mat also protects surfaces and provides grid lines to maintain accuracy.
Next comes measuring tools, which are essential for alignment, scaling, and ensuring everything is perfectly straight. Many installers rely on tape measures, T-squares, rulers, spirit levels, and laser alignment tools for high-precision installations. A sign can be beautifully designed, but if installed crooked, it loses all visual impact. Professional-grade rulers often include anti-slip backing, and laser levels ensure consistent horizontal and vertical alignment across shopfront windows or wall spaces.
Application tools such as squeegees, felt-edge applicators, magnets, and application tapes are used to apply vinyl smoothly, remove bubbles, and keep graphics in place during installation. Squeegees come in different hardness levels for various films and surfaces, and magnets act as an extra set of hands during large installations. Meanwhile, a reliable heat gun softens vinyl during wrapping or helps remove old graphics cleanly.
Finally, safety gear such as gloves, cut-resistant sleeves, eyewear, and ladders may not be as exciting but are essential for protection. Many sign installers work on elevated surfaces, sharp materials, or heating equipment, making safety preparation non-negotiable.
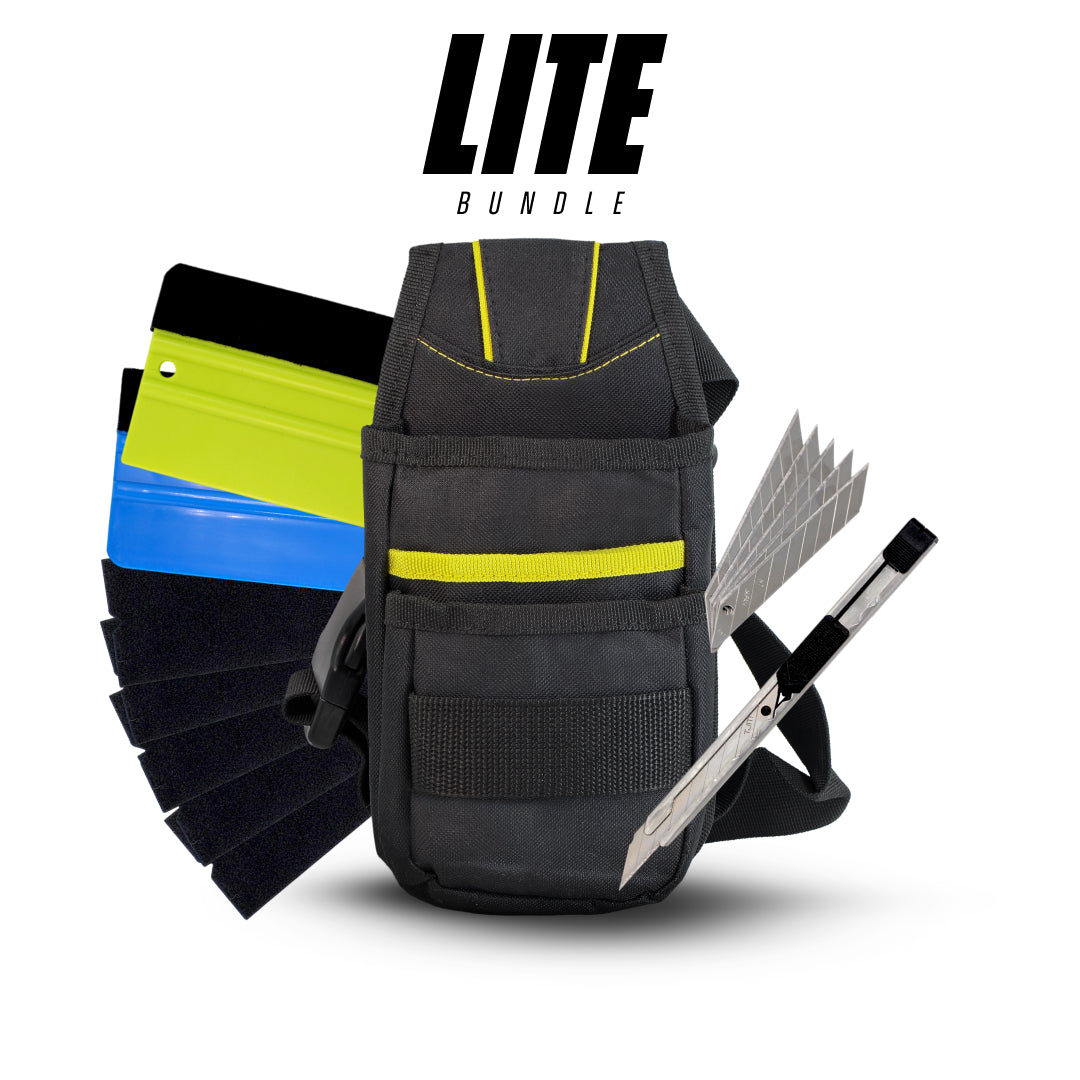
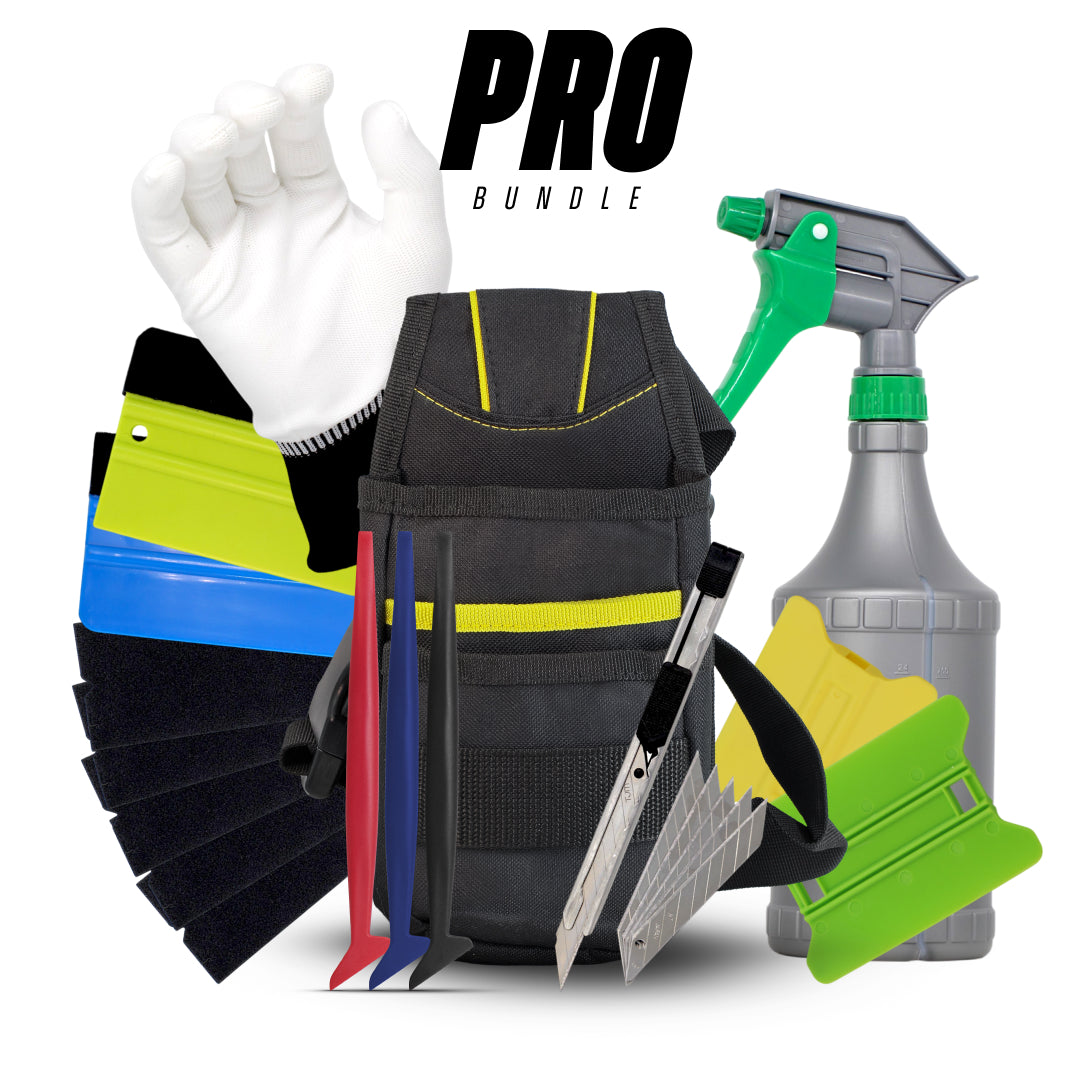
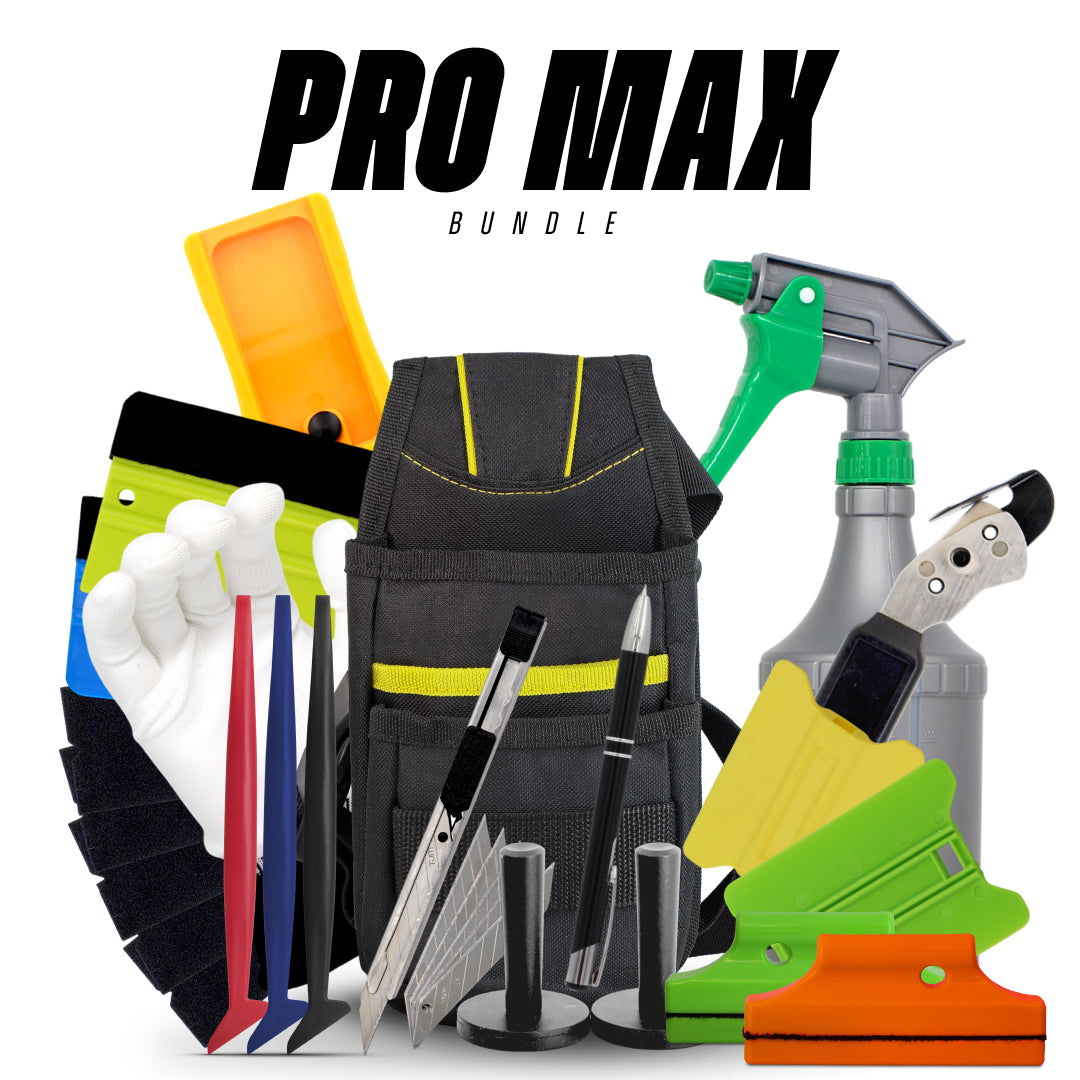
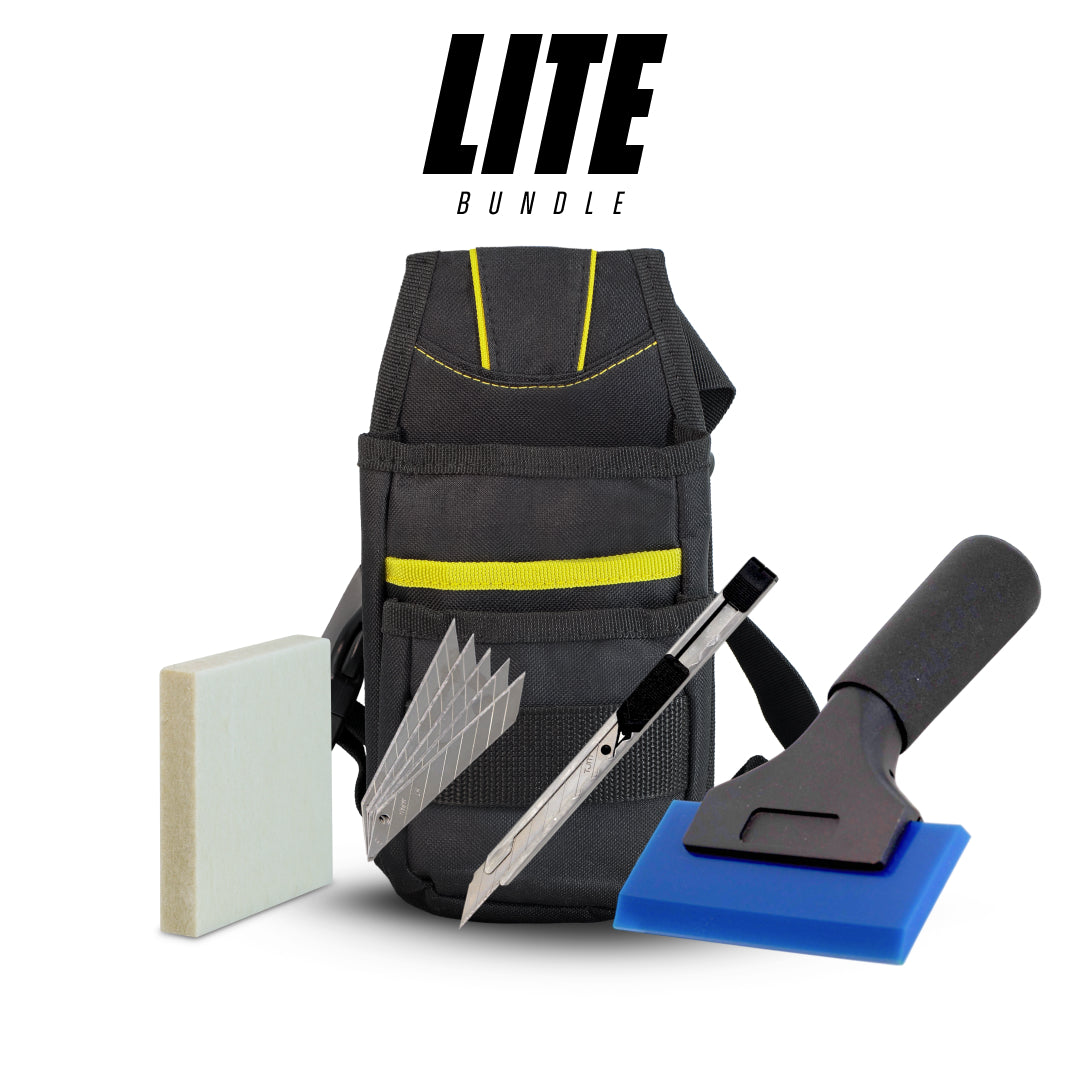
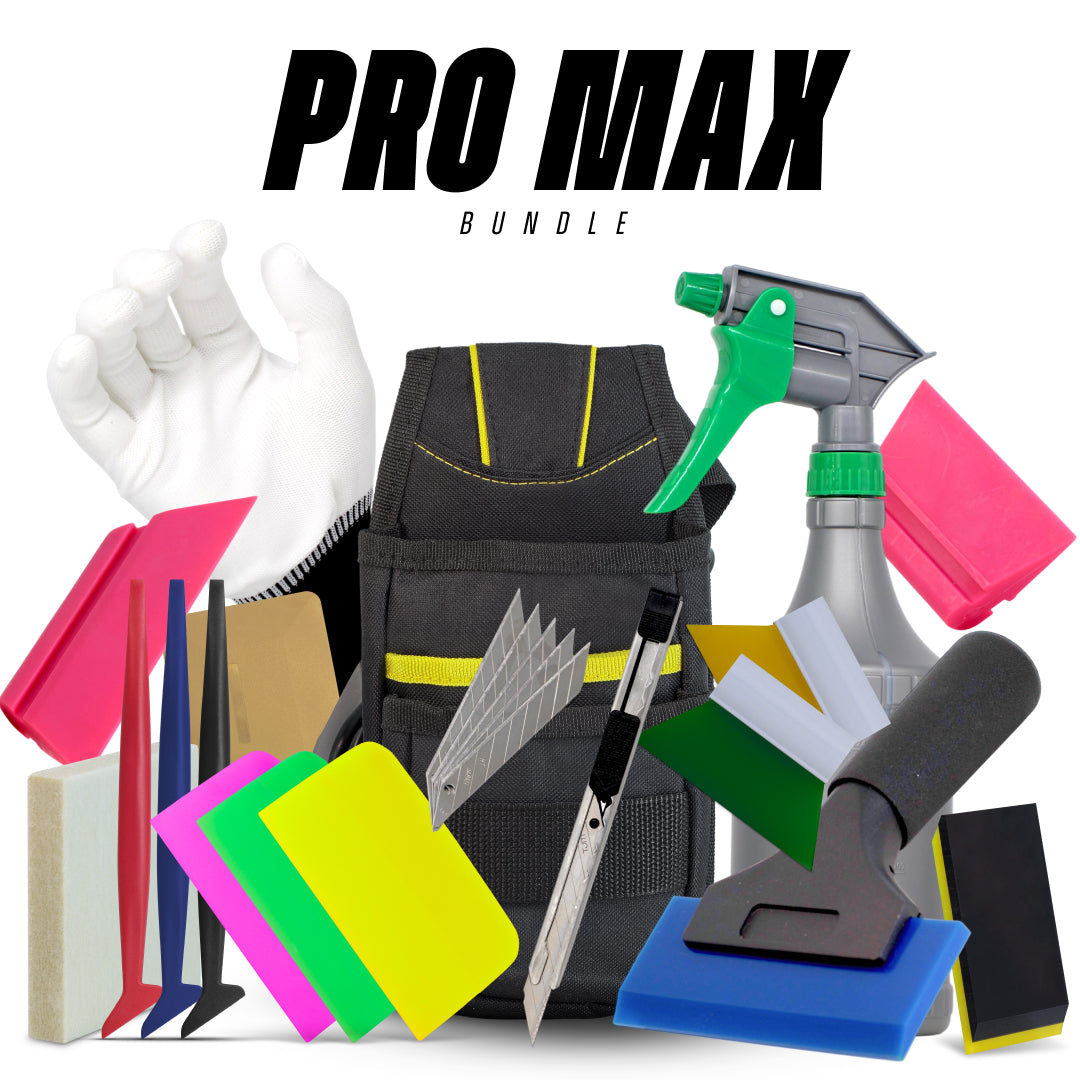
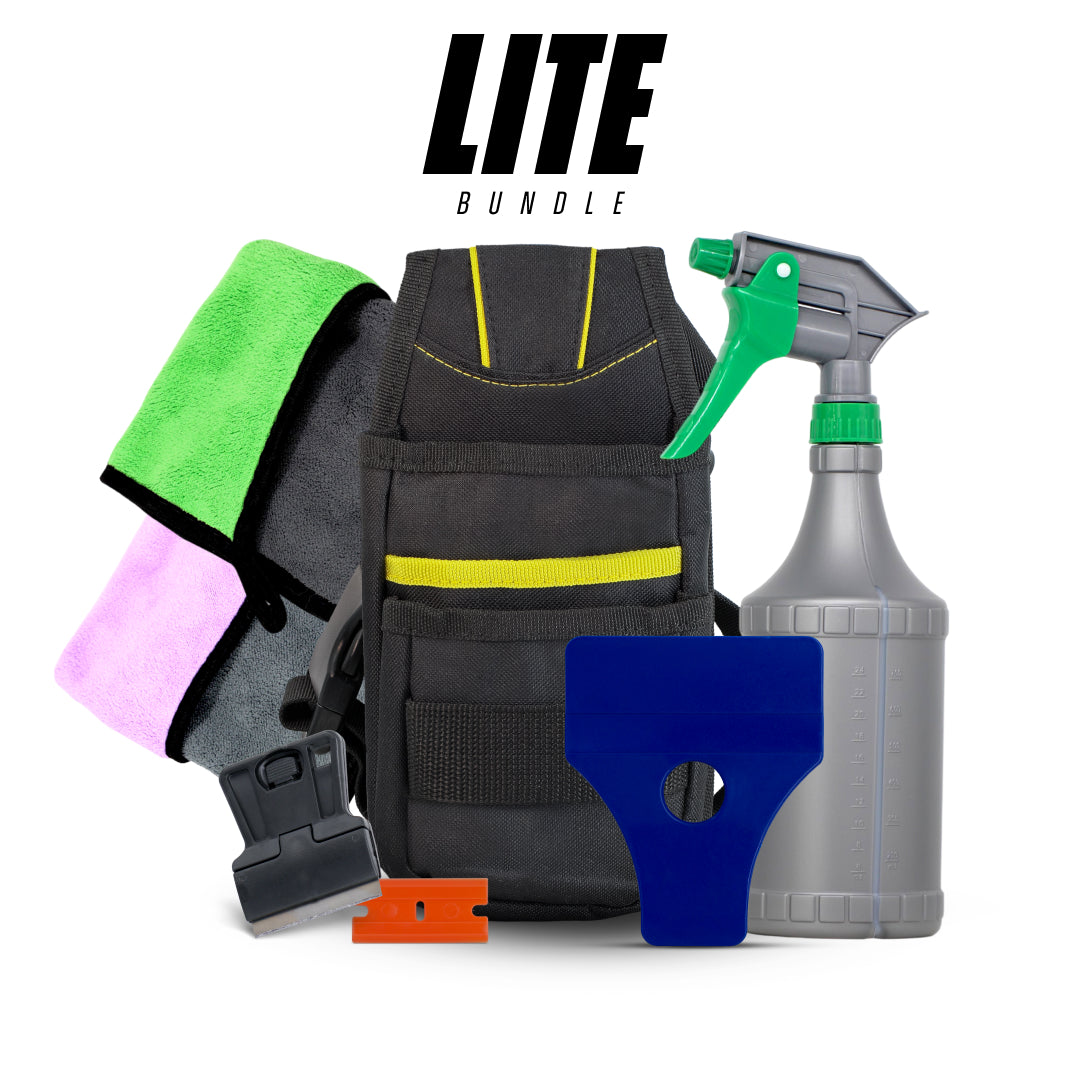
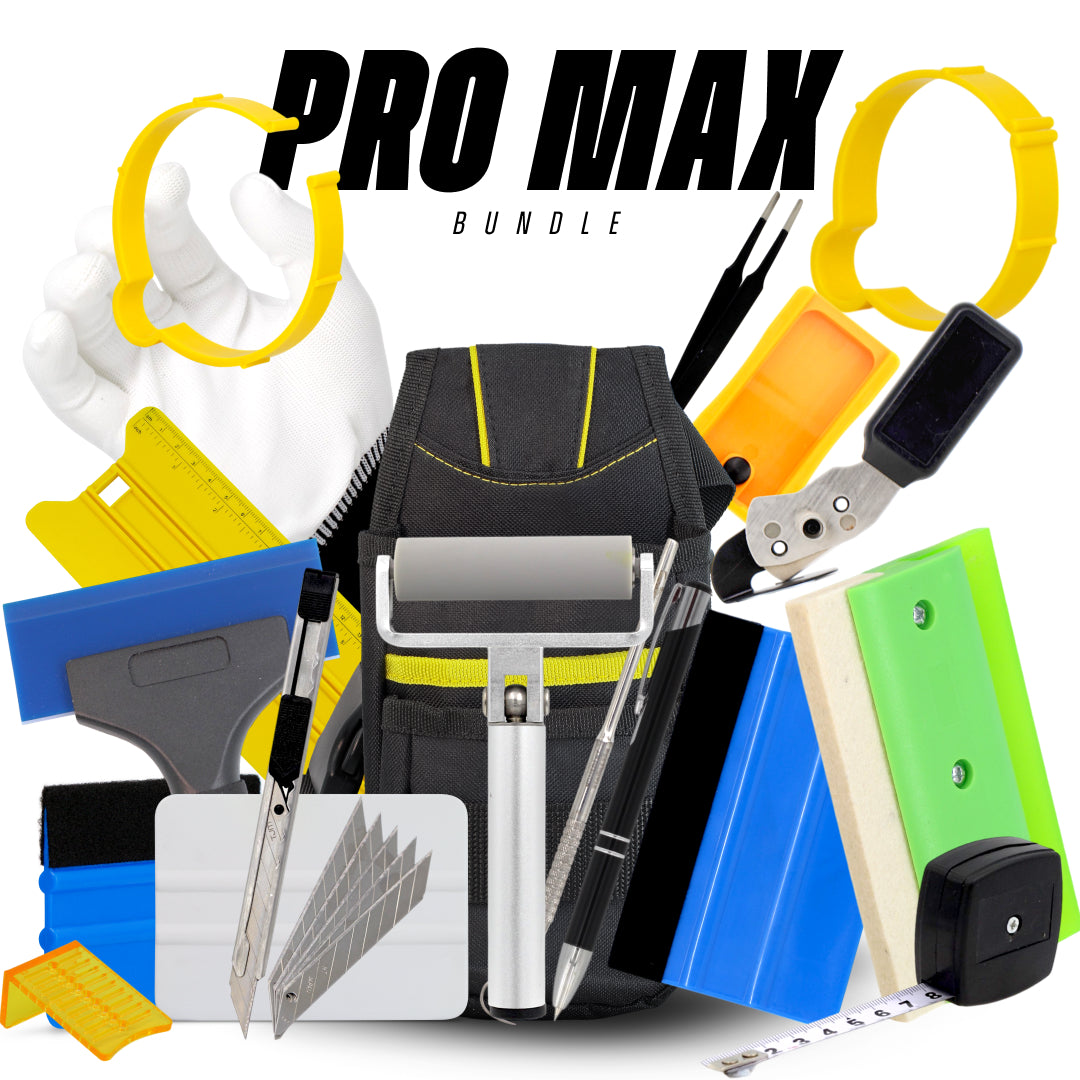
For sign makers who want a ready-to-go solution, our signage tool kits bundle essential tools together, helping you save time and ensure consistency across every project →
These essential tools form the backbone of any sign-making workflow. Having them readily available ensures a smoother, faster, and more professional outcome, no matter the size or type of signage project.
How to Choose the Right Signage Tools for Vinyl, Acrylic & Aluminium Signs

Choosing the right signage tools depends heavily on the type of material you’re working with. Vinyl, acrylic, and aluminium each require their own approach because they behave differently during cutting, handling, and installation. Many beginners make the mistake of using the same tools for all materials, which often leads to poor cuts, scratches, bubbles, warping, or even damaged signage panels. Understanding how each material responds will not only improve your results but also extend the lifespan of your tools. Let’s break down what you need to know for each type of sign material.
When working with vinyl, flexibility and precision are key. Vinyl is thin, sensitive to pressure, and easily damaged by rough or hard surfaces. This means you need tools that are gentle yet effective. Soft-edge or felt-tip squeegees are critical to avoid scratches during application, especially when installing premium films like wrap vinyl or cast vinyl. Precision cutting tools such as hobby knives, snap-off blades, and weeding picks help you remove excess vinyl cleanly. A reliable heat gun is also essential to soften vinyl during curved installations or to fix small bubbles and creases. Because vinyl stretches when heated, you need temperature-controlled heat guns to avoid overheating. Additionally, using high-quality transfer tape ensures crisp and accurate positioning of lettering and decals.
For acrylic signs, the priority shifts toward rigidity and crack prevention. Acrylic scratches very easily and can snap if cut with the wrong tools. This material requires tools like plastic-safe cutting blades, acrylic scoring tools, and polishing equipment for smooth edges. You may also need rubber-coated clamps to hold acrylic panels without scratching them. When mounting acrylic letters or signage, measuring tools such as laser levels and alignment templates ensure precise spacing. Installers often use VHB tape, stud mounts, or chemical adhesives for secure mounting, all of which must be applied with meticulous accuracy. Heat guns should be used sparingly on acrylic, as excessive heat can warp or discolor the material.
Working with aluminium requires completely different tools due to its density and durability. Aluminium panels and composite materials like ACM (Aluminium Composite Material) need heavy-duty cutting tools such as jigsaws, panel saws, or scoring knives specifically designed for metal. Metal deburring tools help clean up edges after cutting. For installation, strong drills, rivets, screws, and mounting brackets become essential. Aluminium signs also require corrosion-resistant hardware, especially for outdoor installations. Because aluminium reflects heat and can expand outdoors, professionals rely on laser levels and templates to prevent misalignment during installation.
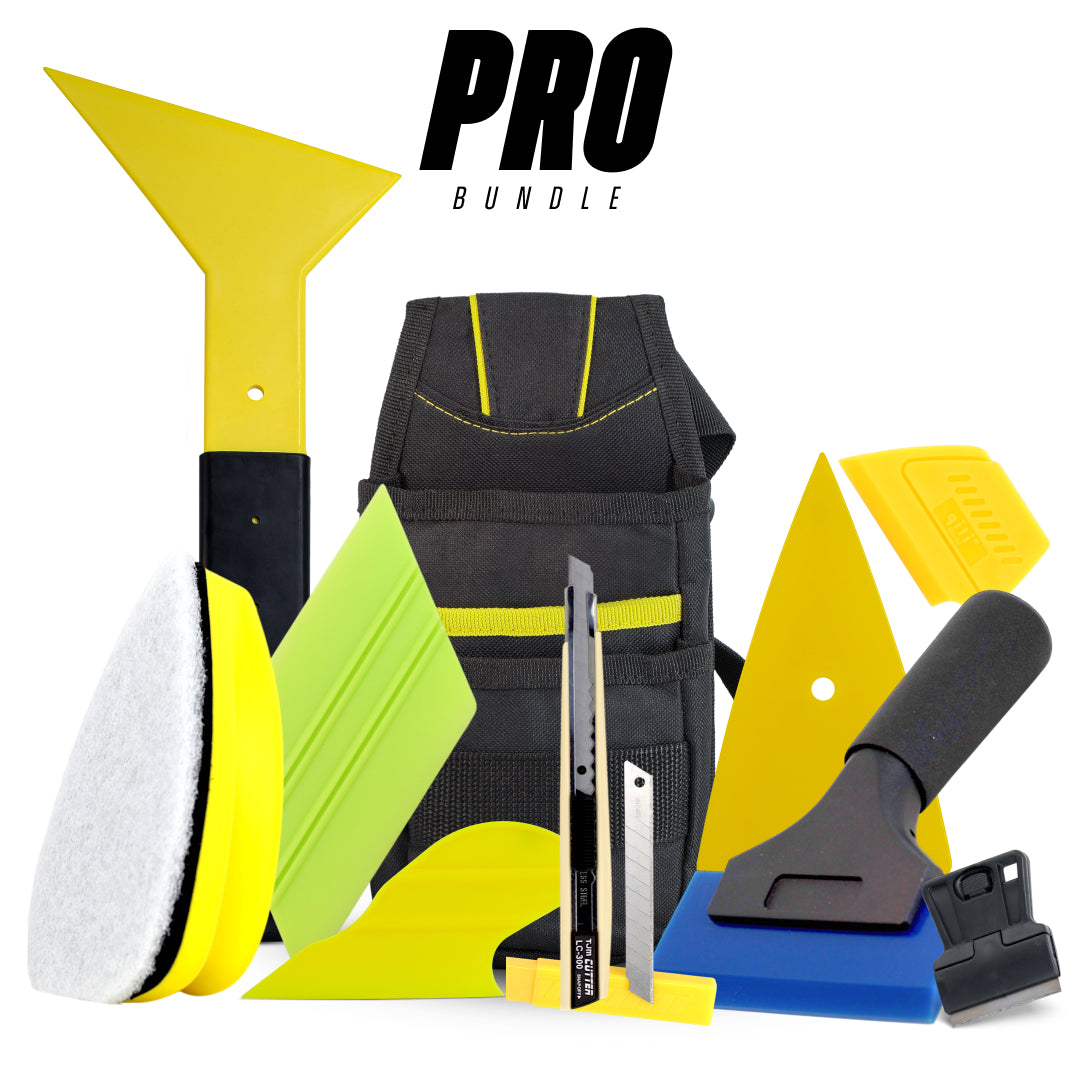
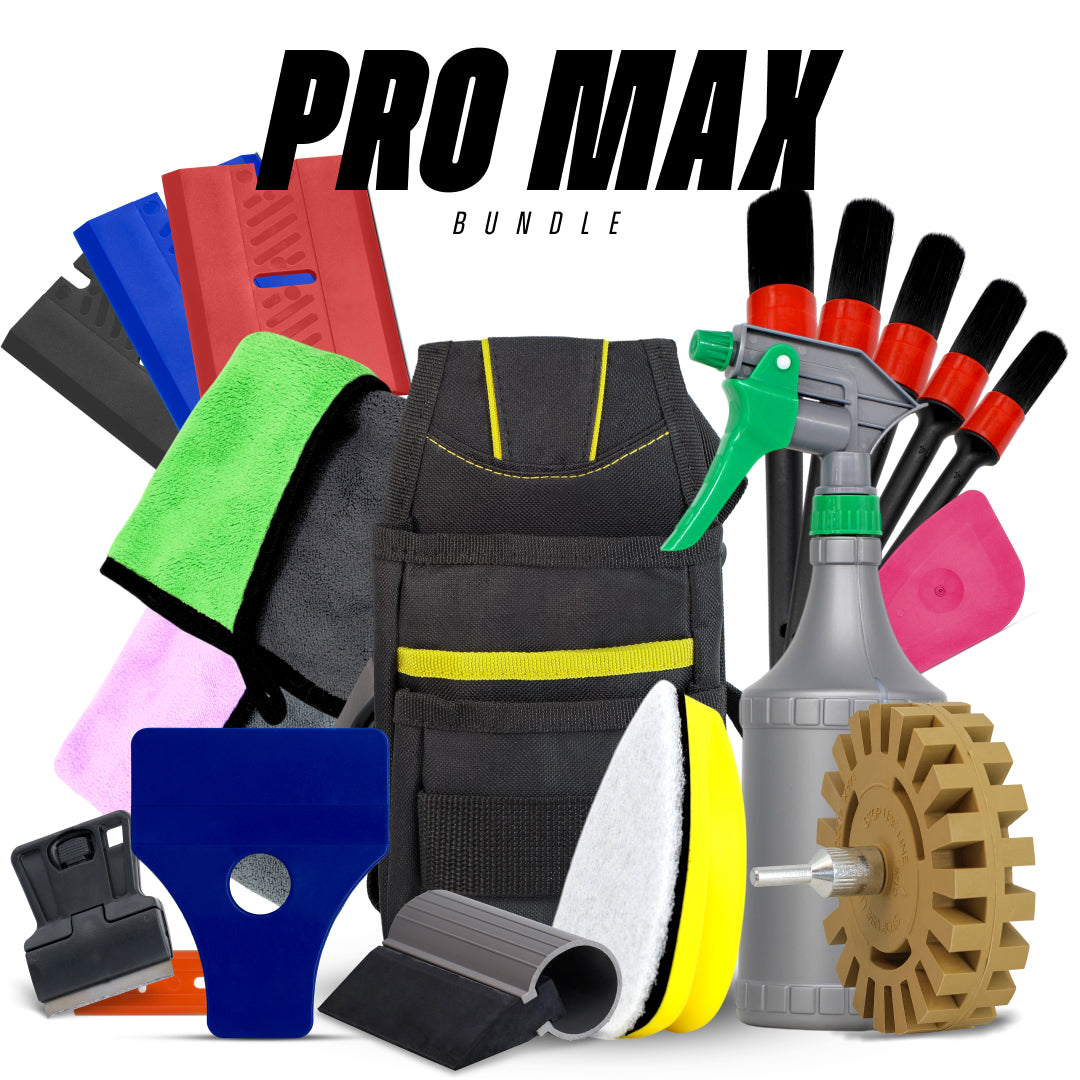
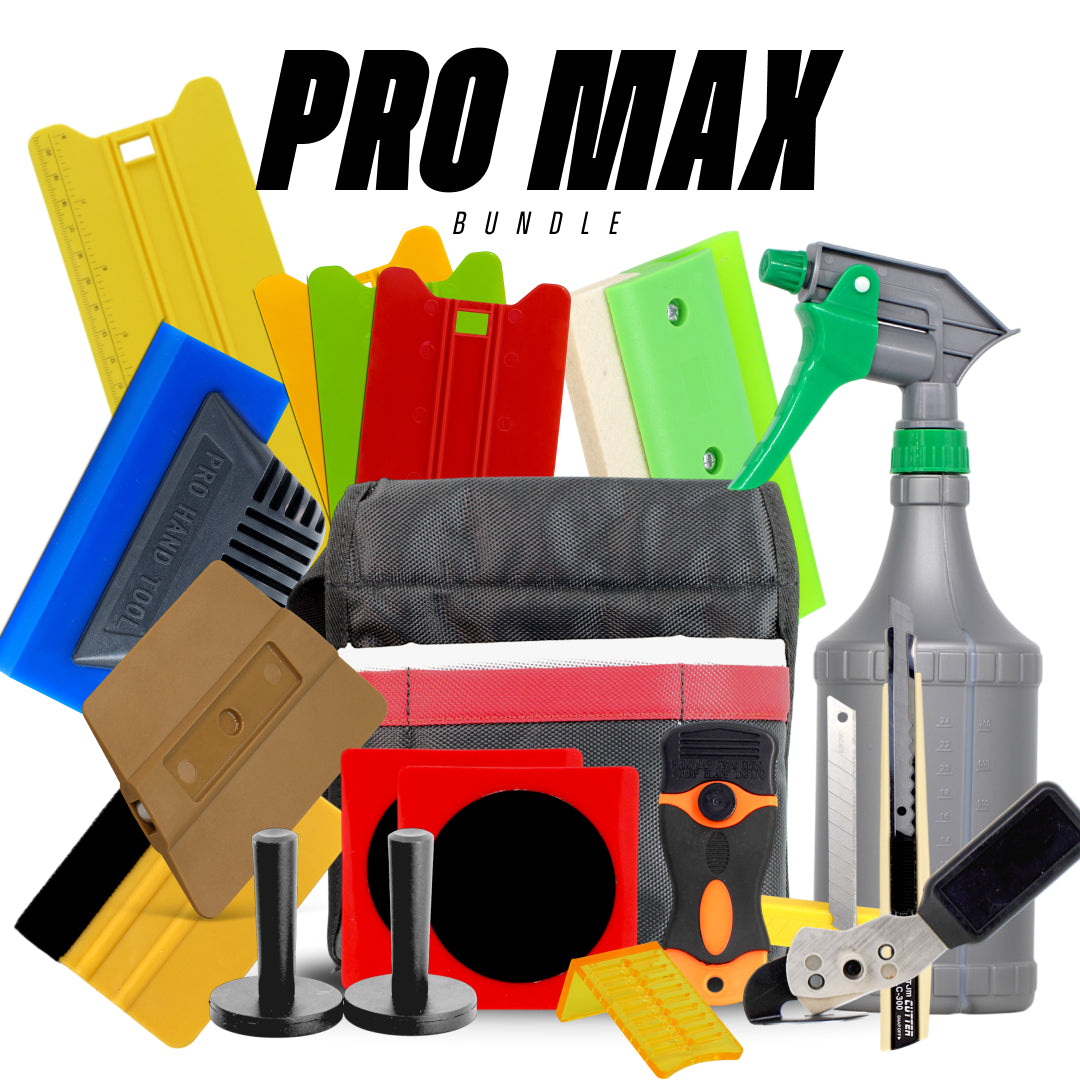
A high-quality sign squeegee is essential for smooth vinyl application, allowing you to eliminate bubbles, apply even pressure, and achieve a clean, professional finish on flat signage surfaces →
By choosing the right tools for each material, you’ll reduce mistakes, improve finish quality, and save time on every project. Matching your tools to the material isn’t just smart, it’s essential for producing long-lasting, professional signage.
Top Sign Installation Tools for Fast, Accurate & Bubble-Free Results
Installing signage is where the real magic happens. Even if the design is flawless and the cutting is perfect, a poor installation can ruin the final result instantly. This is why professional sign makers rely on a set of high-quality installation tools that help them achieve clean, bubble-free, perfectly aligned installations every time. Whether you’re installing vinyl graphics, aluminium panels, acrylic letters, or large-format prints, the right tools dramatically improve speed, precision, and consistency. Let’s explore the most important installation tools and how they contribute to flawless results.
One of the most essential tools is the squeegee, which plays a central role in vinyl application. A professional-grade squeegee helps press vinyl firmly onto a surface while pushing out trapped air. Installers often carry multiple squeegees with different hardness levels, soft squeegees for delicate films and curved surfaces, medium-hardness for general use, and hard squeegees for rigid substrates. Many pros also use felt-edge squeegees to prevent scratching when working with glossy, metallic, or laminated vinyl. Modern squeegees with replaceable edges offer longer life and consistent performance, making them a worthy investment.
Another indispensable tool is the installation magnet. These powerful magnets act like a second pair of hands, holding vinyl graphics in place on metal surfaces during positioning. They’re especially useful during vehicle installs or long window graphics where precision is key. Magnets allow installers to reposition large graphics multiple times without relying on tape alone. This reduces mistakes and provides greater control over alignment.
For accurate measuring and leveling, installers use laser levels, spirit levels, and measuring tapes. Laser levels project straight lines across walls or windows, helping ensure that lettering, panels, or decals are perfectly aligned. Shopfront signage, indoor office signs, and directional signs benefit greatly from tools that maintain consistent horizontal and vertical alignment. Even a slight tilt can be noticeable, so precision is non-negotiable.
Heat guns are another crucial installation tool. A heat gun softens vinyl, helping it stretch smoothly over textured surfaces, curves, or edges. It also helps remove bubbles and creases after application. Advanced heat guns with digital temperature control are preferred because they prevent overheating, which can distort vinyl or damage the surface underneath.
Finally, application tapes, masking tapes, and hinge techniques ensure smooth transfer of vinyl lettering and decals. Strong, residue-free masking tape allows installers to secure graphics temporarily and lift sections without losing alignment. Foam rollers, trimming tools, and cleaning solutions also support the installation process by ensuring edges are clean, surfaces are dust-free, and trimming is precise.
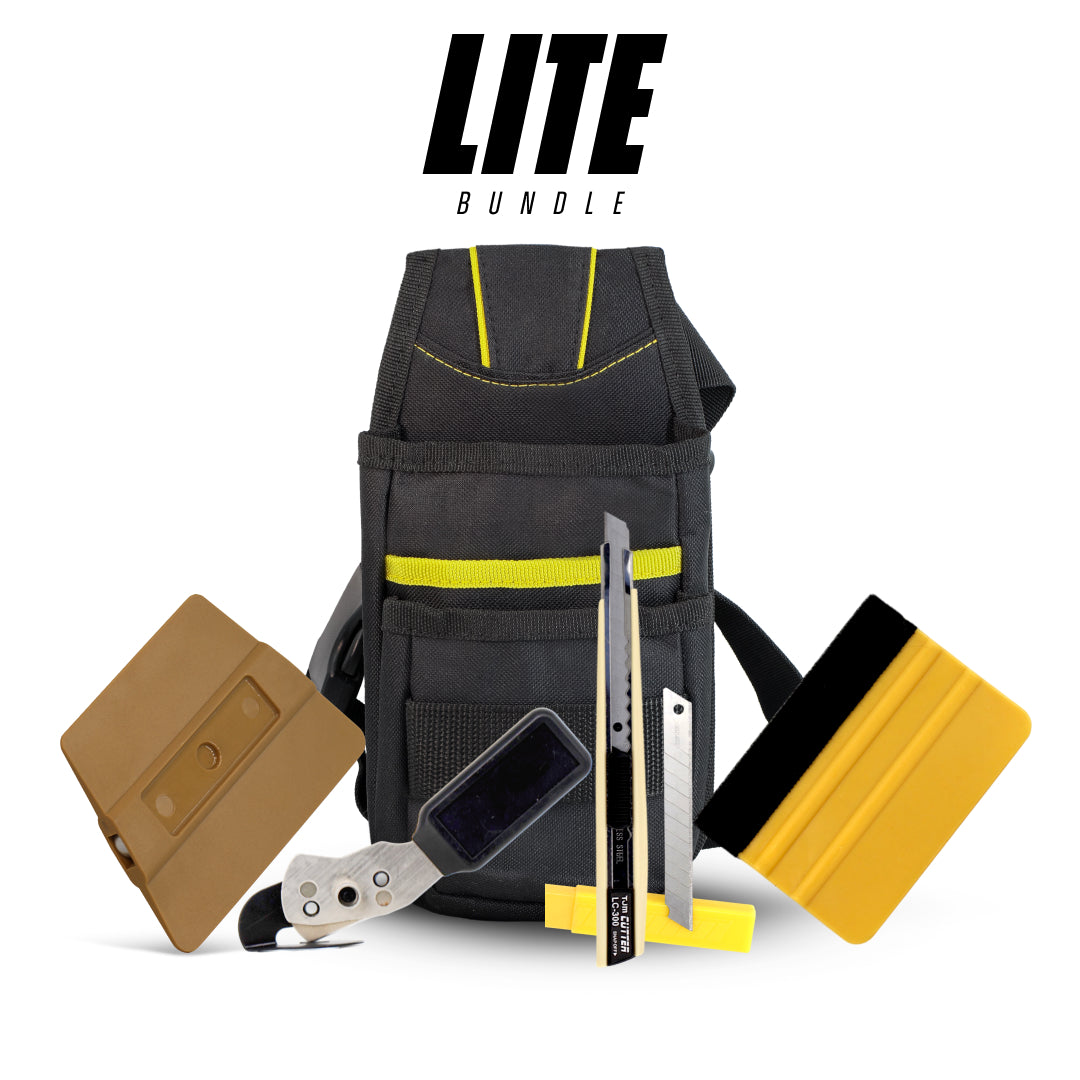
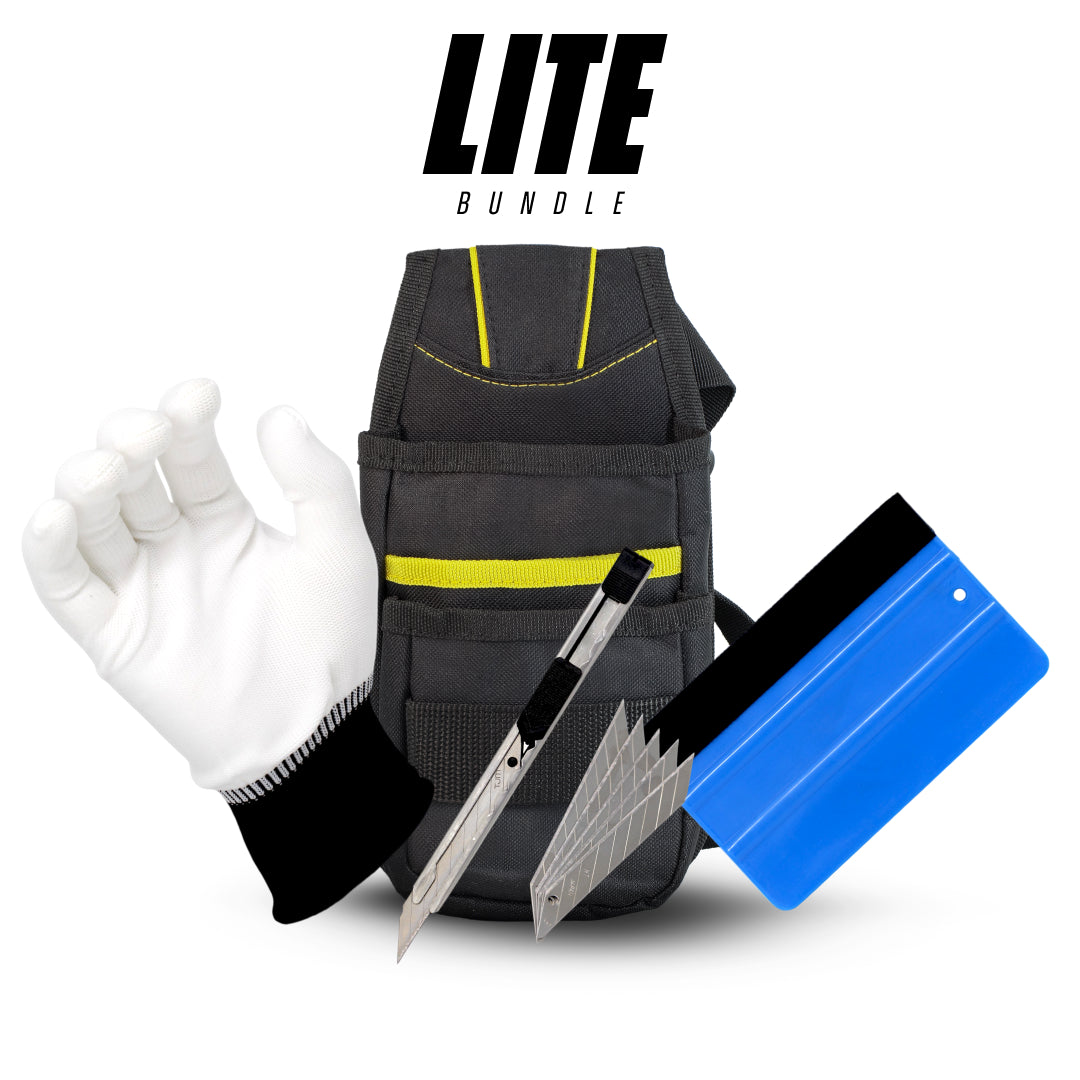
Precision cutting plays a critical role in sign production, which is why professional installers rely on sharp, durable knives and blades for clean edges and accurate trimming →
When combined, these tools transform a challenging installation into a smooth, efficient, and professional process, resulting in crisp, long-lasting signage every time.
How to Use Common Signage Tools: Squeegees, Cutters, Magnets & Measuring Tools
Understanding how to properly use common signage tools is just as important as owning them. Many installation problems, like uneven edges, air bubbles, or vinyl stretching, come from incorrect technique rather than bad tools. Whether you’re applying vinyl lettering, trimming excess material, mounting acrylic panels, or aligning aluminium signs, each tool plays a specific role, and knowing how to use it correctly can dramatically improve your results. Let’s break down the proper techniques for the four most frequently used signage tools: squeegees, cutters, magnets, and measuring tools.
Squeegees are essential for vinyl installation, yet many installers underestimate how much technique matters. To use a squeegee correctly, you need to apply firm, even pressure while working from the center outward. This helps push air toward the edges and prevents bubbles. Holding the squeegee at a 45-degree angle gives you the best control, and overlapping each stroke ensures full coverage across the vinyl surface. When installing laminated vinyl or sensitive films, use a felt-edge squeegee to avoid scratches. On larger graphics, work in small sections and avoid rushing, as uneven pressure leads to ripples or trapped air. For dry applications, a harder squeegee works better; for wet applications, opt for a softer one to allow better glide.
Cutters are equally important in the sign maker’s toolkit. A sharp blade ensures clean cuts and prevents tearing. Replace snap-off blades regularly, many professionals change blades daily or even multiple times per project. When cutting vinyl, use light pressure and let the blade glide naturally. Pressing too hard risks scratching surfaces or cutting too deep into the backing paper. For trimming excess vinyl after installation, angle the blade away from the applied surface to avoid lifting edges. When cutting acrylic or aluminium, always use blades designed for those materials to prevent chipping or jagged edges.
Magnets act as your extra pair of hands during installation. They’re especially helpful when working with large graphics, vehicle wraps, or storefront windows. To use magnets effectively, place them along the top edge of the vinyl to hold it in place while you position and align the graphic. Once aligned, create a hinge using masking tape, remove the magnets, and begin applying the vinyl from the top down or side to side. Magnets help prevent slippage and allow you to reposition vinyl repeatedly without creasing it.
Measuring tools play a critical role in ensuring accuracy. Using a tape measure, always measure twice before installing anything to avoid costly mistakes. Laser levels project a straight beam across the surface, helping you align text or panels perfectly. For best results, position the laser at a distance and make sure the surface is clean and free from reflective interference. Spirit levels help check vertical and horizontal alignment on smaller installations. When installing acrylic letters or 3D signage, templates combined with measuring tools ensure precise spacing and layout.
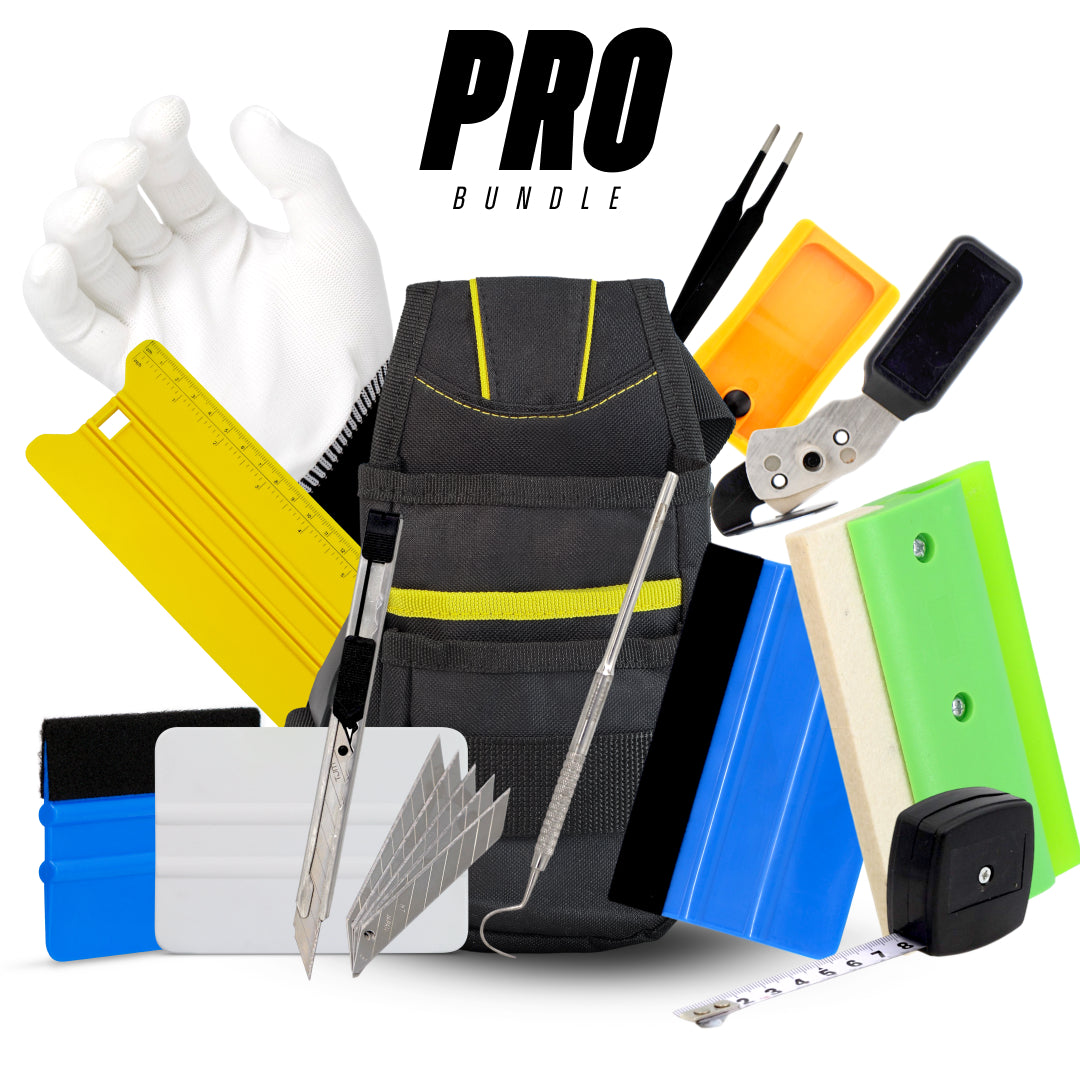
For intricate designs and fine lettering, weeding tools allow sign makers to remove excess vinyl quickly and accurately without damaging the final artwork →
Mastering these tools isn’t complicated, but it does require practice and consistency. Once you understand the right techniques, your installation quality will immediately improve, leading to cleaner results and fewer reworks.
Best Squeegees for Signage Installation: Soft vs Hard Explained
Squeegees are the backbone of vinyl installation, and choosing the right type can make the difference between a flawless, bubble-free finish and a frustrating mess. Although they often look similar, squeegees come in various levels of hardness, edge types, and materials, each designed for specific applications. Understanding when to use a soft, medium, or hard squeegee helps you work faster, reduce vinyl damage, and improve overall installation quality. Let’s break down the differences in detail so you can select the best squeegee for every job.
Soft squeegees are extremely flexible and ideal for sensitive films or curved applications. Their softness allows them to glide smoothly over textured surfaces without scratching or applying excessive pressure. If you’re installing wrap vinyl on vehicles, motorcycle helmets, or curved shopfront windows, soft squeegees are your best friend. They adapt easily to contours and help you press vinyl into grooves, edges, and channels. Soft squeegees are also excellent for wet applications, as they won’t drag the vinyl or trap moisture beneath. The downside is that they don’t provide much firmness, so they’re not ideal for large flat surfaces where more pressure is needed.
Medium-hardness squeegees are considered the most versatile and widely used among sign makers. They offer the perfect balance of pressure and glide, making them suitable for most everyday installations, from shopfront windows to wall decals and medium-sized vehicle graphics. Medium squeegees allow you to apply steady pressure without leaving marks or stretching the vinyl. They’re especially effective for dry applications, where precision and bubble removal are essential. Many professionals keep several medium-hard squeegees with different edge styles, such as felt-lined, replaceable-edge, and teflon-coated options.
Hard squeegees are designed for rigid or thick materials like laminated vinyl, reflective films, and signage substrates such as ACM or PVC board coverings. These squeegees provide maximum pressure, helping to push adhesive into place and ensure strong bonding. Hard squeegees are ideal when working on flat, smooth surfaces where control is essential. However, because their edges are firm, they can easily scratch or dent delicate vinyl. This is why many installers use felt-edge attachments or wrap hard squeegees in microfiber cloth when working with glossy films.
The type of edge also matters. Felt-edge squeegees prevent scratches on high-gloss vinyl and are essential for car wraps. Teflon edges reduce friction, helping the squeegee glide smoothly. Replaceable-edge squeegees extend the tool’s life, allowing you to swap out worn edges without replacing the whole squeegee.
Proper surface preparation is just as important as application, and using the right cleaning tools ensures your signage adheres smoothly to glass, metal, or acrylic surfaces →
Choosing the right squeegee ultimately depends on the material, surface, and application method. Professionals typically carry all three types, soft, medium, and hard, because each plays a unique role in achieving a professional, long-lasting installation.
Must-Have Signage Tools for Vinyl Lettering & Decal Installation

When it comes to vinyl lettering and decal installation, having the right tools can transform a difficult task into a smooth, precise, and professional job. Vinyl graphics are widely used for shopfronts, vehicles, windows, walls, and promotional displays. But even the best vinyl material will fail if the application tools are lacking. Clean edges, bubble-free finishes, and perfect alignment don’t happen by accident, they happen because the installer uses the correct tools with the correct technique. Below are the essential tools every sign maker needs specifically for vinyl lettering and decal work.
The first category is weeding tools, which are used to remove excess vinyl around the letters and designs. These tools include weeding hooks, picks, tweezers, and precision blades. A sharp, fine-tipped weeding tool makes it easy to remove tiny pieces inside letters like “O,” “A,” or “R” without damaging the surrounding vinyl. Many professionals use illuminated weeding lamps to see cut lines more clearly, especially when working with white or light-colored vinyl that’s hard to see on backing paper. Good weeding tools significantly reduce the time spent preparing decals for installation.
Next, transfer tape tools are essential. Transfer tape allows you to move your vinyl lettering from the backing paper to the installation surface while maintaining the exact spacing and position of the design. There are three main types of transfer tape: paper tape, clear tape, and high-tack tape. Clear tape is great for precise alignment, while paper tape is easier to use for larger graphics. A squeegee is used in combination with transfer tape to ensure the vinyl adheres properly and smoothly before lifting. Proper transfer tape application prevents misalignment and stretching during installation.
For cutting and trimming, precision cutting tools such as snap-off blade knives, hobby knives, and vinyl trimmers are crucial. You’ll also want a reliable cutting mat with grid lines to keep your cuts straight and protect your work surface. During installation, trimming excess edges with a sharp blade ensures crisp, professional results. Many installers carry multiple blades with different thicknesses to handle vinyl, laminate, and masking materials.
Squeegees play a major role in vinyl lettering installation. Soft or medium-hard squeegees are ideal for pressing lettering onto the transfer tape, while felt-edge squeegees prevent scratches during final application. Using overlapping strokes helps push out air and ensures a tight bond. For detailed or small lettering, mini squeegees and micro tools offer added control.
Additional tools such as application magnets, masking tape, and hinge tape help position and secure decals before installing them. Magnets hold graphics in place while you check alignment, and masking tape is perfect for creating top, bottom, or side hinges that guide your installation. Spray bottles with mild application fluid, lint-free cloths, and surface cleaners also support the process by ensuring the surface is clean before installation.
Many signage professionals also work on vehicle graphics, and our vehicle wrapping tools offer the versatility needed for handling vinyl across curved and complex surfaces →
With these essential tools, vinyl lettering and decal installation becomes more efficient, predictable, and professional, giving your finished work a polished and long-lasting appearance.
Common Mistakes When Using Signage Tools (and How to Avoid Them)
Even experienced sign makers occasionally run into problems during installation. Most of the time, these issues aren’t caused by bad materials, they’re caused by incorrect tool usage or missing steps in the preparation process. Understanding the most common mistakes helps you avoid rework, wasted vinyl, and poor customer impressions. Whether you’re installing simple decals or complex shopfront graphics, recognizing these pitfalls will elevate your results immediately.
One of the biggest mistakes is using too much or too little pressure with a squeegee. Applying excessive pressure can stretch the vinyl, distort letters, or create wrinkles. Too little pressure leaves air trapped underneath, leading to bubbles that slowly appear in the days after installation. The solution is to use steady, even strokes at a 45-degree angle, overlapping your passes to ensure complete coverage. Different vinyls require different pressure levels, so adjust based on whether the material is cast, calendared, laminated, or textured.
Another common issue is not cleaning the surface properly before installation. Dust, grease, fingerprints, and even moisture can cause vinyl to fail. Many installers assume that wiping with a cloth is enough, but professional prep requires the right cleaner, typically isopropyl alcohol or a sign-safe cleaning solution. Skipping this step often leads to peeling edges, poor adhesion, or visible bumps trapped under the film. Always clean the surface thoroughly, dry it completely, and avoid touching it afterward.
Using dull cutting blades is another costly mistake. Dull blades drag through vinyl rather than slicing smoothly, resulting in jagged edges and torn letters. These imperfections are immediately noticeable, especially on glass installations where clean lines matter. Replace blades frequently, even multiple times during a single large project, to maintain crisp, professional edges.
Alignment errors are also extremely common. Many installers rely solely on their eyes, which almost always leads to crooked graphics. Misalignment becomes even more obvious with lettering or long lines. The fix is simple: always use laser levels, measuring tapes, and masking tape hinges to maintain perfect alignment. Taking an extra minute to measure saves hours of potential rework.
Another mistake is overheating vinyl with a heat gun. Too much heat can warp vinyl, weaken adhesive, or cause discoloration. A digital heat gun can help maintain consistent temperatures, especially during vehicle wraps or curved applications. Move the heat gun evenly across the surface and avoid focusing on one spot for too long.
To maintain efficiency and accuracy in a sign shop environment, reliable workshop tools help streamline cutting, measuring, prepping, and installation processes →
Finally, many beginners misuse magnets and masking tape. Placing magnets directly on delicate vinyl can cause scratches if dragged across the surface. Always move magnets by lifting and repositioning. With masking tape, using too little can cause the hinge to fail, while too much tape may leave residue. Use high-quality masking tape designed for signage.
By avoiding these common mistakes and mastering proper tool usage, you’ll produce cleaner, longer-lasting installations with minimal material waste and maximum client satisfaction.
Manual vs Power Signage Tools: Which Should Your Workshop Use?
Every sign shop reaches a point where it must decide whether to rely mainly on manual tools or invest in power tools to increase efficiency. Both tool types have unique advantages, and the best choice depends on your workflow, budget, and the types of signs you produce most frequently. Understanding when to use manual tools and when to switch to power tools can dramatically affect your productivity and the overall quality of your finished signs. Let’s explore the strengths, weaknesses, and ideal use cases of each.
Manual signage tools, such as utility knives, squeegees, hand-held cutters, scrapers, and measuring tools, offer precision and control that power tools sometimes lack. These tools are essential for delicate work, especially when installing vinyl lettering or trimming edges on-site. Manual tools shine in situations that require finesse: weeding small details, trimming around corners, aligning lettering, and applying vinyl without damaging the surface. They’re also quieter, safer for beginners, and more affordable. Many installers prefer manual tools for final adjustments because they provide tactile feedback, helping you feel exactly how the material responds as you work.
However, manual tools are slower when handling large-scale or high-volume projects. Tasks like cutting thick aluminium, preparing multiple acrylic panels, or trimming oversized boards can become time-consuming and physically tiring when done entirely by hand. This is where power tools offer a major advantage.
Power signage tools, such as electric trimmers, jigsaws, heat guns, drills, routers, and plotter cutters, bring speed, efficiency, and consistency to your workshop. For example, an electric rotary cutter slices through vinyl in seconds, providing smooth, straight lines that are hard to achieve manually on larger rolls. Power saws and routers are essential for fabricating aluminium signs, ACM panels, and thick acrylic signage. They deliver cleaner cuts, reduce chipping, and save hours of manual labor. Heat guns with adjustable temperature settings make vinyl wrapping smoother and safer by preventing overheating or scorch marks.
Of course, power tools come with their own considerations. They require electricity, cost more upfront, and need regular maintenance. Misuse can lead to costly mistakes, one wrong move with a power saw can ruin an entire panel. Safety precautions are a must, especially with cutting tools that operate at high speeds. Noise and dust control are additional concerns in smaller workshops.
Keeping your tools organised and protected is essential for daily operations, and our durable tool bags are designed to store signage tools safely whether you’re in the workshop or on-site →
So which should your workshop use? The answer is a balanced combination. Manual tools are irreplaceable for detailed, precise tasks and on-site installations where portability matters. Power tools excel in production environments where you need speed and consistency. Most professional sign shops use both: manual tools for vinyl work and finishing touches, and power tools for fabrication, shaping, drilling, and large-scale cutting. This hybrid approach maximizes efficiency while preserving quality.
By understanding the strengths of each type, you can build a workflow that saves time, maintains precision, and keeps your shop running smoothly.
The Best Signage Tools for On-Site Installations
On-site installations demand a unique set of signage tools that differ from what you’d typically use in a workshop. When you’re installing signs at a client’s location, whether it’s a vehicle wrap, a shopfront window, a billboard panel, or an interior office graphic, you need portable, durable, and reliable tools that can handle unpredictable environments. Weather conditions, uneven surfaces, limited space, and time constraints all influence which tools are needed. The right on-site tools not only make your job easier but also ensure that the final installation meets professional standards. Below are the must-have tools for successful on-site sign installations.
A crucial item in any on-site toolkit is a set of portable ladders or step stools. Many installations require working at height, especially for shop signs, wall graphics, or hanging displays. A sturdy, lightweight aluminium ladder provides stability without being too heavy to transport. Telescopic ladders are especially popular because they collapse into compact sizes and fit easily in work vans. For outdoor installs, ladders with non-slip feet are essential for safety on uneven terrain.
Next, mobile toolkits are vital. These kits typically contain squeegees, blades, measuring tapes, scrapers, magnets, masking tape, and cleaning supplies. A well-organized toolkit saves time and prevents unnecessary trips back to the vehicle. Many professionals use hard-case organizers with dedicated compartments for each tool, ensuring quick access during installation. Small portable pouches worn at the waist also help keep frequently used tools within reach.
Weather-resistant tools are another key requirement. When working outdoors, wind, rain, and sun glare can quickly disrupt an installation. For example, strong magnets help secure vinyl during windy conditions, preventing the material from shifting or blowing away. UV-resistant masking tapes maintain adhesion even under direct sunlight. Portable canopy tents are often used to create shade and protect delicate materials from overheating.
A high-quality digital heat gun is essential for on-site vinyl work. Whether you're wrapping a vehicle or applying wall decals, consistent heat control helps soften vinyl for better adhesion and smoother finishing. Since outdoor environments can be unpredictable, having a heat gun with adjustable temperature settings ensures that you can adapt to different surfaces and weather conditions.
For signage panels such as aluminium or acrylic, cordless drills, screwdrivers, and impact drivers become indispensable. These tools allow you to mount signs securely onto walls, poles, or frames without relying on external power sources. Extra drill bits, screws, anchors, and wall plugs are also important to carry, since surfaces vary widely, from brick and concrete to drywall and metal.
Measuring accuracy is crucial on-site, so laser levels, spirit levels, and long measuring tapes must always be part of your kit. Uneven walls and floors can make visual alignment difficult, but laser tools eliminate guesswork. For large installations, chalk lines and alignment guides help maintain consistent spacing and levelness across big surfaces.
Finally, surface preparation tools, such as cleaning sprays, microfiber cloths, and plastic scrapers, ensure that the installation area is free of dust, grease, or debris. Good surface prep prevents peeling, bubbling, and adhesive failure.
When you’re equipped with the right on-site signage tools, you can handle any installation with confidence, regardless of location or conditions. These tools make installations faster, safer, and more professional, helping you deliver consistent results every time.
How to Maintain and Care for Your Signage Tools
Maintaining your signage tools is just as important as using them correctly. Well-cared-for tools last longer, perform better, and help you produce clean, professional results consistently. Neglecting maintenance leads to dull blades, scratched surfaces, inaccurate measurements, weak adhesion, and, ultimately, reduced customer satisfaction. Whether you work in a small workshop or operate a full-scale sign-making business, proper tool care should be a daily habit. Let’s look at the essential maintenance practices that keep your tools, and your workflow, in top shape.
One of the most important maintenance tasks is regularly replacing cutting blades. Utility knives, precision cutters, and snap-off blades dull quickly, especially when cutting laminated vinyl, thick film, or rigid materials. A dull blade forces you to apply more pressure, increasing the risk of tearing vinyl or damaging surfaces. Professionals typically replace blades every few hours, or even multiple times during a single large project. Store spare blades in a dry, safe container and dispose of used ones in a blade disposal box to avoid accidents.
Squeegees also need proper care. Over time, their edges wear down, warp, or collect dirt. This can cause scratches or streaks during vinyl application. After each use, wipe squeegees clean with a mild soap solution to remove adhesive residue. Felt-edge squeegees require extra attention because dirt can embed into the felt, turning it abrasive. Replace felt strips or edges regularly, especially when installing gloss or metallic films. If your squeegee has replaceable edges, swap them out at the first sign of wear.
Your measuring tools, like rulers, tape measures, and laser levels, also require attention. Tape measures can bend or lose tension, leading to inaccurate measurements. Keep them retracted when not in use, and avoid letting them snap back abruptly. Clean rulers and T-squares to remove dust, adhesive, and debris that can alter accuracy. Laser levels should be stored in protective cases to prevent misalignment or lens scratches.
Heat guns should be cleaned periodically as well. Dust buildup inside vents reduces airflow, leading to overheating or inconsistent heat output. Wipe the exterior clean and check the cord for wear. Store heat guns in a safe, dry place and avoid wrapping cords too tightly, which can cause internal wire damage.
For power tools such as drills, jigsaws, or routers, maintenance is even more critical. Dust and debris can clog moving parts, reduce efficiency, or cause overheating. After each use, blow out dust using compressed air and check blades or drill bits for wear. Lubricate moving parts as recommended by the manufacturer. Always store power tools in cases to protect them from moisture, especially if you frequently work outdoors.
Finally, proper tool storage is essential for prolonging lifespan. Invest in organized toolboxes, wall-mounted racks, or drawer systems that keep tools separated and protected. Avoid throwing tools together, as sharp edges can damage softer surfaces like squeegees or felt applicators. Temperature and humidity also matter, store tools in a dry, moderate environment to prevent rust, warping, or adhesive degradation.
By maintaining your signage tools with consistent care, you’ll achieve better results, reduce material waste, and prevent unexpected equipment failures. Proper maintenance isn’t just good practice, it’s a long-term investment in your business and the quality of your workmanship.
Signage Tools for Small Businesses: Build a Professional Setup on Any Budget

Starting a sign-making business can feel overwhelming, especially when you look at the wide range of tools professionals use. But the good news is that you don’t need an expensive, high-end setup to produce clean, professional-quality signs. With smart tool selection and strategic investment, even small businesses or solo sign makers can build a capable, efficient toolkit without breaking the bank. The key is knowing which tools are essential, which ones you can upgrade later, and which premium tools genuinely improve performance. Let’s explore how to build a professional signage tool setup on any budget.
For small businesses working with limited funds, the focus should be on essential manual tools. Start with a high-quality utility knife, snap-off blades, a medium-hard squeegee, a soft squeegee, masking tape, and a reliable tape measure. These basics allow you to handle vinyl lettering, decals, small window graphics, and simple installations. Add a cutting mat and a good weeding tool, and you’re ready to begin offering services professionally. Even inexpensive heat guns can get the job done, though you’ll eventually want to upgrade to a digital model.
Once your business generates steady income, the next step is to invest in mid-range tools that improve efficiency and accuracy. This includes felt-edge squeegees, a laser level, installation magnets, and a precision ruler with anti-slip backing. These tools make installations faster and more precise, reducing rework and improving client confidence. A better heat gun with temperature control allows you to tackle more advanced vinyl applications, such as wrapping curved surfaces or removing old graphics smoothly.
As your business grows, consider purchasing power tools and specialty equipment. Cordless drills, electric trimmers, jigsaws, and routers expand your capabilities, allowing you to fabricate aluminium signs, acrylic panels, and custom-cut shapes. Investing in a high-end rotary cutter or automatic trimmer can drastically reduce cutting time. For those focusing on vehicle wraps or large shopfront graphics, premium squeegees, edge sealers, and IR thermometers help maintain consistent temperatures and adhesion.
Small businesses can also benefit from mobile tool kits, which allow you to perform on-site installations efficiently. A lightweight, portable ladder and a compact heat gun are essential for outdoor projects. Over time, upgrade to more rugged tools, heavy-duty magnets, stainless steel rulers, and professional-grade cutting mats.
Finally, don’t underestimate the value of good cleaning and prep tools. High-quality surface cleaners, lint-free cloths, and plastic scrapers ensure better vinyl adhesion and prevent installation failures. These items are inexpensive but play a huge role in producing flawless results.
The secret to building a professional setup on any budget is prioritizing tools that deliver the greatest impact. Start small, upgrade strategically, and focus on tools that improve accuracy and efficiency. With smart choices, even a small workshop can deliver big results and compete with established sign businesses.
Signage Tools Checklist: What You Need for Vehicle, Shopfront & Office Signs
Different types of signs require different tools, and having the right setup on hand is essential for producing clean, long-lasting results. Whether you’re working on vehicle graphics, shopfront decals, or interior office signage, each category demands specific tools tailored to its unique challenges. This comprehensive checklist will help ensure you’re always prepared, no matter what type of project you’re installing.
Tools for Vehicle Signage & Wraps
Vehicle wraps and lettering require flexibility, precision, and temperature control. Since cars have curves, contours, channels, and textured surfaces, your tools must be able to handle complex structures without damaging the vinyl.
Essential tools include:
- Soft and medium squeegees (felt edge recommended)
- Heat gun or IR heater with temperature control
- Wrap glove for smooth, friction-free application
- Precision knives with sharp snap-off blades
- Vinyl magnets for positioning large panels
- Application fluid (for partial wraps or wet installs)
- Knifeless tape for cutting vinyl without scratching paint
- Mini squeegees for edges and tight spots
- Surface cleaner and lint-free microfiber cloths
- IR thermometer for monitoring vinyl temperature
These tools allow you to stretch, mold, and secure vinyl smoothly across curves and edges, ensuring a professional vehicle wrap every time.
Tools for Shopfront Window Signs
Shopfront installations usually involve large vinyl graphics, lettering, or frosted films applied to exterior glass. Accurate alignment and bubble-free application are crucial for visual clarity.
Must-have tools include:
- Medium-hard or hard squeegees for large flat surfaces
- Felt-edge squeegees for delicate films
- Laser level or long spirit level
- Masking tape for hinge method alignment
- Installation magnets for positioning
- Spray bottle with application fluid (optional)
- Long measuring tape
- Precision blade for trimming edges
- Plastic scraper for removing old vinyl
- Cleaning solution safe for glass
With these tools, you can position large graphics precisely, eliminate air bubbles, and ensure perfect alignment along window frames.
Tools for Office and Indoor Signs
Office signage ranges from wall decals to acrylic letters, aluminium plaques, directory boards, and interior branding. These installations require a balance of precision and clean finishing.
Essential tools include:
- Laser level for perfect alignment of letters or panels
- Cordless drill for mounting hardware
- Masking tape for positioning templates
- Stud mount tools and spacers for 3D letters
- Clean cutting tools for trimming vinyl decals
- Soft squeegee for interior wall graphics
- Adhesive tapes (VHB or foam tape) for lightweight signs
- Screwdrivers, wall anchors, and drill bits
- Cleaning cloths and surface prep sprays
- Templates for consistent letter spacing
Indoor installations often require extra attention to detail because clients will see the signage up close. Precision tools and clean application methods make all the difference.
This checklist ensures you always have the right tools for the job, whether you’re wrapping a vehicle, installing a shopfront graphic, or mounting a professional office sign. Being prepared not only improves workflow but also gives clients confidence in your skills and professionalism.
Signage Tools Explained: What Each Tool Does and When to Use It
Signage tools come in many shapes and sizes, and each one plays a very specific role in the sign-making process. Whether you’re installing vinyl, fabricating aluminium panels, or mounting acrylic letters, knowing exactly what each tool does, and when to use it, can drastically improve your workflow, accuracy, and final results. This section breaks down the most commonly used signage tools so you understand their purpose, strengths, and ideal usage situations.
Squeegees
Squeegees are the most important tools in vinyl installation. Their primary job is to apply pressure evenly to help the vinyl bond to the surface and push out air pockets.
When to use each type:
Soft squeegees: For curves, vehicle wraps, textured films, and delicate surfaces.
Medium squeegees: For everyday vinyl installs like window graphics, decals, and wall wraps.
Hard squeegees: For rigid substrates, thick vinyl, reflective film, and laminated prints.
Felt-edge or fabric-lined squeegees prevent scratches and are essential for glossy or metallic films.
Cutting Tools
Cutting tools include utility knives, snap-off blades, hobby knives, scissors, and knifeless tape.
Tool functions:
Snap-off blade knives: For trimming vinyl, weeding excess, and cutting backing paper.
Hobby knives: For detailed cutting, small lettering, and intricate weeding.
Scissors: For cutting transfer tape, trimming sheets, and general tasks.
Knifeless tape: For achieving perfect cuts on vehicles without damaging paint.
Always use sharp blades, dull blades tear vinyl and leave rough edges.
Magnets
Installation magnets act as temporary “extra hands” during positioning. They hold large graphics in place while you measure, align, and tape hinge points.
Best used for:
- Vehicle wraps
- Large shopfront graphics
- Metal doors or panels
- Multi-section installations
Always lift magnets rather than dragging them to avoid scratching the vinyl.
Measuring Tools
Accurate measurements are one of the most important aspects of professional signage installation.
Most common measurement tools:
Tape measure: For general measurement, scaling, and placement.
Laser level: For projecting straight lines across walls, windows, and boards.
T-square/ruler: For trimming vinyl, aligning prints, and straight cuts.
Chalk line: For long-distance alignment outdoors.
Using a laser level can instantly eliminate crooked installations.
Heat Guns
Heat guns soften vinyl, reactivate adhesive, and help shape vinyl onto curves or edges.
When to use:
- Vehicle wraps
- Post-heating edges
- Removing old vinyl
- Applying vinyl on textured or curved surfaces
Digital heat guns with temperature control are preferred for professional work.
Surface Prep Tools
Surface preparation is crucial, no vinyl will bond properly without it.
Common prep tools include:
- Microfiber cloths
- Isopropyl alcohol (IPA)
- Plastic scrapers
- Degreasers
- Paper towels
- Dust brushes
Proper cleaning prevents bubbling, peeling, or lifting.
Mounting Tools
Essential for acrylic letters, aluminium panels, and rigid signage.
Important mounting tools:
- Cordless drills
- Impact drivers
- Screwdrivers
- Stud mount hardware
- Spacers
- VHB tape
- Wall anchors
These tools ensure signs are securely installed and perfectly aligned.
Understanding your tools helps you work more efficiently and confidently. Once you know the purpose and best-use scenarios of each item, you’ll be able to match the right tool to every situation, producing cleaner, stronger, and longer-lasting signage every time.
FAQs
1. What are the most important tools for a beginner sign maker?
Beginners should start with a utility knife, squeegee, cutting mat, weeding tool, measuring tape, and a basic heat gun. These essential tools allow you to complete most vinyl projects affordably.
2. How often should I replace my cutting blades?
Replace blades frequently, usually every few hours or after any sign of drag or tearing. Sharp blades are critical for clean, professional edges.
3. Do I need a laser level for sign installations?
Yes, especially for shopfronts and office signs. Laser levels ensure perfect alignment and eliminate crooked graphics.
4. What’s the difference between cast vinyl and calendared vinyl?
Cast vinyl is thinner, more flexible, and ideal for curves (like vehicle wraps). Calendared vinyl is thicker and best for flat surfaces or short-term graphics.
5. Are expensive squeegees worth it?
Absolutely. High-quality squeegees offer better glide, pressure control, and durability, resulting in smoother installations and fewer mistakes.
Conclusion
Sign-making is a craft where precision, technique, and the right tools come together to create powerful visual results. Whether you’re just starting out or running a full-scale signage business, investing in quality tools, along with understanding how and when to use them, can take your work from “good enough” to “truly professional.” In this guide, you’ve explored everything from essential beginner tools to advanced professional gear, including squeegees, cutters, magnets, heat guns, measuring equipment, and power tools. You’ve also learned how to choose tools based on materials, avoid common installation mistakes, maintain your equipment, and build a complete setup on any budget.
With the right tools and proper technique, you can confidently tackle vinyl installations, vehicle wraps, acrylic signage, aluminium panels, and more. Your craftsmanship will improve, customers will notice the quality, and your business will grow stronger with each perfectly executed project. Use this guide as your go-to resource whenever you need clarity, upgrades, or inspiration in your sign-making journey.
Are you unsure which tool or kit is right for your job?
Our expert team at Oz Sign Supplies is here to help. Reach out today, and we’ll direct you to the best tools to suit your project, ensuring you get the job done right the first time.

Leave a comment
This site is protected by hCaptcha and the hCaptcha Privacy Policy and Terms of Service apply.