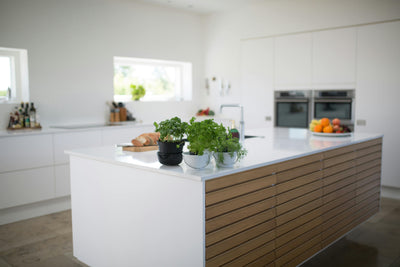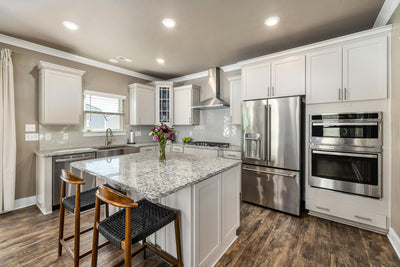







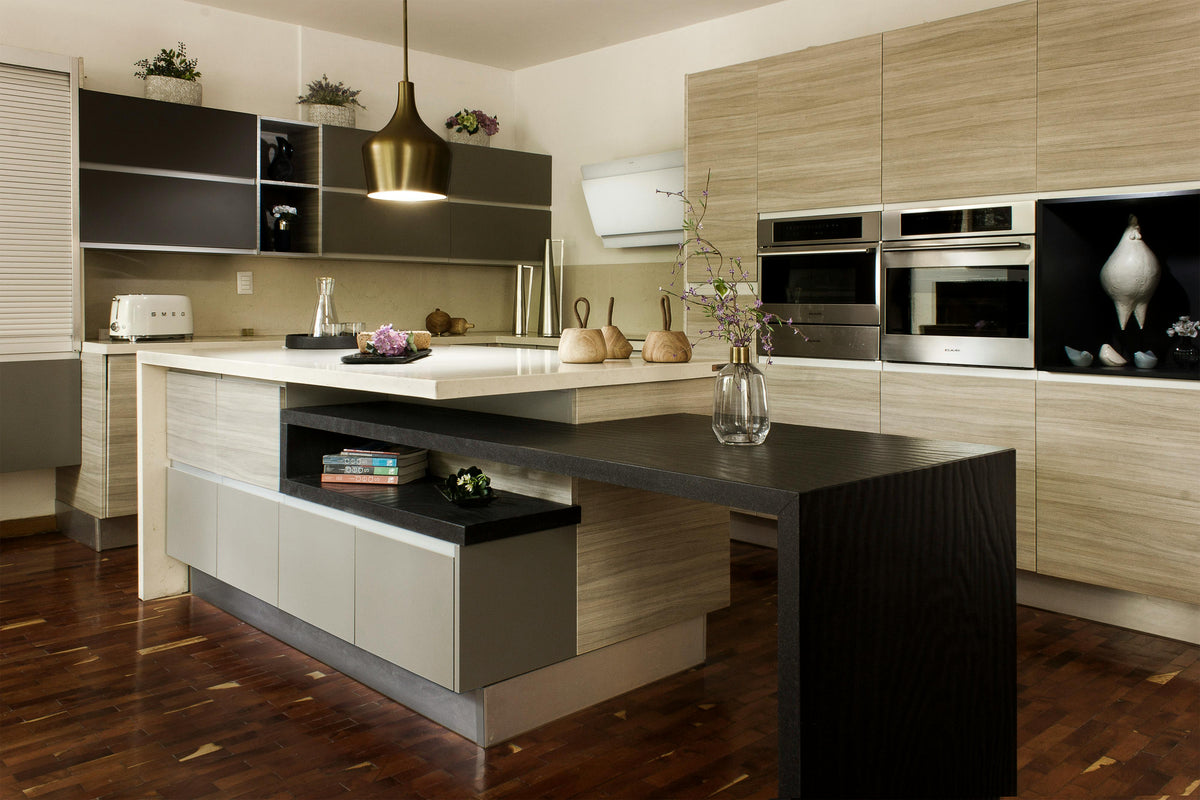
Vinyl wrapping is a modern and cost-effective way to transform your kitchen without the heavy expense of a full renovation. Instead of tearing out your cabinets, counters, and doors, you apply a thin, adhesive-backed vinyl film directly onto the surfaces. This film comes in a huge variety of styles, matte, gloss, wood-grain, metallic, or even stone-look finishes. Think of it like giving your kitchen a brand-new skin.
The concept started in the automotive industry, where cars were wrapped for advertising or design purposes. Over time, the technique found its way into home improvement, especially kitchens, where cabinetry often makes up the bulk of the visual space. Homeowners quickly realised they could achieve a “new kitchen” look for a fraction of the cost of replacement.
Vinyl wrapping is not paint. Unlike spray painting or refinishing, it doesn’t require sanding, priming, or messy fumes. It’s a peel-and-stick process that, when done correctly, looks seamless and professional. More importantly, it’s completely reversible. If you get tired of the look or want an upgrade, you can peel it off and replace it with a new design.
Is vinyl wrap actually a good idea for kitchens?
Yes. Kitchen vinyl wrap is one of the most affordable ways to refresh cabinets, benchtops and splashbacks, provided the surfaces are thoroughly cleaned, properly prepared and wrapped using high-quality architectural vinyl designed for interior applications.
What Is Kitchen Vinyl Wrap and How Does It Work?
Kitchen vinyl wrapping is the process of applying self-adhesive architectural vinyl film over existing kitchen surfaces rather than replacing them. Instead of removing cabinets or installing new benchtops, the vinyl creates a completely new finish while using the existing structure underneath.
Modern interior wrapping films are manufactured with pressure-sensitive adhesives and air-release technology, allowing installers to reposition the material during application while reducing trapped air bubbles.
Kitchen vinyl can be applied to:
- Cabinet doors
- Drawer fronts
- Pantry doors
- End panels
- Island panels
- Benchtops (using suitable architectural films)
- Splashbacks (away from direct flame or excessive heat)
Available finishes include:
- Matte
- Satin
- High gloss
- Timber grain
- Stone
- Concrete
- Marble
- Metallic
- Textured finishes
When installed correctly on suitable surfaces, vinyl wrapping delivers a modern appearance without the cost and disruption of a full kitchen renovation.
Installer tip
Surface preparation is the foundation of a successful kitchen wrap. Thoroughly degrease and dry the surface, remove hardware, repair imperfections, and measure carefully before applying quality architectural vinyl.
DIY vs Professional Kitchen Vinyl Wrapping
Many homeowners successfully wrap kitchen cabinets themselves, while others choose professional installers for large kitchens or complex layouts.
| DIY Installation | Professional Installation |
|---|---|
| Lower overall cost | Higher upfront investment |
| Great for cabinet doors and flat panels | Ideal for complex edges and detailed cabinetry |
| Requires patience and preparation | Faster installation |
| Suitable for confident DIY renovators | Consistent finish across the entire kitchen |
| Mistakes may require replacing vinyl | Professional workmanship and experience |
DIY installation works best when:
- Surfaces are flat and smooth
- Cabinet doors can be removed
- High-quality architectural vinyl is used
- The installer follows proper preparation procedures
For intricate shaker-style cabinets, curved panels or commercial kitchens, professional installation often produces the most consistent finish.
Kitchen Vinyl Wrap Cost in Australia
One of the biggest advantages of kitchen wrapping is cost savings compared with replacing cabinetry.
Typical Australian prices are approximately:
| Area | Typical Cost (AUD) |
|---|---|
| Single cabinet door | $80–$200 |
| Small kitchen cabinets | $1,000–$2,500 |
| Medium kitchen | $2,500–$4,500 |
| Large kitchen | $4,500–$7,500+ |
| Benchtop wrapping | $400–$1,500 |
| Splashback wrapping | $300–$900 |
| Complete kitchen wrap | $2,500–$8,000+ |
Actual pricing varies depending on:
- Kitchen size
- Number of cabinet doors
- Edge profiles
- Vinyl selected
- Surface condition
- Installer experience
- Regional labour costs
Compared with a full kitchen replacement, which can easily exceed $20,000, vinyl wrapping offers a significantly more budget-friendly way to update the appearance of an existing kitchen.
For more information on wrapping kitchen work surfaces, read our Kitchen Unit Vinyl Wrap guide →
Common mistake
Rushing the preparation or application process can cause bubbles, wrinkles, lifting, and uneven edges. Avoid using dull blades, excessive heat, or wrapping over grease, dust, moisture, or damaged surfaces.
Best Vinyl Types for Kitchens
Food Safety
Architectural vinyl is designed as a decorative surface finish rather than a food preparation surface. Always prepare food on chopping boards rather than directly on wrapped benchtops, and avoid cutting or slicing on the vinyl to prevent damage.
Heat Safety
Even premium architectural vinyl has temperature limits. Avoid placing hot pots, pans or baking trays directly onto wrapped surfaces, and do not install standard vinyl immediately adjacent to gas burners or other areas exposed to continuous high heat. Always use trivets or heat-resistant mats to protect wrapped benchtops.
The best kitchen wraps are premium architectural films specifically engineered for interior surfaces. They provide improved durability, easier installation and longer service life compared with standard sign or vehicle vinyl.
Popular finishes include:
- Matte colours
- Woodgrain
- Stone
- Marble
- Concrete
- Satin
- Soft-touch textured films
High-quality architectural films generally offer:
- Strong adhesion
- Scratch resistance
- Moisture resistance
- Easy cleaning
- UV stability
- Long-term colour retention
If you're comparing materials, read our guide to the Best Vinyl Brands for DIY Kitchen Wraps to understand the differences between leading architectural vinyl manufacturers.
Kitchen Vinyl Wrap Preparation Checklist
Surface preparation is one of the biggest factors affecting installation quality and long-term durability.
Before applying vinyl, make sure you:
✔ Remove cabinet handles and hardware
✔ Clean away grease, oils and cooking residue
✔ Remove silicone contamination where possible
✔ Repair chips or damaged laminate
✔ Fill dents and sand smooth
✔ Remove dust completely
✔ Ensure surfaces are completely dry
✔ Measure panels before cutting vinyl
✔ Test adhesion on difficult surfaces
Poor preparation is one of the most common causes of lifting edges, trapped contamination and premature adhesive failure.
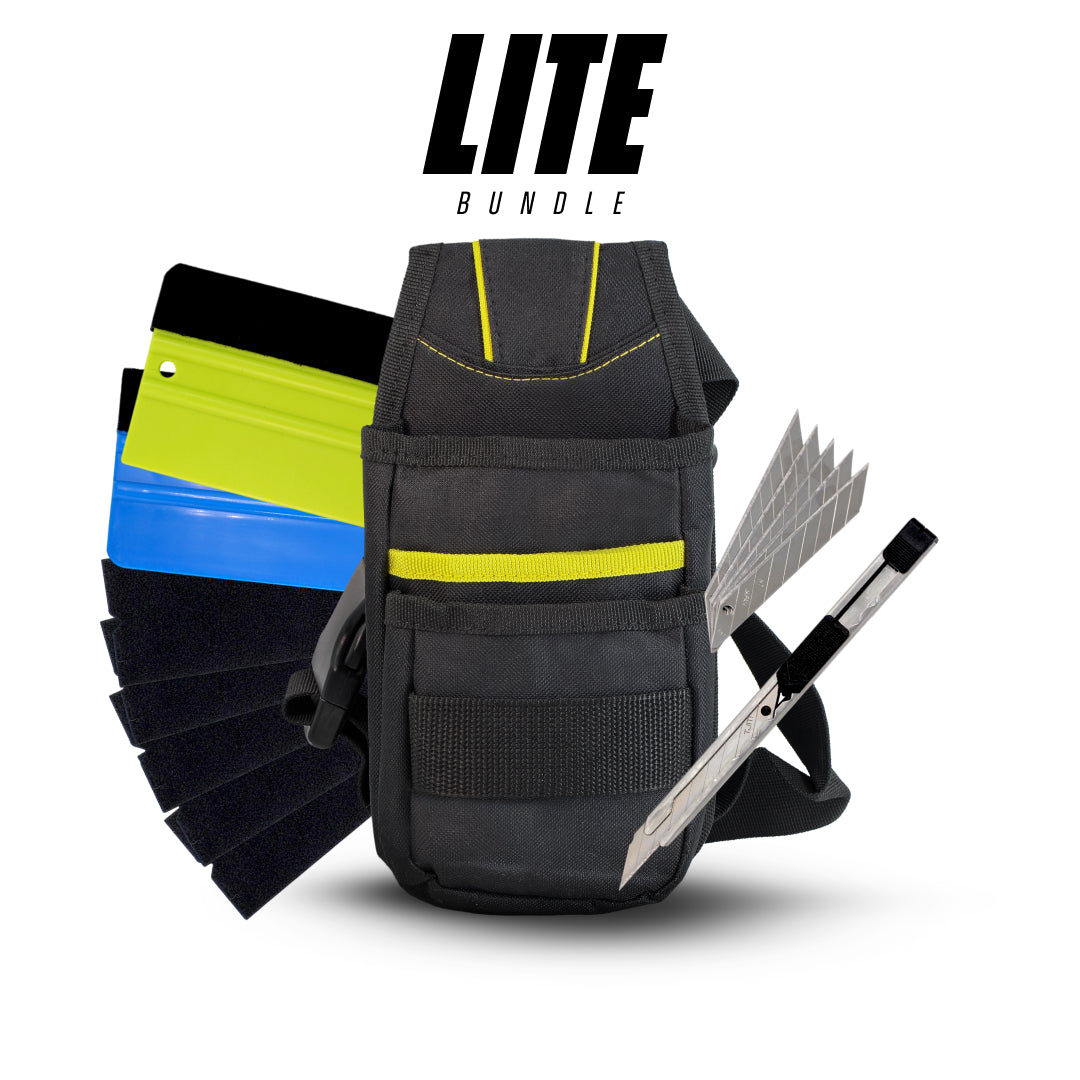
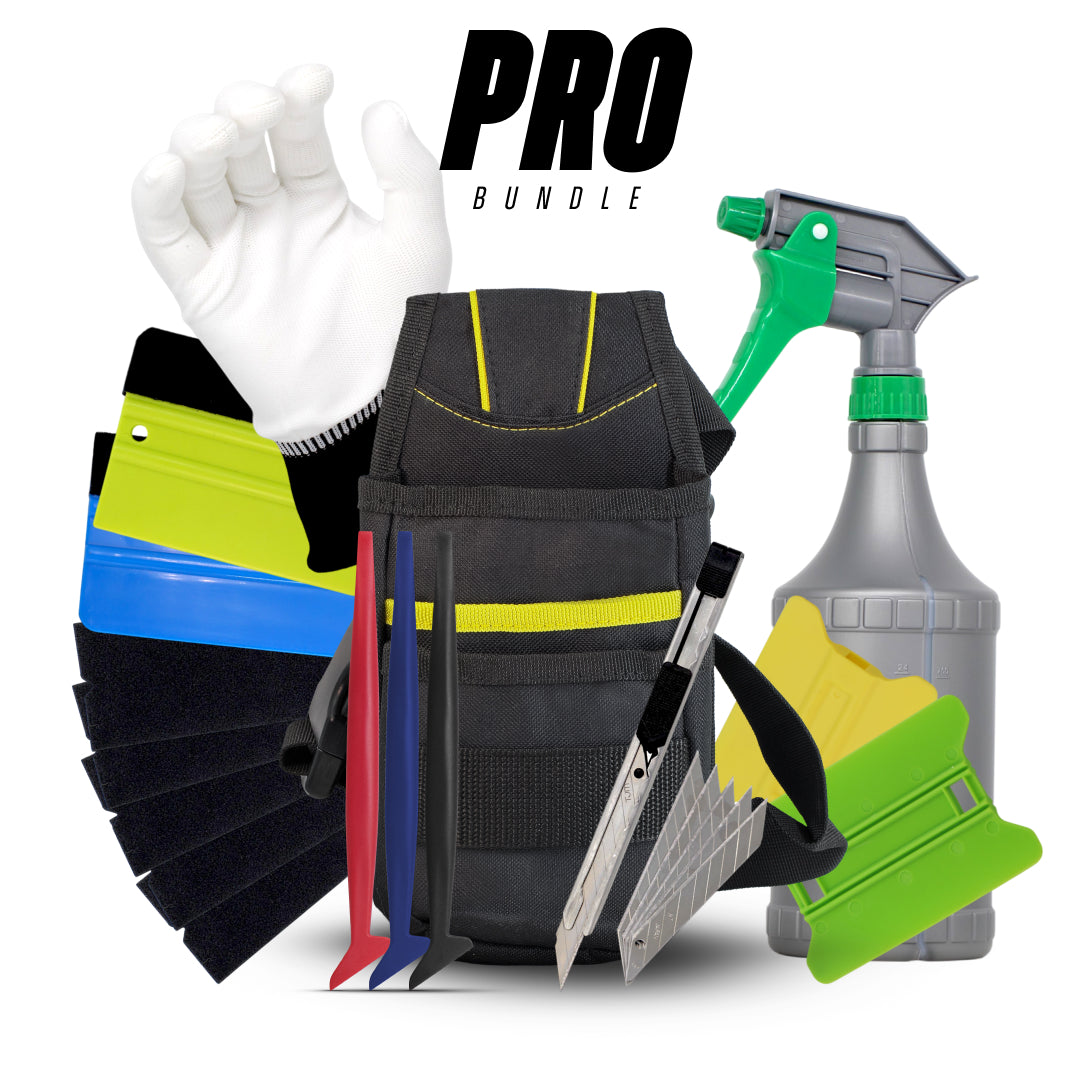
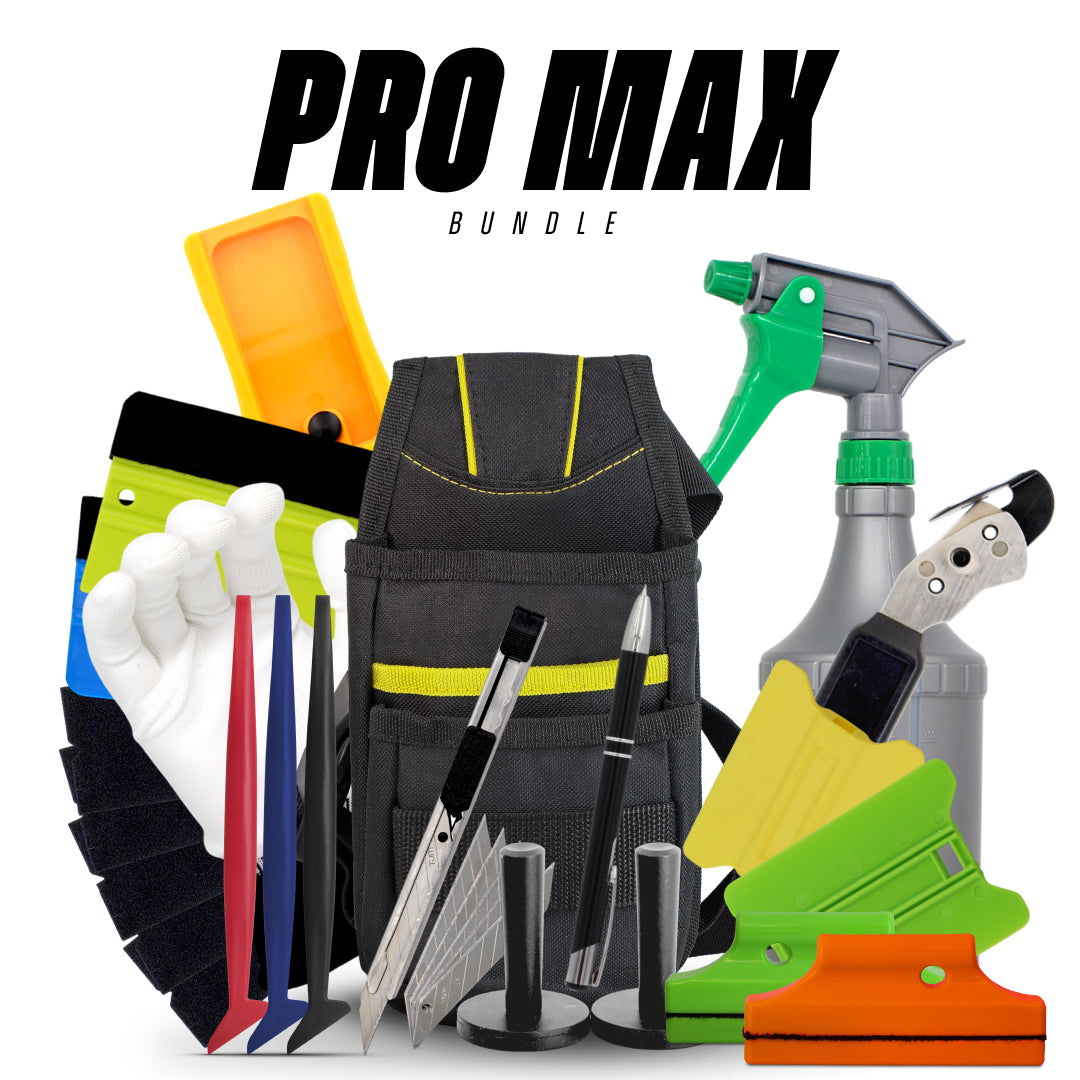
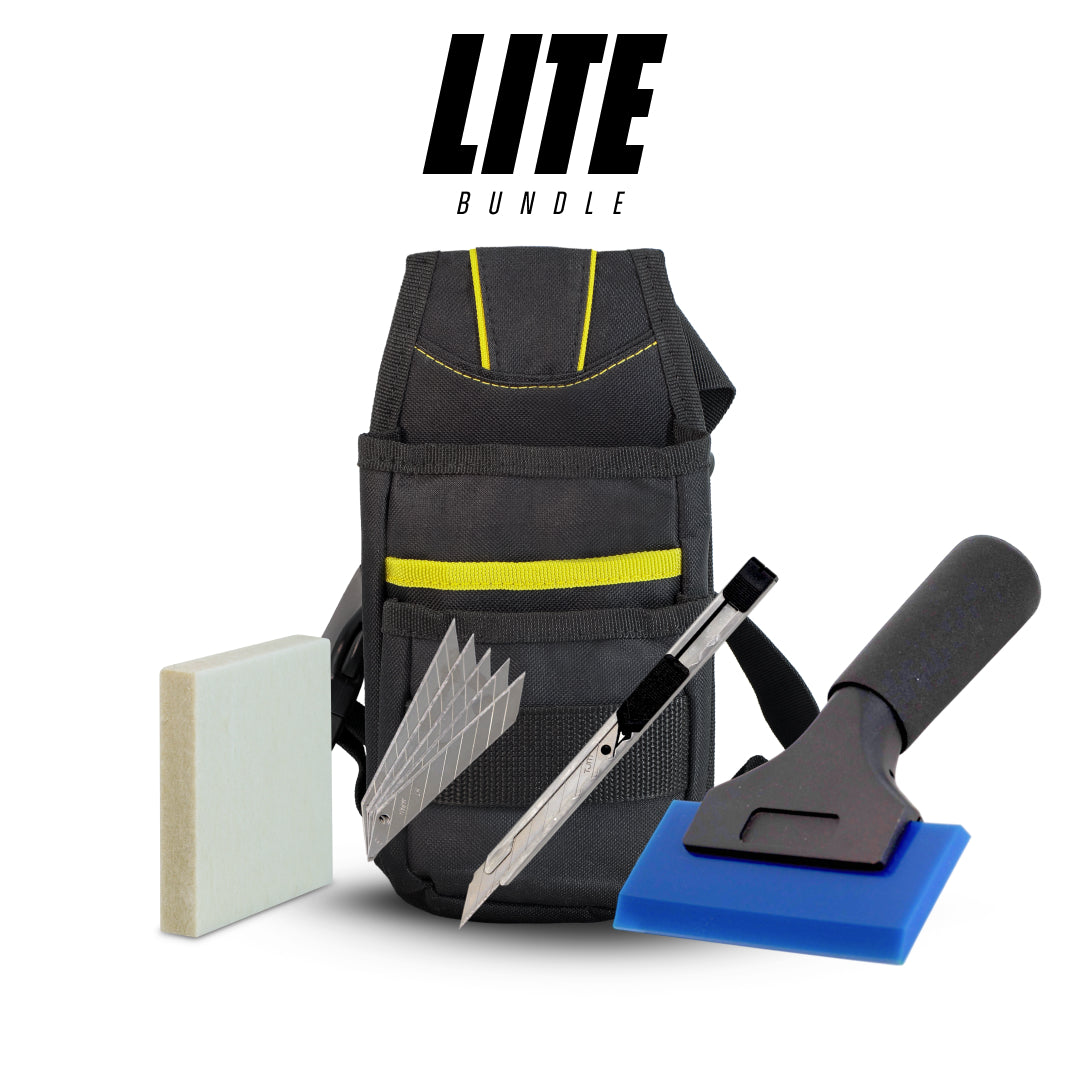
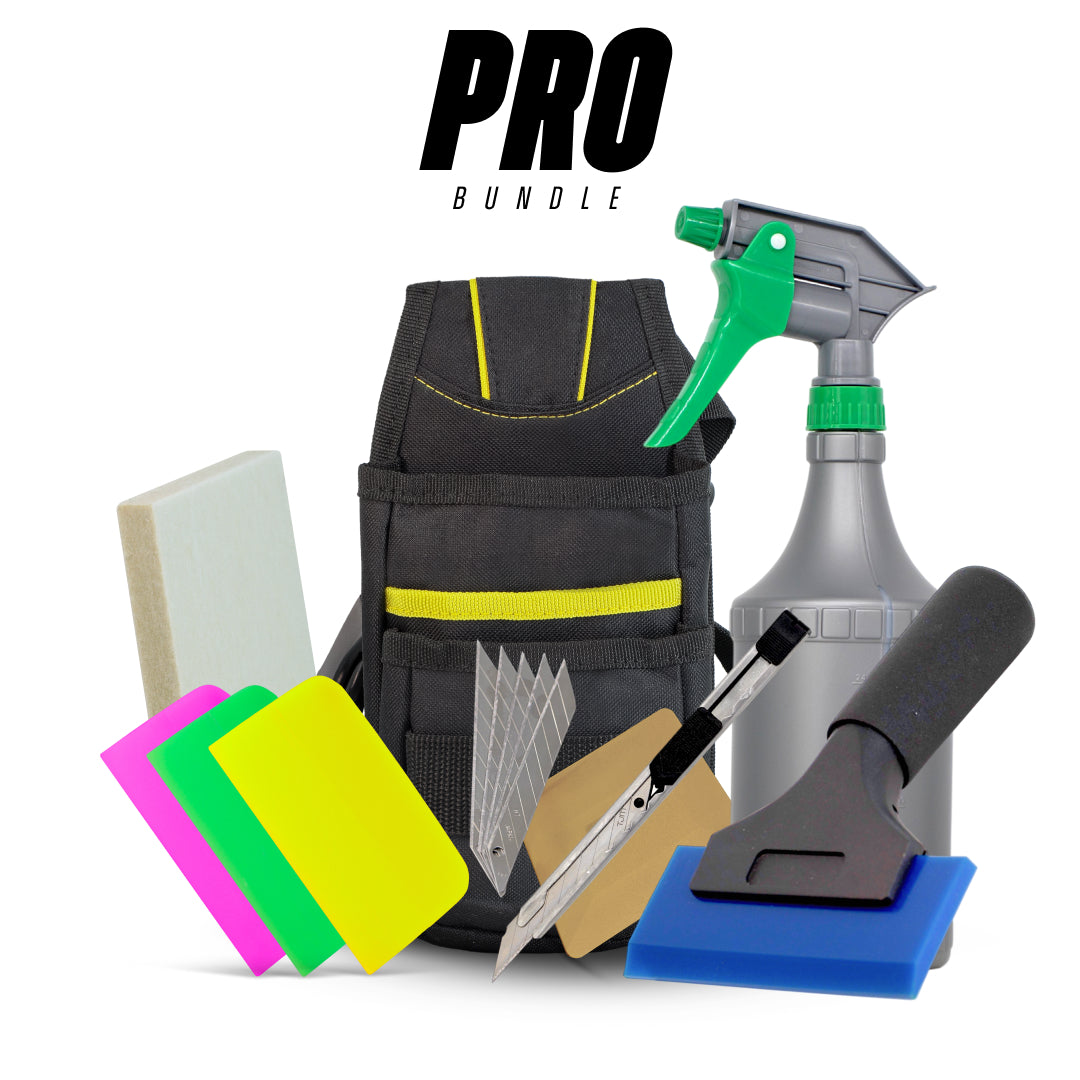
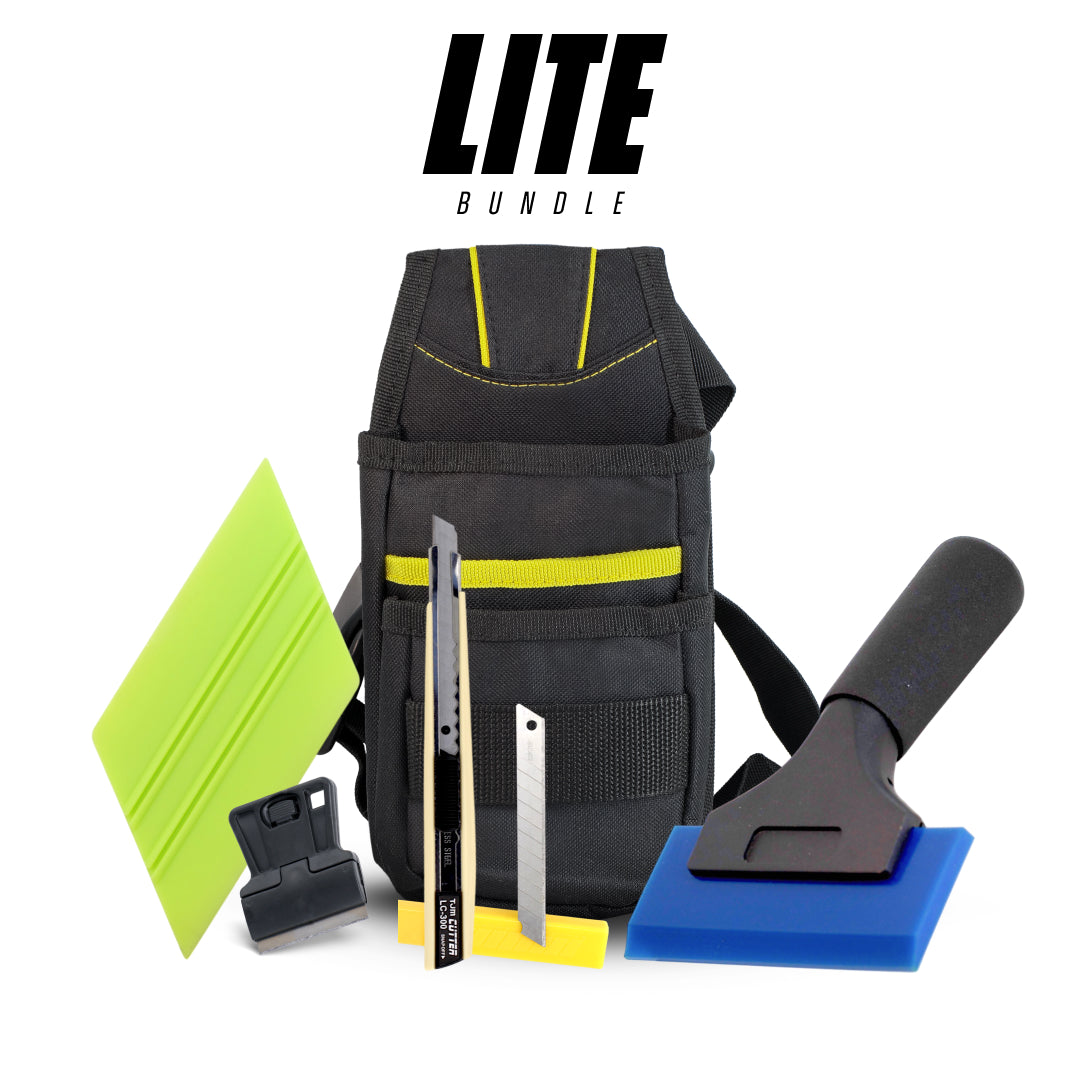
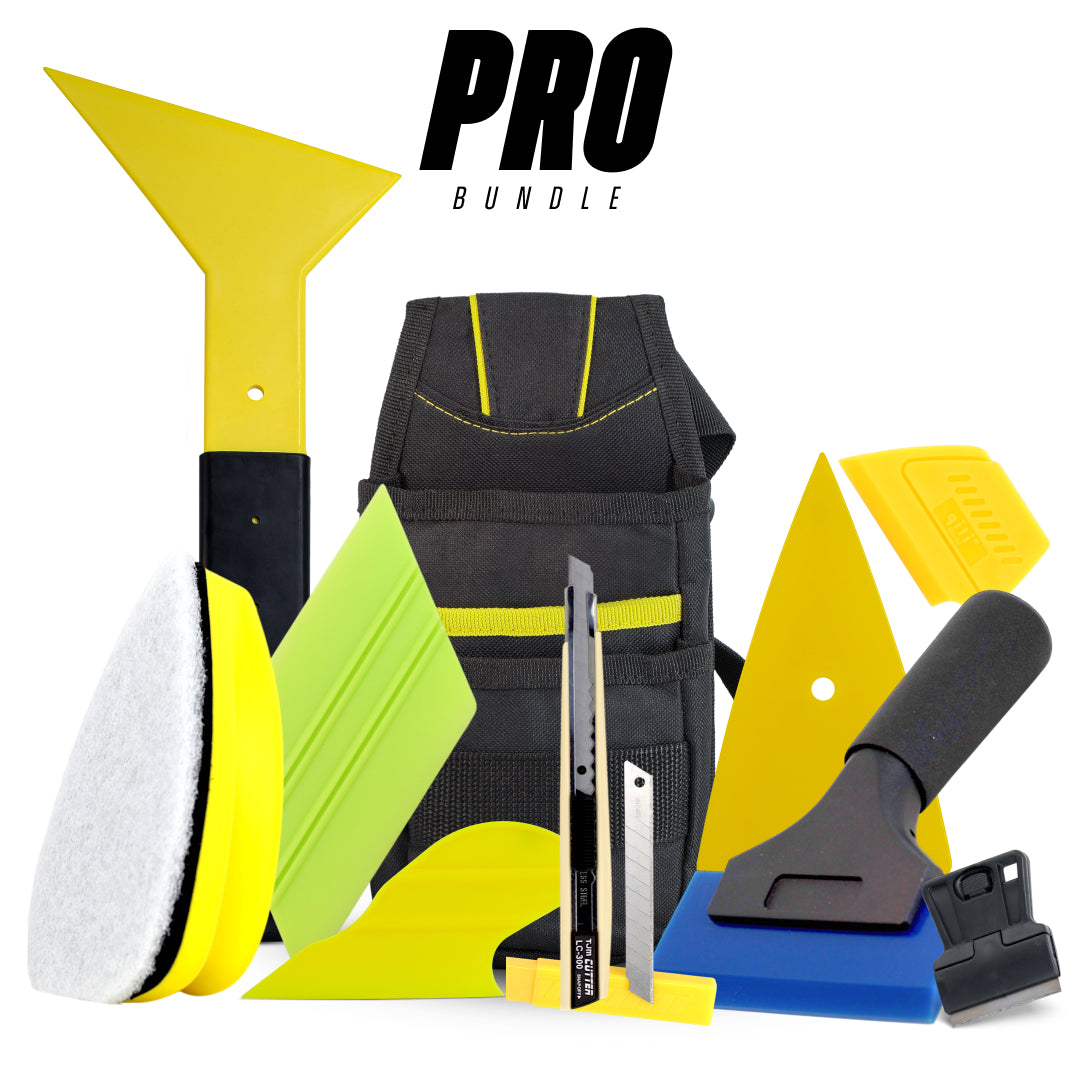
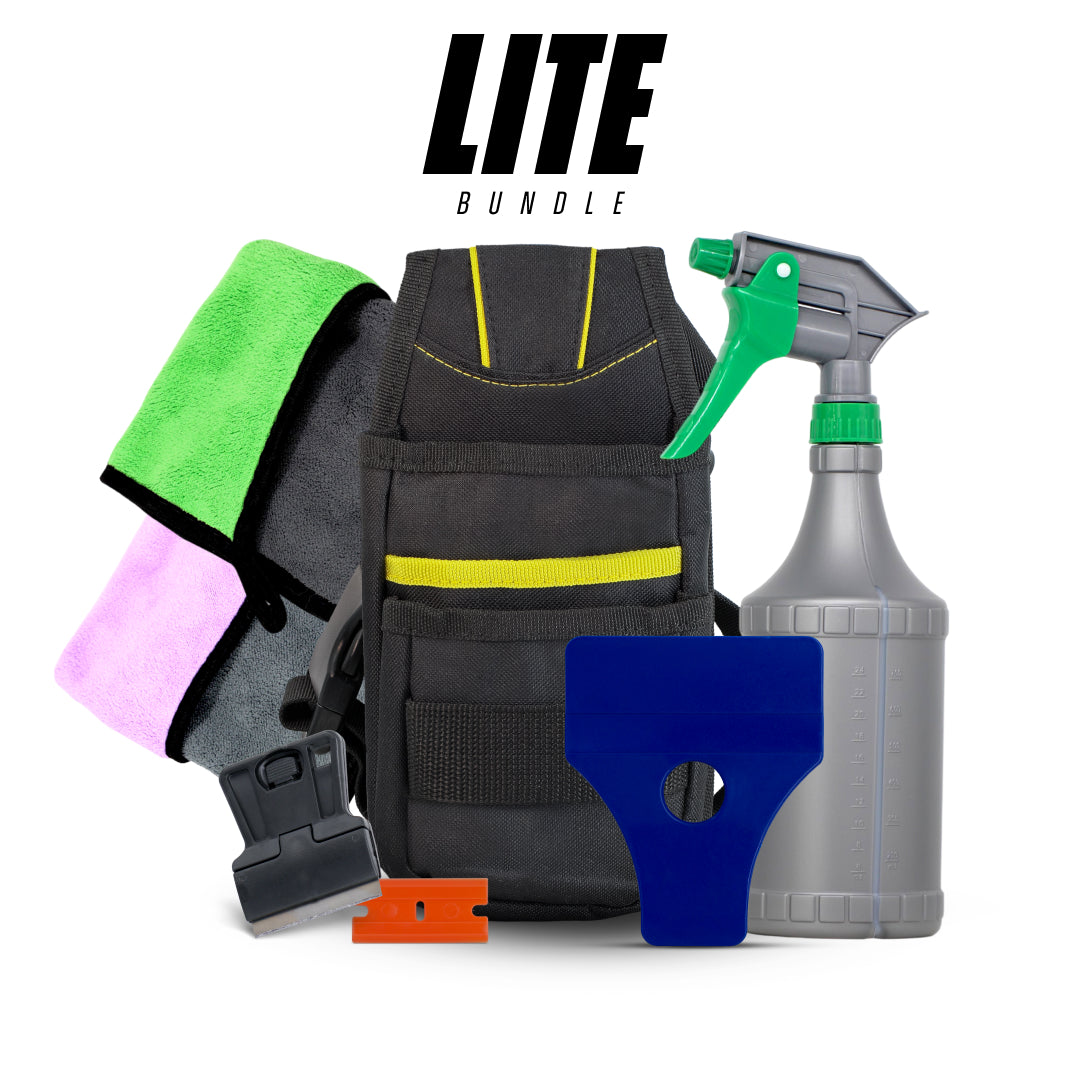
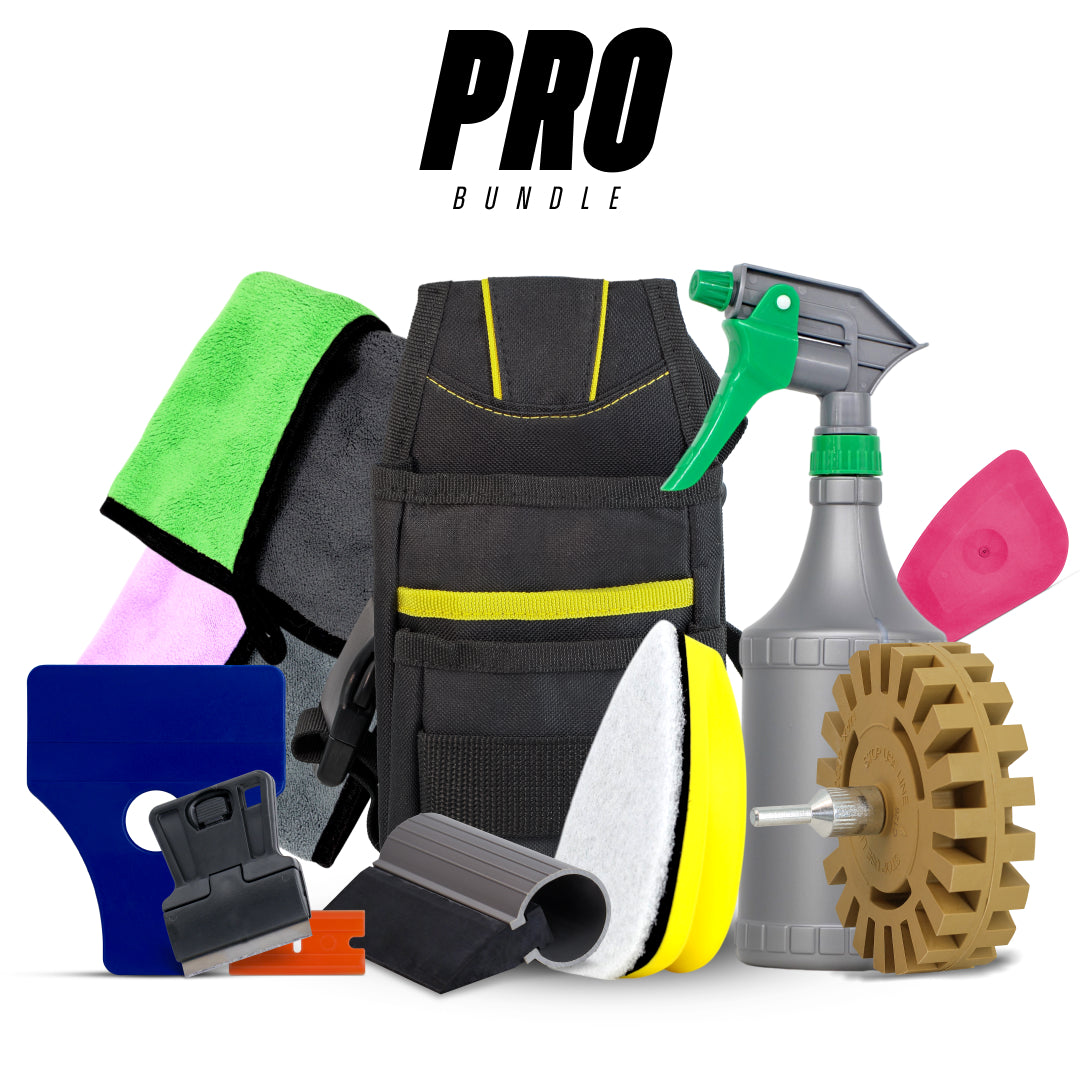
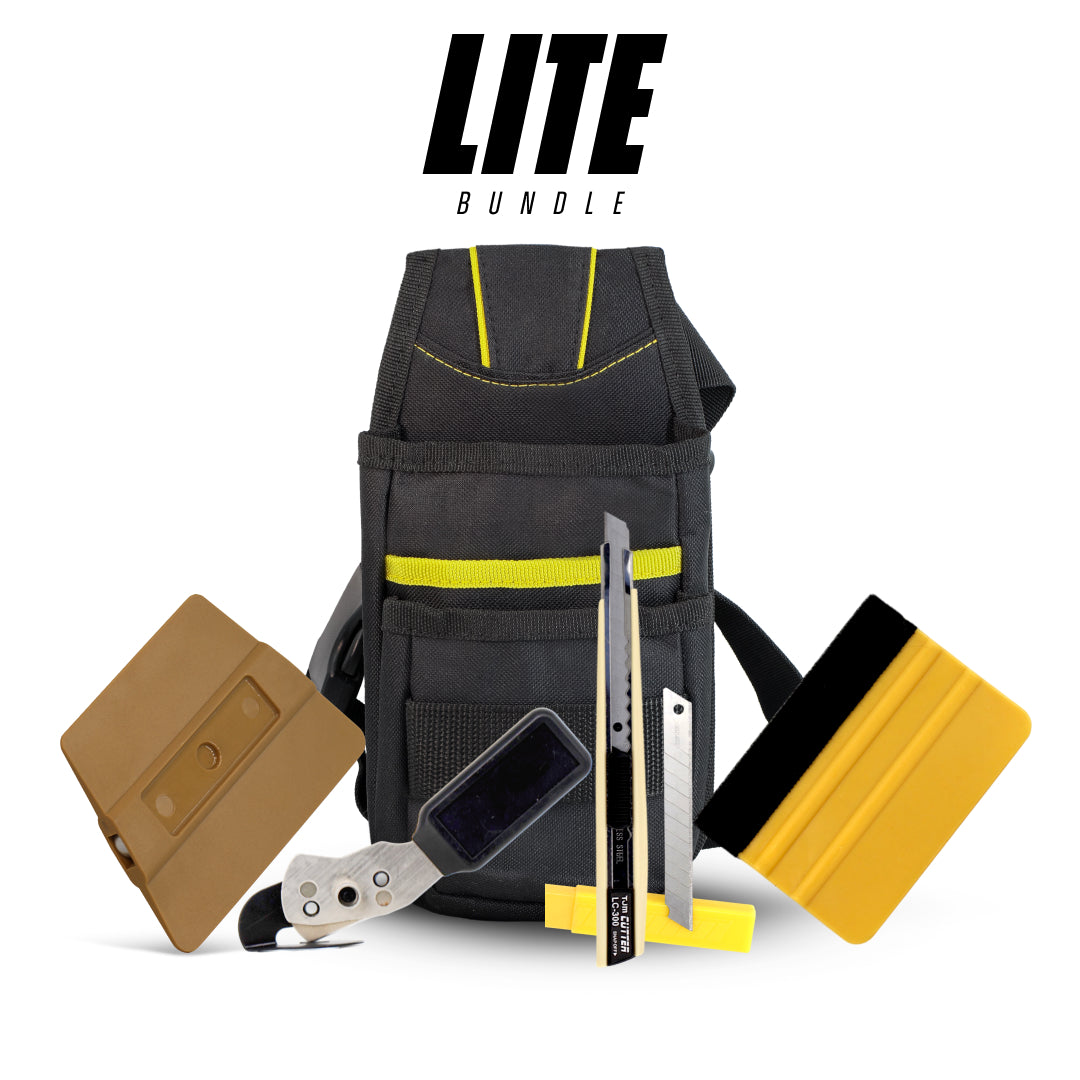
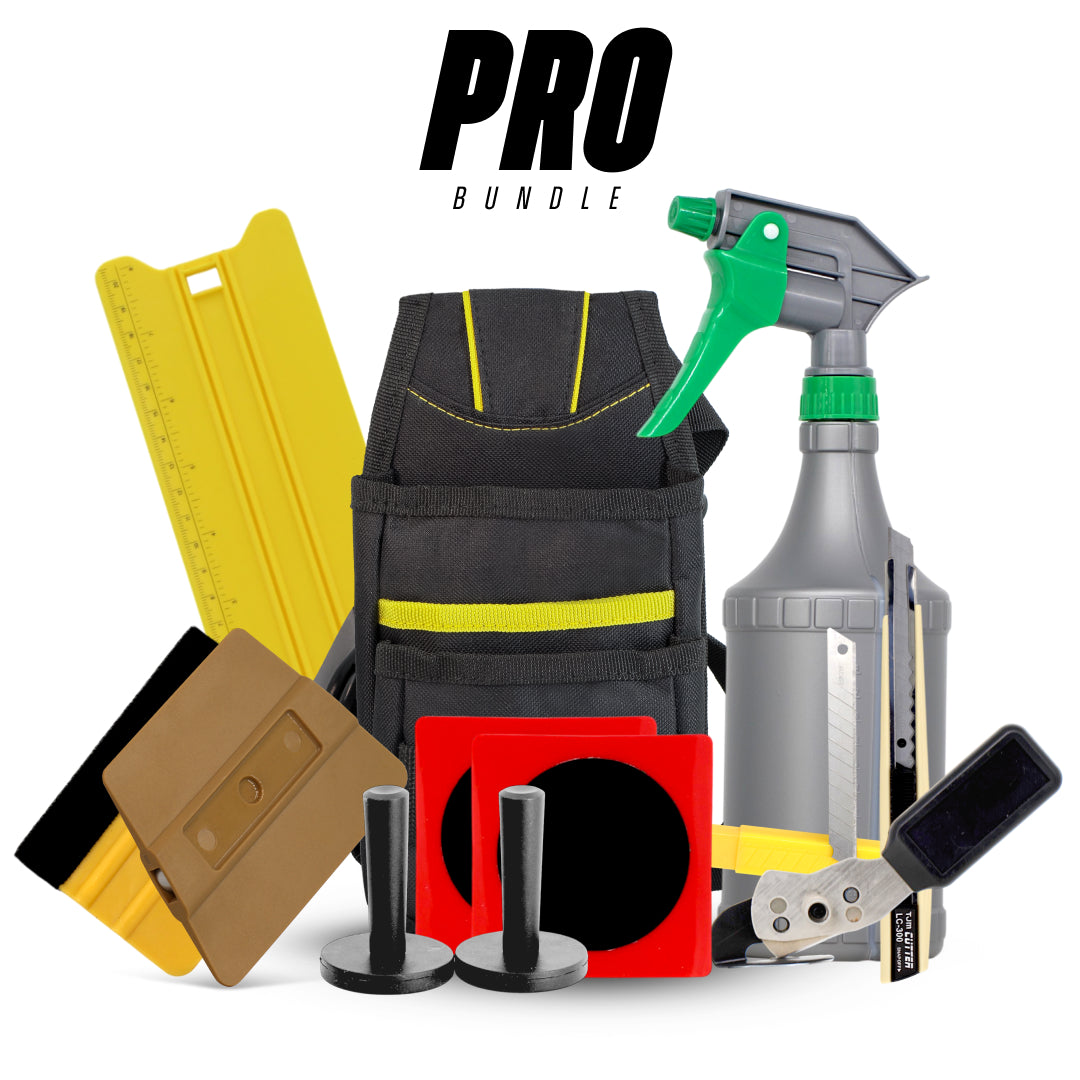
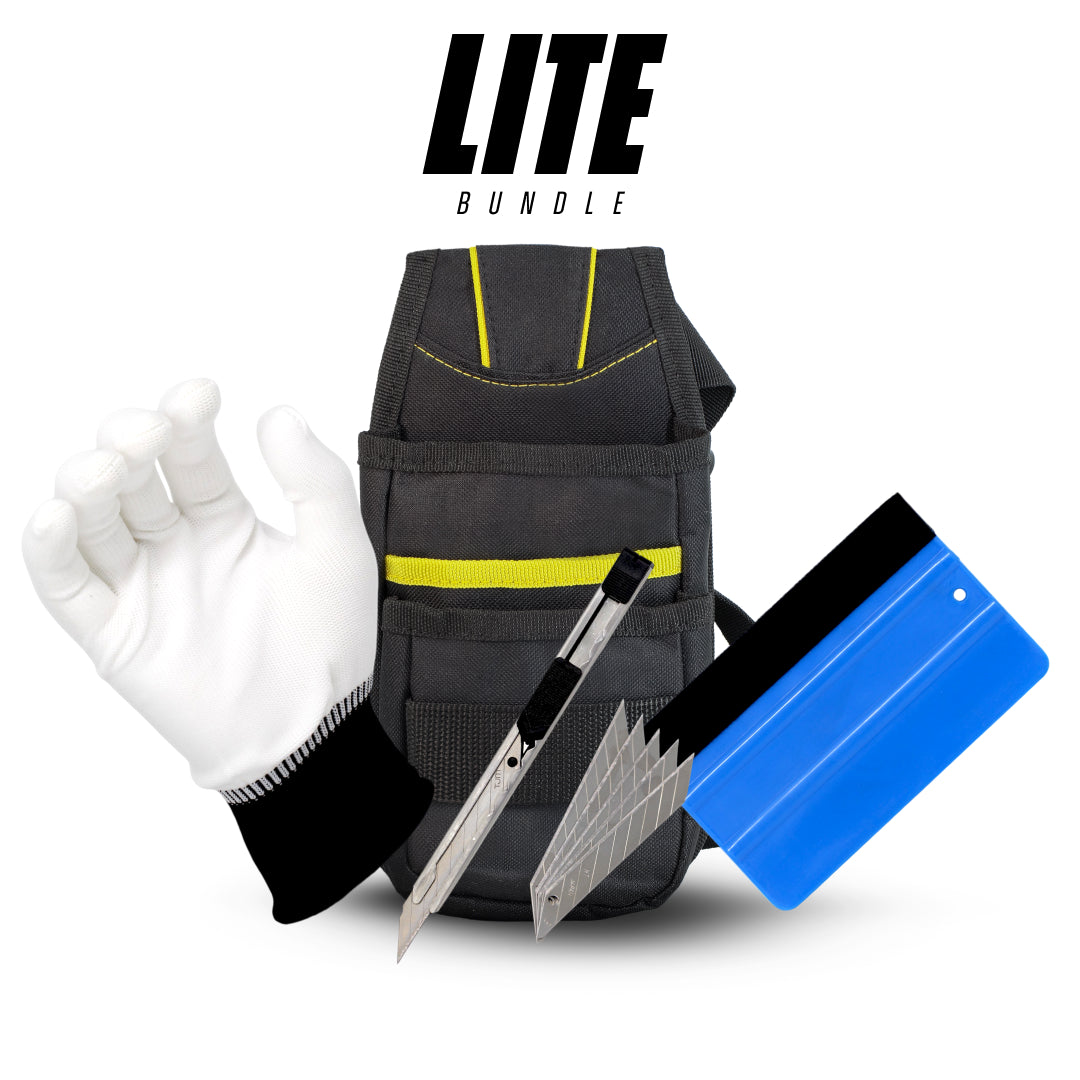
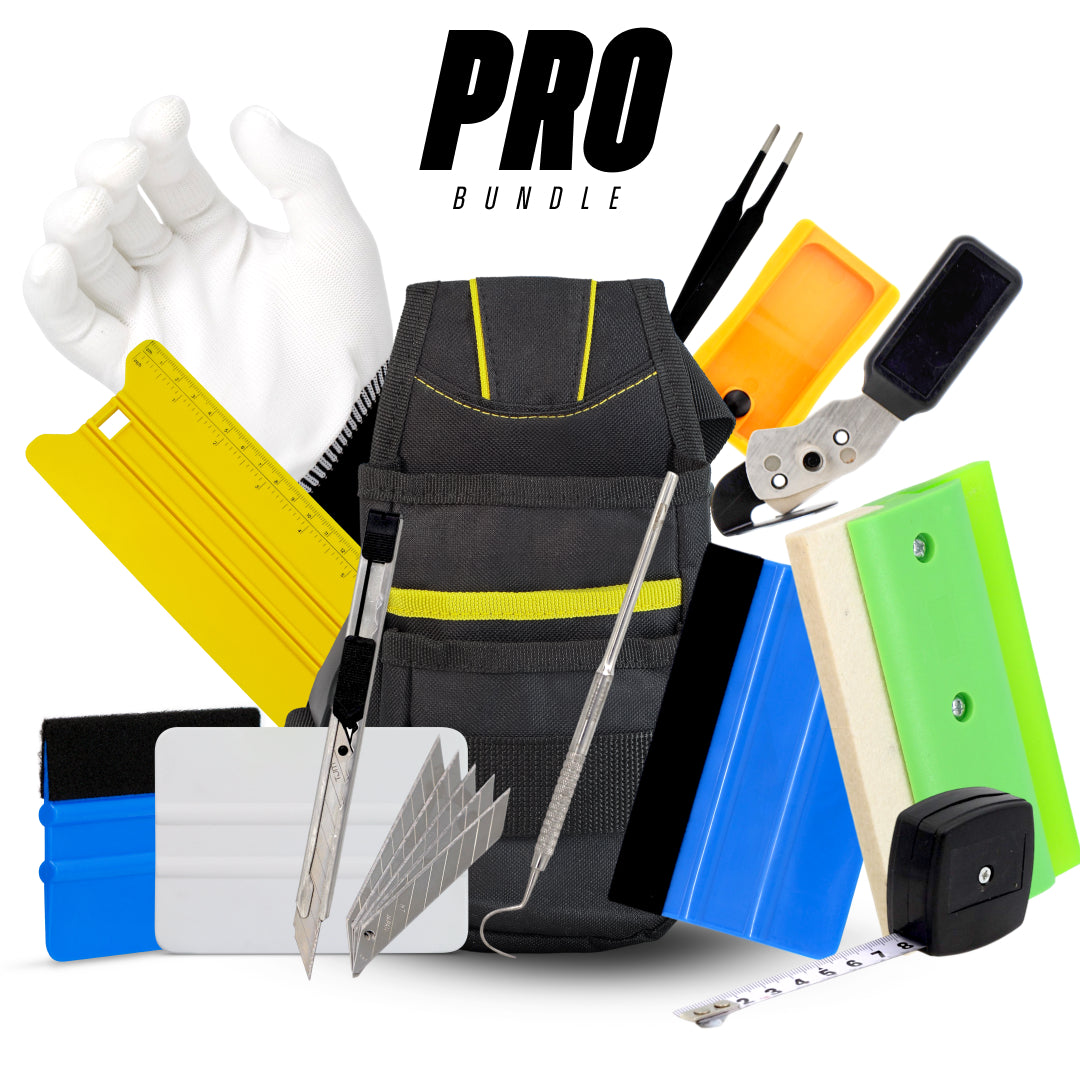
Using the correct installation tools also makes achieving a professional finish much easier. Browse our range of Vehicle Wrapping Tools, which many installers also use for architectural vinyl applications, including squeegees, knives, felt edge tools and application accessories.
| Kit tier | Best for | Save | Price |
|---|---|---|---|
| Wrap Tool Kit — Lite | First wrap | 15% | $75.99 |
| Wrap Tool Kit — Pro | Regular installers | 19% | $129.99 |
| Wrap Tool Kit — Pro Max | Full-time installers | 25% | $216.99 |
How Long Does Kitchen Vinyl Wrap Last?
Premium kitchen vinyl typically lasts:
- DIY installation: approximately 5–8 years
- Professionally installed premium architectural films: approximately 8–12 years or longer under normal residential use
Actual lifespan depends on:
- Surface preparation
- Vinyl quality
- Installation technique
- Exposure to sunlight
- Moisture levels
- Cleaning methods
- Daily wear and tear
To maximise longevity:
- Clean with a soft microfibre cloth
- Use mild, non-abrasive cleaners
- Avoid harsh chemicals
- Wipe spills promptly
- Protect surfaces from excessive heat
- Avoid cutting directly on wrapped surfaces
With proper care, a quality kitchen wrap can maintain its appearance for many years while remaining significantly more affordable than replacing cabinetry.
Why Homeowners Choose Kitchen Wraps

The biggest reason homeowners choose vinyl wrapping is cost-effectiveness. Full kitchen renovations often run into thousands of dollars, especially if you’re replacing cabinetry, countertops, or appliances. Wrapping, on the other hand, can cost as little as 10–20% of a renovation budget. That’s a massive saving for families trying to update their space without draining their savings.
Another reason is convenience. Kitchen renovations can take weeks, sometimes even months. They require plumbers, electricians, carpenters, and multiple trades working together. During that time, your kitchen is practically unusable. With vinyl wrapping, you can transform your kitchen in just a few days, or even a weekend if you’re tackling it as a DIY project.
Style flexibility also plays a role. Do you want a sleek, modern matte-black kitchen? Or perhaps a cozy, rustic oak look? With vinyl wraps, you can experiment with bold colours or textures that mimic expensive materials without the commitment or price tag. Many homeowners also appreciate the eco-friendly aspect: wrapping lets you refresh what you already own instead of sending perfectly good cabinetry to the landfill.
Is Kitchen Vinyl Wrapping Durable for Everyday Use?
One of the most common questions homeowners ask is whether vinyl wrapping can withstand the daily demands of a kitchen environment. When installed correctly and applied to properly prepared surfaces, high-quality vinyl wraps can last between 5 and 7 years or longer, depending on the material quality and usage conditions.
Modern architectural vinyl films are engineered to handle moisture, heat exposure, and frequent cleaning, which makes them suitable for cabinet doors, drawer fronts, and side panels. Premium wraps often include UV protection, air-release adhesives, and thicker films, allowing them to conform smoothly around edges while resisting peeling and bubbling.
However, durability depends heavily on several factors:
Surface Preparation: The cabinet surface should be thoroughly cleaned and degreased before installation. Oils, dust, and cooking residue can weaken the adhesive bond and lead to early lifting.
Vinyl Film Quality: Mid-range and premium wraps typically provide better durability, stronger adhesives, and improved resistance to scratches and heat.
Heat Exposure: While vinyl performs well in most kitchen areas, it should be installed carefully near ovens, stovetops, or dishwashers, where direct heat exposure may reduce lifespan.
Proper Maintenance: Vinyl-wrapped cabinets are easy to maintain. A soft cloth and mild cleaning solution are usually enough to remove grease or fingerprints without damaging the surface.
For homeowners looking to refresh outdated cabinets without a full renovation, vinyl wrapping provides a cost-effective and relatively quick kitchen upgrade that can transform the look of a space in as little as one or two days.
Benefits of Vinyl Wrapping Your Kitchen

Cost Savings Compared to Renovation
Let’s talk numbers. A standard kitchen renovation in the U.S. or U.K. can easily range from $10,000 to $30,000, depending on the size and materials. Even a modest facelift, with cabinet replacements only, could set you back $5,000 or more. By contrast, wrapping cabinets and surfaces typically costs between $500 and $2,000 for an average-sized kitchen.
That’s a game-changer for homeowners who want a stylish update without financial stress. For rental property owners, wrapping is especially appealing. It provides a refreshed look that attracts tenants and boosts property value without the high renovation costs that cut into profits.
The beauty of vinyl wrapping is its scalability. You don’t have to wrap your entire kitchen. Maybe you just want to update your cabinets, or only your island countertop. You can target specific areas, spreading the cost across multiple stages if needed.
Quick Installation and Minimal Disruption
Imagine this: you come home from work, your old cabinets are still there, worn and outdated. Two days later, your kitchen looks brand-new. That’s the magic of vinyl wrapping. Unlike full renovations that can drag on for weeks, wrapping projects are fast.
Most professionals can wrap an average kitchen in 2–3 days, depending on the complexity and number of cabinets. If you’re doing it yourself, it might take a weekend, especially if you’re learning as you go. The key advantage is that you don’t lose access to your kitchen for long periods. You can still cook, clean, and live normally while the transformation takes place.
Plus, wrapping is far less messy. No demolition dust, no debris, no need for dumpsters outside your house. At most, you’ll deal with adhesive backing scraps and trimming bits. It’s an upgrade that doesn’t turn your life upside down.
Wide Range of Colours and Finishes
One of the most exciting aspects of vinyl wrapping is the sheer variety of designs available. Whether you’re into sleek modern aesthetics or traditional rustic looks, there’s a wrap for you.
Matte finishes: Perfect for a minimal, modern, and classy look. Matte black, grey, or navy are especially trendy in 2025.
Gloss finishes: High-gloss white or bold colours give a polished, luxurious vibe, reflecting light beautifully.
Wood-grain wraps: These mimic natural oak, walnut, or pine for a cozy, warm kitchen atmosphere.
Metallic wraps: Brushed aluminium, copper, or stainless-steel-look vinyl works well for industrial-style kitchens.
Stone-effect wraps: Marble, granite, or slate-look vinyl creates the illusion of expensive countertops or splashbacks without the price.
The customisation doesn’t stop there. Many suppliers offer textured wraps that feel like real wood or stone when touched. This adds depth and realism, making it hard to tell that the surface is wrapped vinyl rather than solid material.
With endless possibilities, homeowners can refresh their kitchens every few years without worrying about massive costs.

Kitchen Vinyl Wrap vs. Full Renovation
Cost Comparison: Wrap vs. Replace
If we put vinyl wrapping side by side with a full renovation, the savings speak for themselves. Cabinet replacement alone typically costs around $4,000–$10,000, depending on materials. Countertops add another $2,000–$5,000, and that’s before considering flooring, lighting, and labour.
On the other hand, wrapping your cabinets might only cost $1,500–$2,000 professionally, and even less if you do it yourself. You’re looking at saving 70–80% of what you’d spend on a renovation.
This cost efficiency is why vinyl wrapping has become a go-to option for homeowners on a budget or those preparing their homes for sale. A fresh-looking kitchen can boost property value and attract buyers without the hefty renovation investment.
Time and Effort Differences
Time is money, and renovations take plenty of it. A full remodel often spans 4–8 weeks, with multiple trades involved. That means weeks of eating out, living with dust, and dealing with contractors.
Vinyl wrapping, however, requires just a few days. Even a complete kitchen wrap rarely extends beyond a week. If you value convenience and want results fast, wrapping wins by a landslide.
Environmental Impact
When you rip out a kitchen, you’re not just throwing away cabinets; you’re contributing to landfill waste, which often includes wood composites, laminates, and plastics. Wrapping helps combat this issue by extending the life of your existing cabinetry.
By reusing what you already have, you reduce waste, minimise the demand for new raw materials, and keep your renovation footprint much smaller. For eco-conscious homeowners, this makes vinyl wrapping a far greener choice than replacing everything from scratch.
Is Kitchen Vinyl Wrap Durable?

Lifespan of Vinyl Wrapping
Durability is one of the first questions homeowners ask. How long will it last? On average, professionally applied vinyl wrap can last 7–10 years with proper care. Some high-quality wraps last even longer, especially in low-traffic kitchens.
DIY applications might not last as long, especially if surfaces weren’t cleaned or prepped correctly before application. That’s why surface preparation is crucial; any grease, dust, or rough edges can cause peeling or bubbling down the line.
Common Wear and Tear Issues
Like any surface, vinyl wrap isn’t indestructible. Common issues include:
Peeling edges near handles or high-touch areas.
Scratches from sharp utensils or rough cleaning tools.
Bubbling if the air wasn’t smoothed out during installation.
Heat damage if placed too close to stovetops or ovens without protection.
That said, most of these issues are preventable with good installation and proper maintenance.
How to Maintain Wrapped Surfaces
Maintaining a vinyl wrap is straightforward. Unlike wood or stone, it doesn’t need sealing, varnishing, or polishing. Just wipe it down with a soft cloth, mild soap, and water. Avoid abrasive cleaners or scouring pads, as they can scratch the surface.
For extra longevity, place heat protectors near stovetops, and don’t cut directly on wrapped countertops. With a little care, your vinyl-wrapped kitchen will look fresh and stylish for years.
Step-by-Step Guide to Vinyl Wrapping a Kitchen

Tools and Materials Needed
Before diving into your kitchen wrapping project, you’ll want to assemble the right tools and materials. Unlike large-scale renovations that demand heavy machinery, vinyl wrapping requires relatively simple supplies, many of which you may already have at home.
Here’s a breakdown of essentials:
- Vinyl wrap rolls (your chosen finish and colour)
- Heat gun or hair dryer (for stretching and moulding vinyl around edges)
- Squeegee or application tool (to smooth out bubbles and wrinkles)
- Utility knife or precision cutter (for trimming excess wrap neatly)
- Measuring tape and ruler (to cut vinyl pieces accurately before application)
- Cleaning supplies (degreaser, microfiber cloths, mild soap and water)
- Masking tape (for alignment and holding pieces in place temporarily)
Optional extras include edge-sealing pens, which help lock down corners and prevent peeling, and felt-edged squeegees, which reduce scratching during application.
The good news? Once you invest in these supplies, they can be reused for future wrapping projects, whether you want to update your kitchen again or wrap furniture, doors, or other surfaces around your home.
Preparing Surfaces Before Wrapping
Preparation is arguably the most important part of vinyl wrapping. Even the highest-quality vinyl won’t stick properly if your surface is dirty, greasy, or uneven. Think of it like painting a wall: the smoother the surface, the better the finish.
Here’s the step-by-step prep process:
- Clean thoroughly: Wipe down cabinets and surfaces with a degreaser or mild soap. Kitchens accumulate cooking oils and dust, which can interfere with adhesion.
- Remove hardware: Unscrew handles, hinges, and knobs from cabinet doors. Wrapping around them is tricky and often results in an unprofessional finish.
- Smooth rough areas: Sand down chips or peeling laminate. While vinyl can hide some imperfections, large bumps or cracks will show through.
- Dry completely: Make sure surfaces are 100% dry before application. Even a hint of moisture can weaken adhesion.
- Measure carefully: Cut vinyl sheets slightly larger than each cabinet or surface. This gives you room to trim precisely after application.
Spending extra time on preparation pays off. A well-prepped surface ensures the wrap adheres smoothly and lasts for years.
Wrapping Process Explained
Now comes the fun part: actually applying the vinyl wrap. The process can be broken down into a few clear steps:
- Position the vinyl: Peel back a small section of the adhesive backing and line up the vinyl with the top edge of the cabinet or surface.
- Apply gradually: As you peel away more of the backing, press the vinyl onto the surface using a squeegee. Work slowly from the centre outward to push out air bubbles.
- Heat for flexibility: Use a heat gun or hair dryer to soften the vinyl, making it easier to stretch and mould around corners or curved edges.
- Trim edges: Once fully applied, use a sharp utility knife to trim away excess vinyl, leaving clean, crisp edges.
- Seal and smooth: Go over the surface again with a squeegee to ensure strong adhesion. For extra durability, apply an edge sealer to prevent peeling.
The process can be repeated for each cabinet door, drawer, and surface. While it takes patience, the result is incredibly satisfying, a fresh, modern-looking kitchen that feels brand new.
Mistakes to Avoid When Doing the Kitchen Vinyl Wrapping
If you decide to go the DIY route, watch out for these common pitfalls:
- Skipping surface prep: Even small grease spots can cause vinyl to lift.
- Using dull blades: Ragged cuts ruin the clean, professional look.
- Rushing the process: Patience is key. Slow, careful application prevents bubbles and wrinkles.
- Applying heat incorrectly: Too much heat can warp vinyl; too little makes it hard to stretch.
- Not measuring twice: Cutting vinyl too small means wasted material.
By avoiding these mistakes, you’ll dramatically improve your chances of success and end up with a kitchen that looks like it was done by a pro.
Kitchen Vinyl Wrap Installation Costs
Average Prices for DIY vs. Professional Jobs
Costs vary depending on kitchen size, materials, and whether you DIY or hire a professional. Here’s a rough guide:
| Kitchen Size | DIY Cost in USD (Materials Only) | Professional Cost |
|---|---|---|
| Small kitchen (10–15 cabinets) | $300–$600 | $1,000–$1,500 |
| Medium kitchen (15–25 cabinets) | $500–$1,000 | $1,500–$2,500 |
| Large kitchen (25+ cabinets) | $800–$1,500 | $2,500–$4,000 |
DIY is undoubtedly cheaper, but keep in mind that mistakes can add extra costs if you need to repurchase vinyl. Professionals, while pricier, often provide warranties that protect your investment.
Factors That Affect Pricing
Several factors influence the cost of kitchen vinyl wrapping:
Kitchen size: More cabinets and drawers mean more material and labour.
Vinyl quality: Premium textured or stone-effect wraps cost more than basic matte finishes.
Complexity: Cabinets with grooves, mouldings, or curves take longer to wrap.
Labour rates: Prices vary by region and installer expertise.
For a budget-friendly project, many homeowners mix and match, choosing simple finishes for most surfaces and splurging on premium wraps for focal points like islands or backsplashes.
Long-Term Value of Wrapping
While wrapping isn’t permanent, it offers excellent value for money. A well-applied wrap can last nearly a decade, all while keeping your kitchen looking fresh and stylish. Considering it costs a fraction of a renovation, the return on investment is high, especially if you’re refreshing your kitchen before selling your home.
For many homeowners, the savings combined with the ability to change styles every few years make wrapping a smart long-term choice.
Maintenance and Cleaning Tips
How to Clean Vinyl Wrap Safely
Keeping vinyl wrap clean is refreshingly simple compared to natural materials like wood or stone. All you need is:
- A soft microfiber cloth
- Warm water and mild dish soap
- Optional: A non-abrasive household cleaner for tougher stains
Wipe surfaces gently, avoiding harsh scrubbing. Unlike wood, vinyl doesn’t absorb stains, so spills are easy to clean if caught quickly.
Preventing Damage from Heat and Moisture
Vinyl is durable, but it’s not invincible. Excessive heat can cause warping or peeling, and constant exposure to steam or water may weaken adhesion. To protect your wrap:
- Use heat shields near ovens, toasters, and stovetops.
- Don’t place hot pans directly on wrapped countertops.
- Ensure good ventilation to reduce moisture buildup.
By treating your wrapped kitchen with the same care you’d give a painted or laminated surface, you’ll extend its lifespan significantly.
When to Replace or Re-Wrap
Even with the best care, the vinyl wrap will eventually show signs of wear. The good news is that replacing it is much easier and cheaper than a full renovation. You’ll know it’s time to re-wrap when:
- Edges start peeling and cannot be repaired.
- Surfaces are scratched or discoloured beyond cleaning.
- You’re simply ready for a style change.
Because wrapping is reversible, you can refresh your kitchen as often as you like, something that’s not practical with full renovations.
Common Problems with Kitchen Vinyl Wrap

Peeling and Bubbling Issues
Peeling and bubbling are two of the most common concerns homeowners face after wrapping their kitchens. Peeling usually starts at high-contact points, such as cabinet edges, corners, or around handles. This often happens when the vinyl wasn’t applied with enough heat or pressure, or when surfaces weren’t cleaned thoroughly beforehand. Bubbling, on the other hand, is usually caused by trapped air during installation.
To prevent peeling:
- Always ensure cabinets are grease-free before applying vinyl.
- Use a heat gun to activate the adhesive and press firmly on the edges.
- Consider edge-sealing pens for high-use areas.
To fix bubbles:
- For small bubbles, prick them with a fine pin and press the air out with a squeegee.
- For larger bubbles, carefully lift the vinyl back up, reapply heat, and smooth it down again.
These issues can be frustrating, but they’re usually fixable. The key is patience; rushing the job almost always leads to bubbles and peeling.
Heat Resistance Concerns
Kitchens naturally involve heat, stoves, ovens, toasters, and kettles, all of which generate it. While most quality vinyl wraps are heat-resistant up to 75–80°C (167–176°F), they aren’t indestructible. Prolonged exposure to direct heat may cause the vinyl to warp, shrink, or peel.
To avoid heat-related damage:
- Keep appliances like toasters or kettles away from wrapped walls or cabinets.
- Install heat shields or protective panels near ovens.
- Don’t leave cabinet doors open above hot appliances for extended periods.
When used with care, wraps handle everyday kitchen heat perfectly fine. Problems only arise with consistent, direct exposure.
Fixing Small Damages
One of the best things about vinyl wrapping is that it’s relatively easy to repair. Small scratches, nicks, or peeling sections don’t mean you need to redo the whole kitchen.
- Scratches: Light scratches can often be disguised by gently heating the vinyl and smoothing it out.
- Peeling edges: Reheat the peeling section, press it back down firmly, and apply edge sealer.
- Damaged sections: If one cabinet is too damaged, simply rewrap that single piece instead of replacing everything.
This repairability makes vinyl wrapping highly practical compared to painted or laminated cabinets, where damage is harder to fix seamlessly.
Can Vinyl Wrap Be Used on Other Furniture and Interior Surfaces?
Although kitchen cabinets are one of the most popular applications, vinyl wrapping is widely used across many interior furniture and home renovation projects.
Because vinyl film is flexible and available in hundreds of finishes, it can be applied to a wide variety of surfaces to refresh furniture without replacing it.
Common interior vinyl wrap applications include:
Wardrobes and Closet Doors: Vinyl wrap can modernise wardrobe doors with matte colours, wood textures, or metallic finishes. This is especially useful for updating older built-in wardrobes without major renovation work.
Bathroom Cabinets: Bathroom vanities can be wrapped with moisture-resistant vinyl films to refresh their appearance while protecting the underlying material.
Office Desks and Furniture: Commercial offices often wrap desks, counters, and shelving units to maintain a consistent design theme or update worn surfaces.
Interior Doors and Panels: Vinyl wrap can also be applied to interior doors, wall panels, and decorative features to create modern finishes such as brushed metal, marble, or woodgrain.
This versatility has made vinyl wrapping increasingly popular among home renovators, interior designers, and property developers looking for fast and cost-effective upgrades.

Kitchen vinyl wrap is more than just a budget-friendly alternative to renovation; it’s a stylish, flexible, and eco-conscious solution for homeowners. Whether you’re updating your space for personal enjoyment or boosting resale appeal, wrapping delivers a modern look without the mess, cost, or environmental impact of a full remodel.
Yes, it has limitations. It won’t last forever, and it requires proper care to prevent heat or peeling issues. But for most families, the benefits outweigh the drawbacks. You get a brand-new kitchen feel in days, not weeks, and for thousands less than a traditional renovation.
If you’re debating between a costly remodel and a wrap, ask yourself: Do your cabinets still function well? If the answer is yes, vinyl wrapping is likely the smarter choice.
Not sure where to start? Explore our Guide on Kitchen Wraps for Australian Homes →
Are you unsure which tool or kit is right for your job?
Our expert team at Oz Sign Supplies is here to help. Reach out today, and we’ll direct you to the best tools to suit your project, ensuring you get the job done right the first time.

Wrap Tool Kit – Pro Max
$216.99
What's Included The Wrap Tool Kit Pro Max includes a complete professional vinyl wrapping setup designed for high-volume installers, wrap...
Kit me out